15 Modern Bedroom Ideas That Look Expensive (But Aren’t)
15 Modern Bedroom Ideas That Look Expensive (But Aren’t)
I used to think modern bedroom ideas that look expensive required an expensive budget, until a designer friend walked through my rental and proved me wrong. She pointed at my cluttered surfaces, my mismatched lamps, and my daylight-white bulbs, and said the room felt cheap because of a dozen small choices, not the furniture. That stung, but she was right. Modern style is mostly restraint: clean lines, matched pairs, warm light, and surfaces with room to breathe.
This list is everything I changed in my own bedroom, with real prices and real times. Every idea costs under $70, and most sit under $25. I have noted what worked, what flopped, and the mistakes I would skip. Work through them in any order, and your bedroom will read boutique hotel without the boutique bill.
1. Matte Black Hardware Swap on Furniture
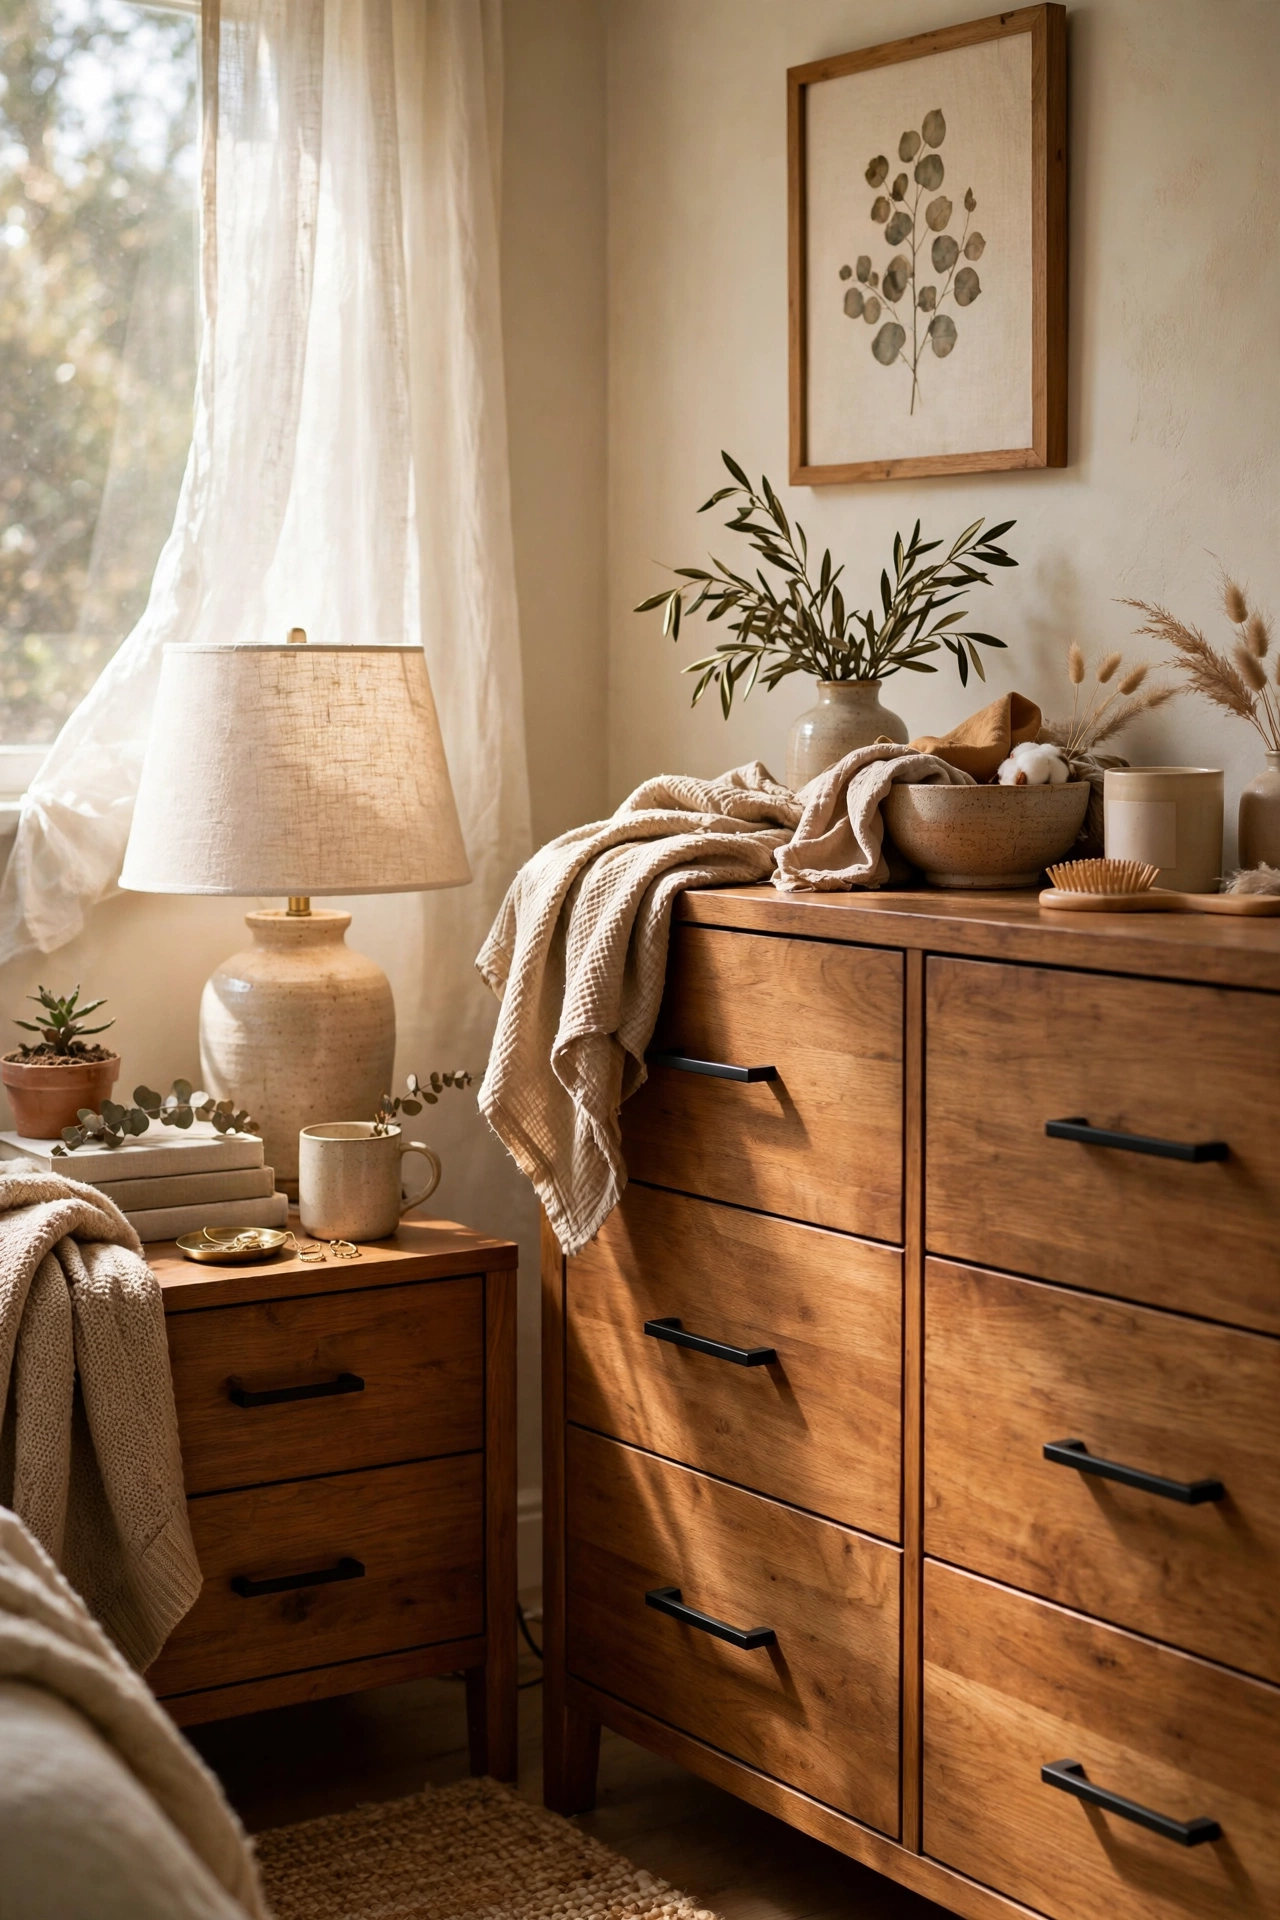
Swapping shiny old knobs and handles for matte black hardware is the cheapest way I know to make dated furniture look designer. I bought a ten-pack of matte black pulls for $12 and spent a Saturday morning swapping them onto my dresser and nightstands. Measure the hole spacing before you order, because the standard 96mm and 128mm sizes cover most drawers. Remove one knob at a time and screw the new pull on from the back so the drawer front never sits empty. My old dresser went from 2008 rental beige to boutique hotel in under an hour. The black against warm wood or painted grey looks far more expensive than the price suggests.
Cost: ~$10-18 | Time: 1 hour
2. Statement Upholstered Headboard Lookalike
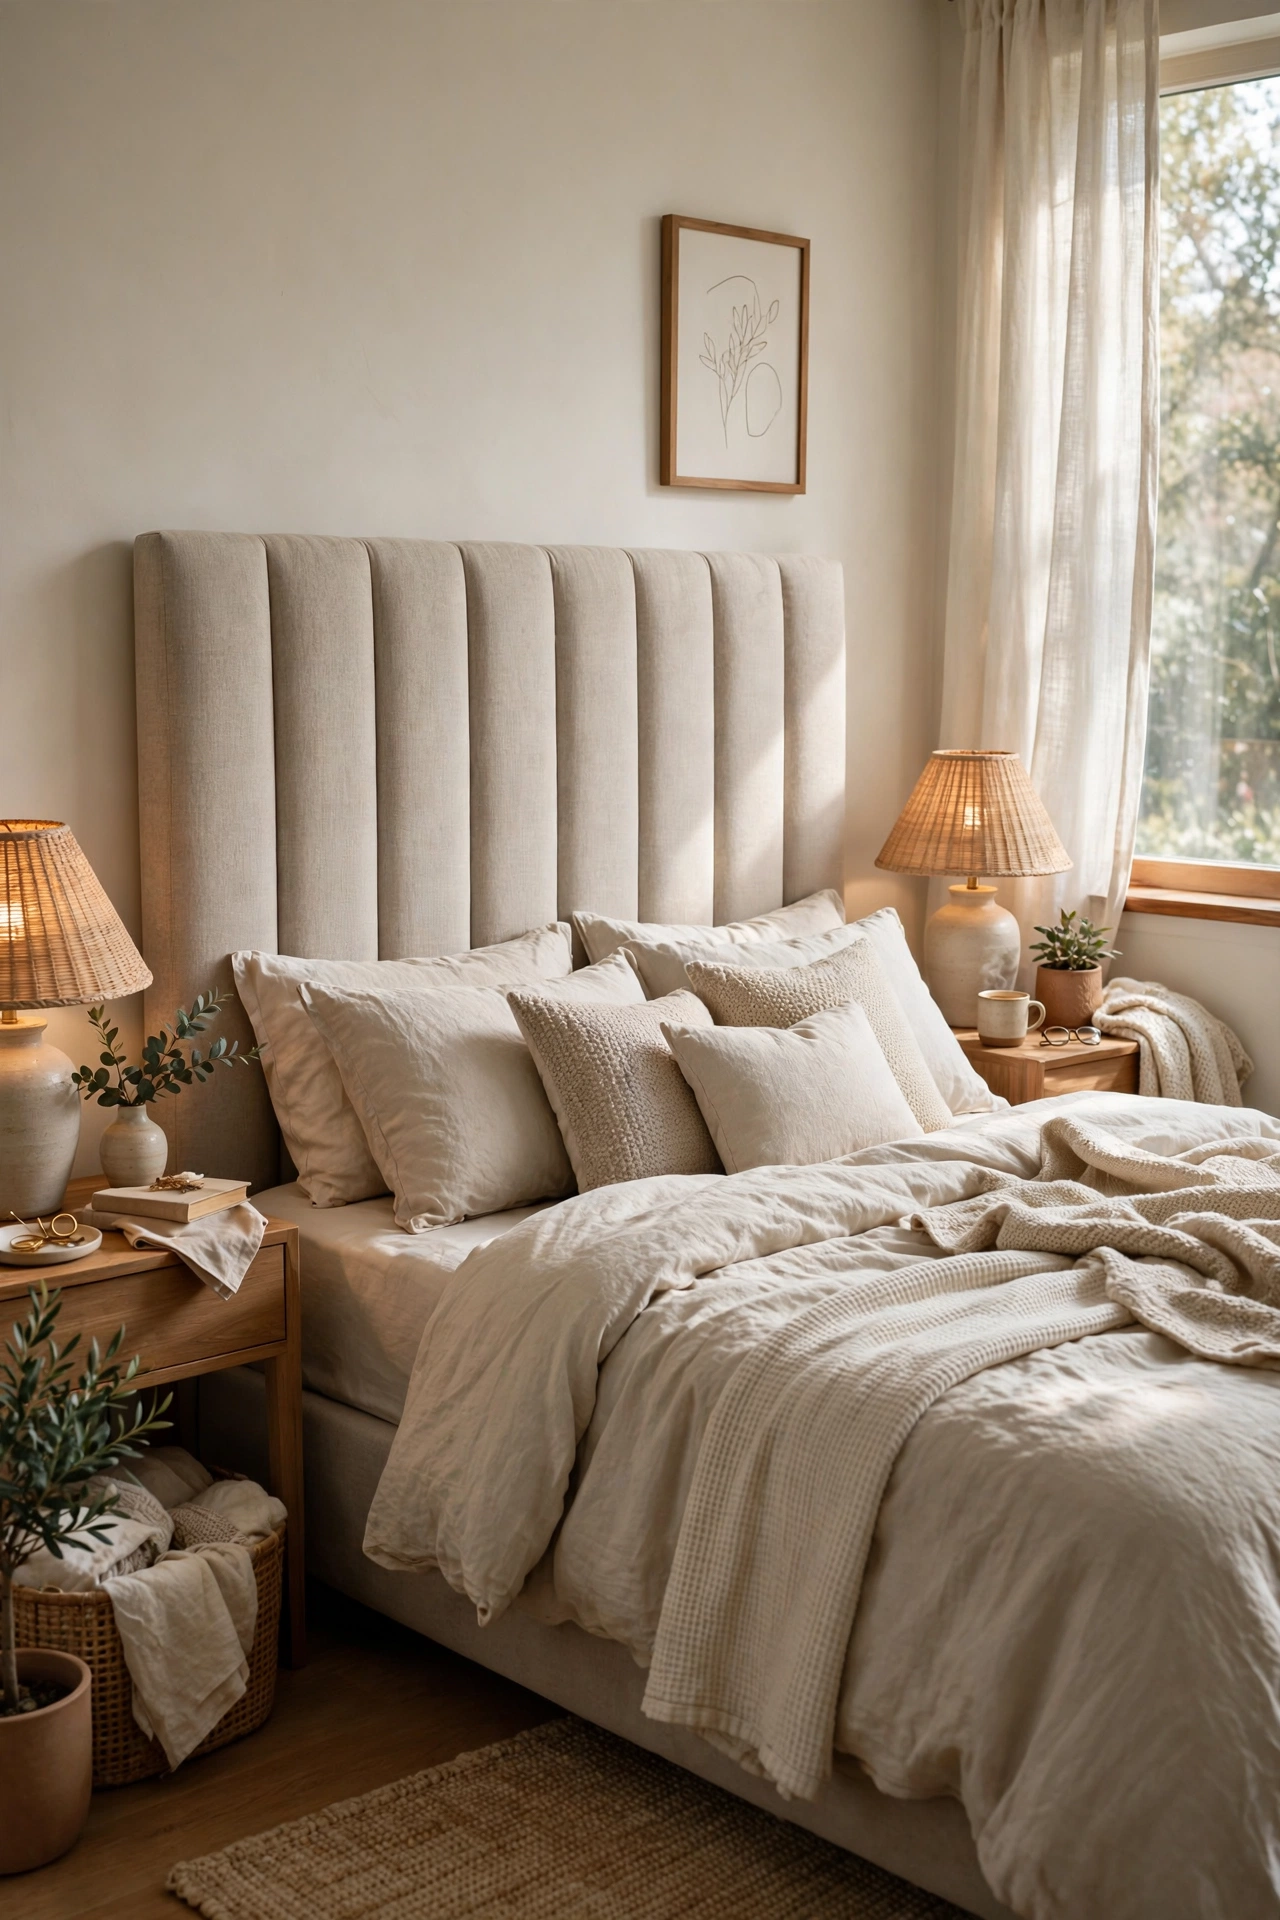
Nothing says expensive bedroom like a tall, padded headboard, and I refused to pay $400 for one. I found a plain upholstered headboard panel on clearance for $68, in a neutral oatmeal fabric that pairs with everything. Mount it with French cleats or simply wedge it between the mattress and the wall, which is what I did as a renter. Keep the fabric light and the lines straight, because button tufting can date the look fast. Mine sits about 55 inches tall, so it makes the ceiling feel higher. Paired with the tonal beige layers I used in (see also: 17-beige-bedroom-decor-ideas-on-a-budget/), the bed corner now looks like a showroom. Guests assume it cost four times the price.
Cost: ~$60-70 | Time: 30 minutes
3. Layered Monochrome Bedding in Warm Neutrals
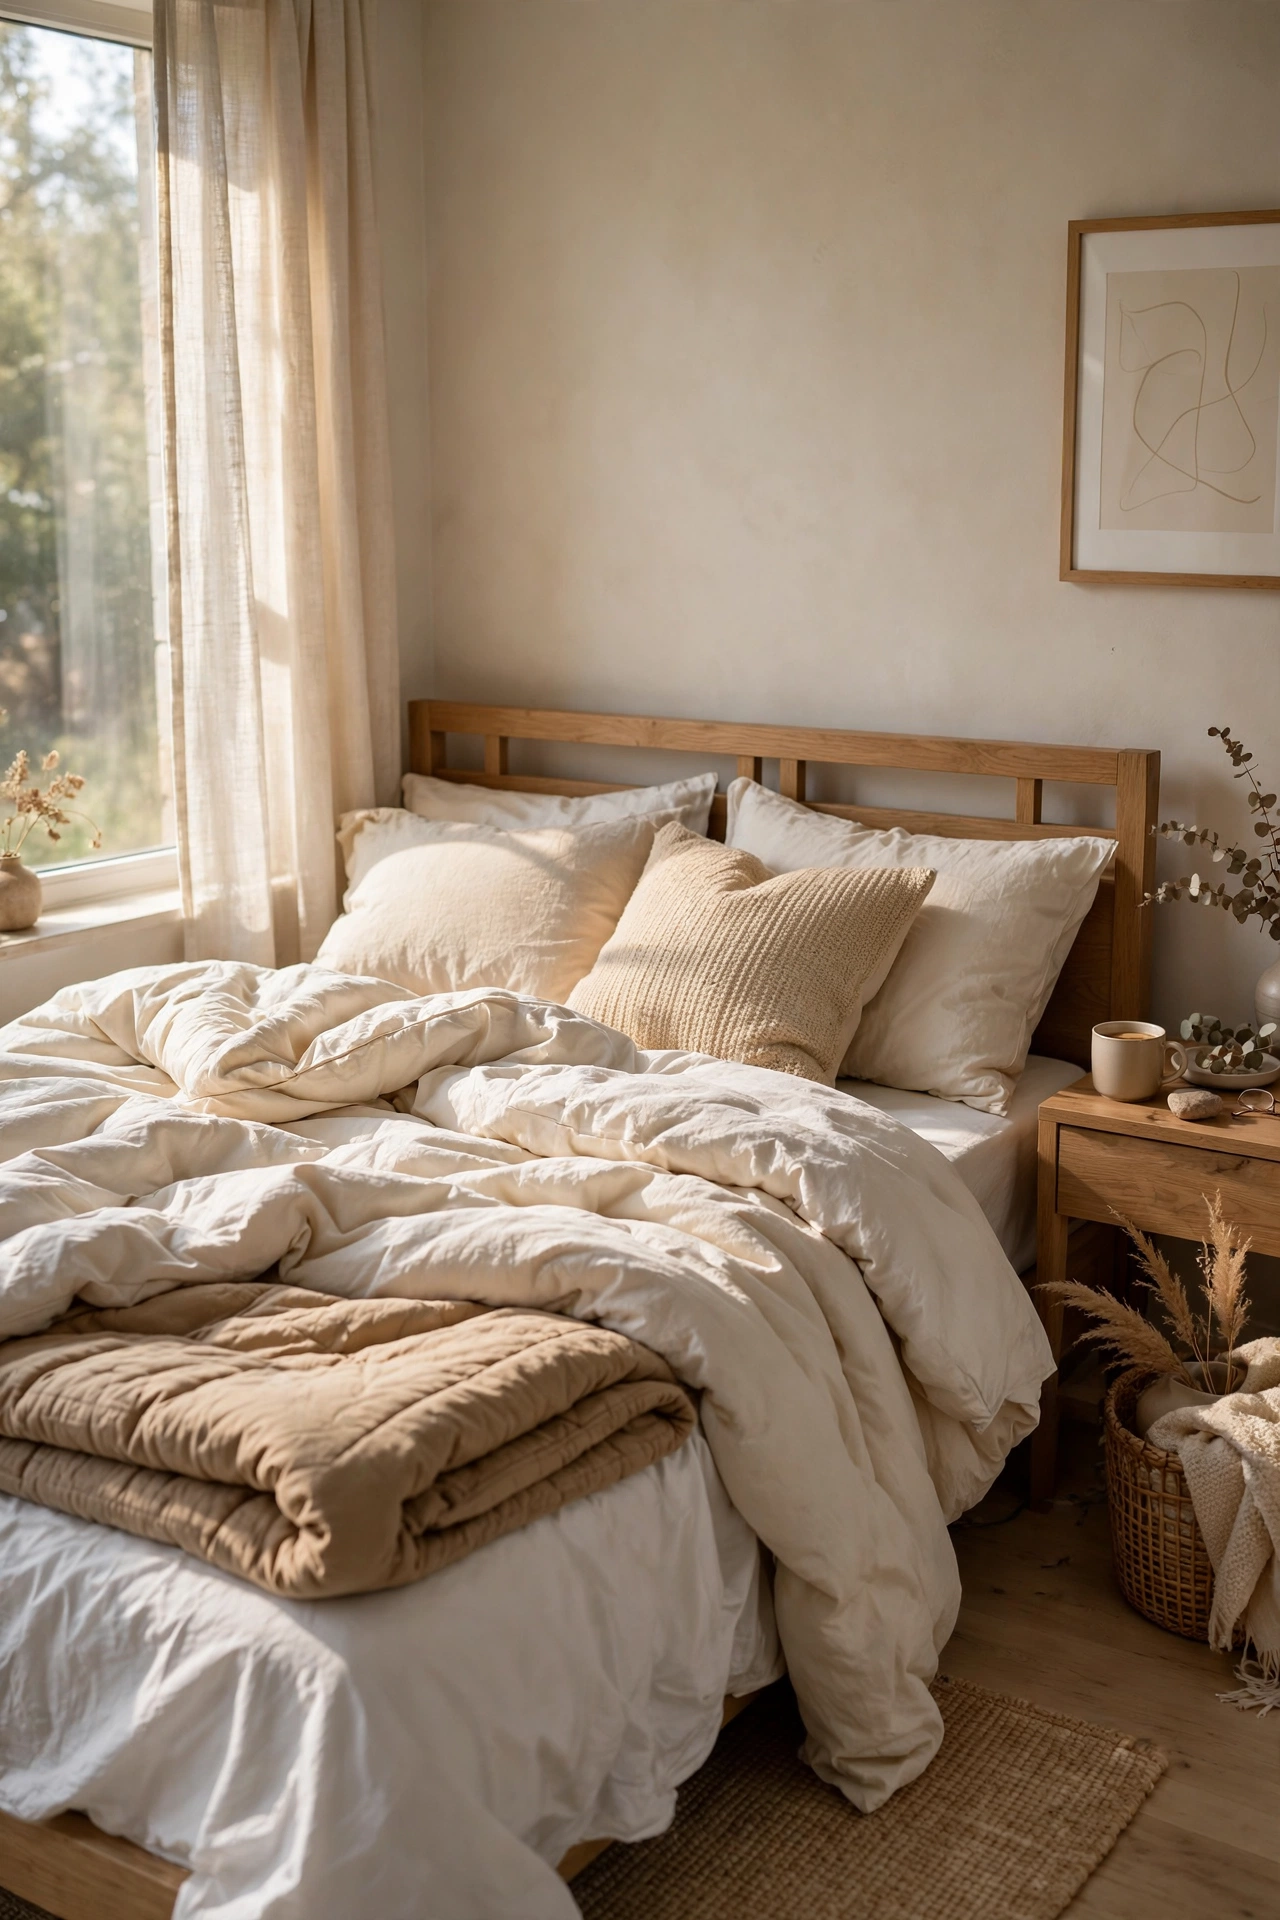
Expensive-looking modern beds are never made with one flat duvet. I build mine in three warm-neutral layers: a white fitted sheet, a cream duvet, and a folded tan quilt across the lower third. Everything stays in the same colour family so it reads tonal, not busy. Buy the duvet cover one size up so it drapes generously over the sides. My rookie mistake was mixing a cool grey quilt with warm cream sheets, and the whole bed looked muddy. Swapping to all warm tones fixed it instantly. The layering takes ten extra minutes on wash day and makes the bed photograph like a boutique hotel suite.
Cost: ~$30-55 | Time: 20 minutes
Pro tip: Buy all your matte black hardware in one bulk pack from a single listing. I once mixed two brands and the finishes were visibly different shades of black, which ruined the uniform look. One ten-pack keeps every pull identical, and the spares cover future furniture finds.
4. Oversized Floor Mirror Leaned Against the Wall
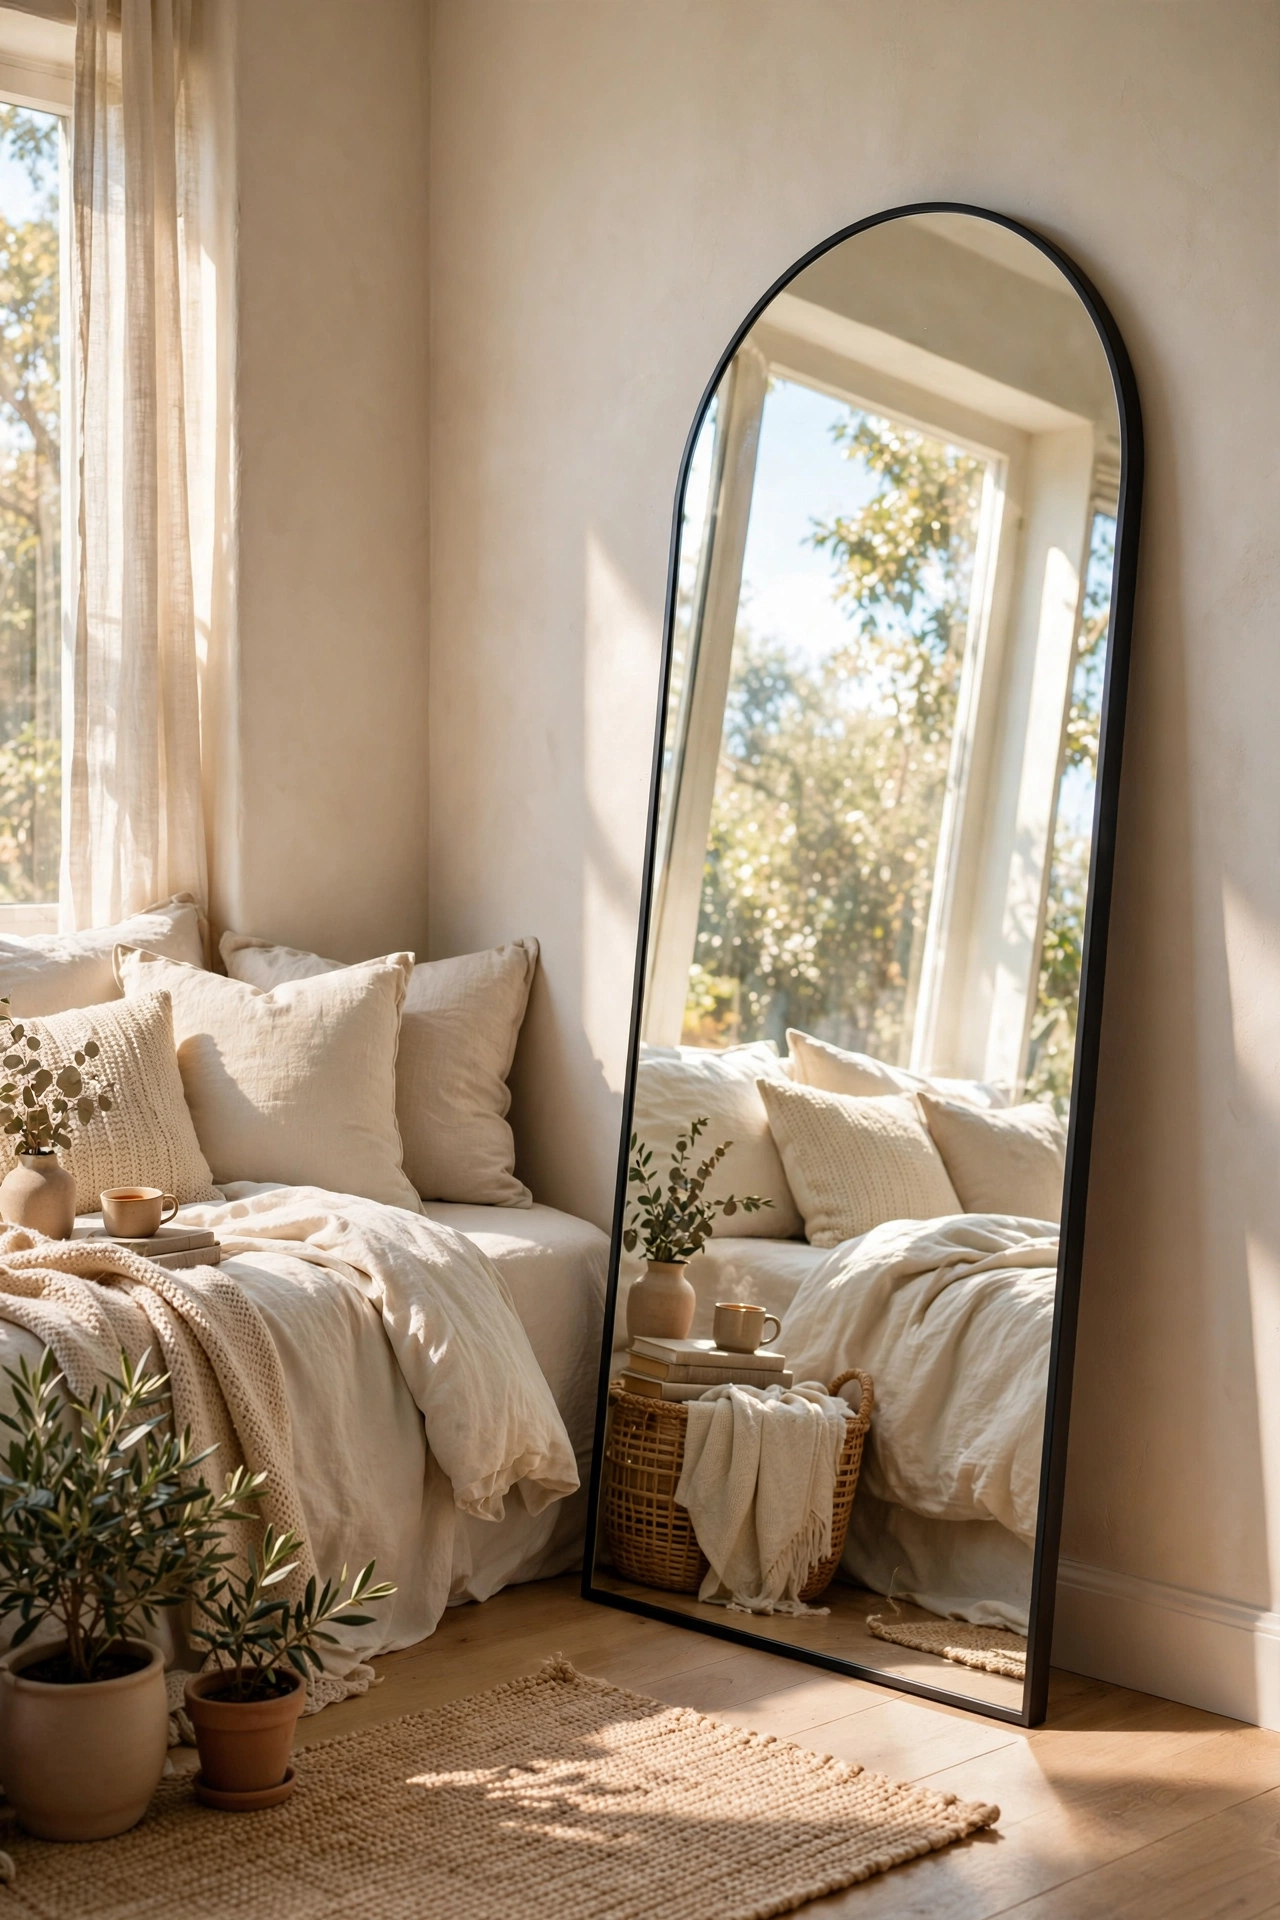
A tall leaning mirror is the oldest designer trick for making a bedroom feel bigger and brighter, and the big ones cost a fraction of what they look like. I got a 60-inch arched mirror for $45 during a clearance event and leaned it against the wall opposite my window. Secure the top to the wall with a discreet bracket, because a leaning mirror and curious pets do not mix. Angle it so it catches daylight and throws it across the room. My small bedroom gained the feeling of a whole extra window. The thin frame matters: chunky frames read traditional, slim black or brass reads modern and expensive.
Cost: ~$40-60 | Time: 20 minutes
5. Matching Table Lamps With Warm White Shades
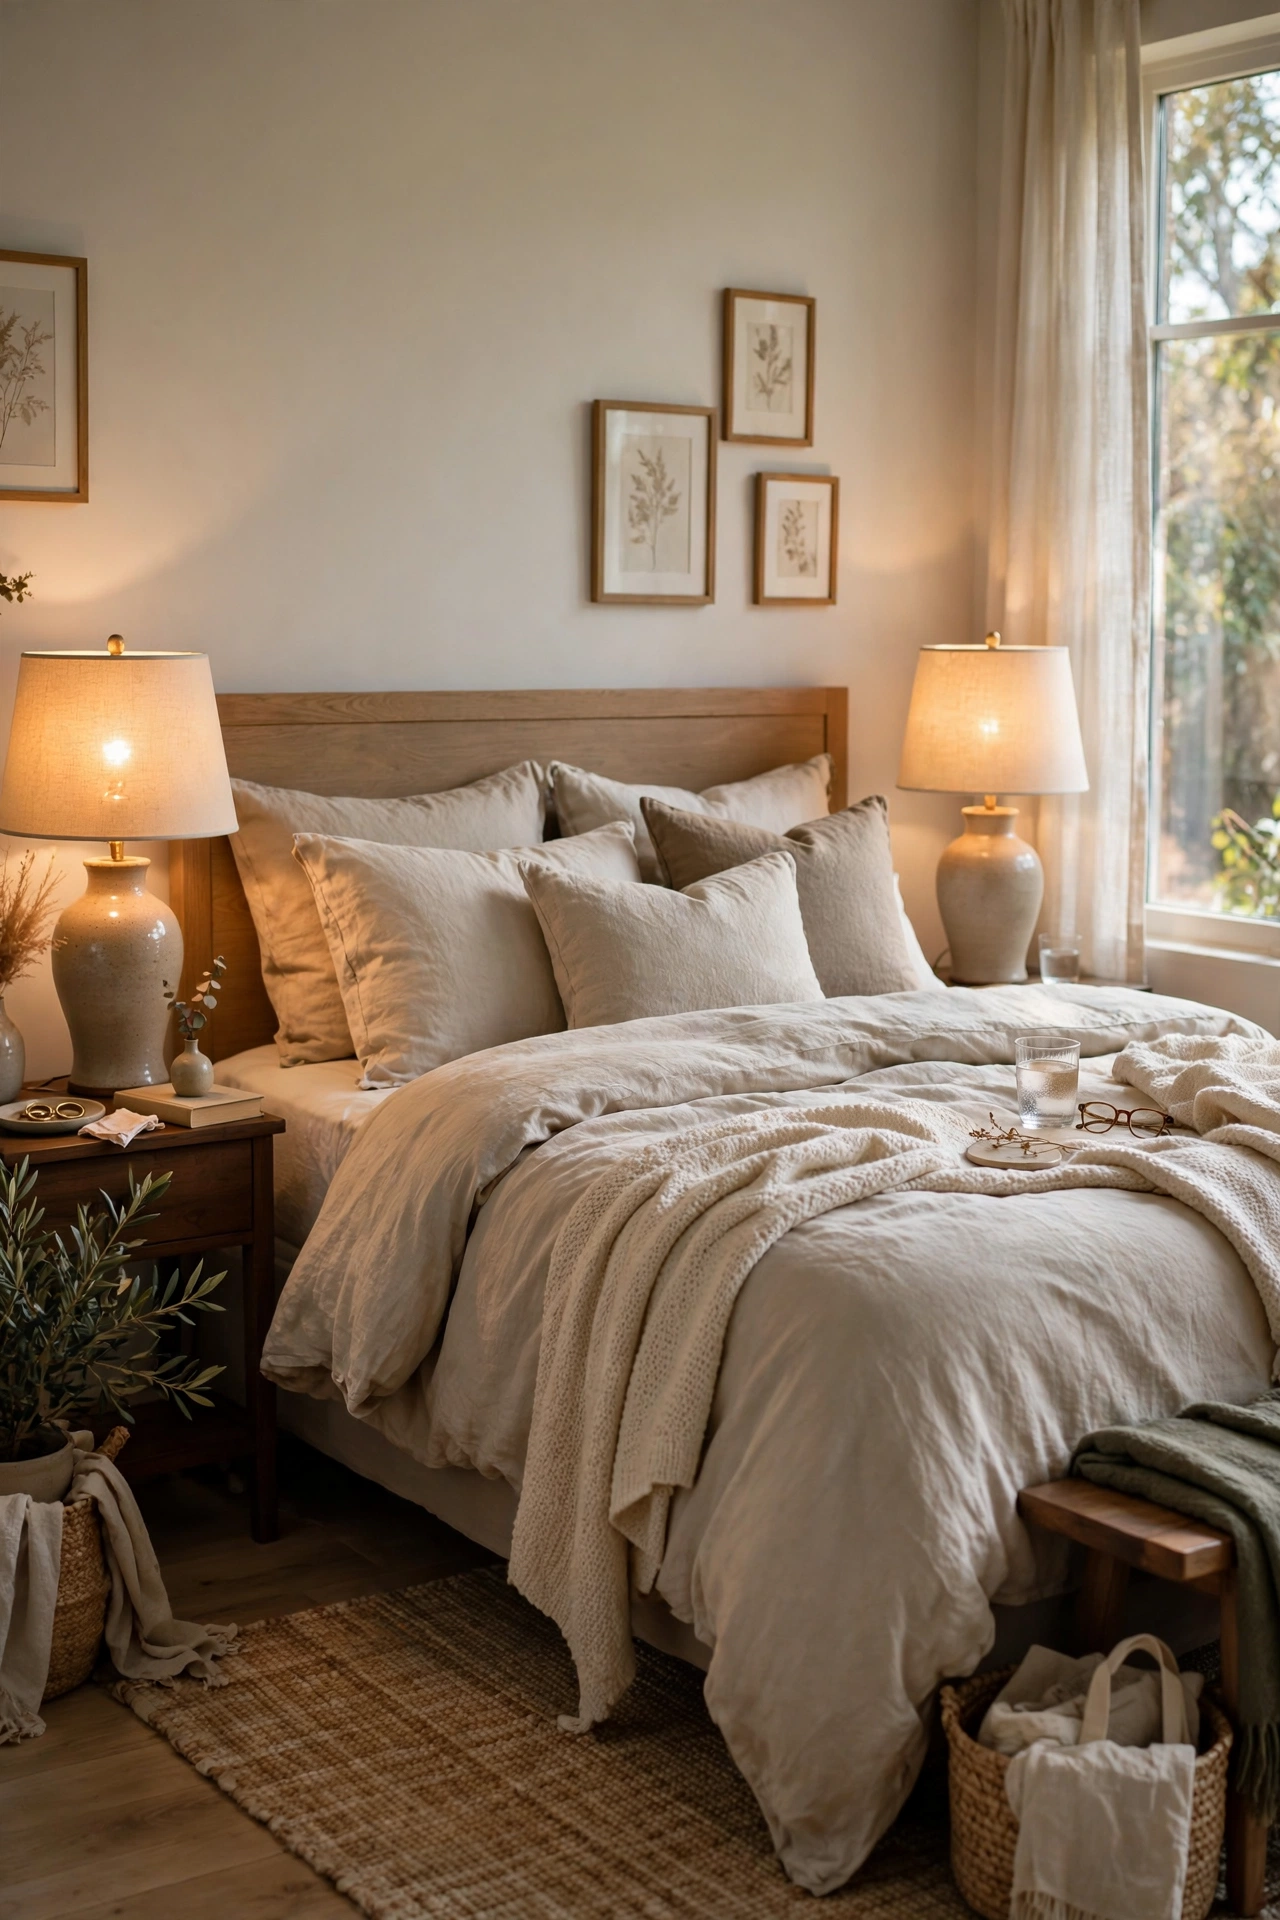
Mismatched lighting is what gives most bedrooms away as budget, so I made my nightstand lamps a matched pair. Two identical ceramic lamps with drum shades cost me $24 for the pair at a discount home store. The shades matter more than the bases: warm white or linen shades soften the glow, while cool white shades look harsh no matter the bulb. I put both on warm 2700K bulbs and the whole room glows after dark. My before photo had a tall floor lamp on one side and a tiny desk lamp on the other, and the symmetry alone upgraded the room. Match the heights, match the shades, and the bedside looks intentional.
Cost: ~$20-35 | Time: 15 minutes
6. Textured Accent Wall With Paint and Trim
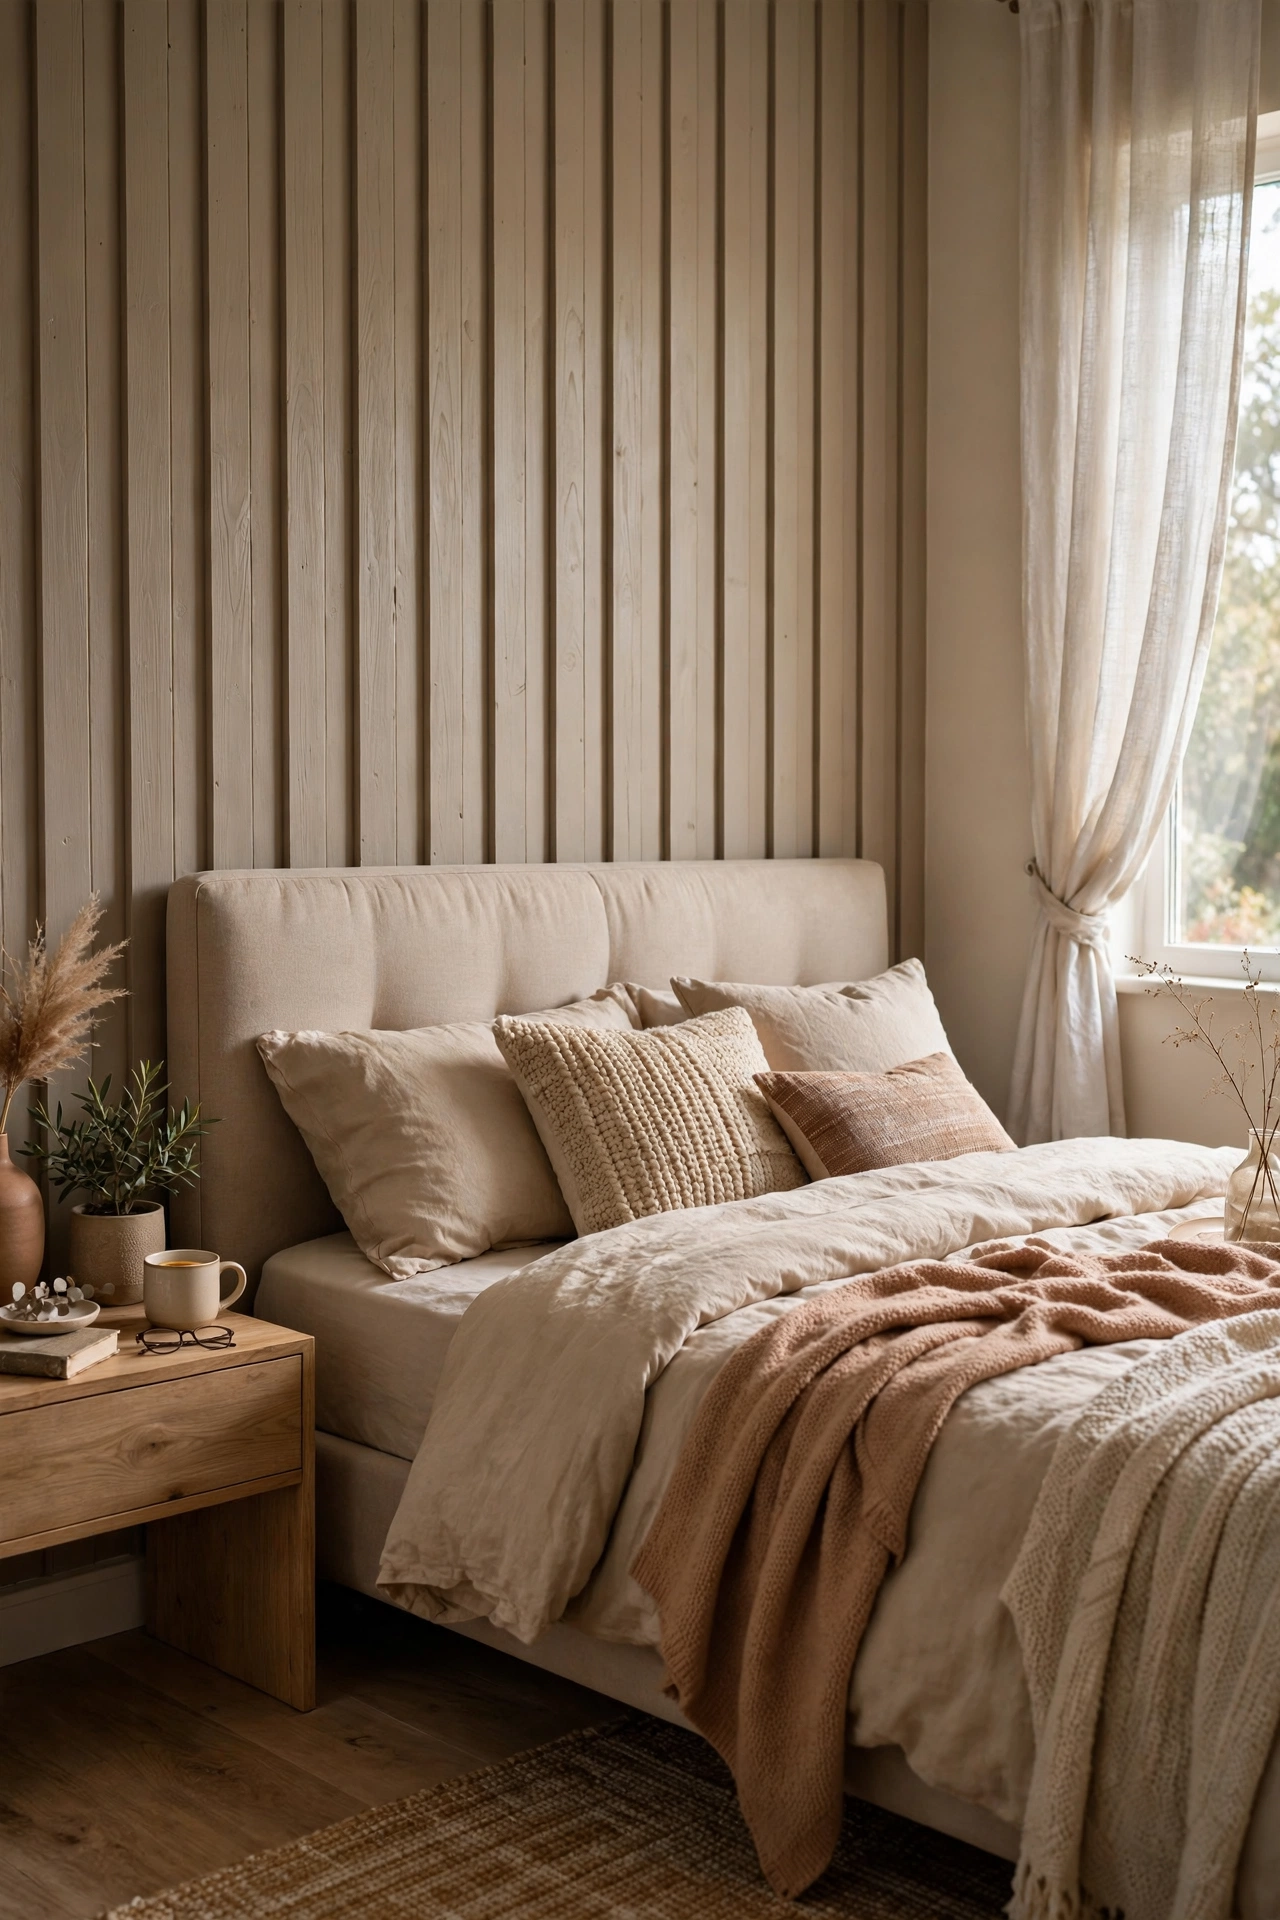
A textured accent wall behind the bed reads like a custom designer feature, and mine is painted MDF trim. I bought six lengths of thin wood batten for $22, cut them to fit the wall behind my headboard, and glued them up in a simple vertical rhythm with construction adhesive. Two coats of the same paint as the wall, in a slightly deeper tone, and it looks like panelling worth hundreds. Measure twice and use a spirit level, because one crooked batten ruins the whole grid. My first strip went up wonky and I only noticed from the doorway. Redoing it took ten minutes. Renters can fake this with removable wallpaper panels.
Cost: ~$25-40 | Time: 3 hours plus drying
Pro tip: Test your accent wall paint at three times of day before committing. My first greige pick looked pink at sunset and I only noticed after two coats. A small sample pot and a day of patience saves a full repaint.
7. Hotel-Style Crisp White Sheets With a Folded Throw
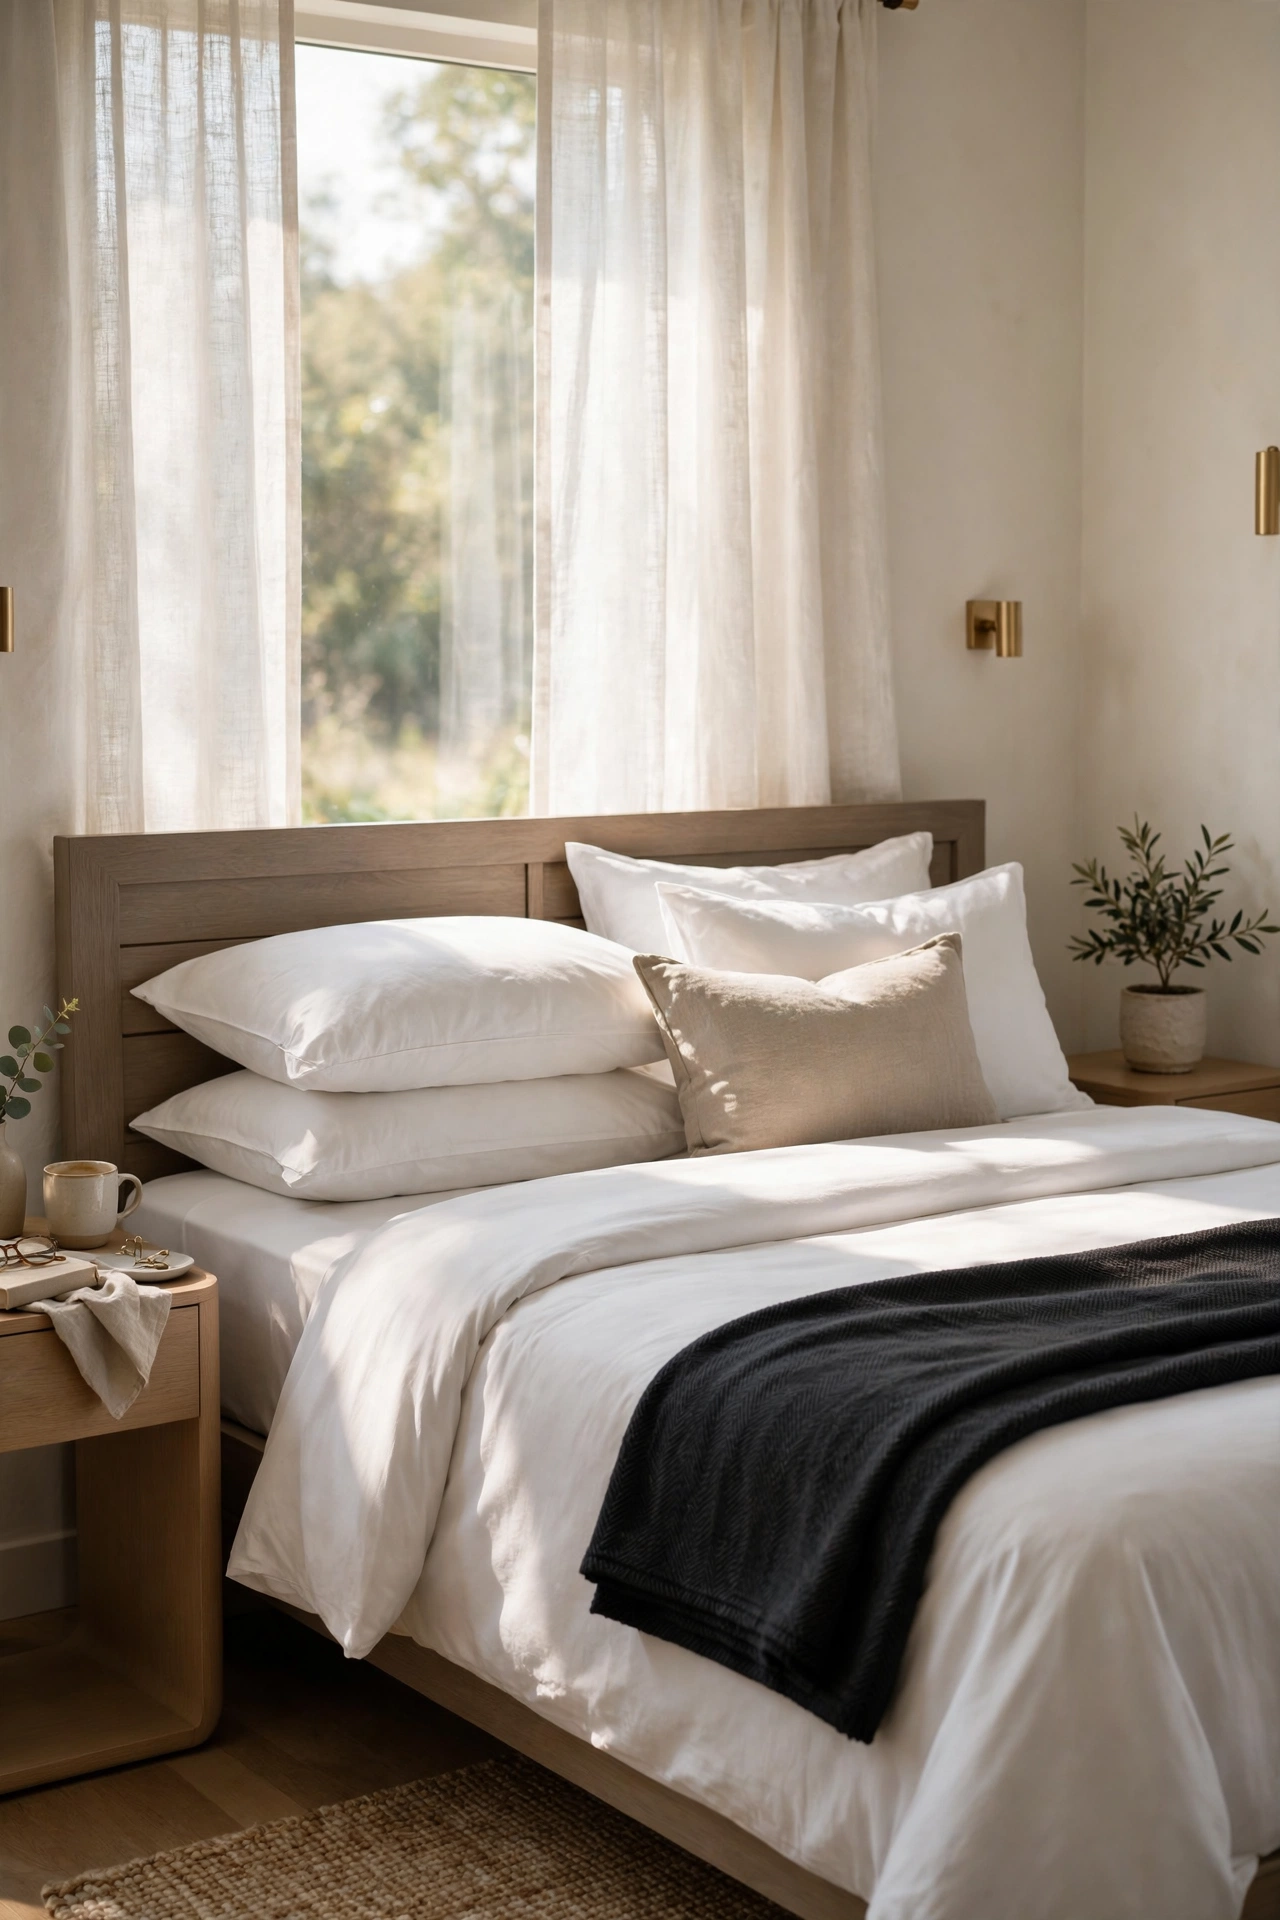
Crisp white sheets are the backbone of every expensive-looking hotel room, and the secret is buying them a grade up from the cheapest. I switched to a 100 percent cotton percale set for $32 and the difference was immediate: cool, matte, and wrinkle-resistant in that tailored way. Fold a contrasting throw across the foot in a darker tone for the styled look. Wash in warm water and line dry if you can, because hot dryers are what turn cotton sheets grey and tired. I learned that the hard way after one scorched load. For more on getting the white palette right, I borrowed a few ideas from (see also: 15-warm-white-bedroom-decor-ideas-on-a-budget/). The bed now feels five-star every single night.
Cost: ~$28-40 | Time: 10 minutes
8. Sleek Floating Nightstands
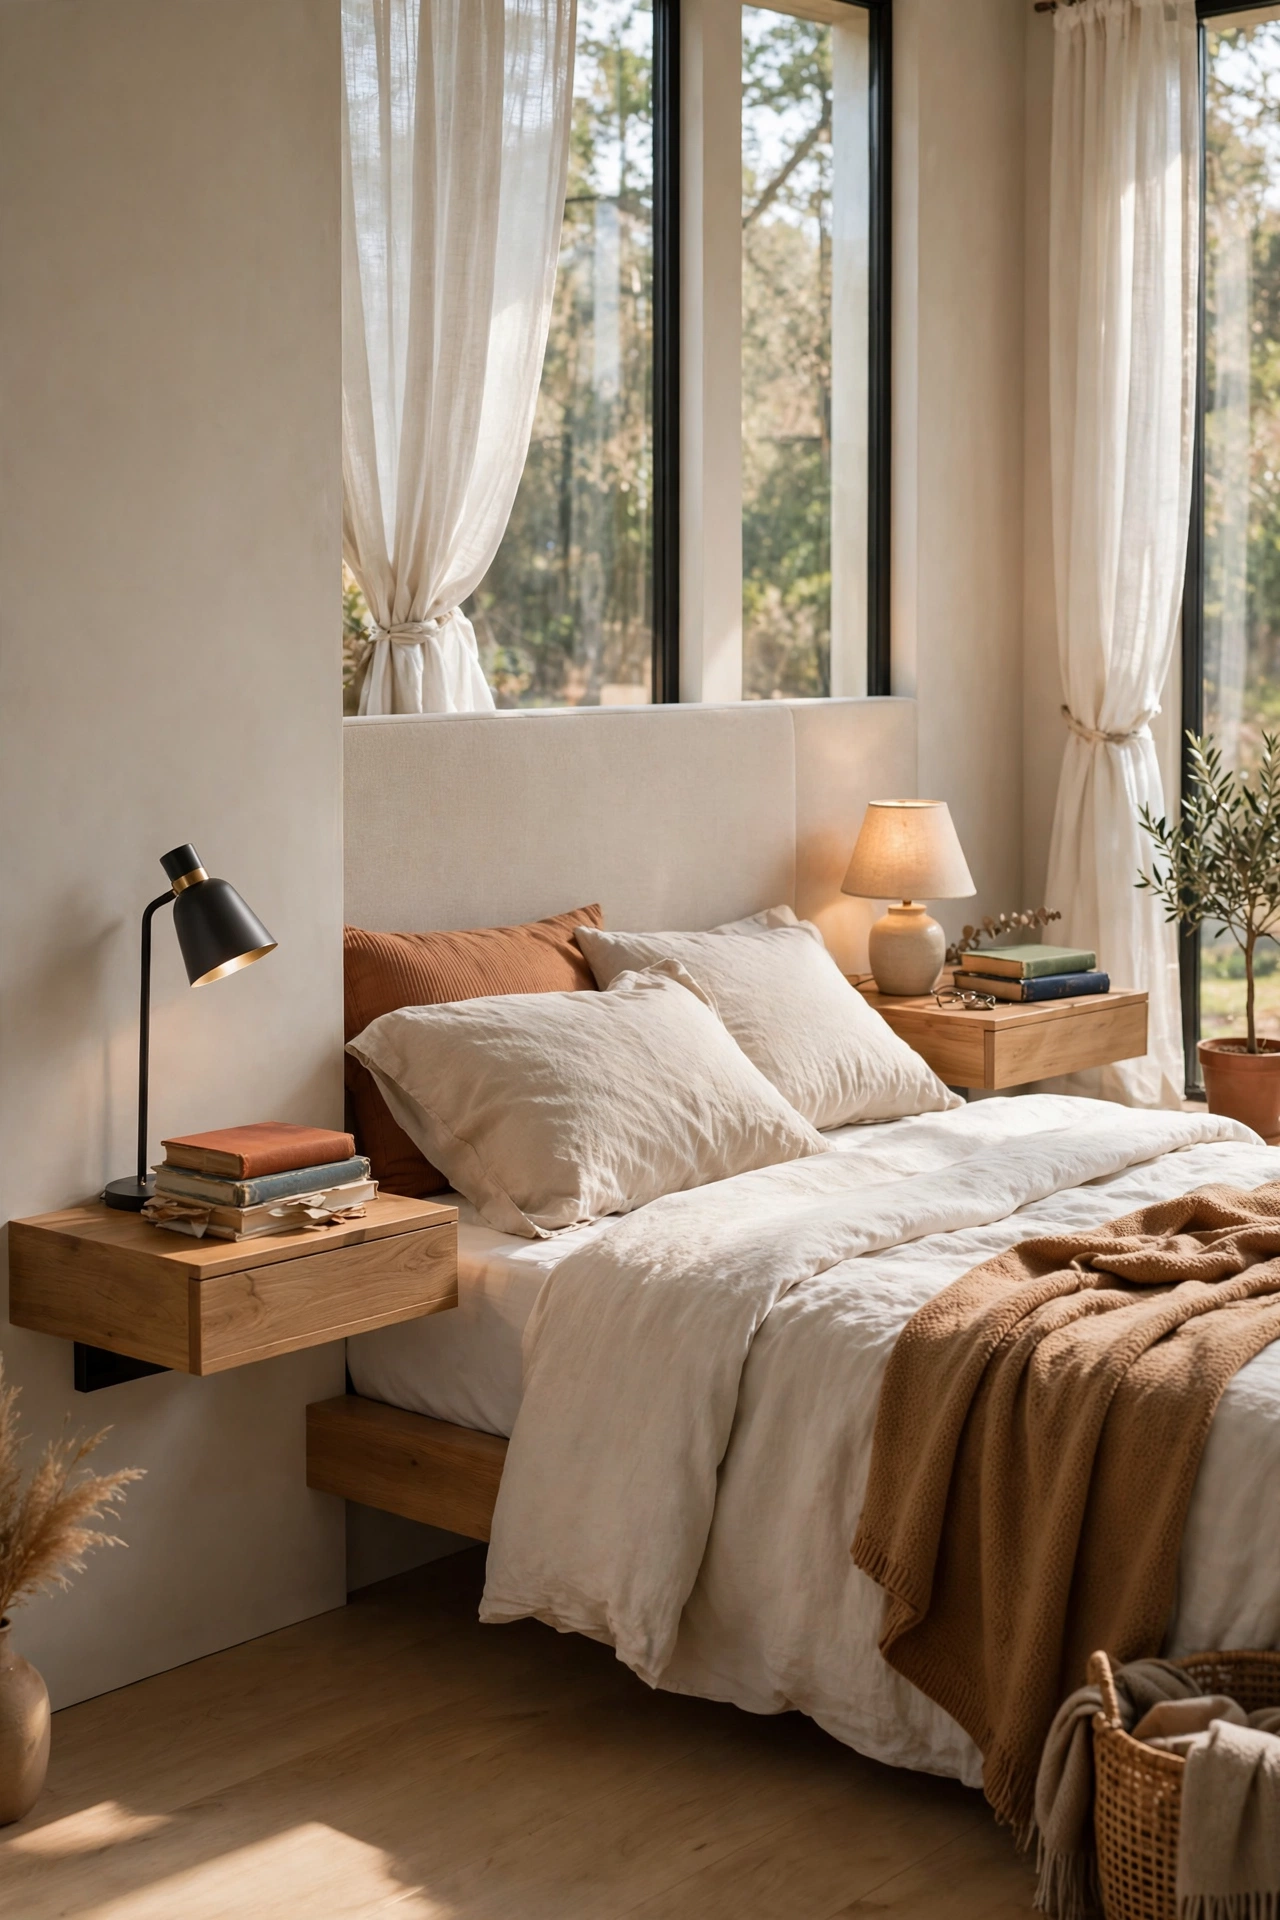
Floating nightstands instantly modernise a bedroom because they free up floor space and look custom-built. I mounted two small wall shelves at bedside height for $18 each, using heavy-duty brackets rated for the weight of a lamp and books. The trick is getting the heights perfectly level with each other, because a two-millimetre difference shows. Mine sit 24 inches off the floor, which leaves room for shoes underneath. The first shelf I hung drifted a few degrees overnight since I skipped the stud finder. Redoing it with a proper anchor fixed it for good. The floating look reads Scandinavian showroom for under forty dollars.
Cost: ~$30-45 | Time: 1 hour
9. Curated Gallery Wall in Slim Black Frames
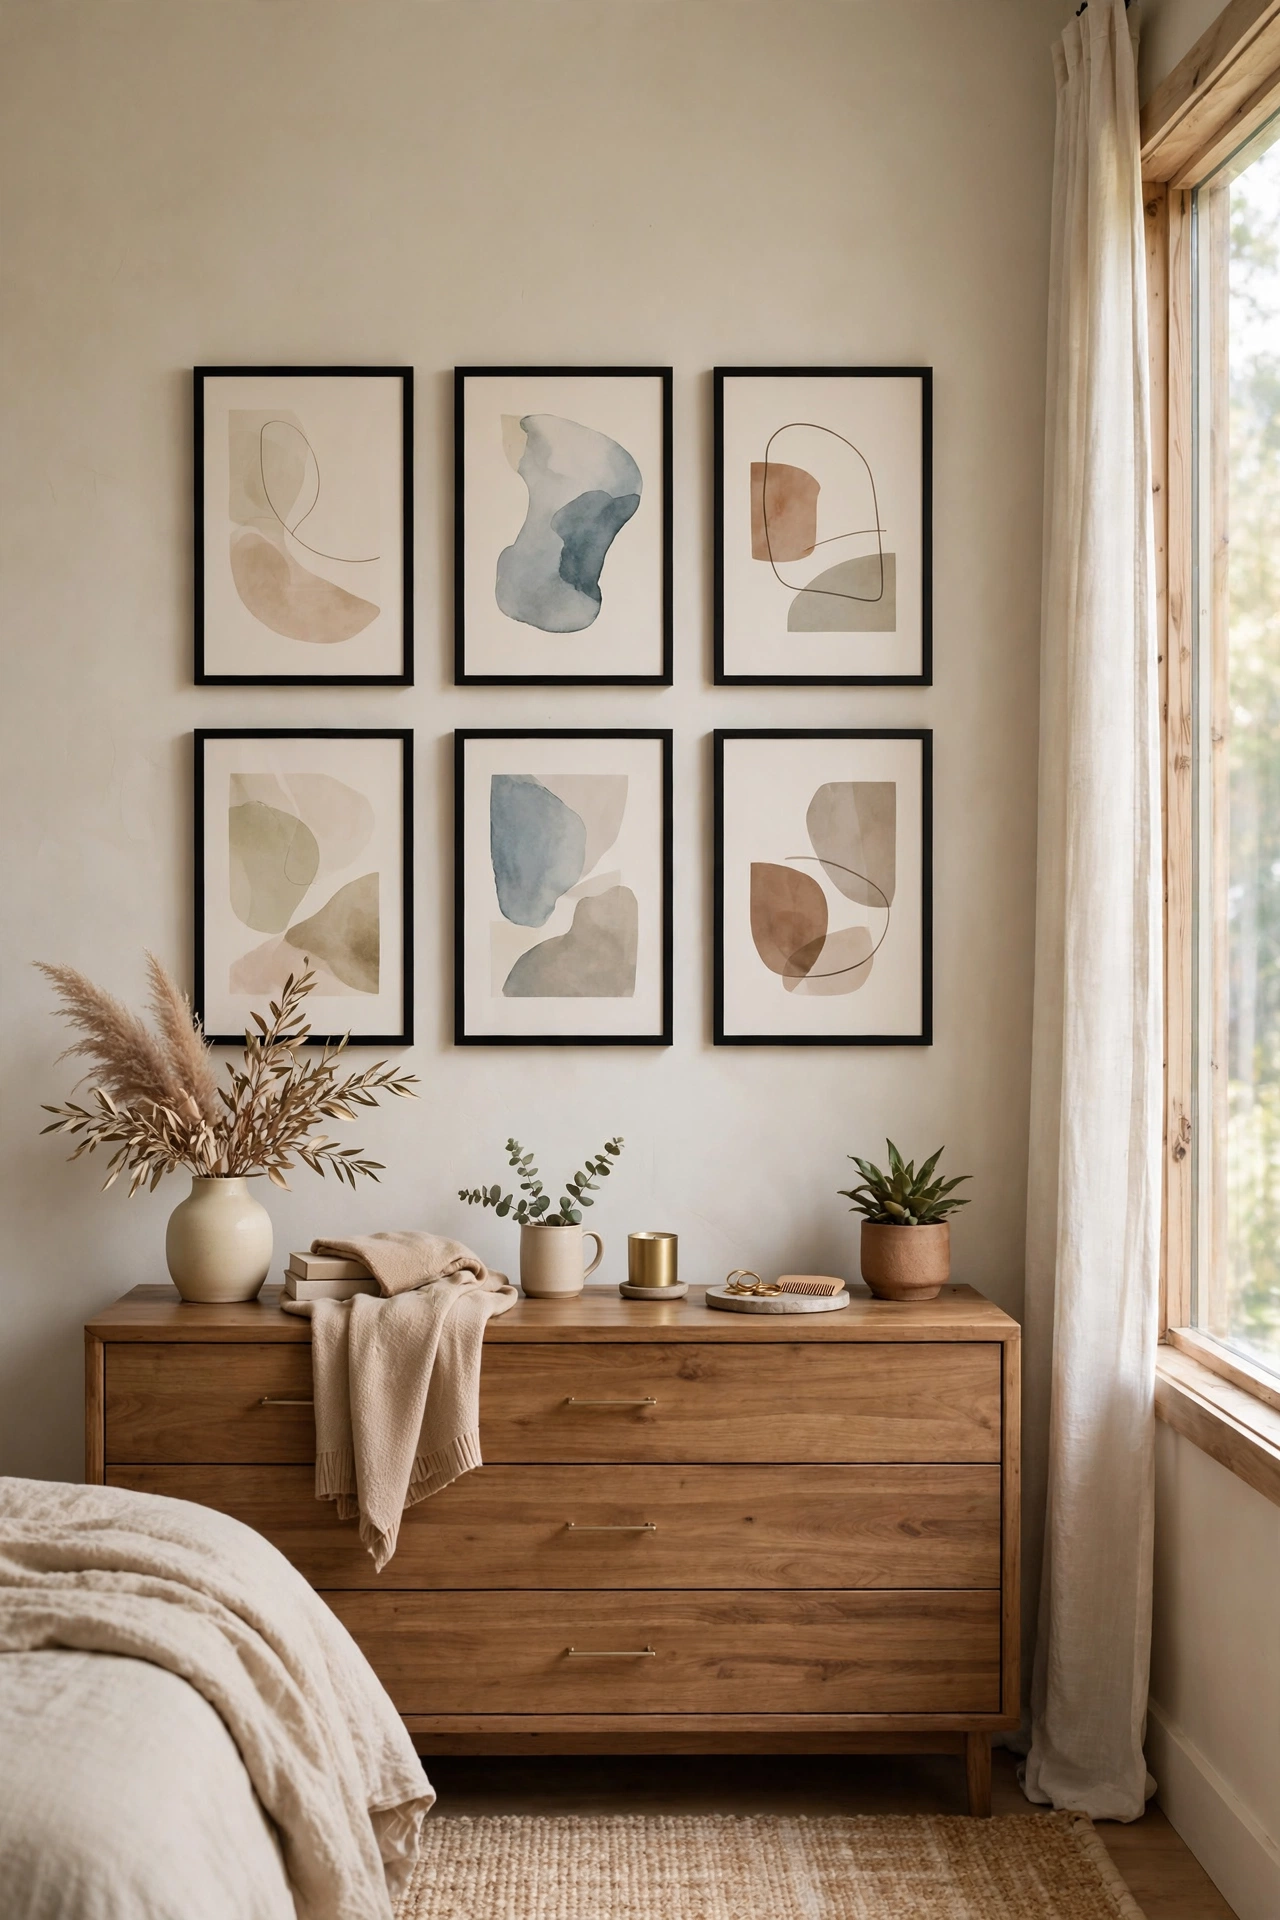
A tight gallery wall of black-framed prints is the fastest way to make a bedroom wall look designed rather than decorated. I thrifted six identical slim frames for $2 each and printed free abstract art at the library for pennies. Lay the arrangement on the floor first and photograph it, because what looks balanced on the carpet can look chaotic on the wall. Keep the gaps even, about two inches, and the frames aligned on at least one straight edge. My first attempt went up freehand and drifted diagonally by dinner. The floor-plan trick fixed it in one go. Total wall art budget: under fifteen dollars.
Cost: ~$12-20 | Time: 1 hour
Pro tip: Thrift stores price frames by size, not style, so dig through the big-frame bin for slim black ones hiding underneath. I found all six of mine in one trip for twelve dollars total. Check the glass for scratches before you pay.
10. Soft Area Rug Layered Over a Larger Jute Base
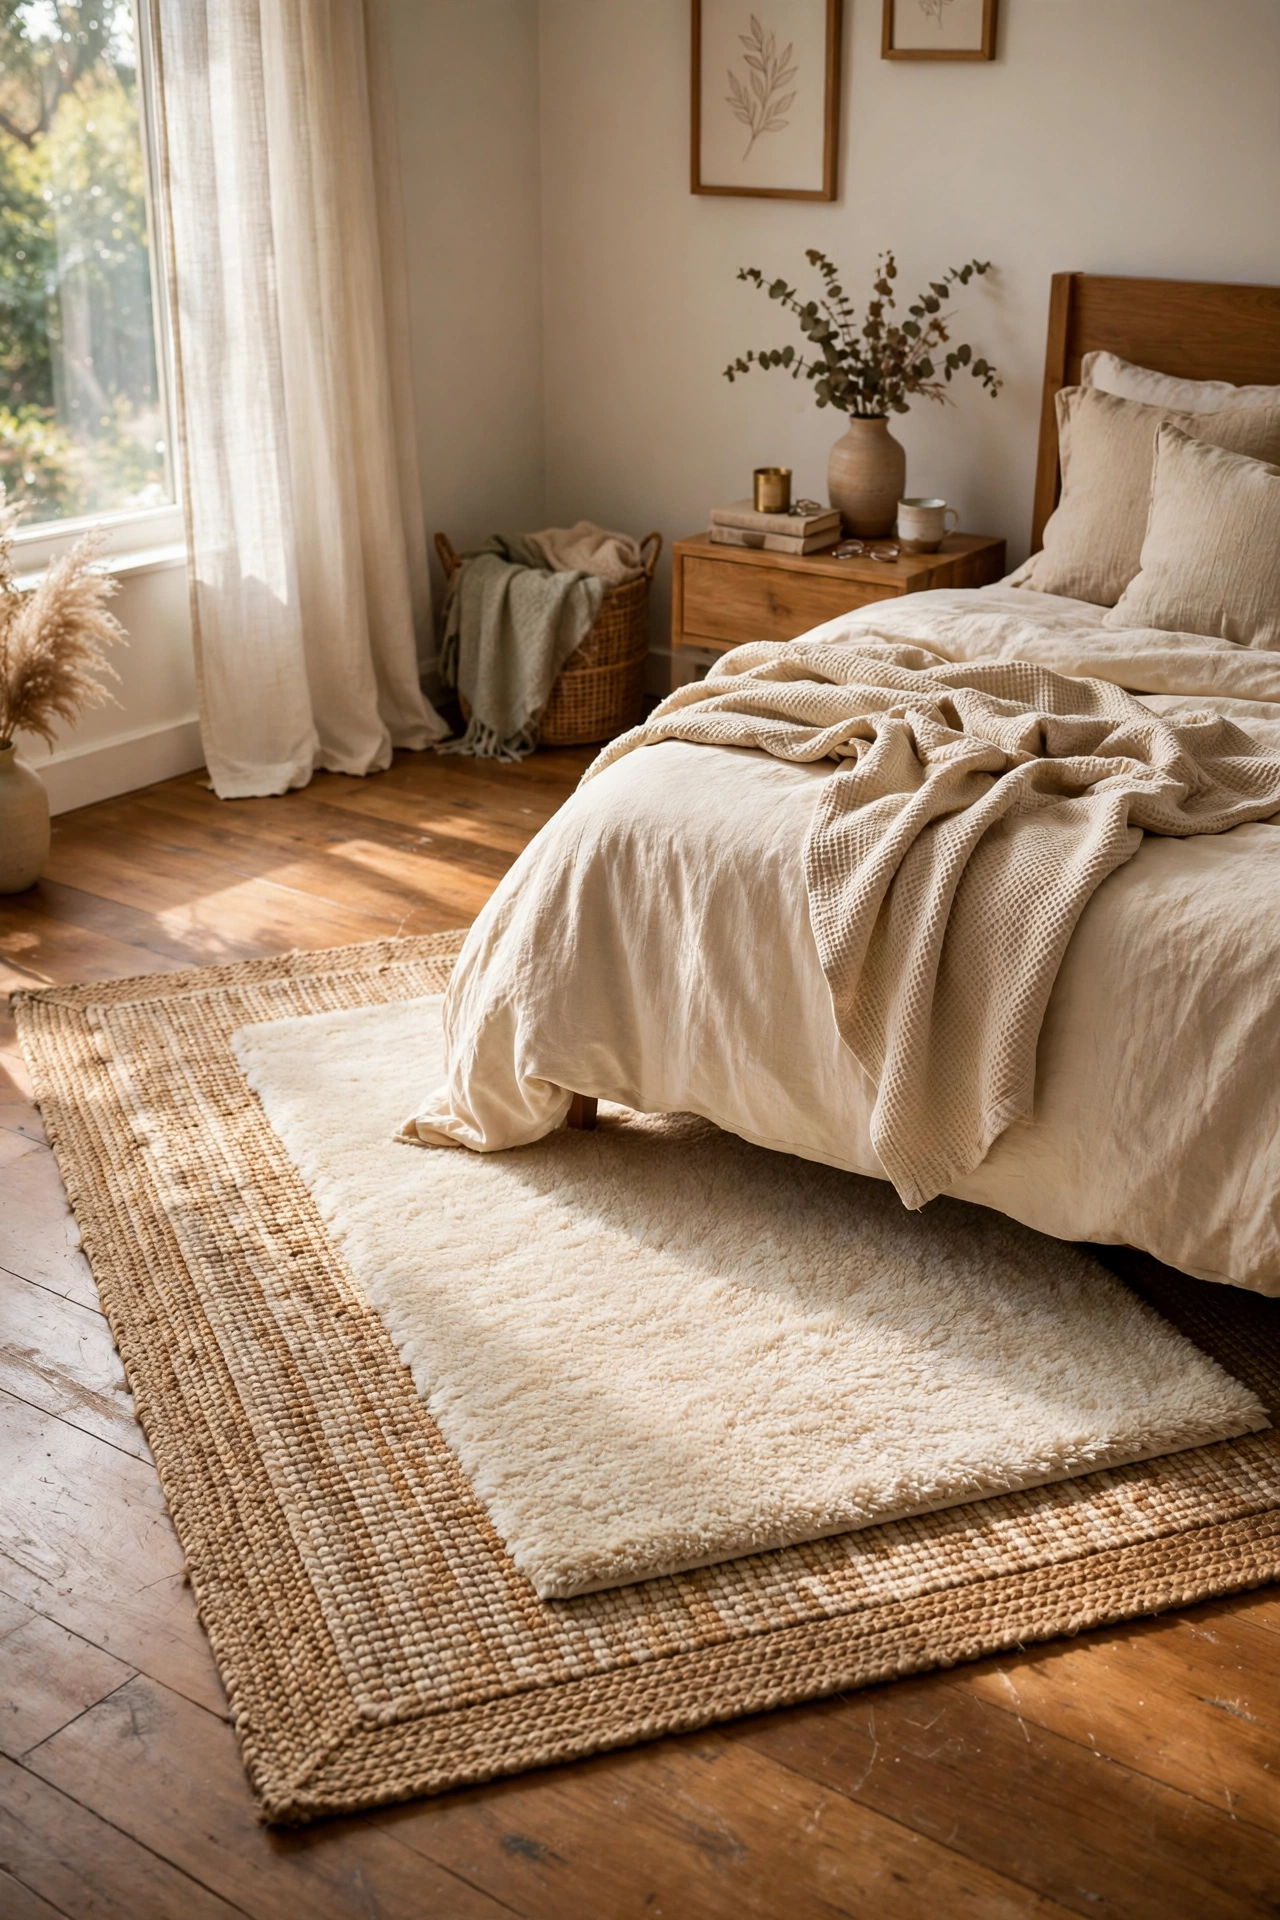
Layering a soft rug over a larger jute base is a stylist trick that makes even a small bedroom feel designed and deep. I bought a 5 by 7 jute rug for $40 and layered a 4 by 6 cream shag on top, offset so a border of jute shows on two sides. The jute anchors the space while the soft top layer is what your feet feel. In a tight room, this trick works best when the base rug extends under the bed’s front legs, which I learned from (see also: 19-small-bedroom-ideas-to-make-every-inch-count/). My first layering attempt used two rugs the same size and it looked like a laundry pile. The offset border is the whole trick. Feet-first luxury every morning.
Cost: ~$55-70 | Time: 20 minutes
11. Dimmable Smart Bulbs Set to Warm Tones
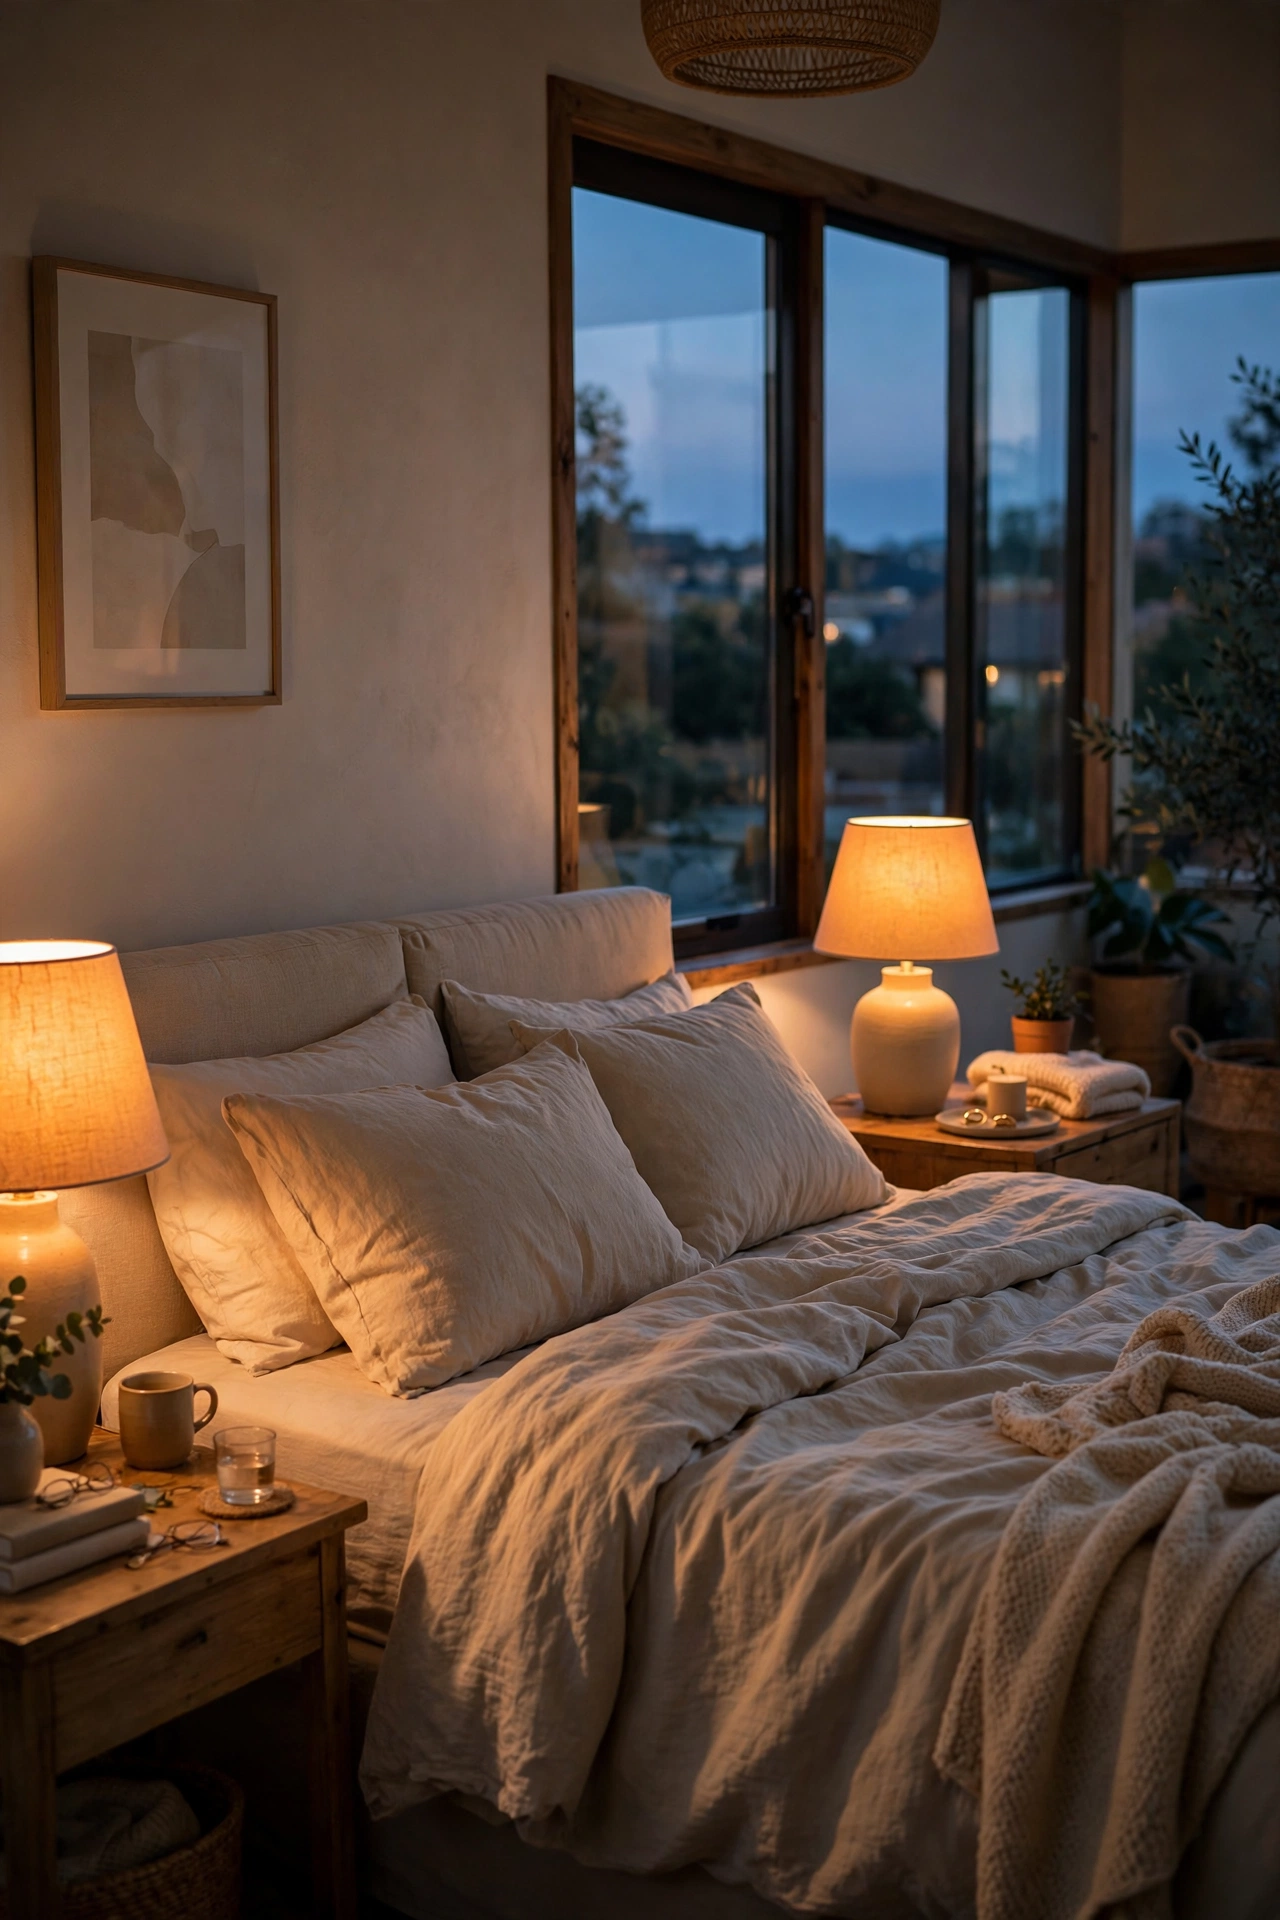
Lighting is what separates expensive-looking bedrooms from flat ones, and dimmable smart bulbs are the cheapest upgrade with the biggest payoff. I put two $9 smart bulbs in my existing lamps and set them to 2200K warm amber for evenings. The app schedule dims them automatically at 9pm, so the room winds down without me thinking about it. My mistake was running them at full daylight white for a week, which made the bedroom feel like a showroom floor. Dropping to warm amber changed the entire mood. Two bulbs, one app, and the room glows like a hotel suite every night for under twenty dollars.
Cost: ~$15-25 | Time: 15 minutes
12. Sculptural Vase With Dried Stems
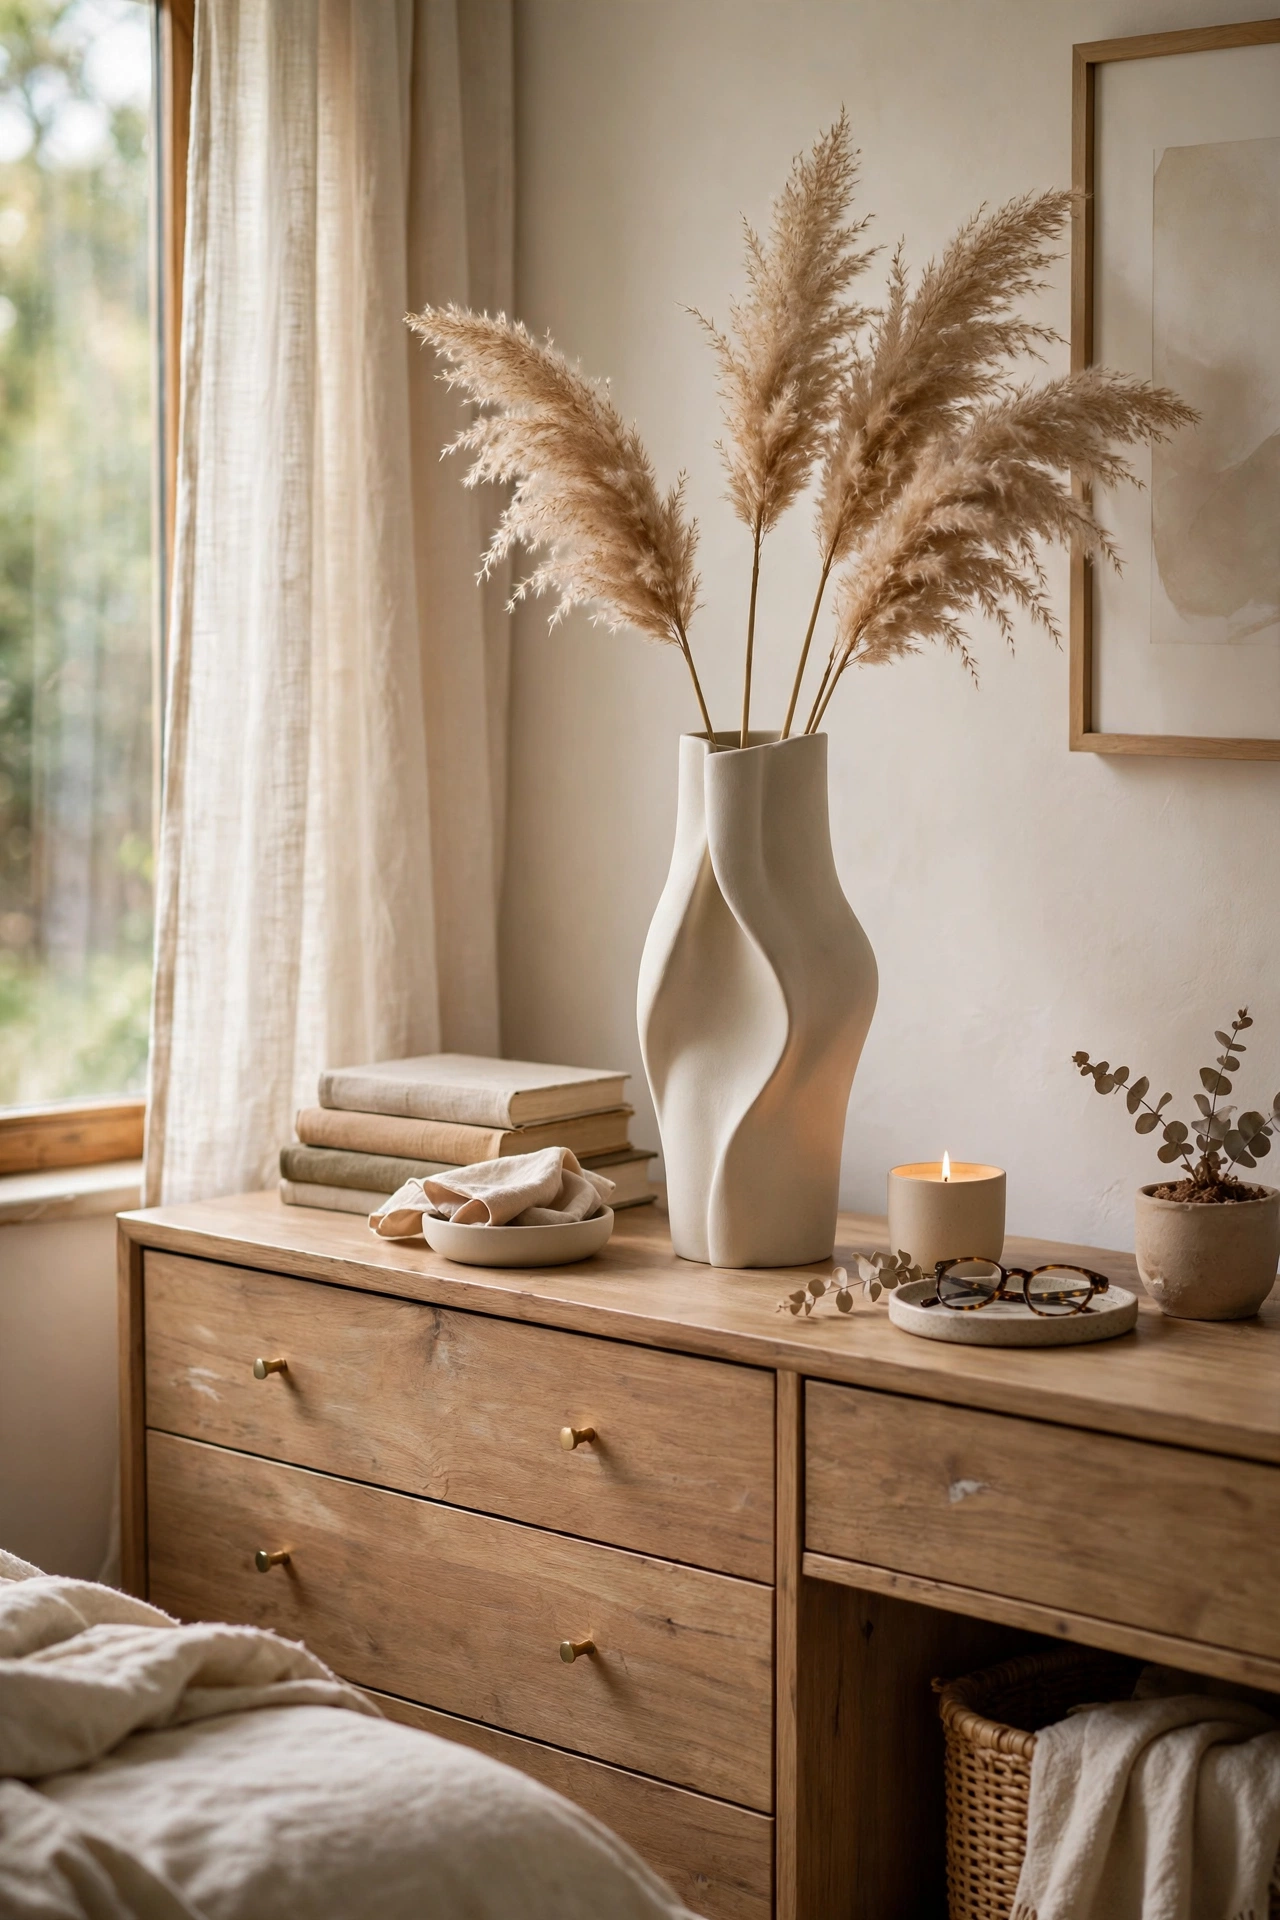
One sculptural vase with dried stems is the kind of detail that makes a dresser look styled by a professional. I found a tall matte ceramic vase for $14 at a discount store and filled it with a $6 bunch of dried pampas grass. Keep the arrangement tall and sparse, because overstuffing is what makes dried stems look dusty instead of chic. Trim the stems to different heights so the silhouette has movement. My first bunch shed everywhere for a week until I gave it a light hairspray mist, which stopped the fluff. Now it sits on my dresser looking like a gallery piece, zero watering required, and it has lasted eight months.
Cost: ~$15-25 | Time: 10 minutes
Pro tip: Buy dried stems in person, not online. I ordered pampas grass once and it arrived crushed and shedding. In the store you can shake the bunch and pick the fullest one, which is the whole point of the arrangement.
13. Minimalist Bench at the Foot of the Bed
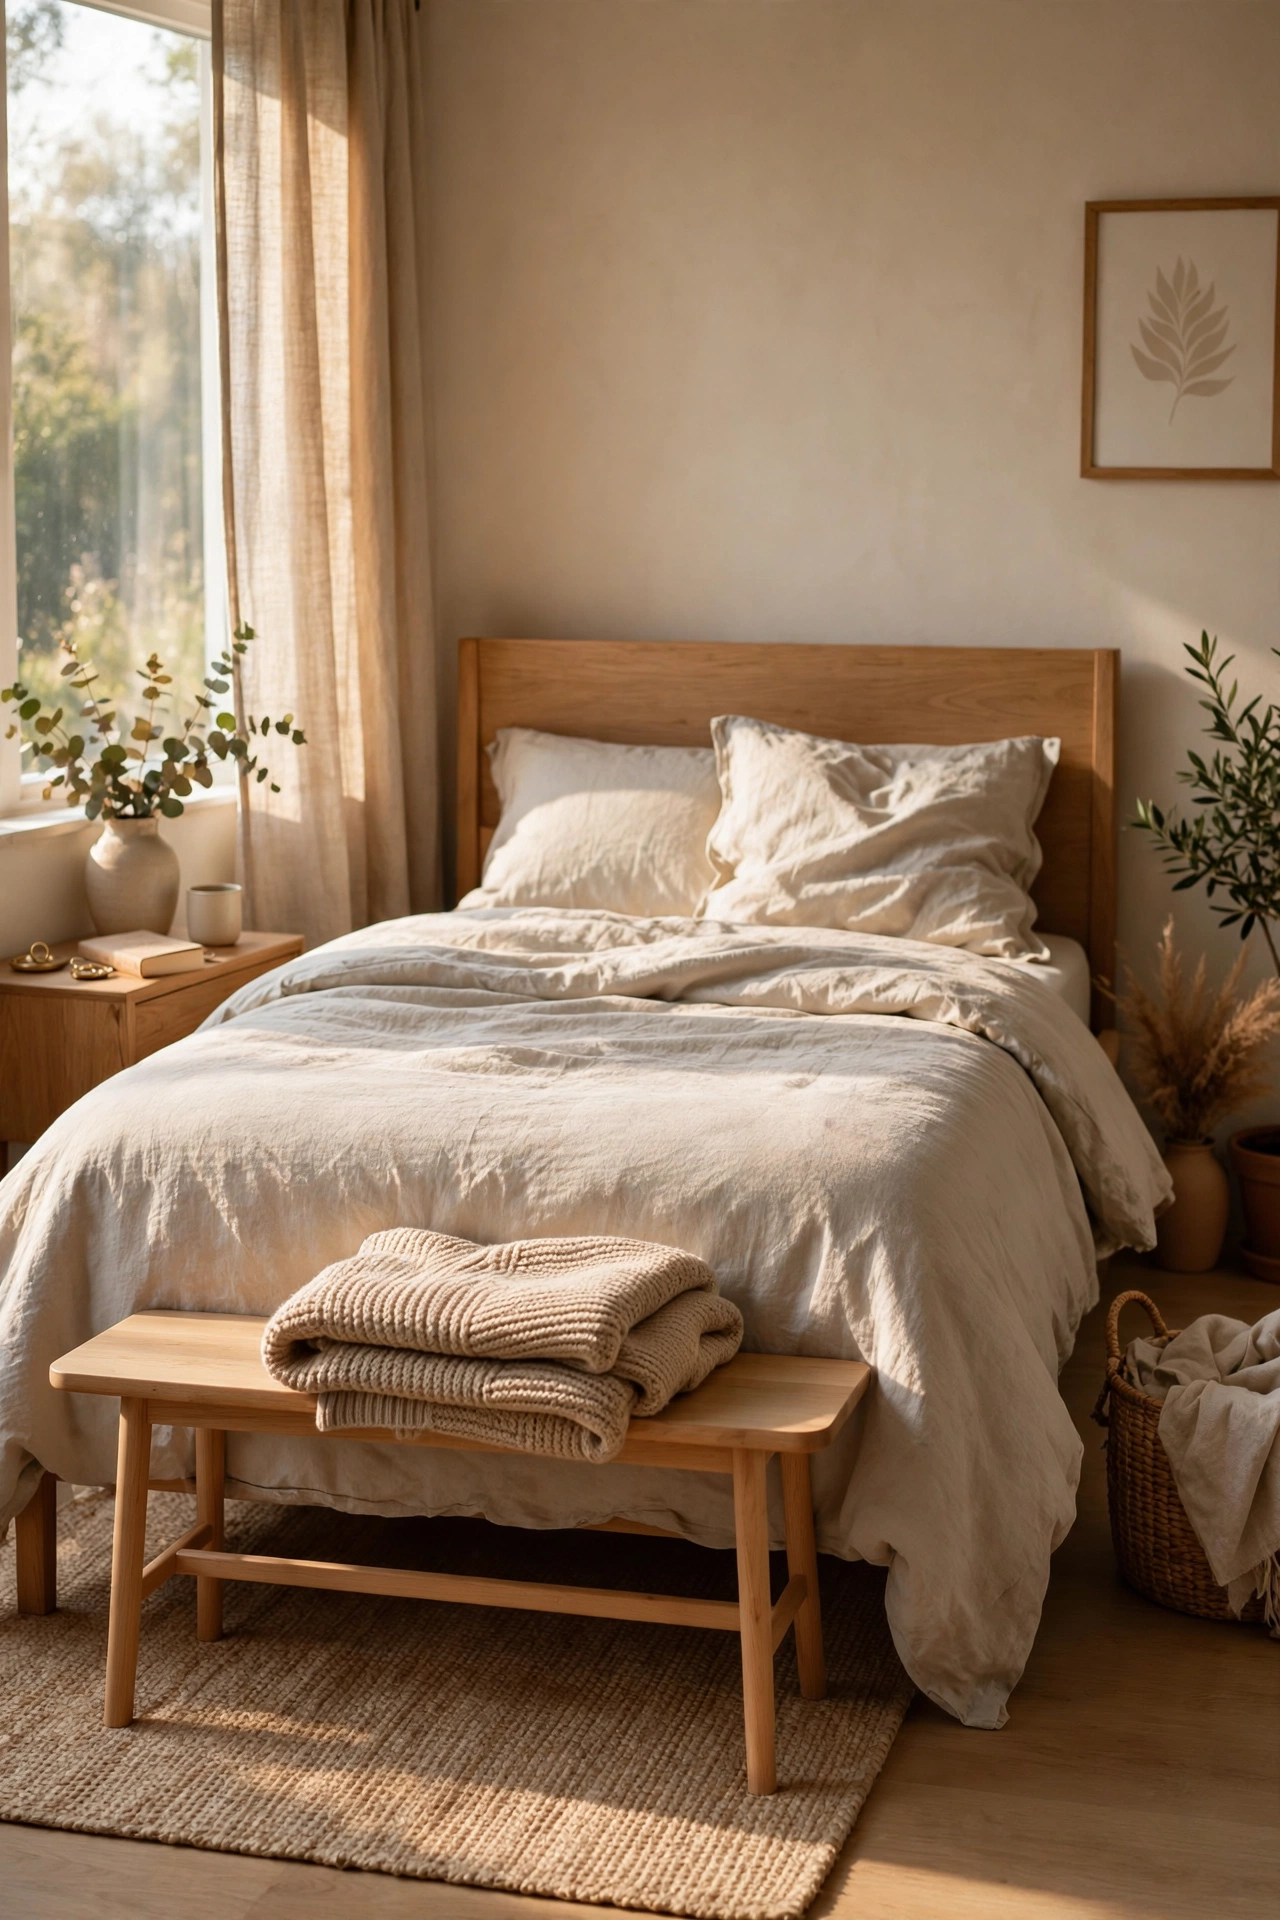
A slim bench at the foot of the bed is one of those furniture pieces that screams intentional design. I thrifted a simple beech bench for $16, wiped it down with wood cleaner, and topped it with one folded throw. The rule is simple: keep it narrower than the mattress so it never sticks out past the bed frame. Mine was two inches too wide at first and I kept catching my hip on the corner. Swapping to the slimmer bench solved it. It holds tomorrow’s outfit, gives the dog a legal spot, and visually finishes the bed like a period at the end of a sentence.
Cost: ~$12-25 | Time: 15 minutes
14. Concealed Cords and Clutter-Free Surfaces
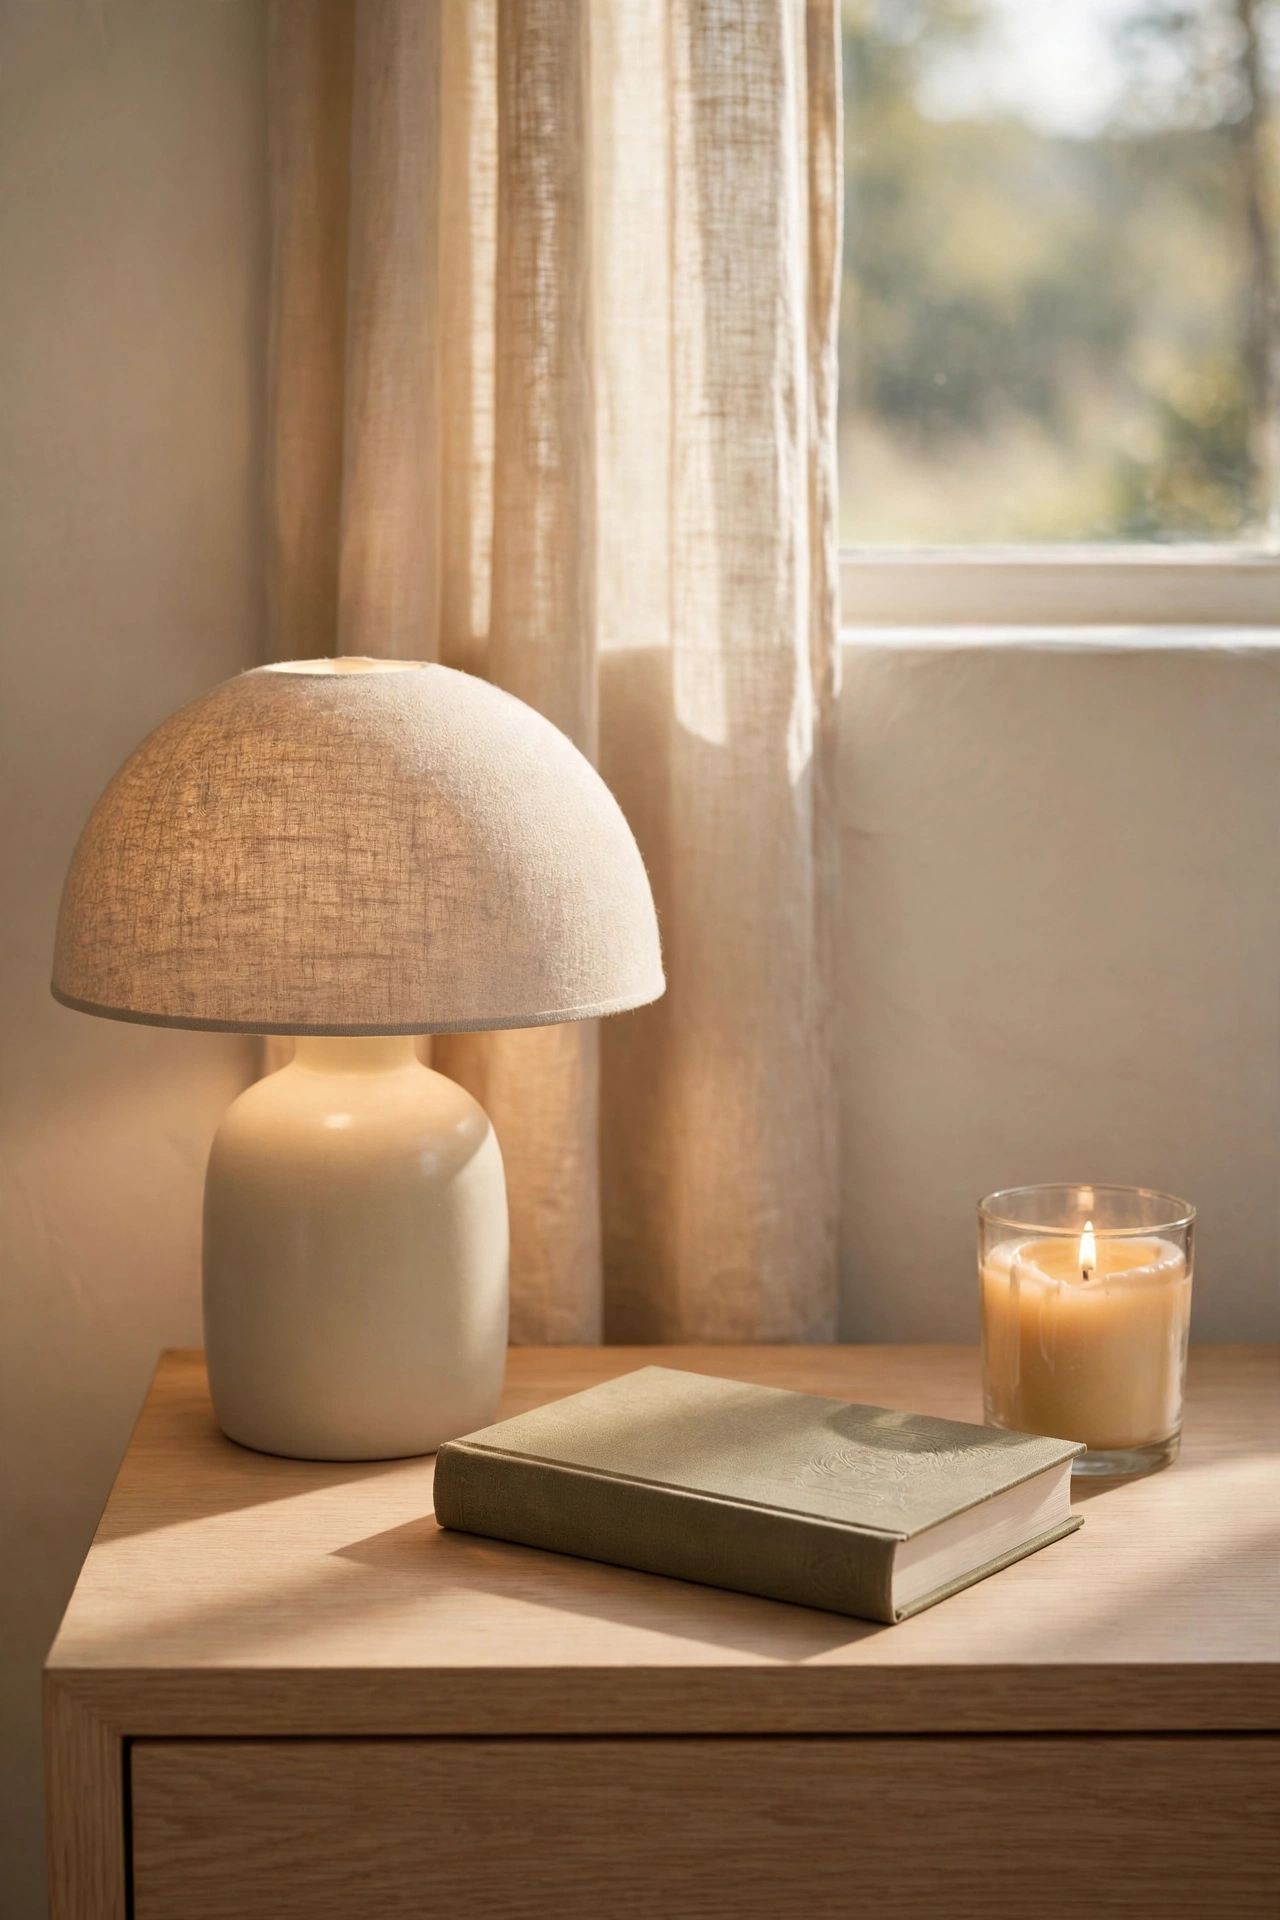
Nothing kills an expensive look faster than visible cables and crowded surfaces, so I did a ruthless cord audit. I bundled my charging cables with $4 adhesive clips, hid the power strip behind the nightstand, and set a one-tray rule: each surface gets a single tray, and anything that does not fit on the tray leaves the room. My nightstand went from charging-station chaos to lamp, book, and candle. The trick that made it stick was adding a small basket inside the nightstand drawer for the clutter I still need nearby. Out of sight is not cheating, it is the whole design principle. Ten minutes, and the room breathes.
Cost: ~$5-12 | Time: 30 minutes
15. Scented Candle Trio on a Marble-Effect Tray
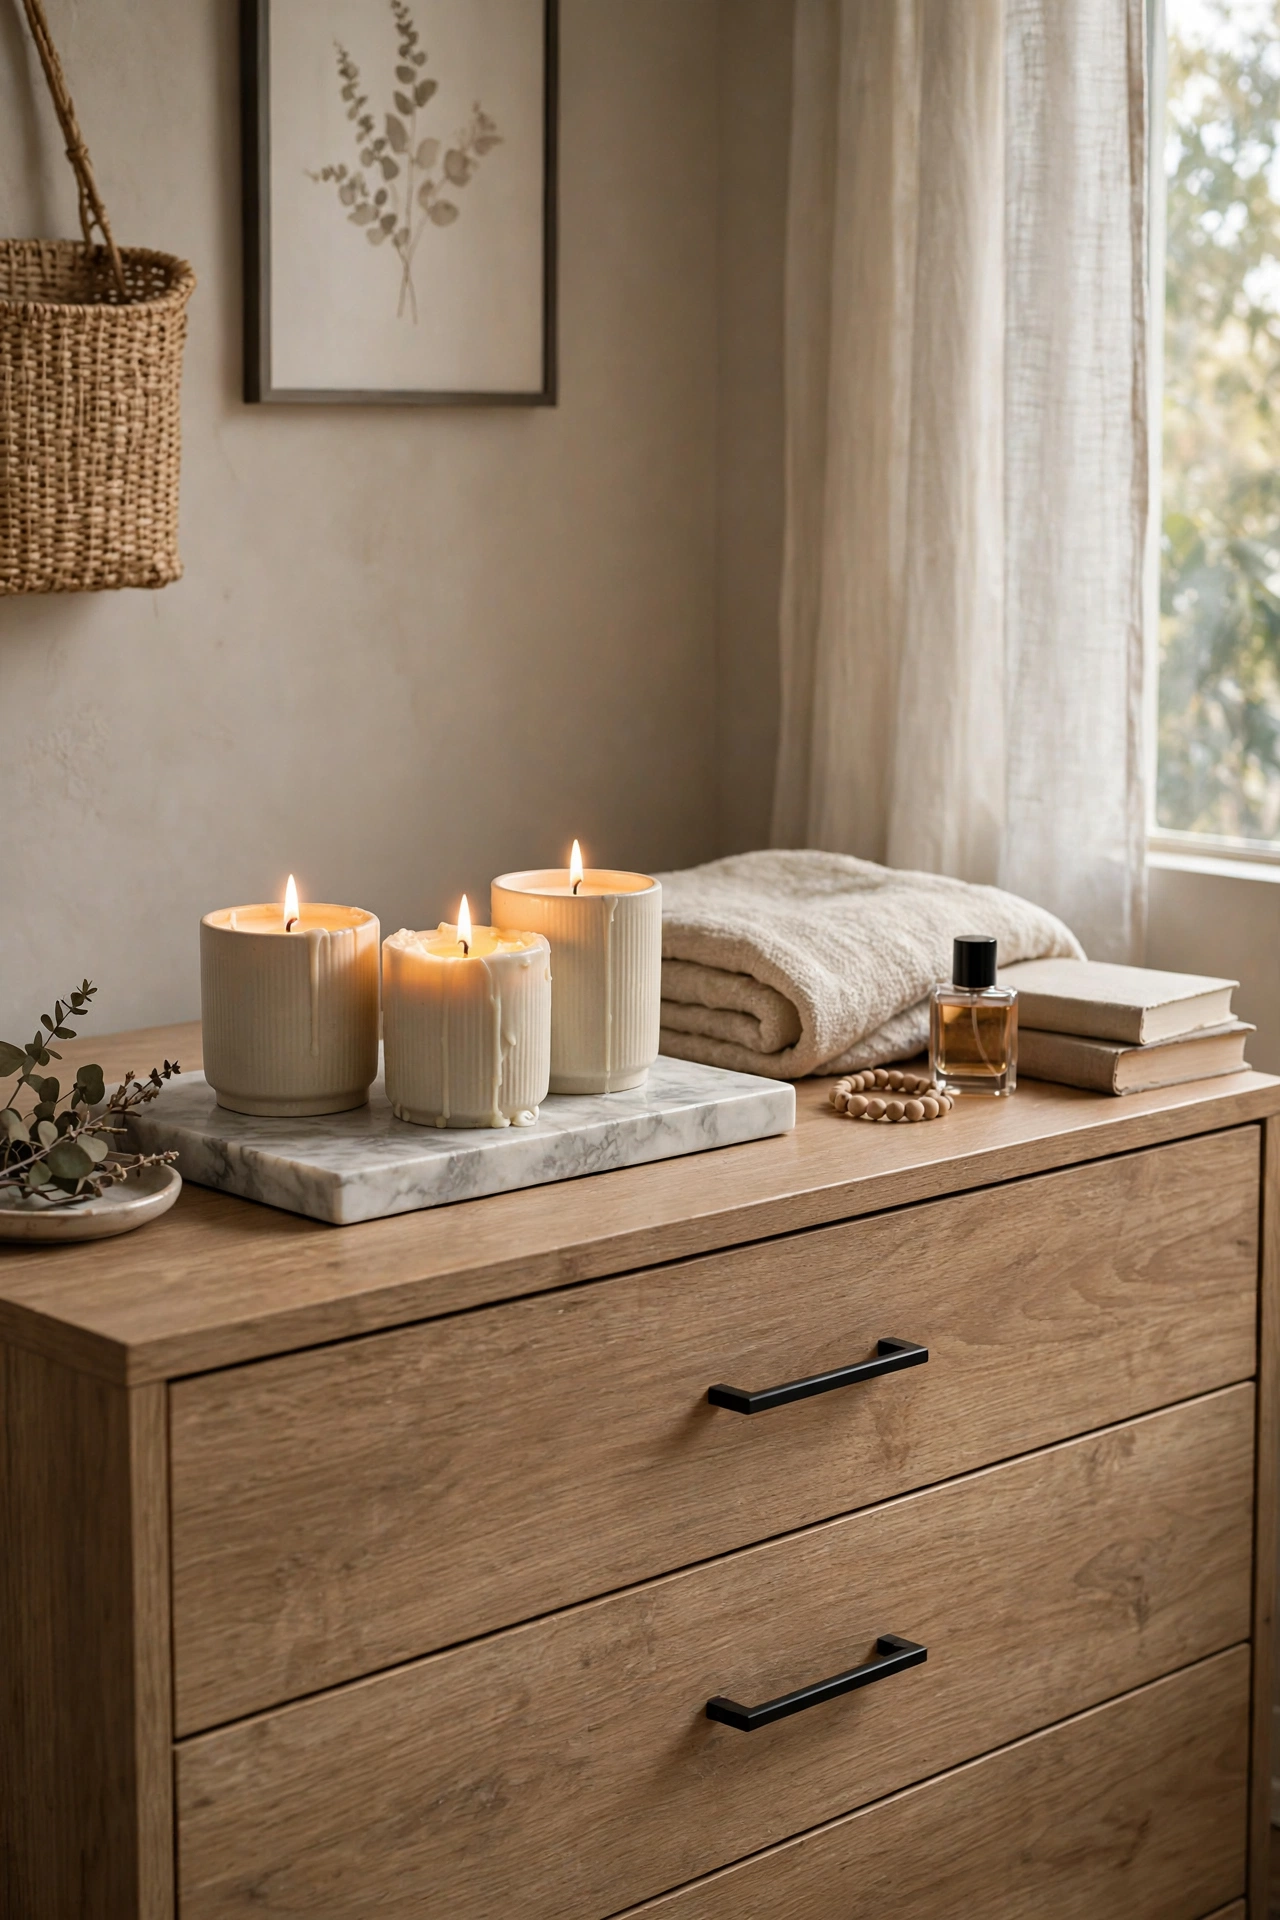
Scent is the invisible luxury, and a trio of candles on a marble-effect tray delivers it for pocket money. I bought three small scented candles in matching vessels for $12 total and grouped them tight on a $6 marble-print tray from a discount store. Cluster them in odd numbers and keep the vessels the same height family so they read as one arrangement. I light them for twenty minutes before bed and the whole room smells like a spa. My first attempt spread candles around the room and it looked scattered. The tight trio on one tray is what makes it look curated. Under twenty dollars for the full sensory upgrade.
Cost: ~$12-20 | Time: 10 minutes
Pro tip: Do the lighting and bedding ideas first, before any furniture project. They cost the least and change the mood the most. I did my headboard before my bulbs and had to restyle everything once the warm light changed how the fabric looked.
Start with the lighting and the bedding, because those two carry half the transformation for a fraction of the budget. Save this idea for later and work through the list one project at a time.
