17 Thrifted Bedroom Decor That Don’t Look Cheap
17 Thrifted Bedroom Decor That Don’t Look Cheap
Thrifted bedroom decor is the reason my bedroom finally looks finished, and the whole room cost less than one new dresser from a big-box store. I started thrifting for my bedroom out of pure necessity — my budget was $200 and my room was beige walls, a mattress on the floor, and one sad lamp. Six weekends of thrift runs later, the room had a real bed frame, layered bedding, a gallery wall, and lighting I actually liked.
Everything below is something I found, bought, and lived with, not a stock-photo fantasy. I have listed what I paid and how long each project took, plus the mistakes I made so you can skip them. None of these ideas look cheap because the trick with thrifted decorating is editing: fewer, better pieces with one coat of paint beat a room full of random stuff every time.
Walls & Art
1. Secondhand Frame Gallery Wall
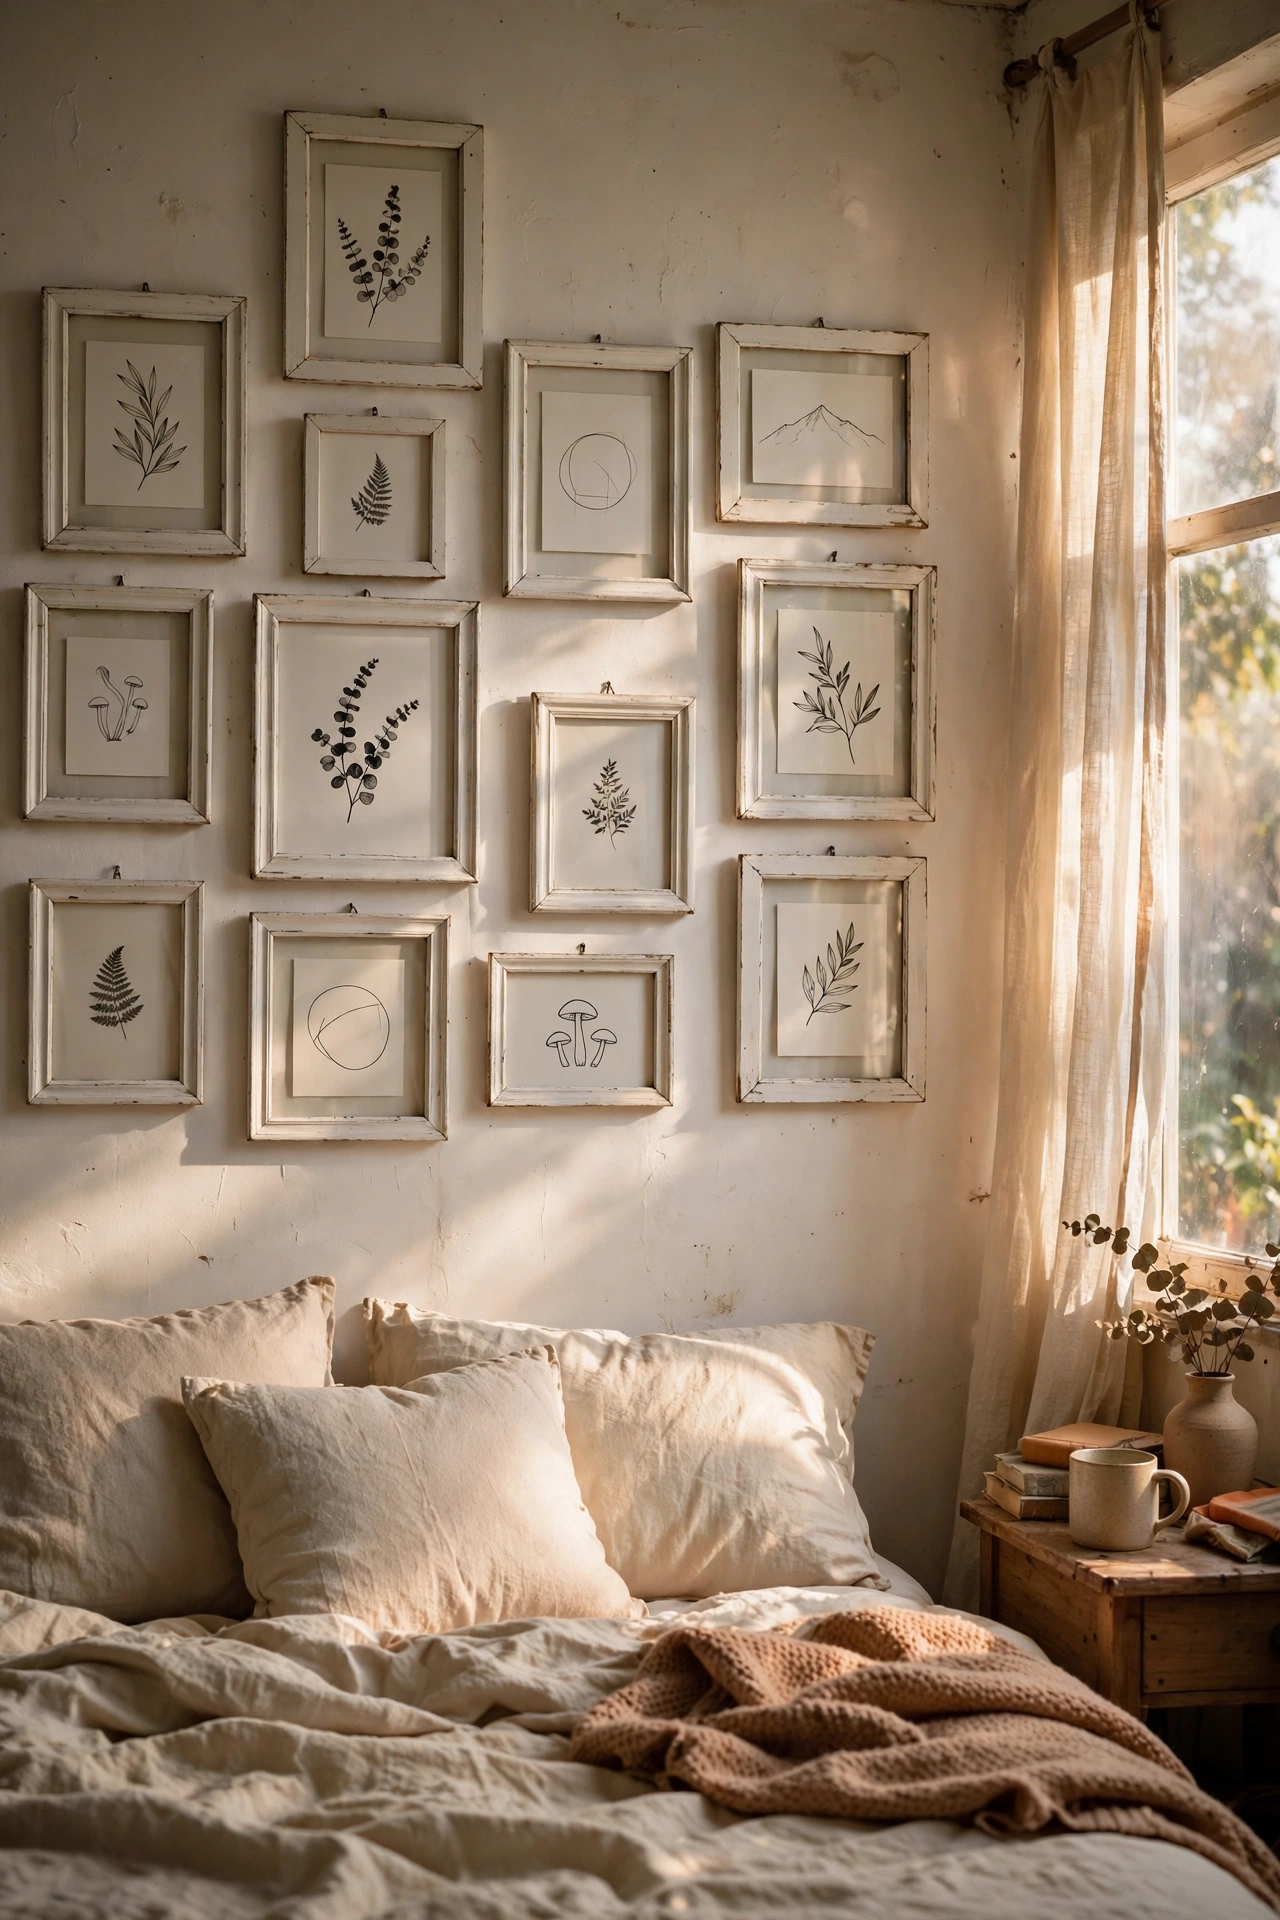
A gallery wall of secondhand frames is the cheapest way to fill a big blank bedroom wall. I bought nine wooden frames at the thrift store for about a dollar each, cleaned them, and arranged them in a loose grid above my bed. Keep all the frames one color by giving the odd ones a coat of cheap white or black spray paint, because mismatched finishes are what make gallery walls look chaotic. Lay the whole arrangement on the floor first and snap a photo before you hammer anything. I skipped that step once and ended up with fourteen nail holes. Print free art at the library or use your own photos, and the whole wall comes in under twelve dollars.
Cost: ~$6-12 | Time: 2 hours
2. Painted Thrift Store Canvas Art
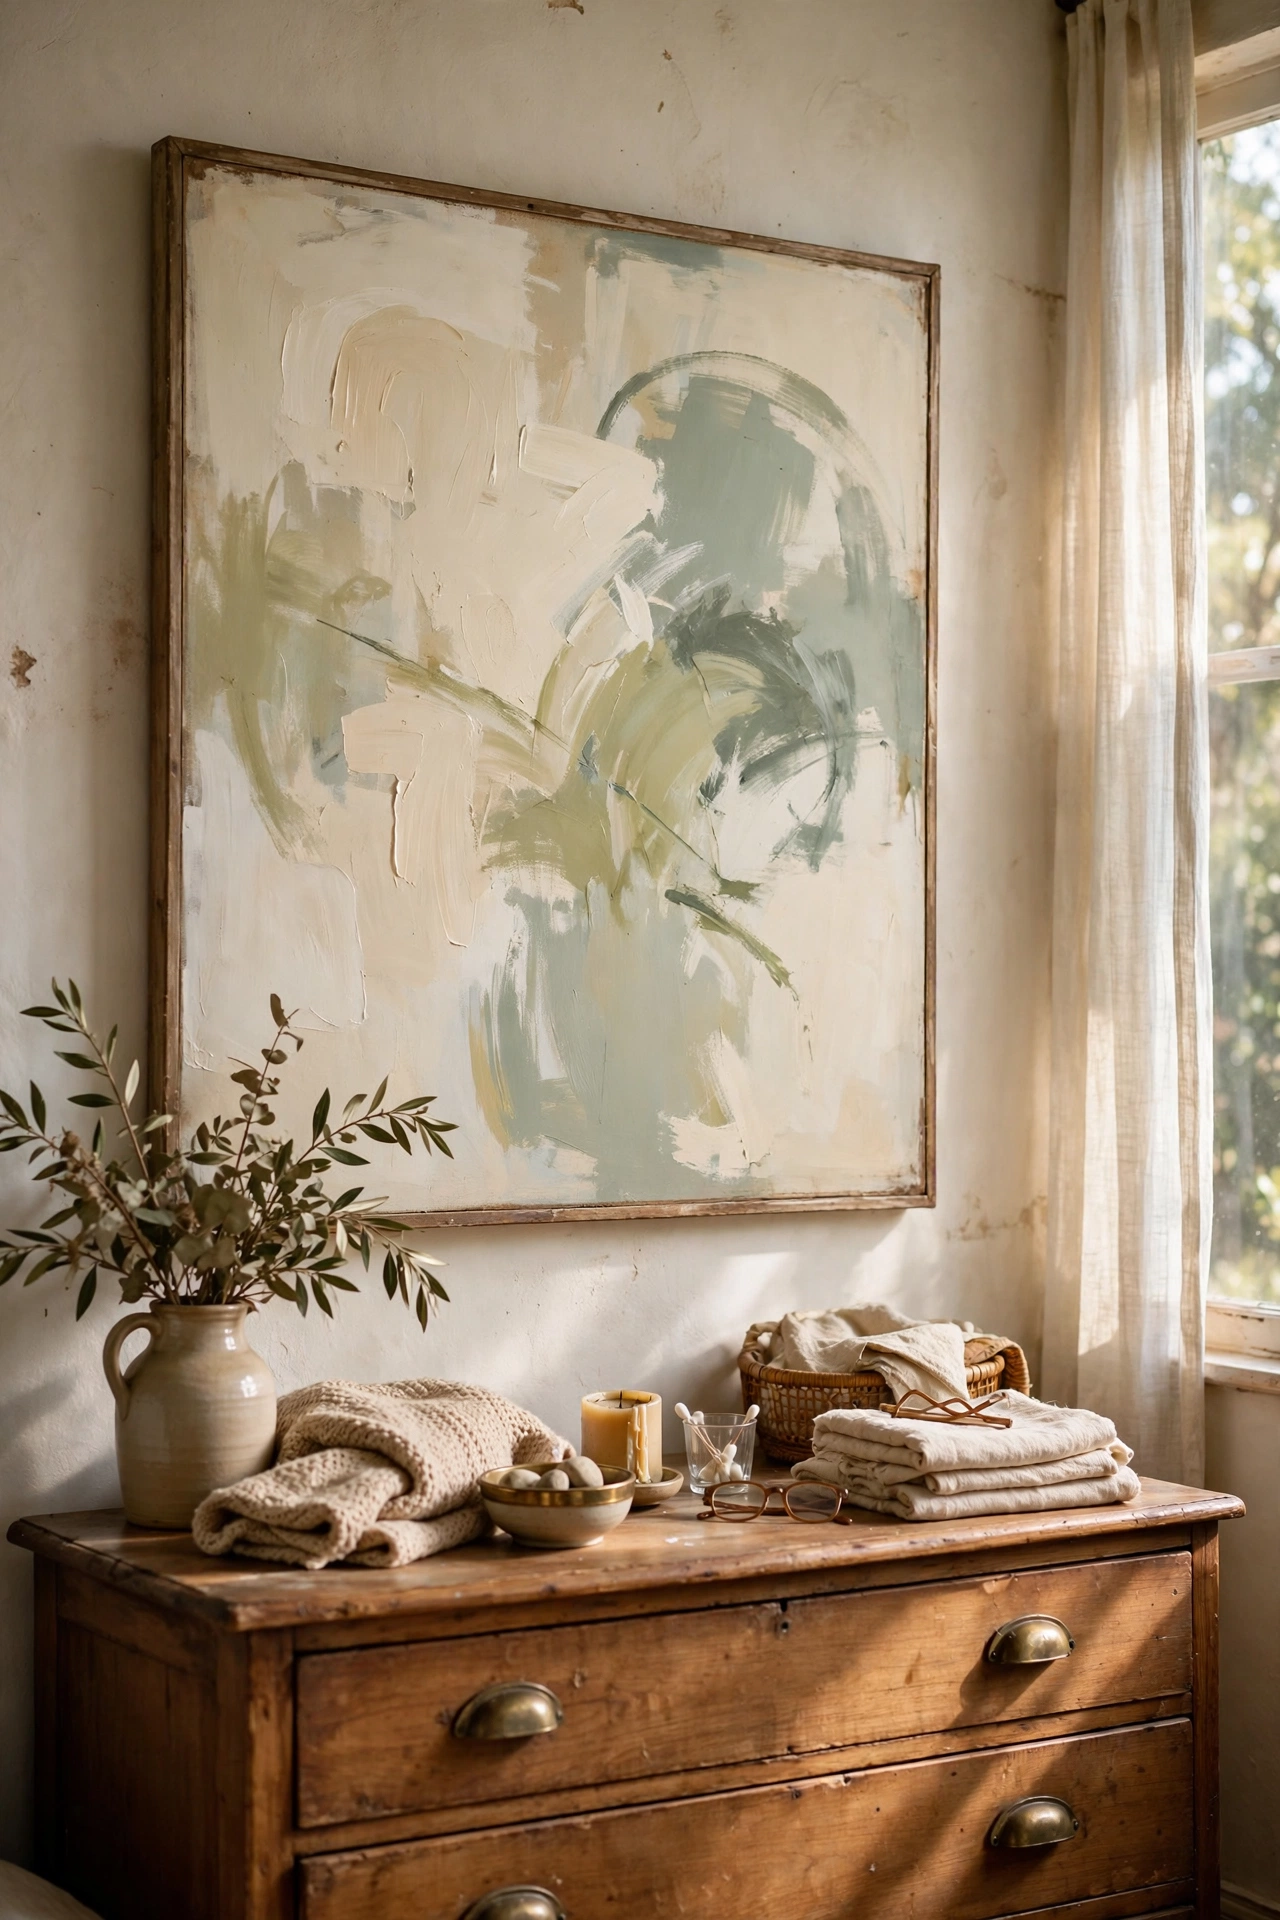
Thrift stores always have ugly canvas paintings for a few dollars, and they make perfect blanks. I found a large framed canvas of ducks for four dollars, took it home, and painted right over it with a cream house-paint sample and some muted sage strokes. The old painting’s texture actually helps — it reads as intentional brushwork instead of a flat craft-store canvas. Use a big dry brush and loose horizontal strokes, then stop before you overwork it. My first attempt had twelve layers because I kept fixing it, and the second took twenty minutes and looked better. Hang it over the dresser where guests will ask where you bought it. You will never admit it was ducks.
Cost: ~$4-9 | Time: 45 minutes
3. Thrifted Fabric Wall Hanging
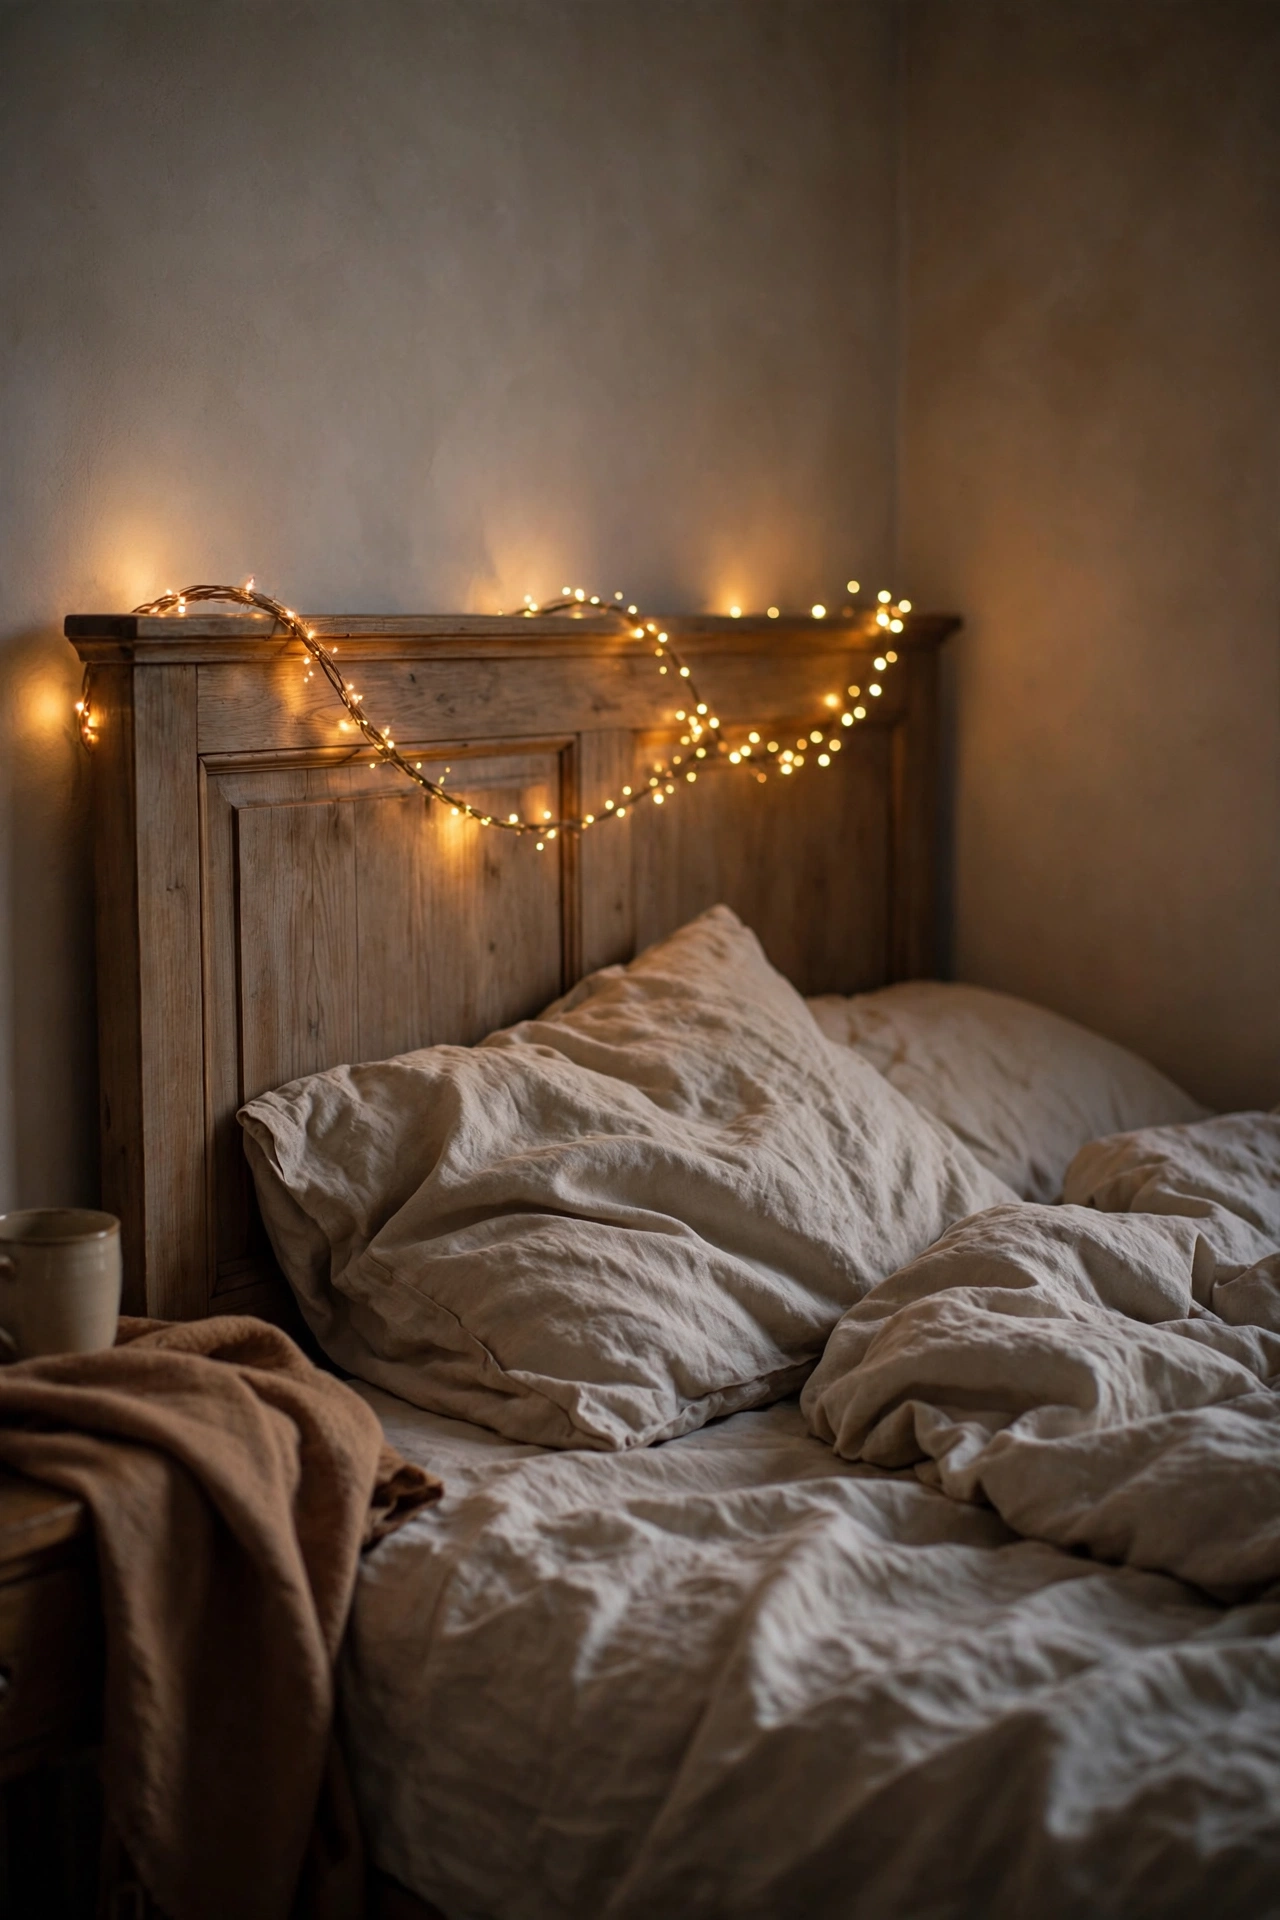
A big piece of thrifted fabric makes a wall hanging that costs less than a pizza. I found a cream linen tablecloth with a torn corner for three dollars, cut away the damage, and hung it from a wooden dowel with clip rings. Stick to natural fabrics like linen, cotton, or burlap — shiny polyester always looks like a tablecloth pretending to be art. Iron it well and hang it slightly above eye level so it reads as a textile piece instead of laundry. Mine hangs behind my bed like a soft headboard, and nobody has ever guessed it was a tablecloth. Total cost was five dollars and ten minutes of work.
Cost: ~$5-10 | Time: 20 minutes
4. Thrifted Mirror Over the Bed
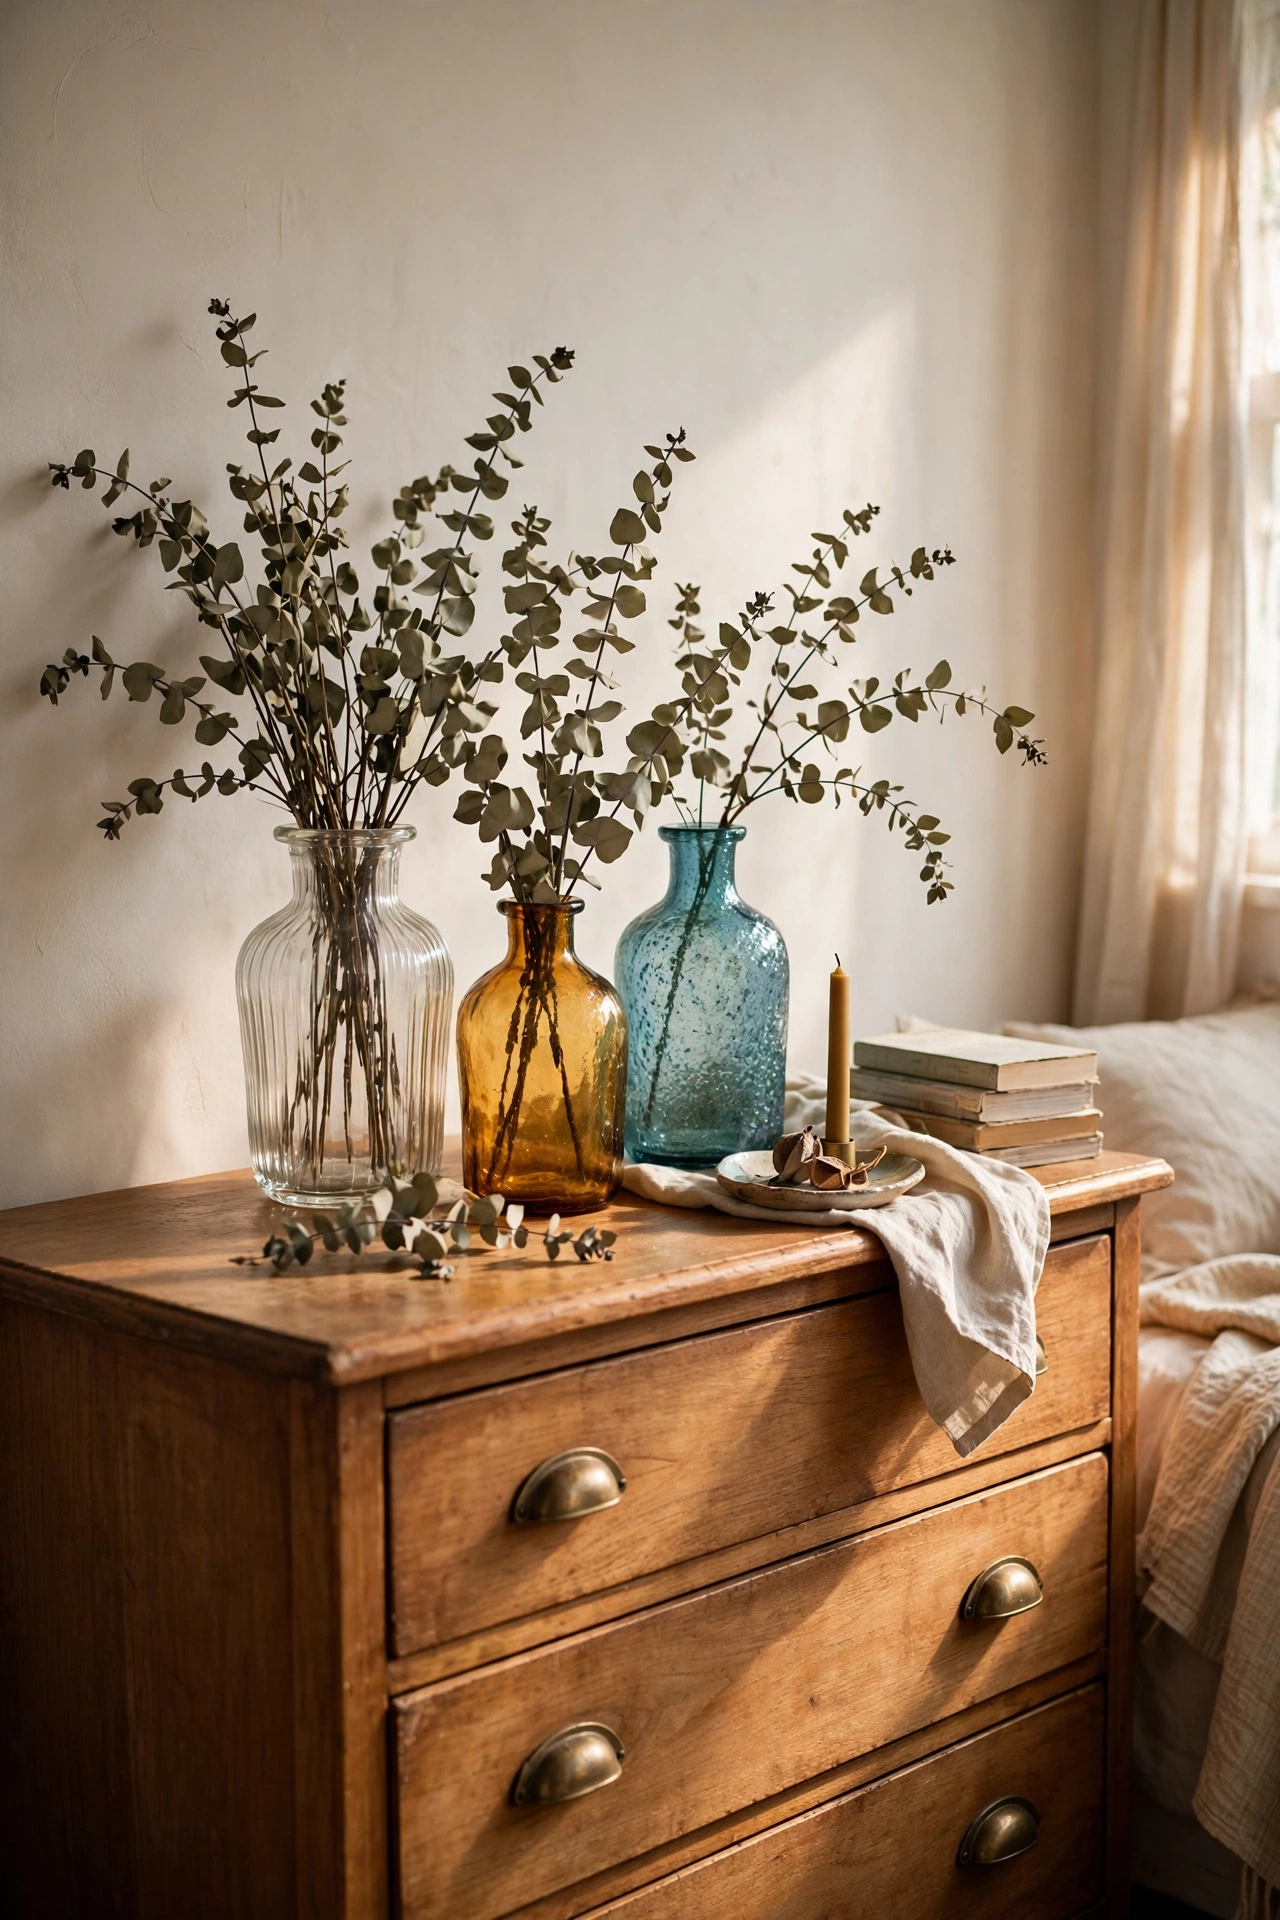
A big thrifted mirror above the bed bounces light and makes the whole room feel wider. I found a heavy wooden-framed mirror for twelve dollars, cleaned the glass with vinegar and water, and hung it with proper wall anchors into a stud. This is not the place for two nails and hope — my first attempt with picture hooks fell at two in the morning and nearly took the headboard with it. If the frame is dated, a coat of matte black or gold spray paint makes it look current. Mine reflects the window now, so the room gets a second helping of morning light for free.
Cost: ~$12-20 | Time: 45 minutes
So far: 4 ideas, about $34 total — less than one new wall print.
Bed & Bedding
5. Thrifted Quilt as the Bedroom Star
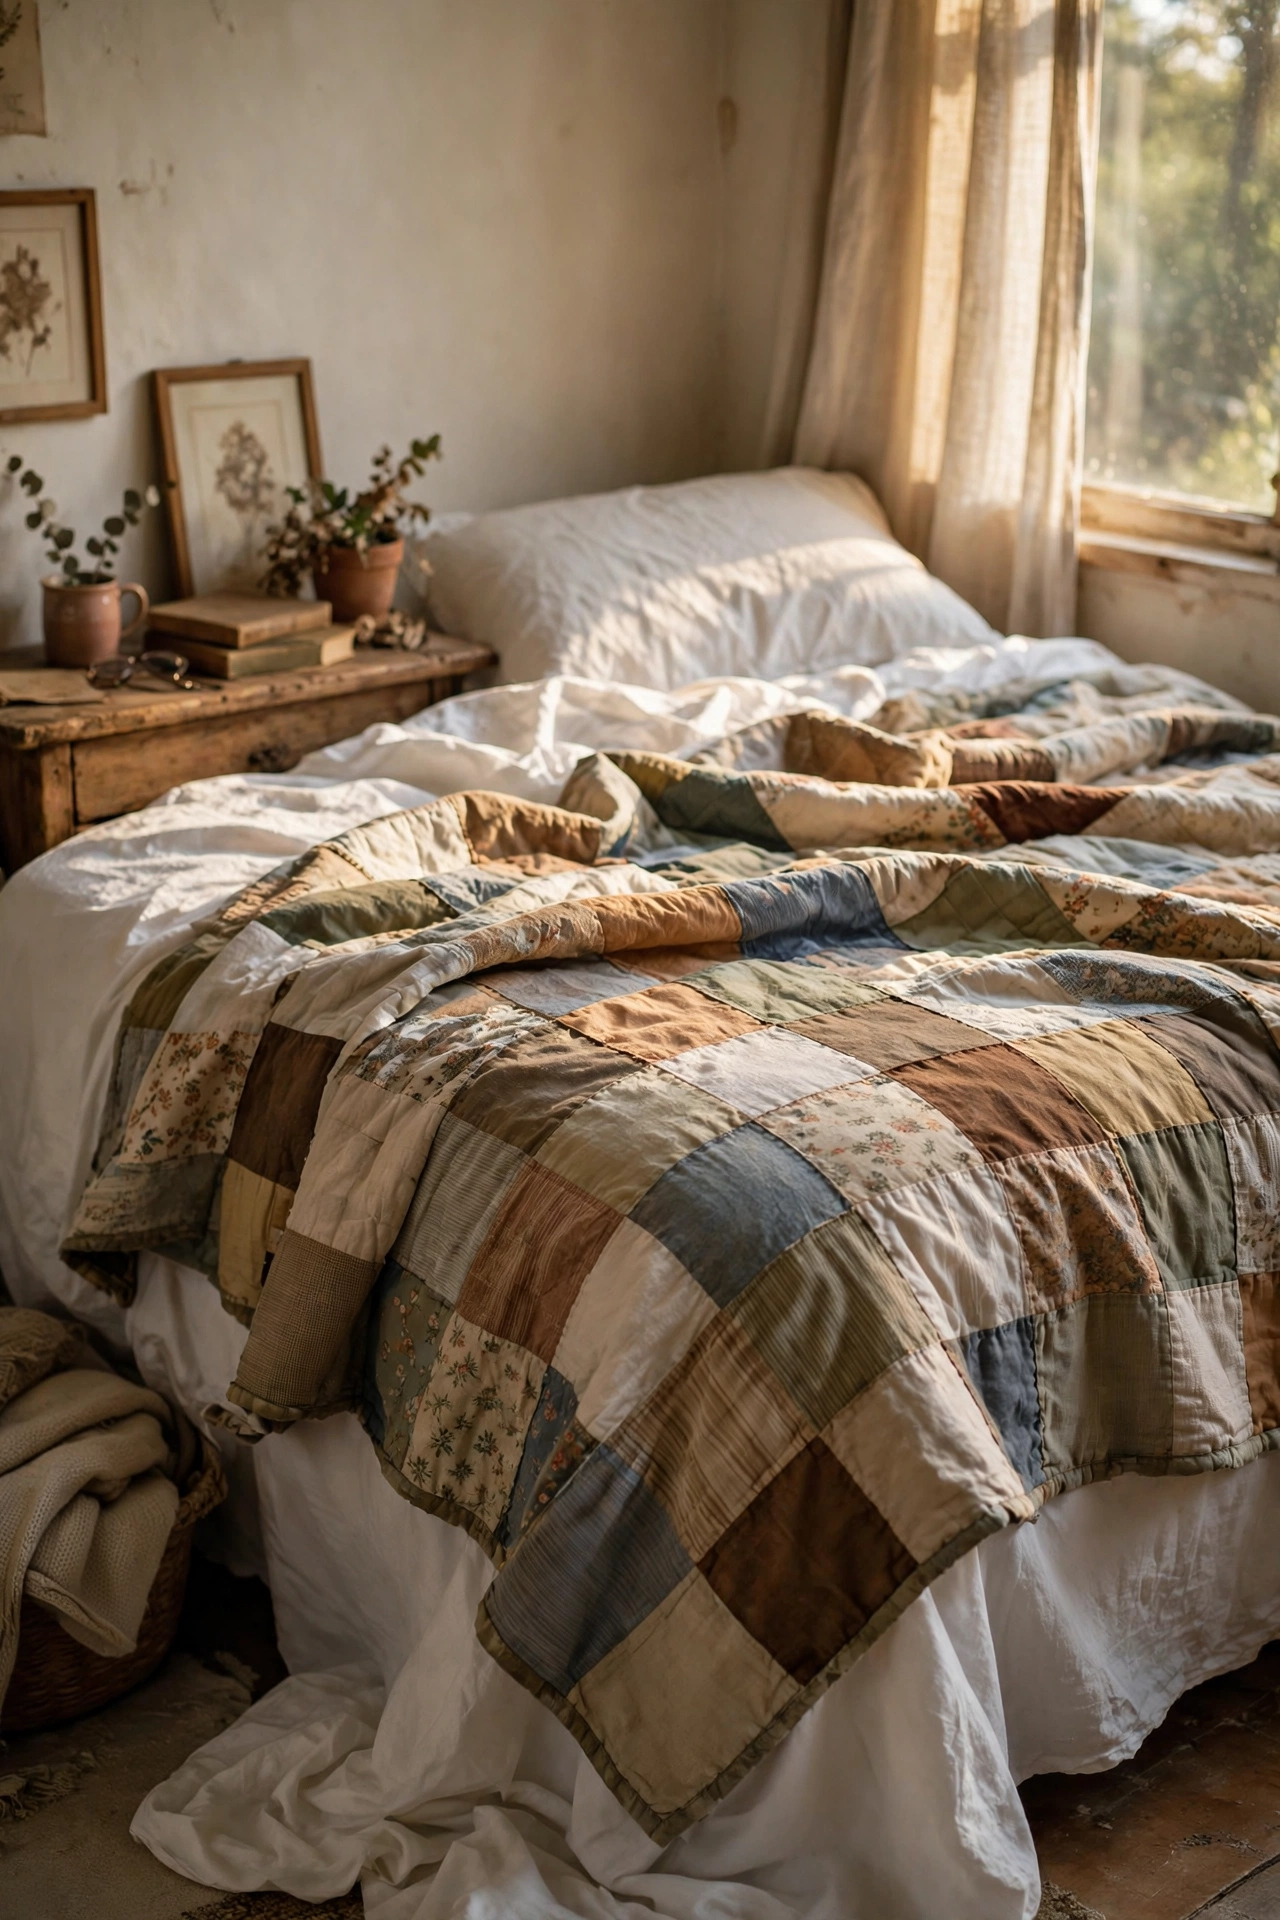
A real quilt is the single best thrift score for a bedroom because it gives you pattern, texture, and warmth in one piece. I found a handmade-feeling patchwork quilt for fourteen dollars, checked it for stains in the store’s daylight corner, and washed it hot with vinegar before it ever touched my bed. Pair a busy quilt with plain white sheets so the pattern has room to breathe. Mine smelled like someone’s attic for a week until the vinegar soak fixed it — always sniff before you buy. It is now the thing everyone compliments, and it cost less than a fast-food dinner.
Cost: ~$10-18 | Time: 30 minutes plus washing
6. White Cotton Duvet Cover Rescue
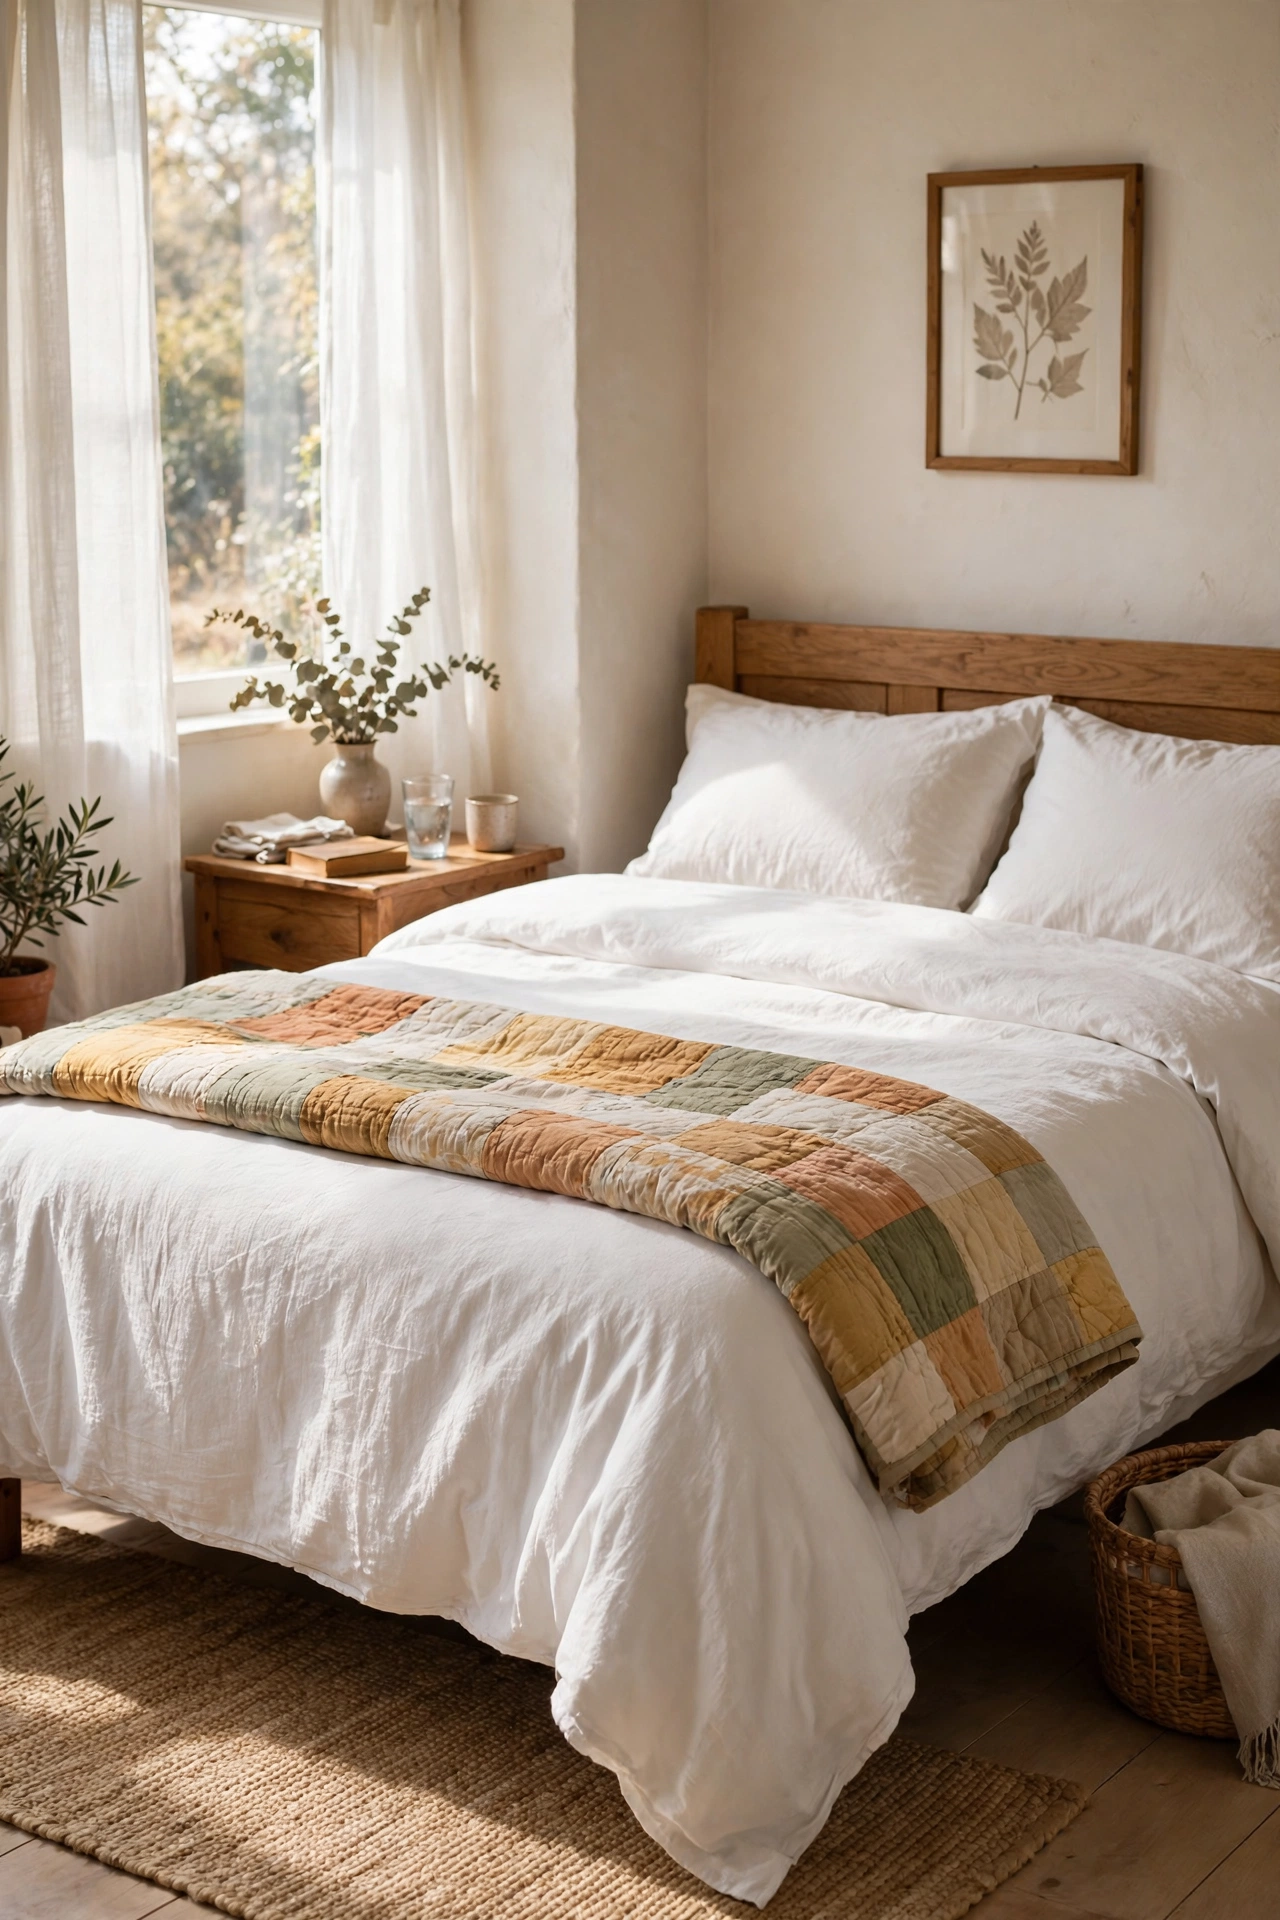
Thrift stores are swimming in white duvet covers because people donate them the moment they yellow. I found a thick white cotton one for six dollars, soaked it overnight in hot water with washing soda and bleach, and it came out looking brand new. Crisp white bedding is what makes every styled bedroom photo work — it is the blank canvas that lets one thrifted quilt or throw shine. Iron the top edge that shows, and leave the rest happily rumpled. Mine has survived a year of washes and still looks fresh, which is more than I can say for the thirty-dollar one I bought new first.
Cost: ~$4-8 | Time: 15 minutes plus soaking
7. Throw Pillows from Remnant Fabric
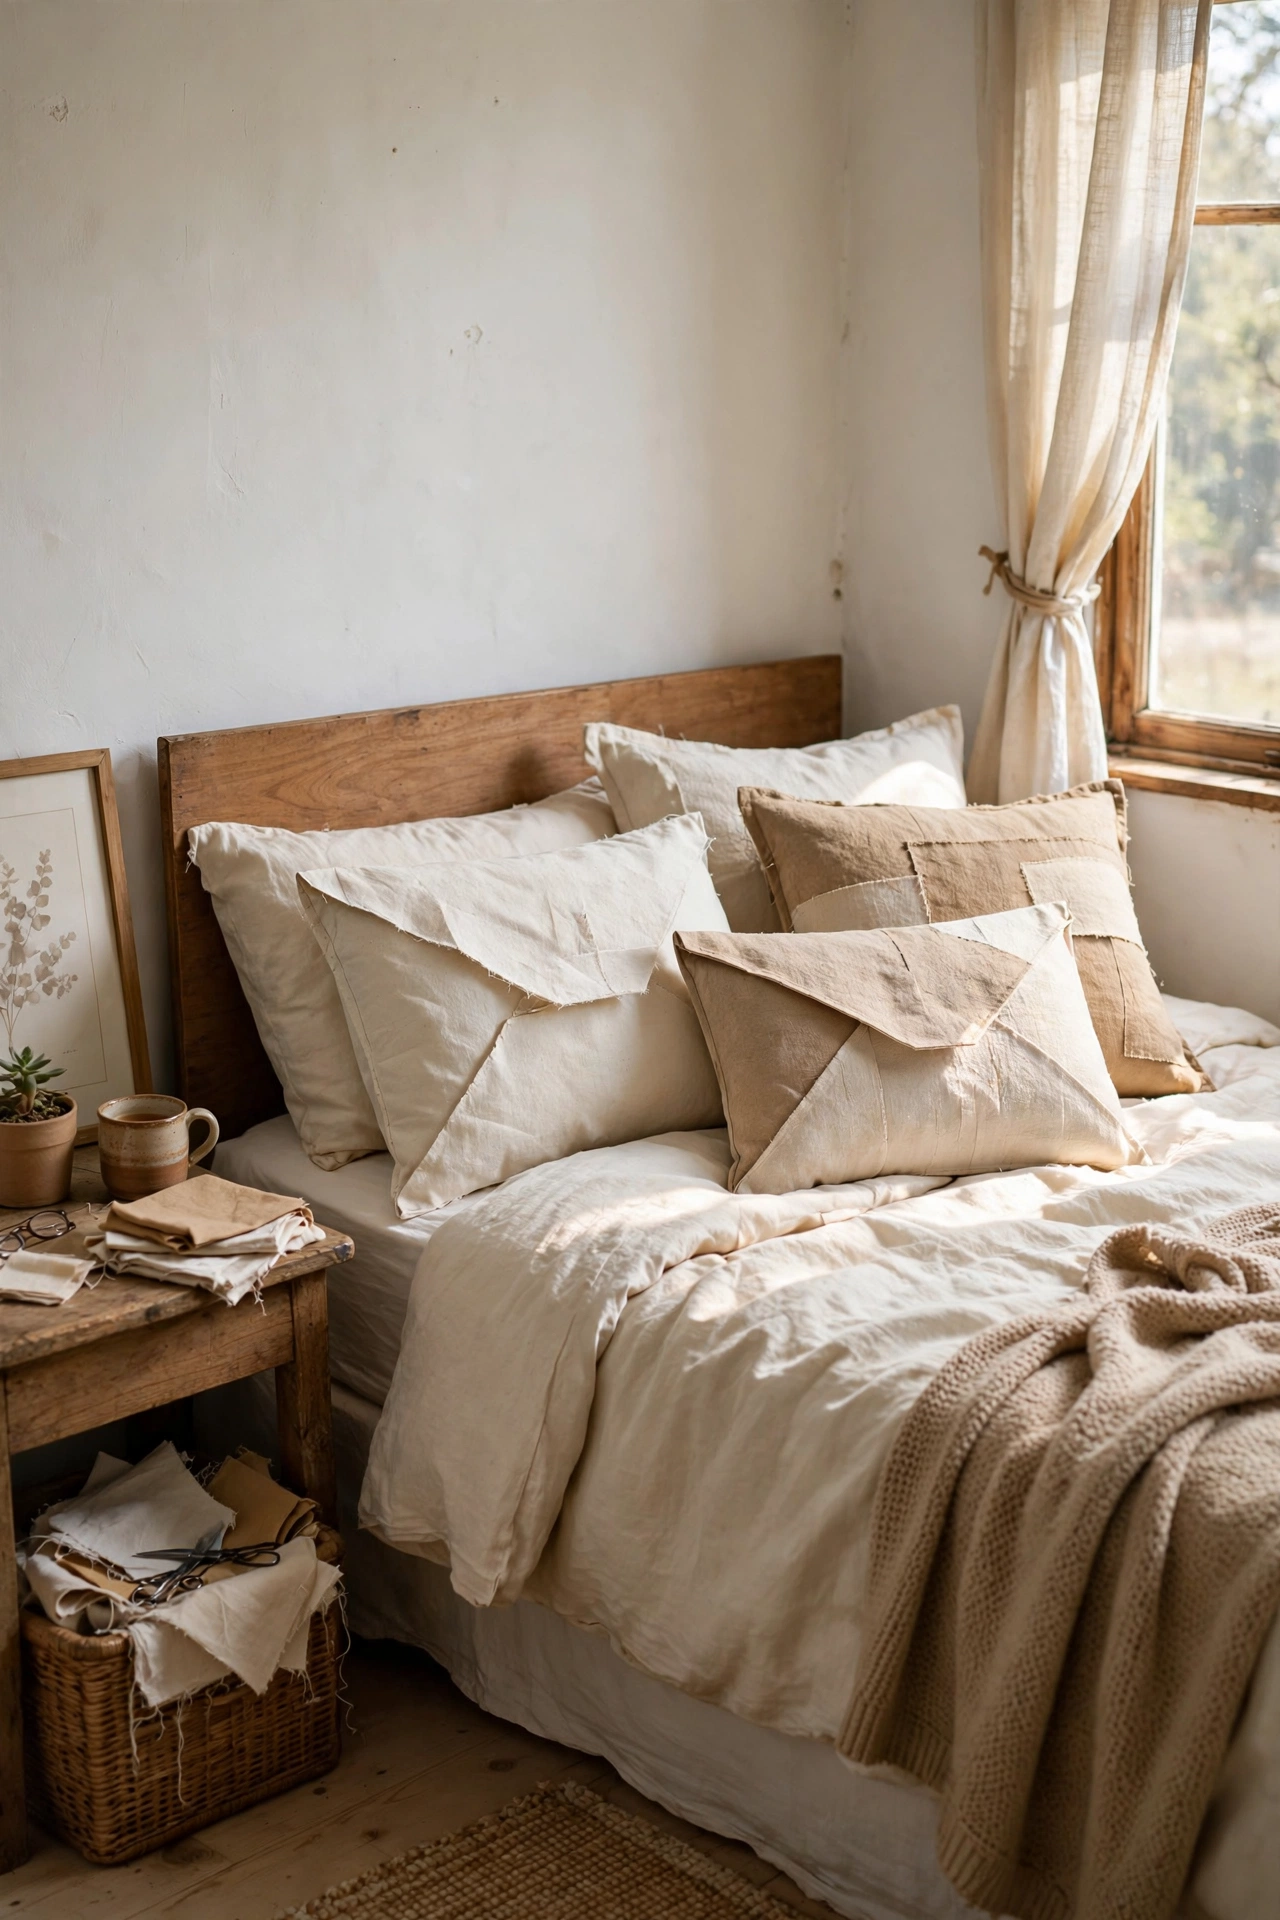
You do not need a sewing machine to make throw pillows from thrifted fabric. I bought a stack of linen remnants for three dollars, cut them into squares, and made envelope-style covers with iron-on hem tape — no stitching at all. Slide them over the sad flat inserts you already own, and the bed instantly looks layered. Pick fabrics in one color family so the mix reads intentional instead of random. My first batch was four clashing patterns and the bed looked like a yard sale. A second run in creams and tans fixed it completely, and each cover cost under a dollar.
Cost: ~$3-6 | Time: 1 hour
8. Vintage Throw Blanket Layer
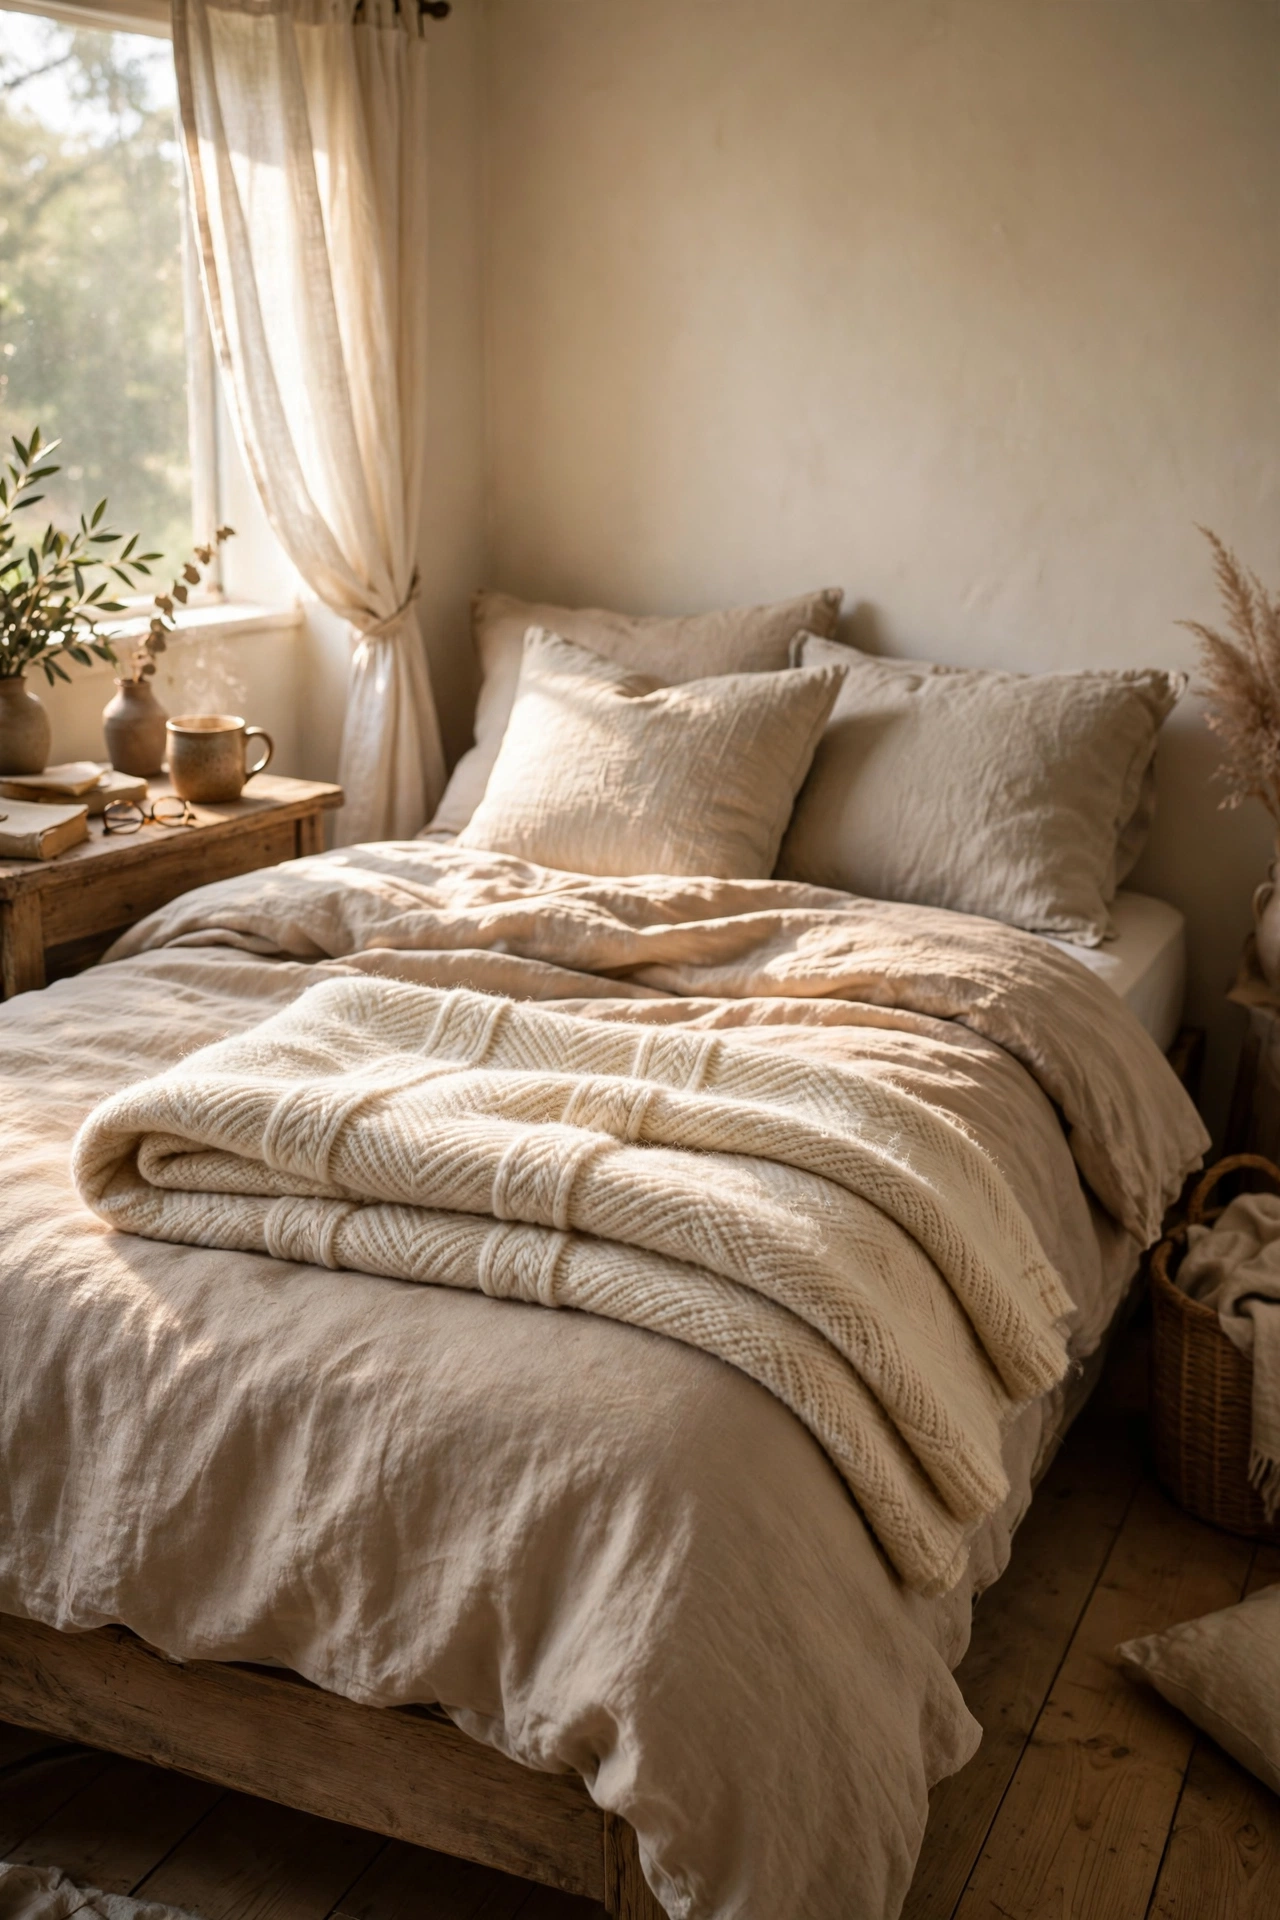
A vintage wool or acrylic throw folded across the foot of the bed adds the layered look that makes bedrooms feel finished. I found a heavy cream wool throw for six dollars at an estate sale, gave it a gentle wool wash, and now it lives folded in thirds at the foot of my bed. Always check the fringe and edges before buying, since frayed throws shed everywhere and never look right again. A throw also hides a multitude of bedding sins — wrinkled duvet, mismatched sheets, all forgiven. Mine comes off the bed every night and goes back on every morning, and I never get tired of it.
Cost: ~$5-10 | Time: 10 minutes
9. Thrifted Wooden Headboard Refresh
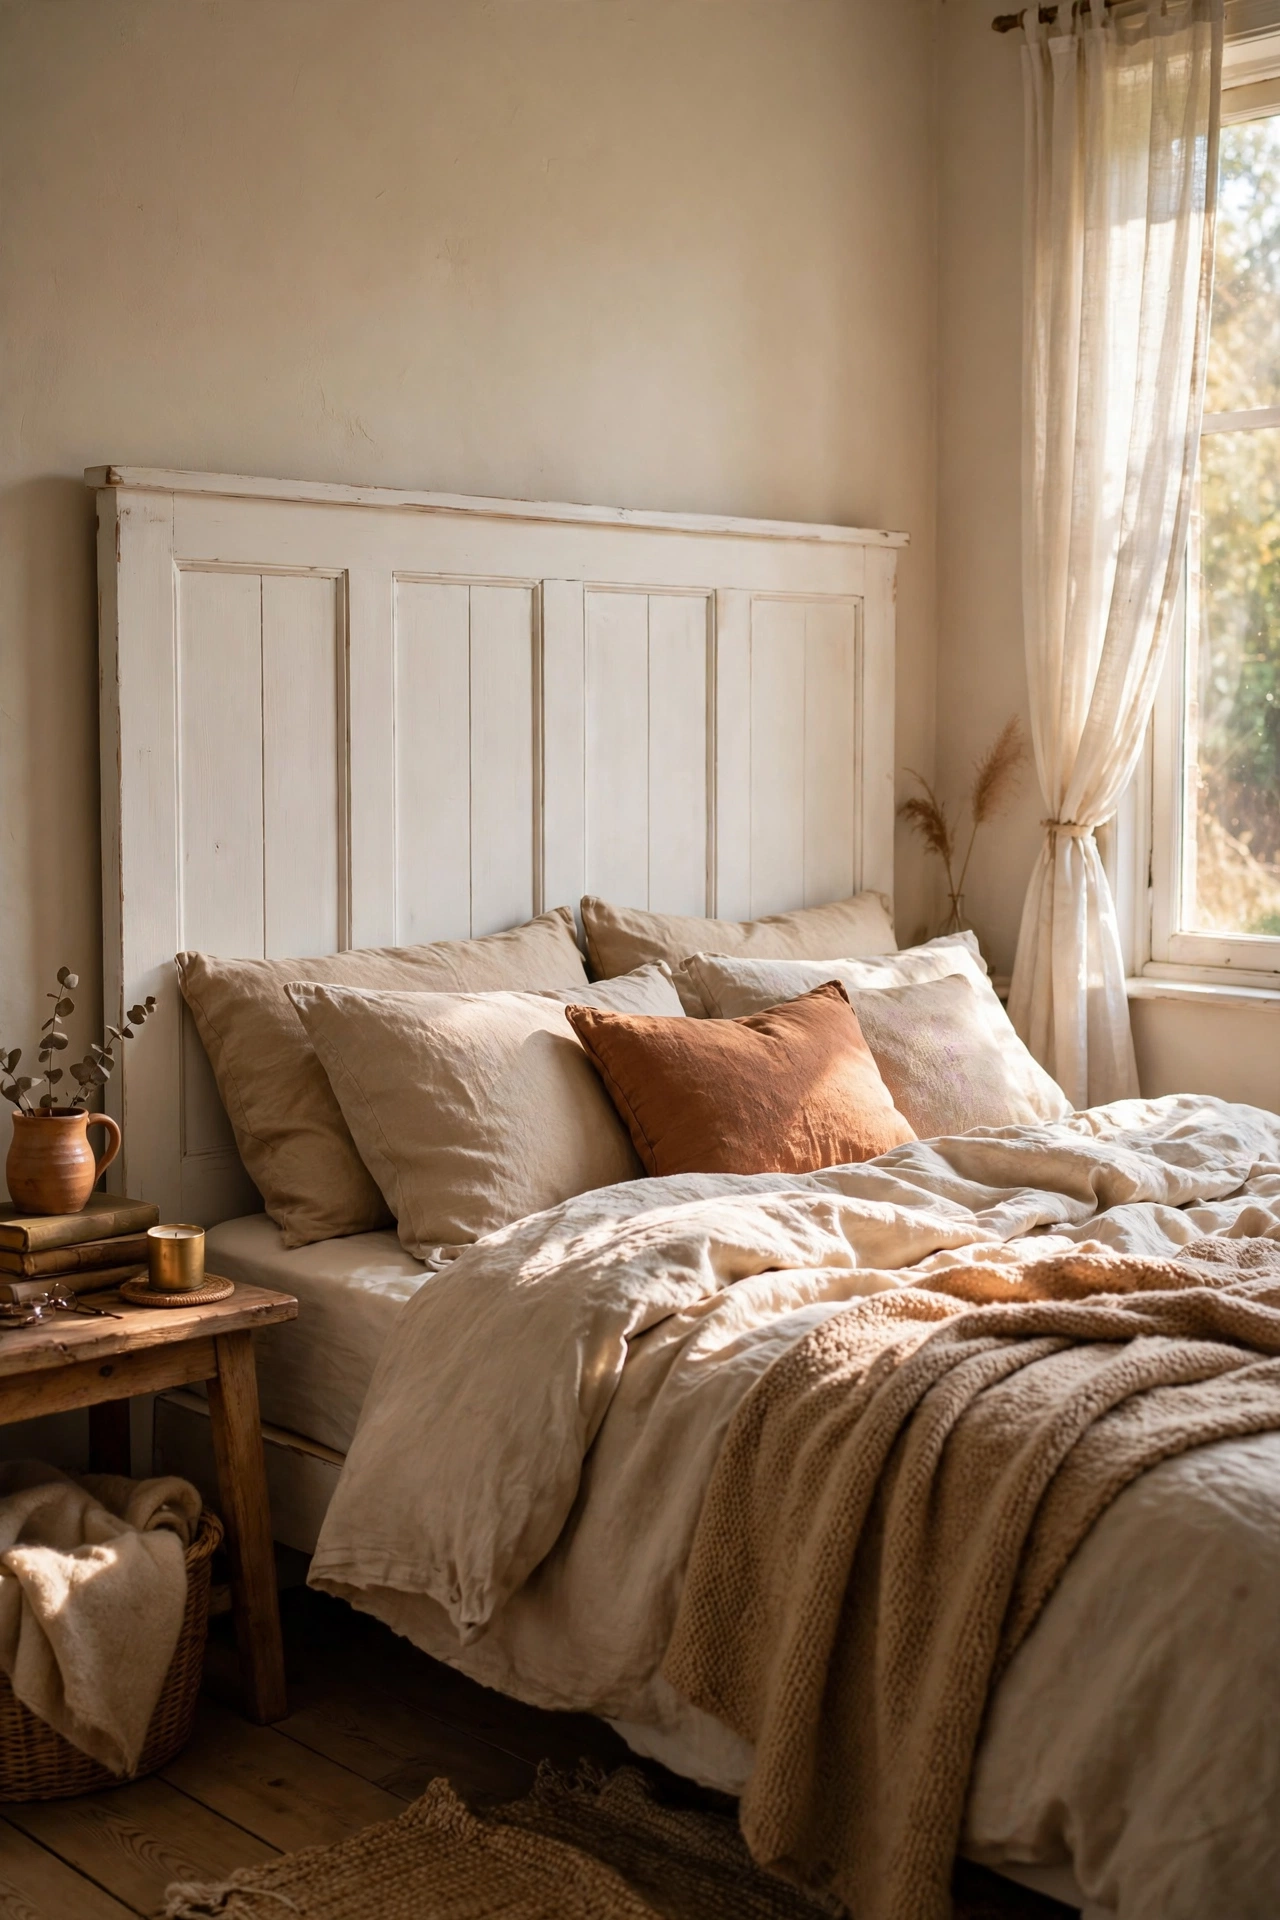
Solid wood headboards show up at thrift stores constantly because they are heavy to move and nobody wants them. That is your advantage. I bought a sturdy oak headboard for eleven dollars, sanded it lightly, and brushed on two coats of warm white paint. Bolt it to your bed frame with new hardware from the hardware store for three dollars — old bolts strip and wobble. A painted headboard instantly makes a mattress look like a real bed instead of a college setup. Mine took one Saturday afternoon, and it is the single piece that made my bedroom feel grown-up.
Cost: ~$11-18 | Time: 3 hours plus drying
So far: 9 ideas, about $78 total — still cheaper than one new headboard.
Furniture & Storage
10. Thrifted Nightstands, Painted to Match
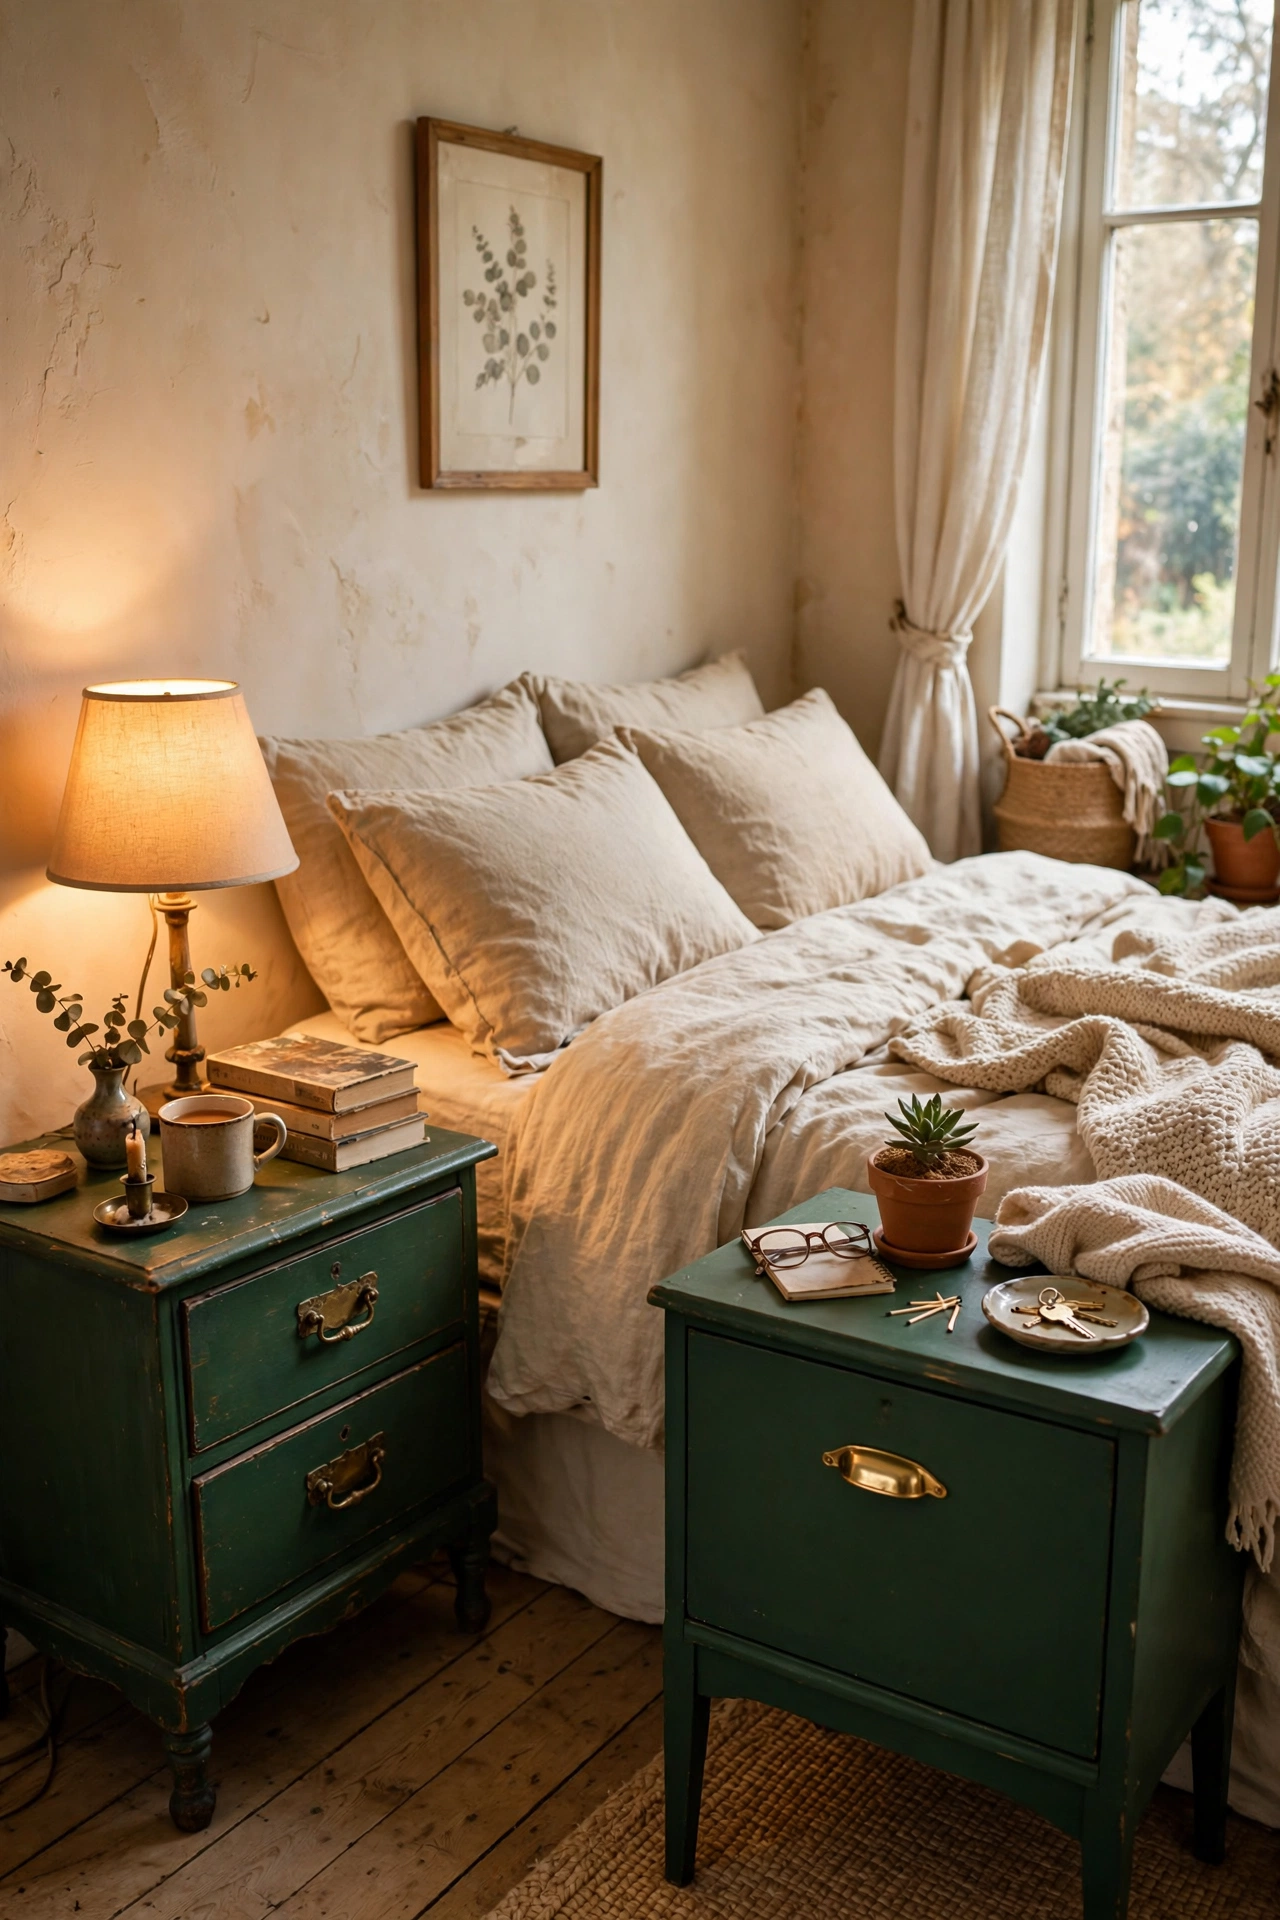
Matching thrifted nightstands are rare, so buy two singles and paint them the same color. I found two different wooden nightstands for eight dollars each on separate trips, sanded them, and painted both a deep green. Matching paint and matching drawer pulls are what make different pieces read as a set — nobody measures them. Swap the pulls for simple brass ones at two dollars a pair, and the nightstands look boutique. Mine hold my lamp, my book, and my water glass, and the whole pair cost less than one flat-pack nightstand. Check the drawers slide smoothly before you pay.
Cost: ~$18-26 | Time: 3 hours plus drying
11. Vintage Dresser as a Statement Piece
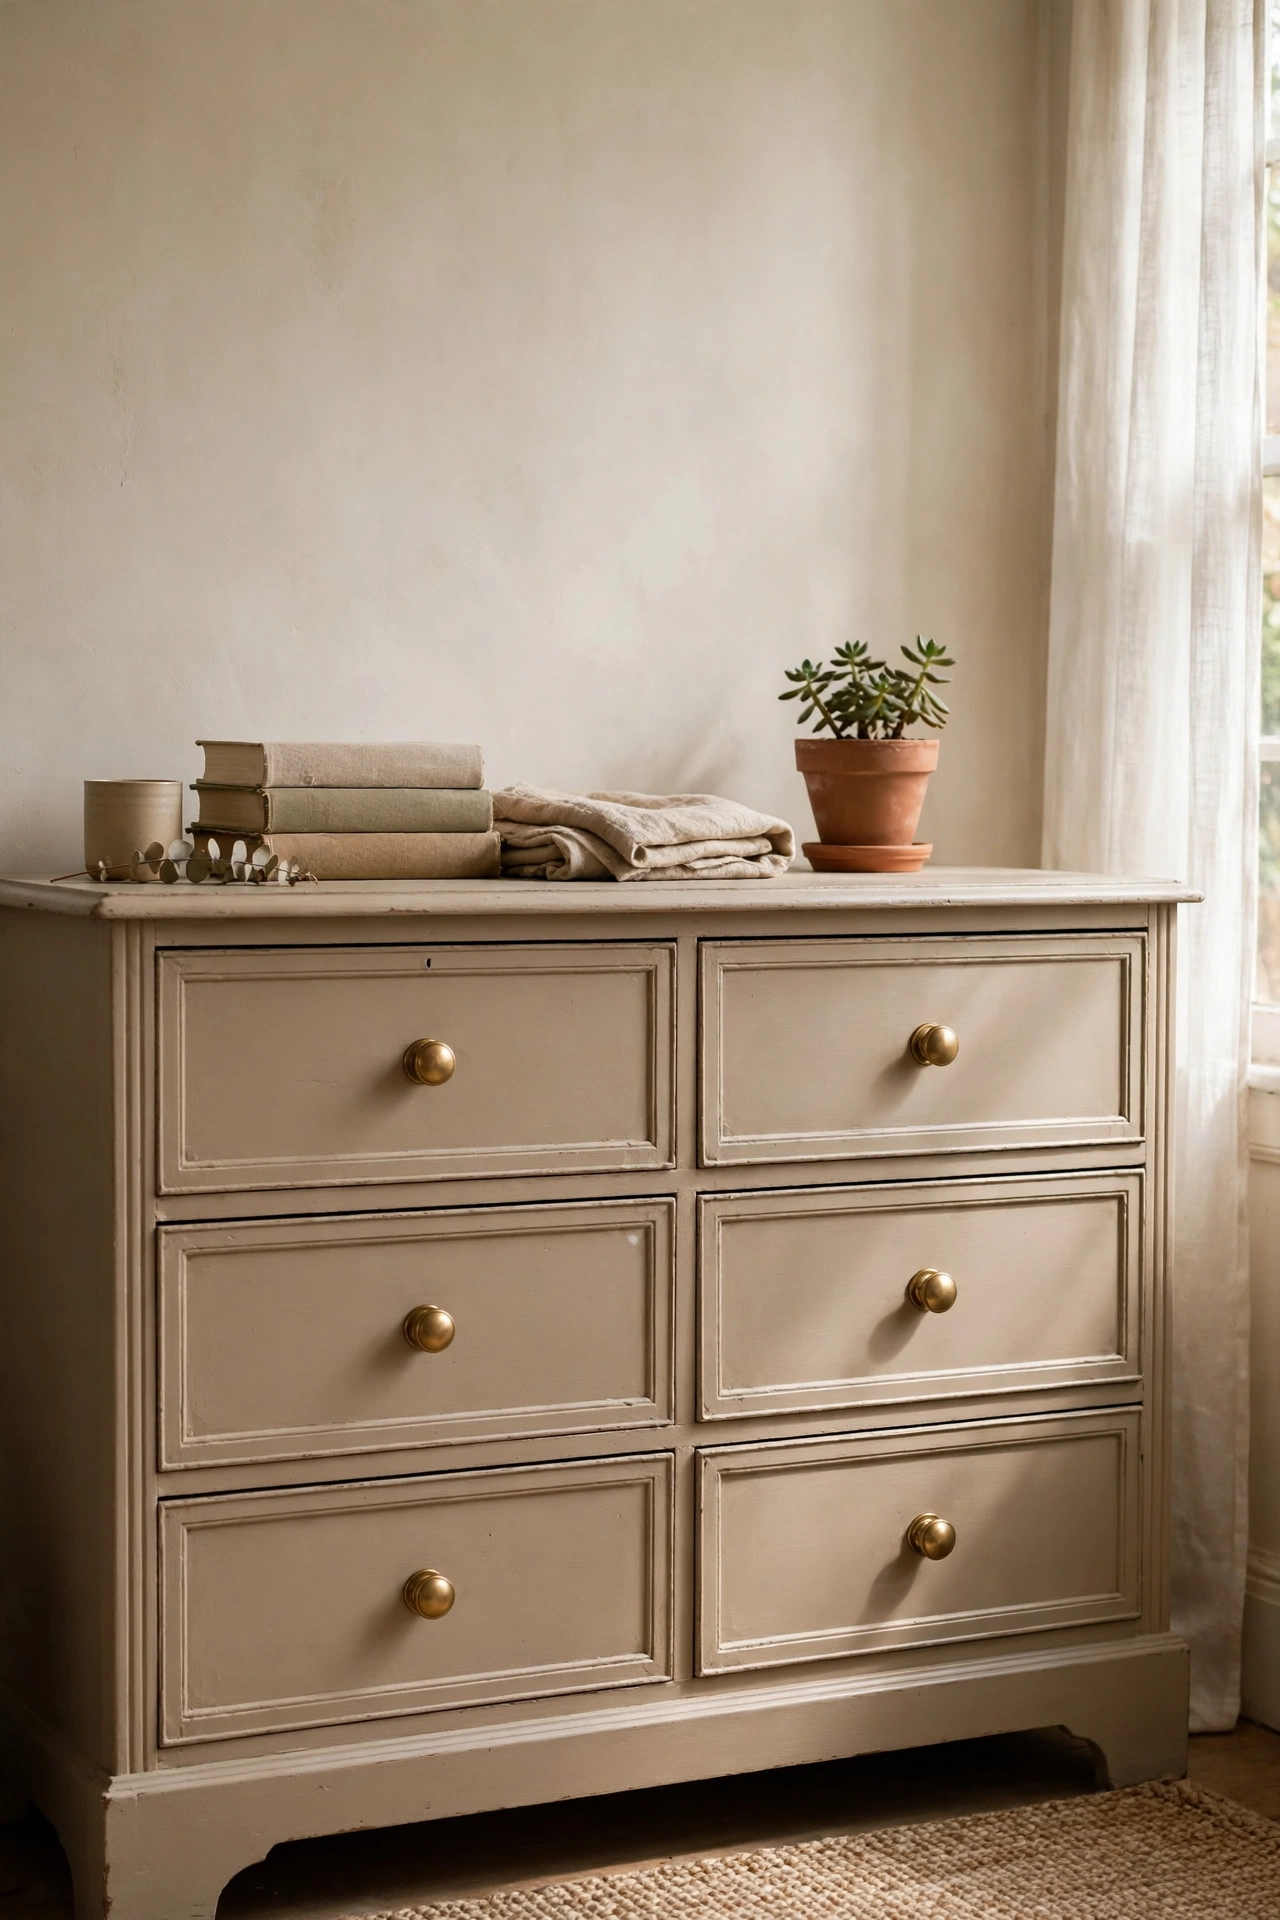
A vintage dresser with real wood and dovetail drawers will outlast anything flat-packed, and thrift stores price them to move. I paid twenty-six dollars for a six-drawer dresser with great bones and a terrible finish. Two coats of paint, new knobs, and it became the best-looking piece in my bedroom. Always open every drawer in the store — sticky drawers mean warped wood, and that is a walk-away. Rub a candle along the drawer runners if they stick a little. Mine holds all my clothes and anchors the whole room, and I get asked about it more than anything I own.
Cost: ~$26-40 | Time: 4 hours plus drying
12. Stacked Suitcase Nightstands
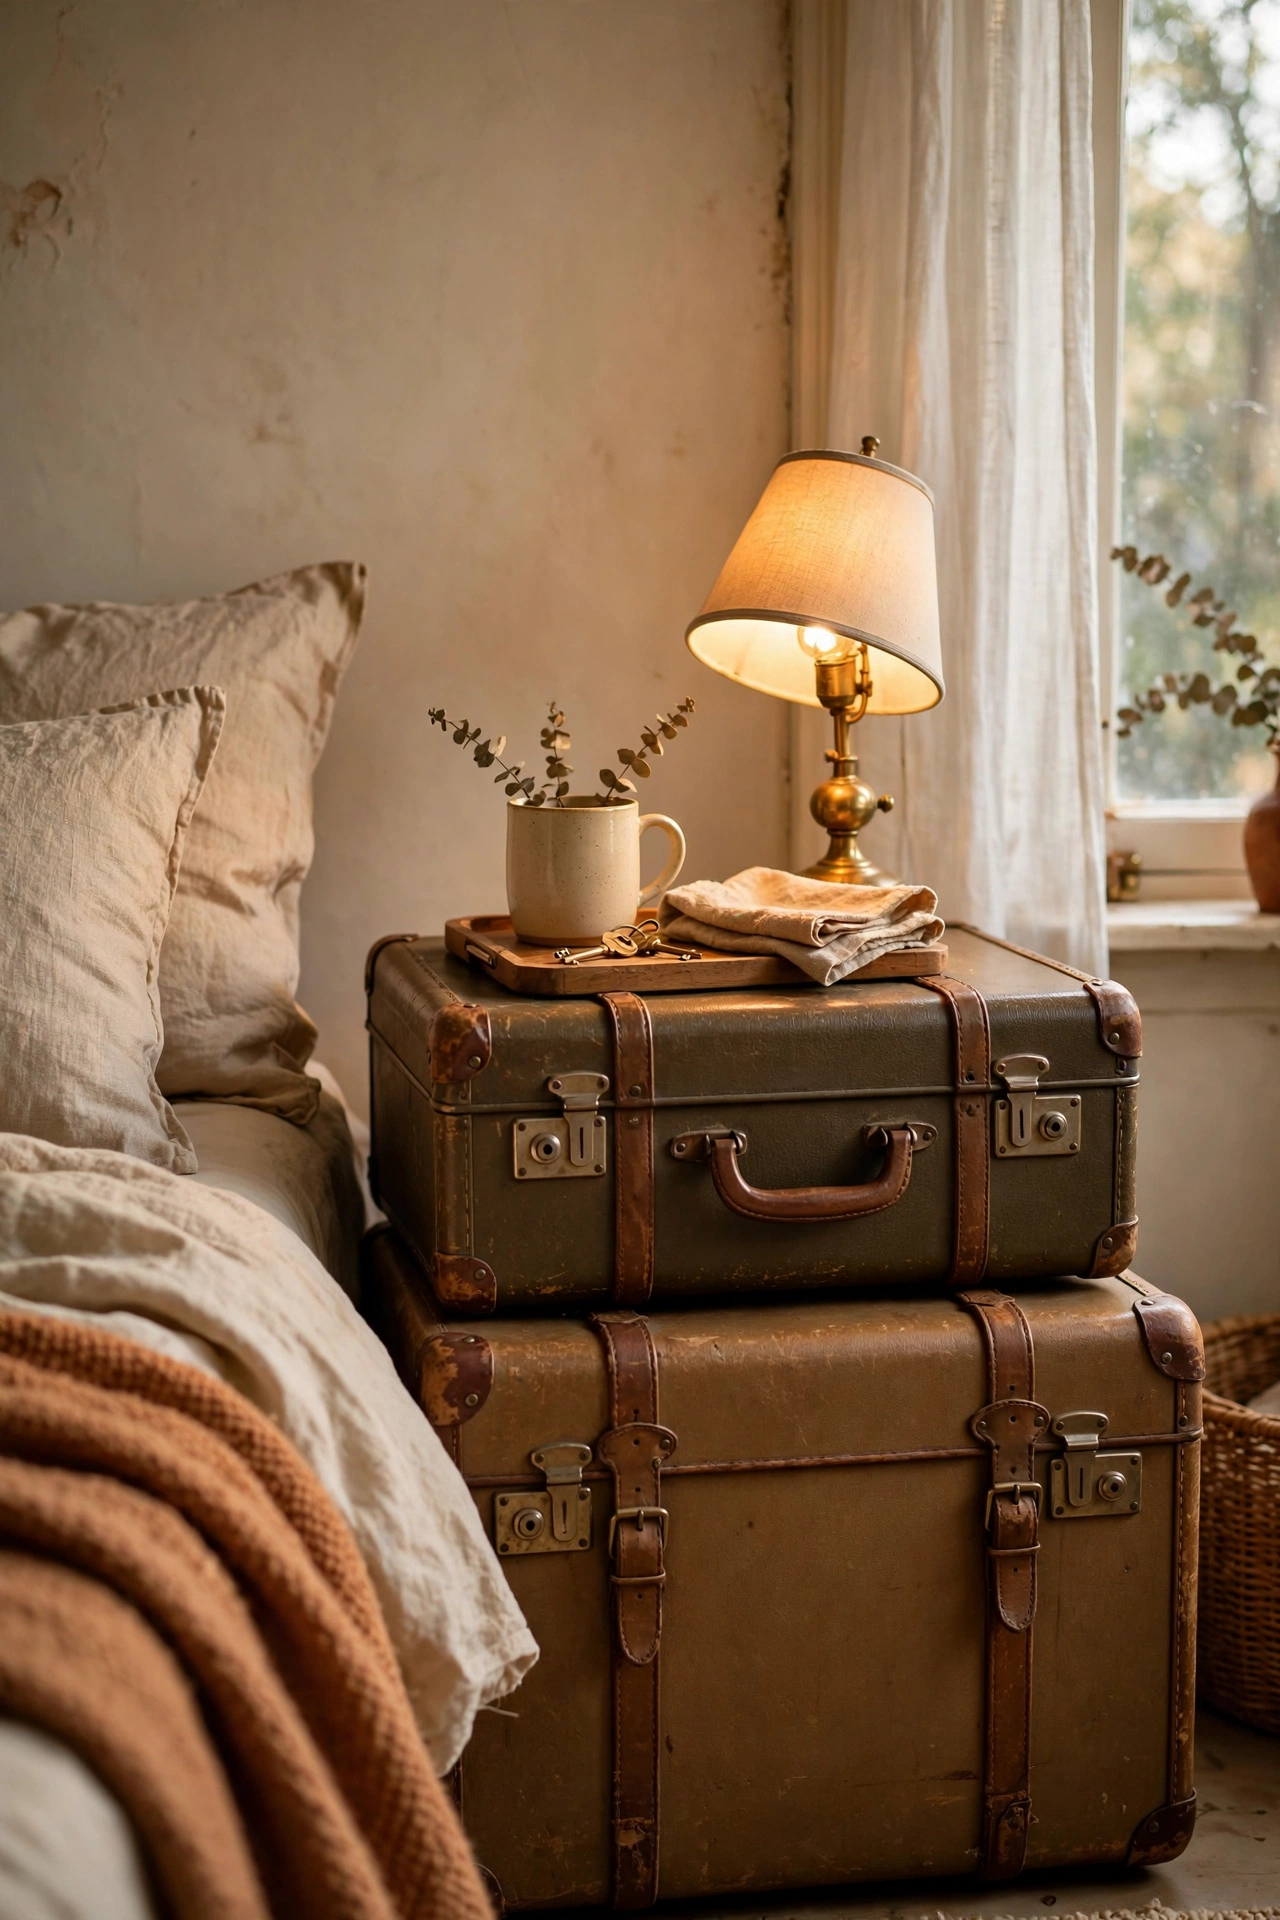
Two or three vintage suitcases stacked beside the bed make a nightstand with built-in storage. I found two hard-shell cases for five dollars each, stacked the bigger one on the bottom, and put a small tray on top for my lamp. They hold off-season clothes inside, which is free storage in a bedroom with a small closet. Put felt pads under the bottom case so it does not scratch the floor, and make sure the stack is stable before you trust it with a lamp. Mine has survived a year of use, and guests always ask where I got such a clever idea.
Cost: ~$10-15 | Time: 20 minutes
13. Thrifted Chair as a Bedroom Valet
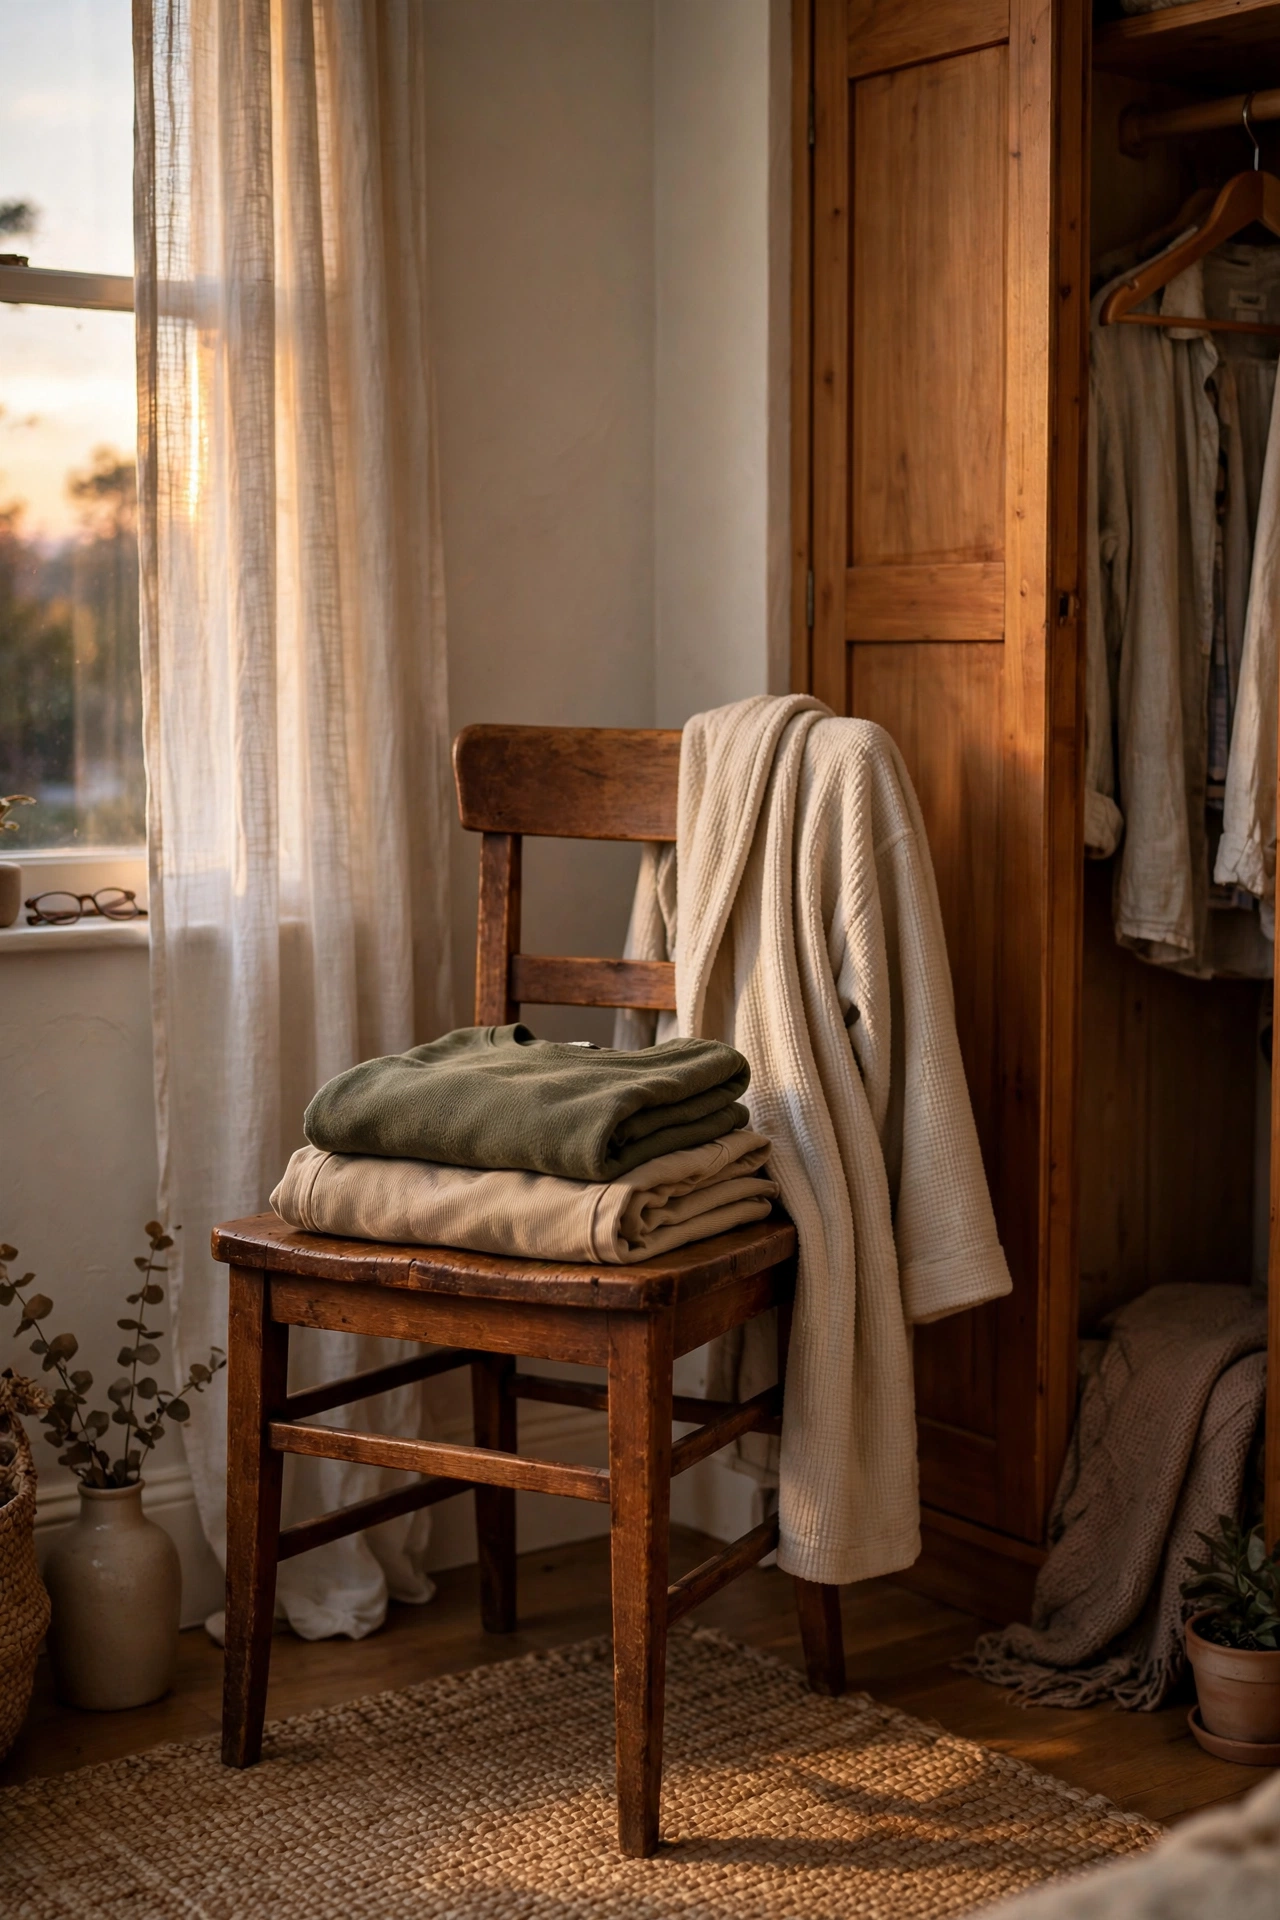
Every bedroom needs a spot for tomorrow’s clothes, and a thrifted chair does it better than the floor. I found a solid wooden chair for eight dollars, gave it a quick wipe-down, and parked it in the corner by my closet. It holds my next-day outfit, my robe, and occasionally a pile of clean laundry I am pretending to fold. A chair with a back works best because clothes stay put. Mine is also where my bag lives, so my mornings start in one corner instead of five. Eight dollars for the end of the floordrobe era.
Cost: ~$6-12 | Time: 10 minutes
So far: 13 ideas, about $144 total — roughly one flat-pack dresser.
Small Finishing Details
14. Thrifted Table Lamps with New Shades
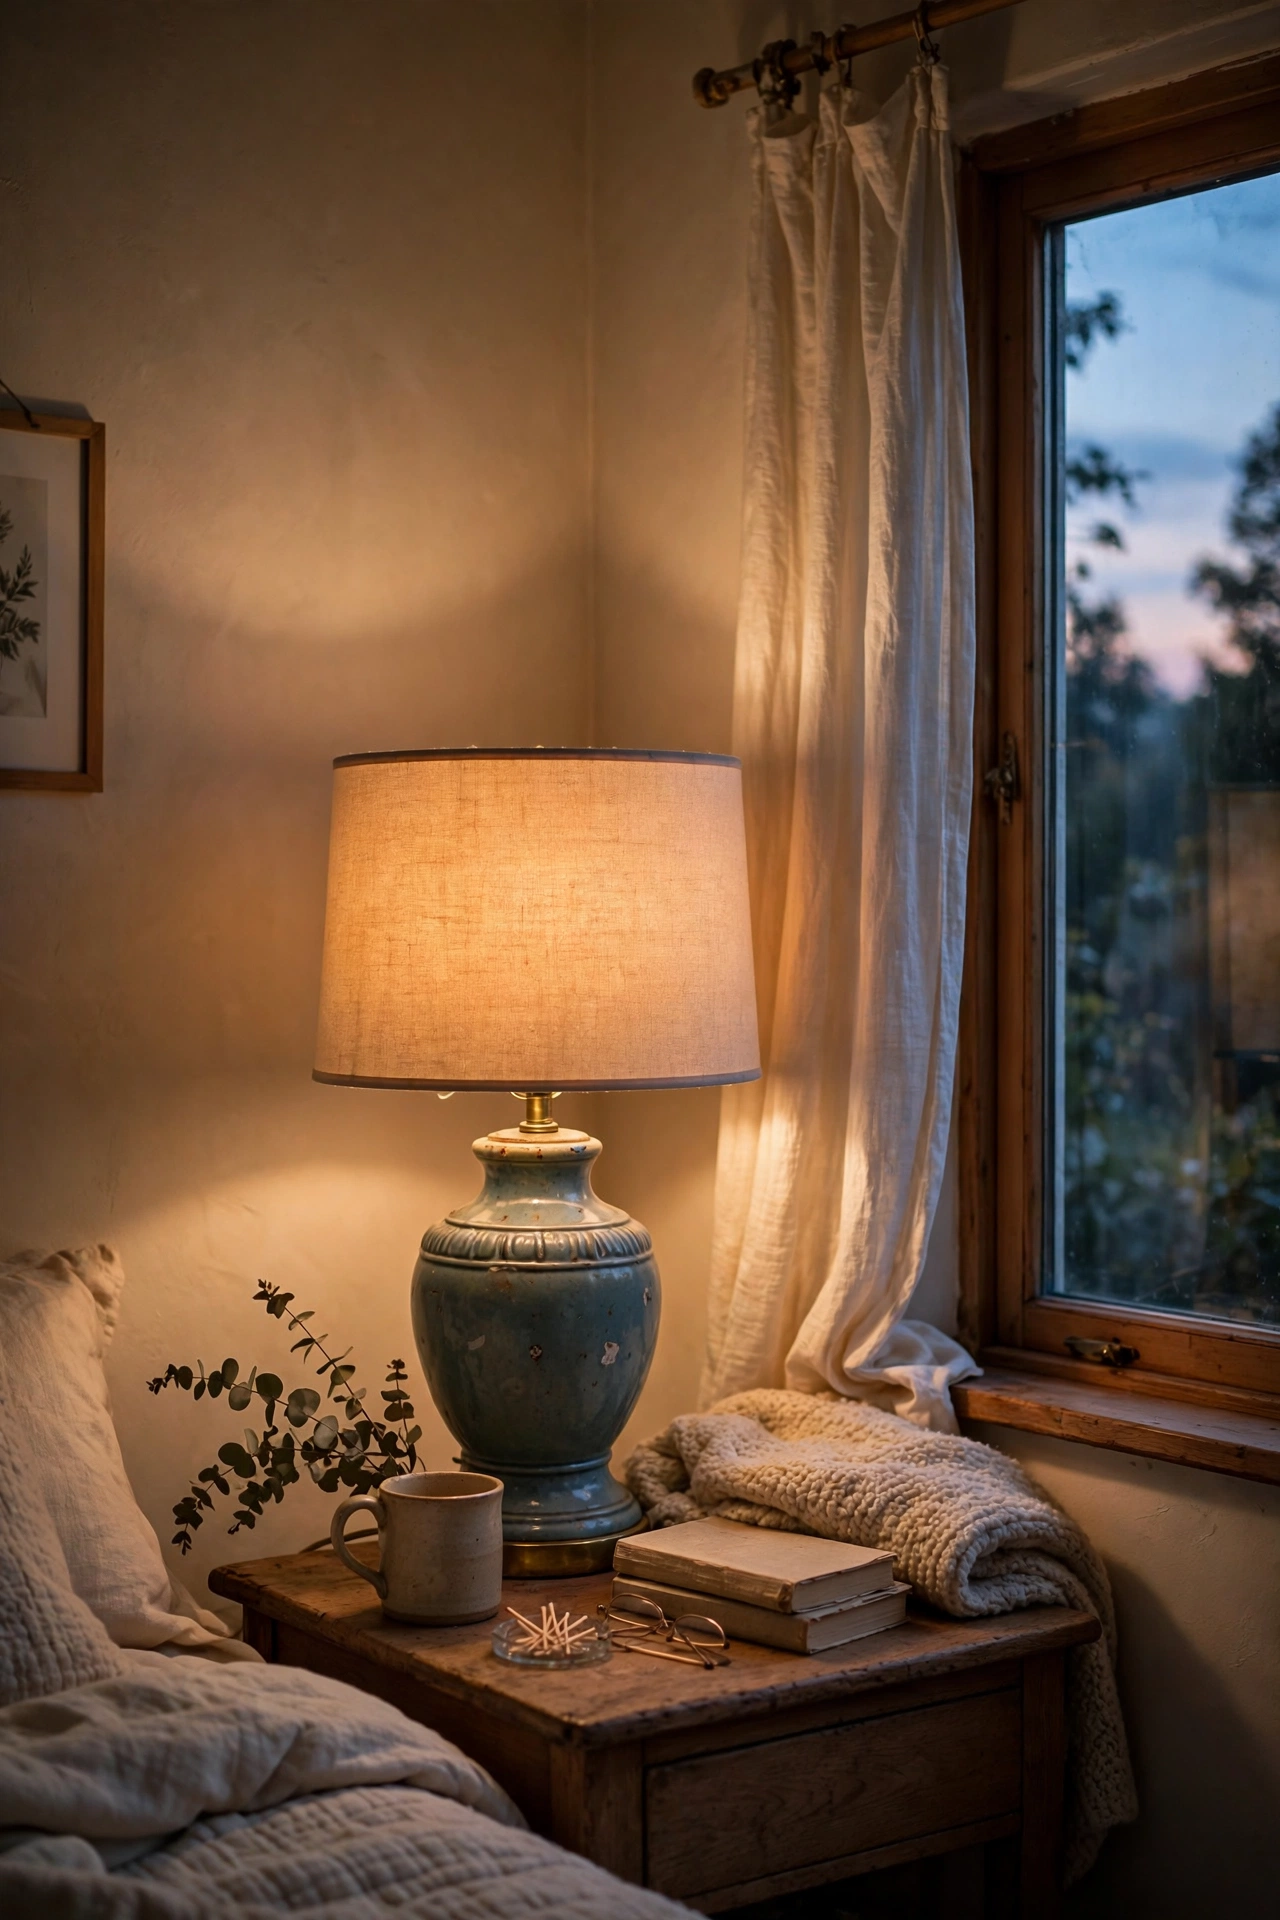
Thrift store lamp bases are usually solid and cheap while their shades are always terrible. I buy the bases for three to five dollars, toss the stained shades, and put on simple new drum shades from the discount store for seven dollars each. Always test the wiring in the store if there is an outlet — flickering or buzzing means walk away. A matching pair of lamps on the nightstands is what makes a bedroom feel intentional. Mine cast the warmest light at night, and the pair cost sixteen dollars total. New lamps with this look would have been sixty each.
Cost: ~$9-15 per lamp | Time: 20 minutes
15. Mismatched Brass Candlesticks
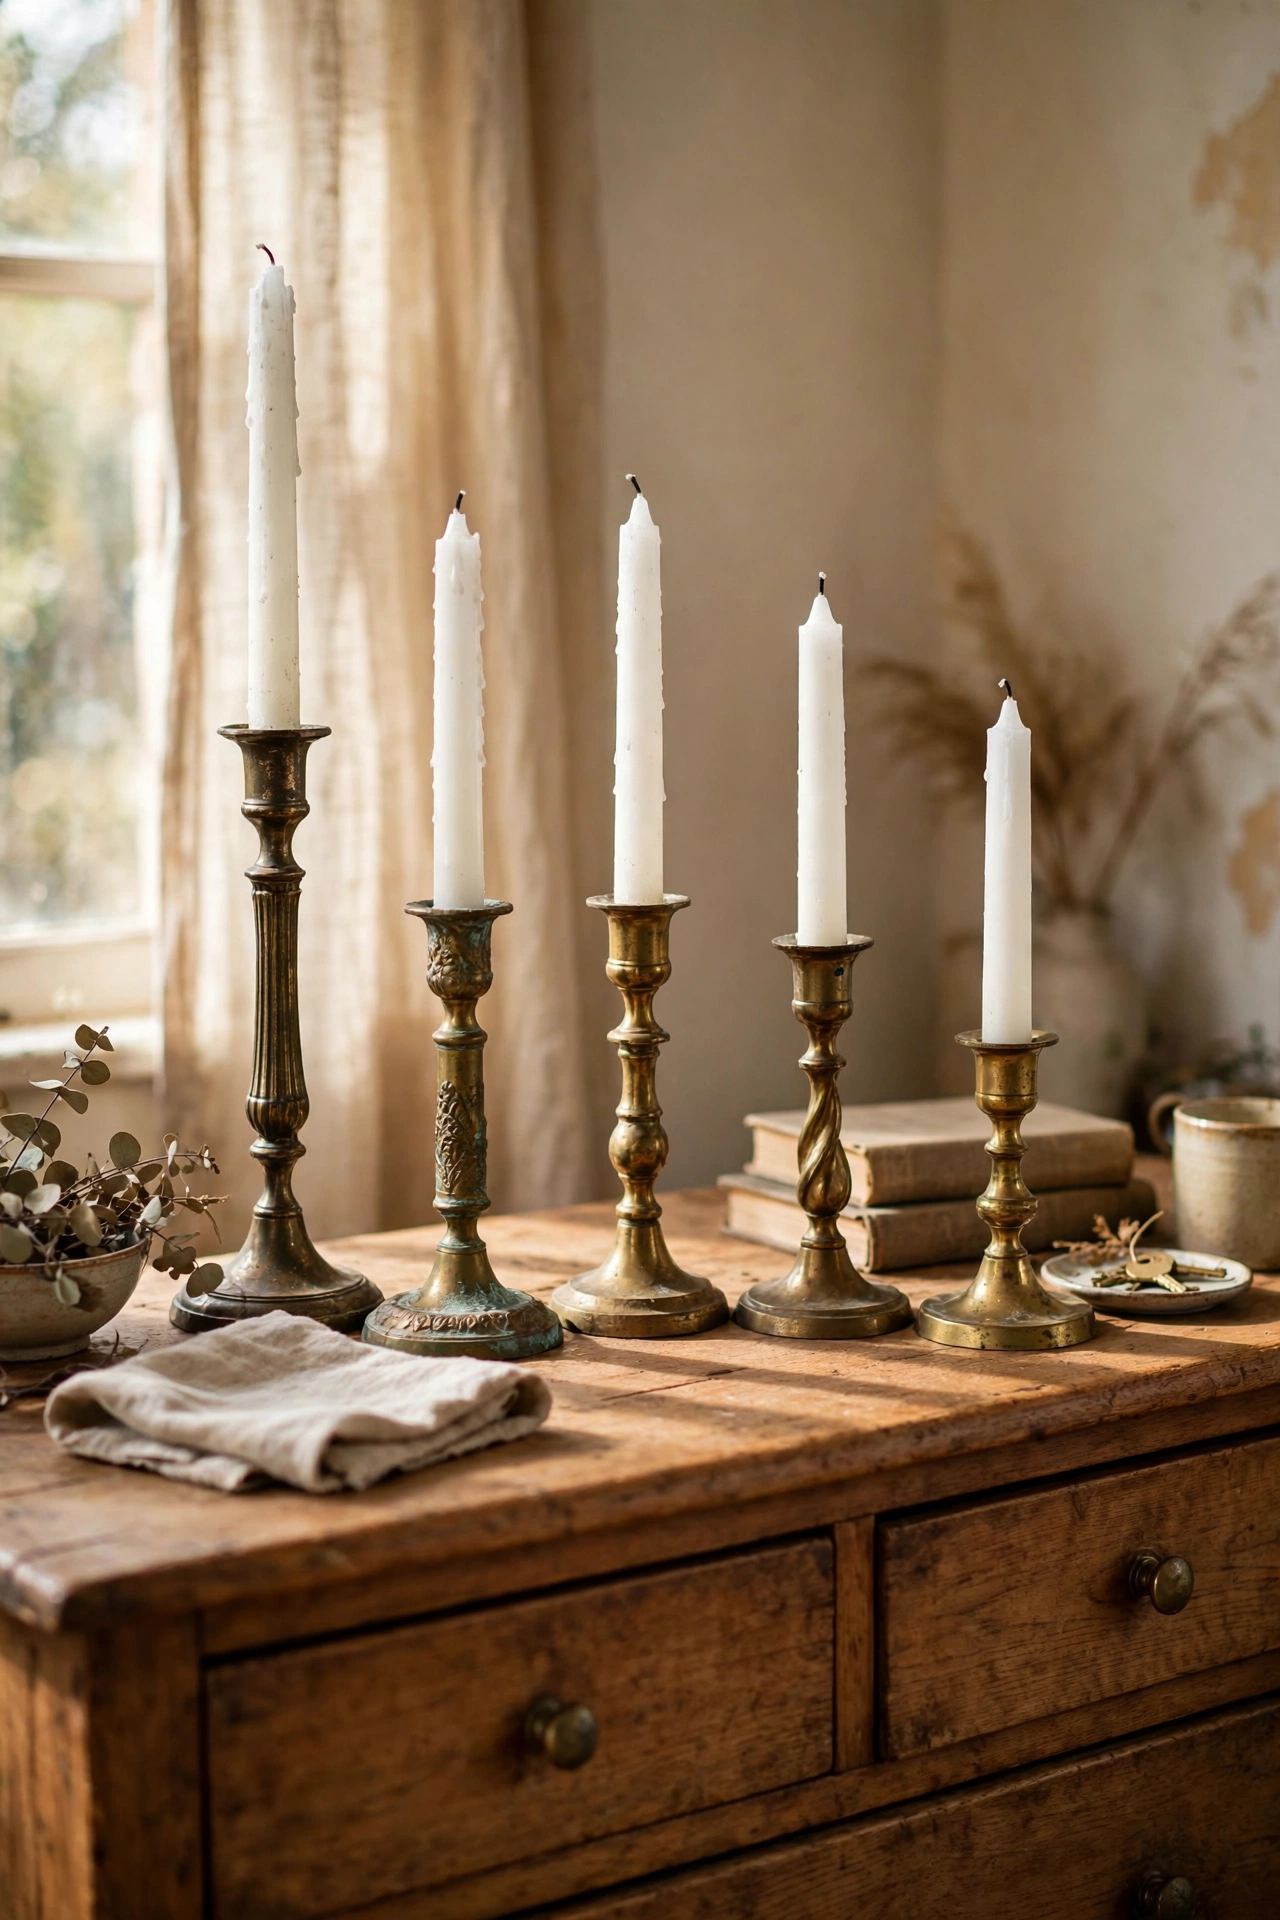
Brass candlesticks at thrift stores cost a dollar or two each and instantly make a dresser look collected. I gathered five in different heights over a month, polished them with a paste of lemon juice and baking soda, and grouped them on my dresser with plain white taper candles. Odd numbers and mixed heights are the whole trick — a matched set would look formal, but mismatched reads personal. Light them on a slow evening and the bedroom feels like a completely different room. Seven dollars total for the group, and they photograph beautifully too.
Cost: ~$5-10 | Time: 30 minutes
16. Vintage Books as Bedside Styling

A short stack of old hardcover books is free styling for your nightstand or dresser. I grabbed four cloth-bound books from the thrift store’s free bin, stacked them by size, and put my small plant on top. Strip the dust jackets — the cloth bindings underneath are almost always prettier. This works on dressers, nightstands, and even the floor beside the bed. My stack cost nothing and makes the nightstand look styled instead of just functional. It is also where my current read lives, so it is decoration that actually gets used.
Cost: ~$0-4 | Time: 5 minutes
17. Thrifted Rug Under the Bed
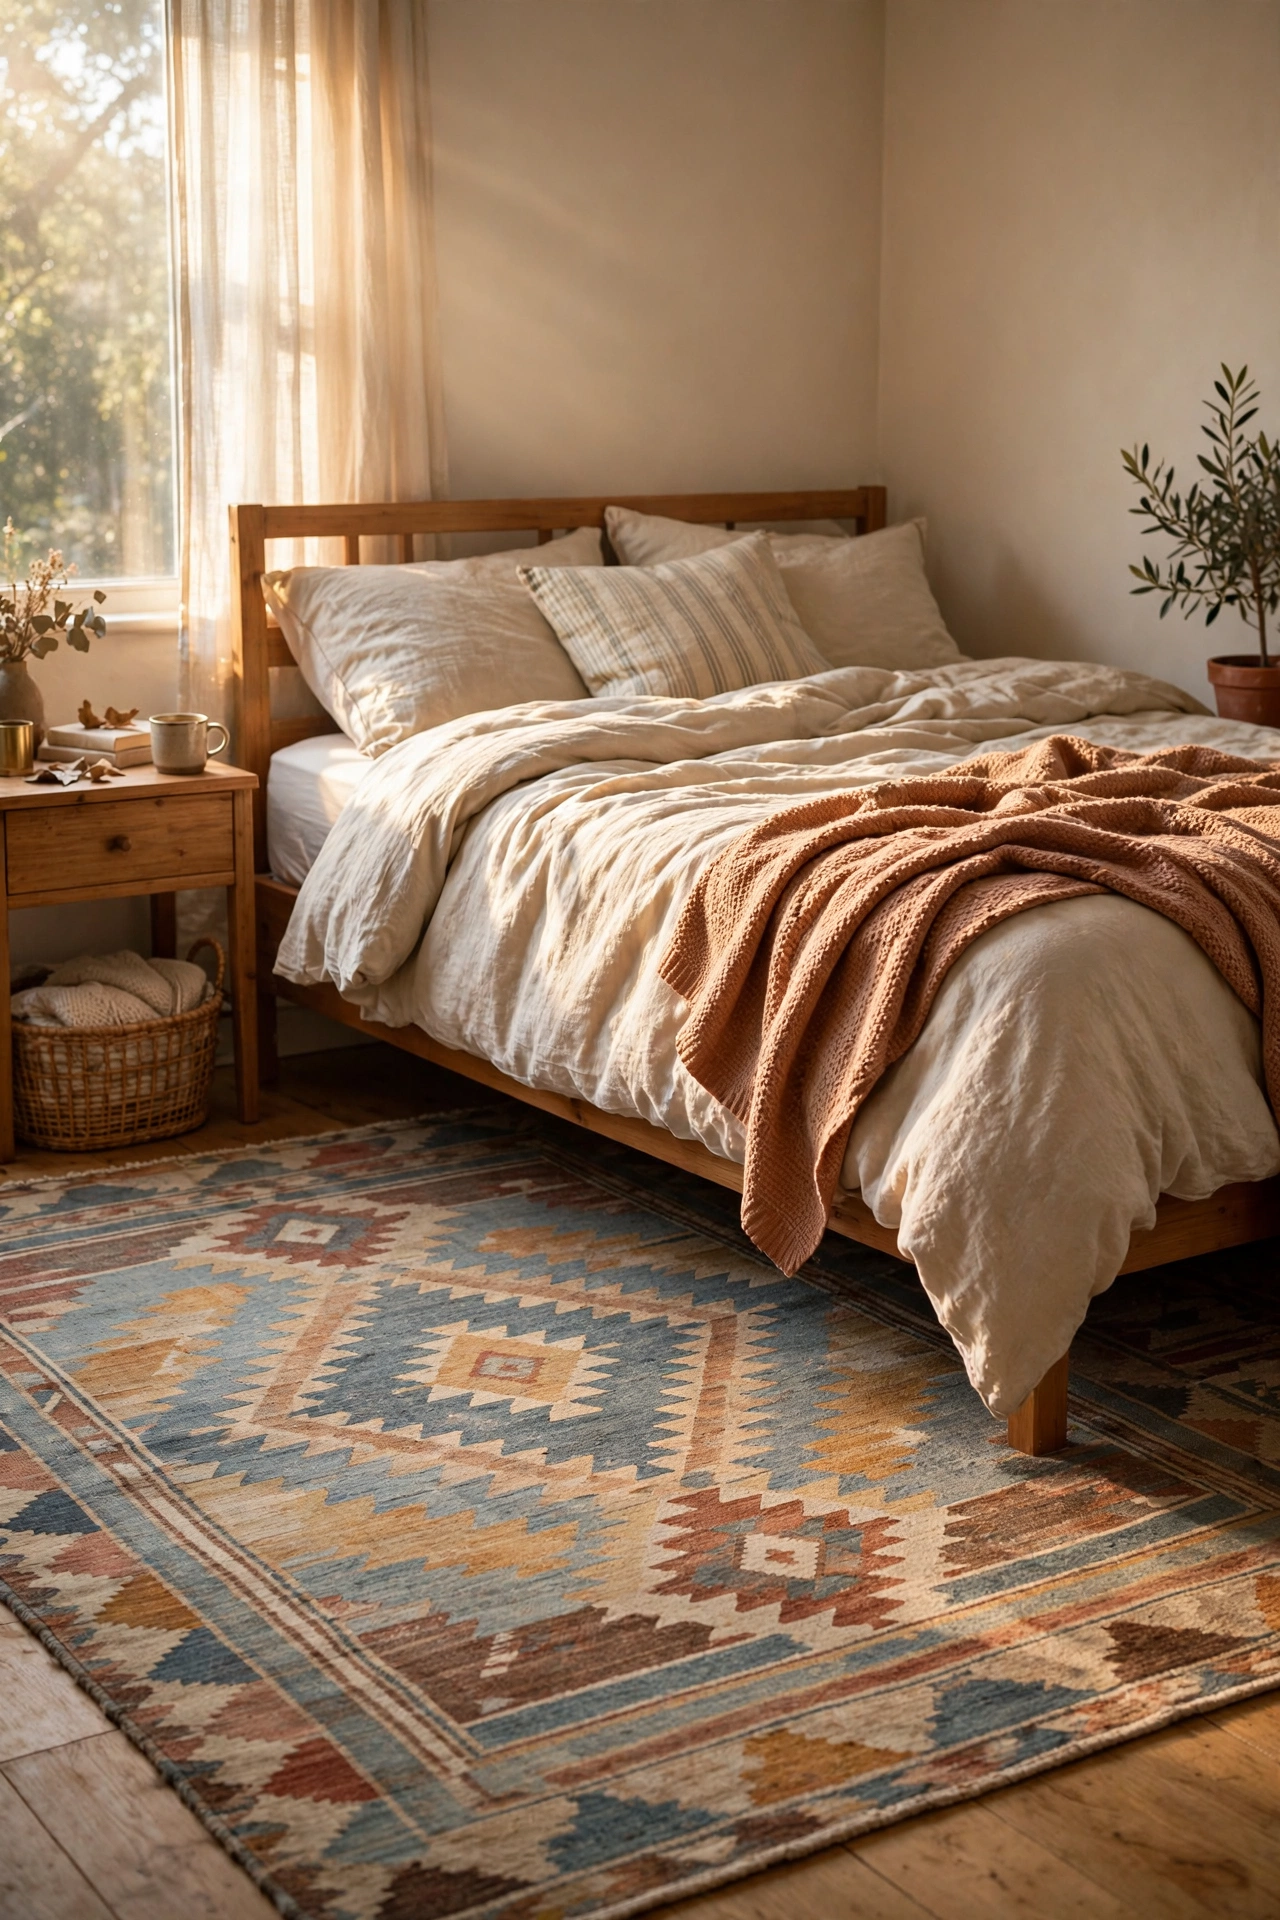
A rug under the bed is what makes a bedroom feel soft and finished, and thrift stores are full of them. I found a large flatweave rug for thirteen dollars, vacuumed it twice, and slid it under the bottom two-thirds of the bed so it frames the sleeping area. Measure your space first — a rug that is too small looks like a bath mat that lost its way. Flatweaves wash and vacuum easily, which matters in a bedroom. Mine grounds the whole room and my feet hit something soft every morning, which is a small daily luxury for thirteen dollars.
Cost: ~$10-20 | Time: 30 minutes
My Thrifted Bedroom, All In
Seventeen ideas, about $177 total, and a bedroom that looks nothing like its price tag. The pattern that worked for me was simple: hunt for solid bones, unify with paint, and let textiles do the softening. Thrifted decorating rewards patience over perfection — the room came together over six weekends, one great find at a time. Start with the quilt and the gallery wall, because bedding and walls change the room fastest. Then keep a running list on your phone of what you still need, and let the thrift gods do the rest.
📌 Found a keeper? Pin this post now and save this idea for your next thrift run!
More budget magic from the thrift aisle: (see also: 21-thrifted-bedroom-decor-that-look-designer) (see also: 17-thrifted-living-room-decor-that-dont-look-cheap) (see also: 25-dollar-store-living-room-decor-that-look-expensive)
