17 DIY Halloween Decorations That Cost Almost Nothing
The first Halloween in our house, I spent forty dollars on plastic decorations that broke before the night was over, and my kids were more excited by the cardboard box they came in. That taught me everything I know about diy halloween decorations: the best ones are made, not bought, usually from things already in the house. Save this list before October sneaks up on you. I have linked a few related reads like (see also: budget-halloween-porch-decor) and (see also: cheap-halloween-mantel-decor) if you want more, and (see also: dollar-store-halloween-decor) for the cheapest scares.
1. Cheesecloth Ghosts Hanging From the Porch
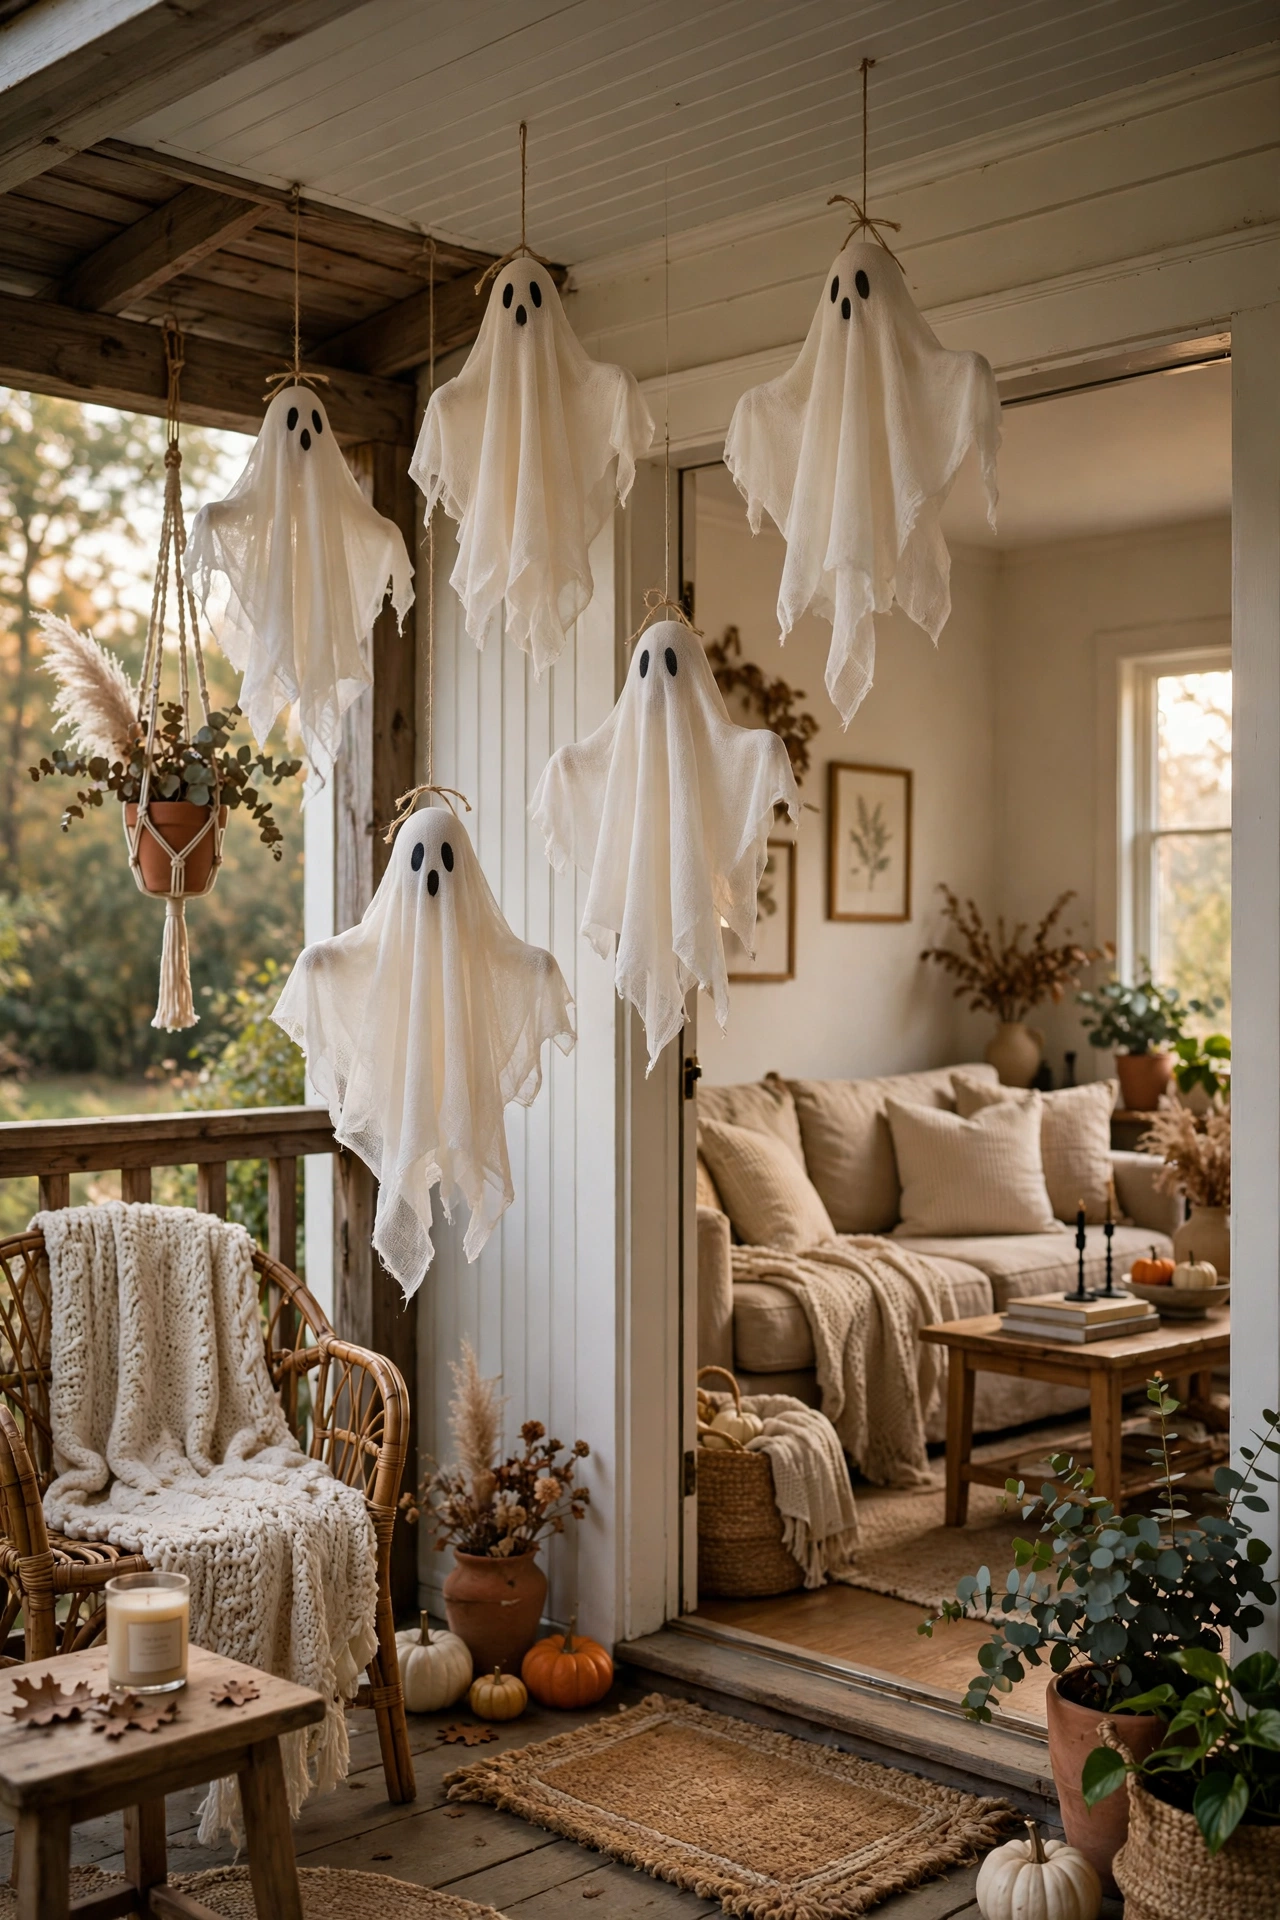
This one is my go-to when I want the space to feel finished without spending much, and visitors always notice it first. Drape cheesecloth over a small balloon or a ball of scrunched paper, tie it at the neck with twine, and draw two black eyes with a marker. Hang three from the porch ceiling at different heights. I made mine in ten minutes with the kids, and the way they sway in the breeze genuinely startles visitors. Take them down when rain is forecast or they go soggy.
Cost: ~$2 | Time: 20 minutes
2. Black Paper Bats on the Front Windows
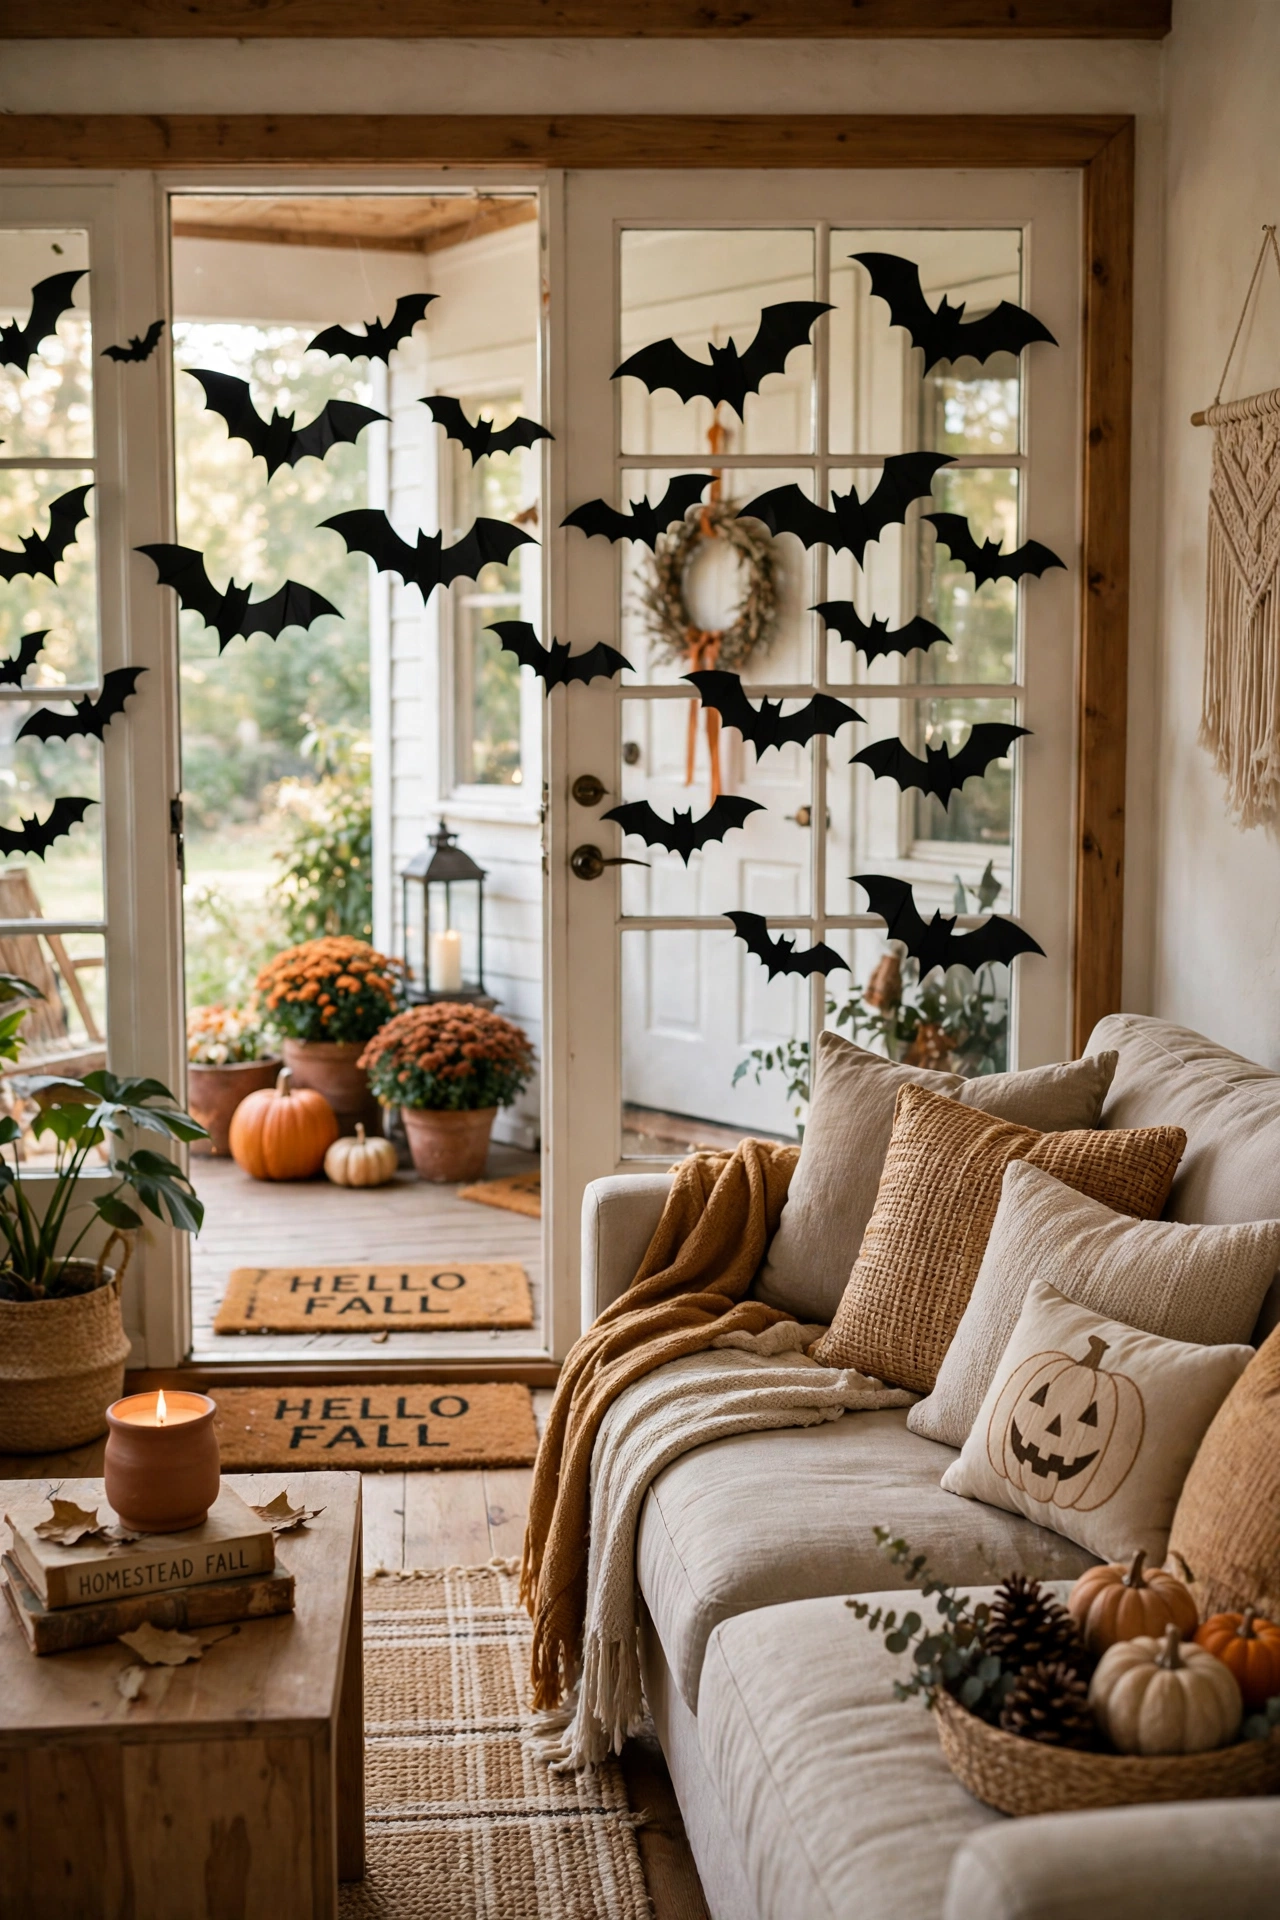
I put this together on a quiet afternoon with things I already had, and it ended up being the part everyone photographed. Fold black card in half, draw half a bat, and cut it out so it opens into a full bat shape. Tape a dozen to the front windows in a swooping pattern. My kids cut ours every year now, and the wonky ones are my favourites. Use painter’s tape so nothing sticks to the glass when you take them down. Keep the colours calm and let one texture do the talking, and the whole thing will look far more expensive than it was.
Cost: ~$1 | Time: 30 minutes
3. Painted Pumpkin Faces With Googly Eyes
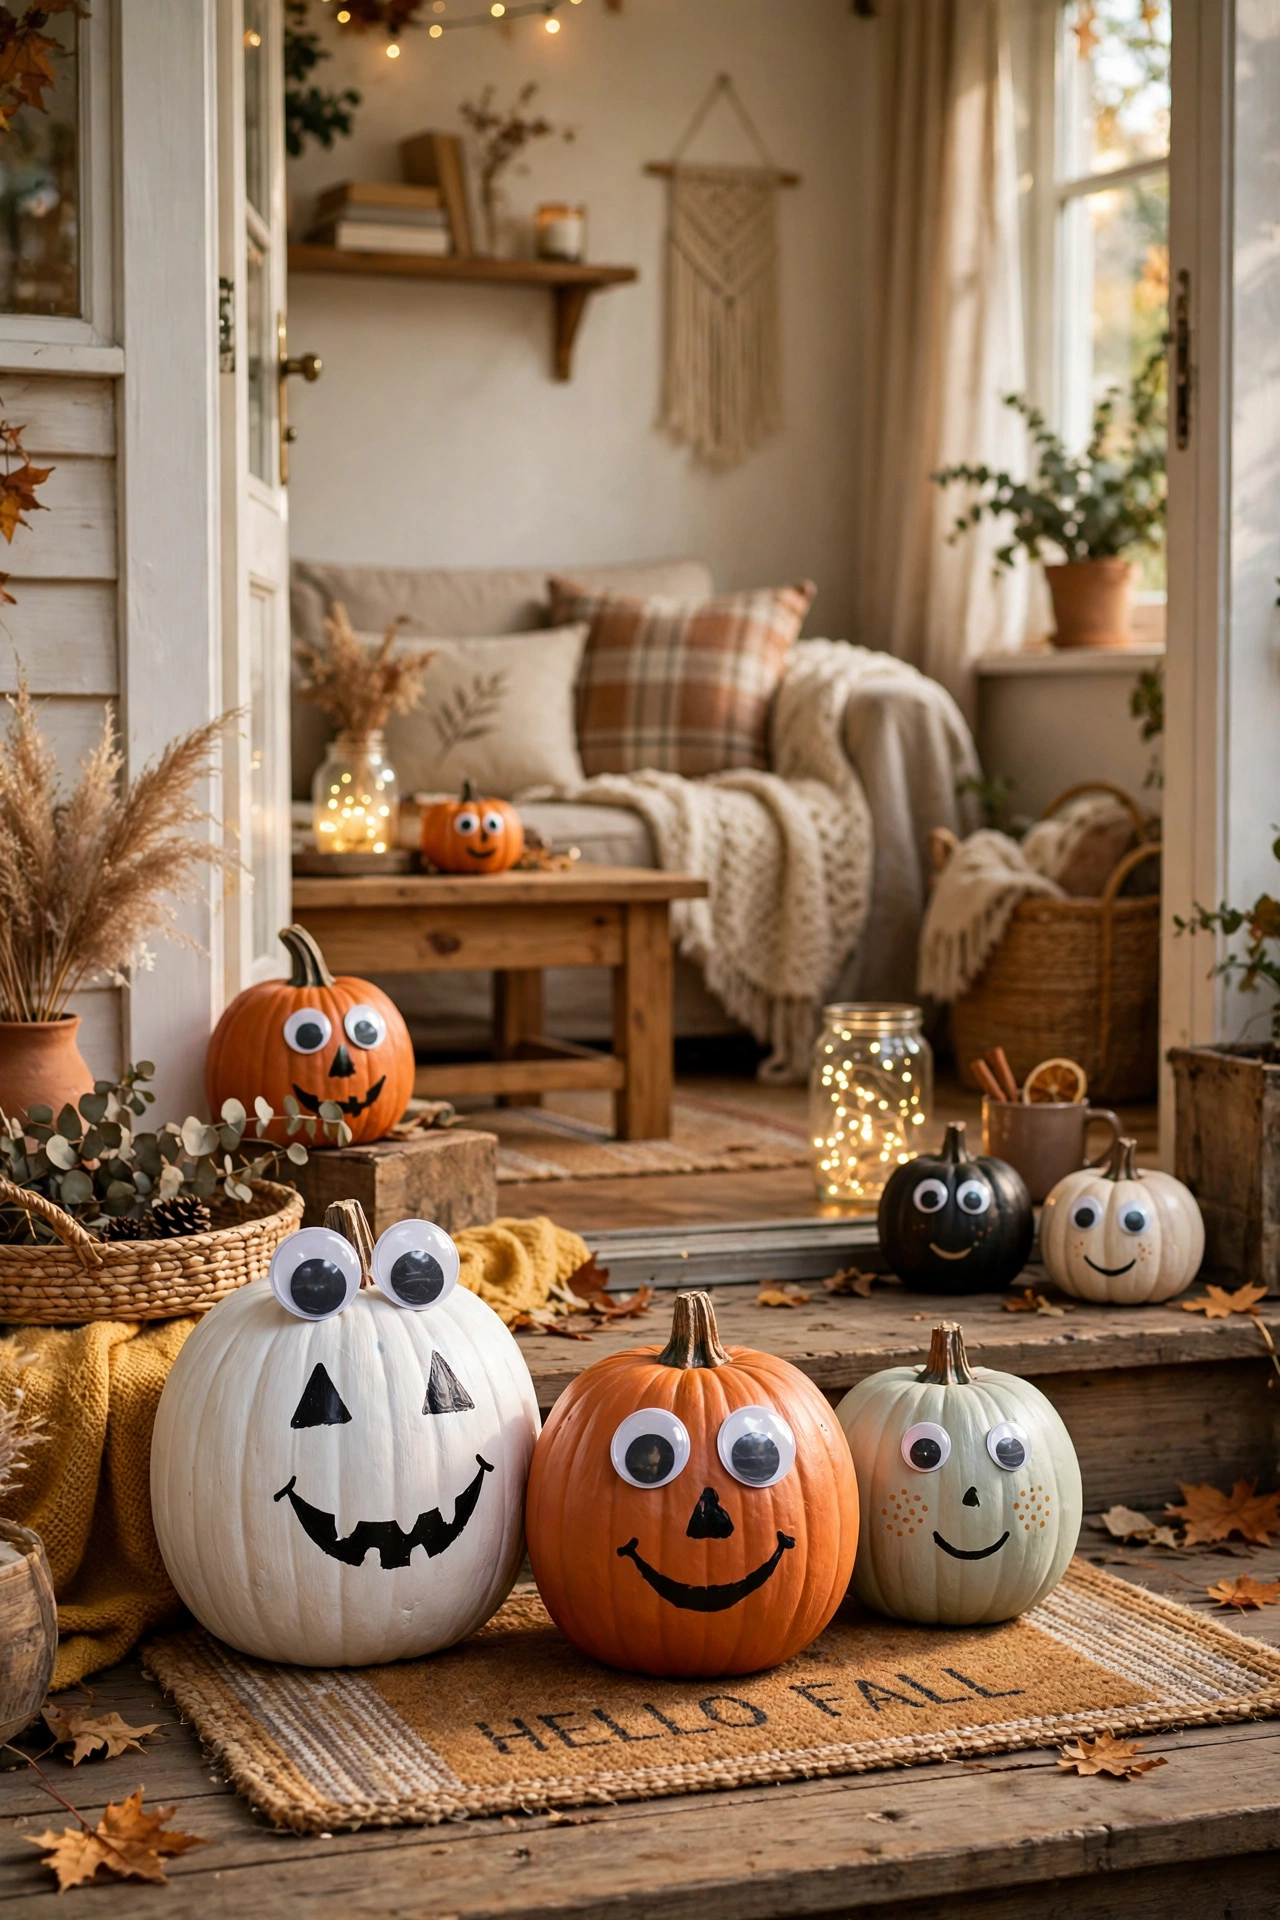
If you only have an hour and a small budget, start here, because the payoff is huge for how little effort it takes. Paint a pumpkin white or black, then stick on googly eyes and draw a mouth with a marker instead of carving. It lasts for weeks, there is no messy carving, and little kids can do it safely. I started painting pumpkins when my youngest was too small for a knife, and honestly I prefer them now. Seal with clear spray to keep the paint on.
Cost: ~$5 | Time: 25 minutes
4. Mason Jar Mummies With Gauze Wraps
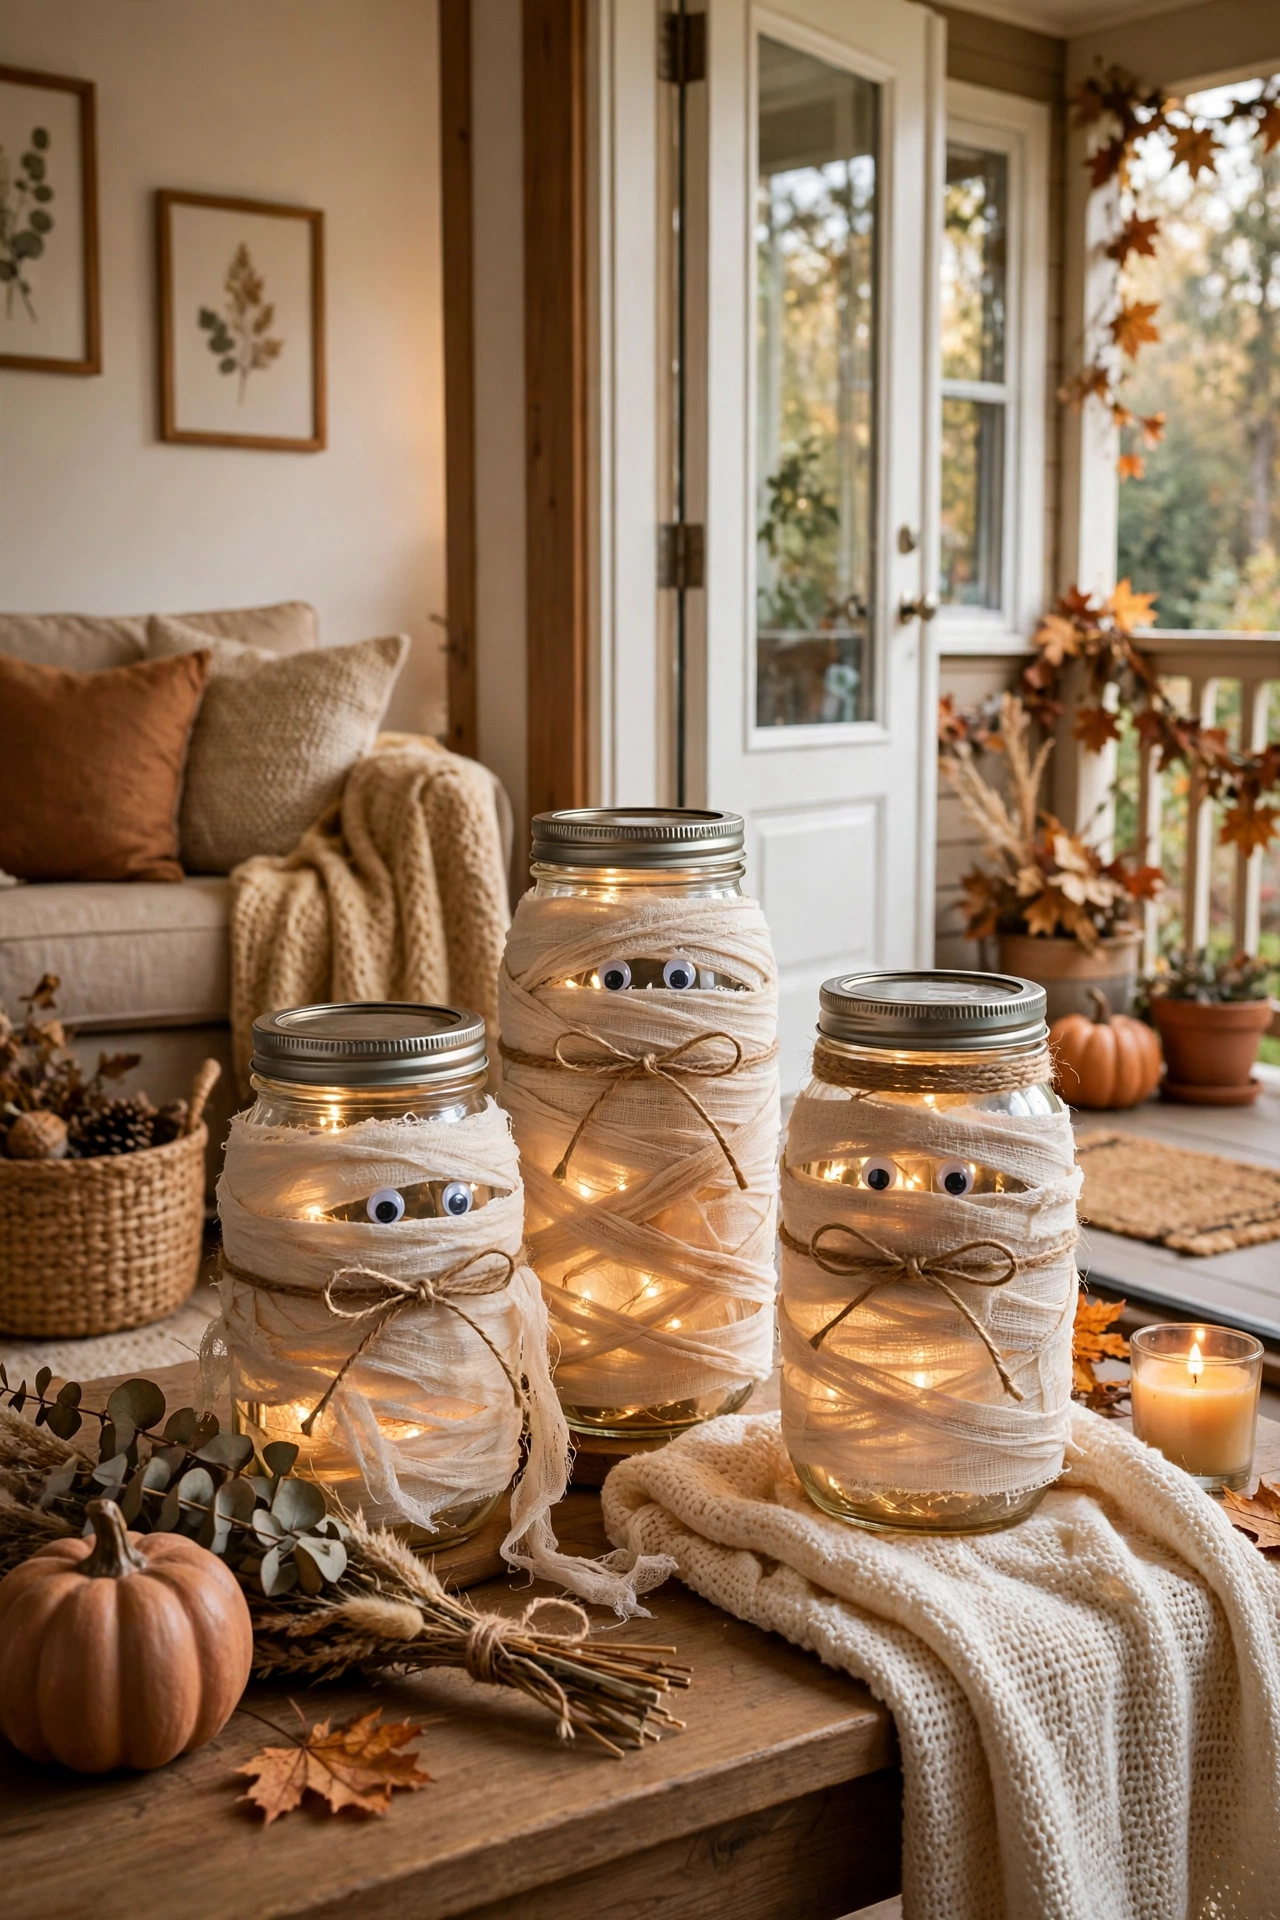
I was sceptical the first time I tried this, but once it was in place the whole space felt warmer and more pulled together. Wrap a mason jar in strips of gauze, leaving a gap for two googly eyes, and pop a battery tea light inside. Line three along the windowsill and they glow like little mummies. I used gauze from the first aid kit and the jars from the pantry, so the whole thing cost me the price of the eyes. Never use a real candle inside fabric.
Cost: ~$3 | Time: 20 minutes
5. Spider Webs Made From Black Trash Bags
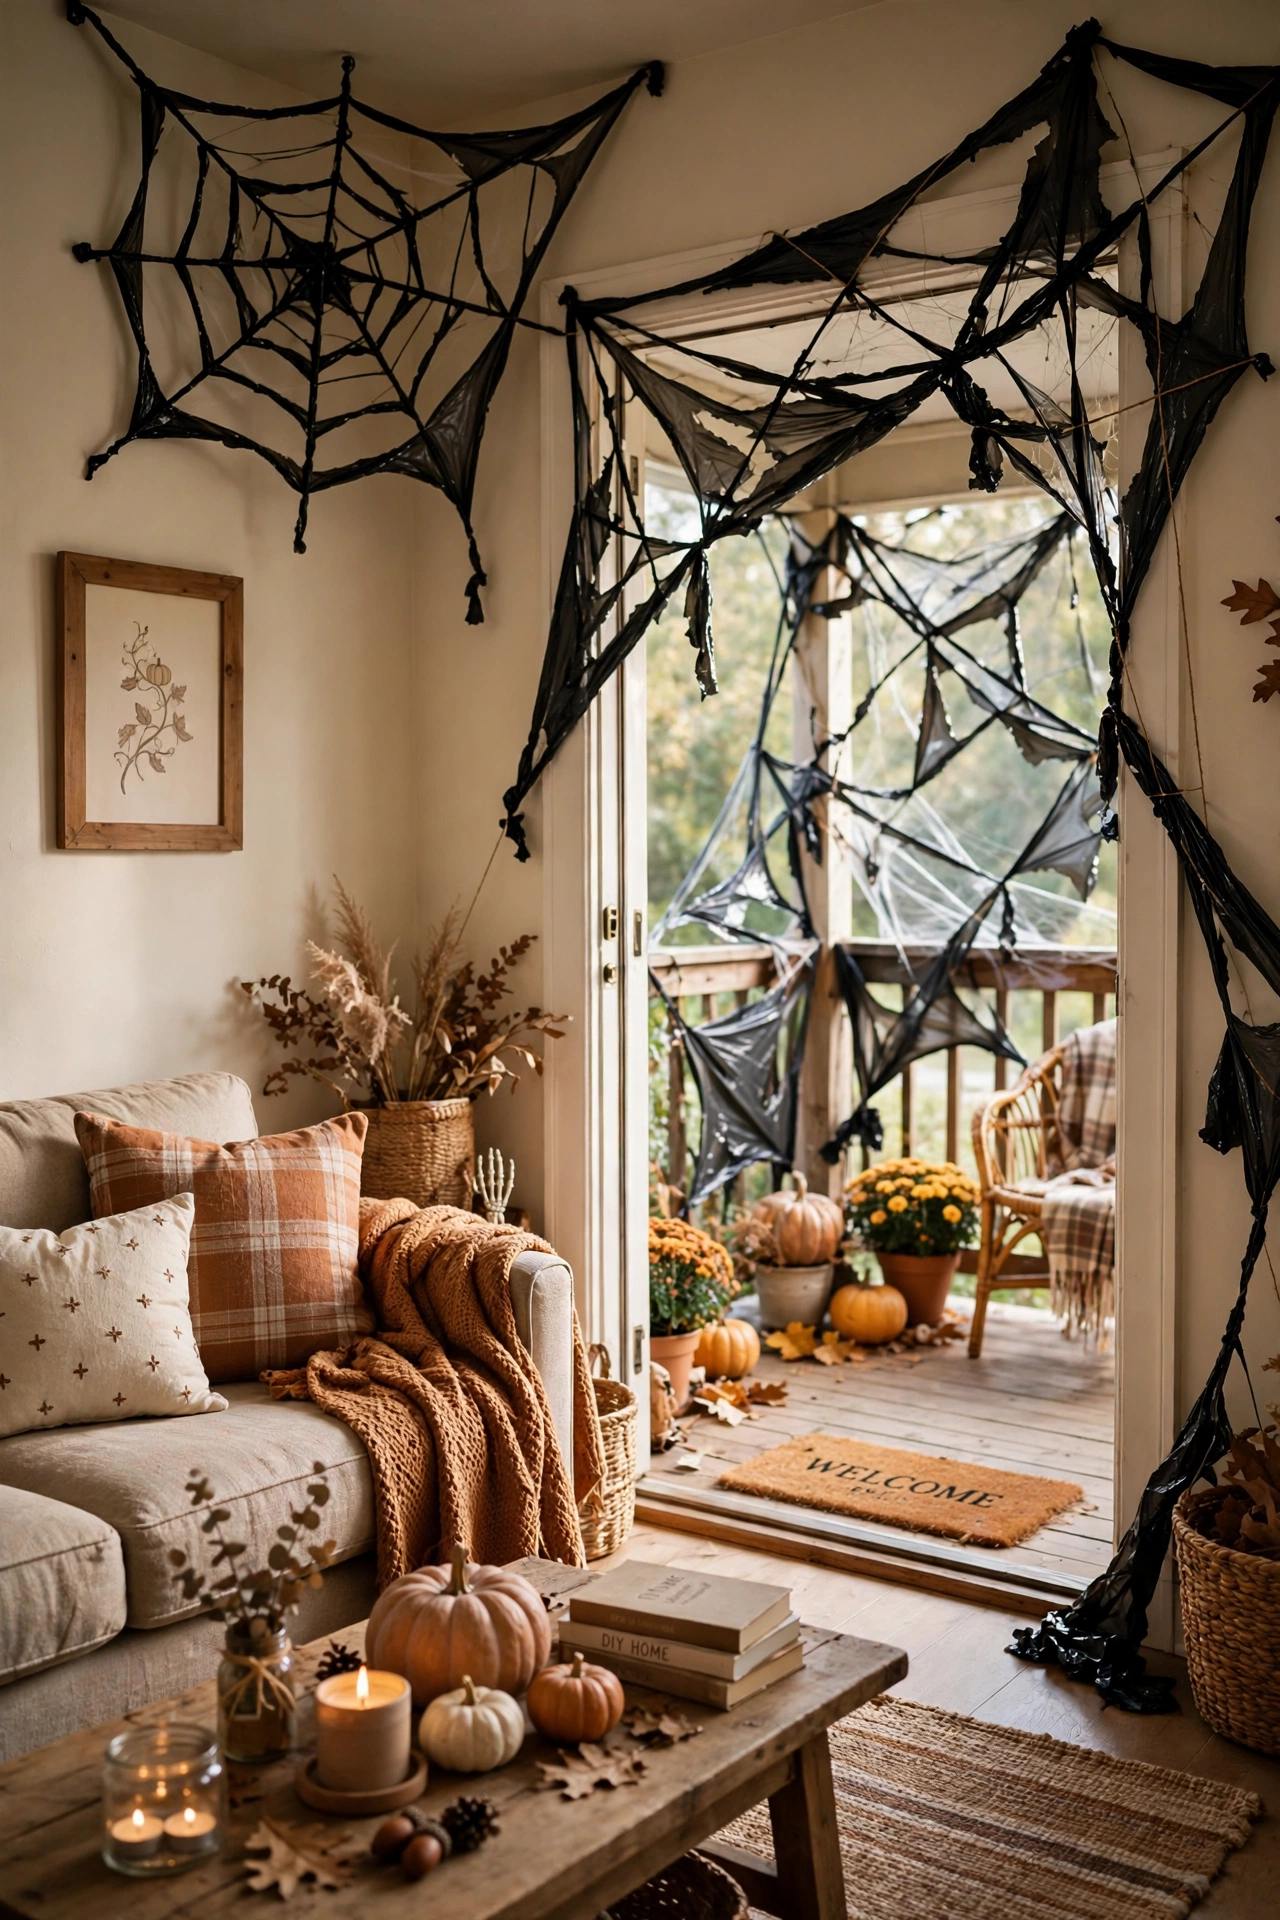
This is the kind of simple idea that looks plain in your head and lovely in real life, especially in soft daylight. Cut a black trash bag into a large circle, fold it into eighths, and snip curved notches along the folded edges. Open it up and you have a giant spider web to tape across a window or wall. I made my first one following a video and it took three tries to get right, so keep a spare bag handy. Add a plastic spider for the full effect.
Cost: ~$1 | Time: 25 minutes
6. Floating Candles From Toilet Paper Rolls
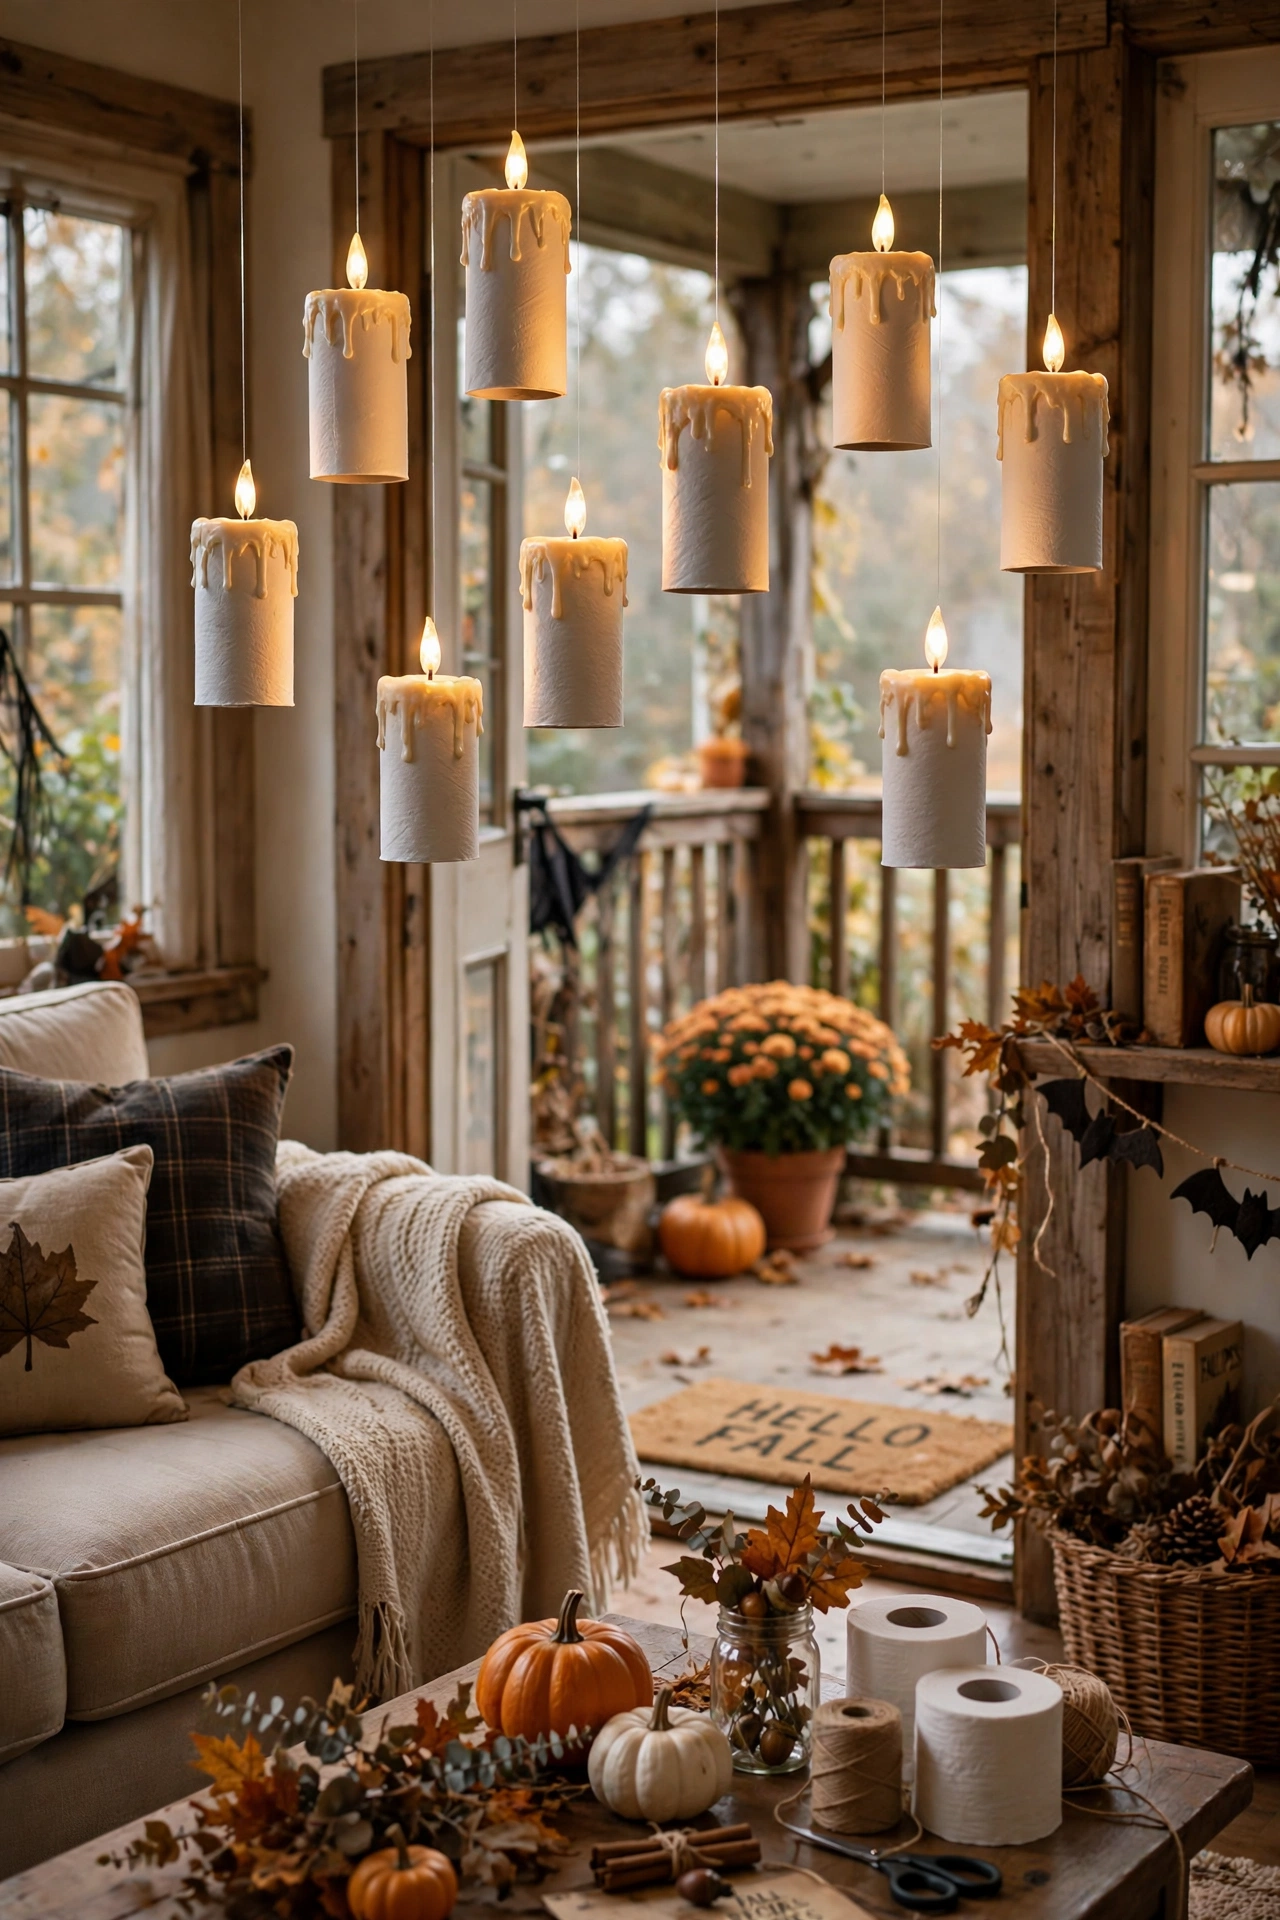
I keep coming back to this one because it is cheap, quick, and easy to change next season without wasting anything. Paint toilet paper rolls white, drip hot glue down the sides to look like melted wax, and glue a battery tea light on top. Hang them from the ceiling with fishing line at different heights. I did this for a Harry Potter party and guests kept looking up, convinced they were floating. Use LED lights only, never real flames. The best part is how easy it is to swap out next season without starting from scratch.
Cost: ~$2 | Time: 40 minutes
7. Bloody Handprint Window Clings From Red Paint
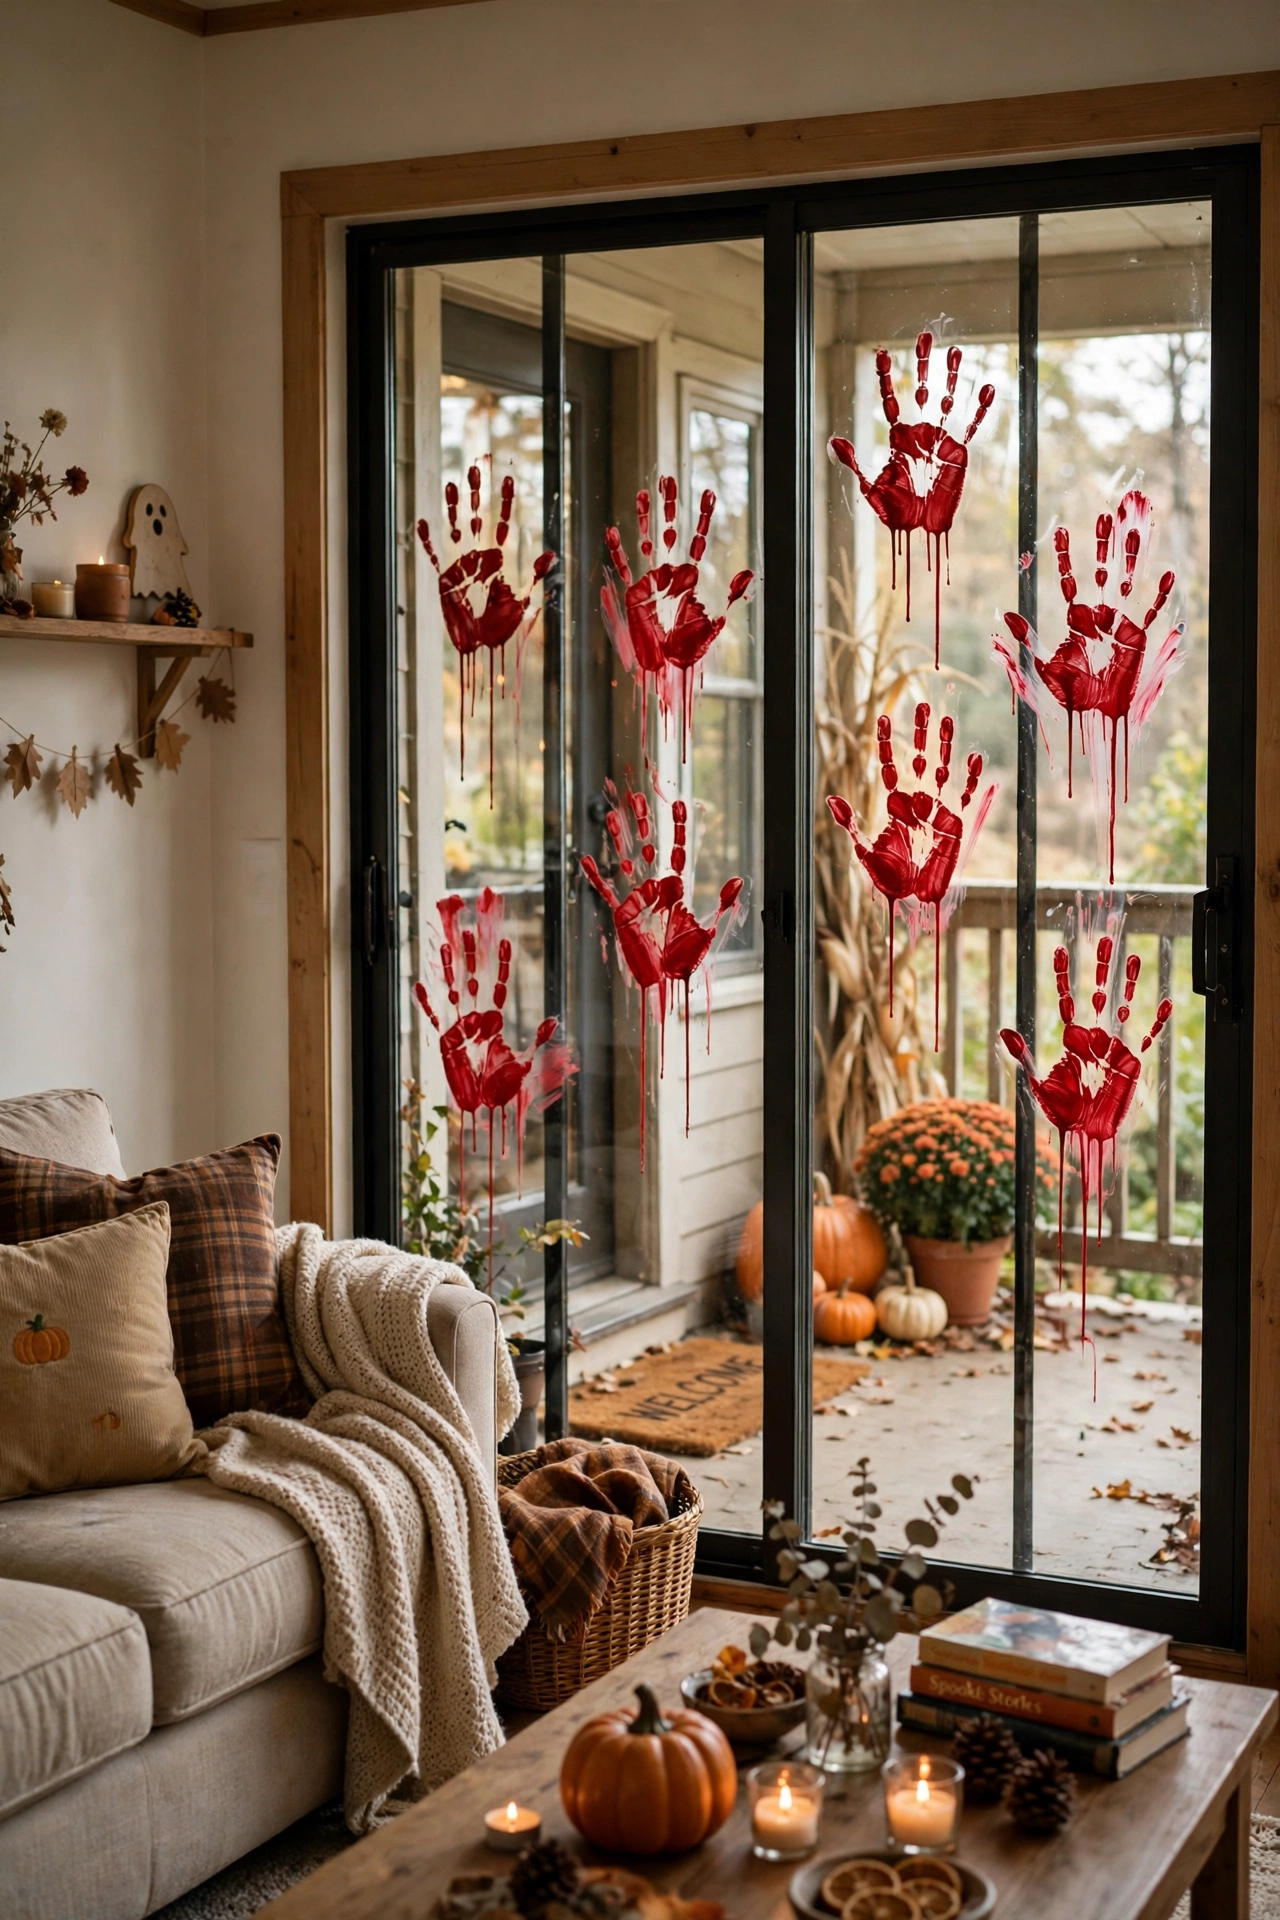
My sister asked me how much I paid for this look, and when I told her she laughed, because it cost almost nothing. Dip your hand in washable red paint and press it onto wax paper, let it dry, then peel it off and stick it to the window. Make a few and scatter them across the glass. My kids thought this was the funniest thing we had ever made, and the clings peel off cleanly afterwards. Use washable paint or you will regret it.
Cost: ~$2 | Time: 20 minutes
8. Tin Can Luminaries With Punched-Out Faces
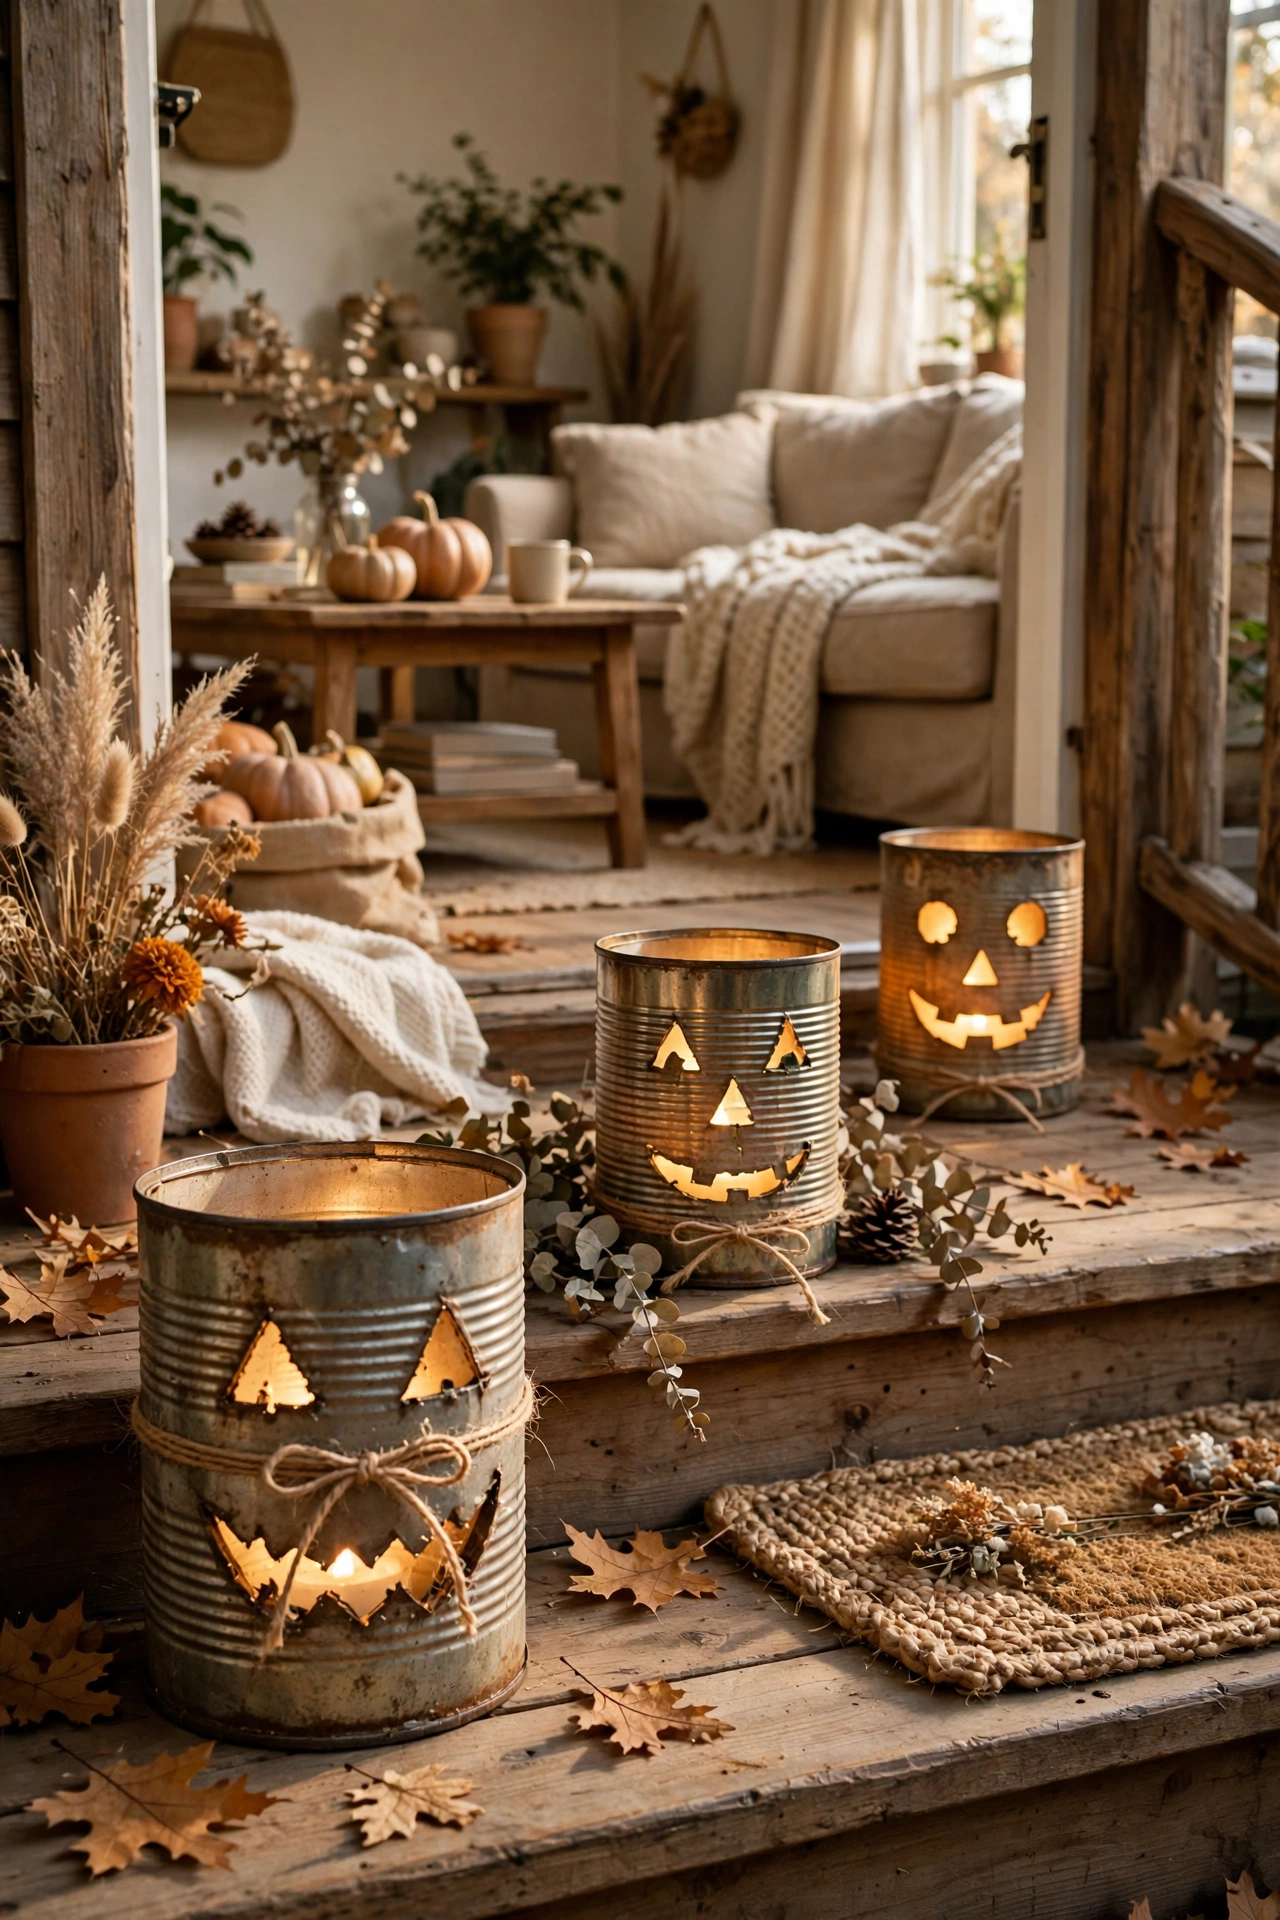
I tried this last year and it worked far better than I expected, mostly because it looks like you spent a lot when you really did not. Fill a tin can with water and freeze it overnight, then hammer nail holes into the frozen can to make a spooky face. Empty the ice, drop in a tea light, and set it on the porch. The frozen water stops the can from denting, which is the trick I wish someone had told me before my first squashed attempt. Sand the rim so nobody cuts a finger.
Cost: ~$1 | Time: 45 minutes
9. Creepy Doll Heads in a Planter
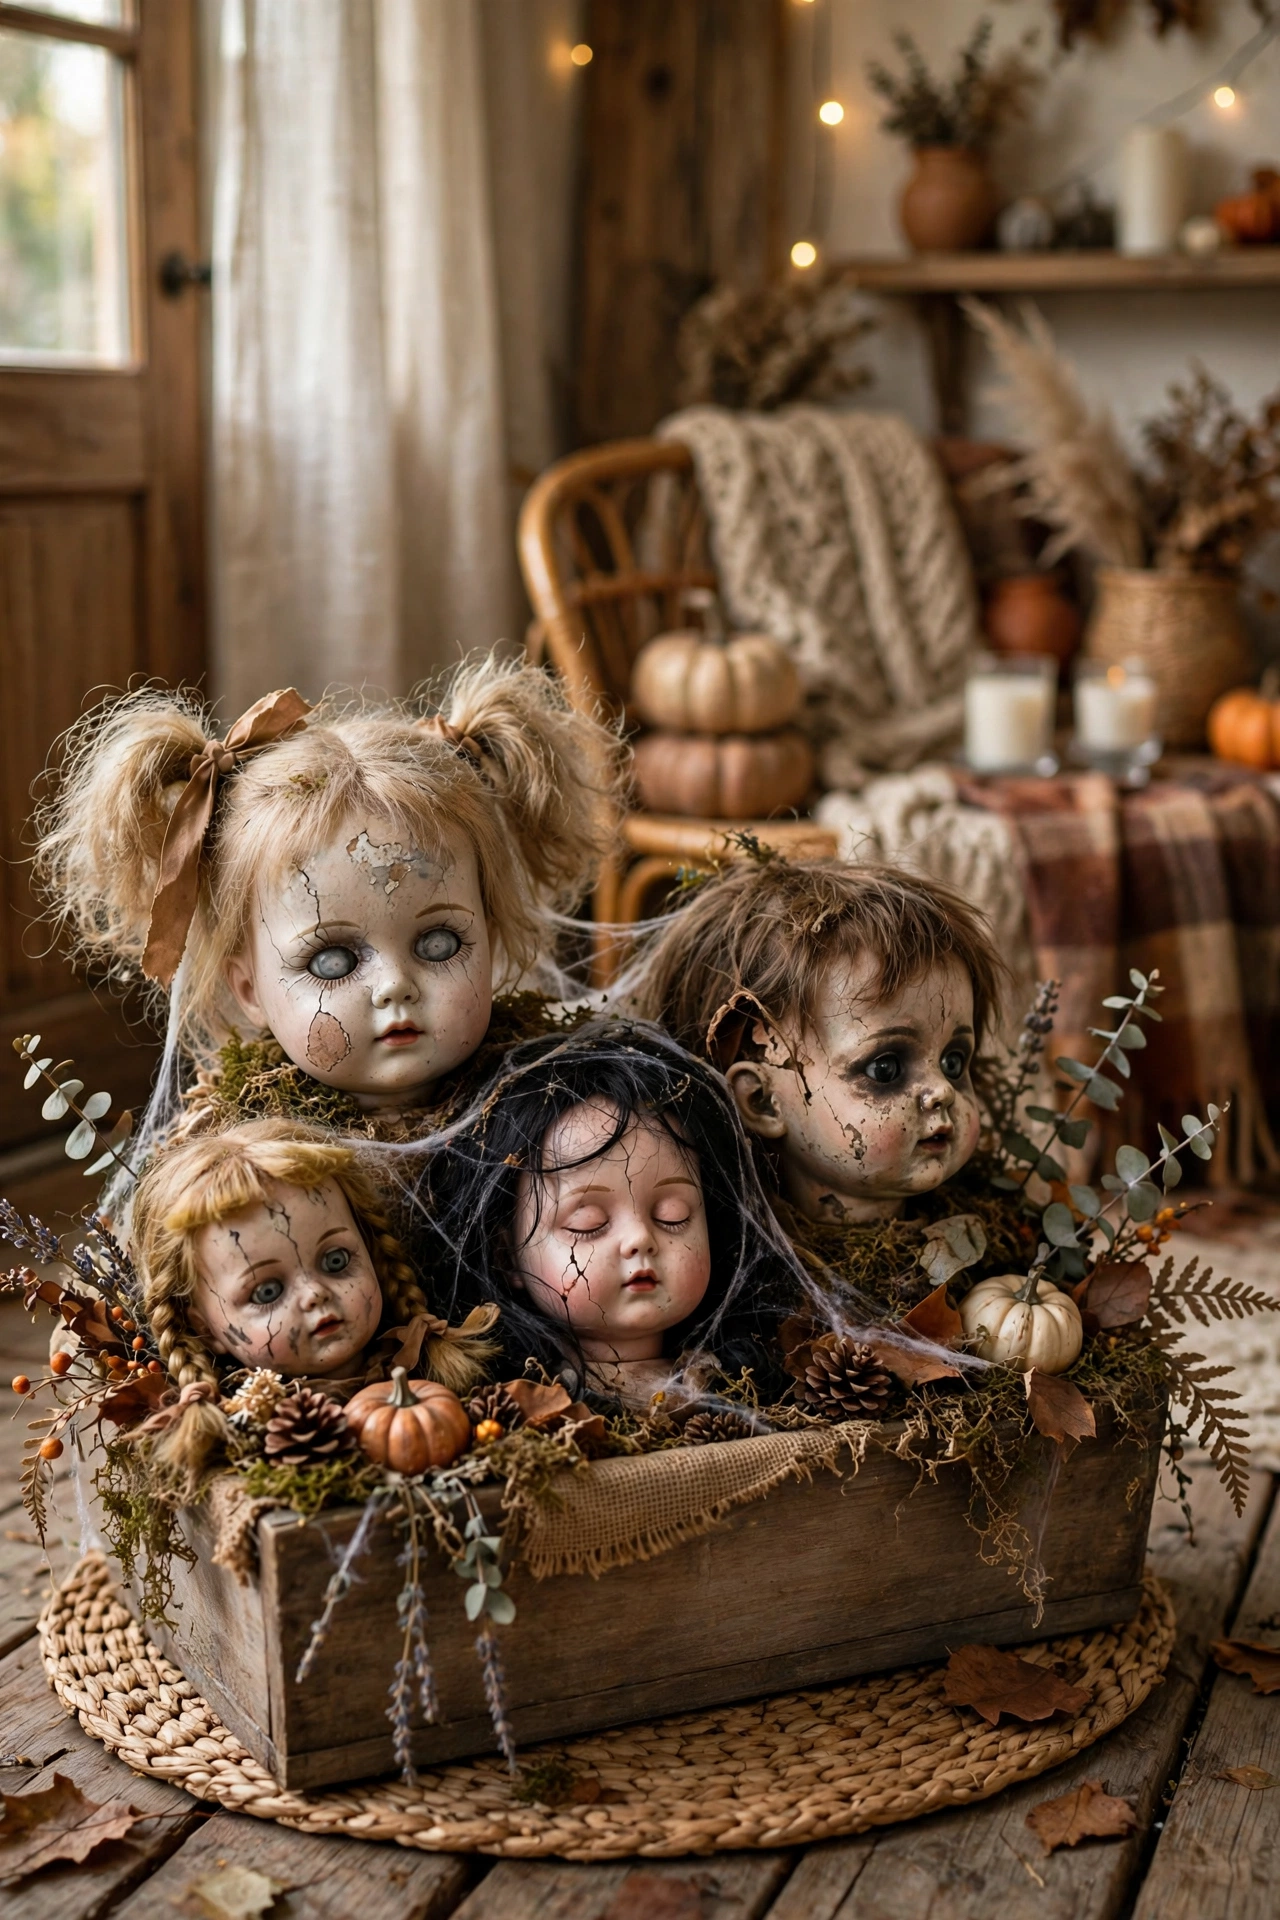
This is the idea I reach for when guests are coming in an hour and the room still looks bare. Dig out old dolls from the toy box, remove the heads, and plant them in a pot of soil with a few dead-looking branches. Set it by the door where visitors will see it. I know it sounds grim, but it is the decoration our neighbours talk about every single year. Wash the dolls first and wear gloves, because old toys are filthy. It takes minutes, costs very little, and you can reuse most of it next season, which is exactly how I like to decorate.
Cost: ~$0 | Time: 15 minutes
10. Toilet Paper Roll Bats on the Mantel
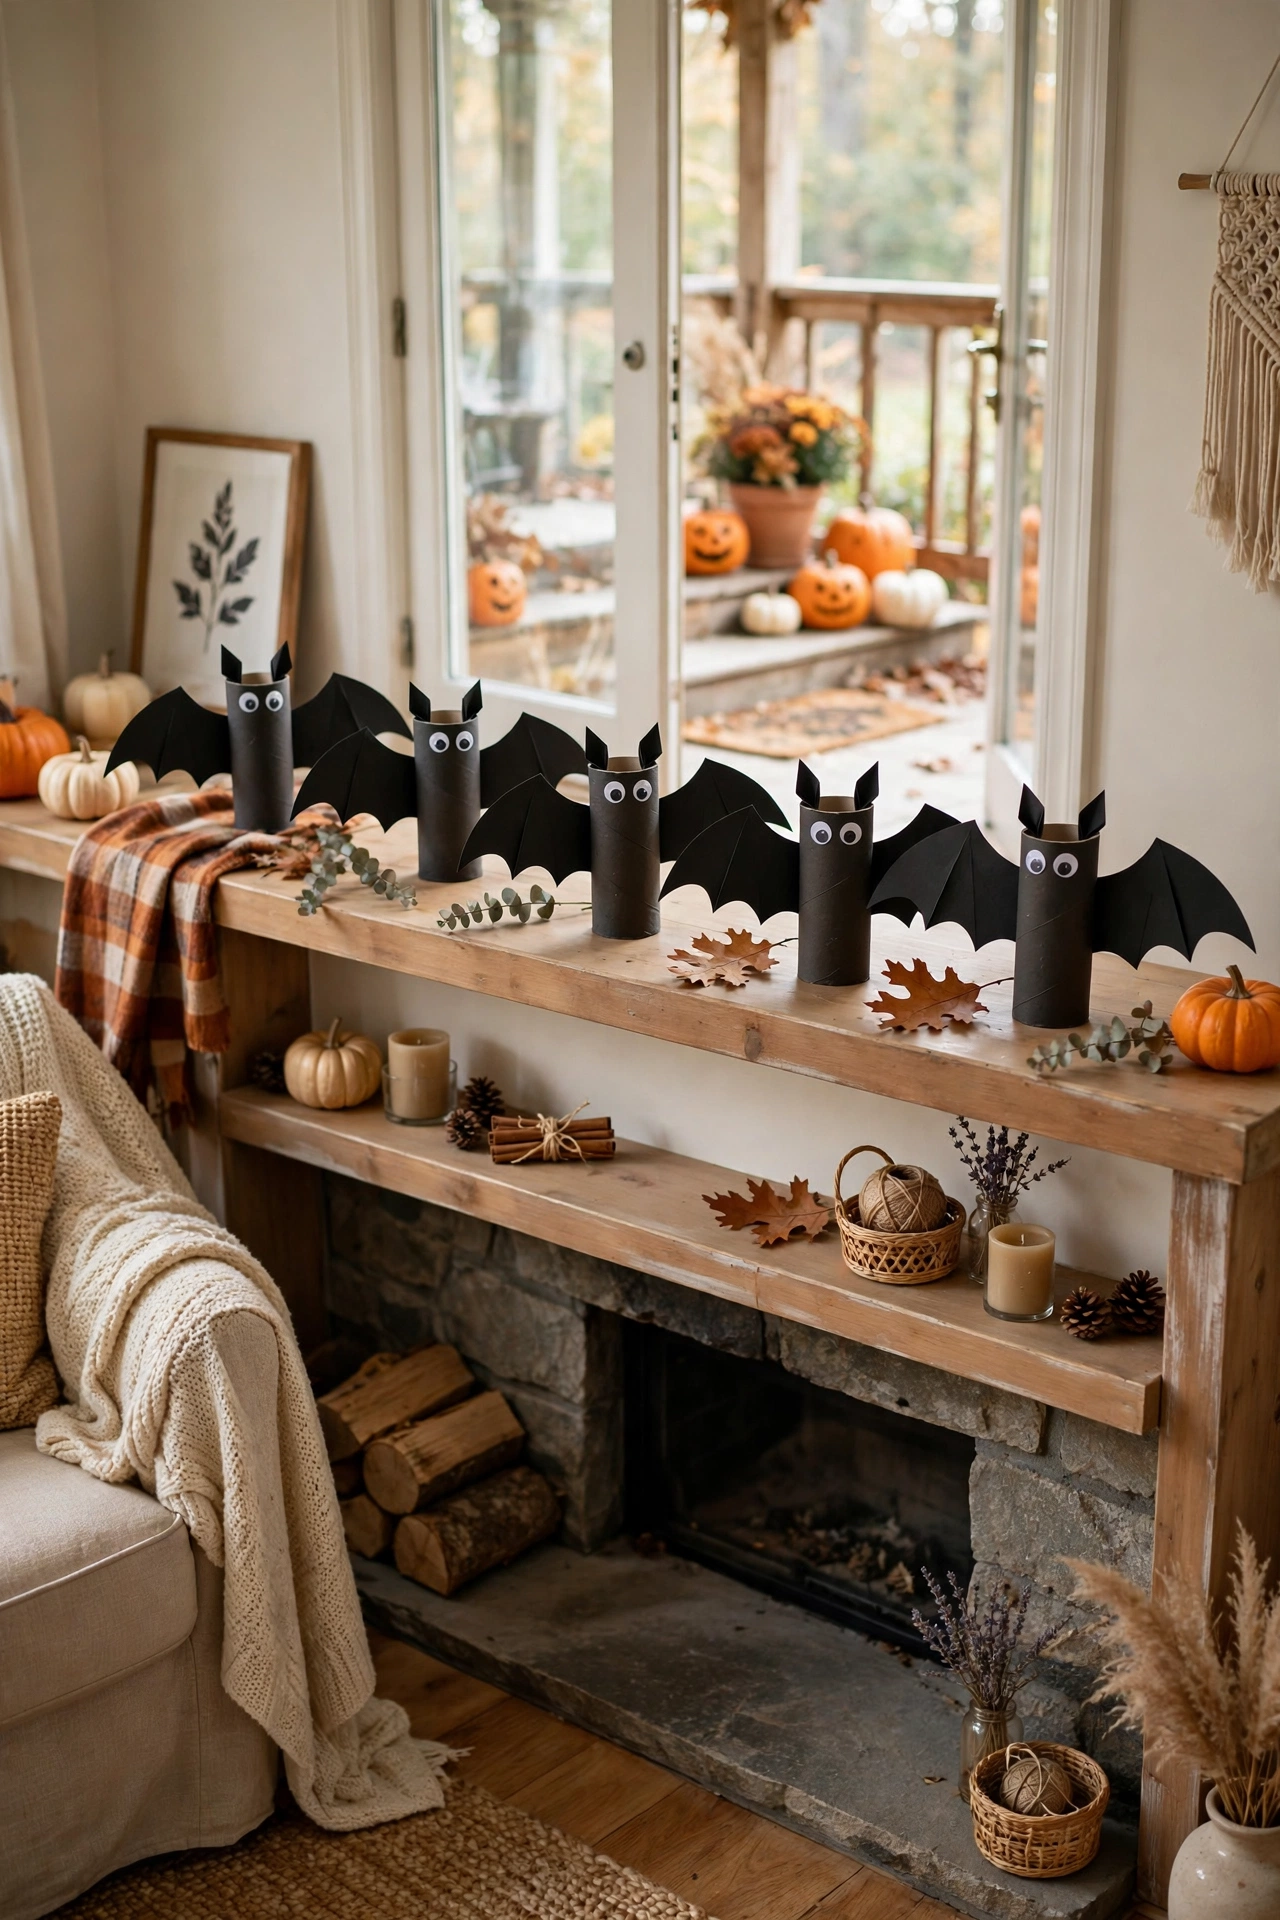
I found this by accident while clearing out the garage, and it turned out to be one of my favourite cheap fixes. Paint toilet paper rolls black, fold the tops into little ears, glue on googly eyes and paper wings, and line them along the mantel. They take minutes each and the kids can make a whole colony. I made a dozen one rainy afternoon and they are still in the Halloween box, ready to fly again. Store them flat so the wings do not bend.
Cost: ~$1 | Time: 30 minutes
11. Glow-in-the-Dark Skeleton Hands in the Garden
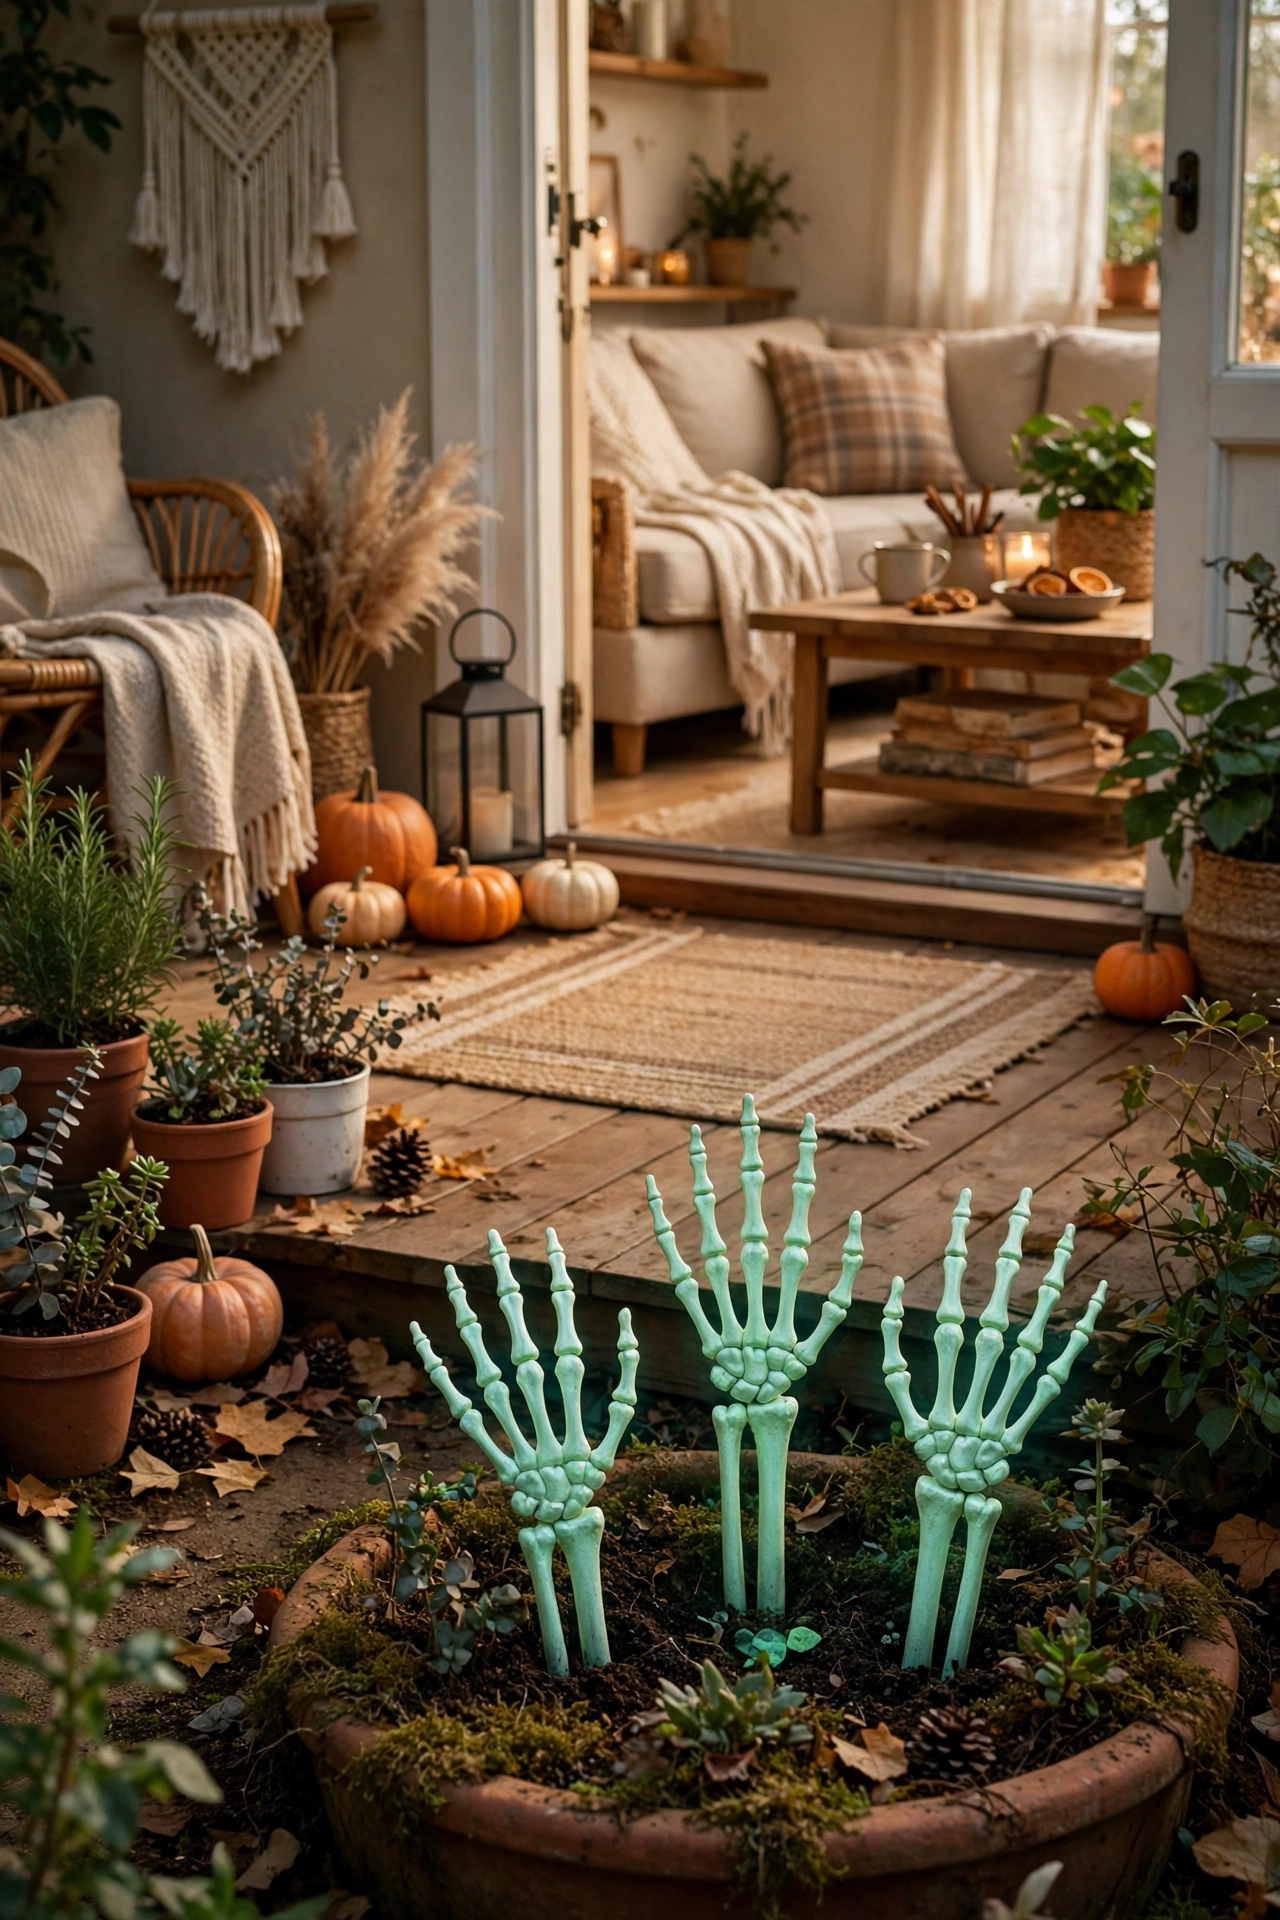
This one costs almost nothing if you already have the basics, and it changes the whole feel of the space in minutes. Buy a pack of glow-in-the-dark skeleton hands, or paint plastic gloves with glow paint, and stick them upright in the garden beds so they look like they are clawing out of the ground. Charge them in daylight and they glow all evening. I placed mine along the path to the door and the delivery driver nearly dropped a parcel. Bring them in when it rains.
Cost: ~$4 | Time: 15 minutes
12. Witch Hat Luminaries From Old Party Hats
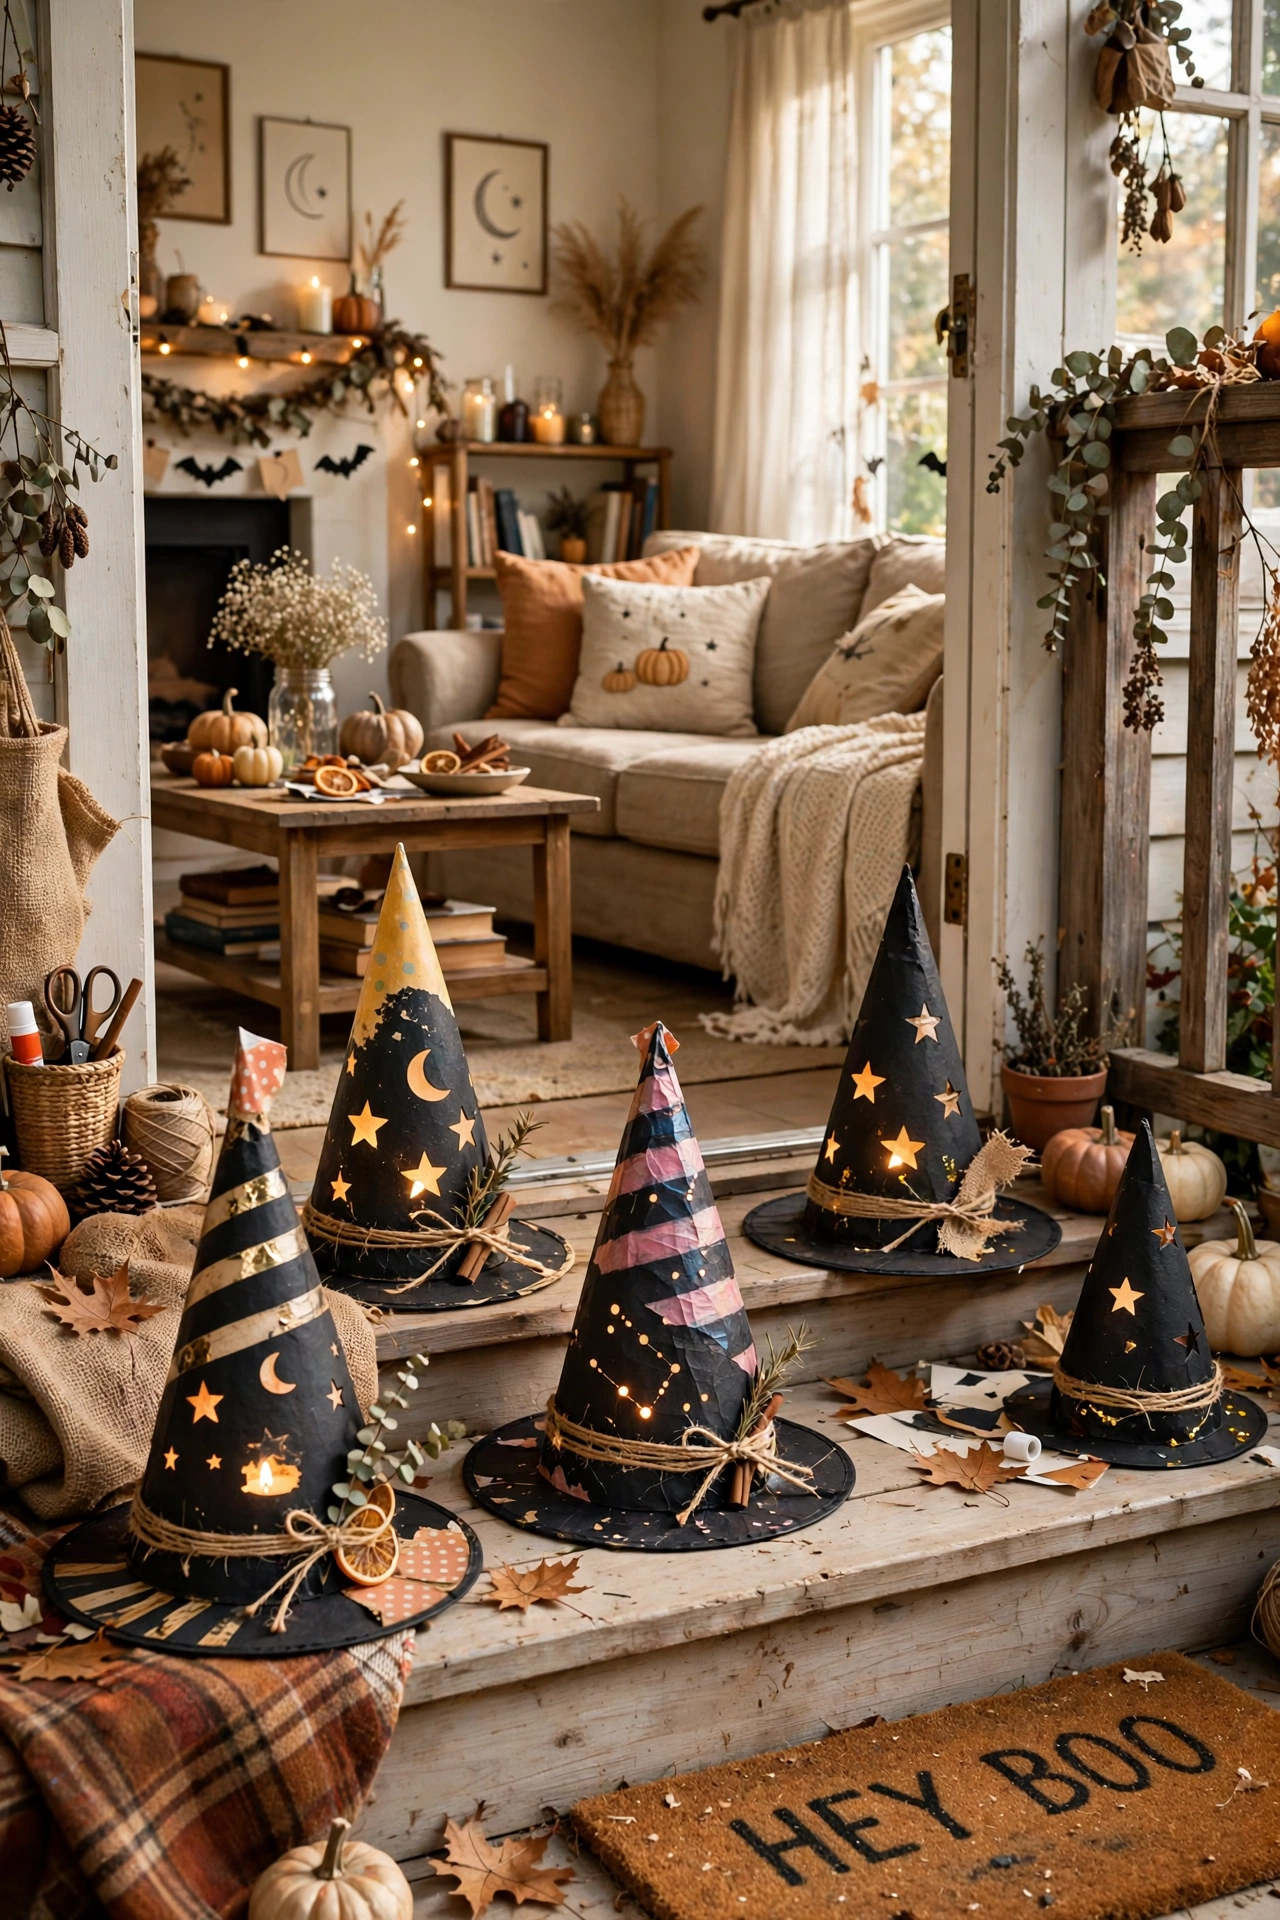
I did this on a rainy Saturday with the kids, and it is still the thing visitors comment on most. Take old party hats, paint them black, and bend the tips over for a witchy droop. Cut a hole in the top, drop a battery tea light inside, and set them on the porch steps. I found a bag of party hats at a jumble sale for fifty cents and turned them into the best luminaries we have ever had. Keep them under cover if rain is coming.
Cost: ~$2 | Time: 25 minutes
13. Potion Bottles Labelled With Spooky Names

This one is my go-to when I want the space to feel finished without spending much, and visitors always notice it first. Collect empty glass bottles, fill them with coloured water, and write spooky labels like eye of newt or bat wings on brown paper. Line them along a shelf or windowsill. I raid the recycling for bottles all year and save them for October, because the best potion bottles are free. Seal the lids with wax for a finished look. I love how this one photographs in the late afternoon light, when everything looks soft and warm.
Cost: ~$1 | Time: 30 minutes
14. Black Cat Silhouettes Cut From Cardboard
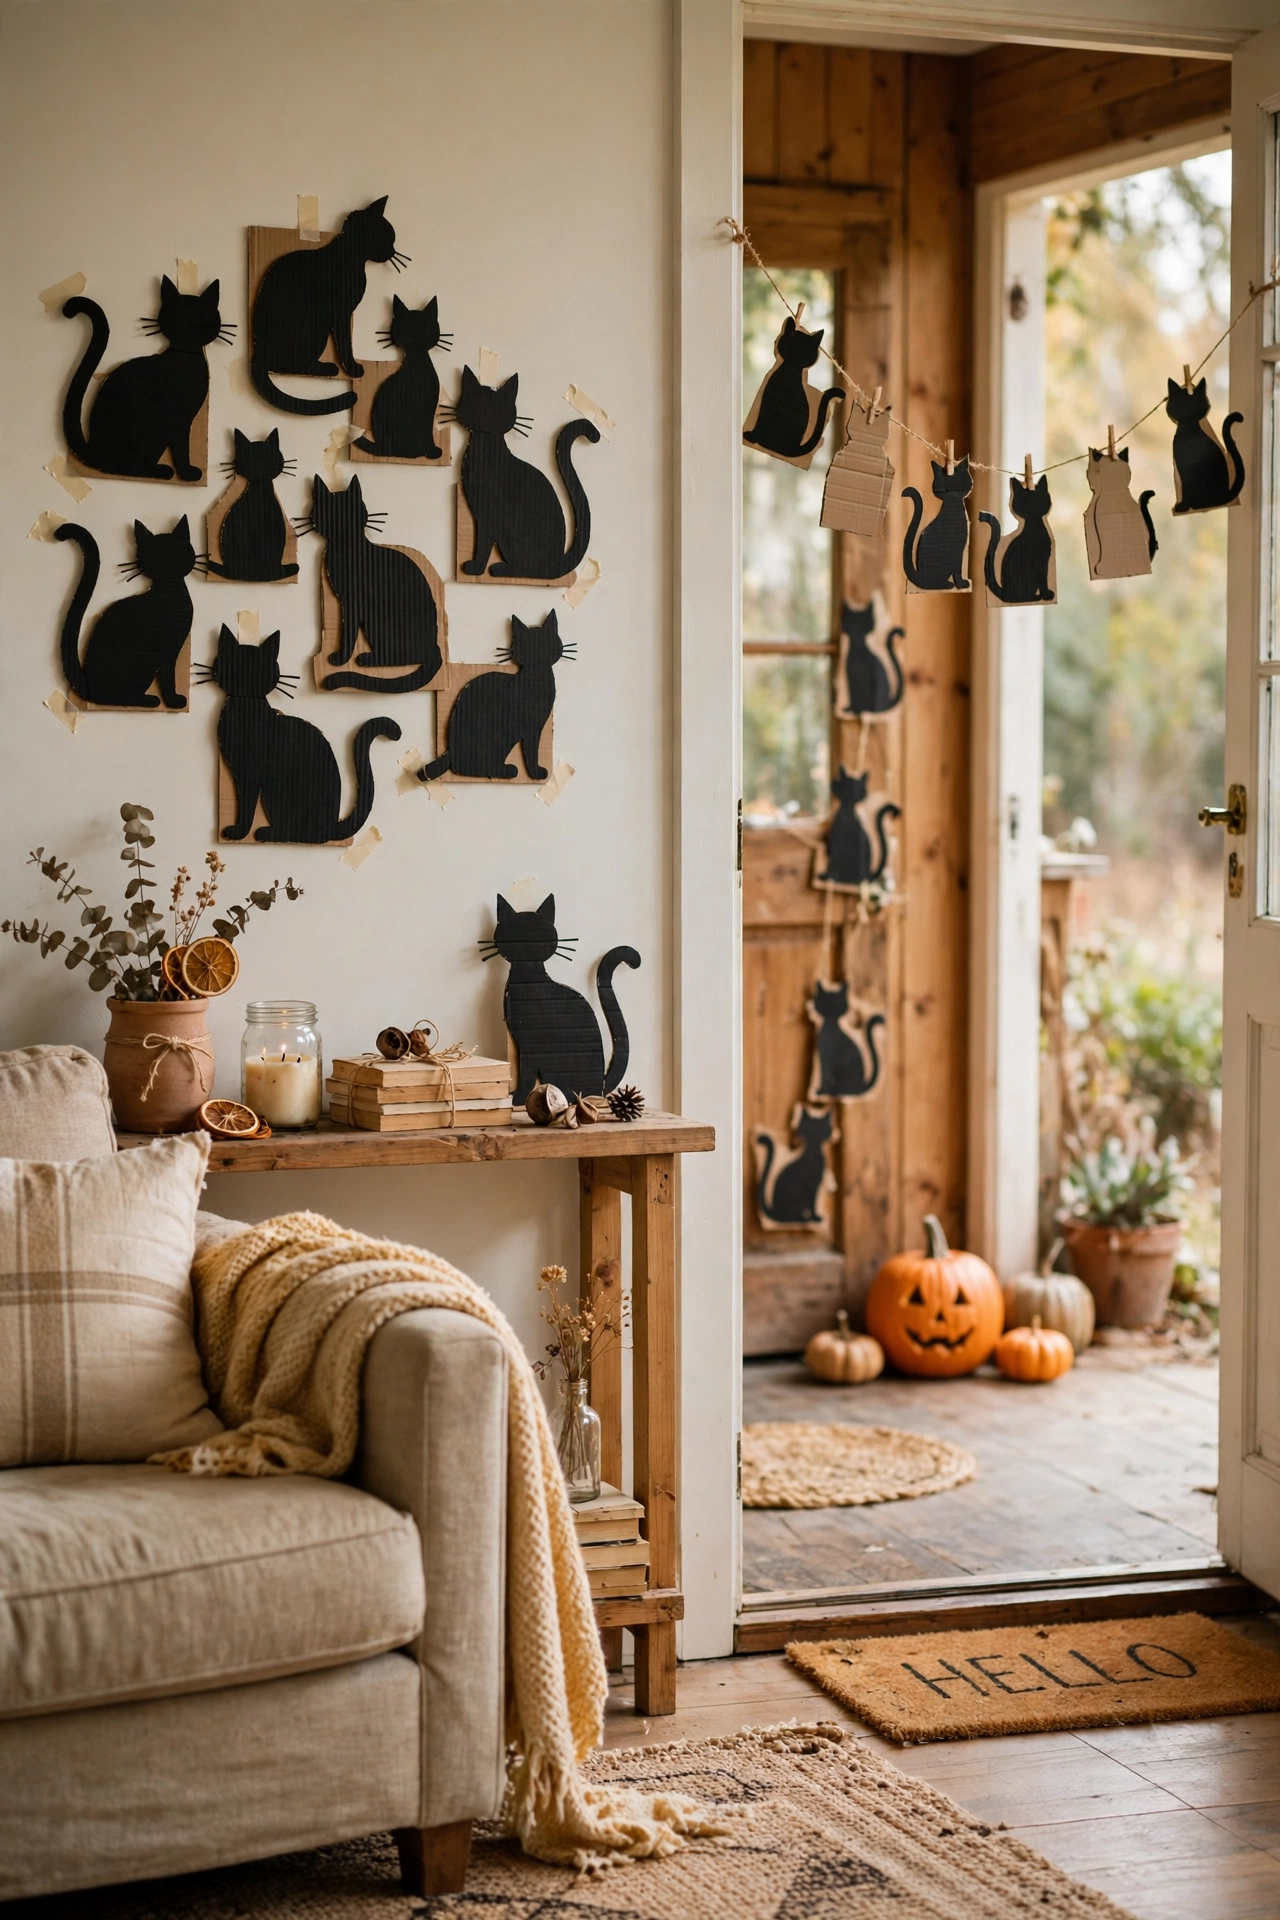
I put this together on a quiet afternoon with things I already had, and it ended up being the part everyone photographed. Draw a simple black cat shape on cardboard, cut it out, and tape it to a window or lean it against the wall by the door. Add green paper eyes for a glow at night. My daughter drew our first cat and it was so crooked it looked possessed, which honestly made it better. Use thick cardboard so it stands up straight. The best part is how easy it is to swap out next season without starting from scratch.
Cost: ~$0 | Time: 25 minutes
15. Mummy-Wrapped Front Door
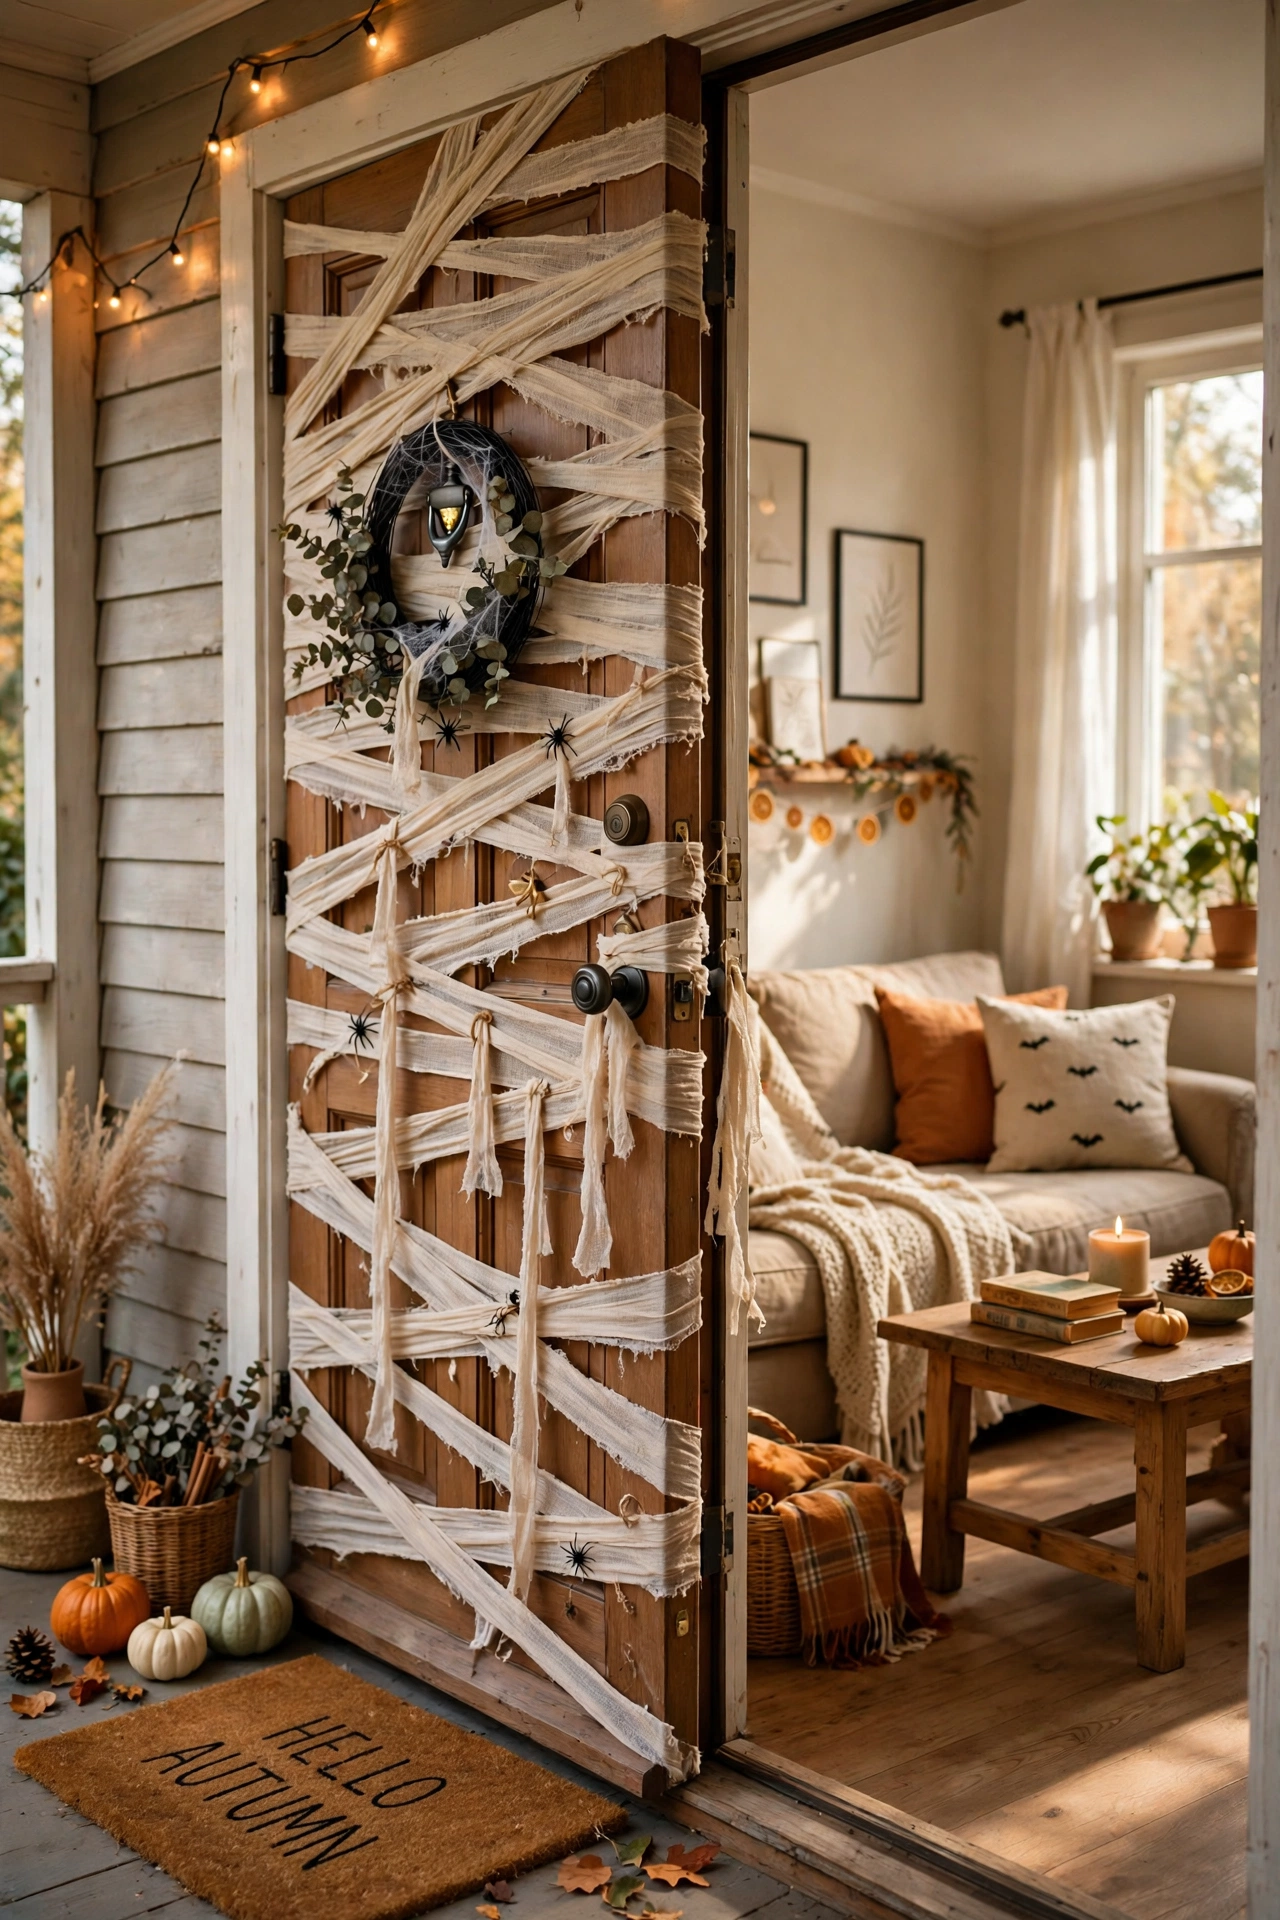
If you only have an hour and a small budget, start here, because the payoff is huge for how little effort it takes. Wrap the front door in white crepe paper streamers in criss-cross strips, leaving a gap for the handle, and stick on two big paper eyes. It takes ten minutes and the whole house looks mummified. I did this the morning of Halloween and the kids on the street loved it so much they asked for a photo. Remove it the next day or the tape marks the paint.
Cost: ~$2 | Time: 15 minutes
16. Eyeball Wreath From Ping Pong Balls
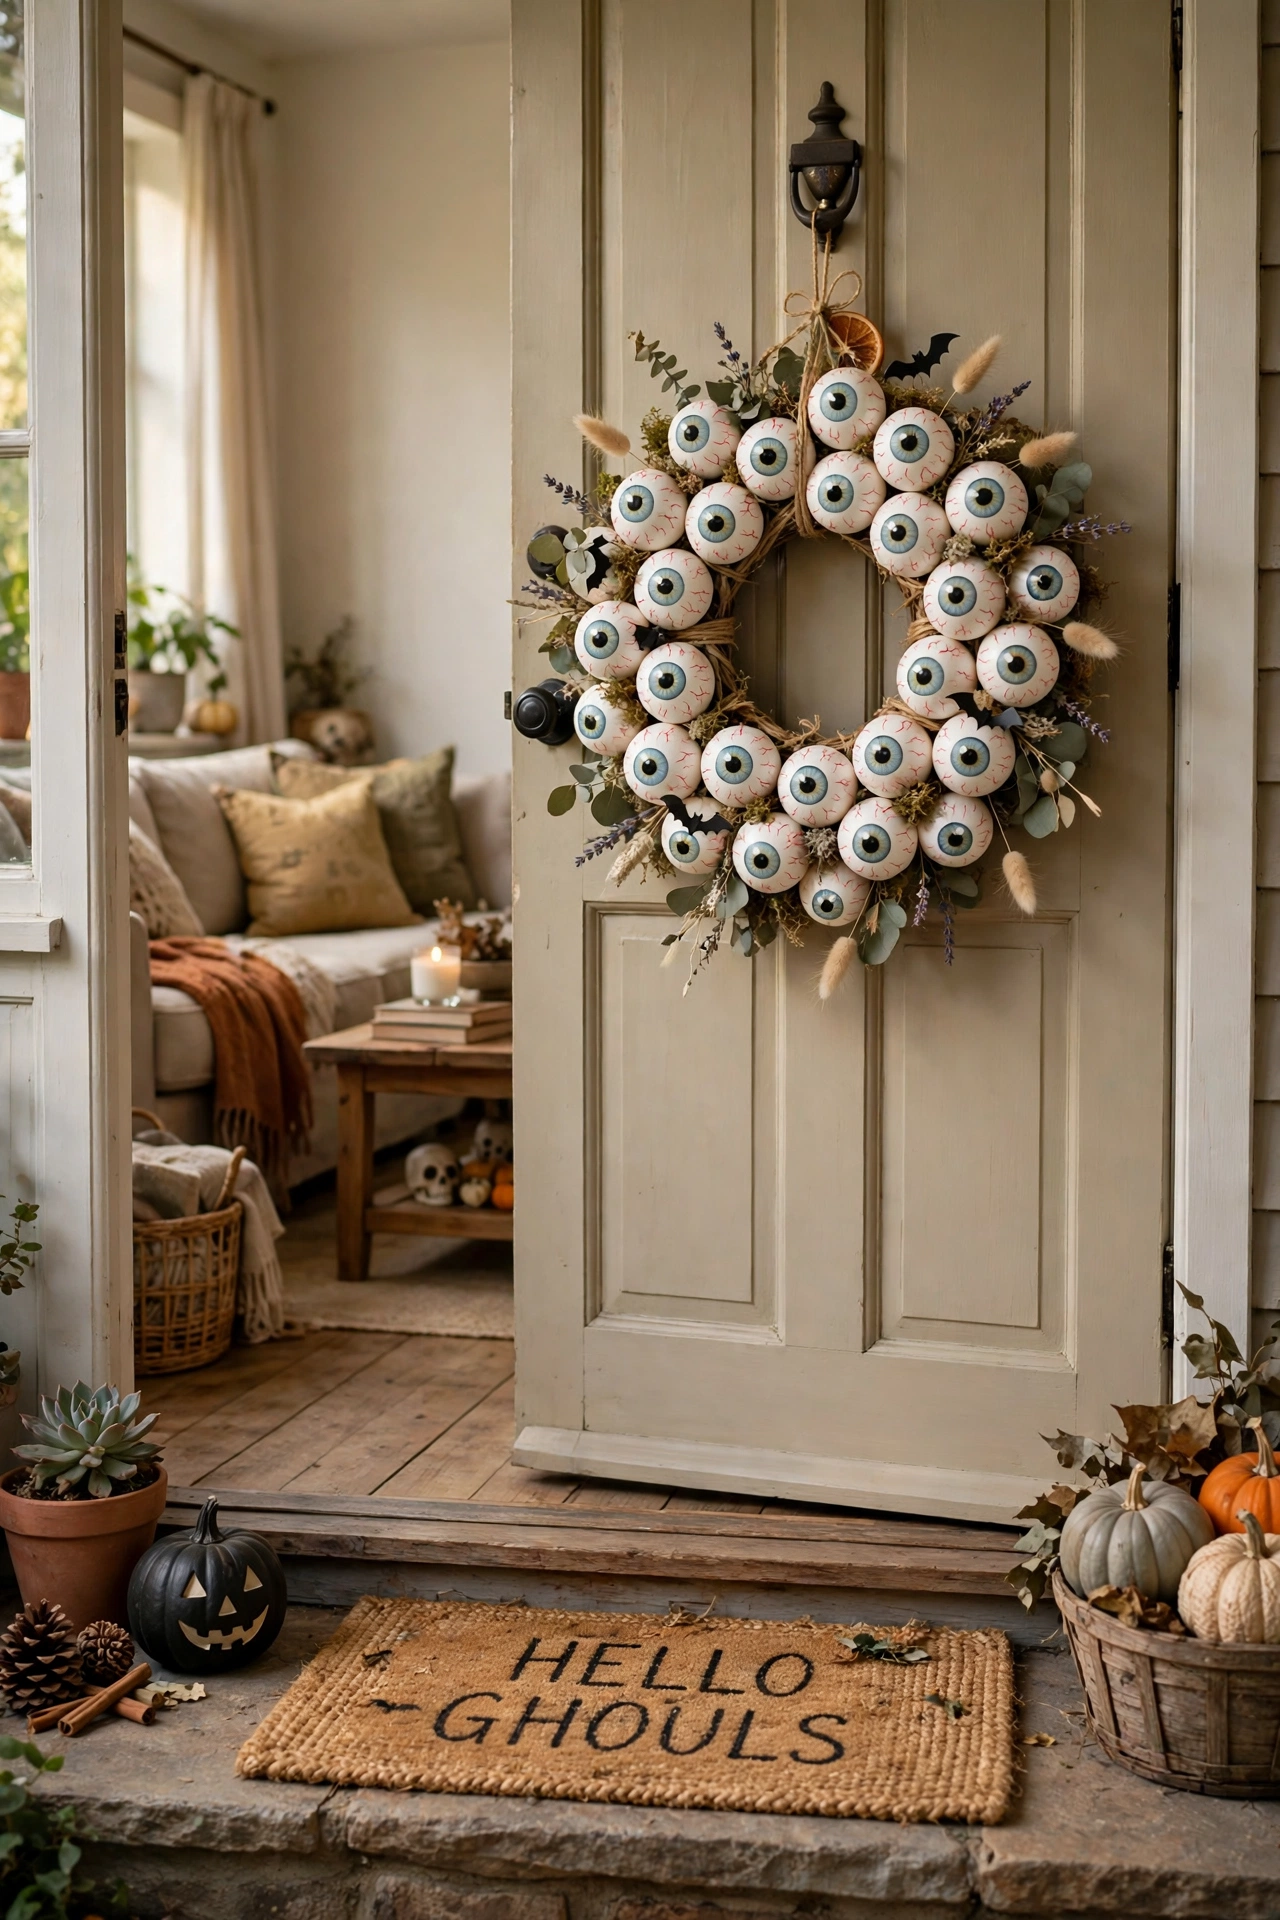
I was sceptical the first time I tried this, but once it was in place the whole space felt warmer and more pulled together. Glue ping pong balls with painted irises onto a foam wreath form until it is covered, then hang it on the door with a black ribbon. It looks creepy from the street and silly up close, which is the perfect Halloween balance. I painted the eyes with nail polish because it was what I had, and it worked beautifully. Hang it inside if it rains.
Cost: ~$6 | Time: 45 minutes
17. Graveyard Tombstones From Foam Board
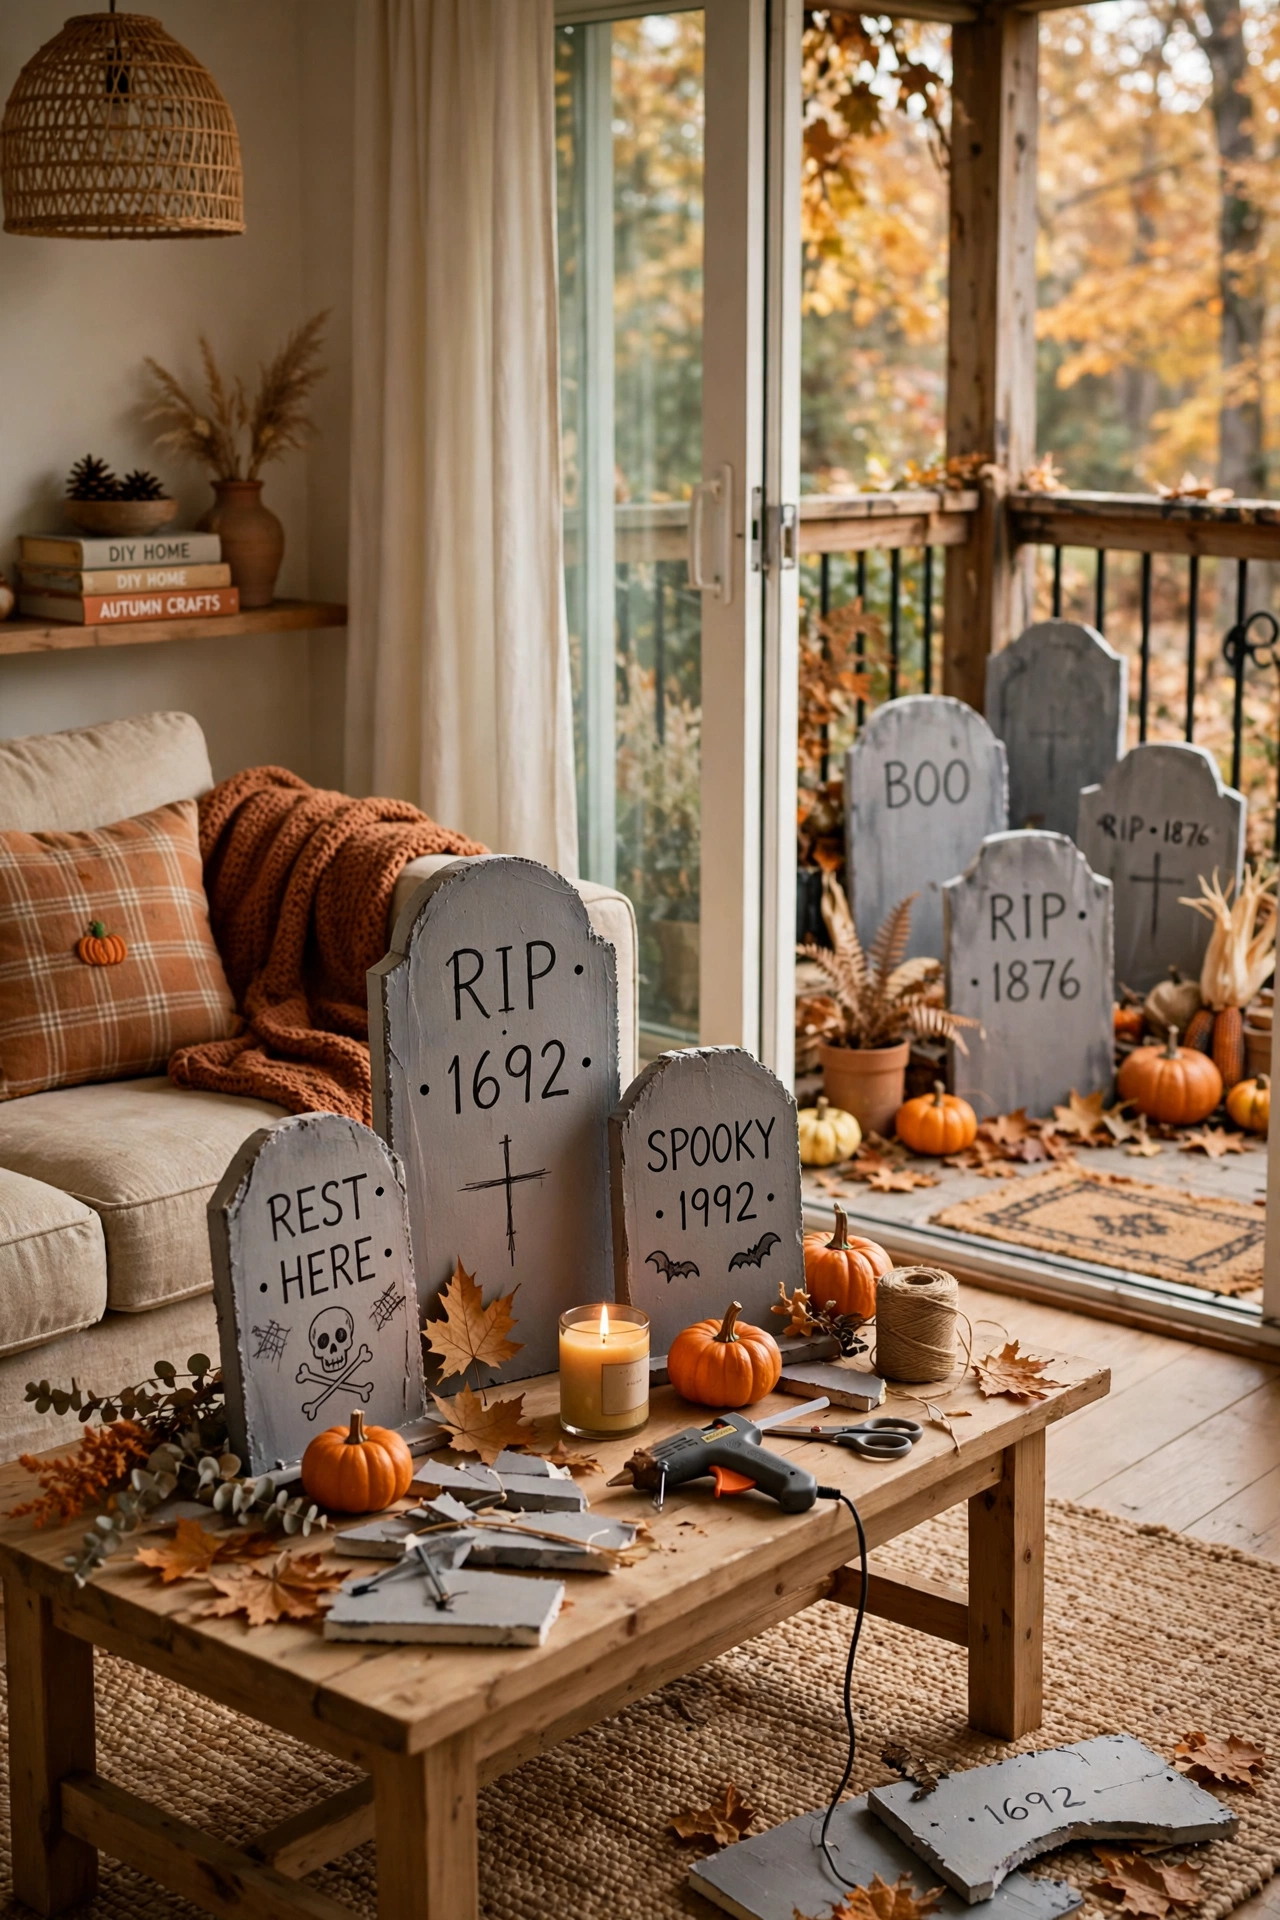
This is the kind of simple idea that looks plain in your head and lovely in real life, especially in soft daylight. Cut tombstone shapes from foam board, paint them grey, and write funny epitaphs in black marker. Push them into the front garden with wooden stakes. I made ours from a foam board I found in the garage, and the neighbours still quote the epitaphs. Bring them inside after Halloween or the damp will warp them. It takes minutes, costs very little, and you can reuse most of it next season, which is exactly how I like to decorate.
Cost: ~$3 | Time: 50 minutes
Quick Questions
How much do these Halloween decorations cost? Most ideas here cost $0 to $6, because they use cardboard, old jars, and things from the recycling bin. The priciest is the eyeball wreath at about $6.
Are these safe to make with kids? Yes, most of them are made for little hands, but skip the hammer and nail tin cans for younger children and use battery lights instead of real candles everywhere.
How long will they last outside? Painted and sealed decorations last the whole month, but paper and cheesecloth ones should come inside when rain is forecast.
