21 Christmas Mantel Decor Ideas on a Budget
Our mantel used to be the messiest spot in the house at Christmas, because I kept adding things until it looked like a shop shelf that had fallen over. Then I learned the formula, and the mantel has looked calm and expensive ever since. These Christmas mantel decor ideas all follow the same simple rule, and every one of them costs less than fifteen dollars. Save this list before you start, because a good mantel is the first thing guests see when they walk in. I have linked a few related reads like (see also: cheap-christmas-mantel-decor-ideas) and (see also: budget-christmas-decor-ideas) if you want more, and (see also: elegant-halloween-mantel-ideas-on-a-budget) for the autumn version.
The mantel formula: Every idea here uses three layers. An anchor in the centre, like a mirror or a wreath. Height on the sides, like candles or tall branches. And filler in the gaps, like pinecones, berries, or small ornaments. If the mantel looks wrong, one of the three layers is missing.
1. Classic Pine Garland With Red Berries

A classic pine garland with red berries is the mantel look everyone pictures at Christmas, and it is easy to get right. Drape the garland along the mantel edge, pinning it at intervals so it hangs in gentle swags, and tuck sprigs of red berries into the gaps. I use faux garland here because real pine drops needles onto the hearth, and sweeping needles every day is a miserable job. Let the ends drape down at the sides for a finished look.
Cost: ~$10 | Time: 20 minutes
2. White Stockings With Red Cuffs
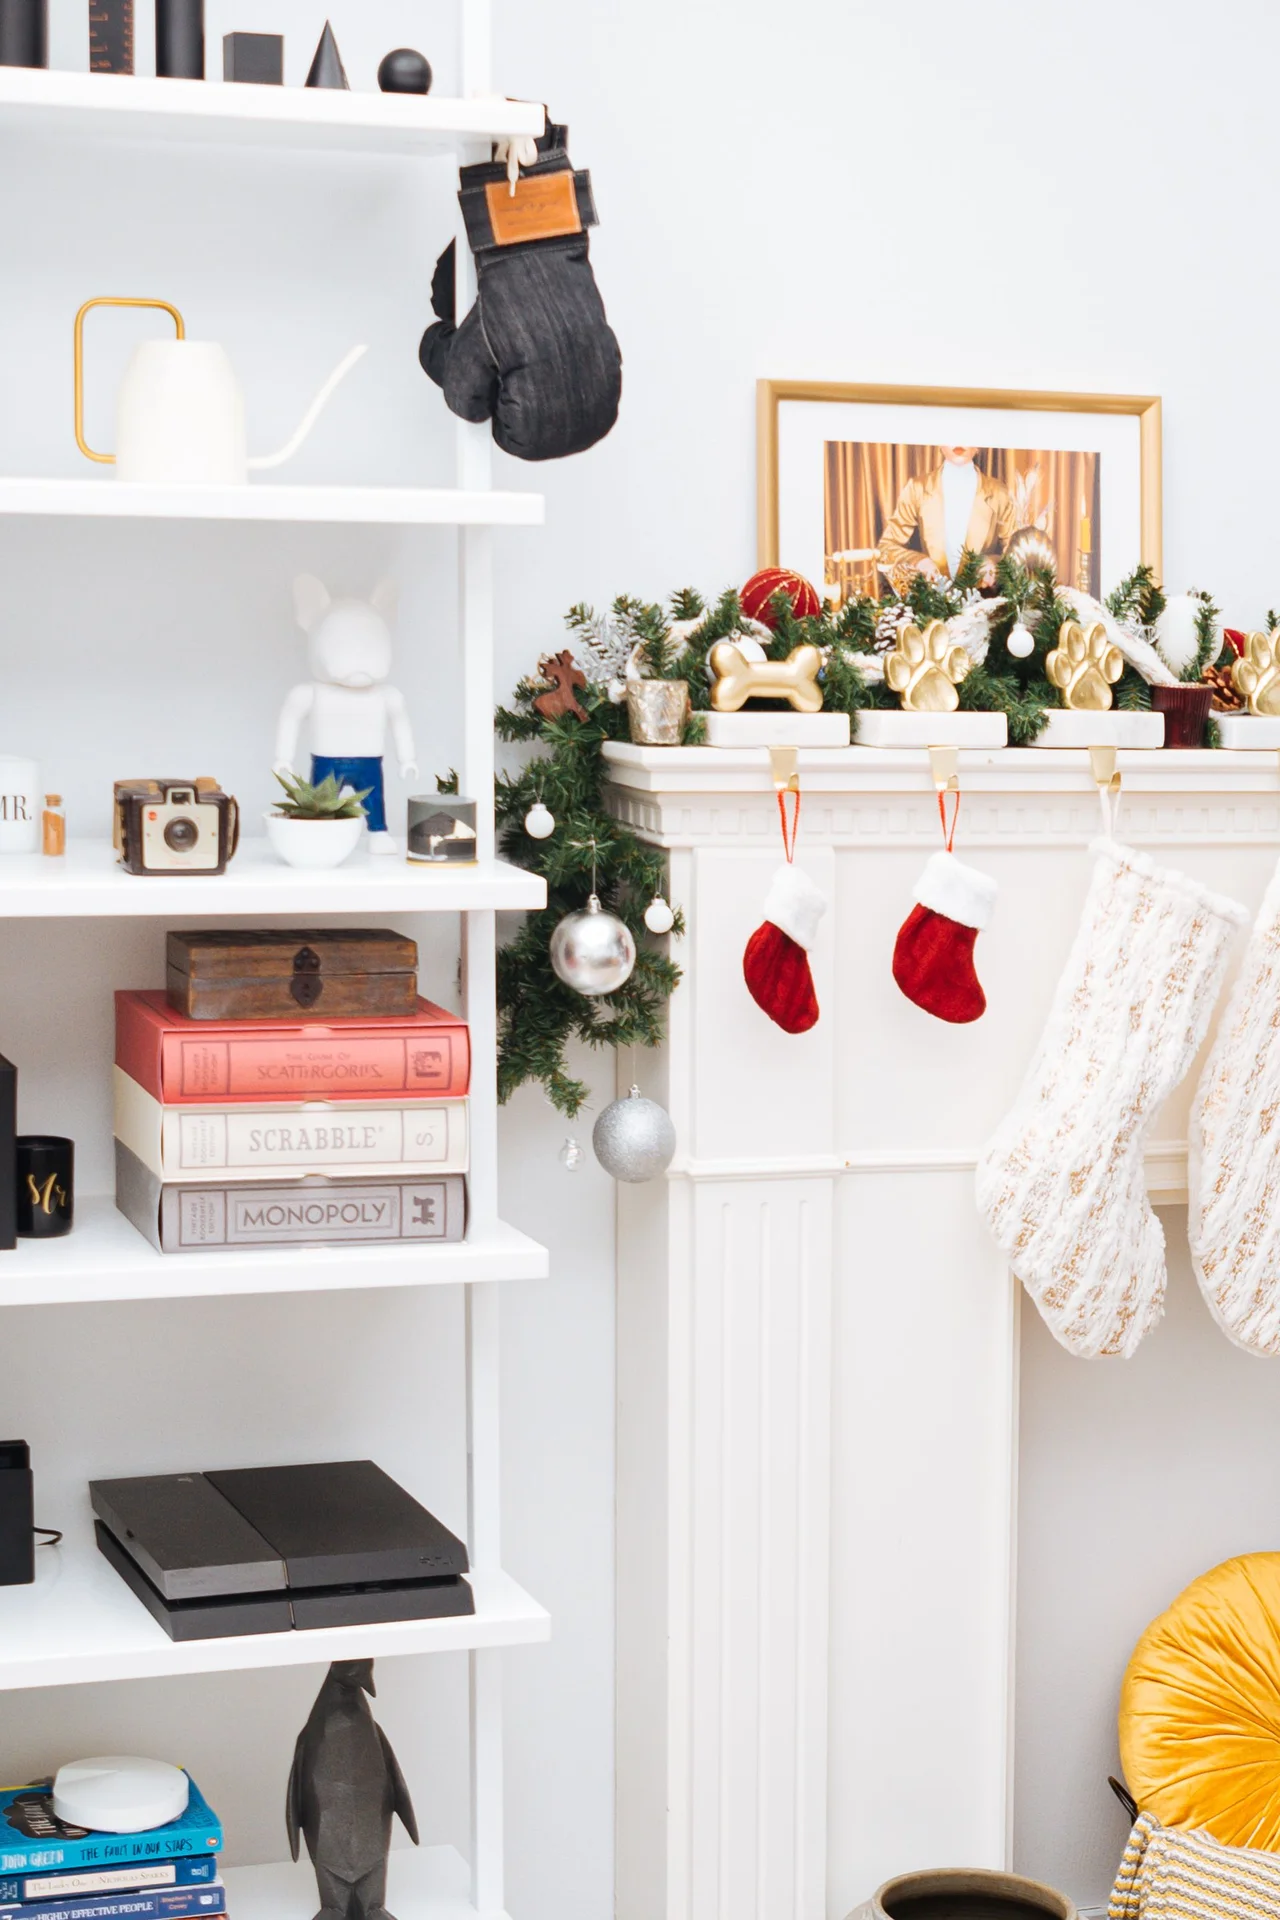
White stockings with red cuffs hung in a row on the mantel are a classic look that never goes out of style. Hang one stocking per person from a plain hook, spacing them evenly so the wall between them shows. I use stocking holders that grip the mantel edge, because a nail in the mantel is a hole you will regret in January. Keep the stockings empty until Christmas Eve so they hold their shape. Guests always notice the small details first, and this one gets mentioned more than the bigger decorations in the room.
Cost: ~$8 | Time: 10 minutes
3. Brass Candlesticks With Red Tapers
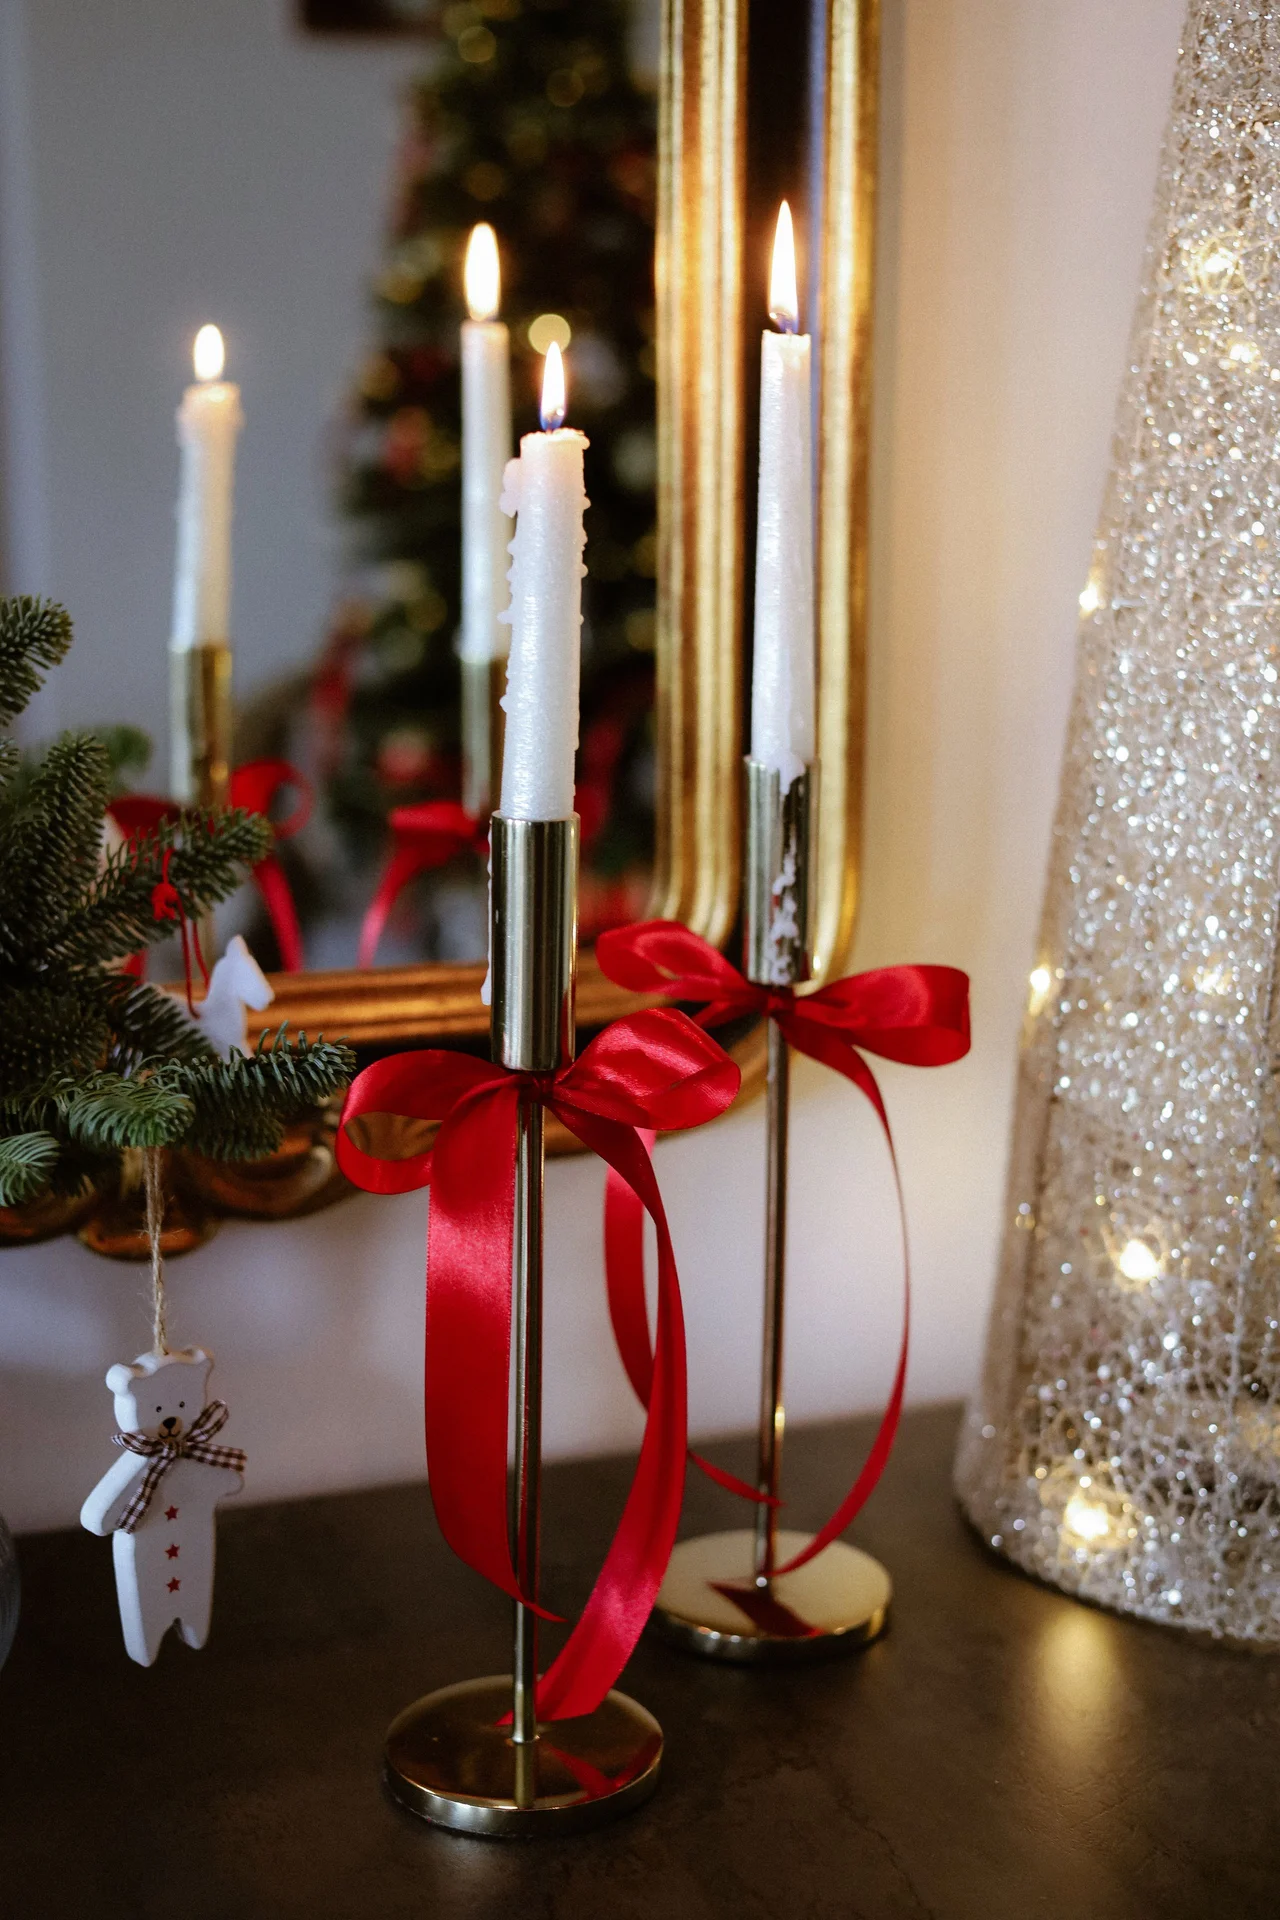
Brass candlesticks with red tapers give the mantel a warm, formal feel, and thrift store brass costs almost nothing. Set two or three candlesticks of different heights on the mantel, add red tapers, and light them in the evening. I check the candlesticks sit flat before the party, because a wobbly candlestick drips wax across the mantel. Keep the flames away from the garland, because a flame and dried pine are a bad combination. It is cheap enough to try twice if the first attempt does not look right, which takes all the pressure off.
Cost: ~$9 | Time: 10 minutes
4. Mini Bottle Brush Trees in a Row
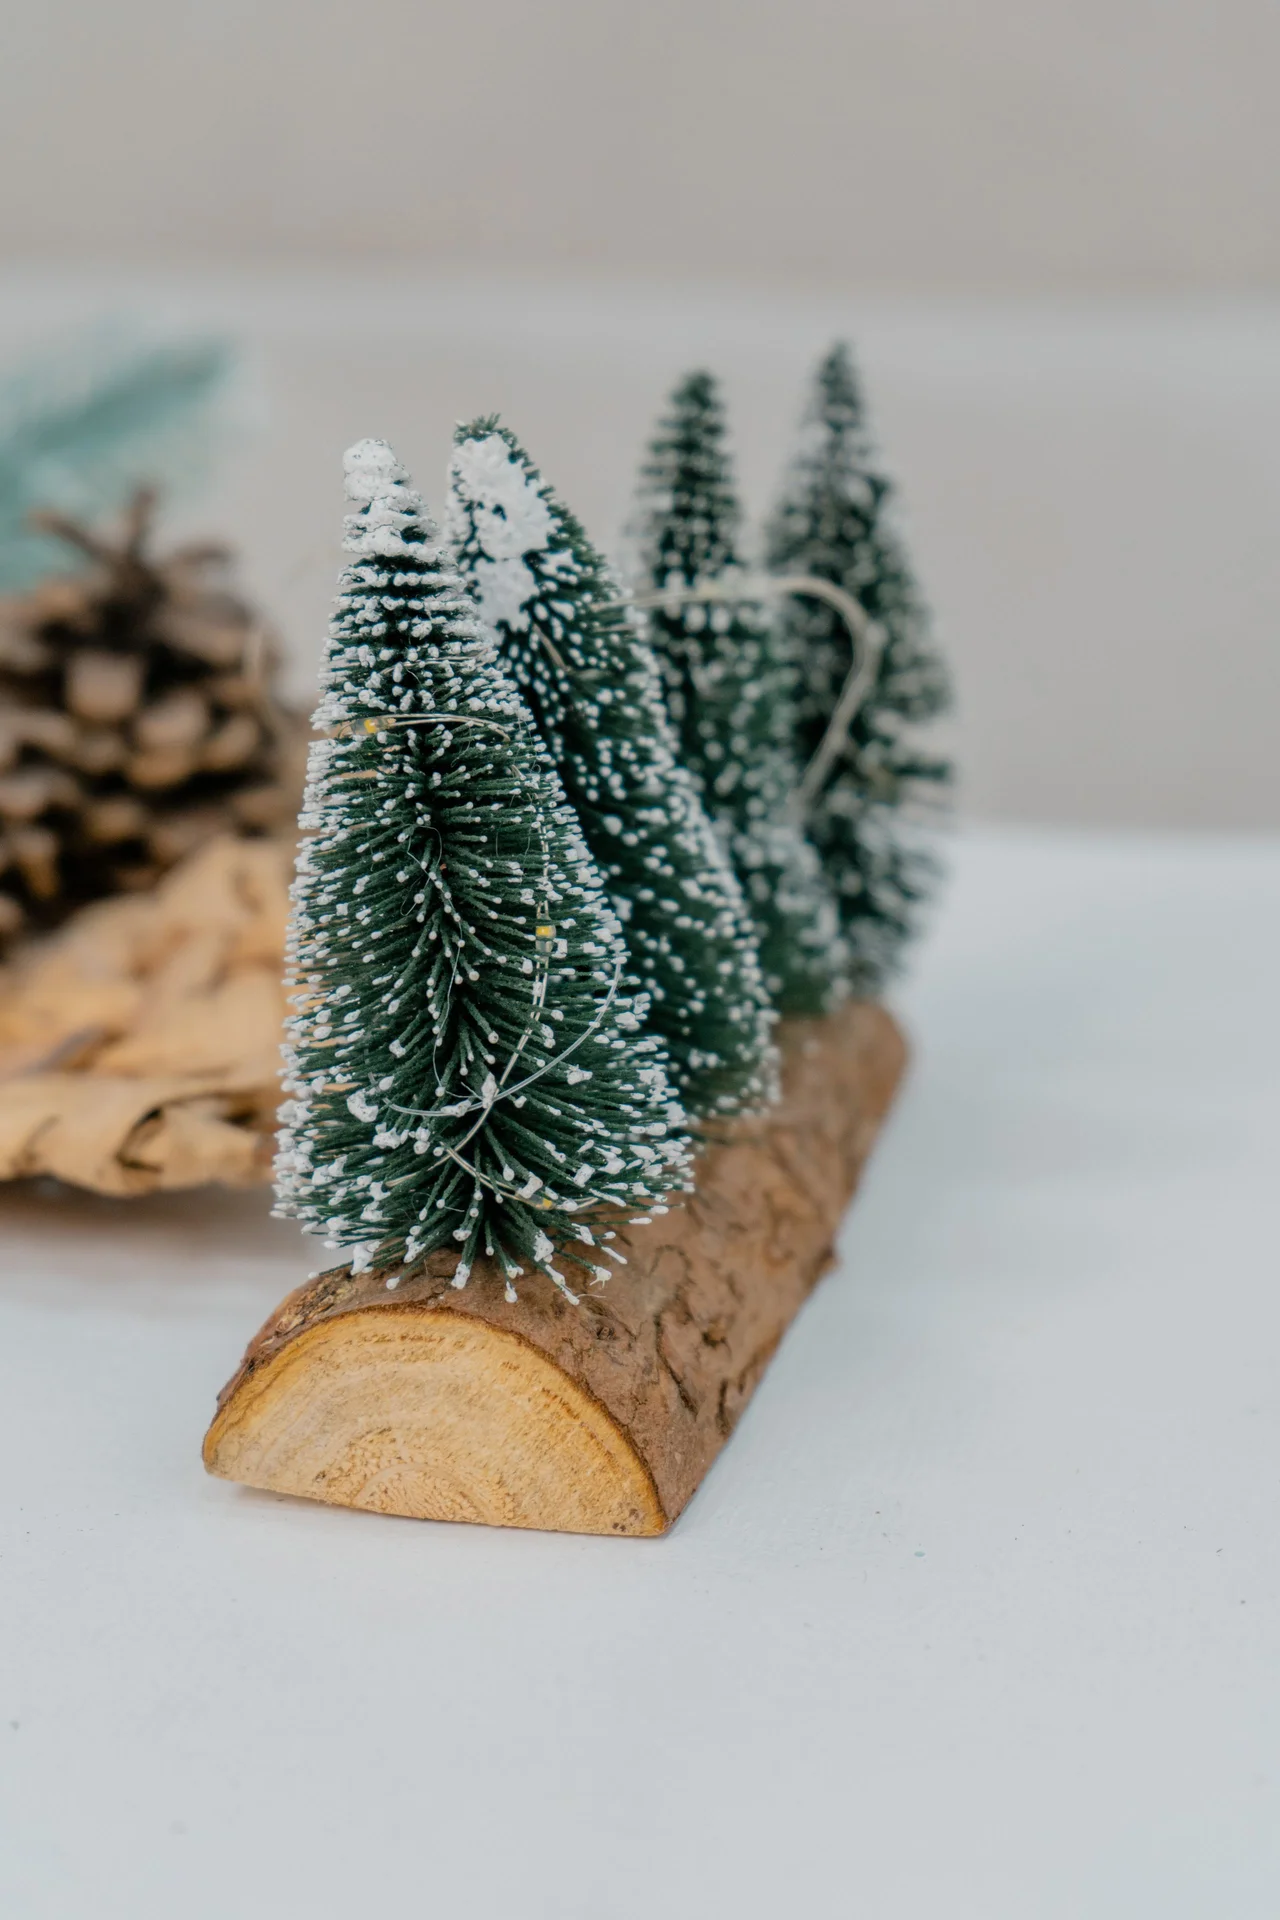
Mini bottle brush trees in a row along the mantel look like a little forest, and they cost less than a dollar each. Line up five or seven trees of different heights, spacing them unevenly so they look natural. I buy mine in green and white and mix them together, because a row of identical trees looks like a shop display. Set them on a small tray so they stay together when someone dusts the mantel. The trick is to keep everything else around it simple, so this one detail gets the attention it deserves.
Cost: ~$5 | Time: 10 minutes
5. Wooden Bead Garland Draped Twice

A wooden bead garland draped twice around the mantel adds warmth without any colour at all. Drape the beads in a loose swag along the front edge, then loop them back along the top of the mantel for a second layer. I string mine with a little extra length so the beads sit in soft curves instead of tight lines, which was my mistake the first year. One garland is enough, because two starts to look busy. I like that it works in a small room just as well as a big one, because it never needs much space to look good.
Cost: ~$6 | Time: 10 minutes
6. Dried Orange Slice Garland

A garland of dried orange slices along the mantel looks warm and old-fashioned, and it smells faintly sweet for weeks. Thread dried orange slices onto twine with a needle, spacing them evenly, and drape the garland along the mantel edge. I dry the slices slowly in a low oven so they turn golden instead of brown, which was my first batch’s mistake. Hang it where the light hits it, because the slices glow like stained glass. When the season ends, most of it packs away in a single box, which is exactly how I like my decorations to behave.
Cost: ~$3 | Time: 40 minutes
7. Mirror Behind the Garland to Double the Glow
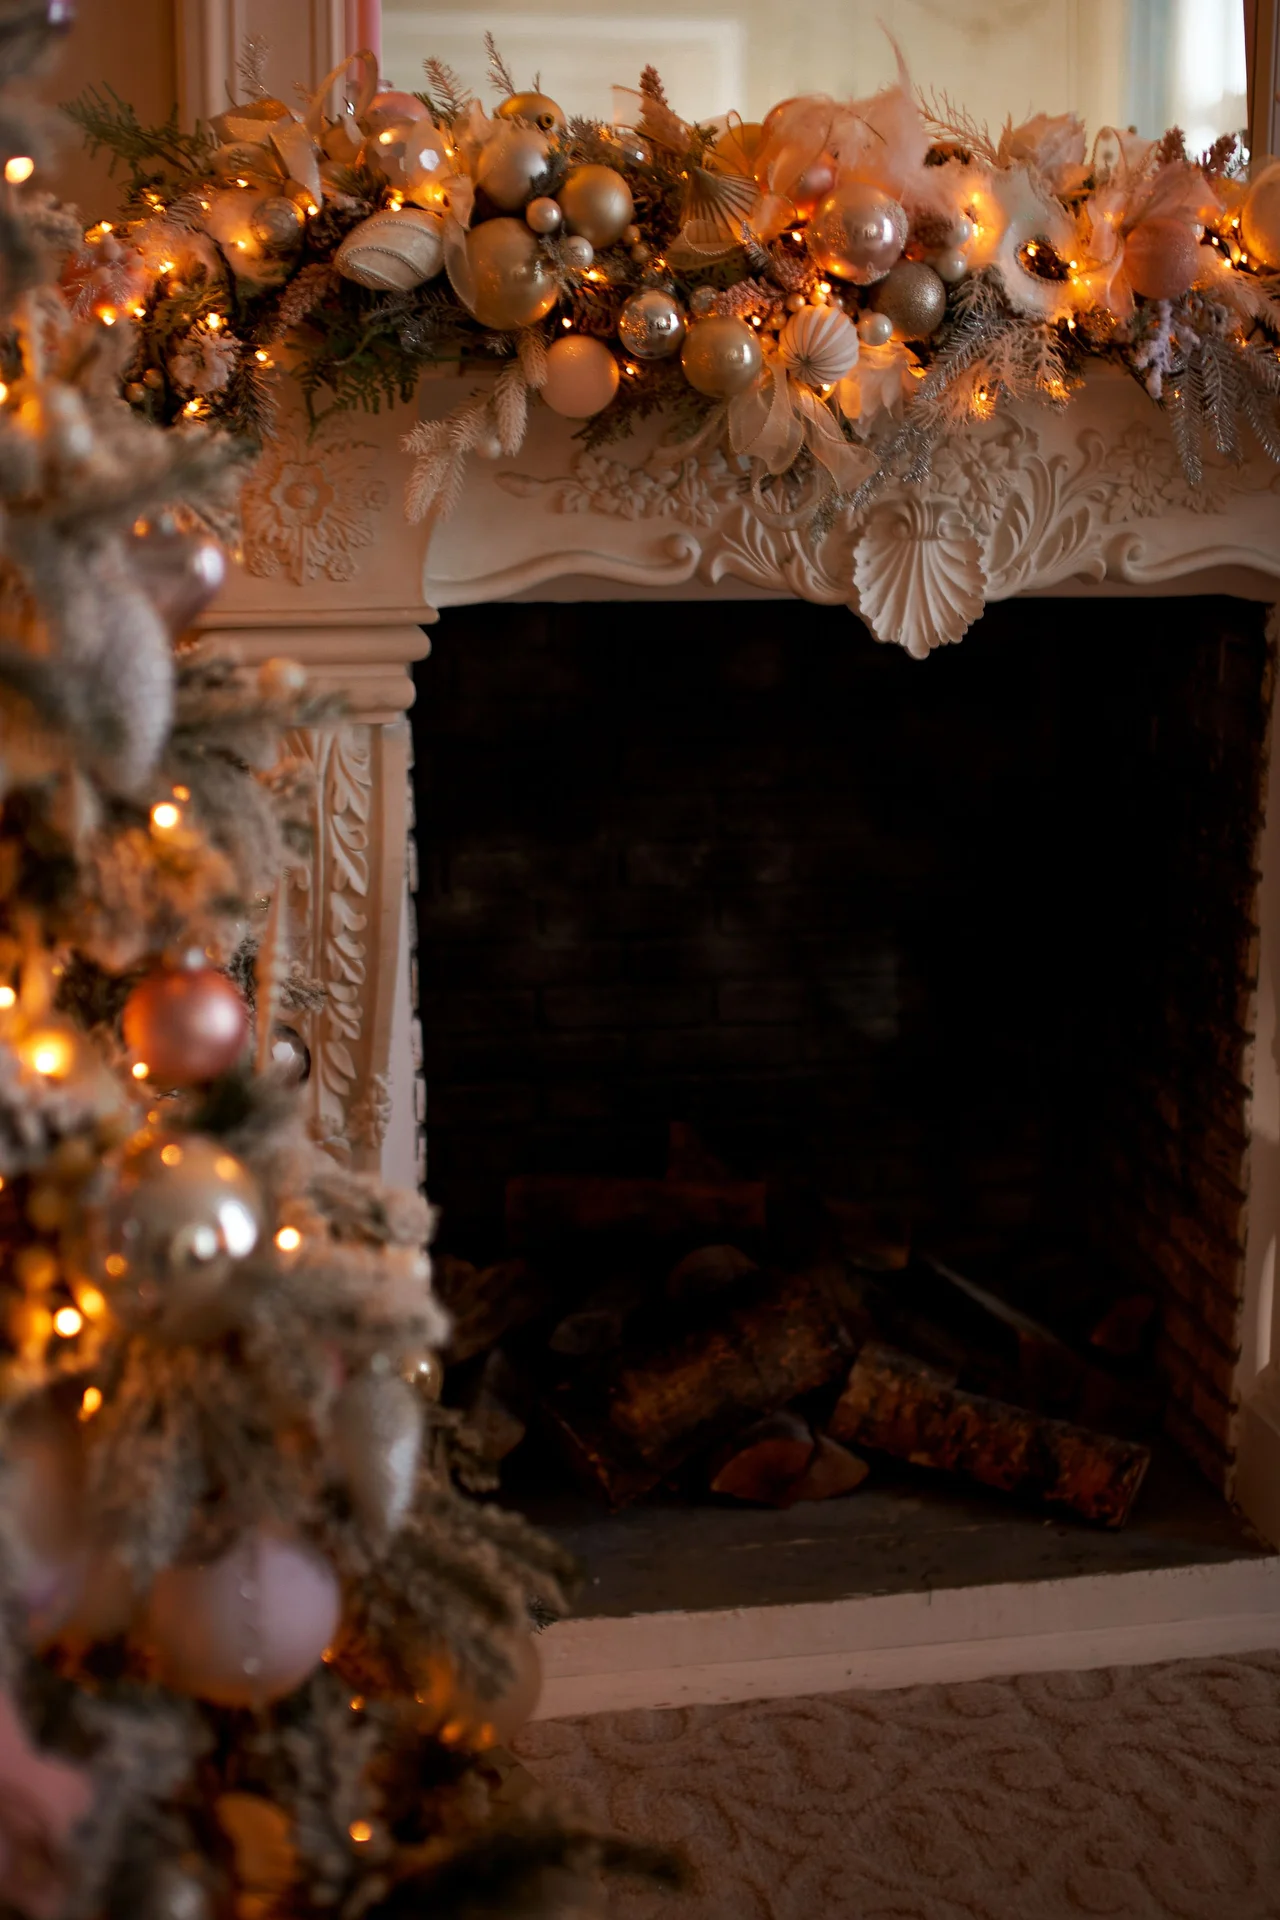
A mirror leaning behind the garland doubles the candlelight and makes the mantel feel twice as big. Lean the mirror against the wall at a slight angle, centred on the mantel, and arrange the garland and candles in front of it. I check the mirror is stable before I walk away, because a leaning mirror on a mantel is a fall waiting to happen. Keep the mirror clean, because dust shows up twice in a reflection. It is one of those ideas that looks harder than it is, and once you have done it once you will wonder why you waited.
Cost: ~$0 | Time: 10 minutes
8. Plaid Ribbon Bow at the Centre

A big plaid ribbon bow at the centre of the mantel is a bold statement that costs less than three dollars. Tie a large bow from wide plaid ribbon, wire it to the centre of the garland, and let the tails hang down over the mantel edge. I use wired ribbon because it holds its shape instead of flopping flat, which was my mistake with regular ribbon. Make the bow big, because a small bow in the centre of a wide mantel gets lost.
Cost: ~$3 | Time: 15 minutes
9. Vintage Sled Leaning on the Hearth
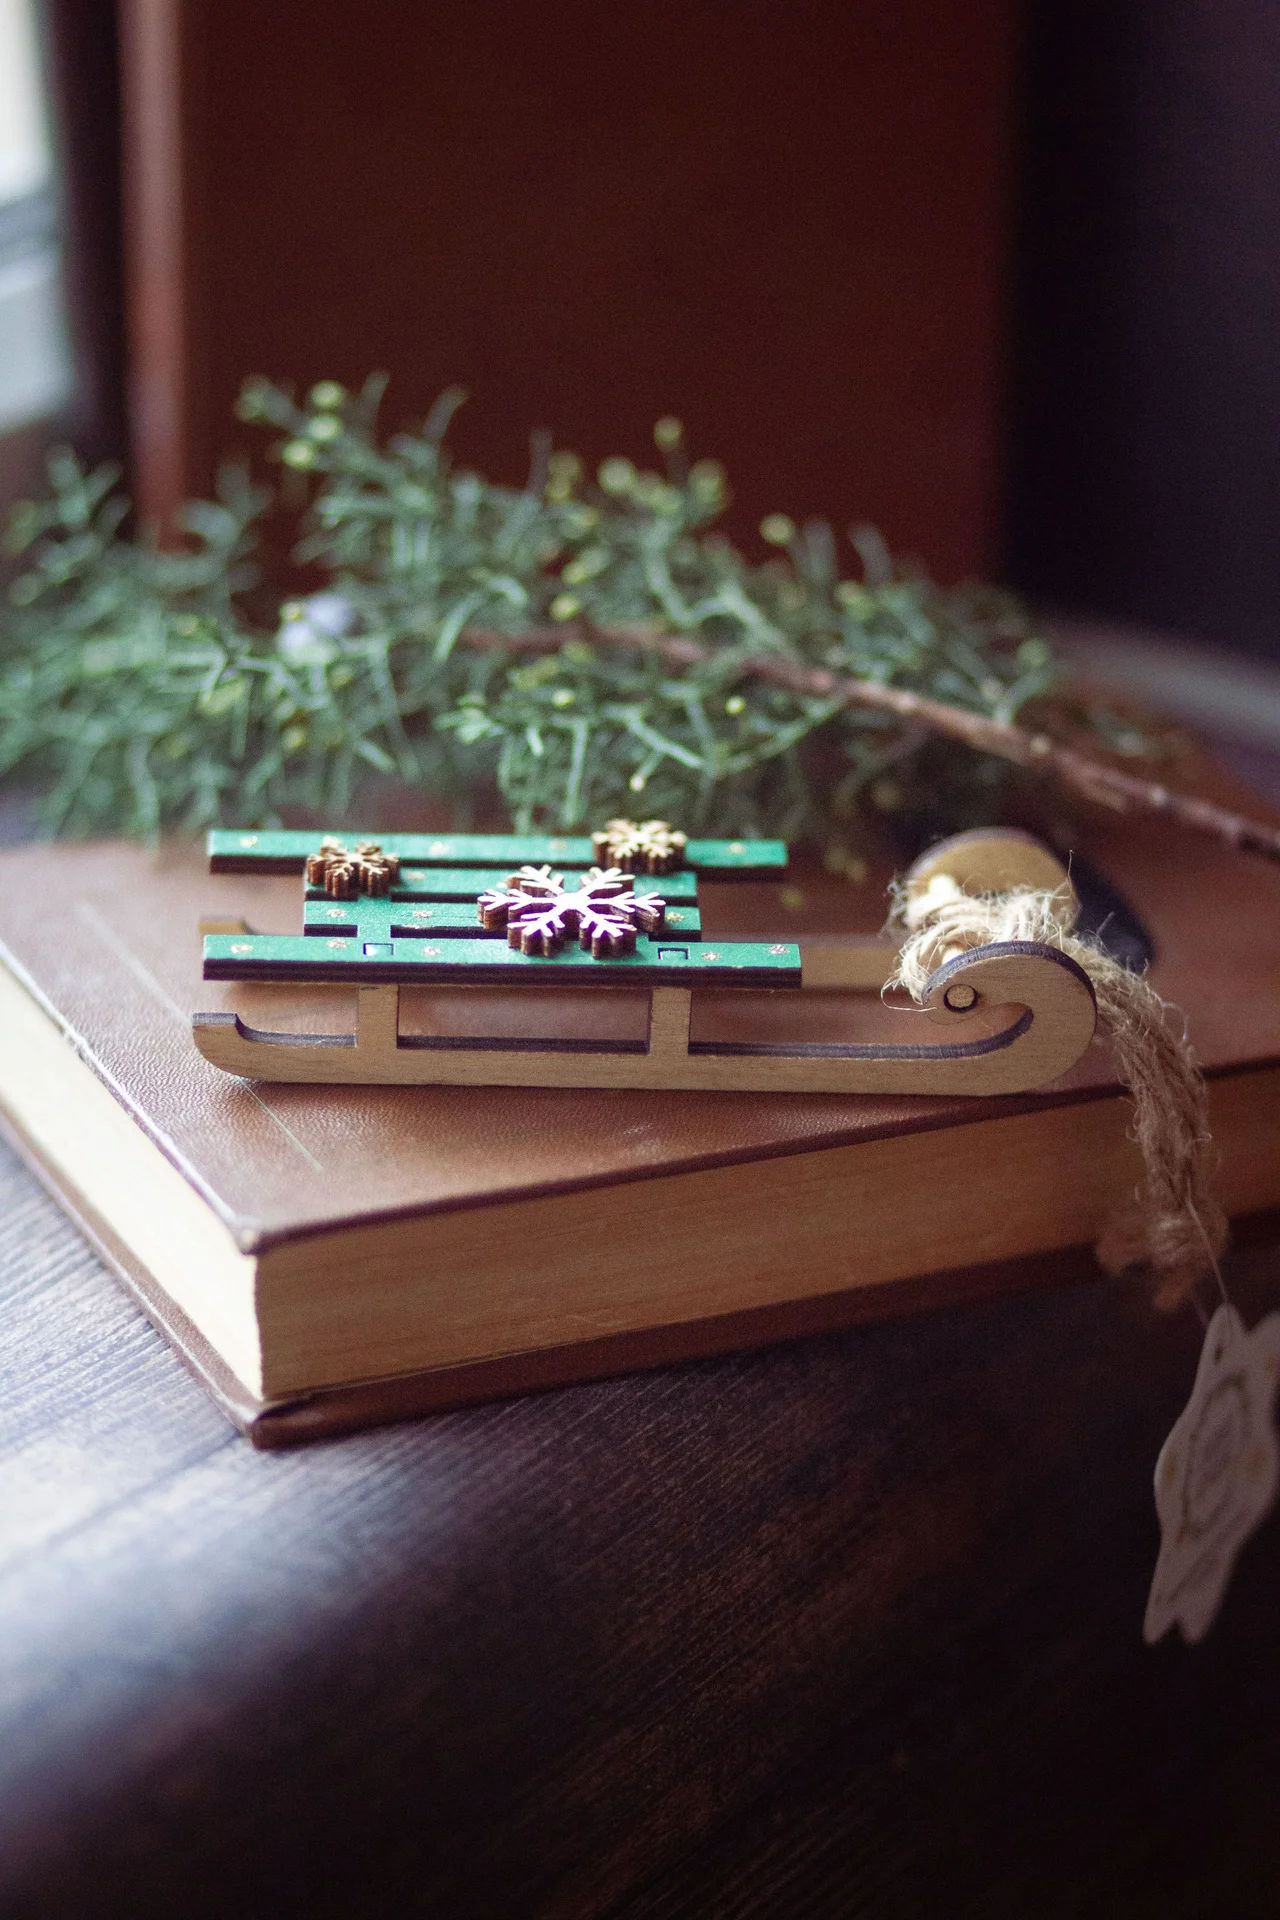
An old wooden sled leaning against the hearth beside the mantel adds a nostalgic touch that costs nothing if you have one in the garage. Lean the sled at an angle against the side of the fireplace, tie a small wreath to the front, and let it be the only thing on that side of the hearth. I wipe mine down before bringing it inside, because a dusty sled in the living room is a mess. Keep it stable so it never slides and knocks the mantel decorations.
Cost: ~$0 | Time: 10 minutes
10. Paper Star Lanterns Along the Mantel

Paper star lanterns in a row along the mantel glow softly and cost almost nothing to make. Fold paper stars, set a battery tea light inside each one, and line them up with space between them. I use battery lights only, because a real flame in a paper star is a fire waiting to happen. Make them all the same size for a calm, even look, or vary the sizes slightly if you want a little movement. A small thing done well beats a big thing done in a rush, and this one proves it every single time.
Cost: ~$4 | Time: 35 minutes
11. Pinecone Cluster in a Wooden Bowl

A wooden bowl filled with pinecones on the mantel is a simple, natural centrepiece that costs nothing from the garden. Fill the bowl with pinecones of different sizes, tuck a few sprigs of pine between them, and set it in the centre of the mantel. I bake the pinecones at a low heat first to open the scales and kill any insects, because a closed pinecone looks like a brown lump. Keep the bowl away from the candles so the pinecones never get warm.
Cost: ~$2 | Time: 15 minutes
12. White Ceramic Houses With Tea Lights
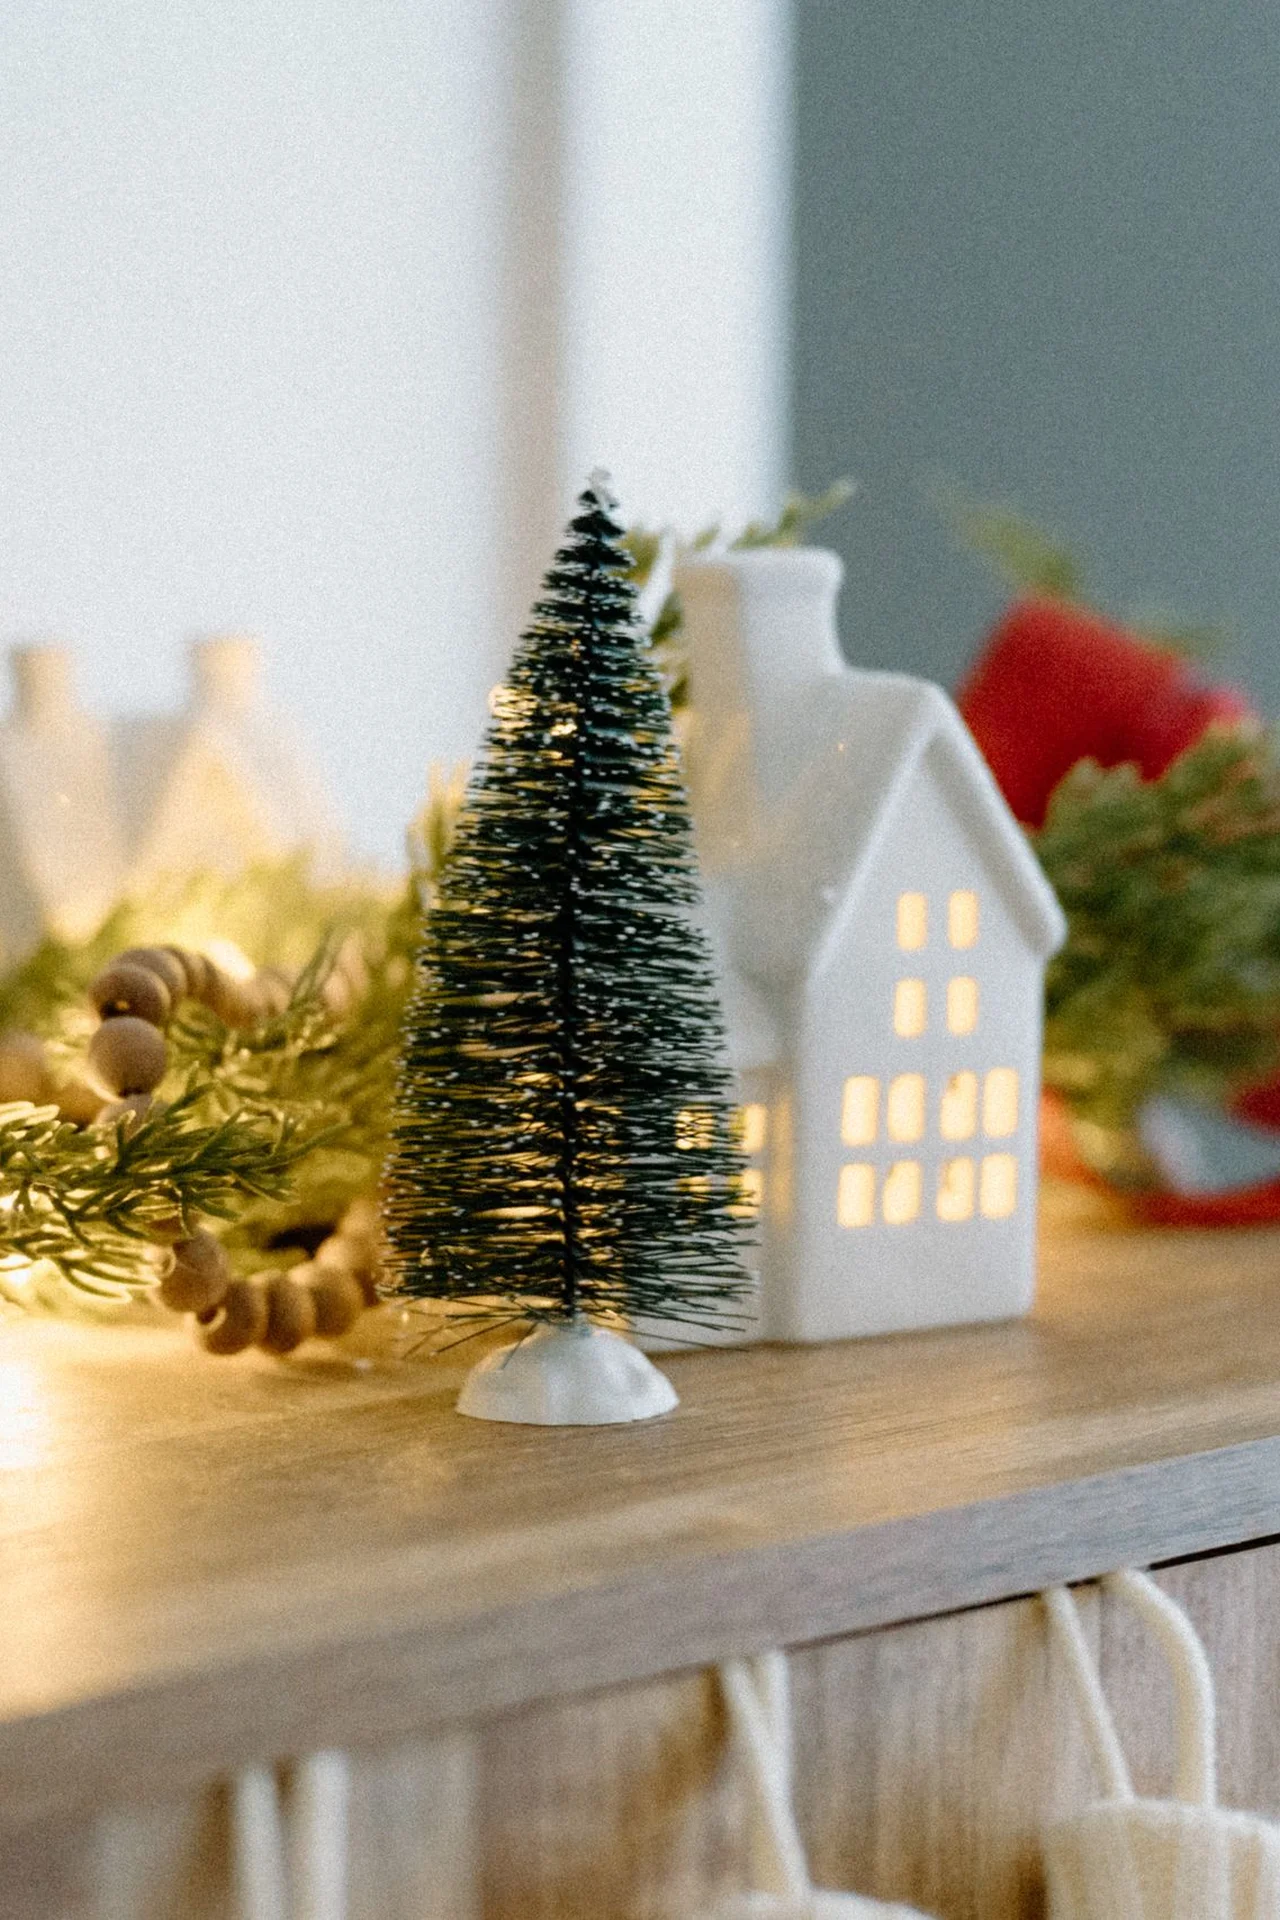
A row of white ceramic houses on the mantel looks like a little snow village, and it needs nothing else around it. Line up three or five houses in a row, spacing them unevenly so they look like a real street, and put a tea light inside one or two of them. I keep the mantel clear around the houses, because a single extra object next to them makes the whole thing look cluttered. They pack away in one small box in January, which is a blessing.
Cost: ~$9 | Time: 10 minutes
13. Velvet Ribbon Swag in Deep Green
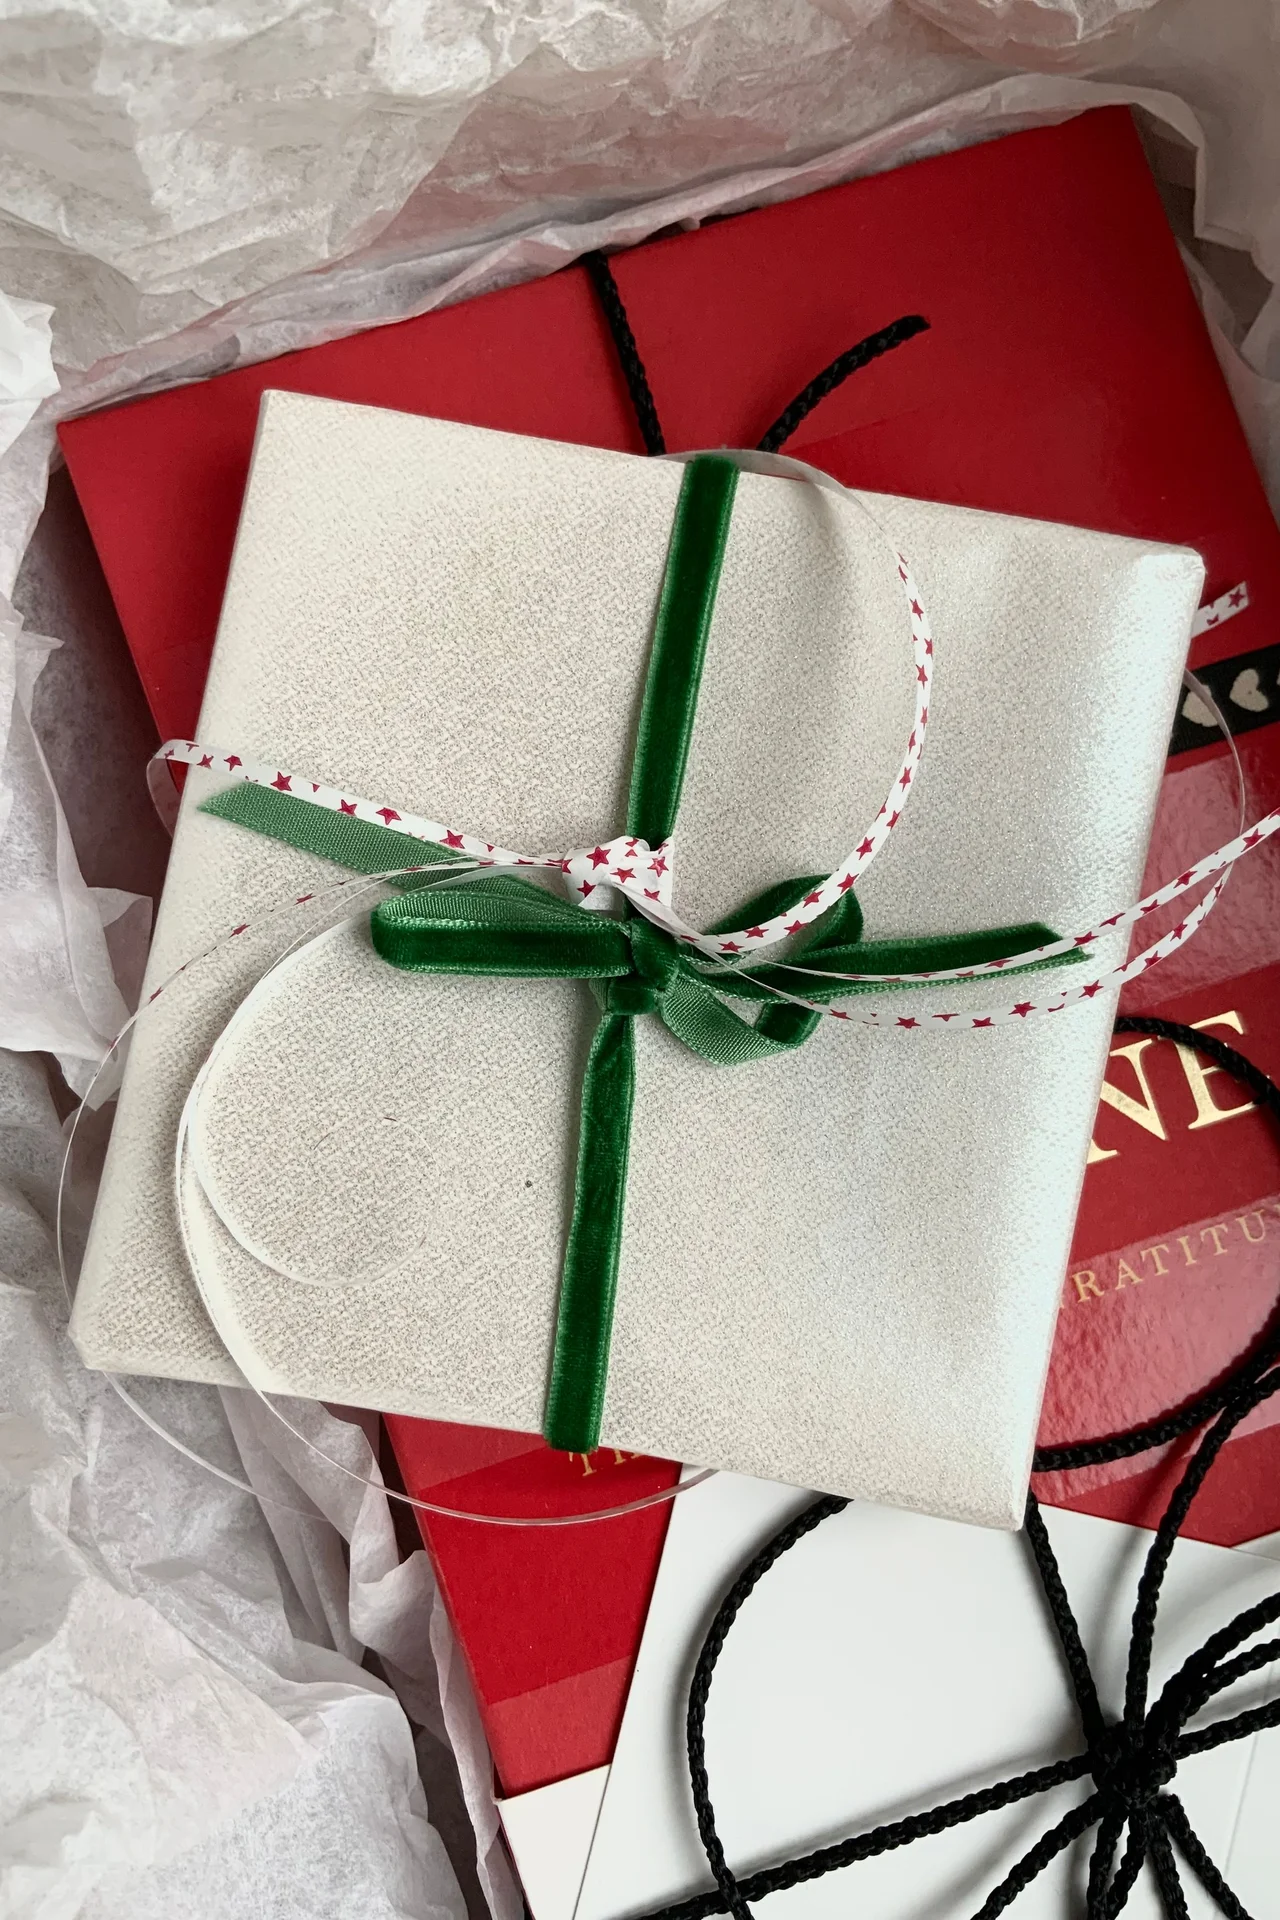
A velvet ribbon swag in deep green draped along the mantel edge adds richness without any clutter. Drape the ribbon in loose swags, pinning it at intervals with small hooks, and let the ends hang down at each side. I use wired velvet ribbon because it holds its shape instead of collapsing, which was my mistake with plain ribbon. Keep the swags shallow so the ribbon never dips low enough to touch the candles. It is the kind of small change that makes the room feel finished without any real effort or expense.
Cost: ~$6 | Time: 15 minutes
14. Gold Star Garland Across the Top

A garland of gold stars across the top of the mantel catches the light and adds a festive sparkle. Thread gold paper stars onto twine, spacing them evenly, and drape the garland along the top edge of the mantel. I cut the stars with a template so they all match, because freehand stars look wobbly. Hang the garland high enough that it never brushes the candles below, and let it be the only gold on the mantel so it stands out.
Cost: ~$4 | Time: 25 minutes
15. Rustic Wooden Sign With a Christmas Greeting
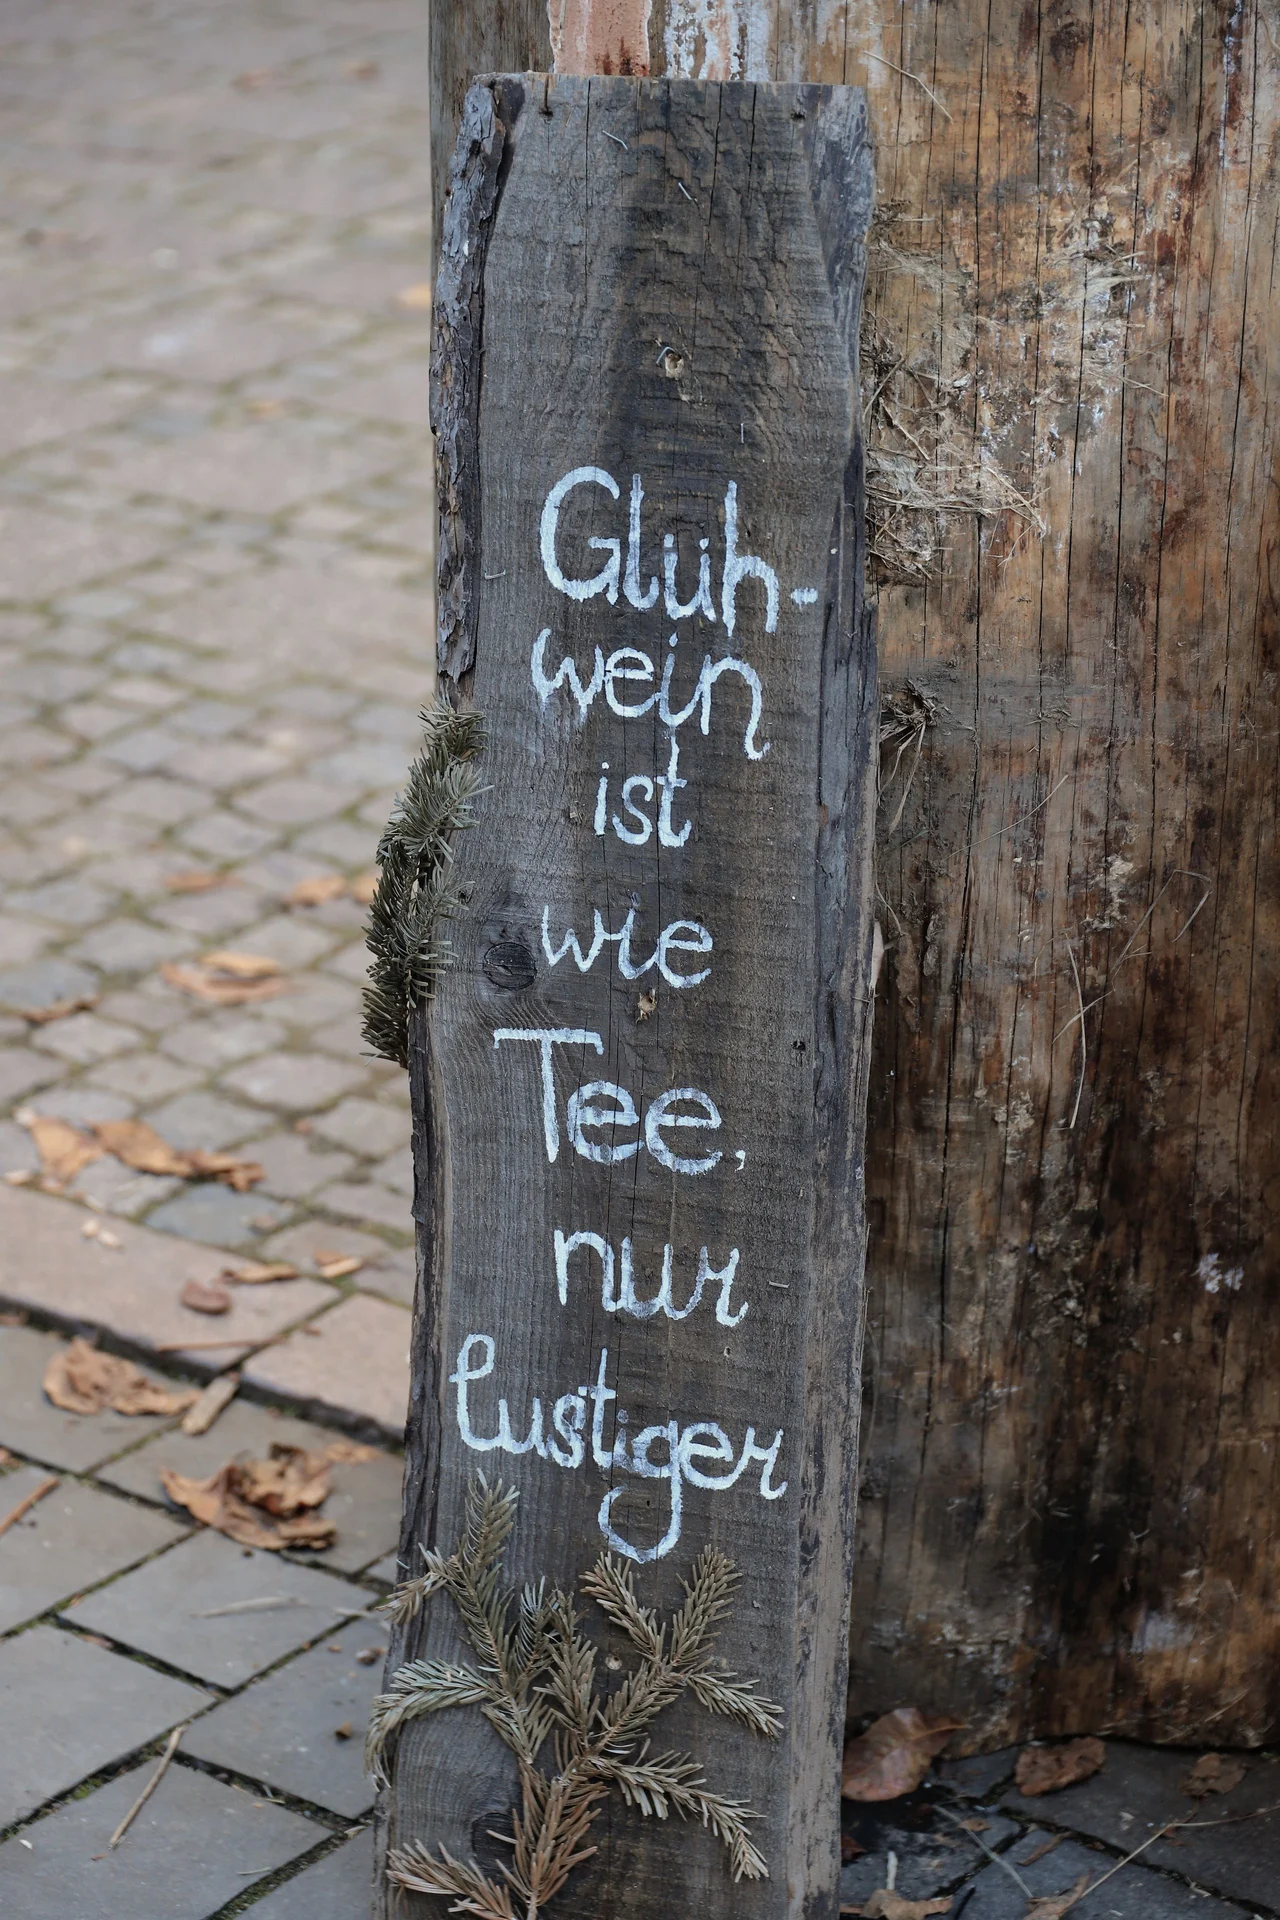
A wooden sign with a Christmas greeting on it, like Merry Christmas or Peace on Earth, adds a warm message to the mantel. Lean the sign against the wall in the centre of the mantel, behind the garland, so the words show above the greenery. I paint mine with a stencil and white paint on a scrap of wood, because a hand-painted sign looks personal and a printed one looks like a shop. Keep the sign small so it never blocks the mirror or the art above.
Cost: ~$4 | Time: 20 minutes
16. Fairy Lights Woven Through the Garland
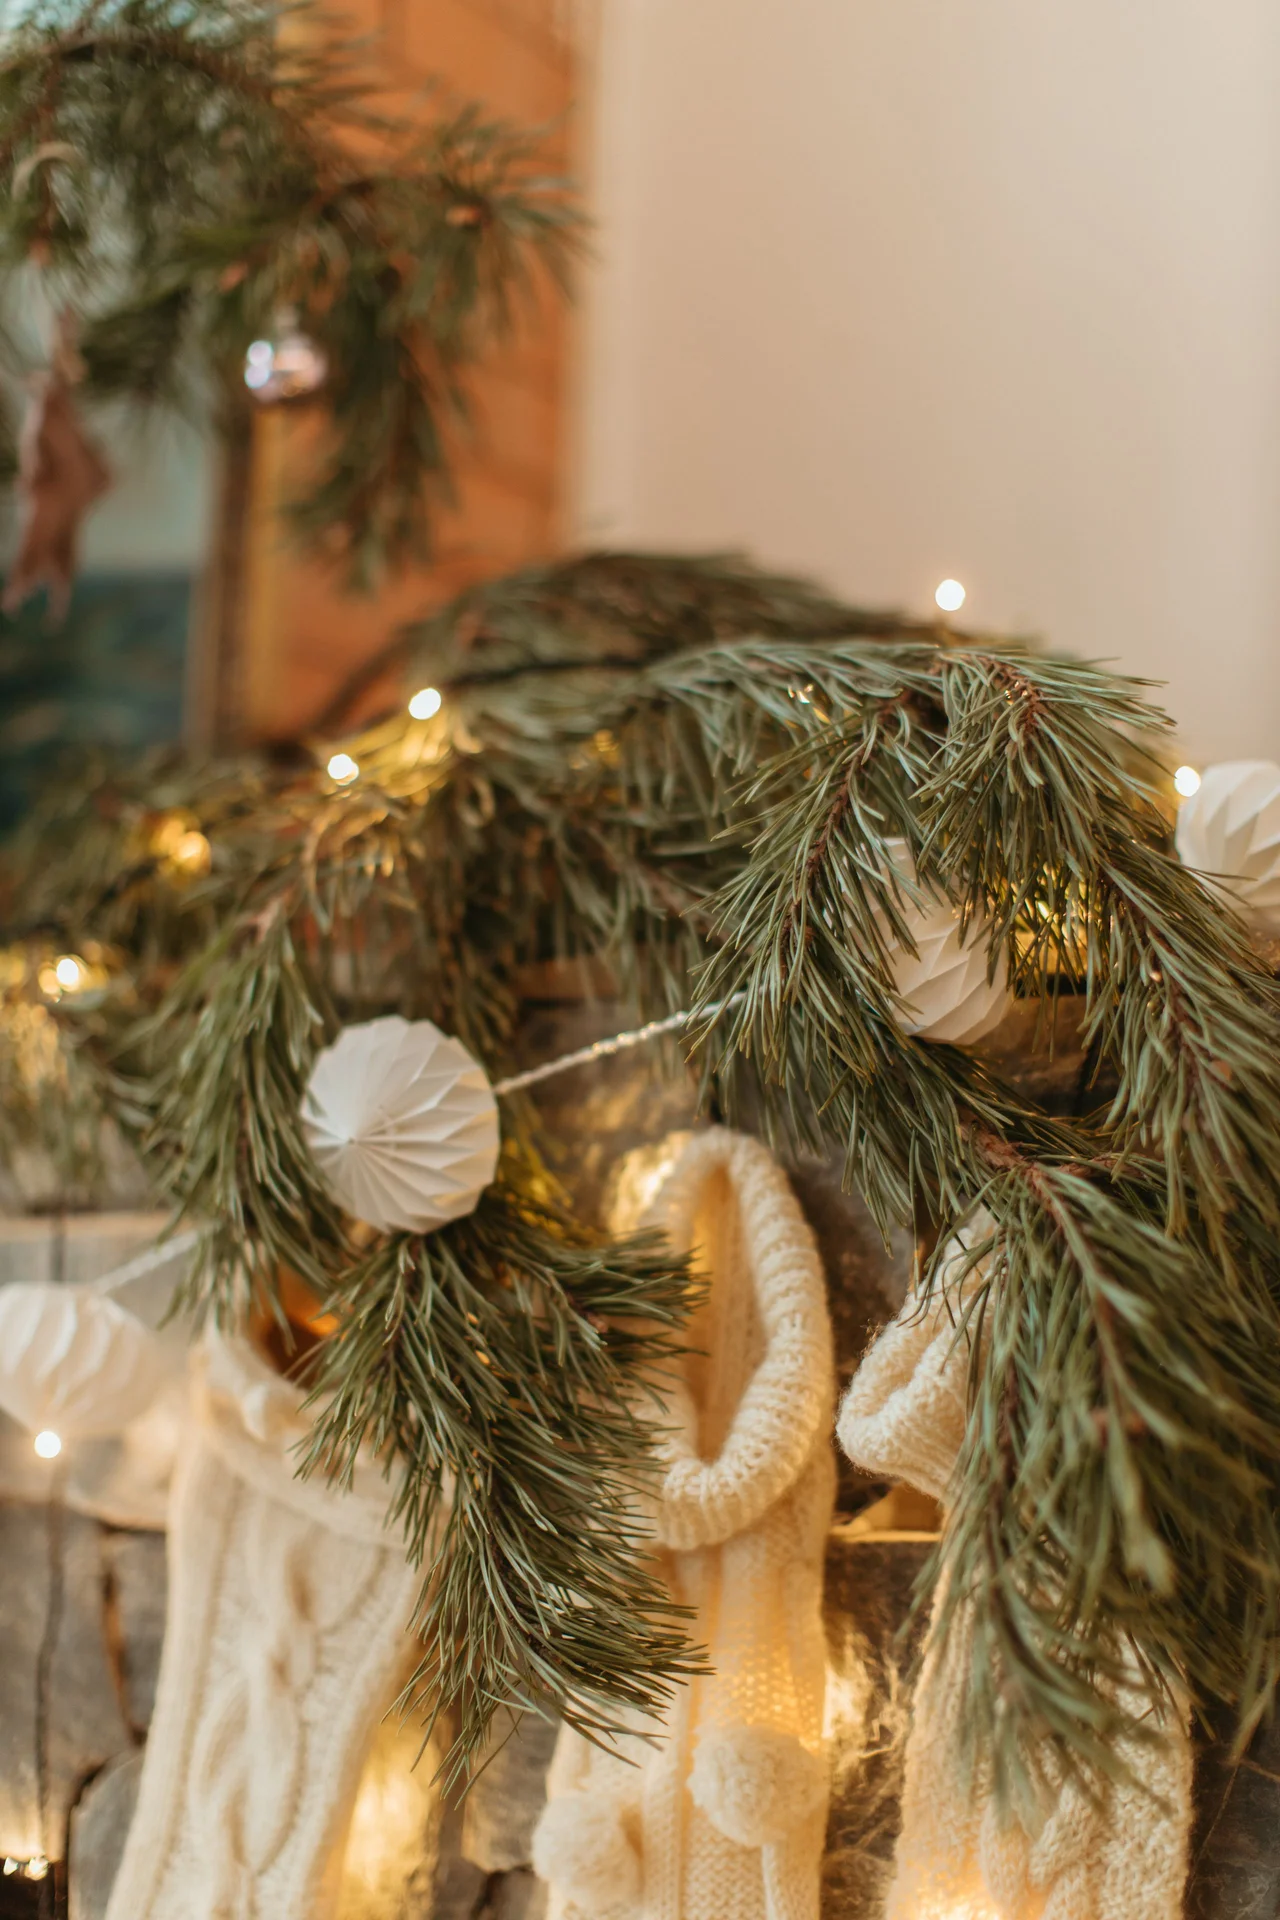
Fairy lights woven through the garland make the whole mantel glow, and they are the best money you will spend on the display. Weave a warm white string through the garland, tucking the wire behind the pine so only the lights show, and let the battery pack hide behind a candle. I test the lights before weaving them in, because one dead bulb buried in a garland is impossible to find. Use warm white only, because cool white lights look like a shop window.
Cost: ~$5 | Time: 20 minutes
17. Fresh Cedar Sprigs Tucked Into the Garland

Fresh cedar sprigs tucked into a faux garland make it look real and smell wonderful. Tuck small cedar sprigs into the gaps in the garland, spacing them evenly, and mist them lightly with water. I cut the sprigs from the garden the morning I decorate, because fresh cedar lasts for weeks and dried cedar drops needles. Replace the sprigs halfway through the season if they start to look tired. Once it is in place, step back and look at the whole room, because that is when you will see whether it needs one more small touch.
Cost: ~$0 | Time: 15 minutes
18. Antique Brass Bells Hung From the Garland

Antique brass bells hung from the garland add a gentle jingle and a warm metallic shine. Tie a few small brass bells to short pieces of twine and hang them from the garland so they dangle at different heights. I buy my bells from the thrift store for pennies, because new ones look too shiny and ruin the effect. Keep the bells small and light, because heavy bells pull the garland down and spoil the drape. The best part is that it takes almost no storage space when the season ends, so you can pack it away in minutes.
Cost: ~$4 | Time: 15 minutes
19. Snowy Faux Branches for a Frosted Look

Snowy faux branches in a vase on the mantel look like a frosted winter tree, and they cost almost nothing. Stand two or three frosted branches in a tall vase, trim them so they fan out evenly, and set the vase at the end of the mantel. I spray the branches lightly with white spray snow if they are plain, because a light dusting looks like frost and a heavy coat looks like paint. Keep the branches short enough that they never brush the art above the mantel.
Cost: ~$5 | Time: 15 minutes
20. Family Photos in Small Gold Frames
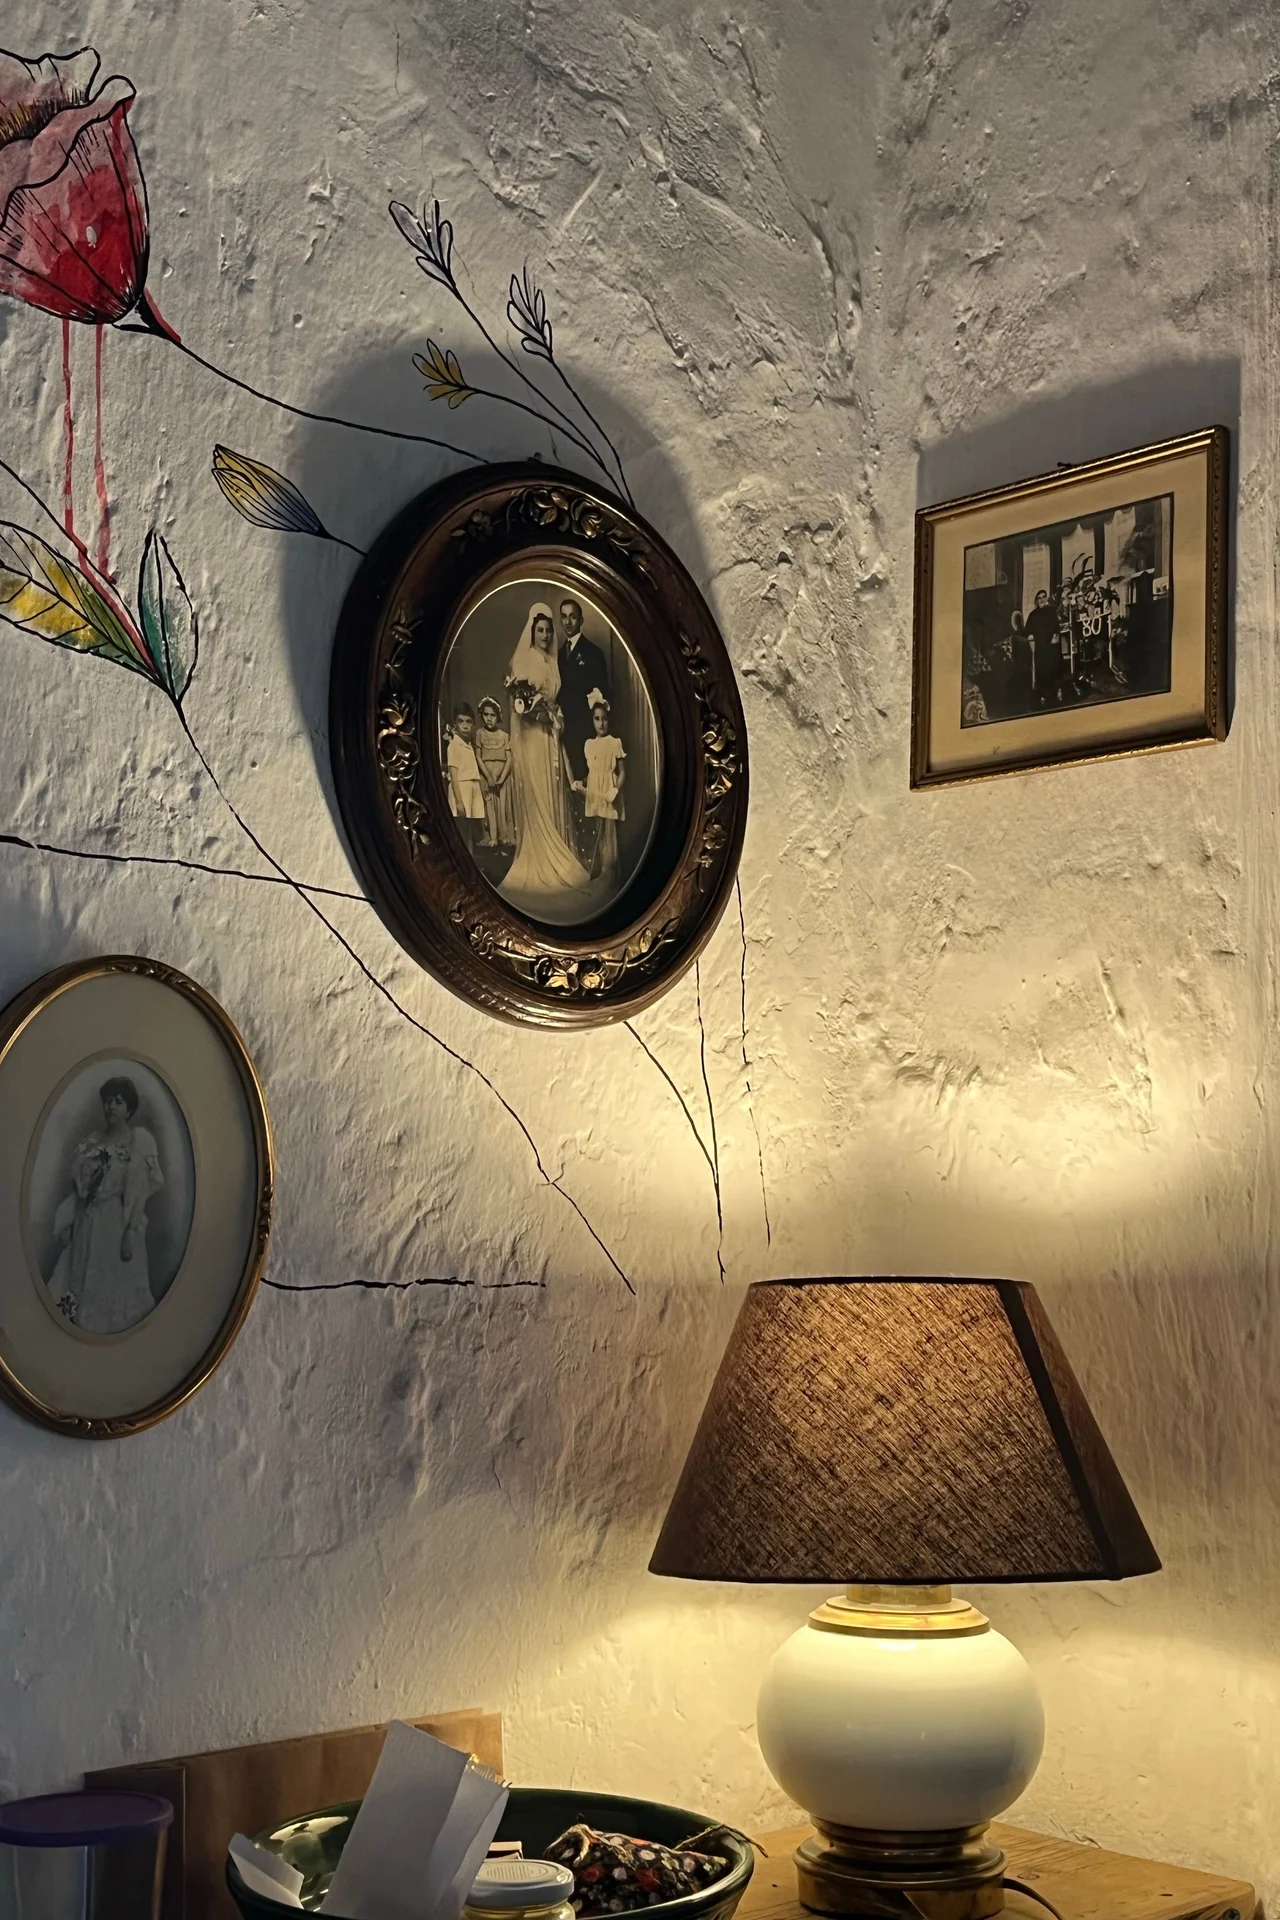
Family photos in small gold frames on the mantel make the display personal, and they cost nothing to print at home. Print a few favourite photos in black and white, frame them in small gold frames, and set them in a row along the mantel. I use black and white photos because they match any mantel colour scheme, while colour photos can clash with the garland. Keep the frames small so they never crowd out the candles and the greenery.
Cost: ~$5 | Time: 20 minutes
21. Candle Cluster at One End for Balance
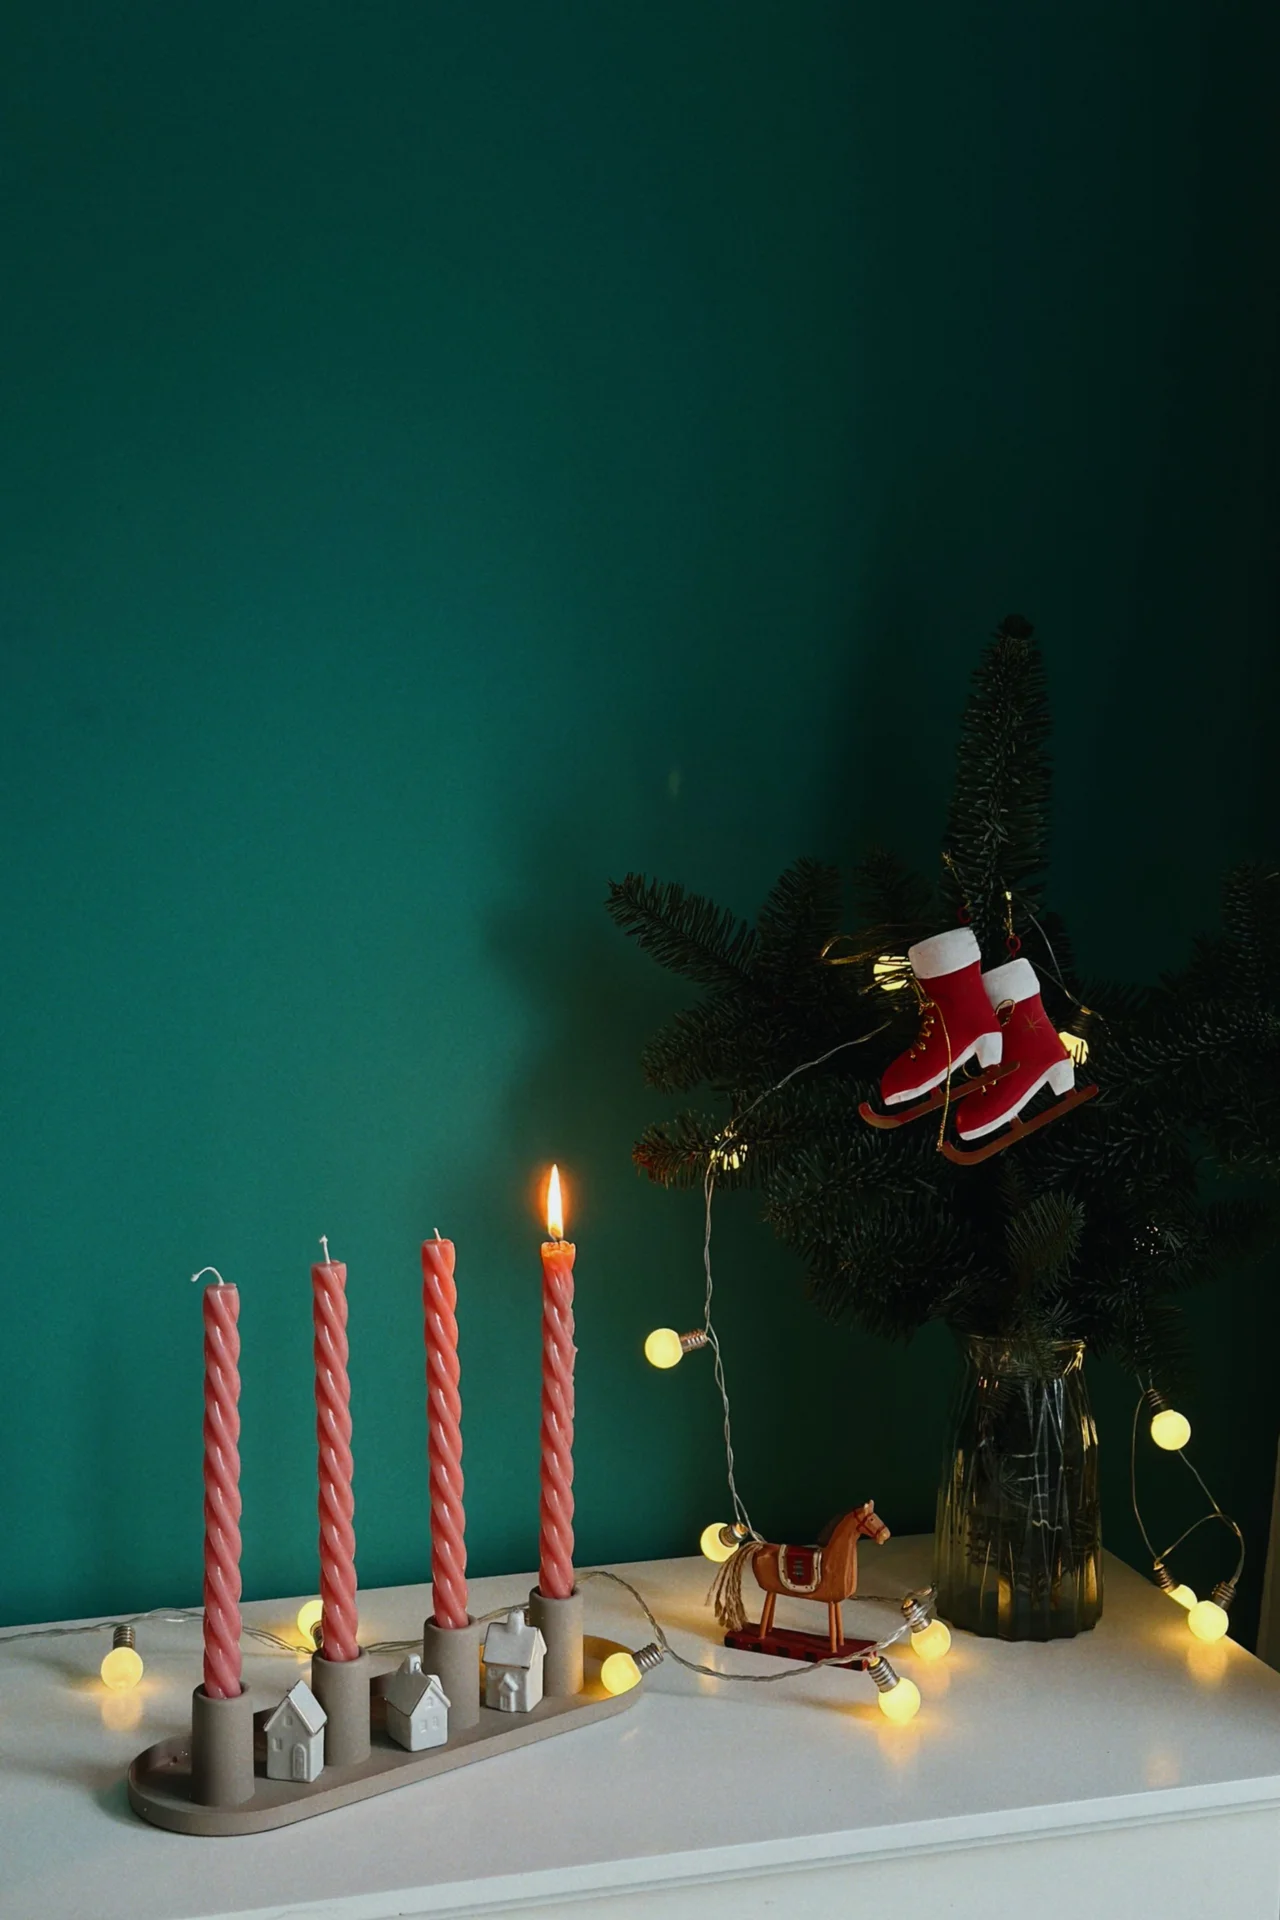
A cluster of candles at one end of the mantel balances a tall decoration at the other end, and it is the easiest way to fix a lopsided mantel. Group three candles of different heights together at one end, set them on a small tray, and light them in the evening. I use a tray underneath to catch any wax drips, because wax on a mantel is a nightmare to clean. Keep the candles well away from the garland so the flames never get close to the pine.
Cost: ~$7 | Time: 10 minutes
