21 DIY Christmas Decorations That Look Store-Bought
Last December my neighbour asked where I had bought the ornaments on our tree, and I laughed, because I had made them at the kitchen table the night before with orange slices and a spool of twine. That is the whole point of these diy christmas decorations: if you make them slowly and finish them neatly, nobody can tell the difference, and you save a small fortune. Save this list before you start, because a craft evening goes better with a plan. I have linked a few related reads like (see also: cheap-diy-christmas-decorations) and (see also: budget-christmas-decor-ideas) if you want more, and (see also: dollar-store-christmas-decor-ideas) for the cheapest finds.
Use from home: Twine, cinnamon sticks, old jars, scrap fabric, pinecones from the garden, brown paper bags, and buttons from the sewing box. Buy this week: Dried orange slices or fresh oranges, salt dough ingredients, felt sheets, gold spray paint, and a spool of ribbon.
1. Dried Orange Slice Ornaments
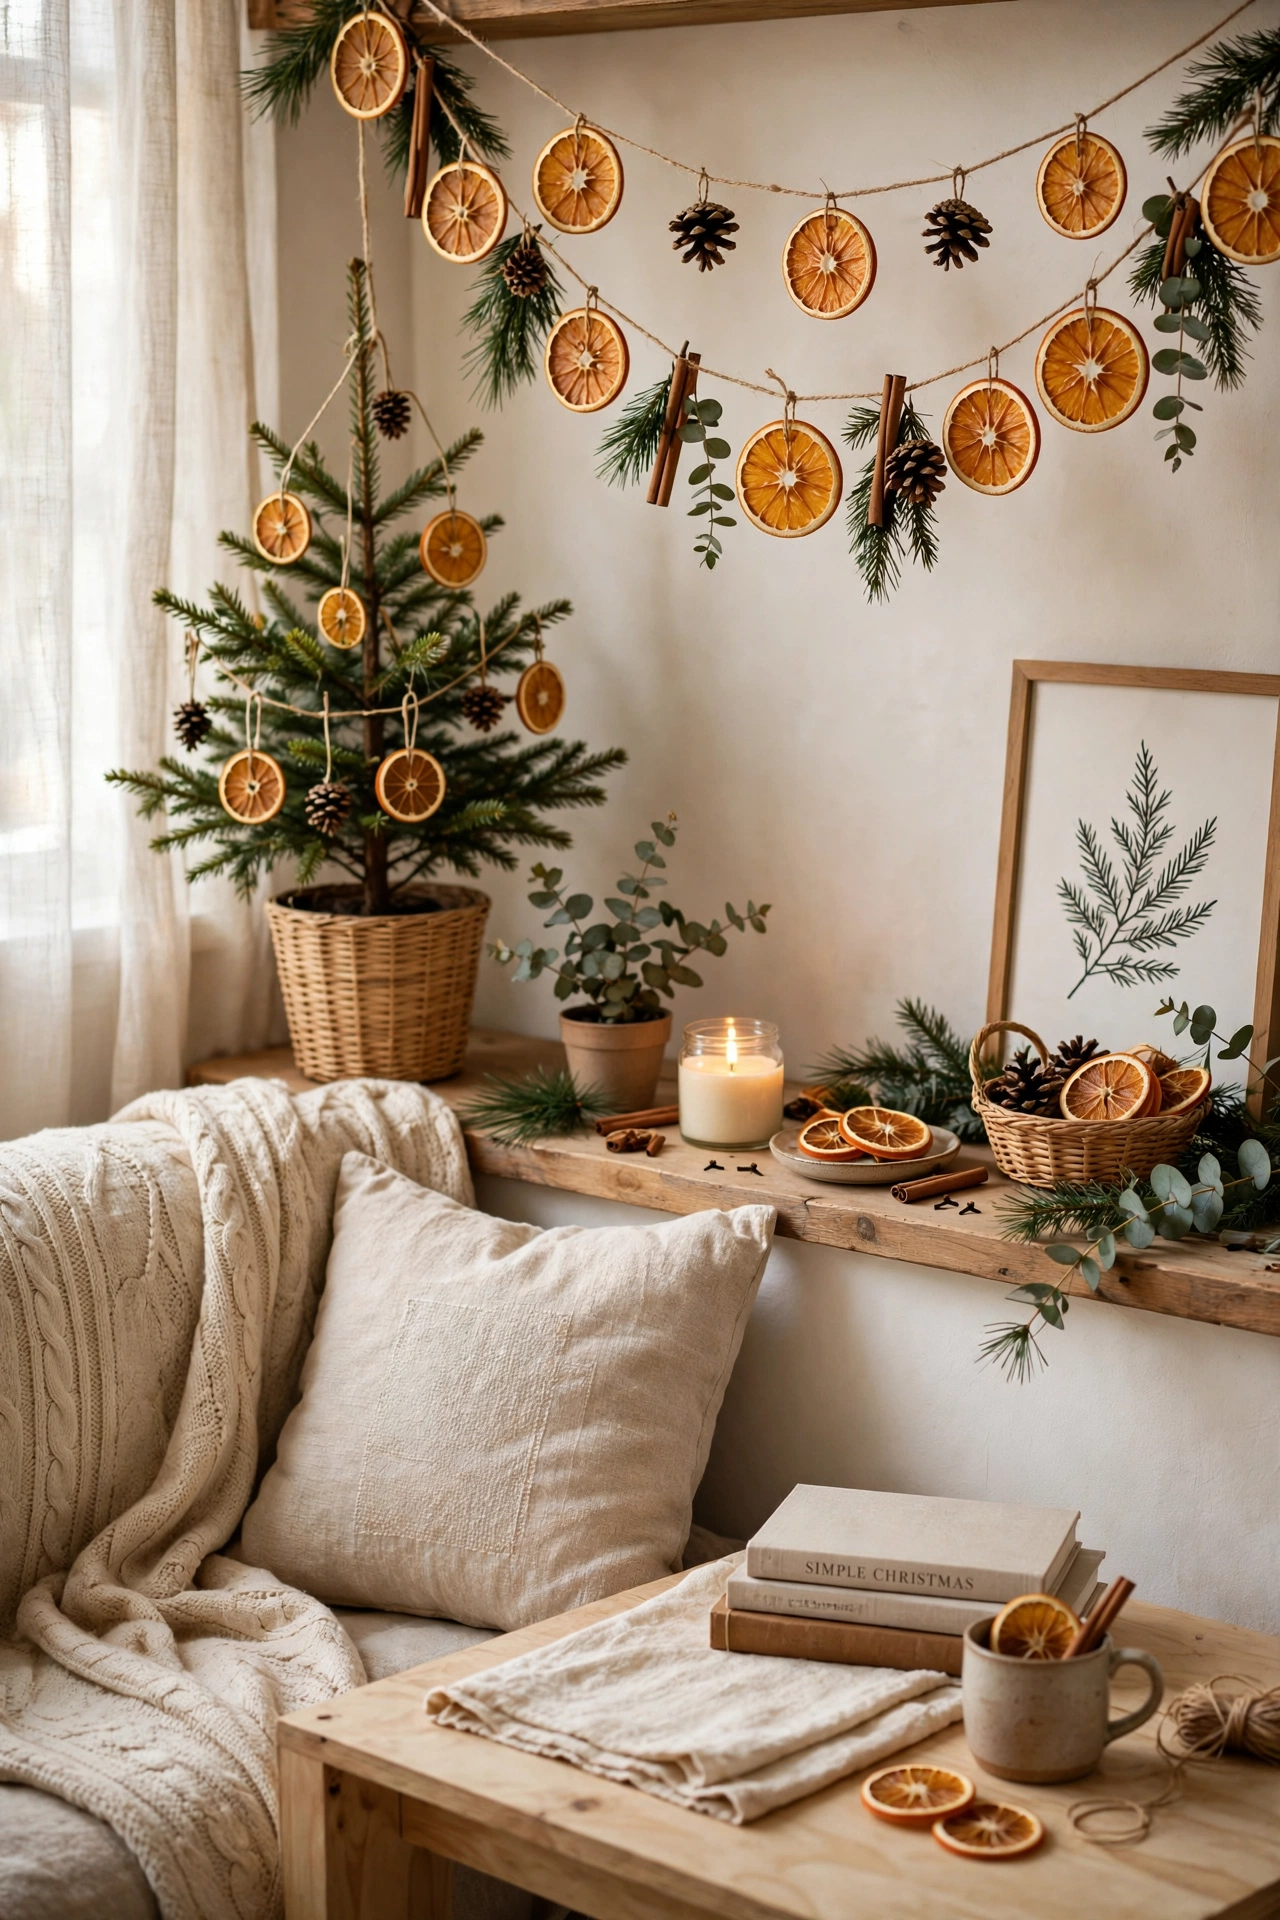
Dried orange slices with a ribbon loop are the prettiest ornaments on any tree, and they cost less than a dollar each. Slice oranges thin, bake them on low heat until dry, then thread a ribbon through a small hole and tie a loop. I burned my first batch by rushing the oven, so low and slow is the only way to get golden slices instead of brown ones. Hang them where the light hits them, because they glow like stained glass in the afternoon sun.
Cost: ~$2 | Time: 45 minutes
2. Cinnamon Stick Candle Holders
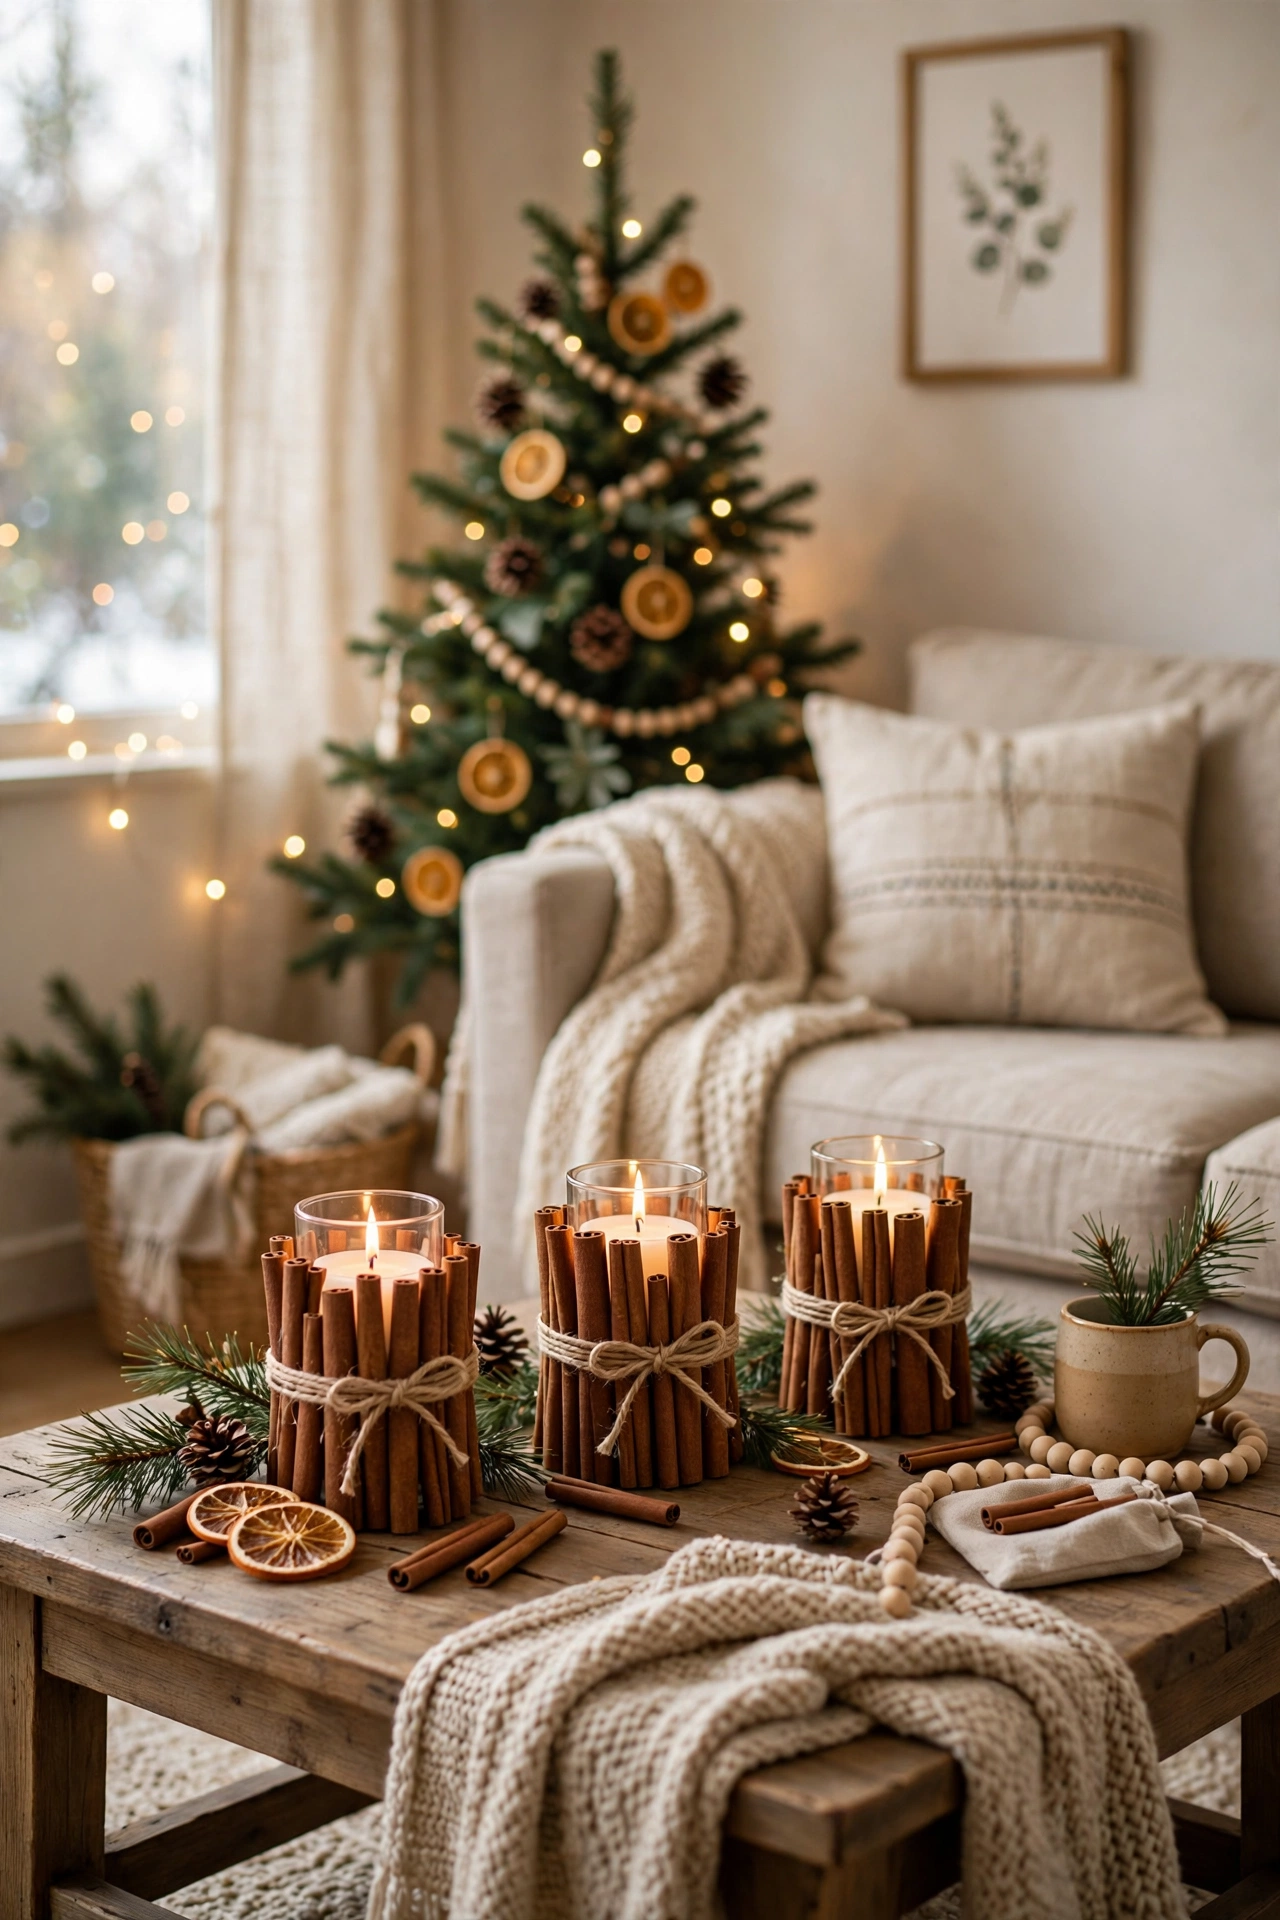
Cinnamon sticks glued around a plain glass candle holder turn a boring votive into a decoration that smells like Christmas. Stand the sticks upright around the glass, glue them in place one by one, and tie twine around the middle to hold them while the glue dries. I use a hot glue gun because it sets fast, but I keep my fingers clear of the nozzle, which I learned the hard way. Set a tea light inside and the cinnamon scent fills the room.
Cost: ~$3 | Time: 20 minutes
3. Pinecone Ornaments Dipped in Paint
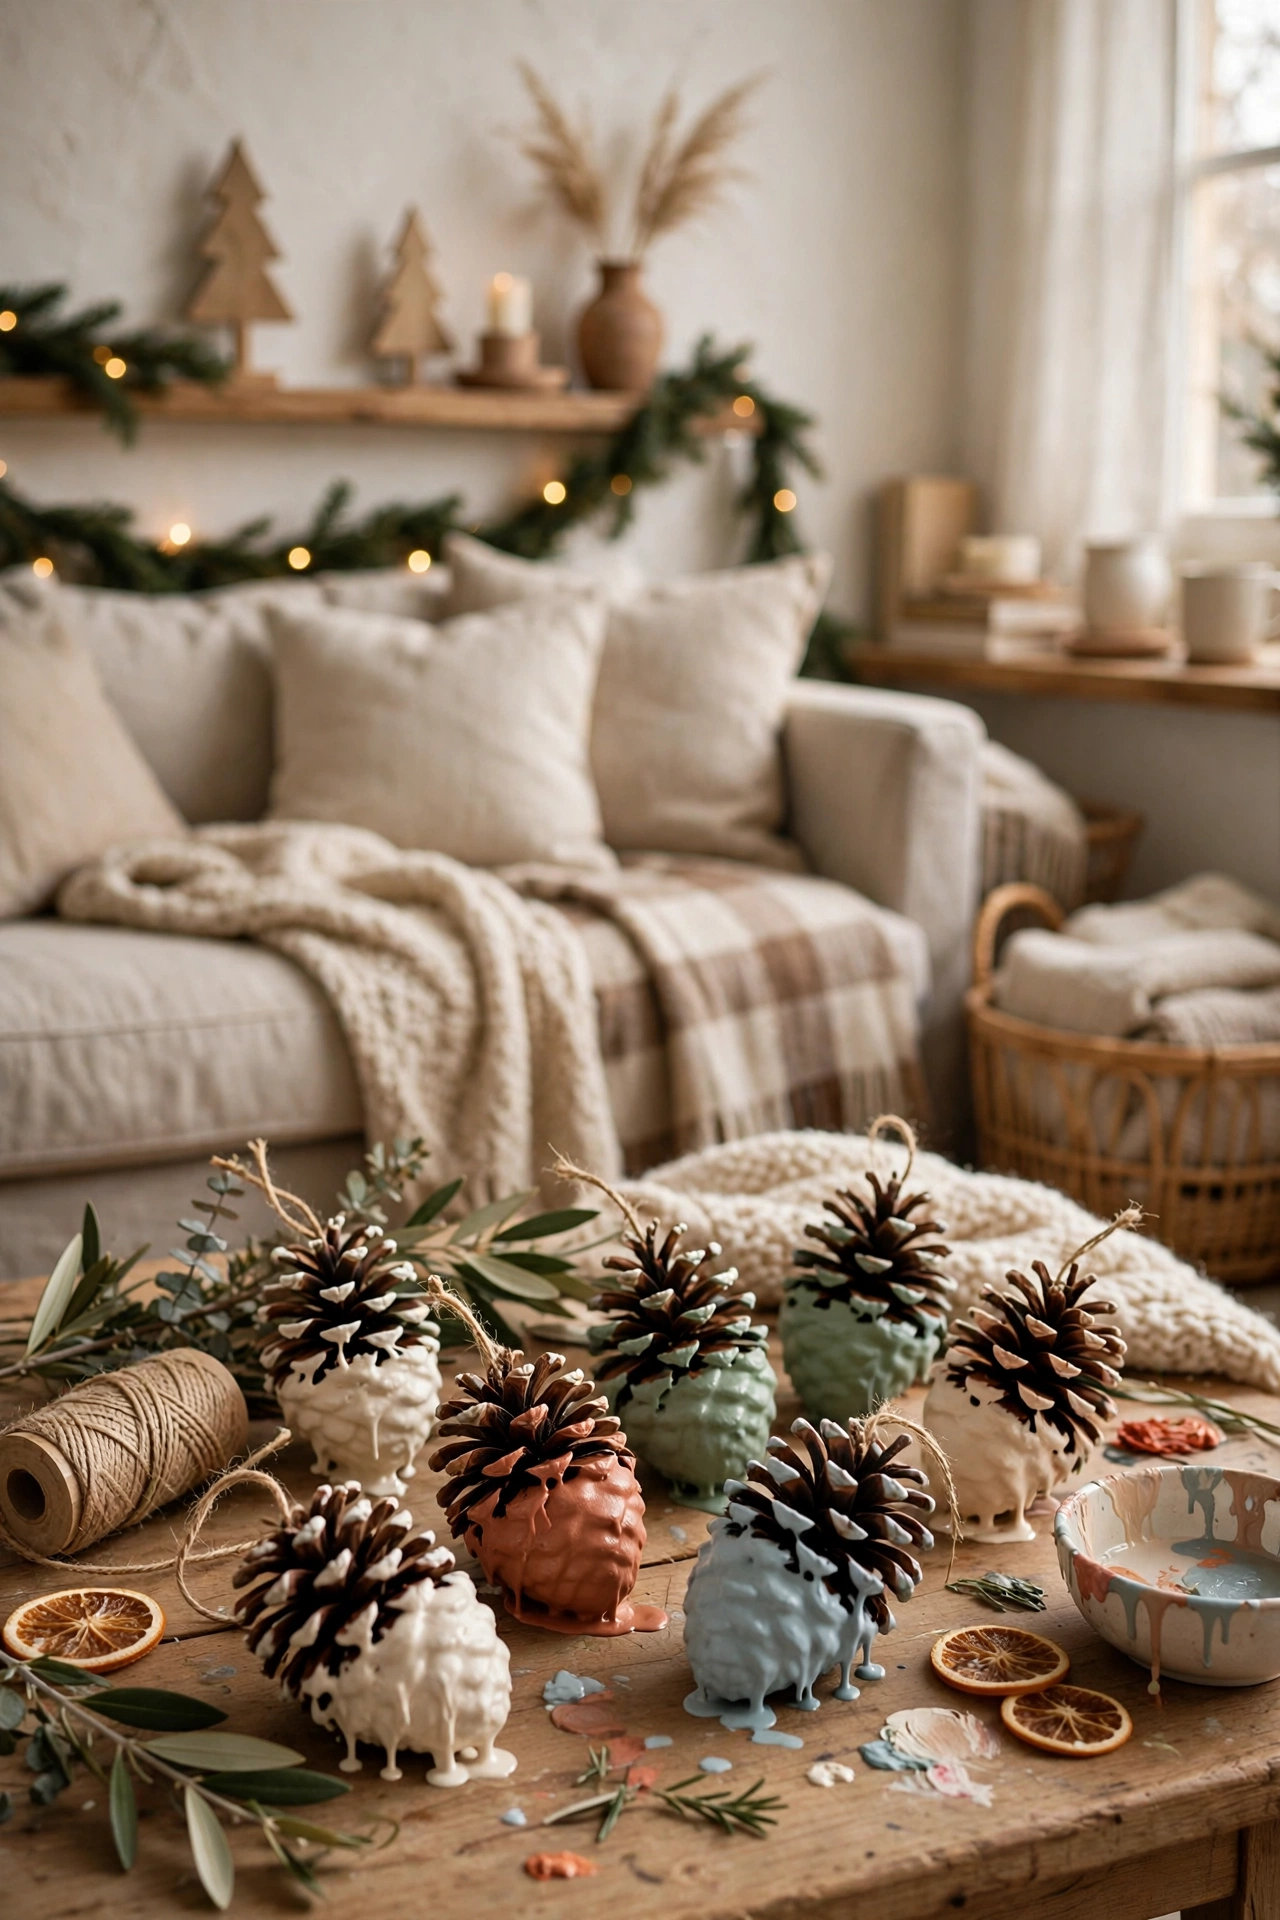
Pinecones dipped in white or gold paint look like they came from an expensive shop, and they take five minutes each. Hold a pinecone by its stem, dip the tips into a small pot of paint, let the excess drip off, and set it upside down to dry. I bake the pinecones at a low heat first to kill any insects and open the scales, because a closed pinecone looks like a brown lump. Tie a ribbon to the stem and hang it on the tree.
Cost: ~$2 | Time: 25 minutes
4. Paper Star Lanterns From Brown Bags
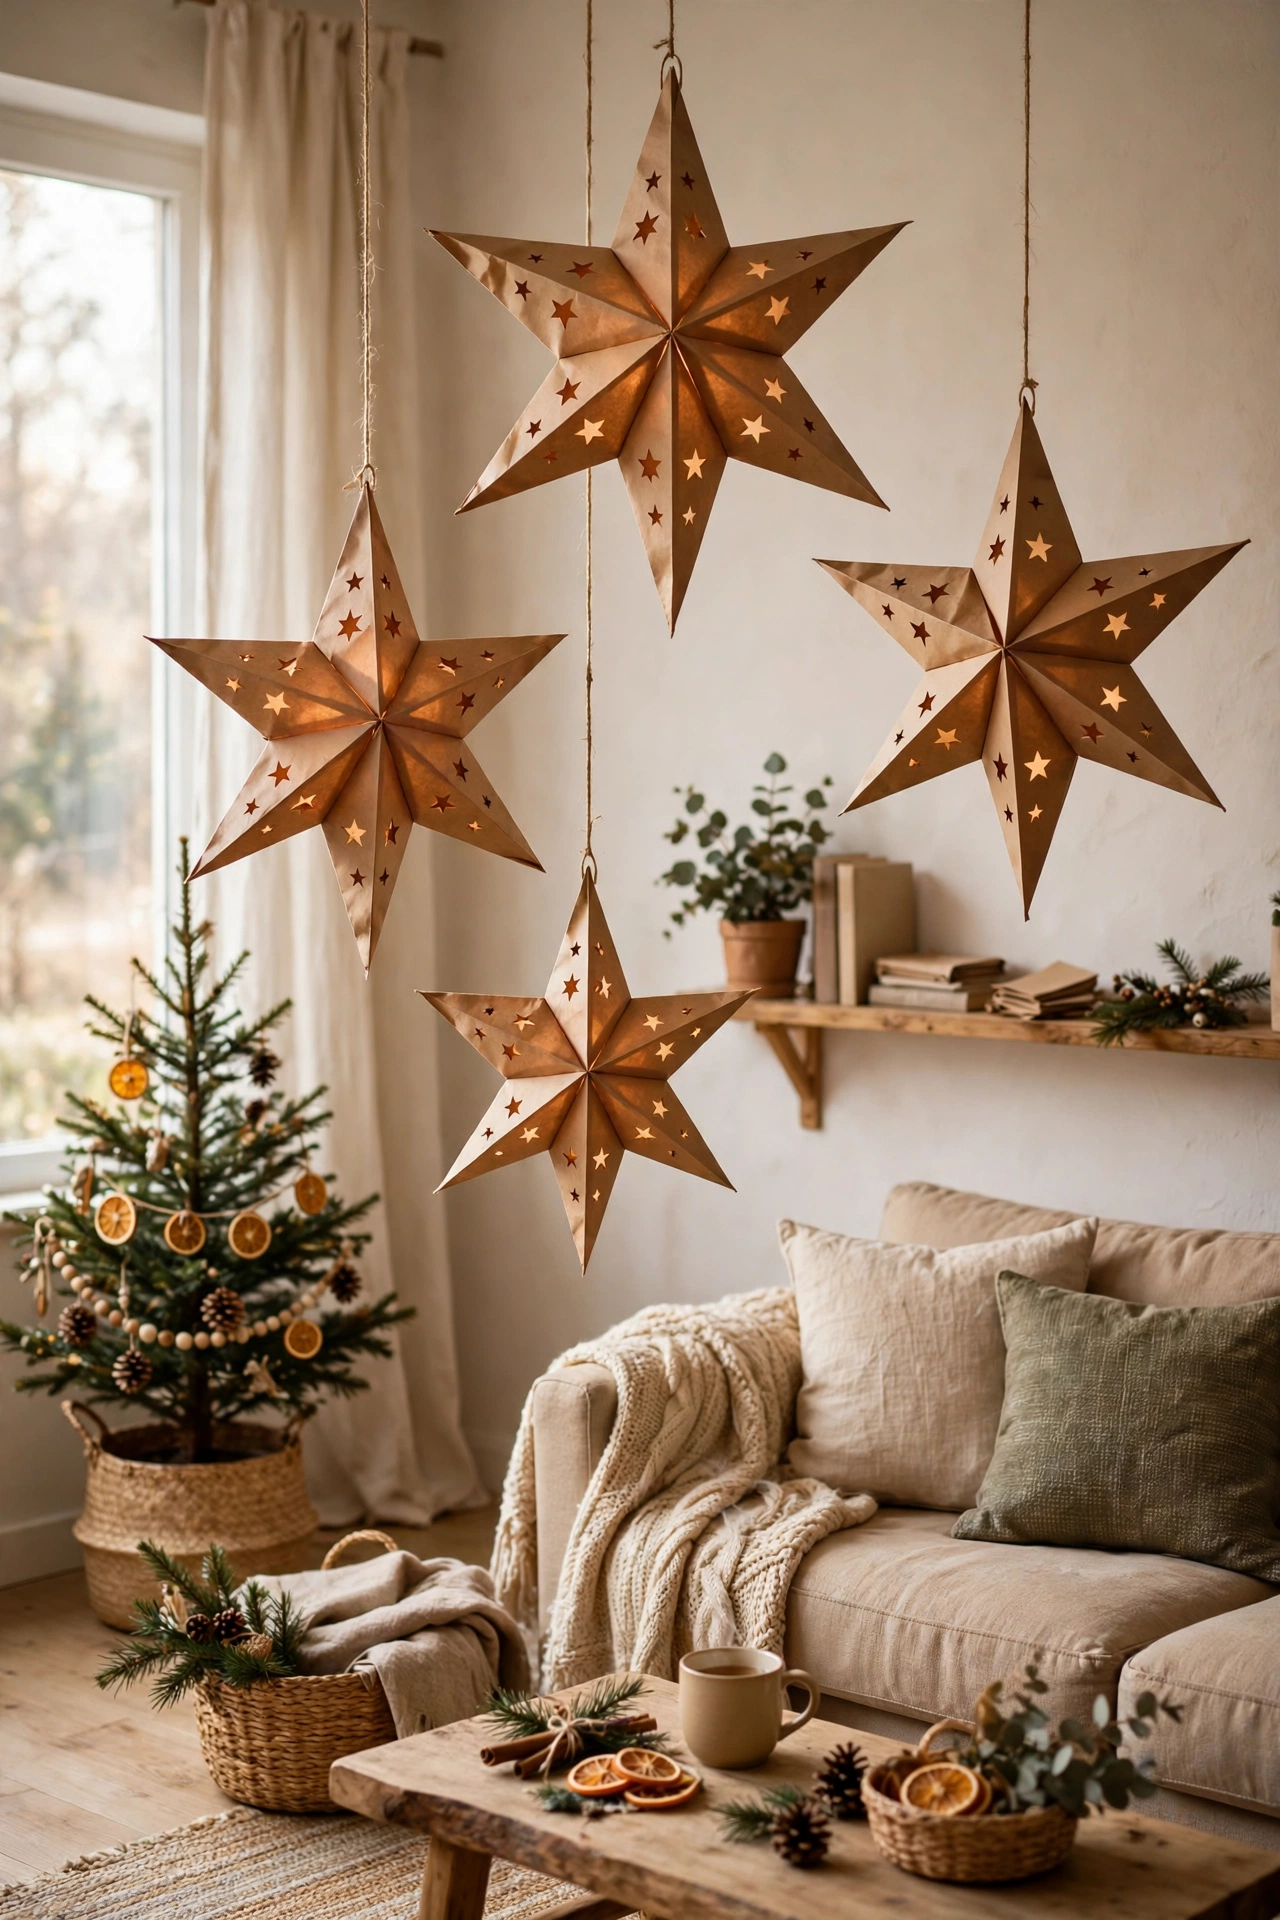
Brown paper bags folded into stars and lit from inside make the softest lanterns you will ever see. Cut the bags into strips, fold them into star shapes, glue the edges, and set a battery tea light inside each one. I use battery lights only, because a real flame in a paper bag is a fire waiting to happen. Line them up on the mantel or the windowsill and they glow like little paper houses. A small thing done well beats a big thing done in a rush, and this one proves it every single time.
Cost: ~$2 | Time: 40 minutes
5. Salt Dough Ornaments for the Tree
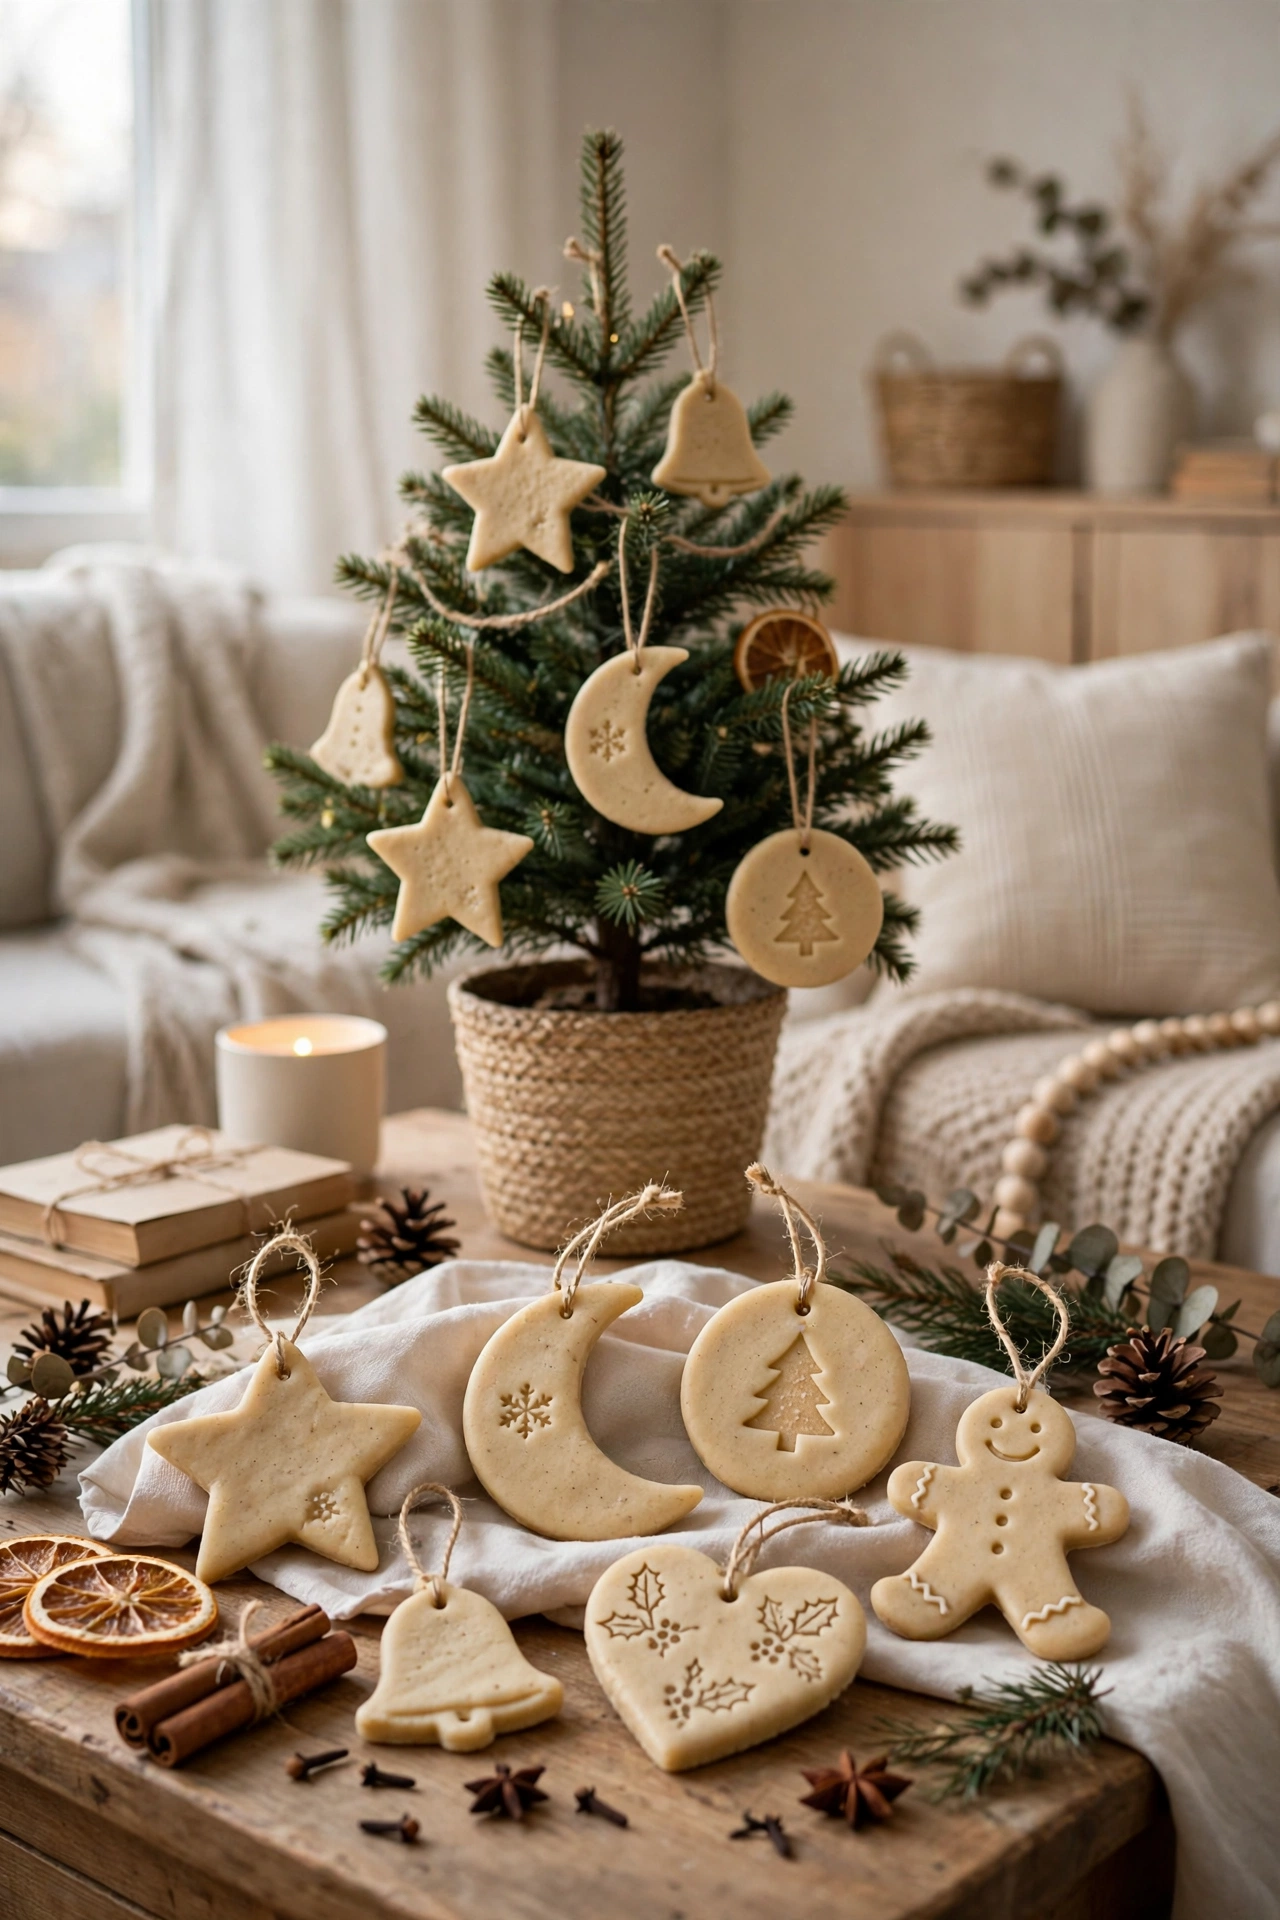
Salt dough ornaments are the classic homemade decoration, and kids love making them as much as adults do. Mix flour, salt, and water into a dough, roll it out, cut shapes with cookie cutters, and bake until hard. I poke the hanging hole before baking, because trying to drill it afterwards cracks the ornament. Paint them white or gold when they are cool, and they look like they came from a craft fair. It is the kind of small change that makes the room feel finished without any real effort or expense.
Cost: ~$1 | Time: 60 minutes
6. Twig Star Wall Decor
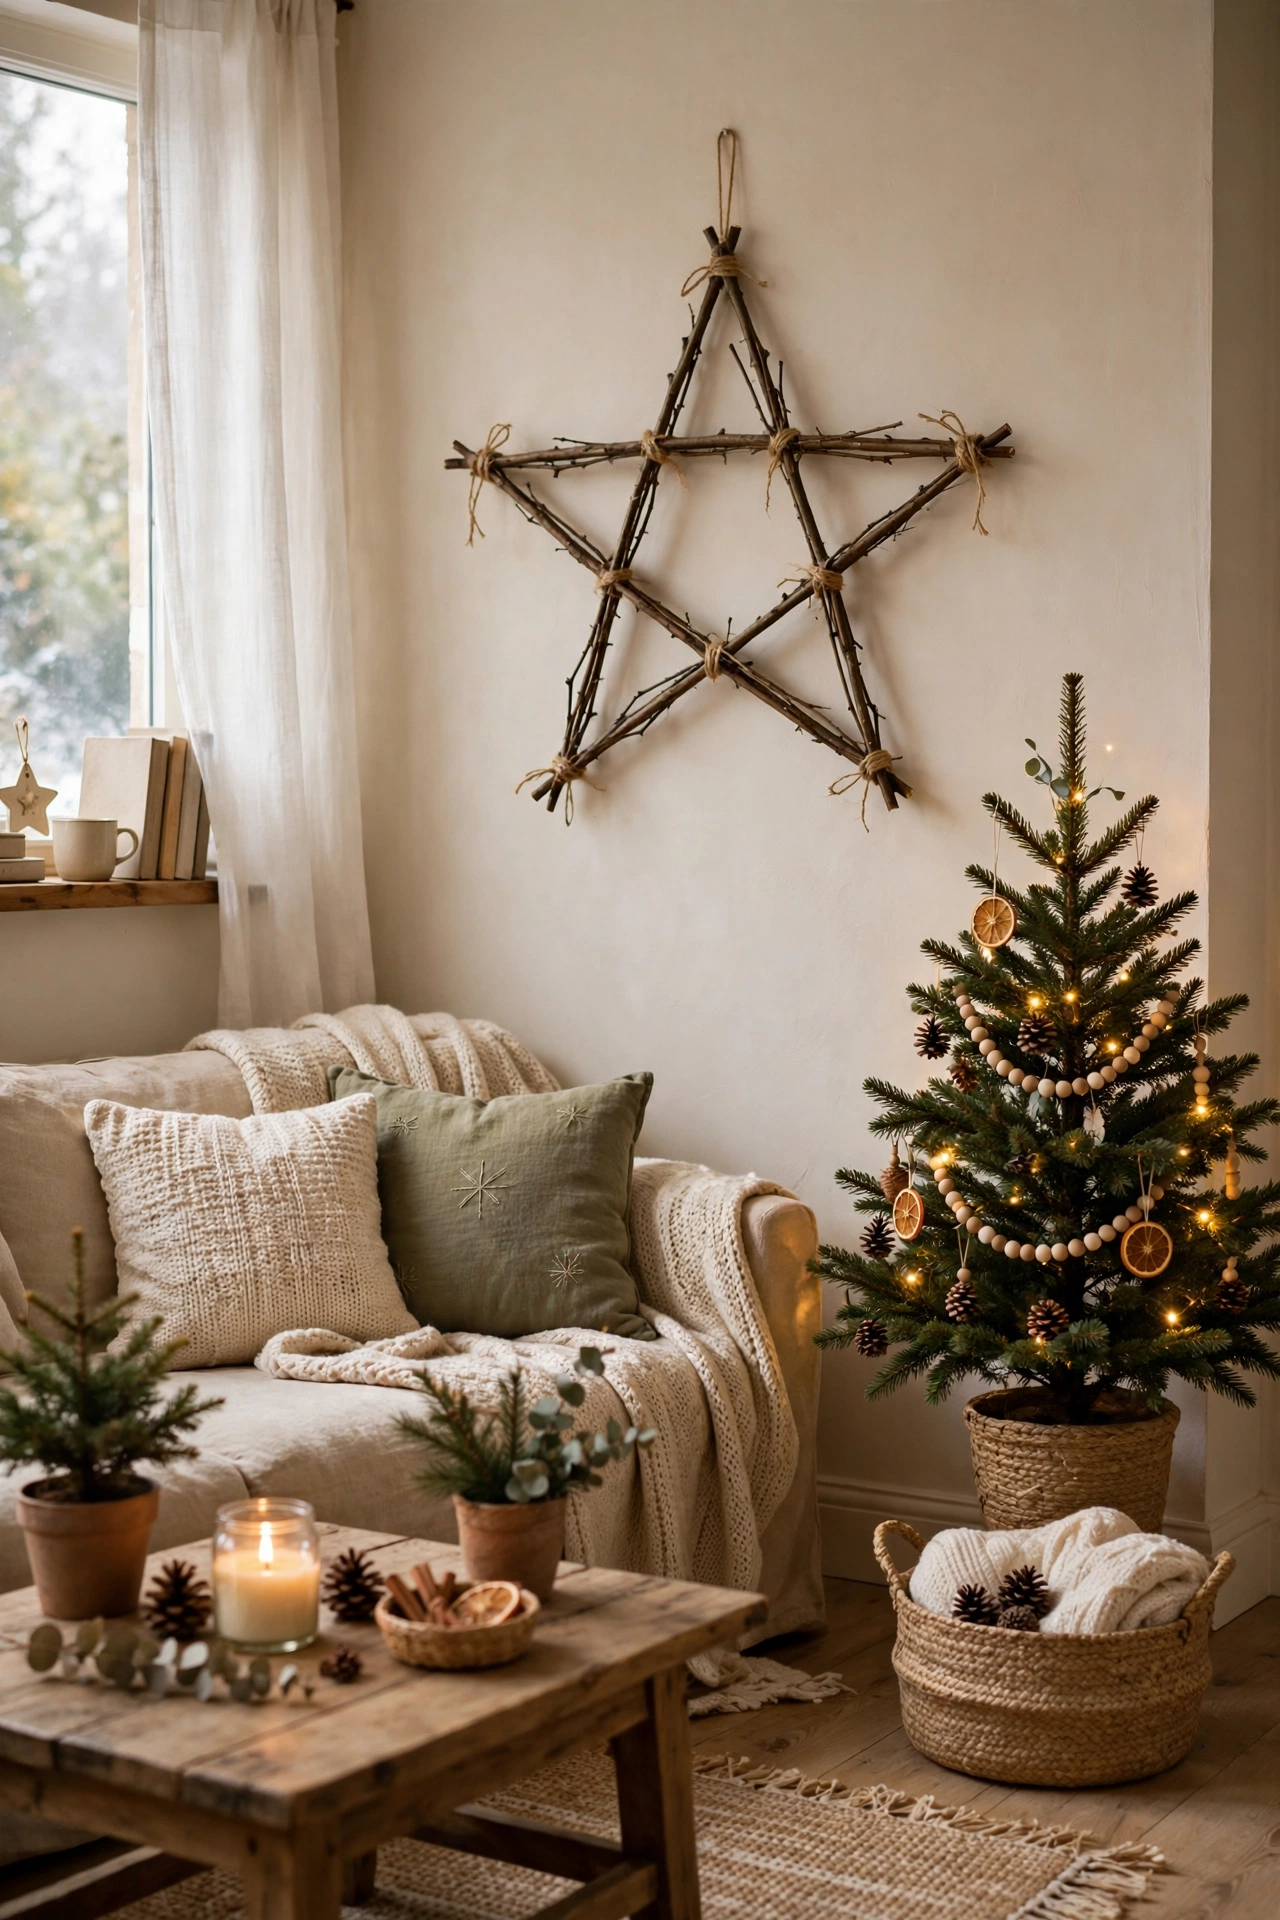
Five twigs tied into a star shape make a rustic wall decoration that costs nothing from the garden. Cut five twigs to the same length, arrange them into a star, and tie each joint with twine. I use thin, straight twigs because thick ones are hard to tie and the star ends up lopsided. Hang it on the wall with a nail or a command hook, and add a small bow at the top if the wall feels bare. Once it is in place, step back and look at the whole room, because that is when you will see whether it needs one more small touch.
Cost: ~$0 | Time: 20 minutes
7. Mason Jar Snow Globes
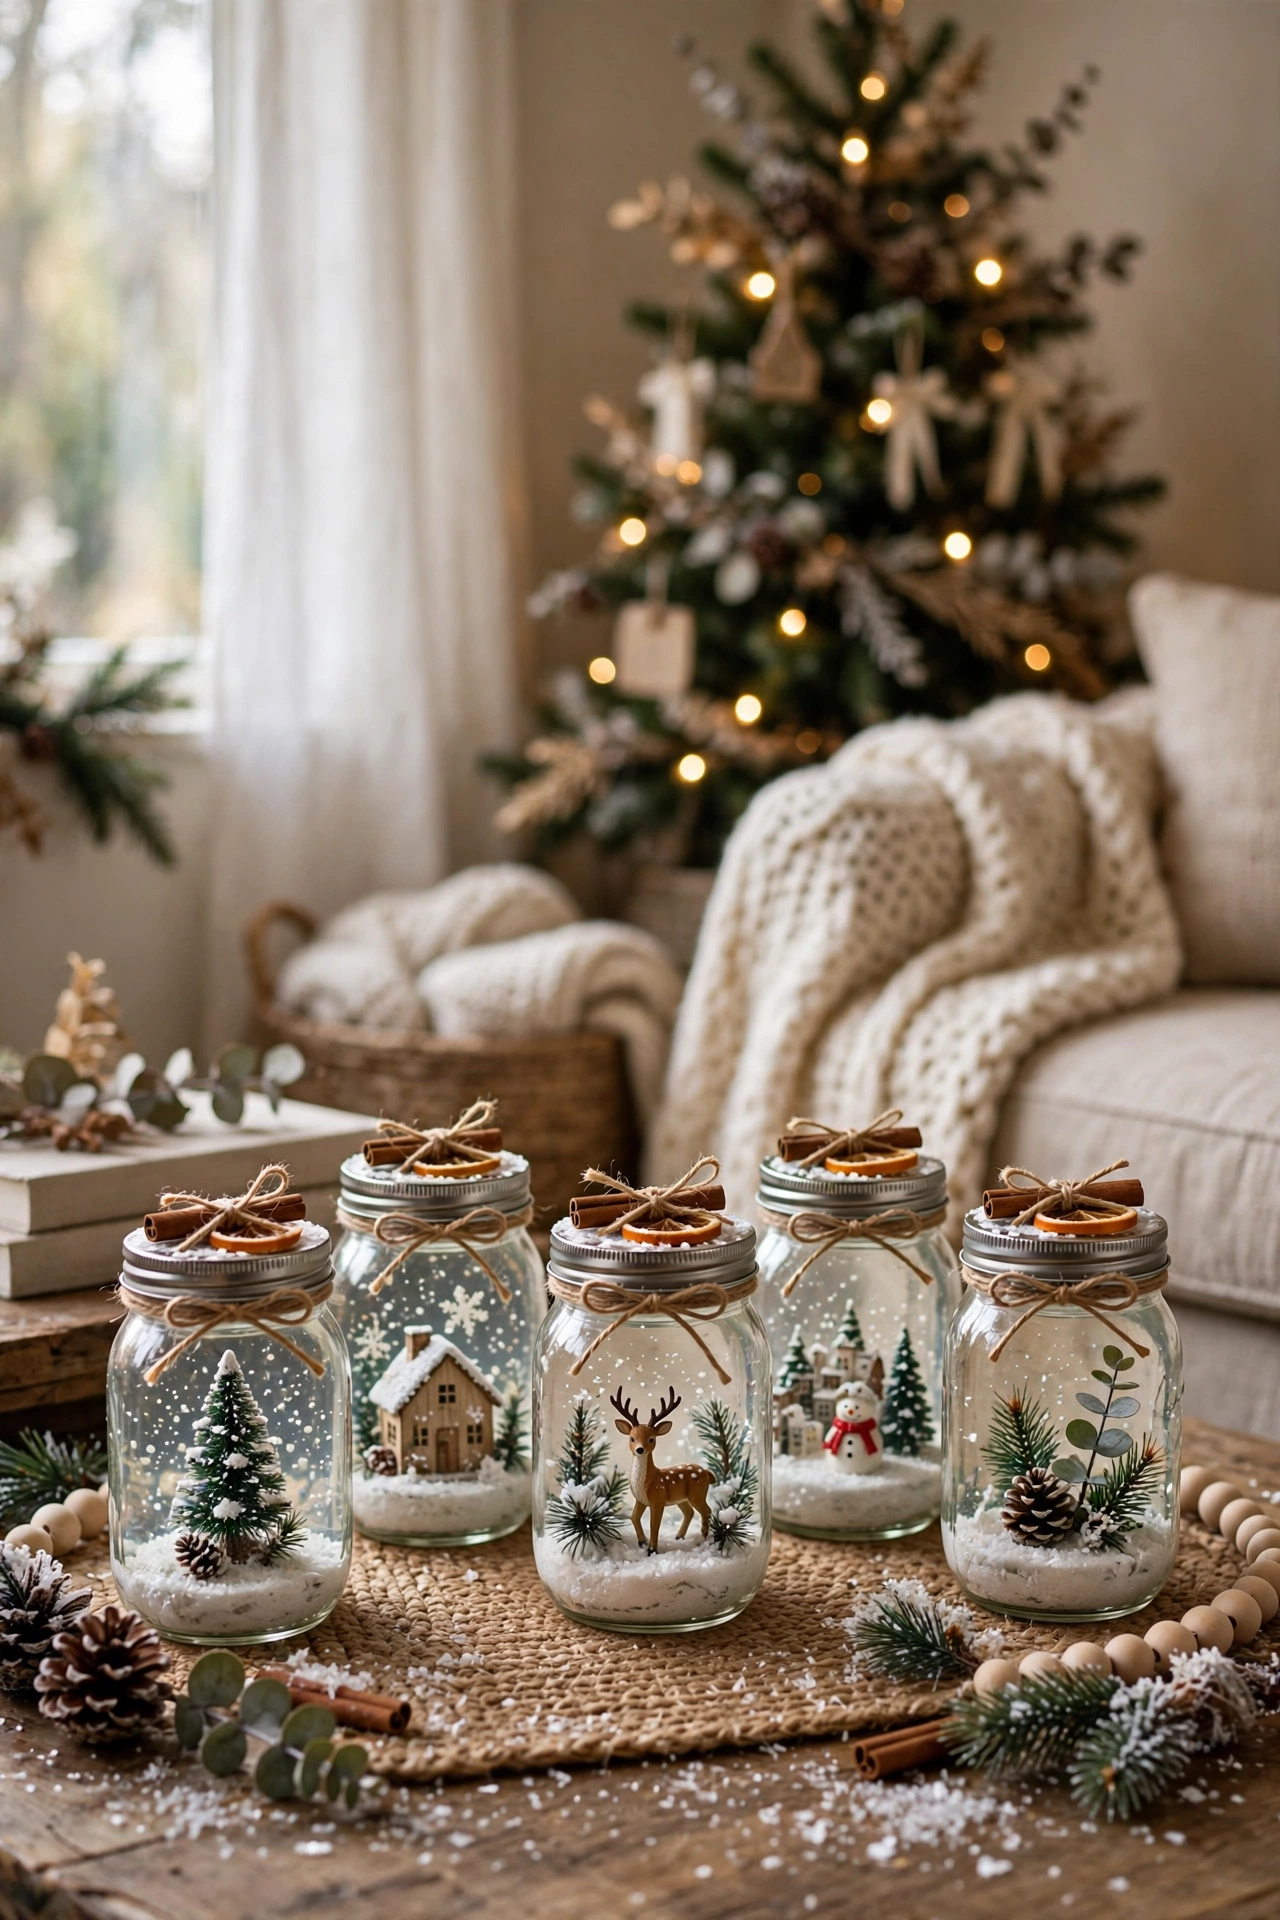
A mason jar snow globe with a tiny tree inside is a decoration that children shake a hundred times a day. Glue a mini bottle brush tree to the inside of the lid, fill the jar with water and a pinch of glitter, screw the lid on tight, and turn it upside down. I seal the lid with a ring of glue, because a snow globe that leaks glitter water is a mess nobody wants. Shake it gently and the glitter falls like snow.
Cost: ~$4 | Time: 20 minutes
8. Felt Garland in Festive Colours
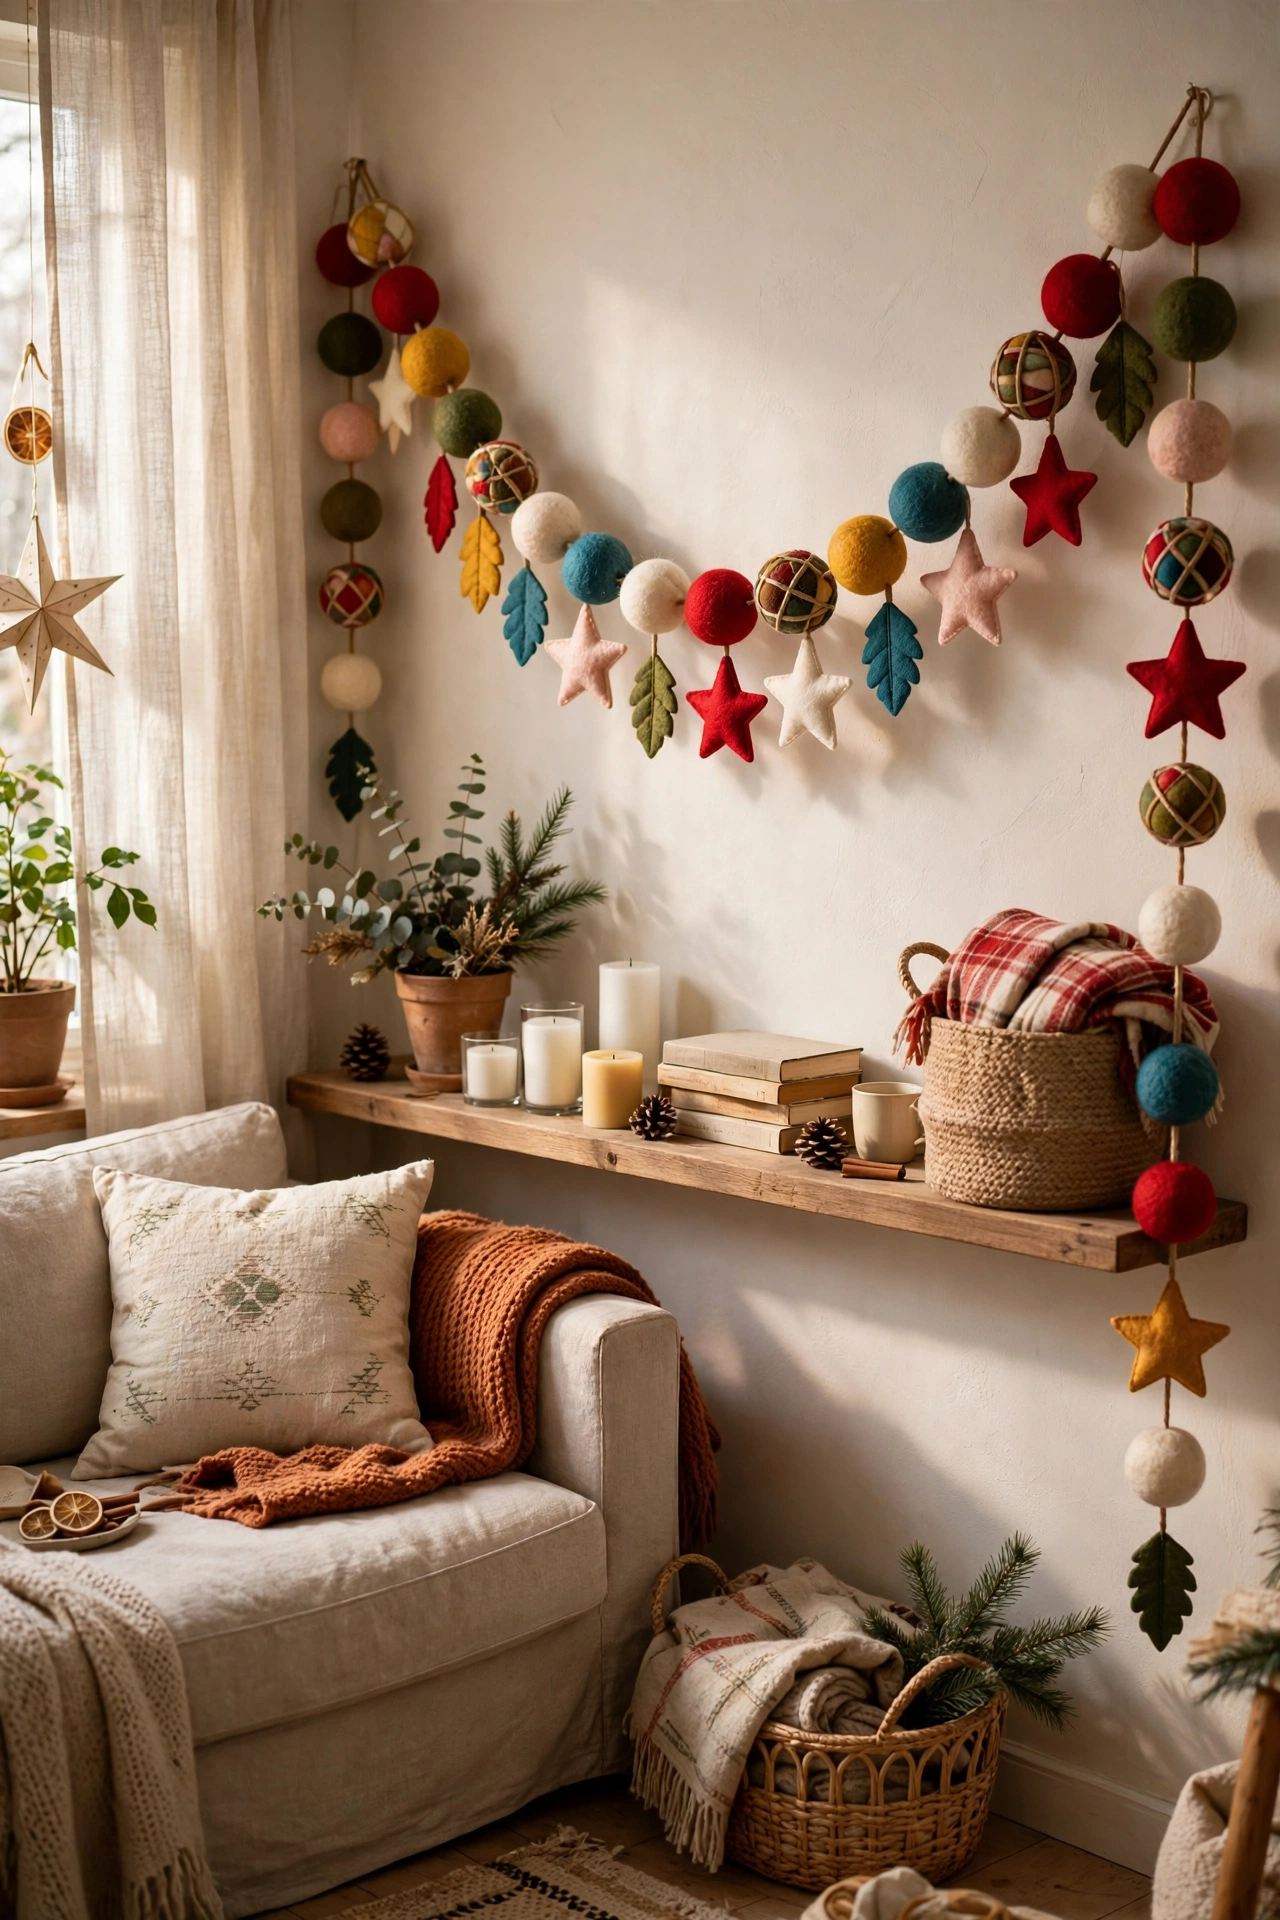
A garland of felt circles or stars strung on twine adds a soft splash of colour to the mantel or the tree. Cut felt into circles or stars, punch a hole in each one, and thread them onto twine, spacing them evenly. I cut the shapes with a template so they all match, because freehand circles look wobbly. Mix red, green, and cream for a classic look, or use all one colour for something calmer. The best part is that it takes almost no storage space when the season ends, so you can pack it away in minutes.
Cost: ~$3 | Time: 45 minutes
9. Wine Cork Reindeer for the Mantel
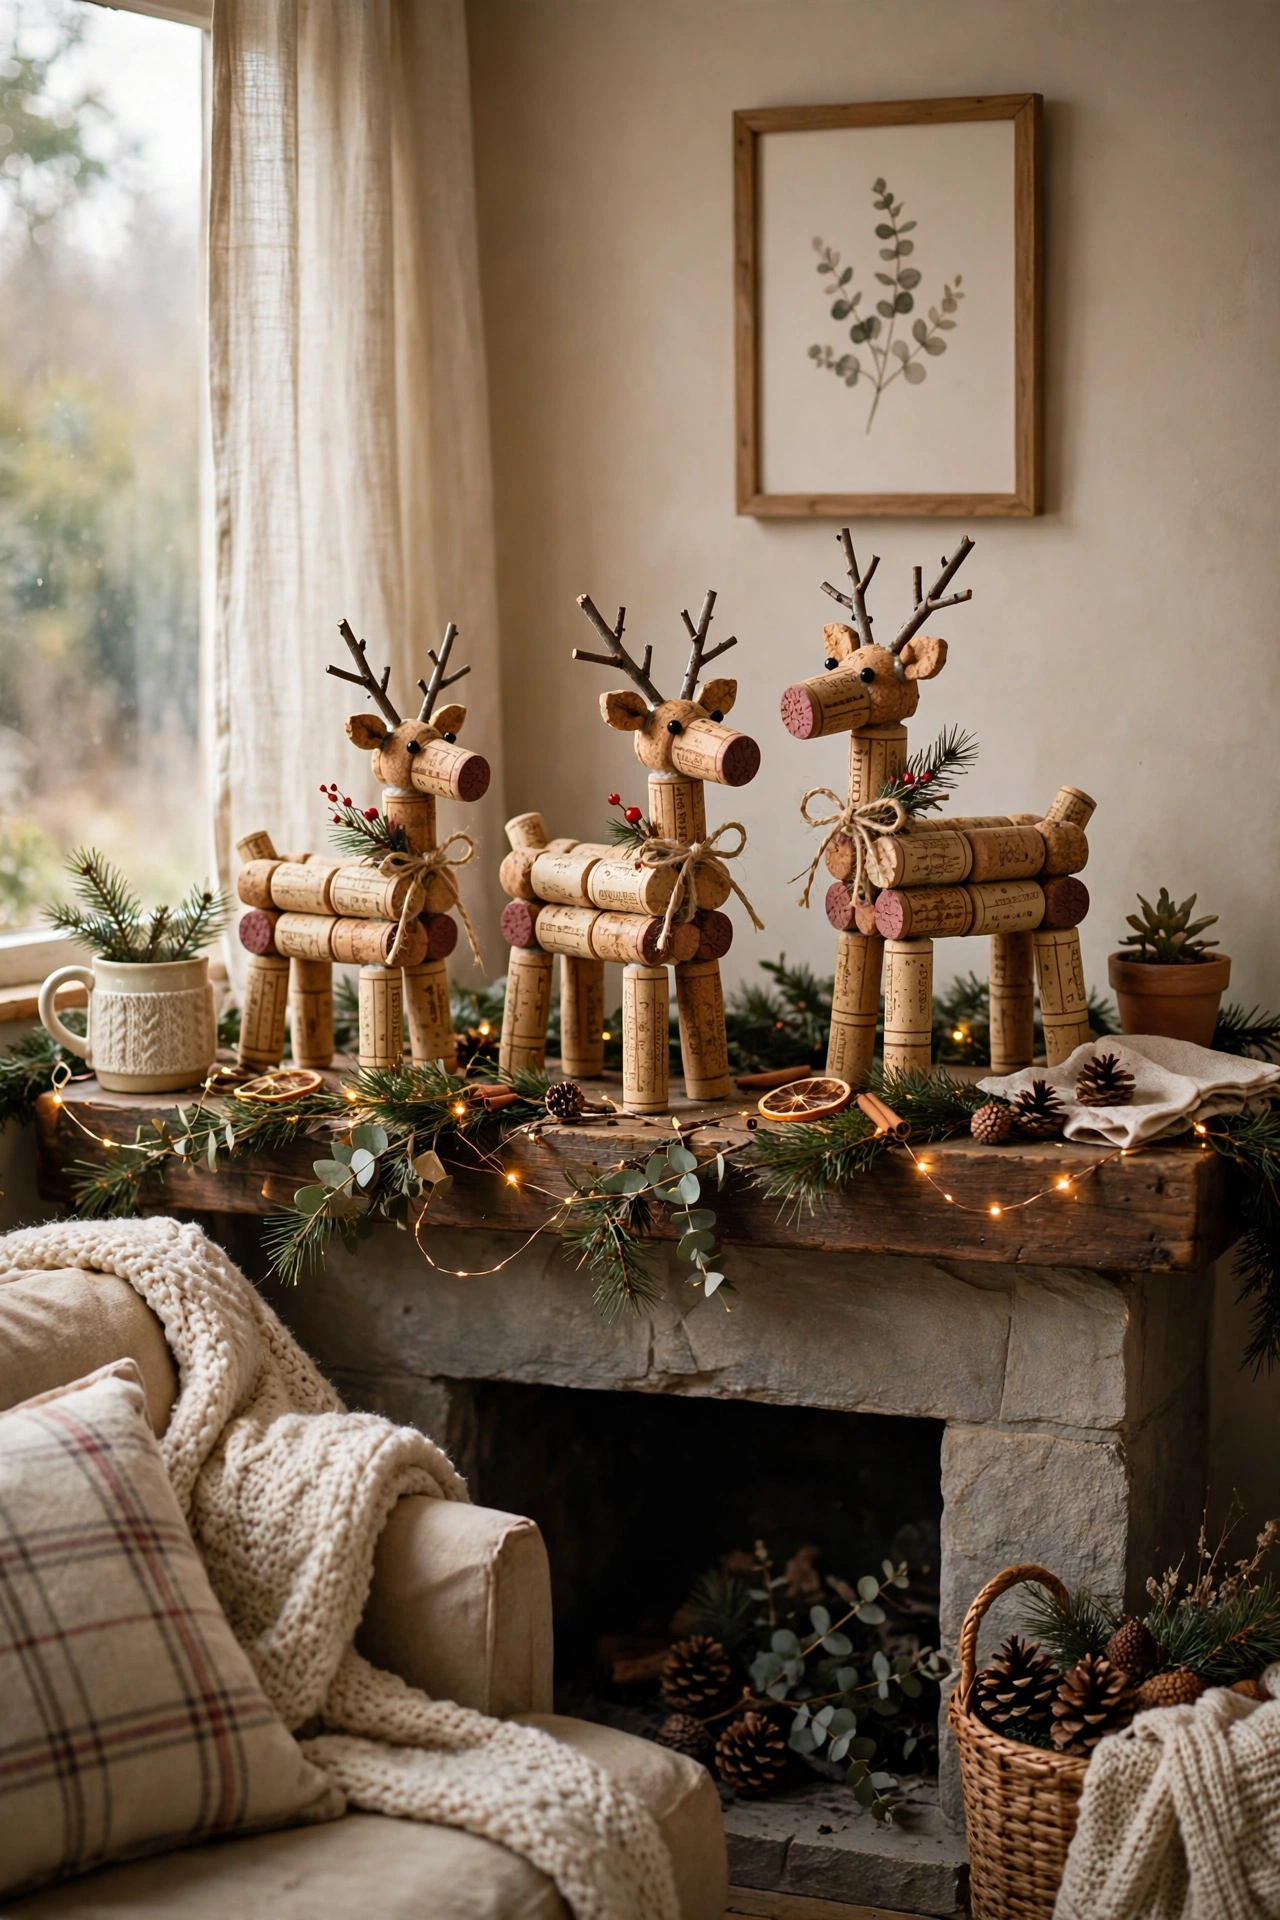
Wine corks turned into tiny reindeer are a charming mantel decoration, and they use up the corks in the drawer. Glue two corks together for the body, add a smaller cork for the head, then push thin twigs in as antlers and add a red bead for the nose. I use a hot glue gun because it holds the corks together far better than craft glue. Line up three reindeer of different sizes on the mantel and they look like a little family.
Cost: ~$1 | Time: 30 minutes
10. Burlap Stockings Sewn in an Evening
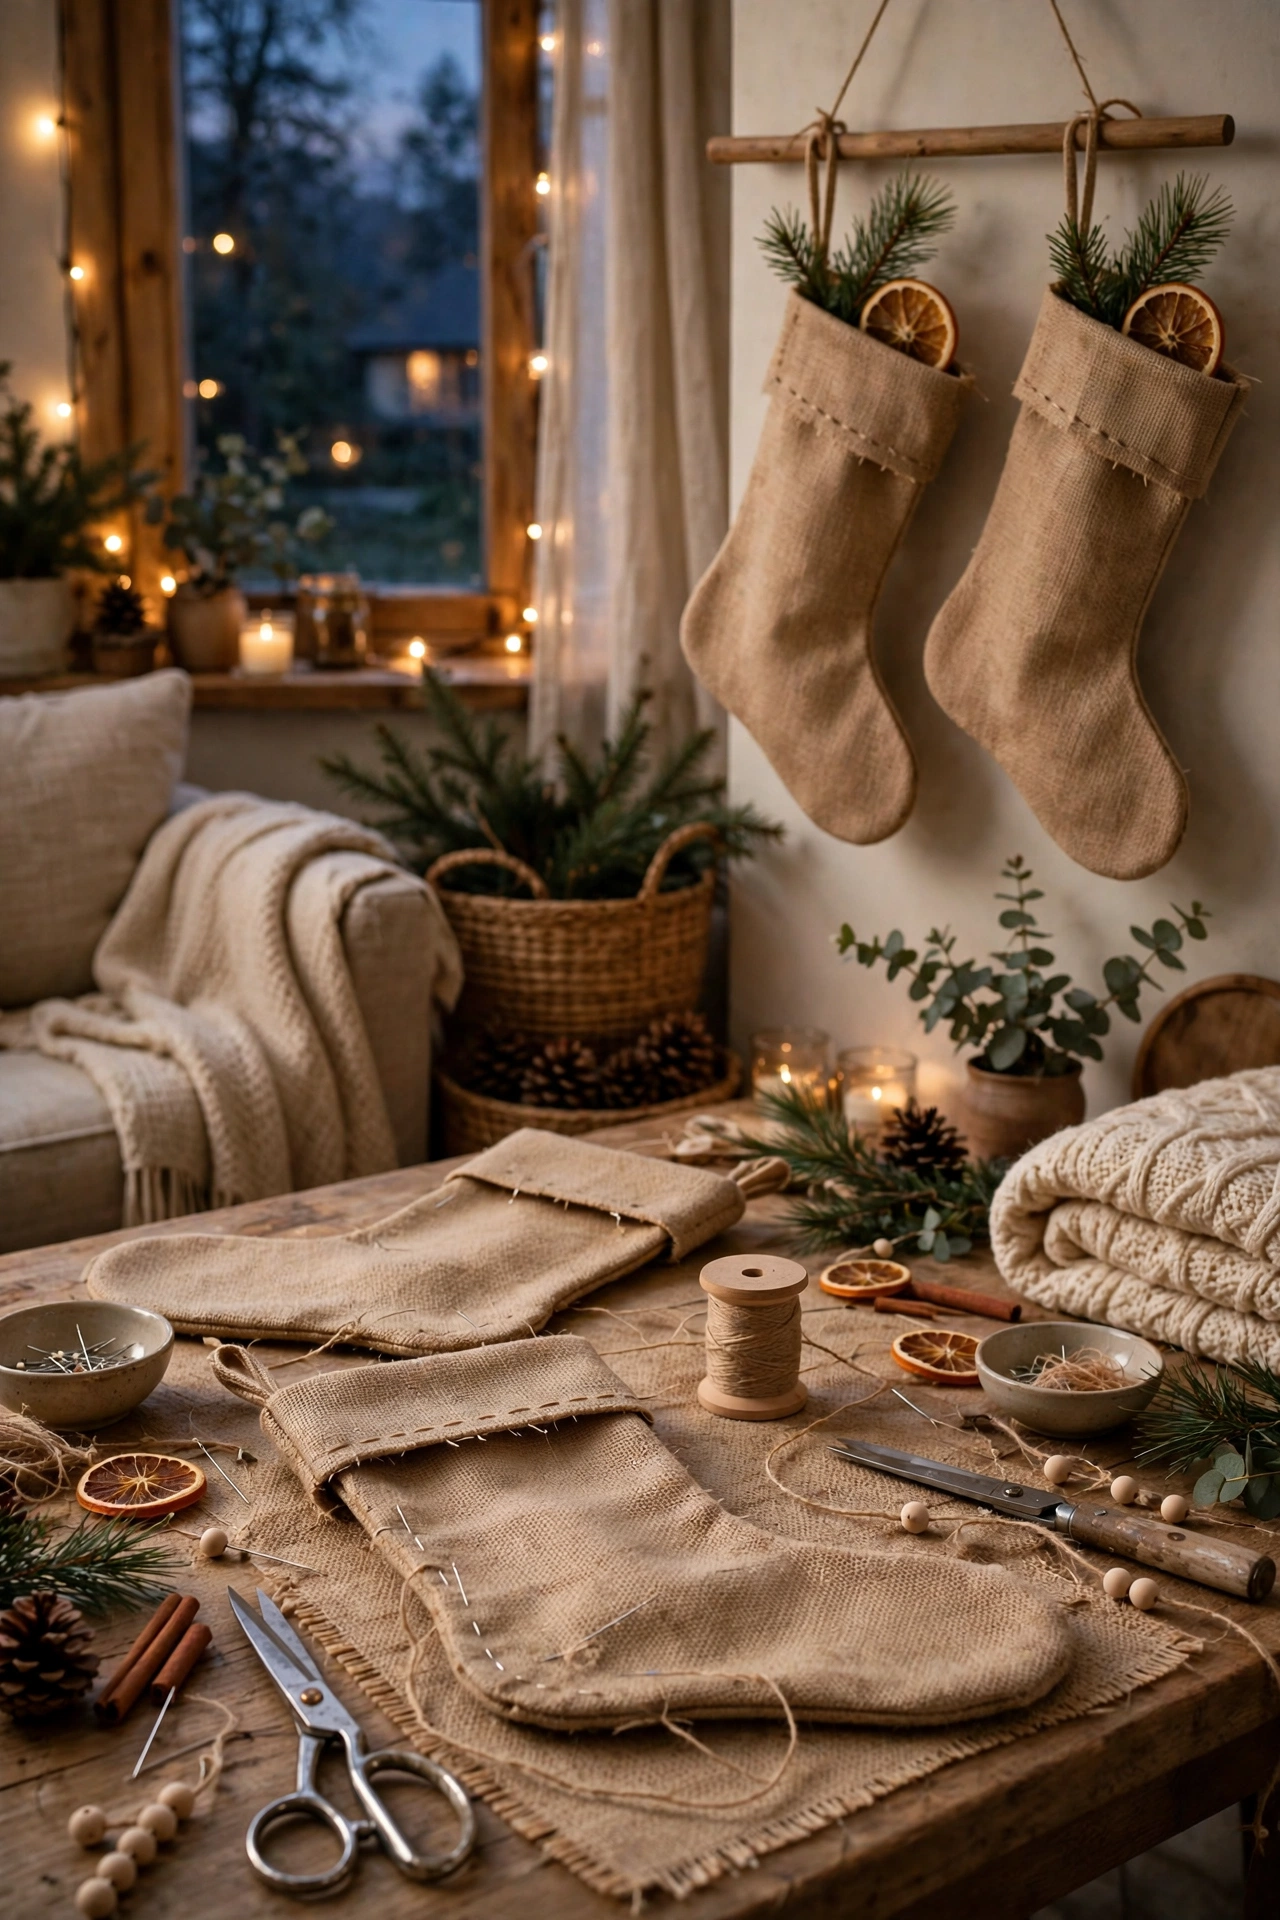
Burlap stockings sewn from an old sack look rustic and warm, and they take one evening to make. Cut two stocking shapes from burlap, sew them together inside out, turn them right side out, and add a cuff of cream fabric at the top. I use a simple running stitch because burlap frays, and a neat stitch line is what makes it look finished. Hang them on the mantel with a ribbon loop and fill them on Christmas Eve. I keep the supplies in one small box now, so next year the whole thing takes half the time to set up again.
Cost: ~$3 | Time: 60 minutes
11. Pine Branch Wreath From Garden Cuttings
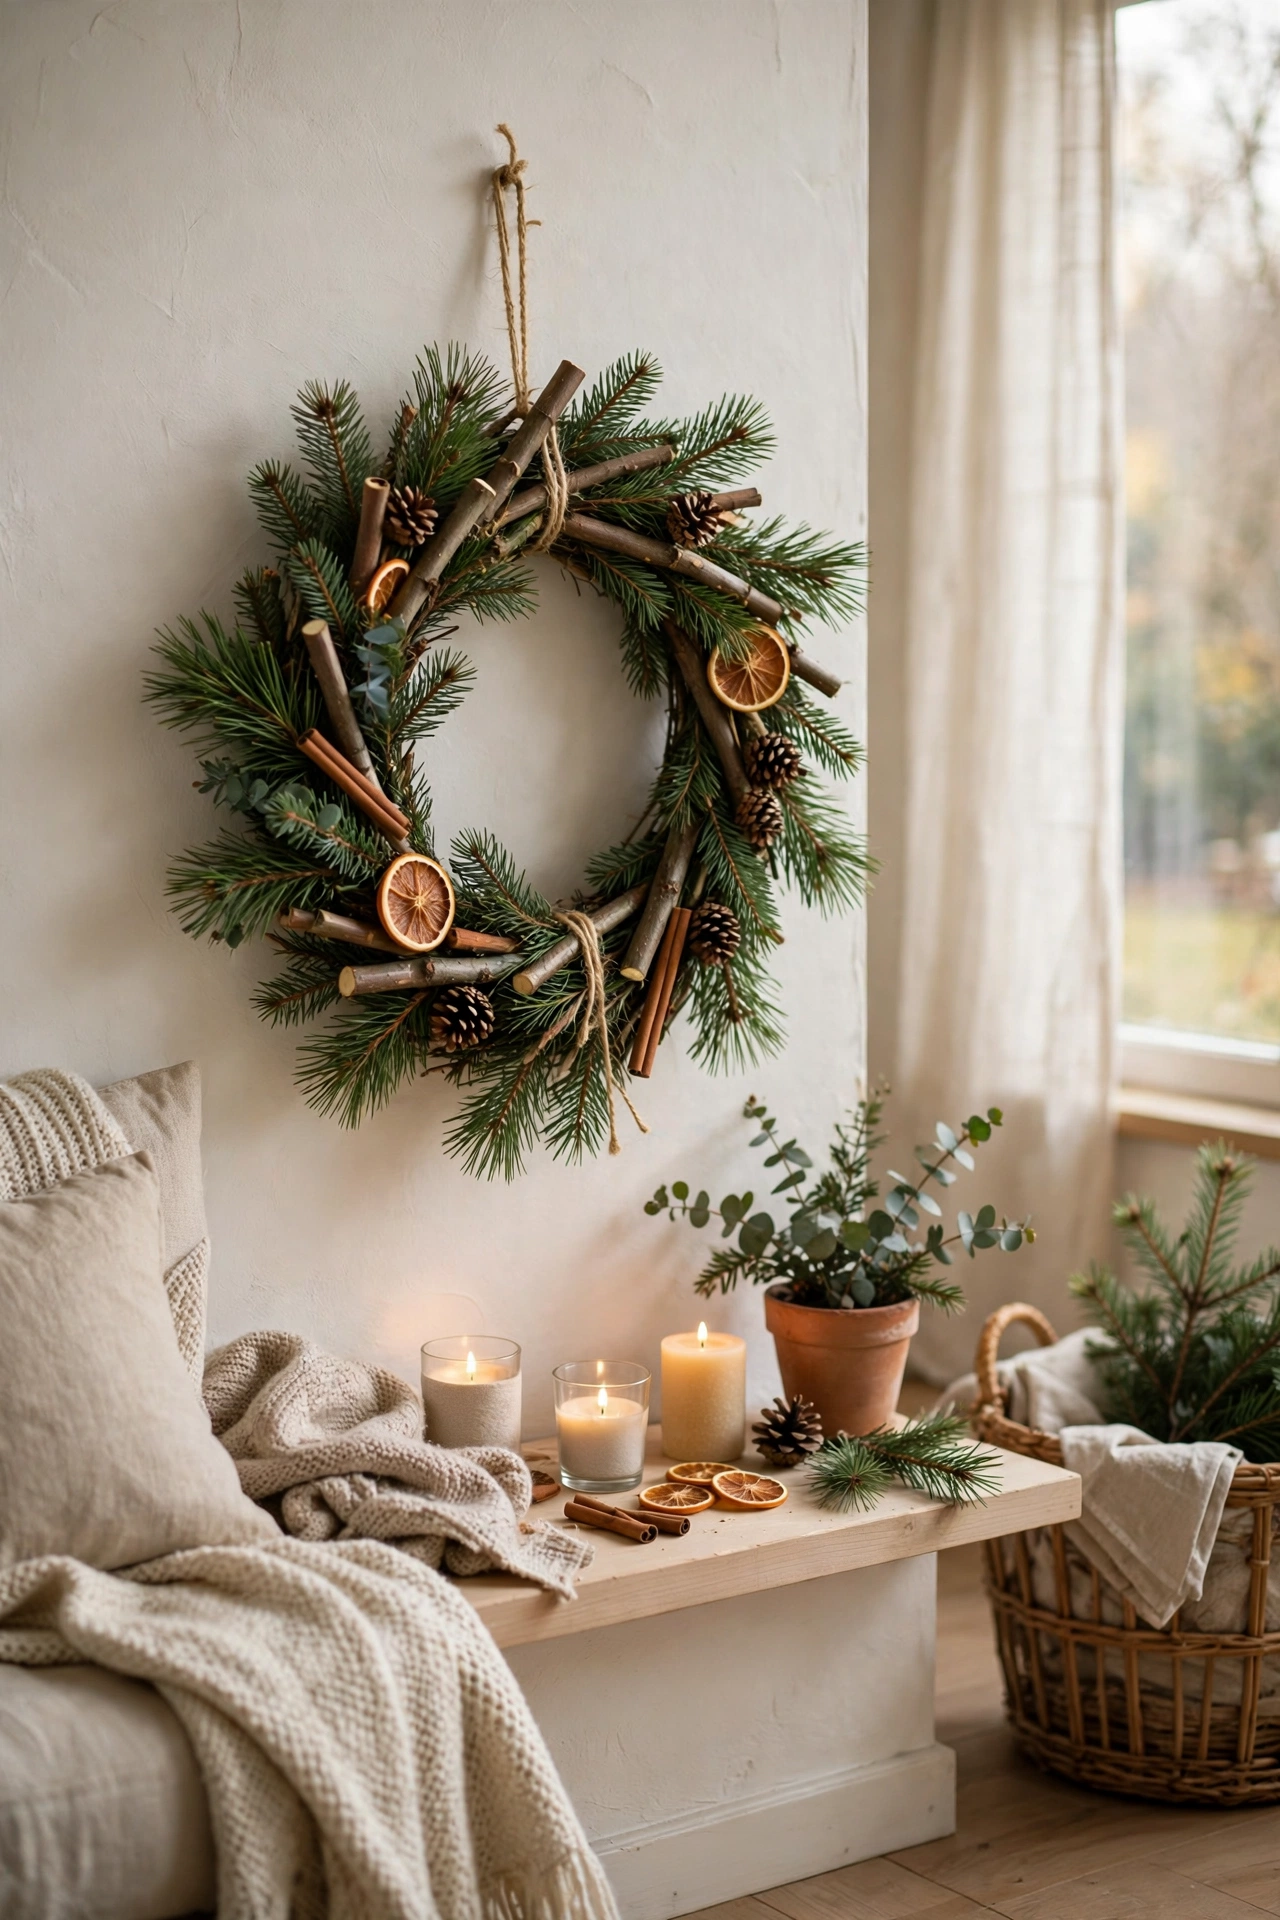
A wreath made from pine cuttings from the garden costs nothing and smells wonderful. Bend a wire coat hanger into a circle, tie small bundles of pine cuttings around it with florist wire, overlapping each bundle so the wire never shows. I work in one direction around the circle, because going back and forth leaves gaps. Add a simple bow at the bottom and hang it on the door. If it looks a little plain at first, add one small natural touch nearby, like a sprig of greenery, and it will feel complete.
Cost: ~$0 | Time: 45 minutes
12. Painted Wood Slice Coasters
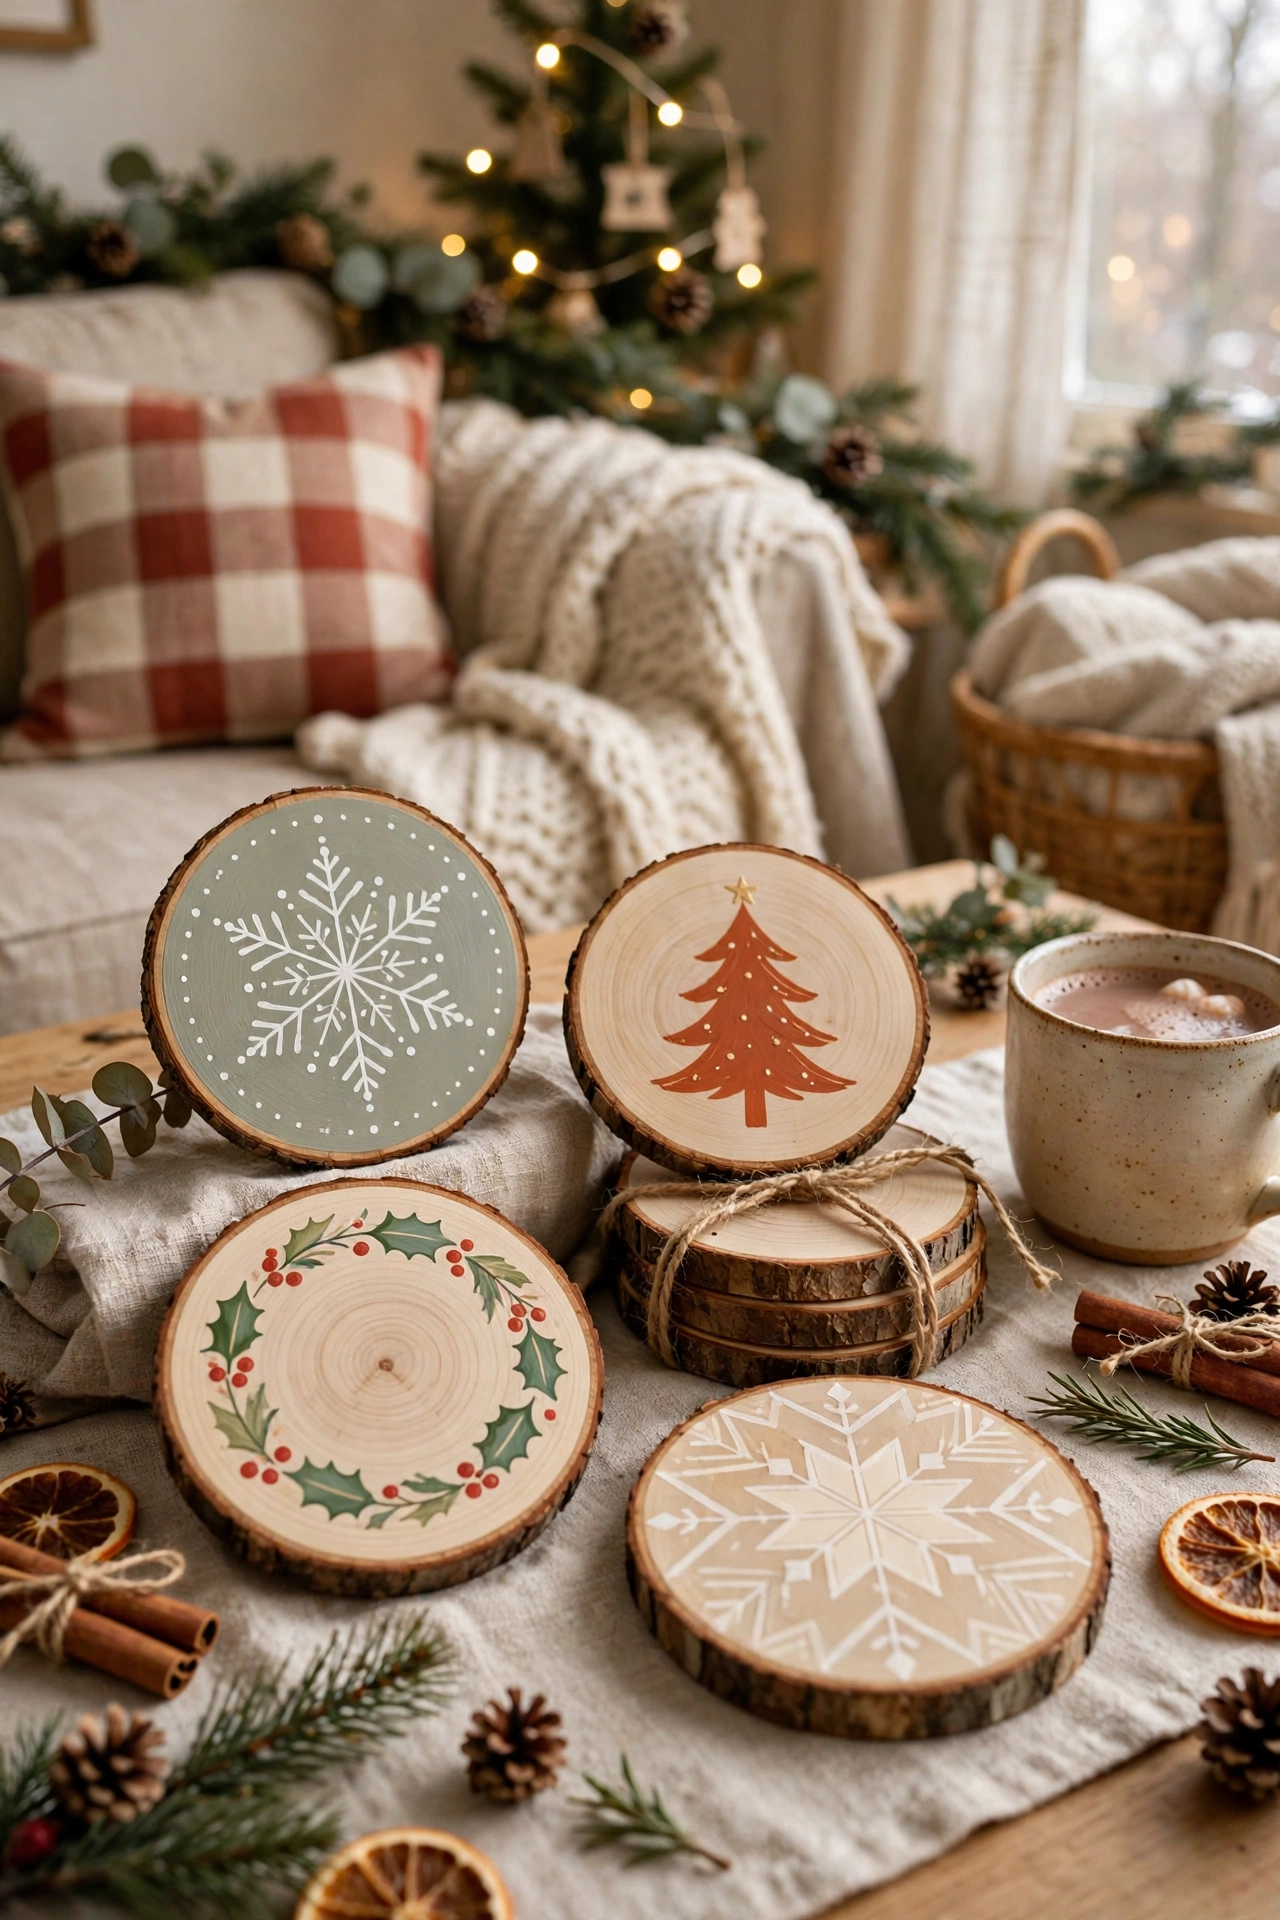
Wood slices painted with a simple star or tree make coasters that guests ask about all evening. Sand the top of each slice smooth, paint a simple design with white or gold paint, and seal it with a clear coat so drinks do not stain it. I keep the design simple, because a complicated painting on a small slice looks messy. Set them out on the coffee table with the drinks and they become part of the decor. Guests always notice the small details first, and this one gets mentioned more than the bigger decorations in the room.
Cost: ~$3 | Time: 30 minutes
13. Paper Snowflake Garland for the Window
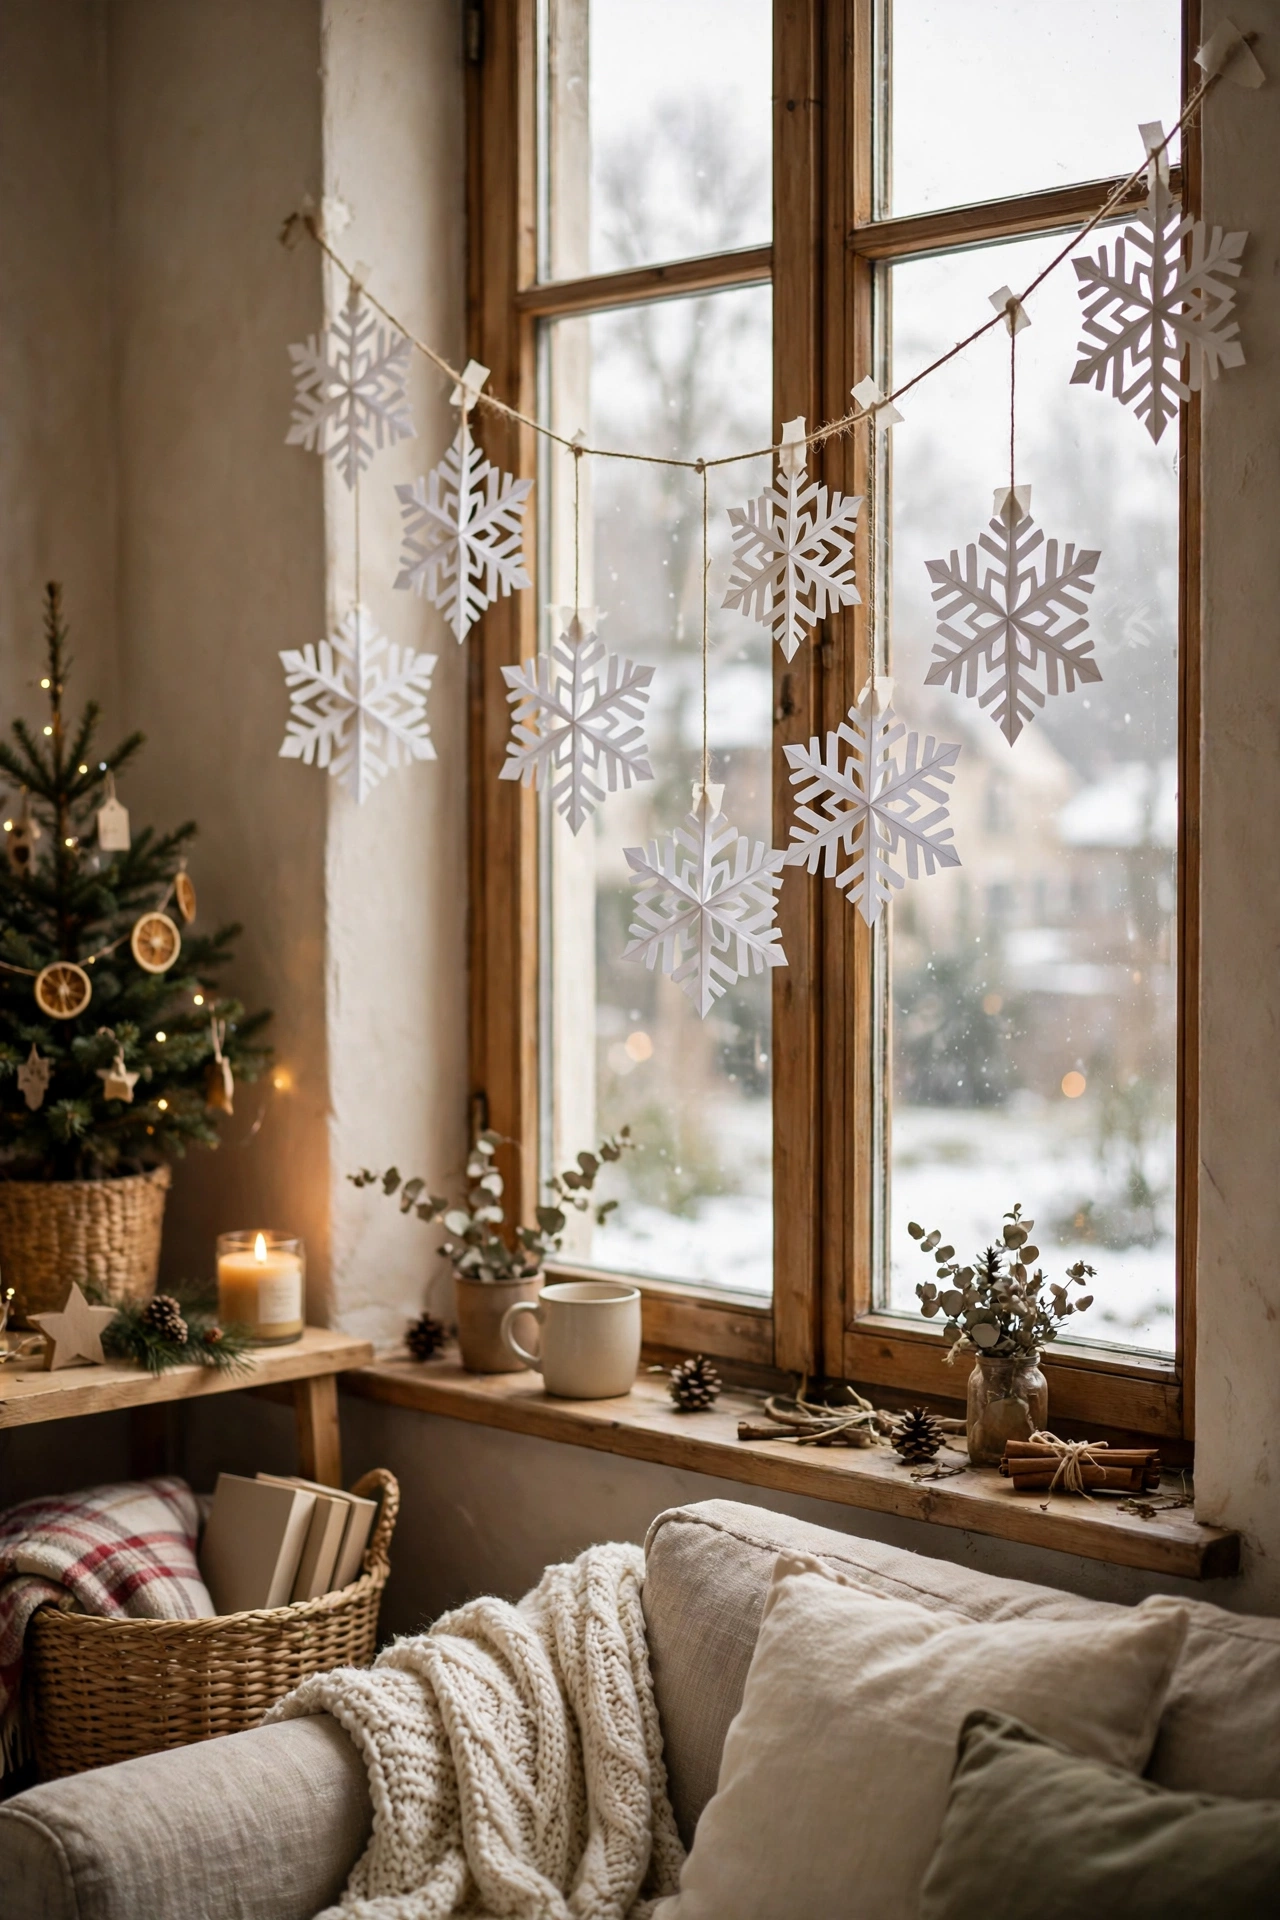
Paper snowflakes strung on twine across the window are a decoration that costs nothing and looks like winter. Fold white paper, cut snowflake patterns, unfold them carefully, and thread them onto twine with a needle. I use thin paper because thick paper is hard to fold and the snowflakes come out lumpy. Hang the garland across the window where the light shines through it, because backlit snowflakes look magical. It is cheap enough to try twice if the first attempt does not look right, which takes all the pressure off.
Cost: ~$0 | Time: 40 minutes
14. Scrap Fabric Ribbon for the Tree
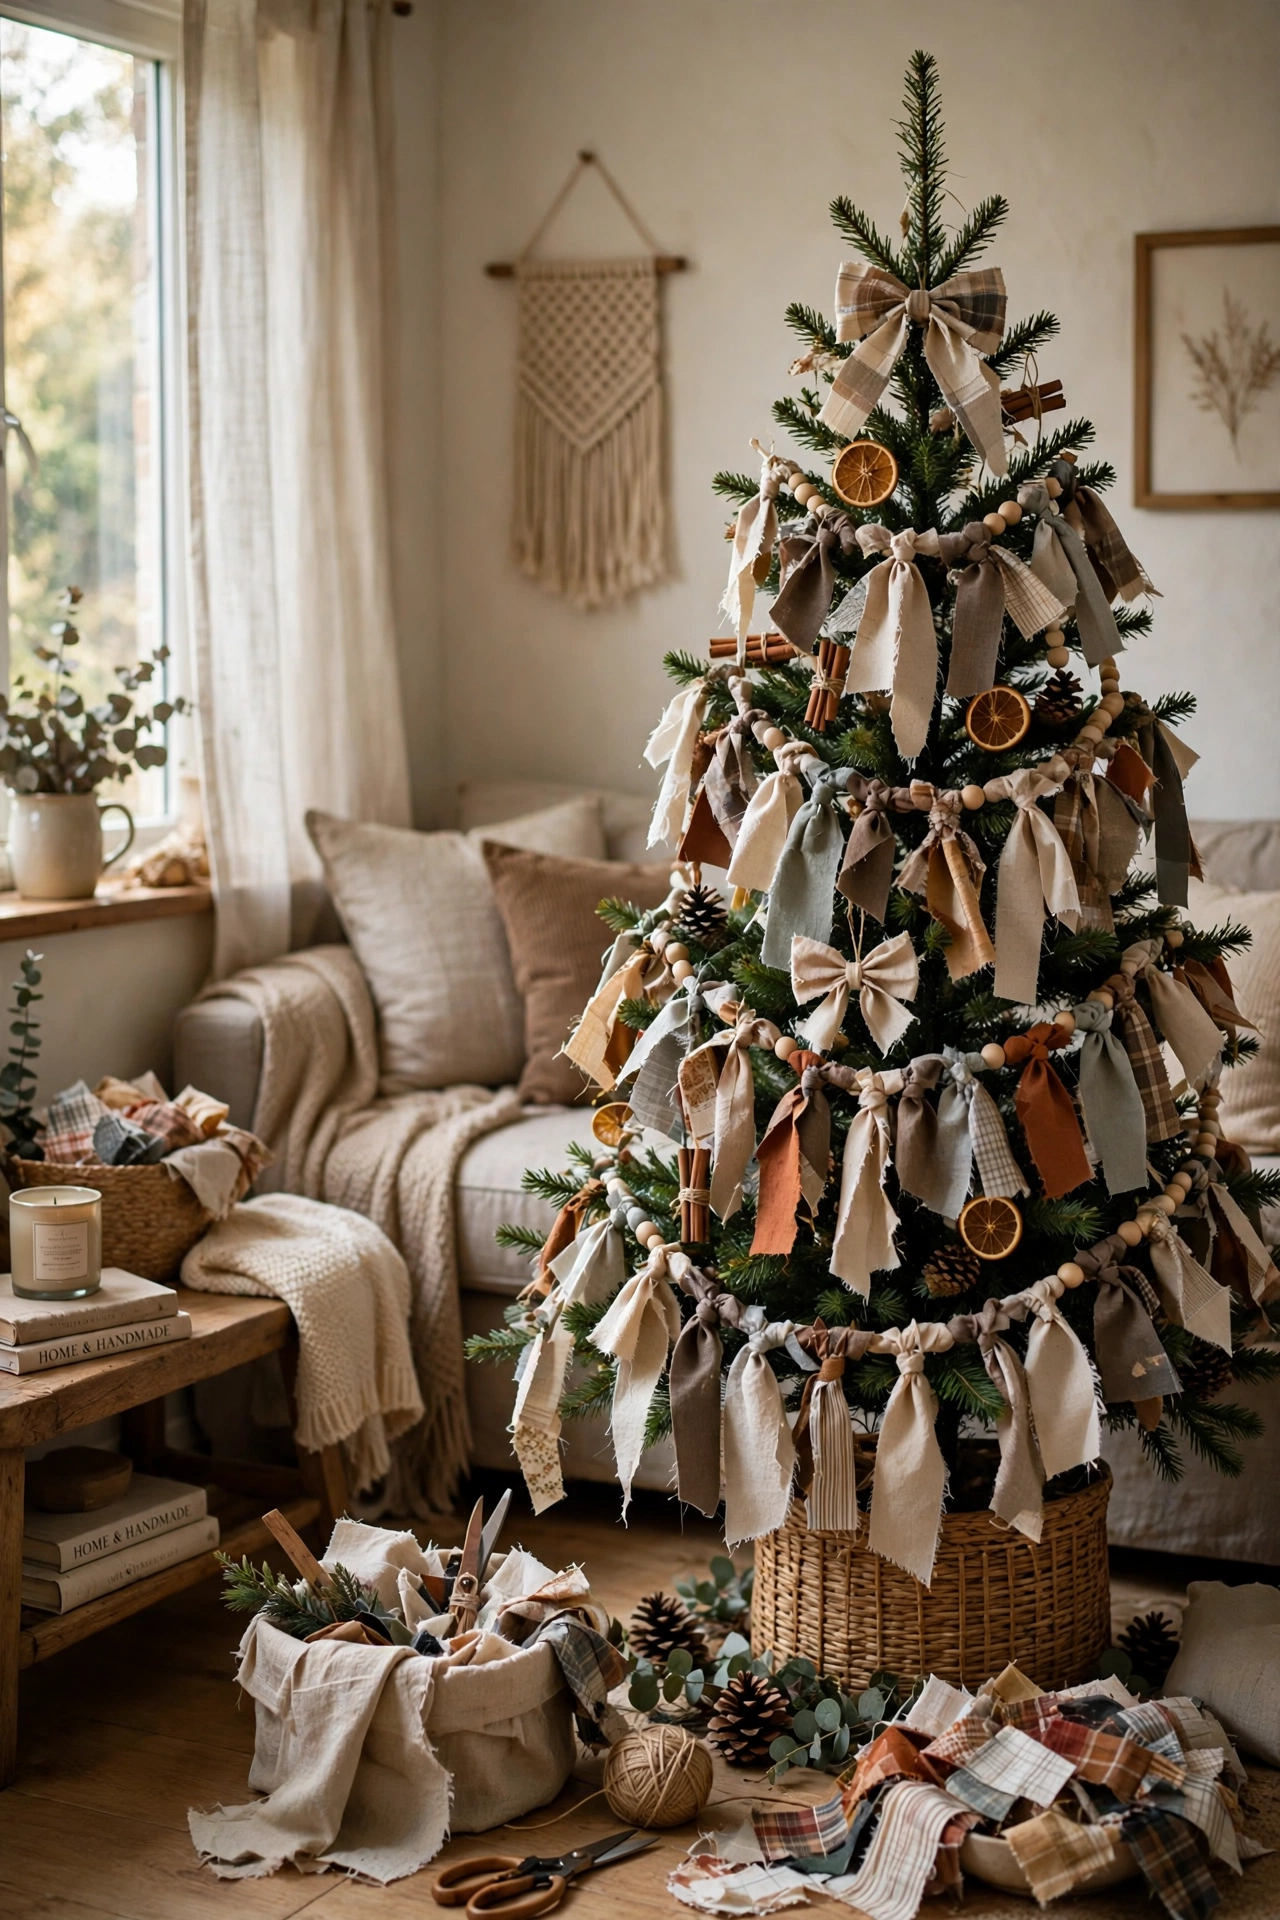
Ribbon cut from scrap fabric and tied around the tree adds colour and texture that shop ribbon cannot match. Cut fabric into long strips, tie them in loose bows around the branches, and let the ends hang naturally. I use fabric in one or two colours so the tree looks coordinated, because five different fabrics look like a jumble. Save the longest strips for the top of the tree, where they show the most. The trick is to keep everything else around it simple, so this one detail gets the attention it deserves.
Cost: ~$0 | Time: 30 minutes
15. Clove-Studded Orange Pomanders

Oranges studded with cloves are a decoration that smells like Christmas for weeks, and they look beautiful in a bowl. Push whole cloves into the orange skin in a pattern, spacing them evenly, and tie a ribbon around the middle if you want to hang them. I wear a thimble while I push the cloves in, because my thumb was sore for days after the first batch. Set them in a bowl on the table or hang them from the tree.
Cost: ~$3 | Time: 30 minutes
16. Cardboard Gingerbread House Display
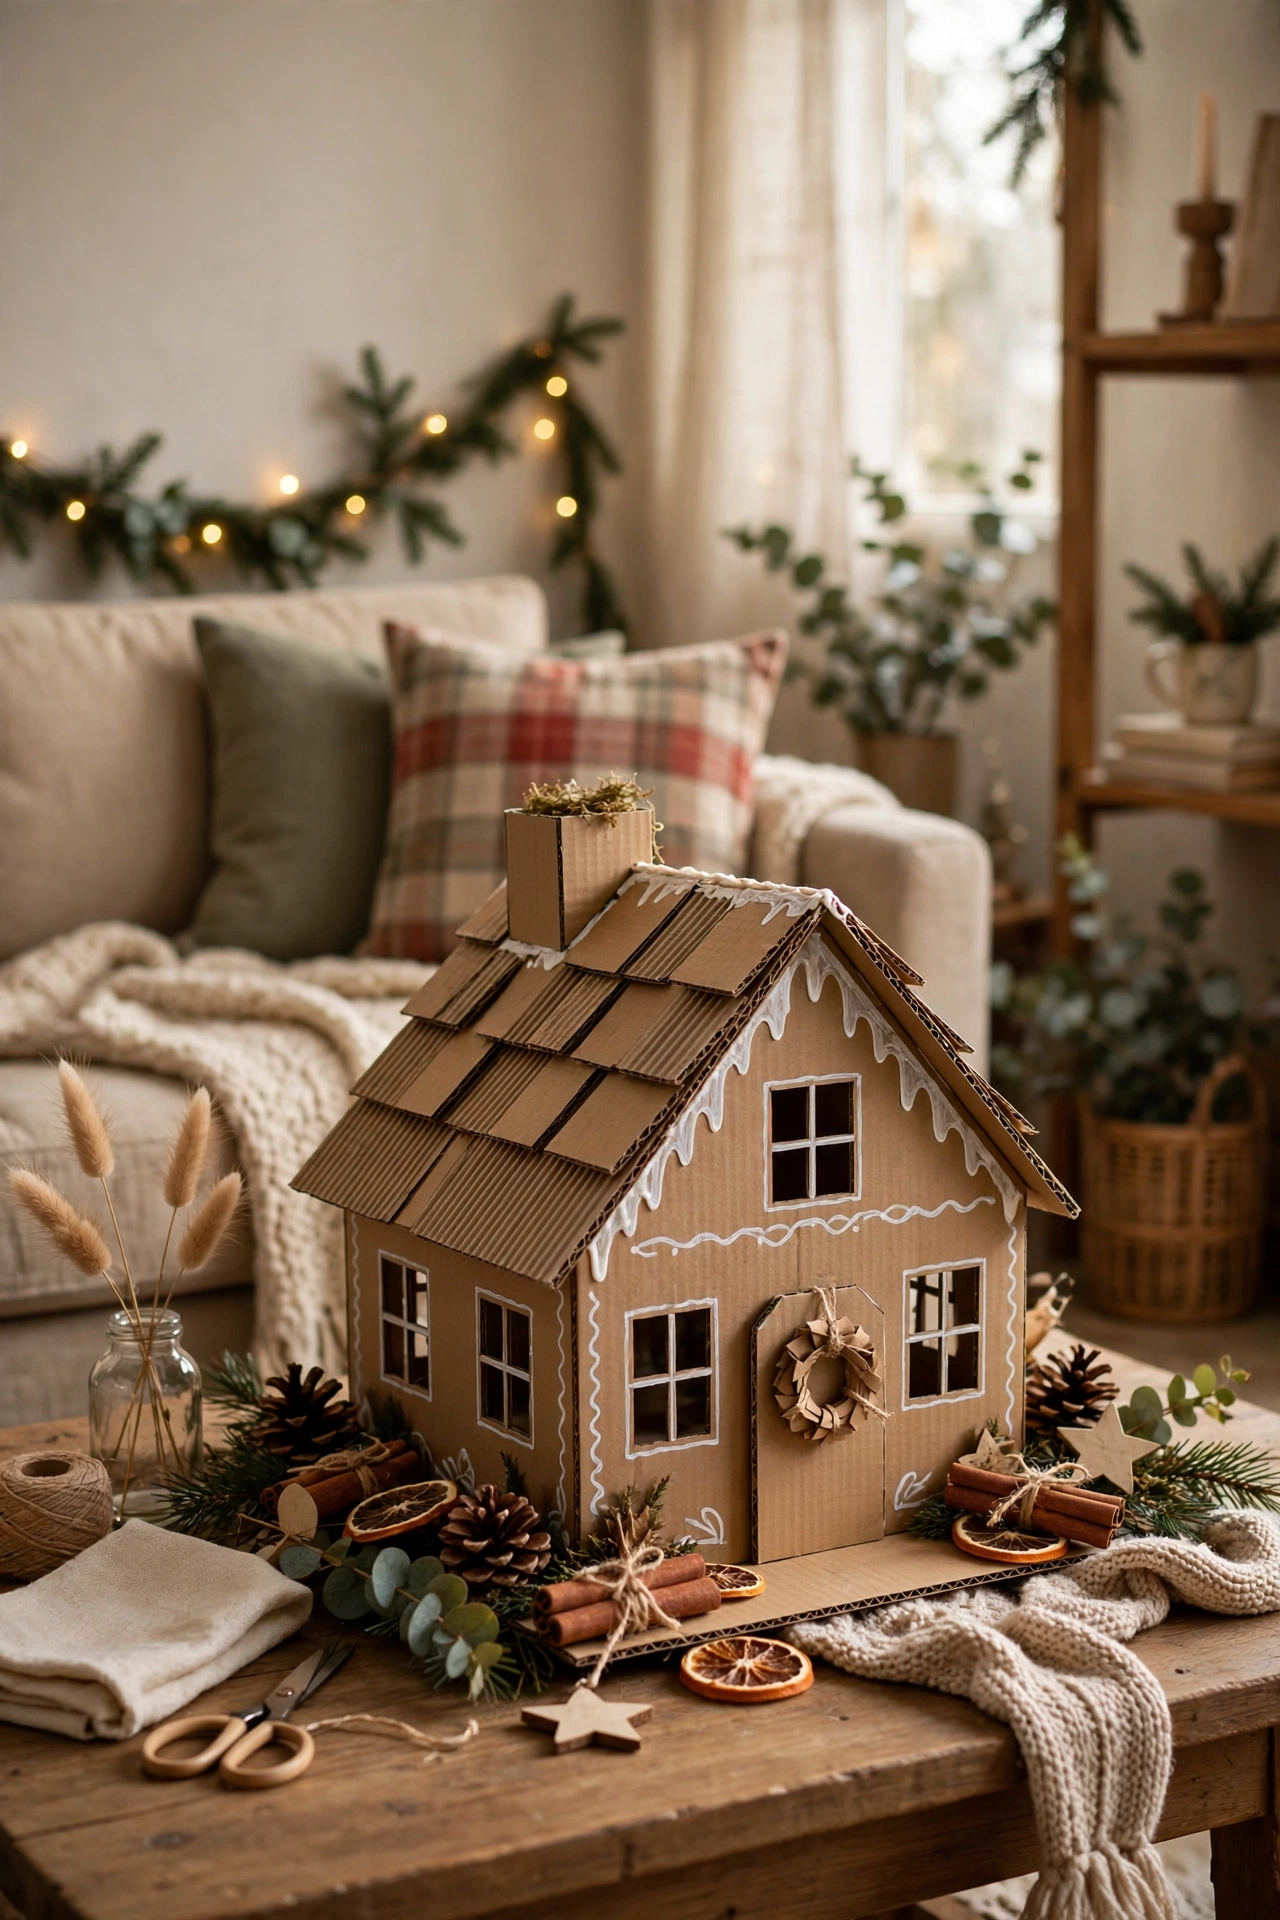
A gingerbread house made from cardboard and white paint is a decoration that never goes stale and never gets eaten. Cut the house shape from cardboard, glue the pieces together, and paint the roof lines and windows with white paint. I use a ruler for the roof lines, because freehand lines look wobbly and ruin the effect. Set it on the mantel with a battery tea light inside so the windows glow. I like that it works in a small room just as well as a big one, because it never needs much space to look good.
Cost: ~$2 | Time: 60 minutes
17. Button Ornaments From the Sewing Box
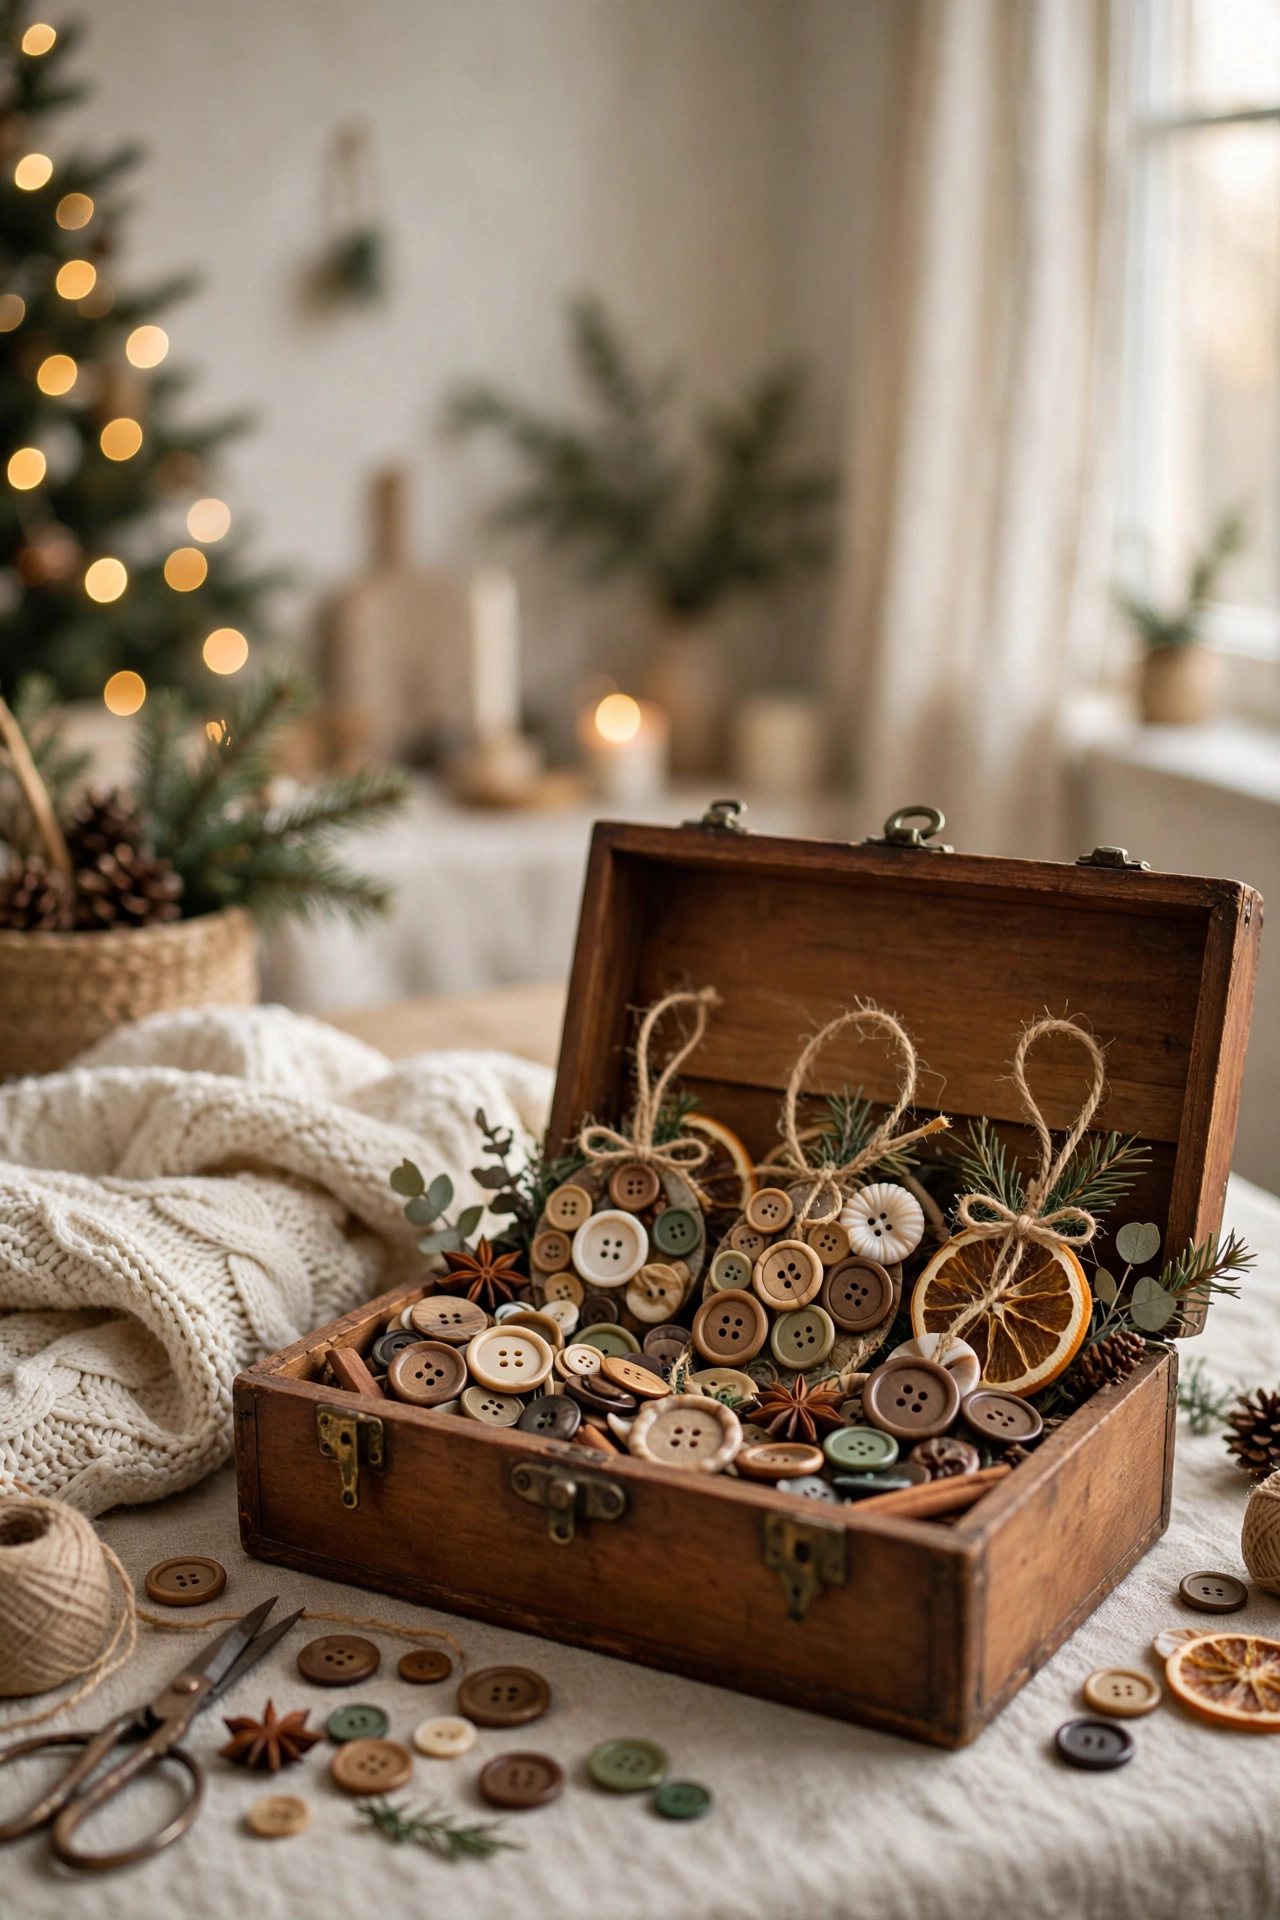
Buttons threaded onto wire and shaped into a star or a tree make ornaments that look like they came from a craft shop. Thread buttons onto a length of wire, bend the wire into a star or tree shape, and twist the ends together. I sort the buttons by colour first, because a random mix looks messy and a coordinated mix looks deliberate. Hang them on the tree with a short ribbon loop. When the season ends, most of it packs away in a single box, which is exactly how I like my decorations to behave.
Cost: ~$1 | Time: 25 minutes
18. Twine-Wrapped Bottles as Candle Holders
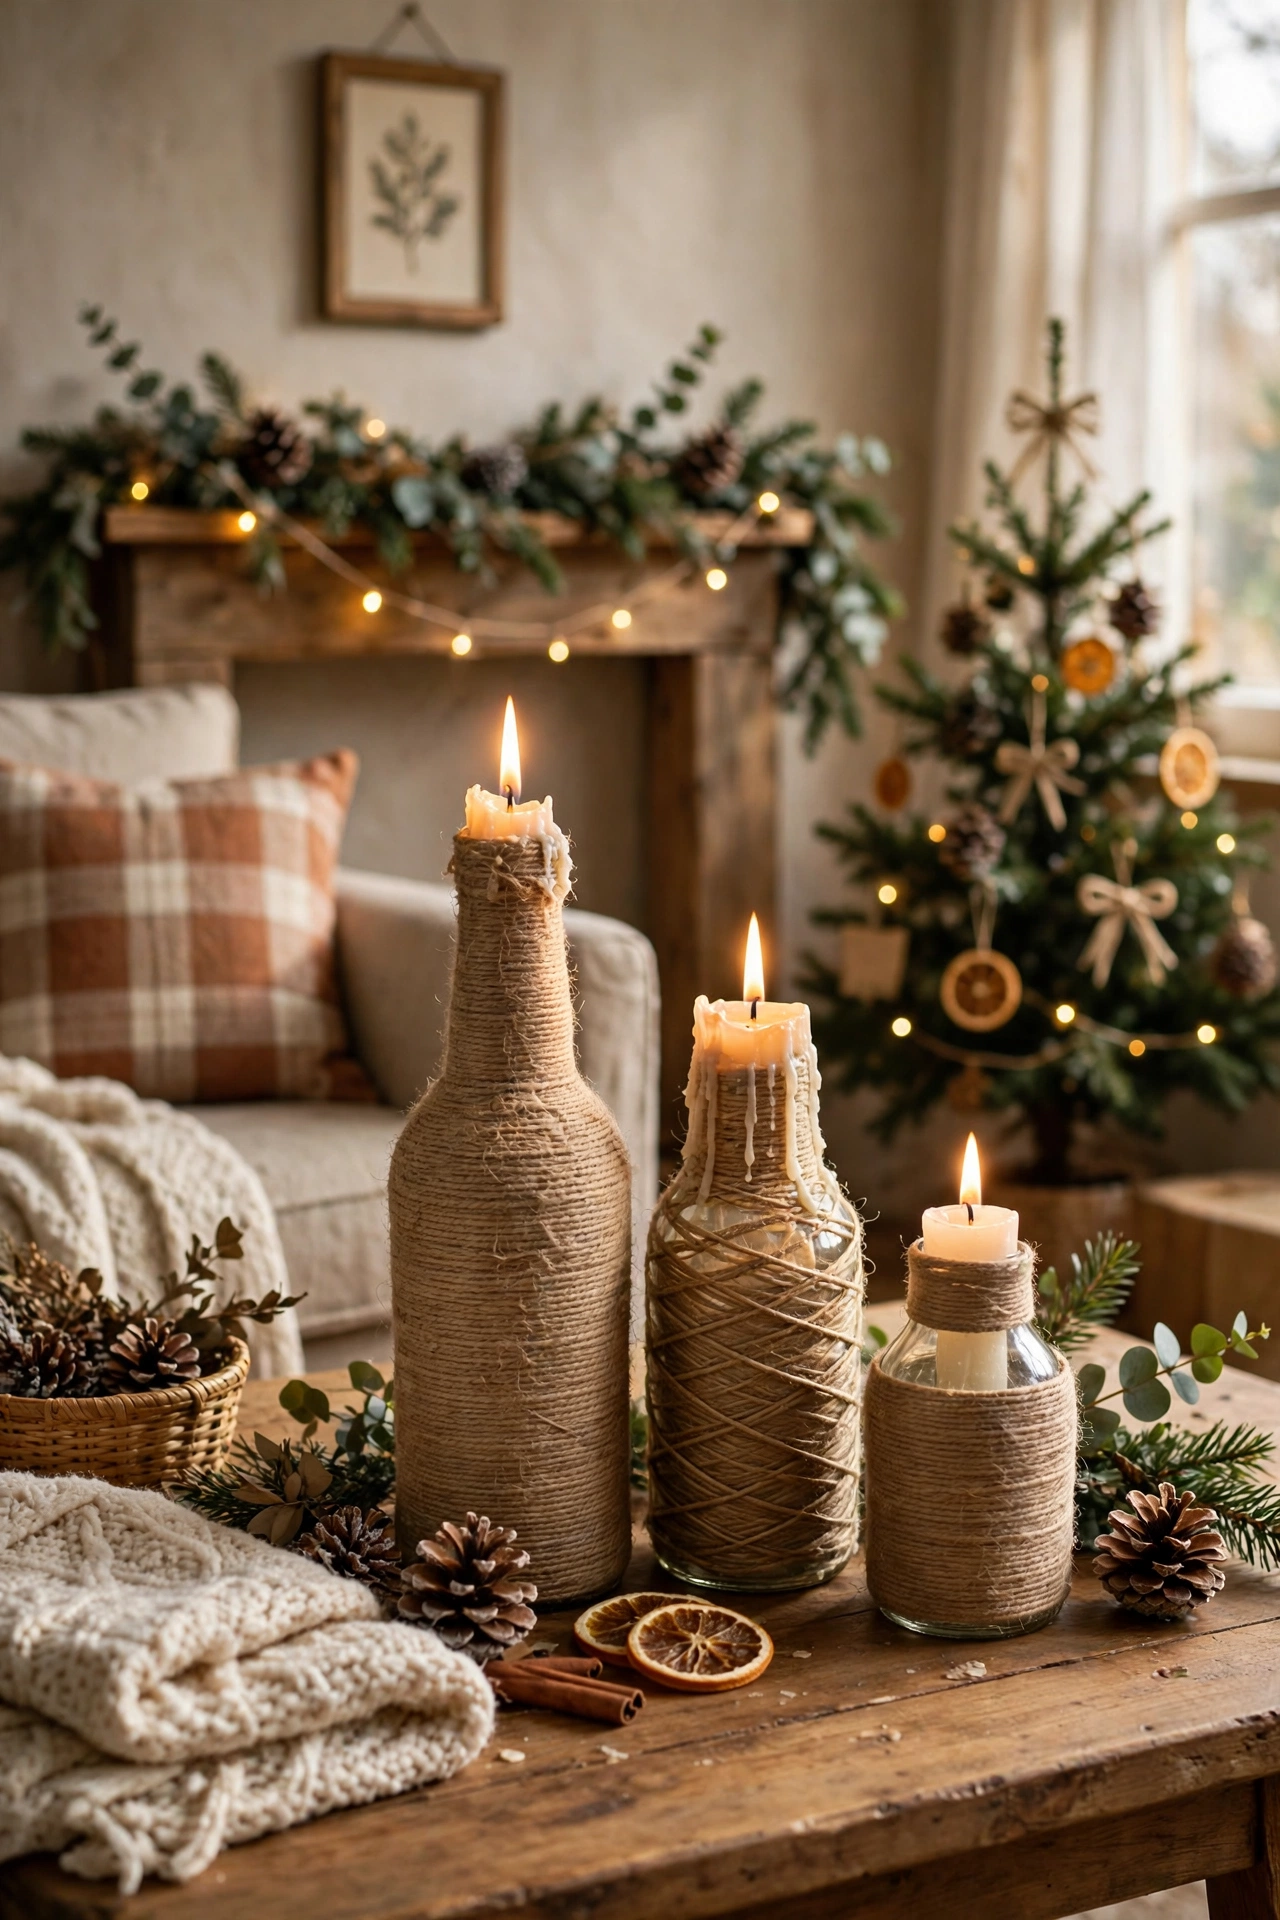
Empty bottles wrapped in twine make candle holders that look rustic and cost nothing. Clean the bottles, wrap twine around them from the bottom up, gluing the ends in place, and set a taper candle in the neck. I wrap the twine tightly so no glass shows through, because gaps in the twine ruin the look. Group three bottles of different heights together on the table or the mantel. It is one of those ideas that looks harder than it is, and once you have done it once you will wonder why you waited.
Cost: ~$1 | Time: 25 minutes
19. Pinecone Garland With Wooden Beads
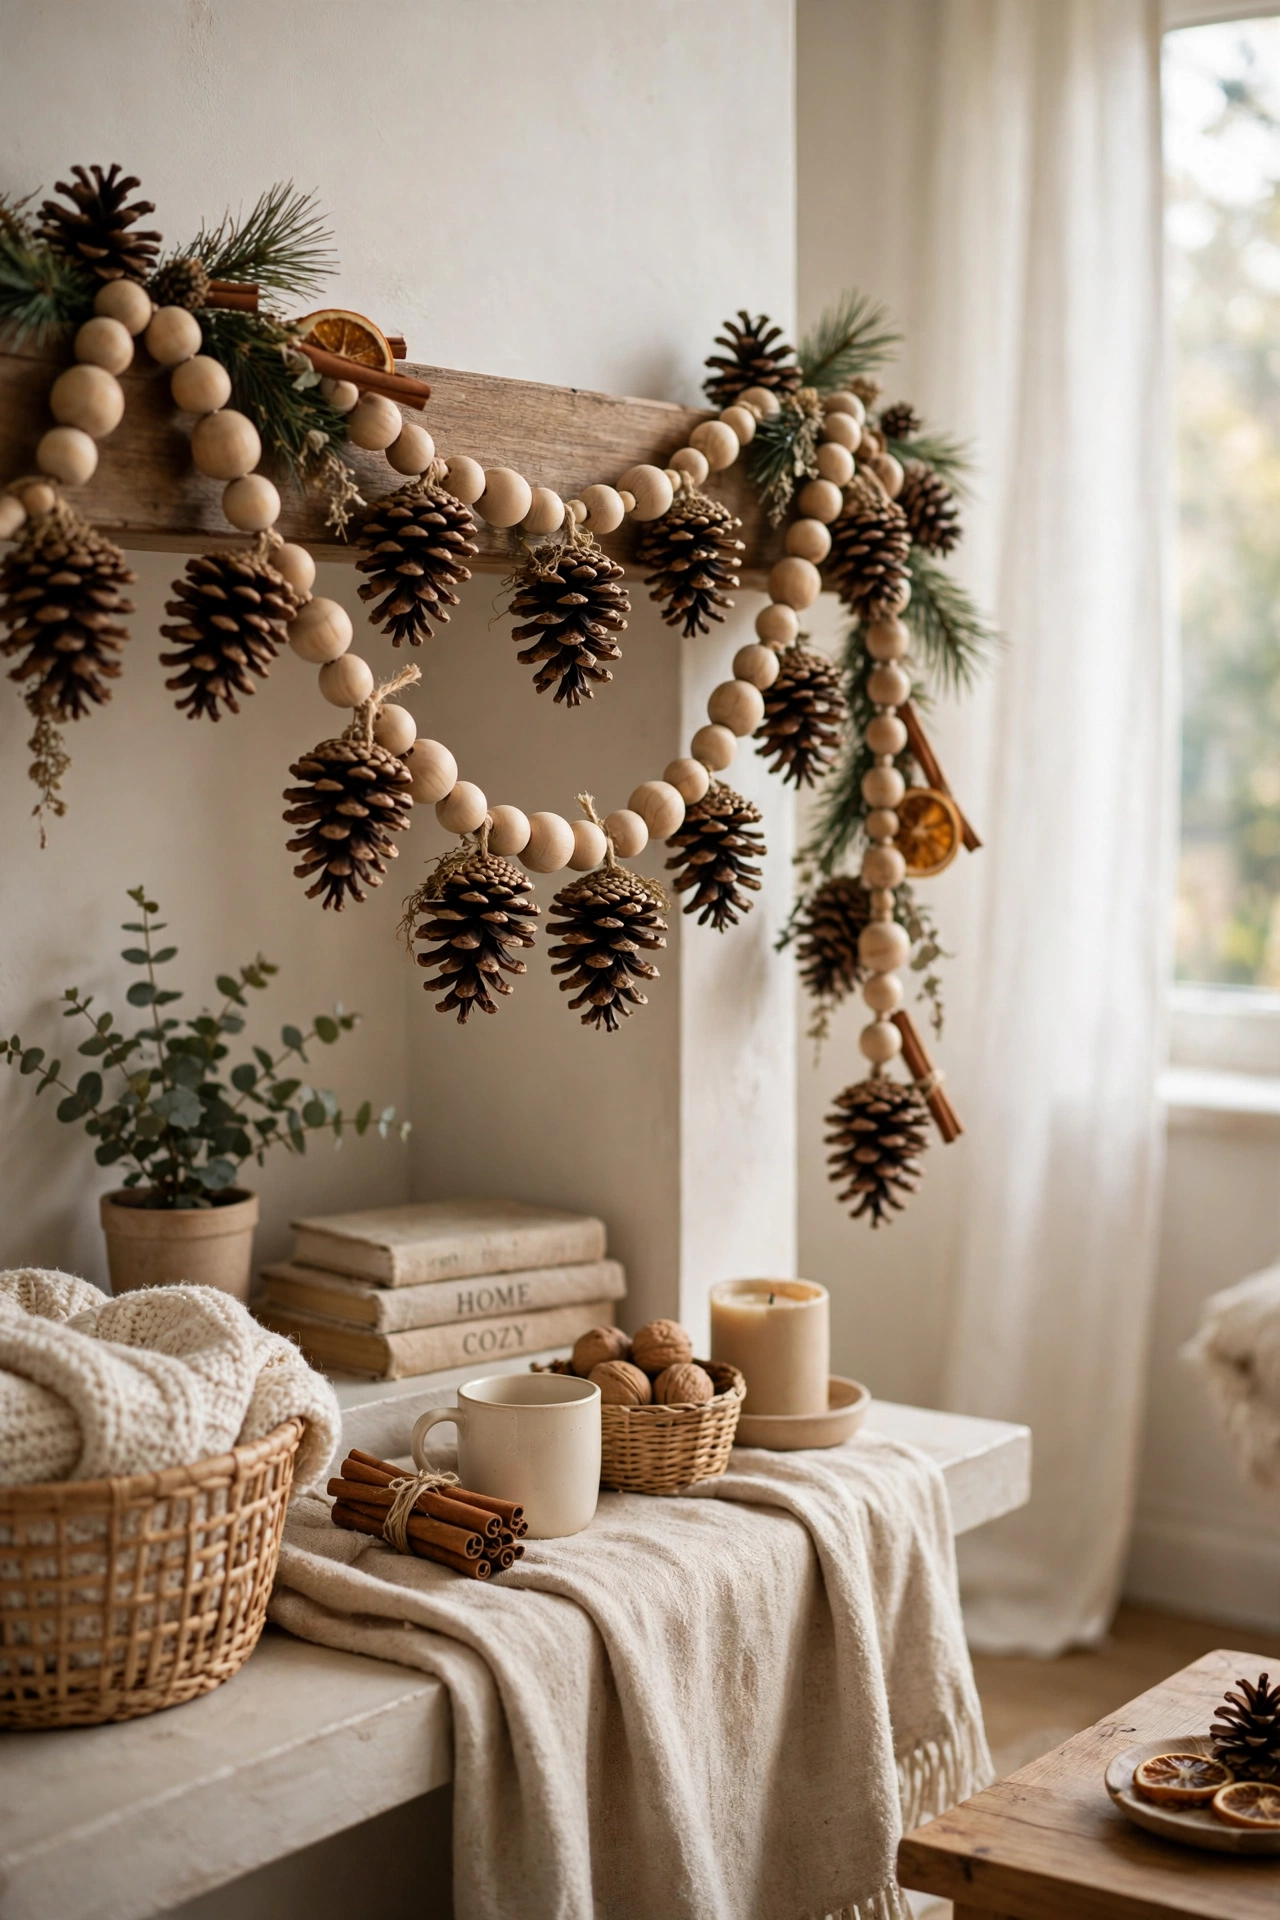
Mini pinecones and wooden beads strung on twine make a garland that looks like it came from a nature shop. Thread mini pinecones and wooden beads alternately onto twine, spacing them evenly, and tie a loop at each end. I bake the pinecones first to open the scales and kill any insects, because a closed pinecone looks like a brown lump. Drape the garland along the mantel or the stair rail. A small thing done well beats a big thing done in a rush, and this one proves it every single time.
Cost: ~$3 | Time: 35 minutes
20. Hand-Stamped Gift Tags
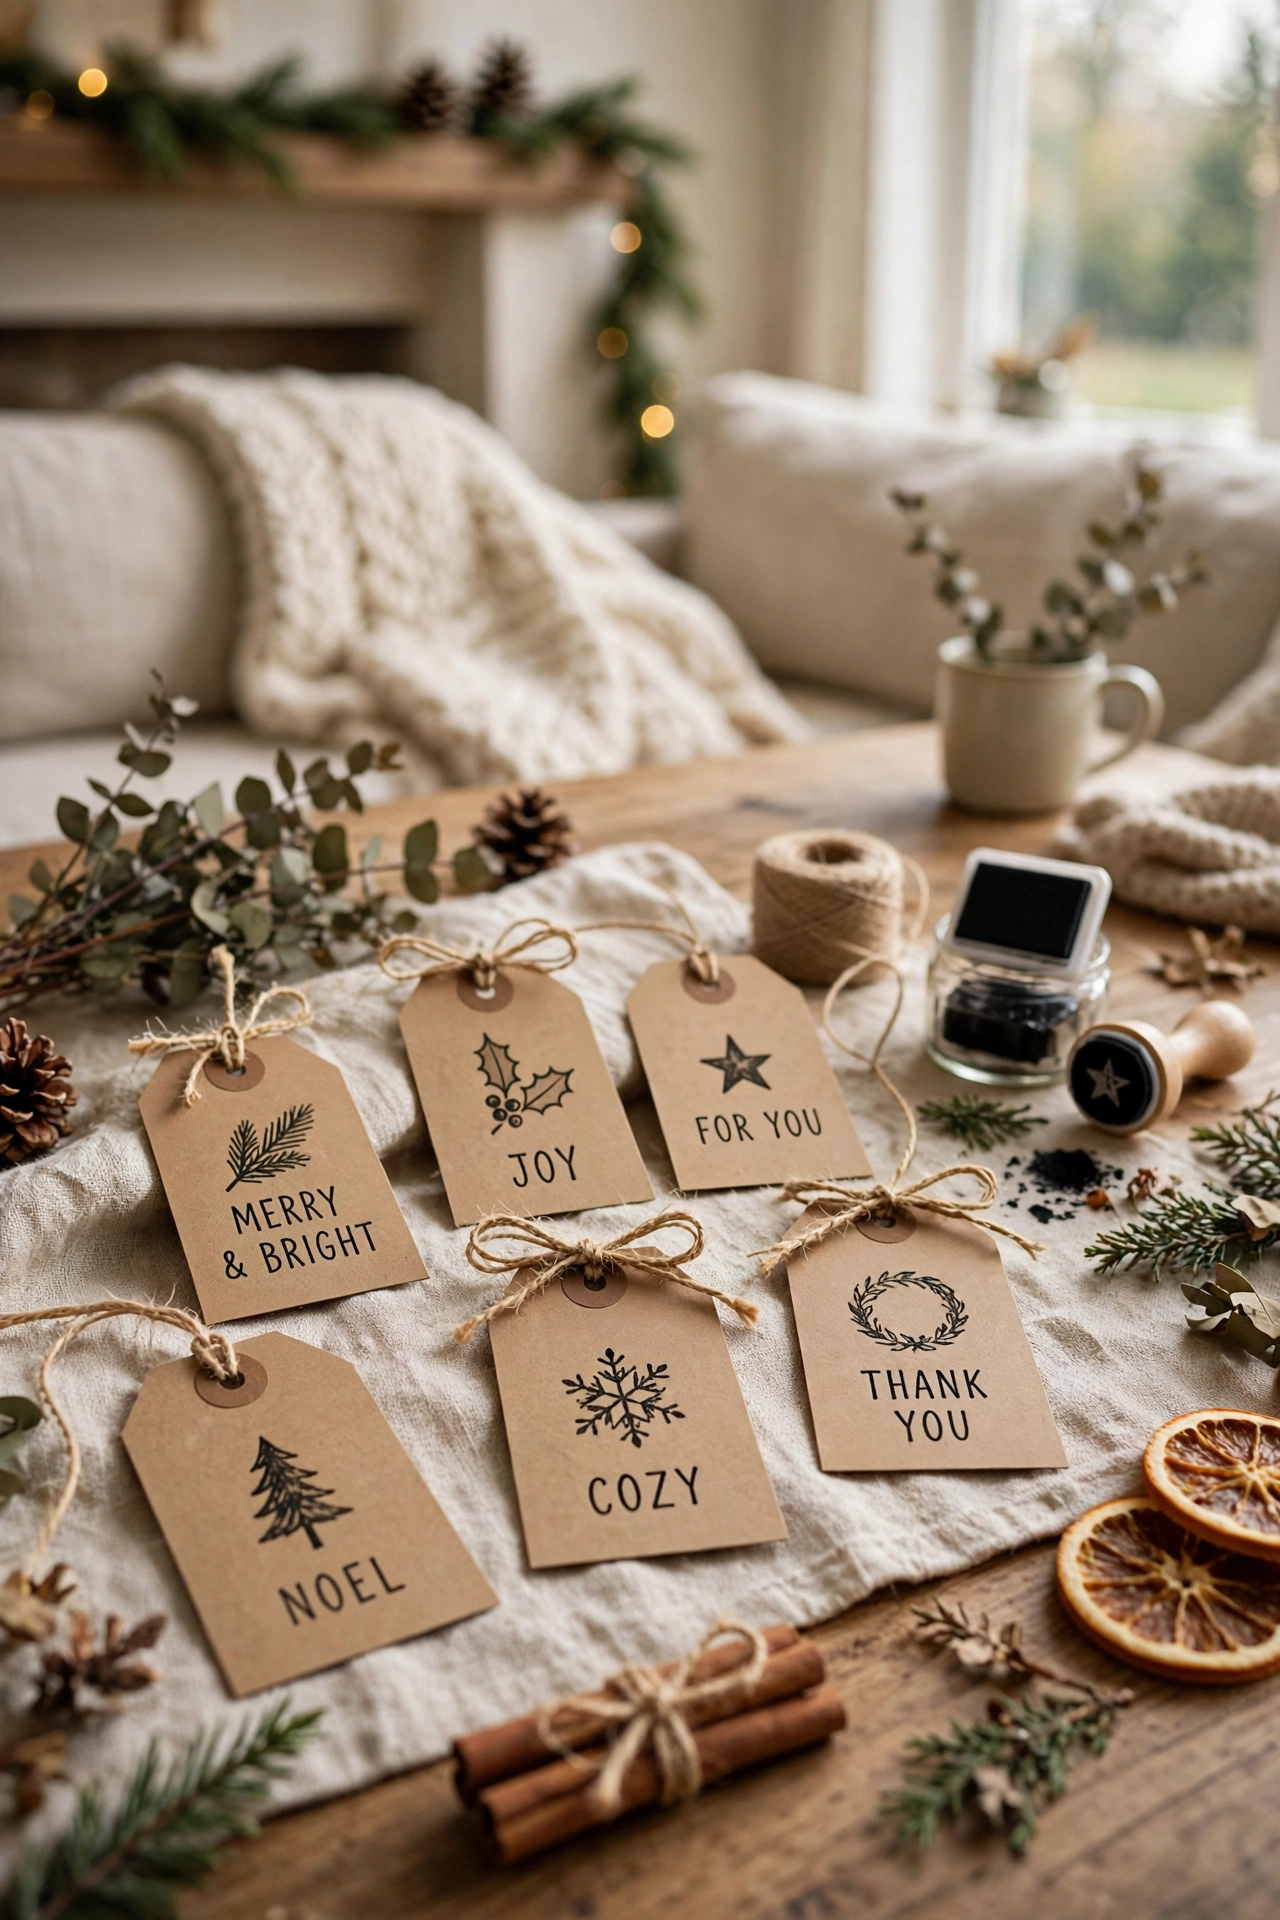
Gift tags stamped with a simple star or tree look far better than shop tags, and they take minutes to make. Cut kraft card into tag shapes, stamp a design with ink, punch a hole, and thread twine through it. I practise the stamp on scrap paper first, because a smudged stamp on the tag wastes the whole piece. Write the name in pen under the design and tie the tag to the gift. It is the kind of small change that makes the room feel finished without any real effort or expense.
Cost: ~$2 | Time: 20 minutes
21. Yarn-Wrapped Wreath on a Wire Frame
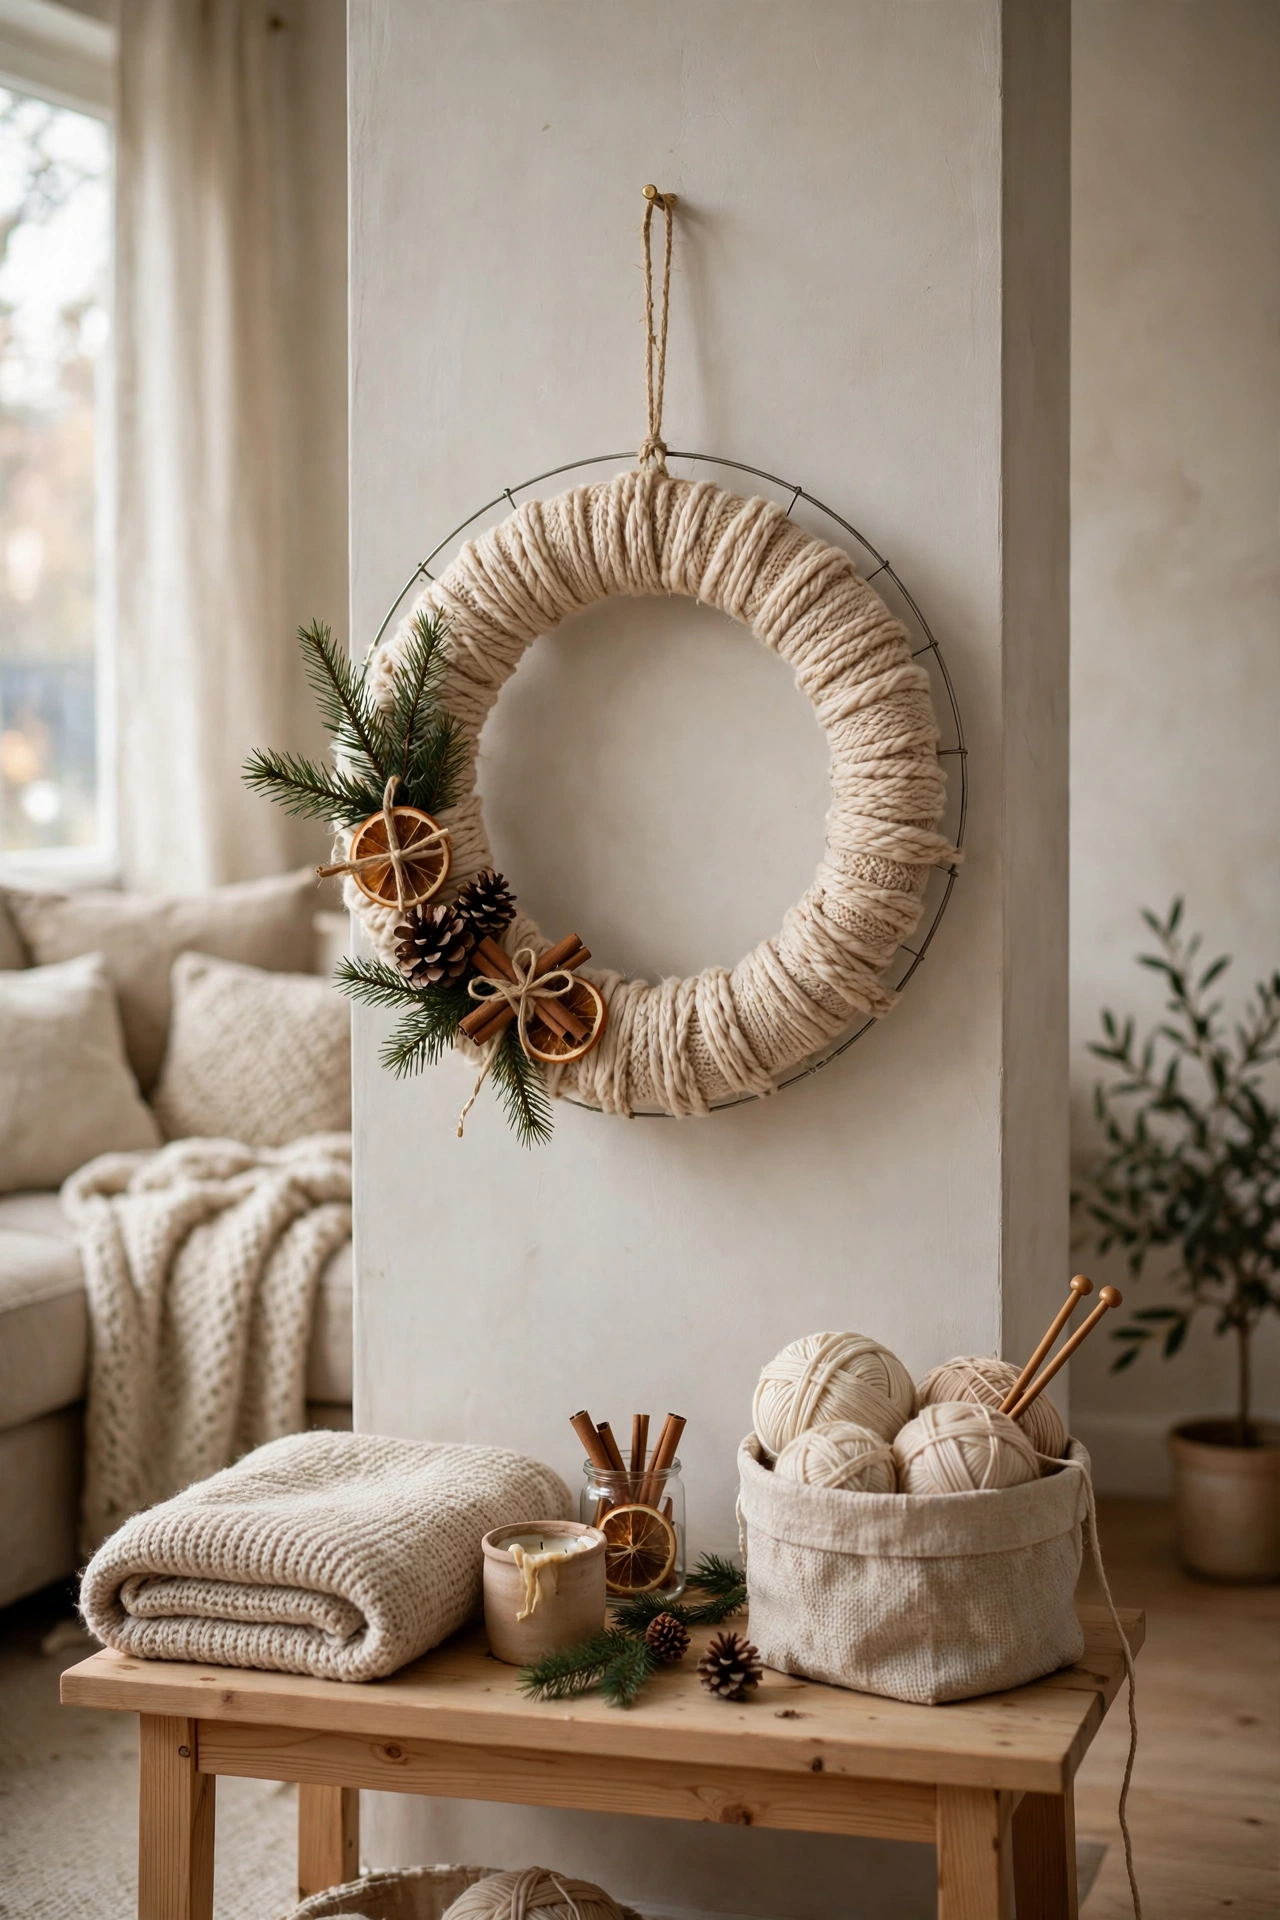
A wreath wrapped in yarn is soft, warm, and far cheaper than a shop wreath. Wrap yarn around a wire wreath frame, overlapping each loop so no wire shows, and tie off the end when you finish. I use a thick yarn because it covers the frame faster, and thin yarn takes forever and leaves gaps. Add a few pinecones or a bow at the bottom, and hang it on the door. Once it is in place, step back and look at the whole room, because that is when you will see whether it needs one more small touch.
Cost: ~$4 | Time: 45 minutes
