25 DIY Spring Wreath Ideas on a Budget
I love a beautiful spring wreath, but I do not love paying thirty dollars for one at a home store. So a few years ago I started making my own from dollar store supplies, old fabric, and things I already had in the craft closet. The results were so good that my neighbors started asking where I bought them. These diy spring wreath ideas on a budget are all under ten dollars, most under five. Save this list before you scroll on, and check my (see also: diy-spring-wreath-on-a-budget) and (see also: budget-spring-wreath-ideas) posts for even more cheap front door ideas.
What this costs at a glance: Every wreath here costs $0 to $8 and takes 15 to 40 minutes, and most of them start with something you already own.
Under $3
1. Dollar Store Greenery Wreath
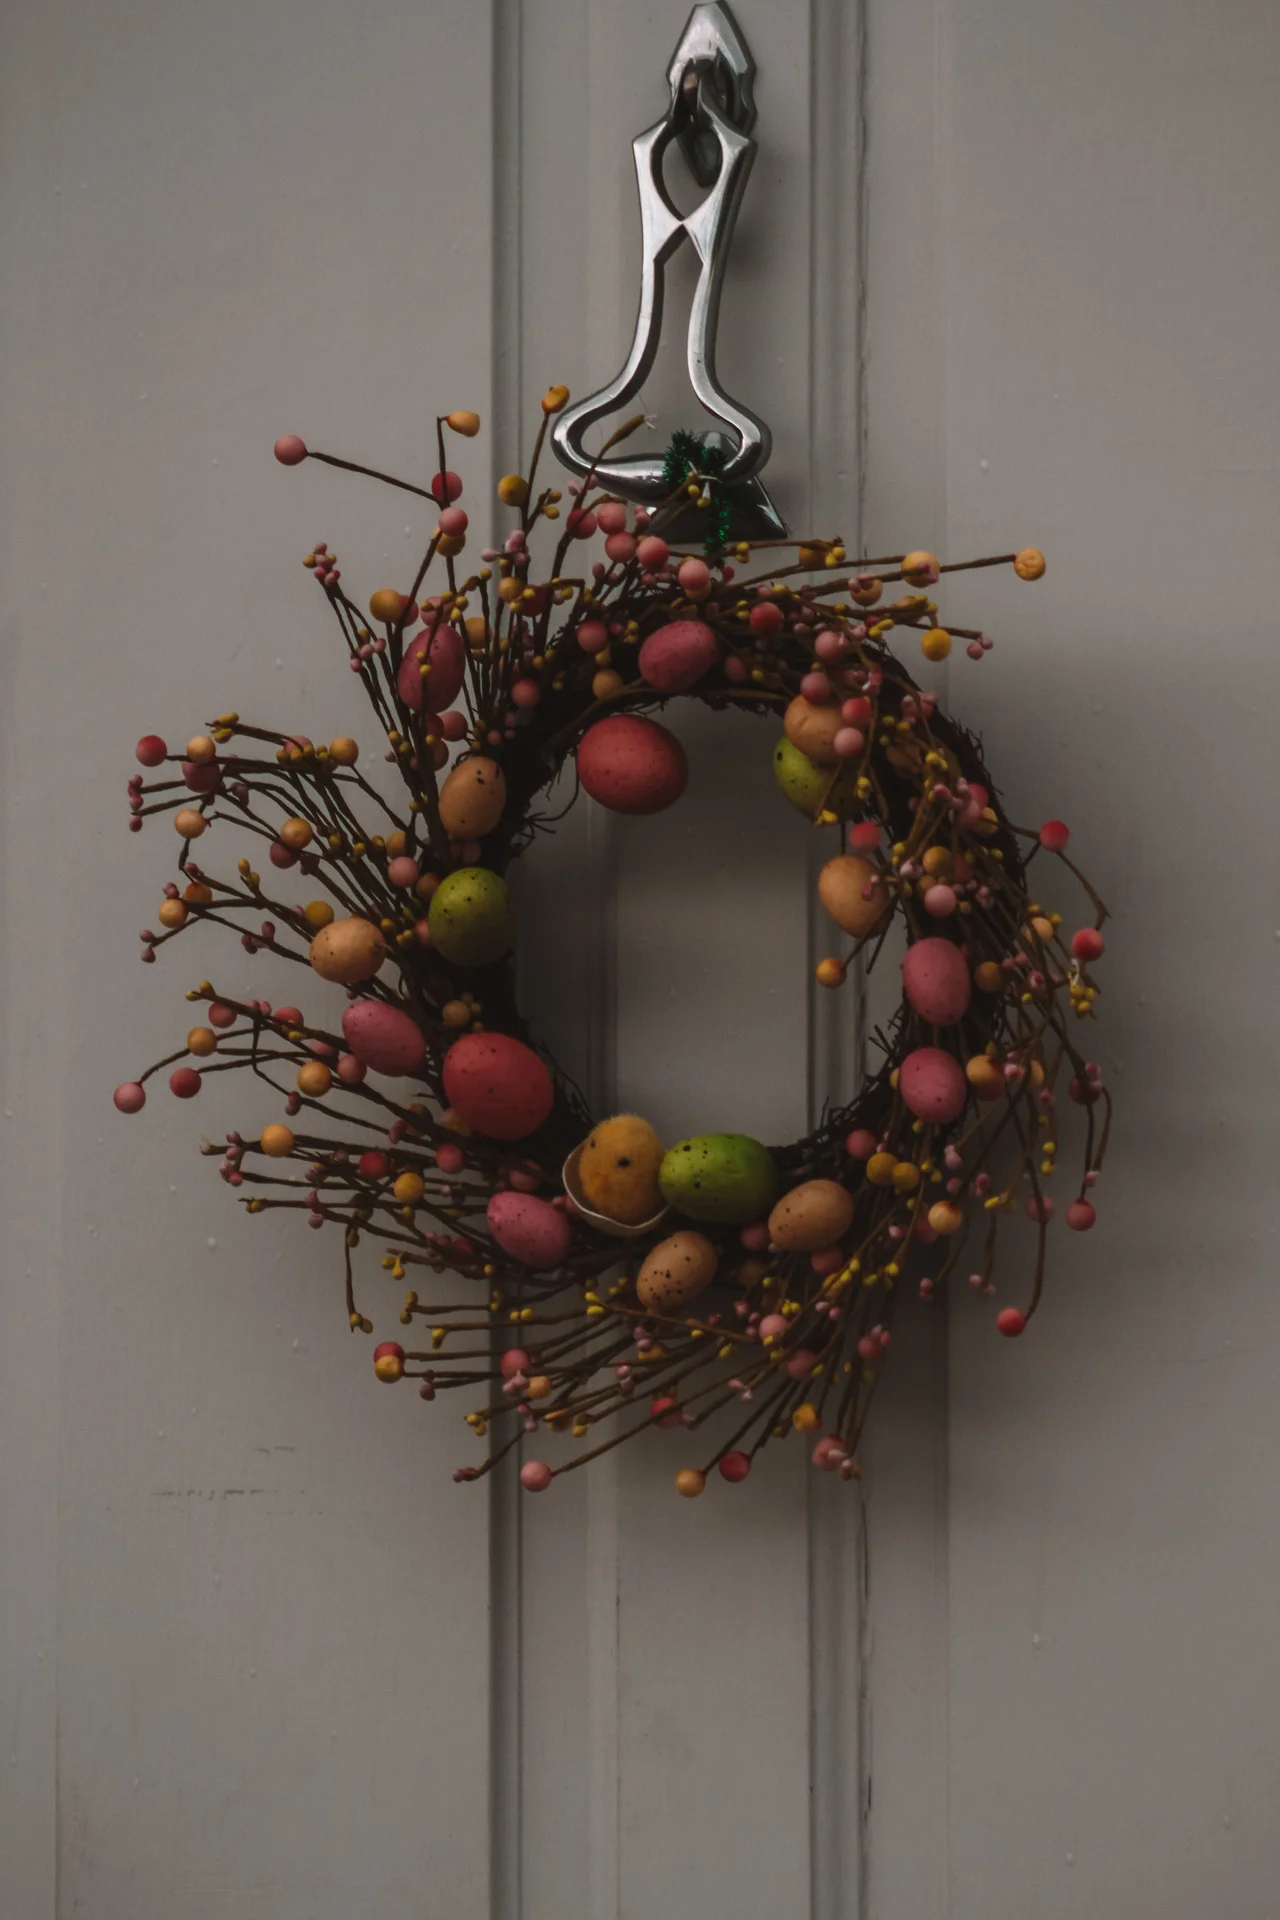
A greenery wreath made entirely from dollar store supplies is the cheapest wreath on this list, and it looks great. I buy a foam wreath form and three greenery picks, stick the picks into the foam at an angle, and fluff them out. A bow made from ribbon finishes it. My first wreath looked sparse because I only used two picks, so three is the minimum. It takes about twenty minutes and costs about four dollars. It lasts for years if you store it in a bag.
Cost: ~$4 | Time: 20 minutes
2. Coffee Filter Flower Wreath

A coffee filter flower wreath is the prettiest wreath I have ever made from something I was going to throw away. I fold coffee filters into flower shapes, glue them onto a foam wreath form, and overlap them until the form is covered. The white flowers look like peonies. I made the mistake once of using too little glue and the flowers fell off, so use plenty. It takes about forty minutes and costs about two dollars. It is delicate, so hang it on a covered porch.
Cost: ~$2 | Time: 40 minutes
3. Paper Tulip Wreath

A paper tulip wreath is a fun project that looks like a craft fair find. I cut tulip shapes from colored cardstock, fold them slightly to give them dimension, and glue them onto a foam wreath form. It takes about thirty minutes and costs about two dollars. My kids help me cut the tulips, which makes it a family project. I learned to use cardstock instead of regular paper, because thin paper curls and looks messy. It lasts all spring if you keep it dry.
Cost: ~$2 | Time: 30 minutes
4. Twine-Wrapped Hoop Wreath
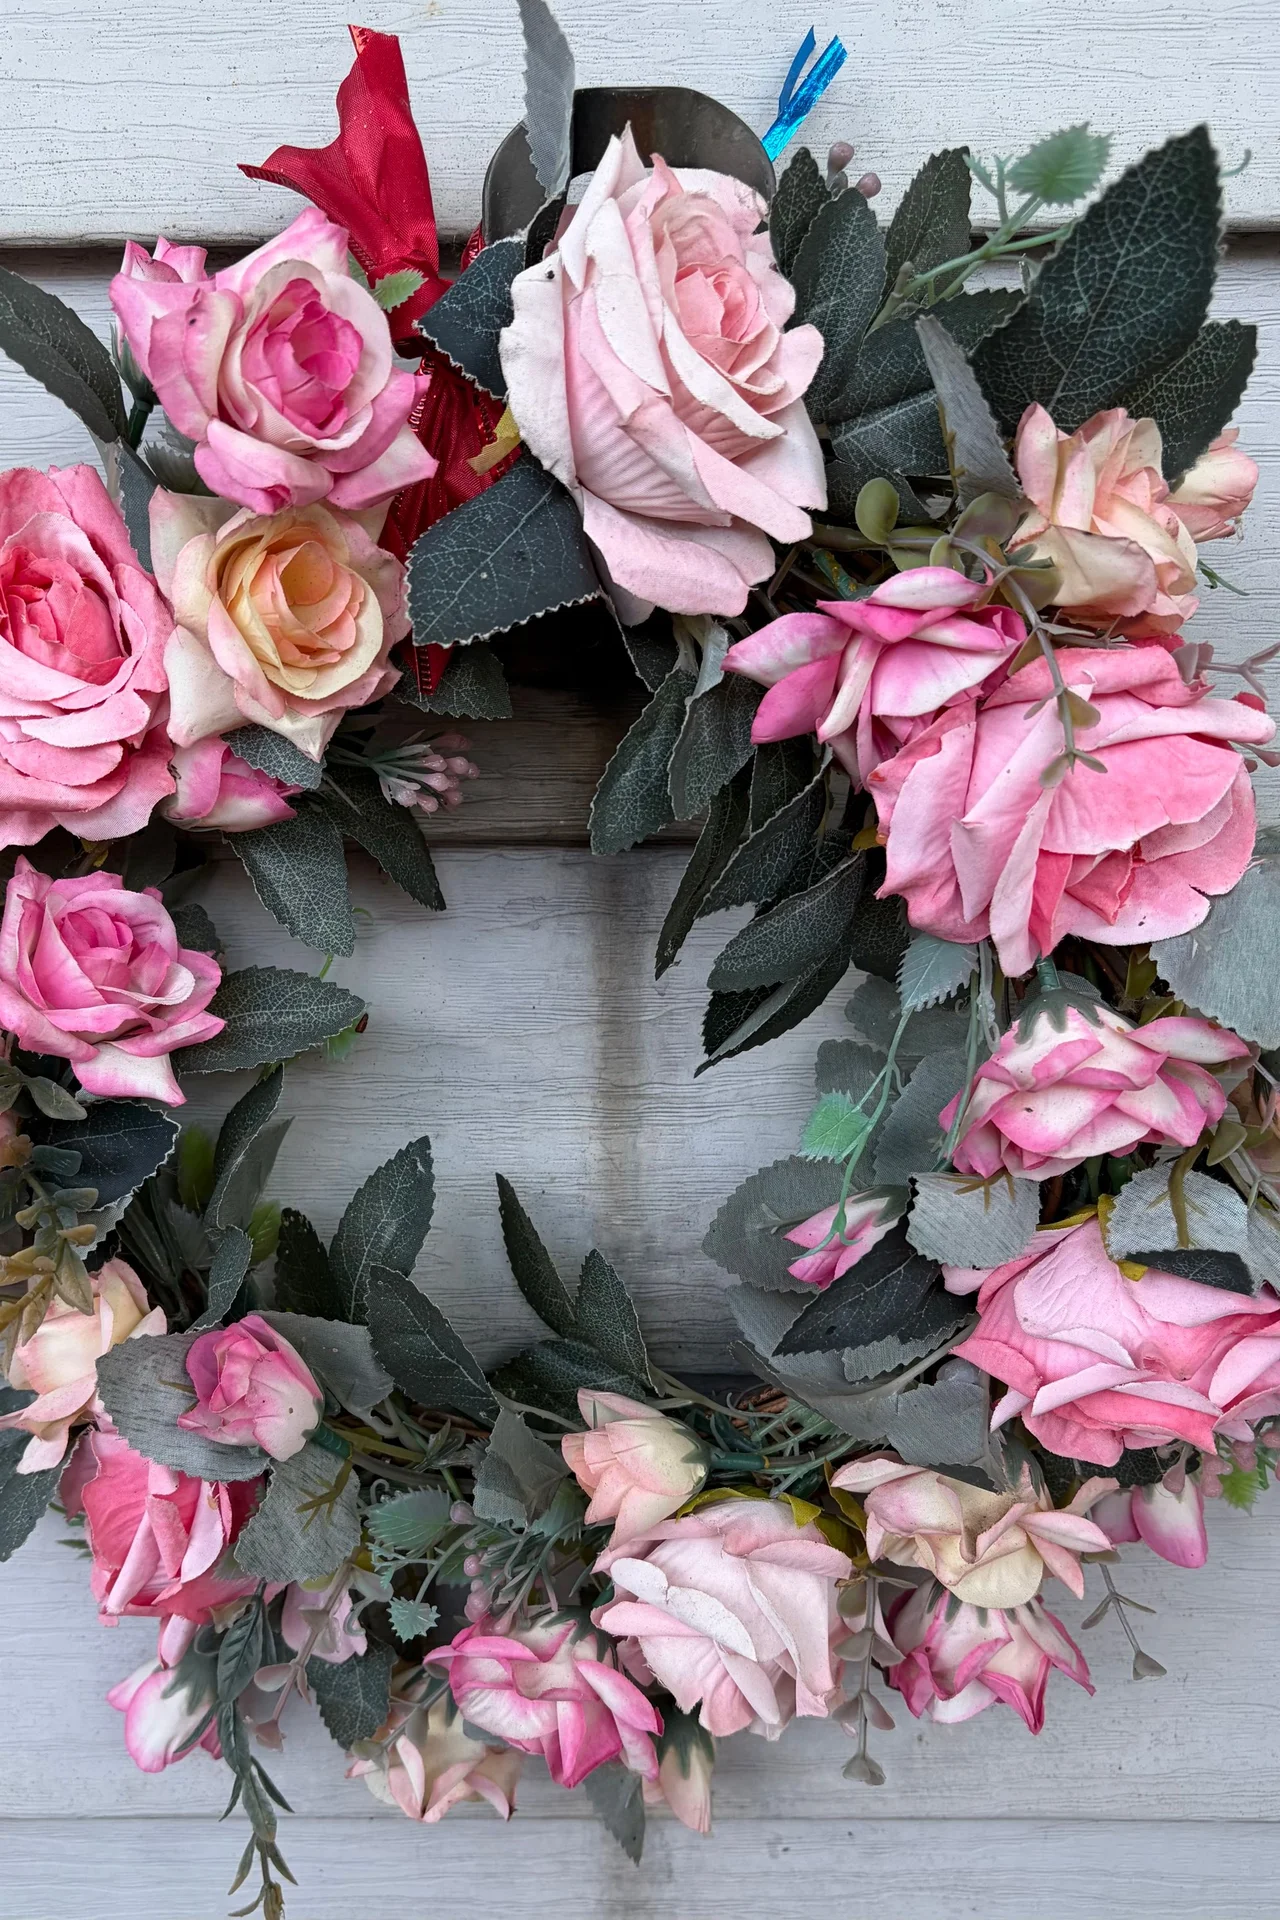
A twine-wrapped hoop wreath is rustic and simple, and it costs about three dollars to make. I wrap a metal hoop in twine, glue on a few small faux flowers, and hang it with a ribbon. The twine texture is warm and natural. My first attempt I wrapped the twine too loosely and it slid around, so wrap it tight and overlap each turn. It takes about twenty minutes and it looks like a farmhouse wreath. It also works beautifully in a kitchen or bedroom.
Cost: ~$3 | Time: 20 minutes
5. Felt Flower Wreath

A felt flower wreath is soft, colorful, and so easy to make. I cut flower shapes from felt in spring colors, roll them into rosettes, and glue them onto a foam wreath form. It takes about thirty minutes and costs about four dollars. My first wreath had flowers that were all the same size, which looked boring, so mix big and small ones. It lasts for years and it is washable, which is a bonus with kids around. I use pinking shears on the felt edges, which gives each flower a finished look without any extra work at all.
Cost: ~$4 | Time: 30 minutes
6. Fabric Scrap Wreath
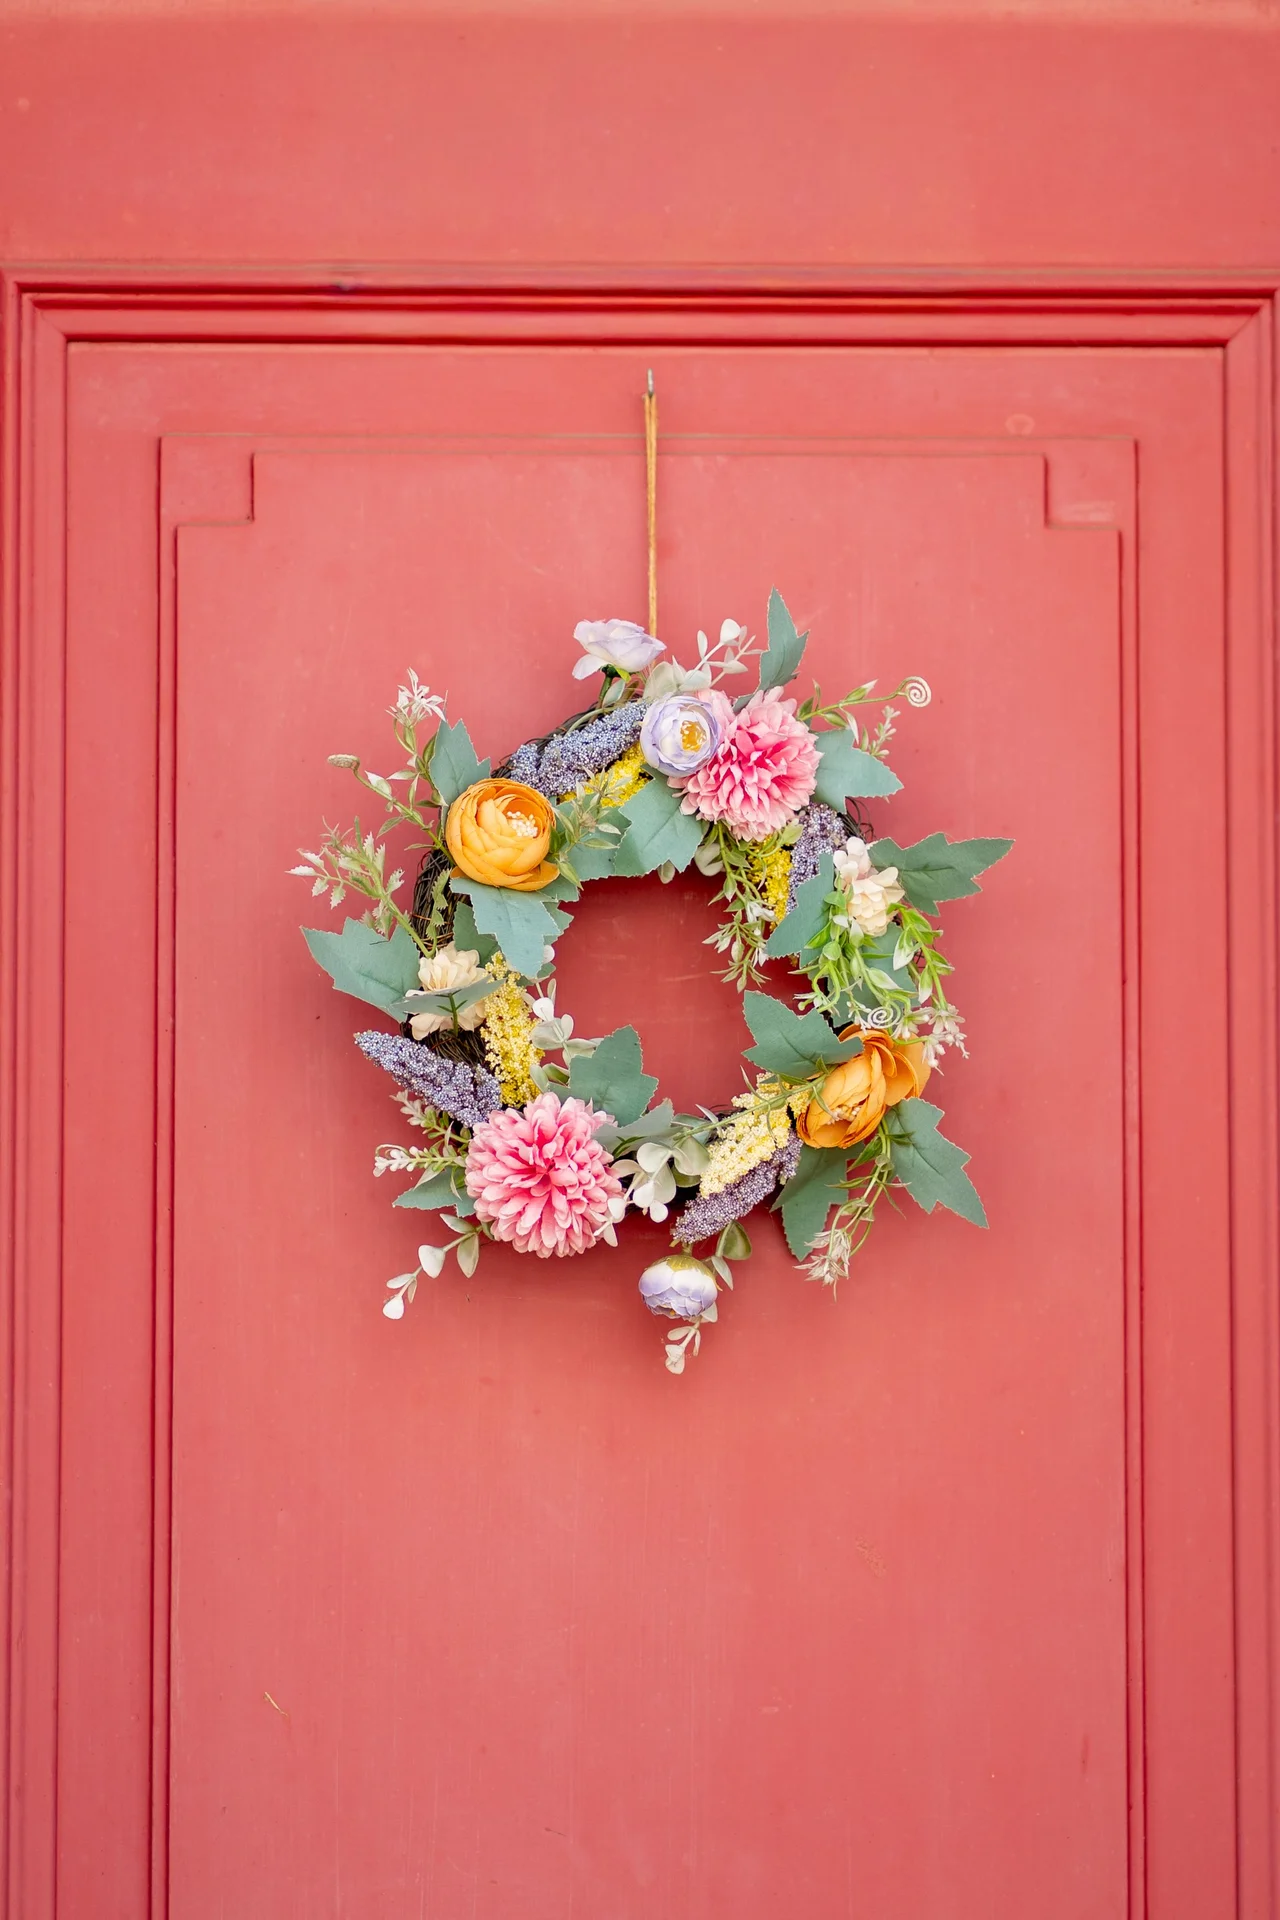
A fabric scrap wreath is the best way to use up leftover fabric, and it costs nothing if you already have scraps. I cut fabric into strips, tie them onto a wire wreath form, and fluff them out. The mix of patterns looks charming and homemade. I made the mistake once of using fabric that was too stiff and it would not tie neatly, so use soft cotton. It takes about thirty minutes and it is different every time, depending on what scraps you have.
Cost: ~$0 | Time: 30 minutes
7. Painted Pinecone Wreath

A painted pinecone wreath is a beautiful way to use pinecones you collected in the fall. I paint the tips of the pinecones in pastel colors, glue them onto a foam wreath form, and fill the gaps with a little moss. It takes about thirty minutes and costs about three dollars. My first wreath I painted the whole pinecone and it looked like a toy, so just the tips is the key. It is a lovely bridge between winter and spring.
Cost: ~$3 | Time: 30 minutes
8. Yarn Pom-Pom Wreath

A yarn pom-pom wreath is the softest, happiest wreath I have ever made. I make pom-poms from yarn in spring colors, glue them onto a foam wreath form, and fill in the gaps until it is full. It takes about forty minutes and costs about four dollars. My first wreath had pom-poms that were too small and it looked sparse, so make them at least two inches across. It is a fun project to do while watching television, and kids love helping.
Cost: ~$4 | Time: 40 minutes
Fabric and Ribbon
9. Egg Carton Flower Wreath

An egg carton flower wreath is the most creative upcycle on this list, and it costs nothing. I cut the cups from an egg carton, trim them into flower shapes, paint them in spring colors, and glue them onto a foam wreath form. It takes about forty minutes and it looks like a real flower wreath. I made the mistake once of using too little paint and the cardboard showed through, so two coats is the key. It is a great project for kids.
Cost: ~$0 | Time: 40 minutes
10. Burlap Ruffle Wreath
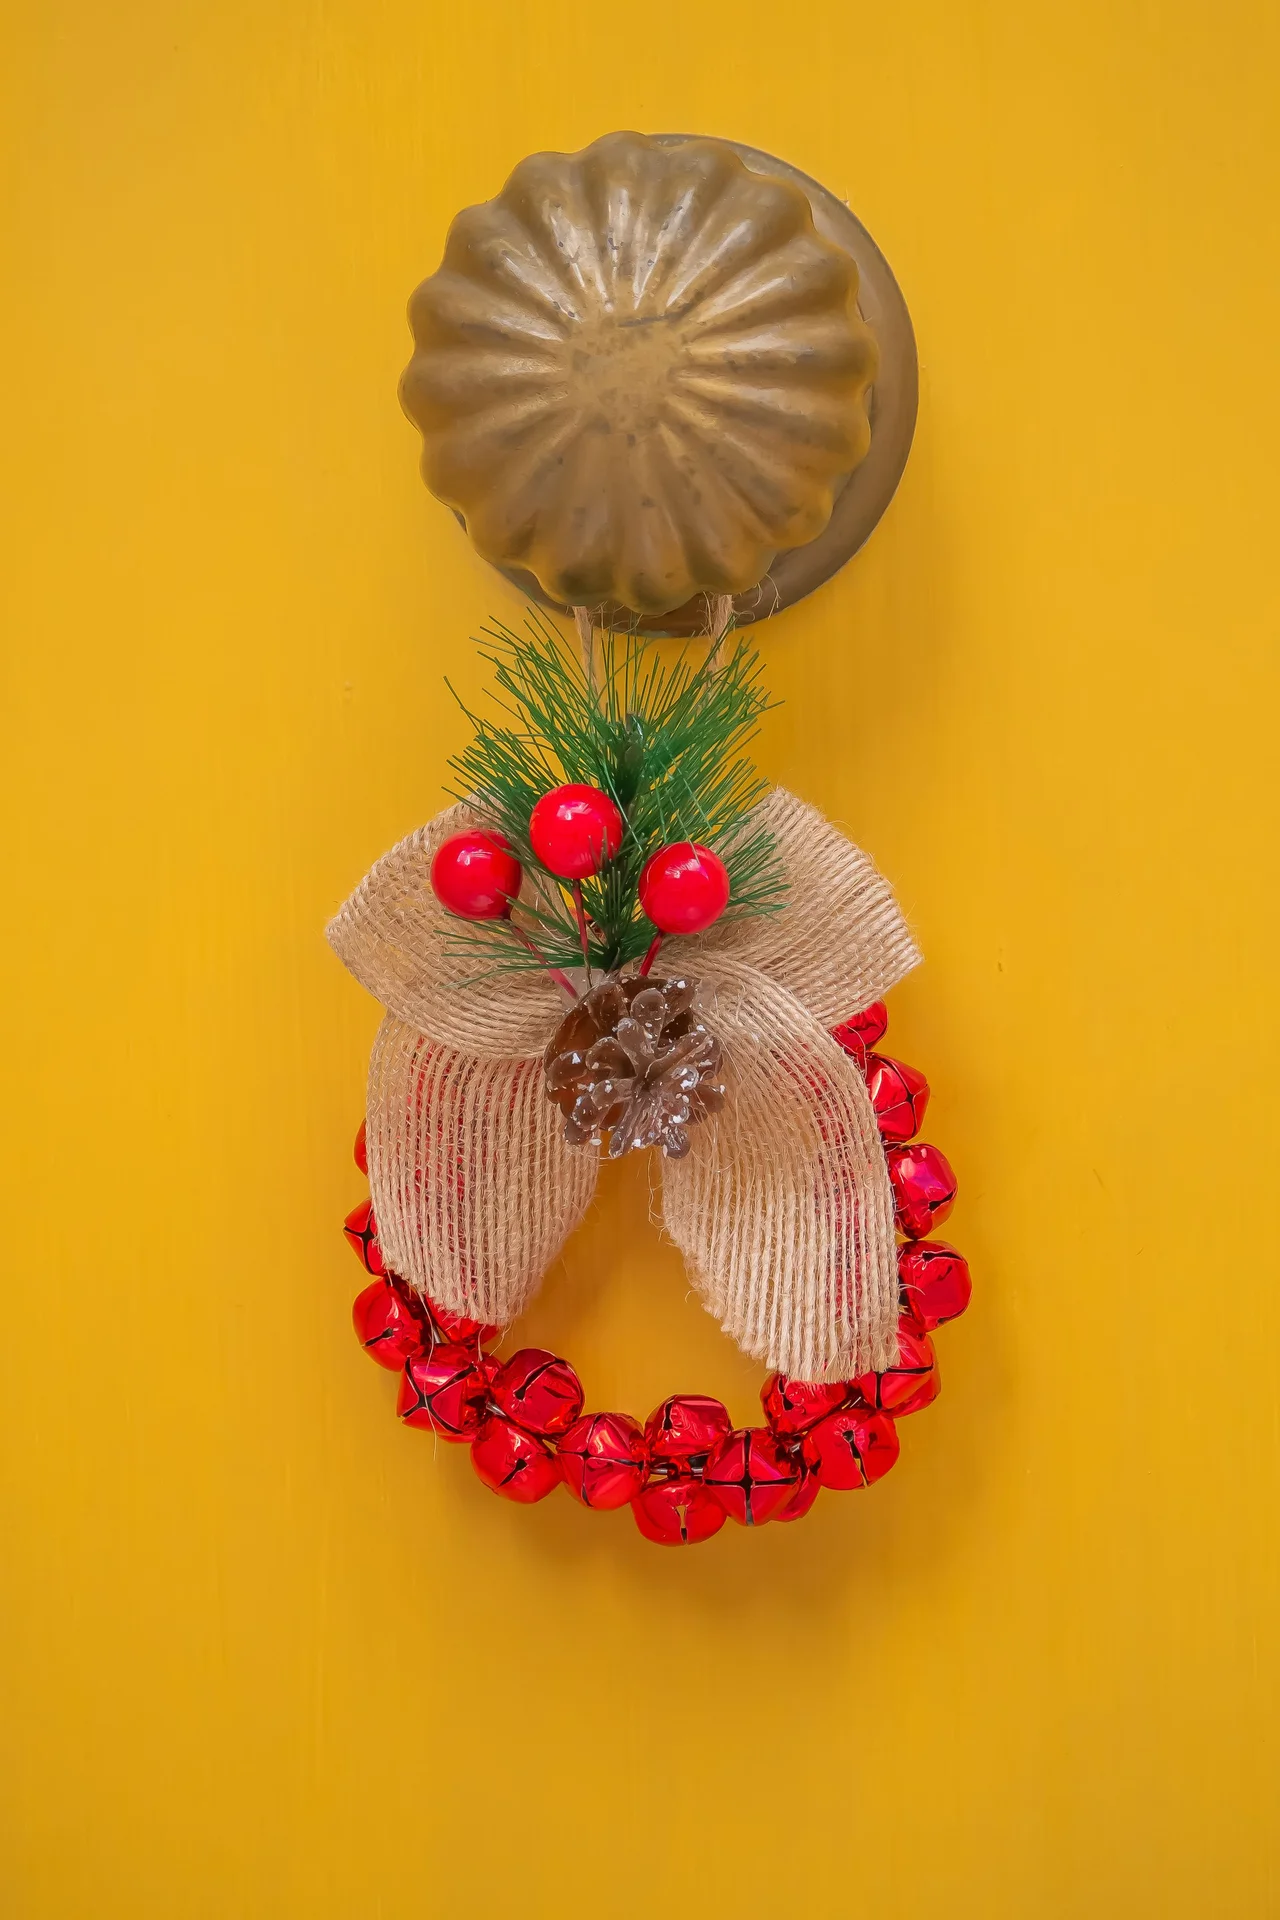
A burlap ruffle wreath is rustic and full, and it costs about five dollars to make. I cut burlap into squares, pinch each one in the middle, and glue it onto a foam wreath form. The ruffles look lush and textured. My first wreath I used squares that were too small and it looked flat, so four-inch squares are the right size. It takes about thirty minutes and it looks like a boutique wreath. A few small flowers tucked in finish the look.
Cost: ~$5 | Time: 30 minutes
11. Old T-Shirt Rag Wreath
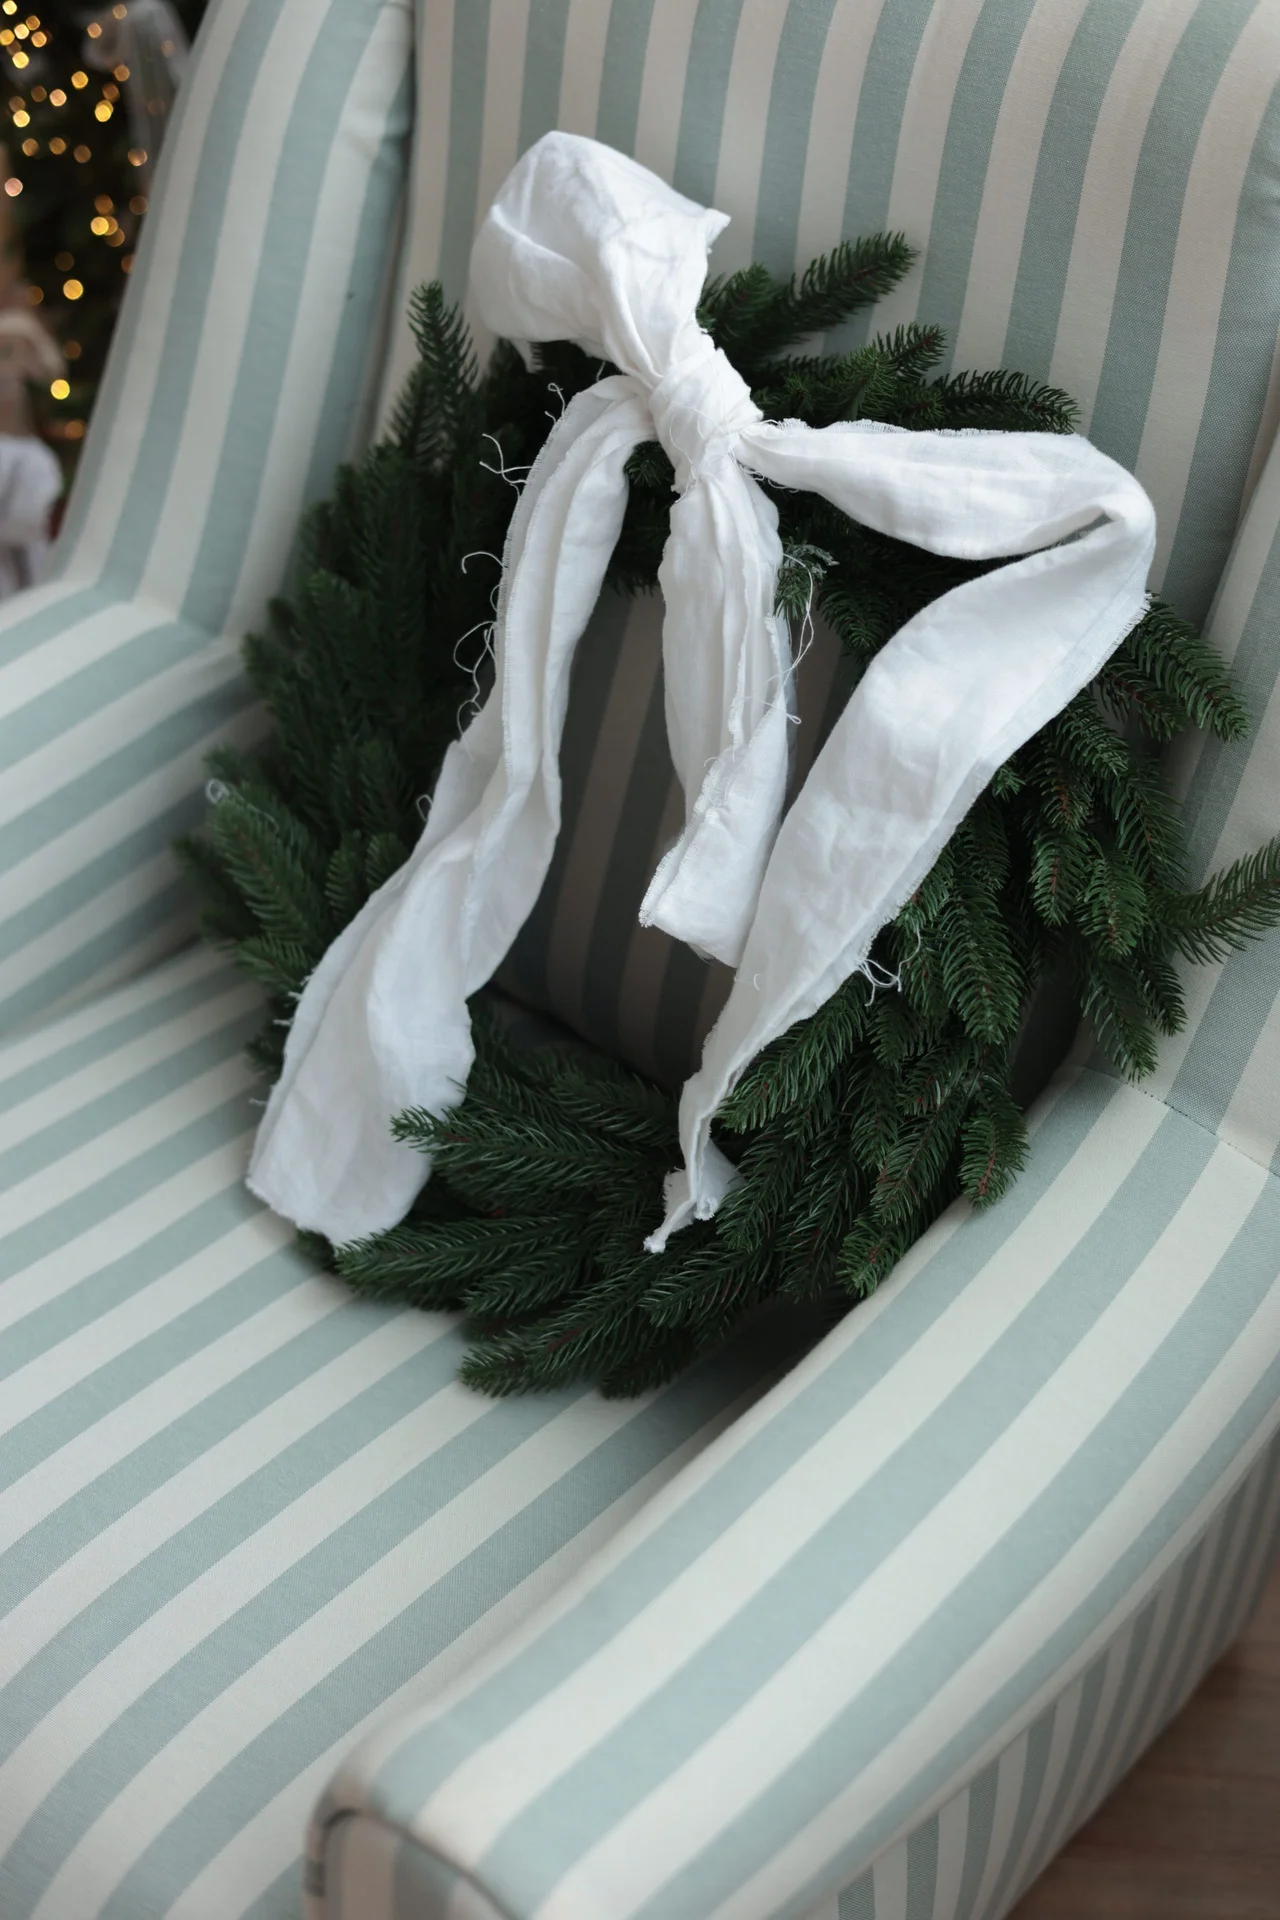
An old t-shirt rag wreath is the best way to turn a worn-out shirt into something beautiful. I cut an old t-shirt into strips, tie them onto a wire wreath form, and fluff them out. The soft cotton looks lovely in spring colors. I made the mistake once of using a shirt that was too dark and it looked heavy, so pick light colors. It takes about thirty minutes and costs nothing. It is the wreath I feel best about, because it kept a shirt out of the trash.
Cost: ~$0 | Time: 30 minutes
12. Faux Floral Wreath From Clearance Stems

A faux floral wreath made from clearance stems is the cheapest way to get a store-bought look. I buy clearance flowers from the craft store, usually for fifty cents a stem, and attach them to a grapevine base with floral wire. It takes about twenty minutes and costs about five dollars. My first wreath I bought flowers that were all the same color and it looked flat, so mix three colors. Clearance stems are the best deal in the craft store, in my opinion.
Cost: ~$5 | Time: 20 minutes
13. Clothespin Wreath Painted Pastel

A clothespin wreath painted pastel is a fun, quirky wreath that costs about two dollars. I clip wooden clothespins around a wire wreath form, paint them in pastel colors, and add a bow. It takes about thirty minutes and it looks like a little sunburst. I made the mistake once of painting the clothespins after clipping them on, which was messy, so paint them first and let them dry. It is a great project for kids and it lasts for years.
Cost: ~$2 | Time: 30 minutes
14. Ribbon Loop Wreath

A ribbon loop wreath is the most colorful wreath on this list, and it is so easy. I cut ribbon into strips, fold each one into a loop, and pin it onto a foam wreath form. The loops look like a big bow. It takes about thirty minutes and costs about four dollars. My first wreath I used ribbon that was too narrow and it looked skimpy, so use ribbon at least an inch wide. Mix three or four colors for the best effect.
Cost: ~$4 | Time: 30 minutes
15. Dried Citrus Slice Wreath

A dried citrus slice wreath is the freshest-smelling wreath I have ever made. I dry orange and lemon slices in a low oven, glue them onto a grapevine base, and add a little greenery. It takes about thirty minutes plus drying time, and it costs about three dollars. I made the mistake once of drying the slices at too high a temperature and they turned brown, so low and slow is the rule. It looks beautiful and it smells wonderful.
Cost: ~$3 | Time: 30 minutes
16. Paper Plate Spring Wreath
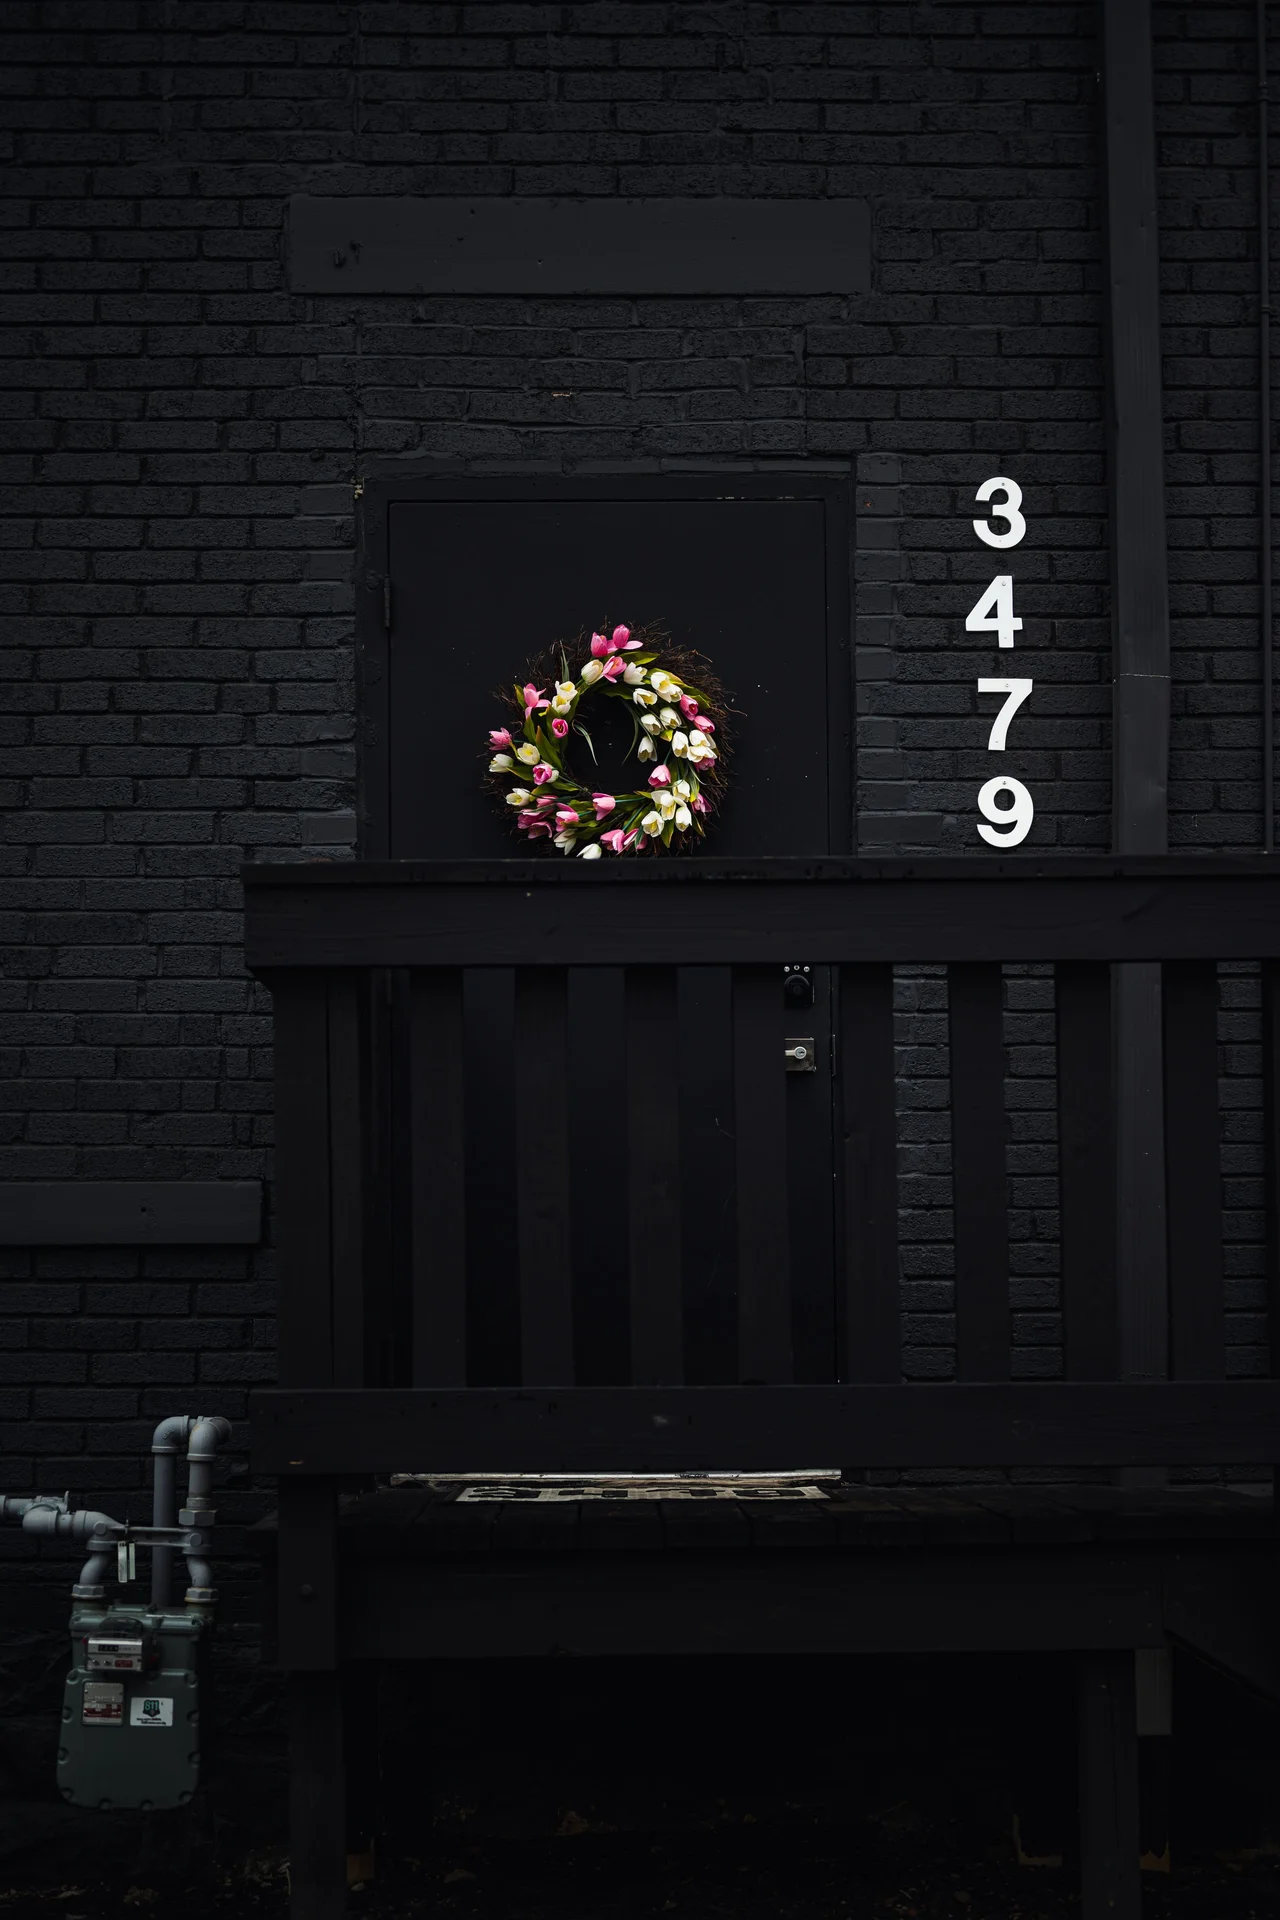
A paper plate spring wreath is the simplest wreath on this list, and it is perfect for kids. I cut the center out of a paper plate, glue on paper flowers and leaves, and hang it with a ribbon. It takes about twenty minutes and costs about a dollar. My kids make one every year, and they are always different. I learned to use a sturdy paper plate, because the thin ones bend and fall apart. It is a sweet, simple project for a rainy afternoon.
Cost: ~$1 | Time: 20 minutes
Upcycled and Thrifted
17. Embroidery Hoop Wreath With Lace
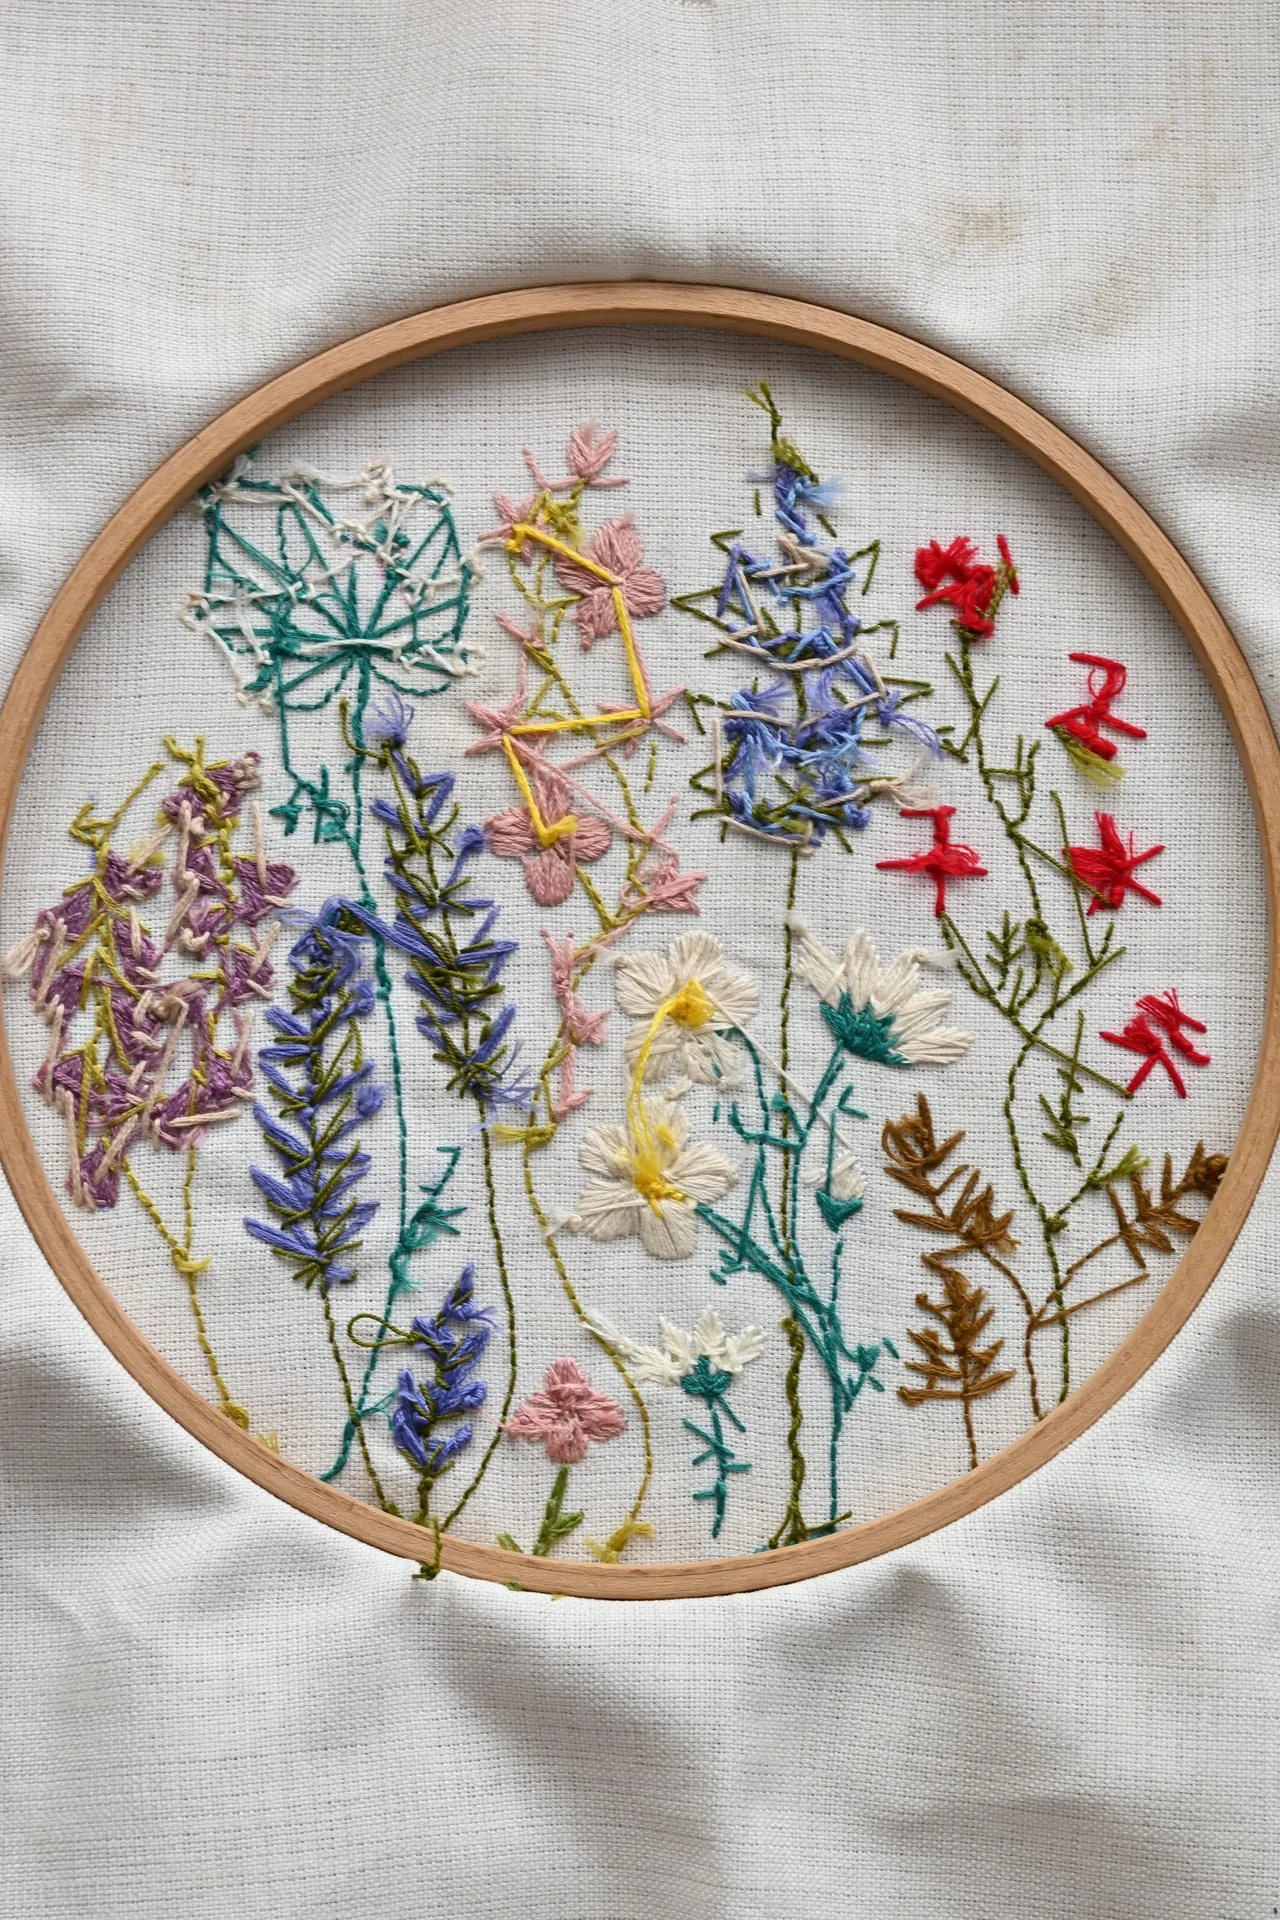
An embroidery hoop wreath with lace is delicate and elegant, and it costs about three dollars to make. I use a wooden embroidery hoop, drape lace across the bottom, and glue on a few small flowers. It takes about twenty minutes and it looks like a piece of art. My first attempt I used too much lace and it looked heavy, so a single layer is enough. It hangs beautifully on a bedroom door or a wall, not just the front door.
Cost: ~$3 | Time: 20 minutes
18. Cork and Flower Wreath

A cork and flower wreath is a clever way to use up old wine corks, and it costs almost nothing. I glue corks onto a foam wreath form in a pattern, then tuck in a few small faux flowers. It takes about thirty minutes and it looks rustic and charming. I made the mistake once of using too little glue and the corks fell off, so use a strong glue and hold each one for a few seconds. It is a great conversation piece.
Cost: ~$2 | Time: 30 minutes
19. Painted Mason Jar Lid Wreath

A painted mason jar lid wreath is the quirkiest wreath on this list, and it costs nothing if you have old lids. I paint jar lids in pastel colors, glue them onto a foam wreath form, and add a few small flowers. It takes about thirty minutes and it looks like a folk art piece. My first wreath I used lids that were all the same color and it looked flat, so mix the colors. It is a fun way to use something you were going to recycle.
Cost: ~$0 | Time: 30 minutes
20. Grocery Bag Paper Flower Wreath

A grocery bag paper flower wreath is the most resourceful wreath I have ever made. I cut brown paper bags into flower shapes, paint them in spring colors, and glue them onto a foam wreath form. It takes about forty minutes and costs nothing. I made the mistake once of using too little paint and the brown showed through, so two coats is the key. It looks like a craft paper wreath from a boutique, and it is completely free.
Cost: ~$0 | Time: 40 minutes
21. Wire Hanger Heart Wreath

A wire hanger heart wreath is the cheapest wreath base that exists, and it works beautifully. I bend a wire hanger into a heart shape, wrap it in yarn, and add a few small flowers. It takes about twenty minutes and costs about a dollar. My first attempt the hanger kept springing back, so bend it slowly and use pliers. It is a lovely shape for spring, and it hangs on the door with a simple ribbon. I add a small bow where the hanger hook meets the heart, which hides the join and makes it look finished.
Cost: ~$1 | Time: 20 minutes
22. Seed Packet Wreath for Gardeners
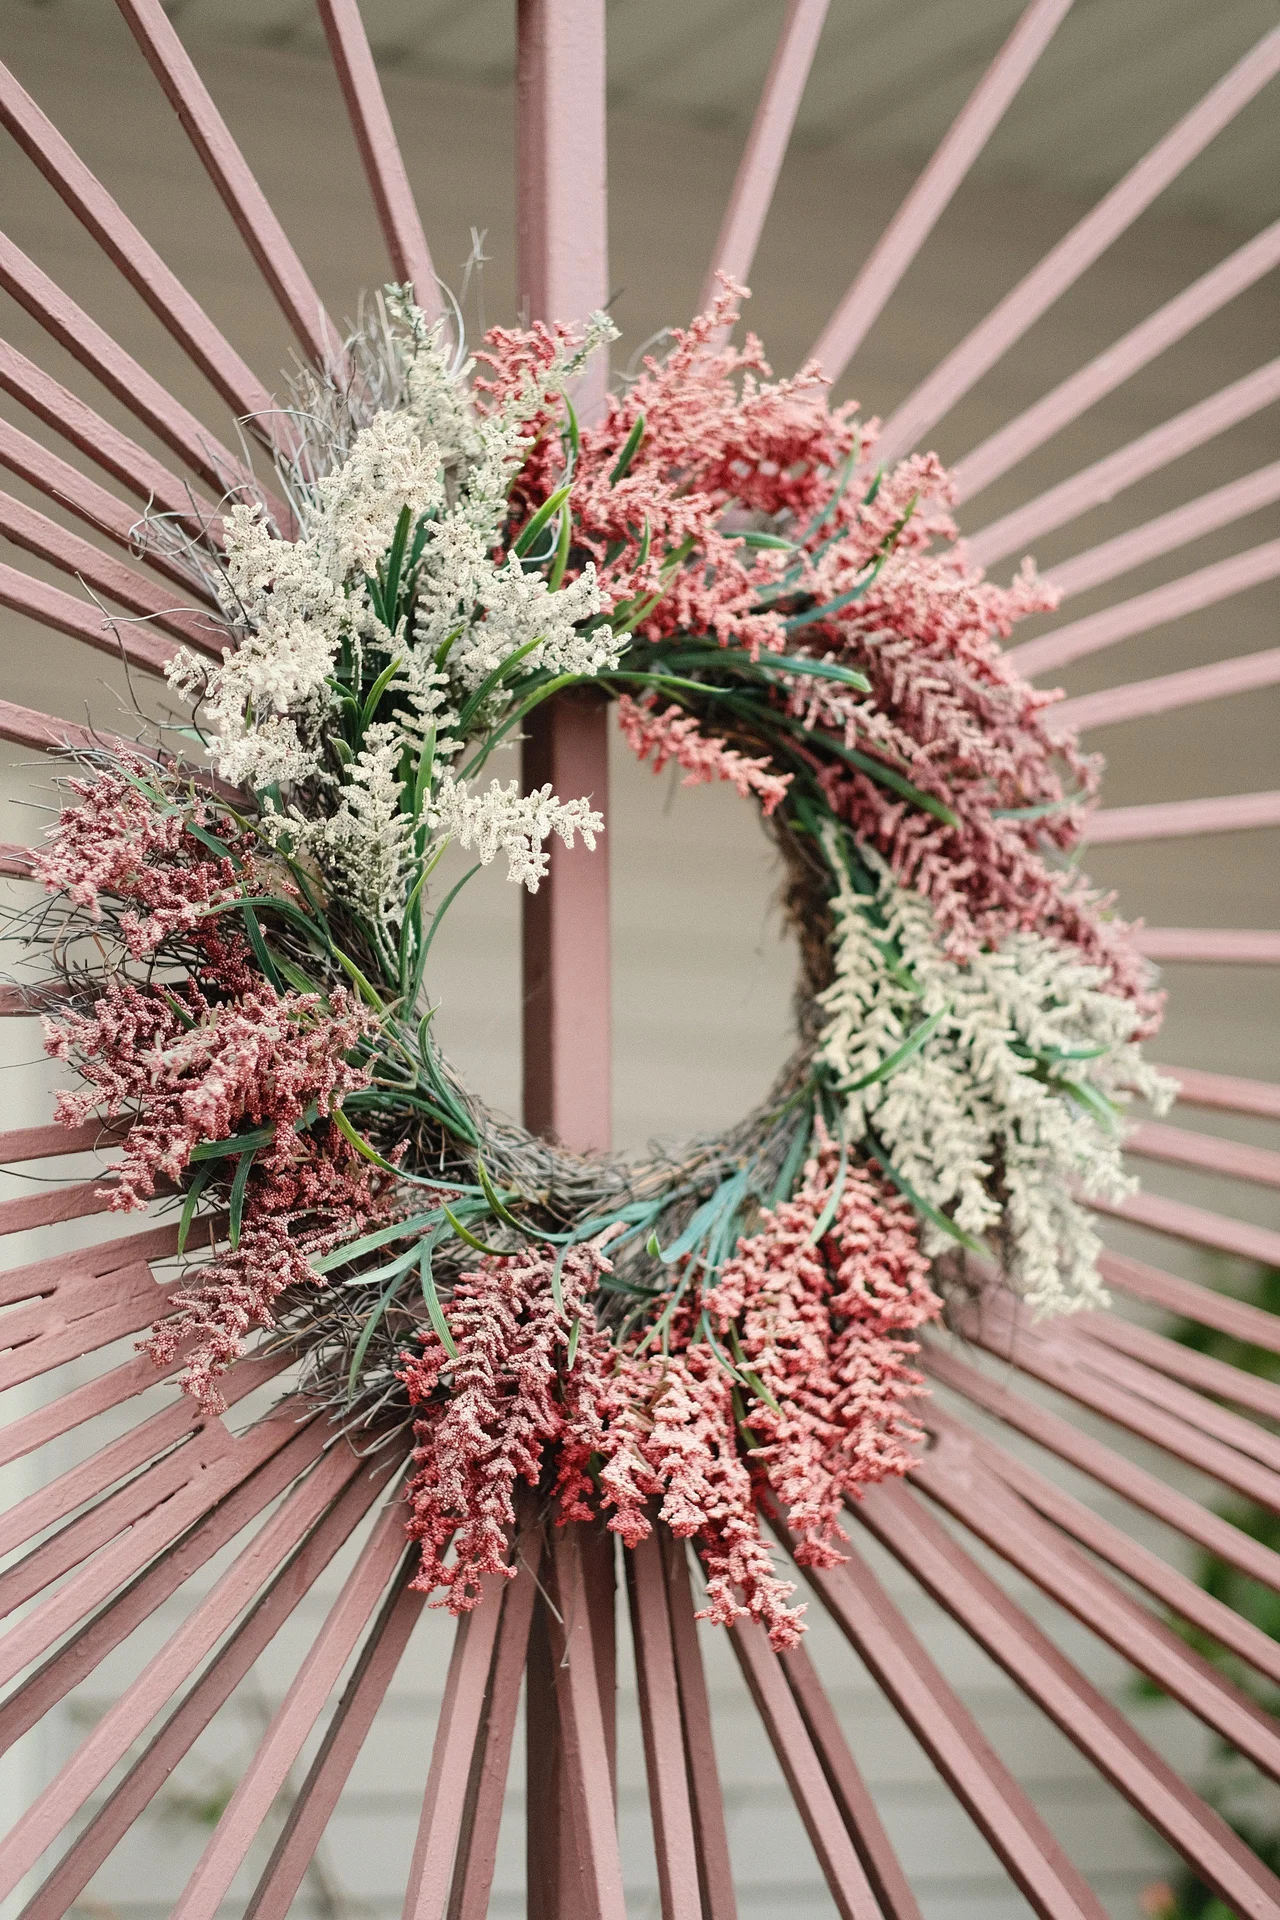
A seed packet wreath is the perfect wreath for a gardener, and it costs about three dollars. I buy a few colorful seed packets, glue them onto a foam wreath form, and add a few small flowers. It takes about twenty minutes and it looks like a garden in itself. I made the mistake once of using packets that were too big and they overwhelmed the wreath, so use small packets. It is a fun way to celebrate planting season.
Cost: ~$3 | Time: 20 minutes
23. Button Flower Wreath

A button flower wreath is a sweet way to use up old buttons, and it costs almost nothing. I glue buttons onto a foam wreath form in flower shapes, with a big button in the center and smaller ones around it. It takes about thirty minutes and it looks like a folk art piece. My first wreath I used buttons that were all the same color and it looked flat, so mix the colors. It is a lovely project for a rainy afternoon.
Cost: ~$2 | Time: 30 minutes
24. Washi Tape Hoop Wreath
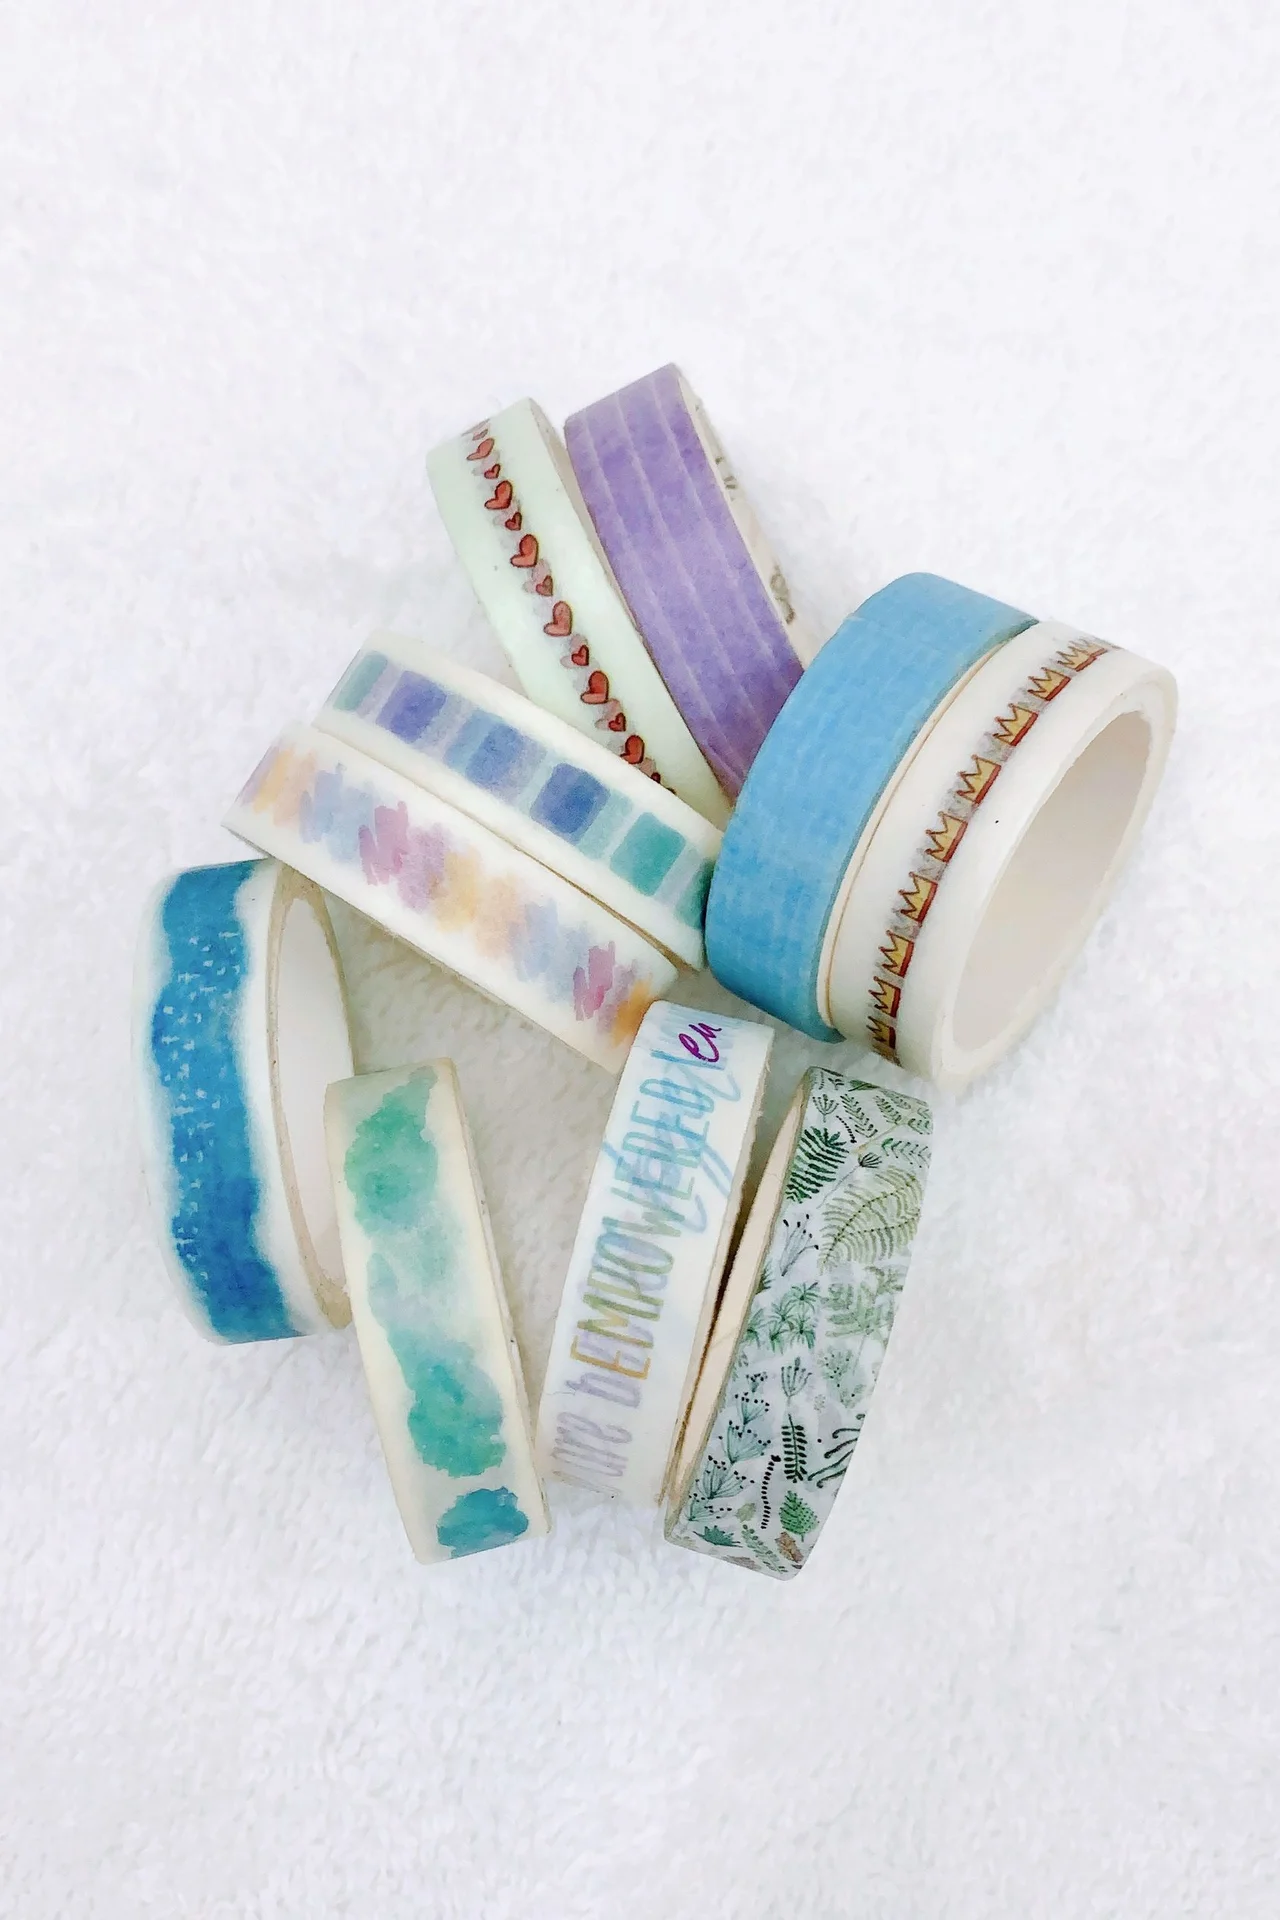
A washi tape hoop wreath is the quickest wreath on this list, and it costs about three dollars. I wrap a metal hoop in washi tape in spring patterns, add a few small flowers, and hang it with a ribbon. It takes about fifteen minutes and it looks fresh and modern. I made the mistake once of using tape that was too narrow and it took forever, so use wide tape. It is a fun project for kids and it lasts all season.
Cost: ~$3 | Time: 15 minutes
25. Scarf-Wrapped Spring Wreath
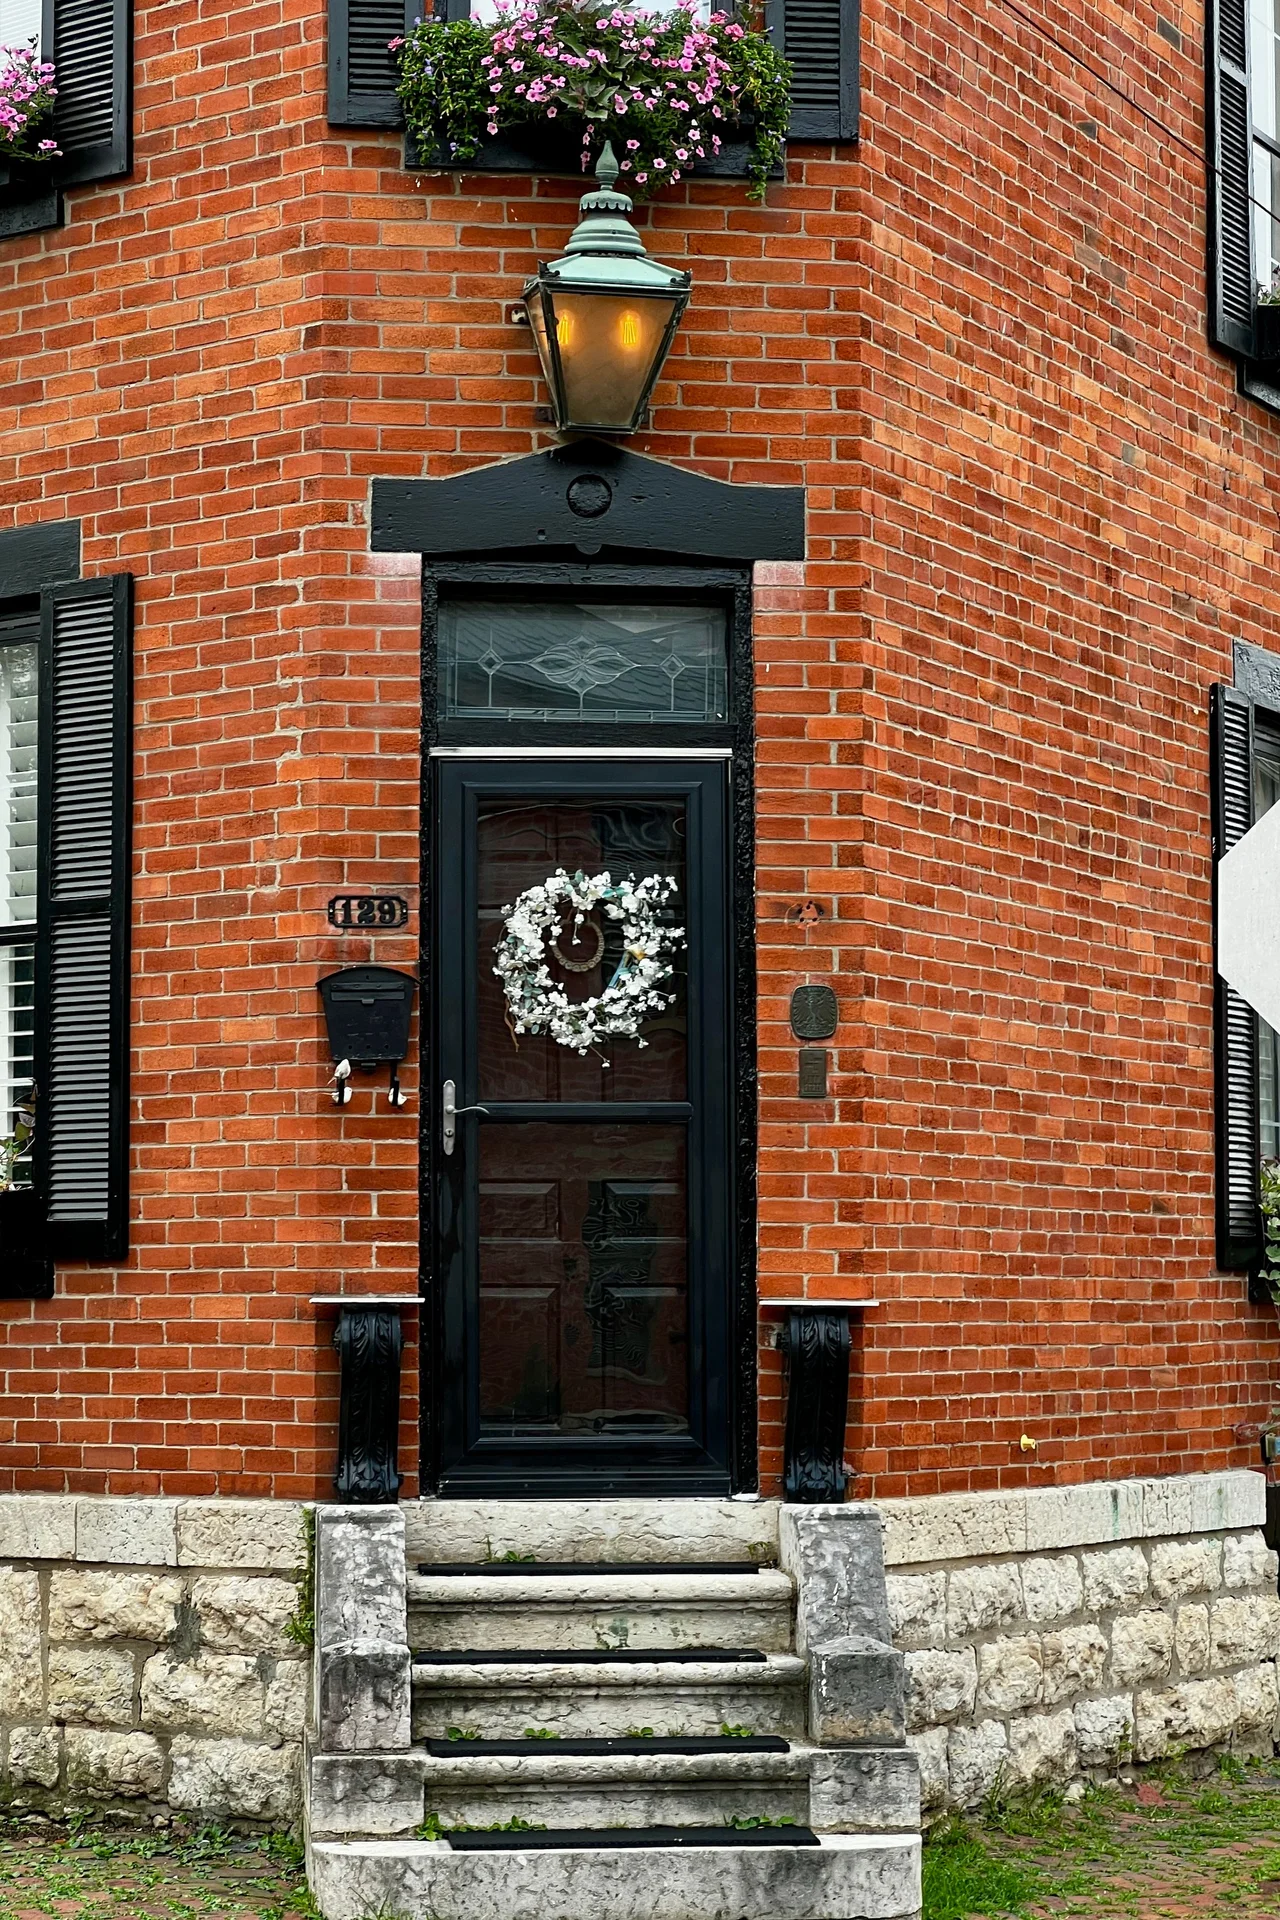
A scarf-wrapped spring wreath is the softest wreath I have ever made, and it costs nothing if you have an old scarf. I wrap a foam wreath form in a light spring scarf, tie the ends in a bow, and add a few small flowers. It takes about fifteen minutes and it looks like a boutique wreath. My first attempt I used a scarf that was too thick and it looked bulky, so use a light, thin scarf. It is the easiest wreath on this list.
Cost: ~$0 | Time: 15 minutes
Quick questions
Q: How much does a DIY spring wreath cost?
Most of the wreaths here cost under five dollars. The base is usually the most expensive part, and a pool noodle or a wire hanger costs almost nothing.
Q: What is the cheapest wreath base?
A wire hanger bent into a circle is free, and a pool noodle taped into a ring costs about a dollar. Both work well for lightweight wreaths.
Q: How do I hang a wreath without damaging the door?
Use an over-the-door wreath hanger or a suction cup hook. Both cost a few dollars and leave no marks, which matters if you rent.
