17 Dollar Store Christmas Decor Ideas Worth Every Penny (2026)
Last December I walked into the dollar store with twenty bucks and a stubborn plan: make my living room look properly Christmassy without touching the credit card. Dollar store Christmas decor gets a bad name, but honestly, most of it just needs a little editing. I came home with ornaments, ribbon, candle holders, and a wreath form, and my sister asked where I’d bought the “fancy stuff.” Save this list before you scroll on — these are the 17 ideas I actually tried, ranked by what looked best for the least money. If you love a bargain, you’ll also like my (see also: budget-christmas-decor-ideas) and (see also: dollar-store-fall-decor-ideas) for the rest of the year.
What this costs at a glance: Most ideas here run $1 to $8, and the whole list can be done for under $60 if you shop with a list. The priciest thing is usually the ribbon, and even that stretches across three or four projects.
1. Gold Ornaments Piled in a Glass Bowl
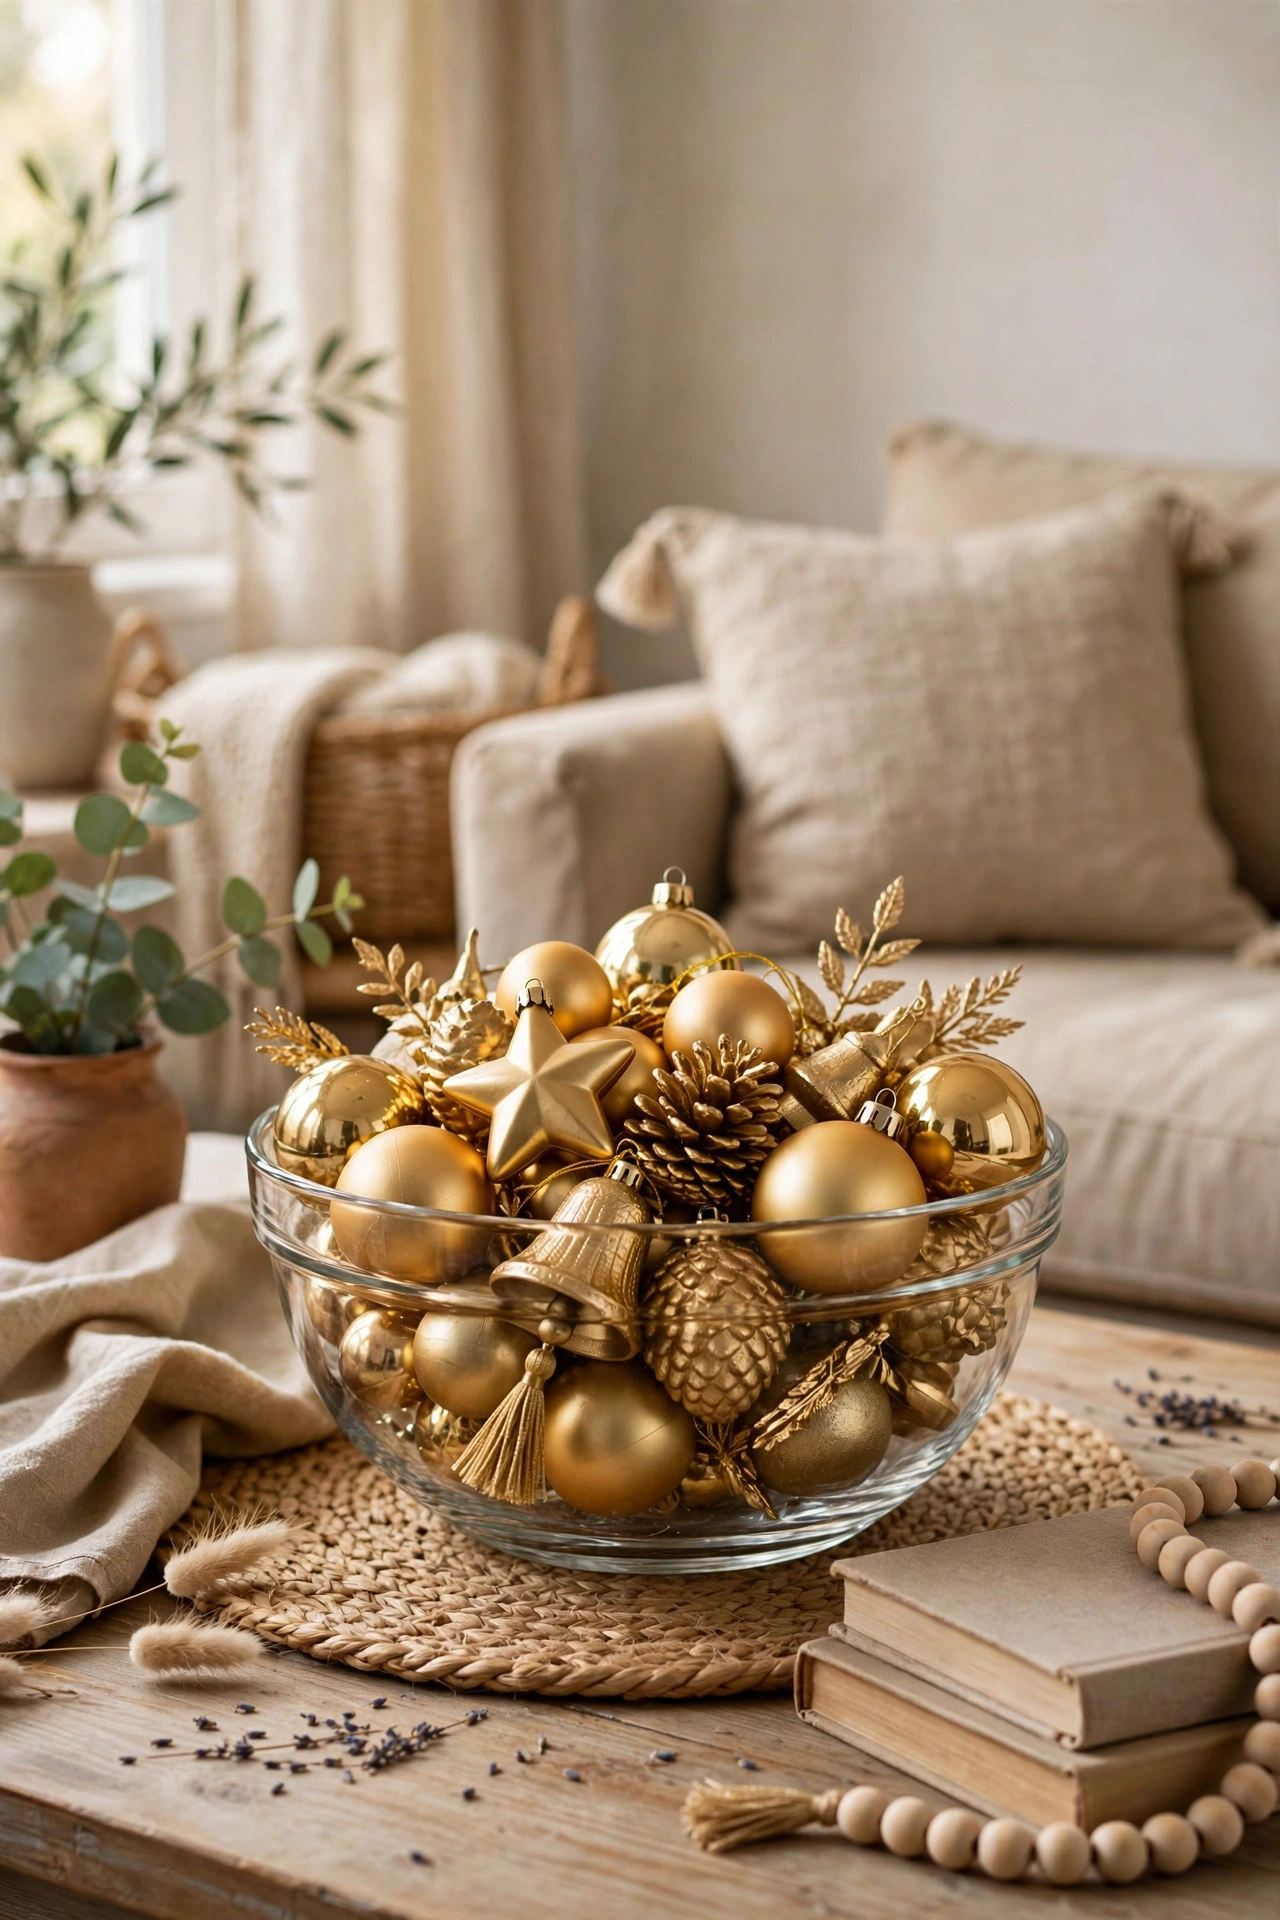
Grab a bag of shiny gold baubles and a clear glass bowl, vase, or even a big trifle dish from the same aisle. Pour the ornaments in, tuck a short string of battery fairy lights underneath, and set it on the coffee table. It takes about five minutes and looks like something from a catalogue. I made the mistake the first year of mixing every colour I owned, and it just looked noisy. Sticking to gold, or gold and white, made it feel calm and expensive. My mum thought I’d bought it ready-made, which is still my favourite compliment.
Cost: ~$4 | Time: 10 minutes
2. Frosted Pinecone Garland for the Mantel
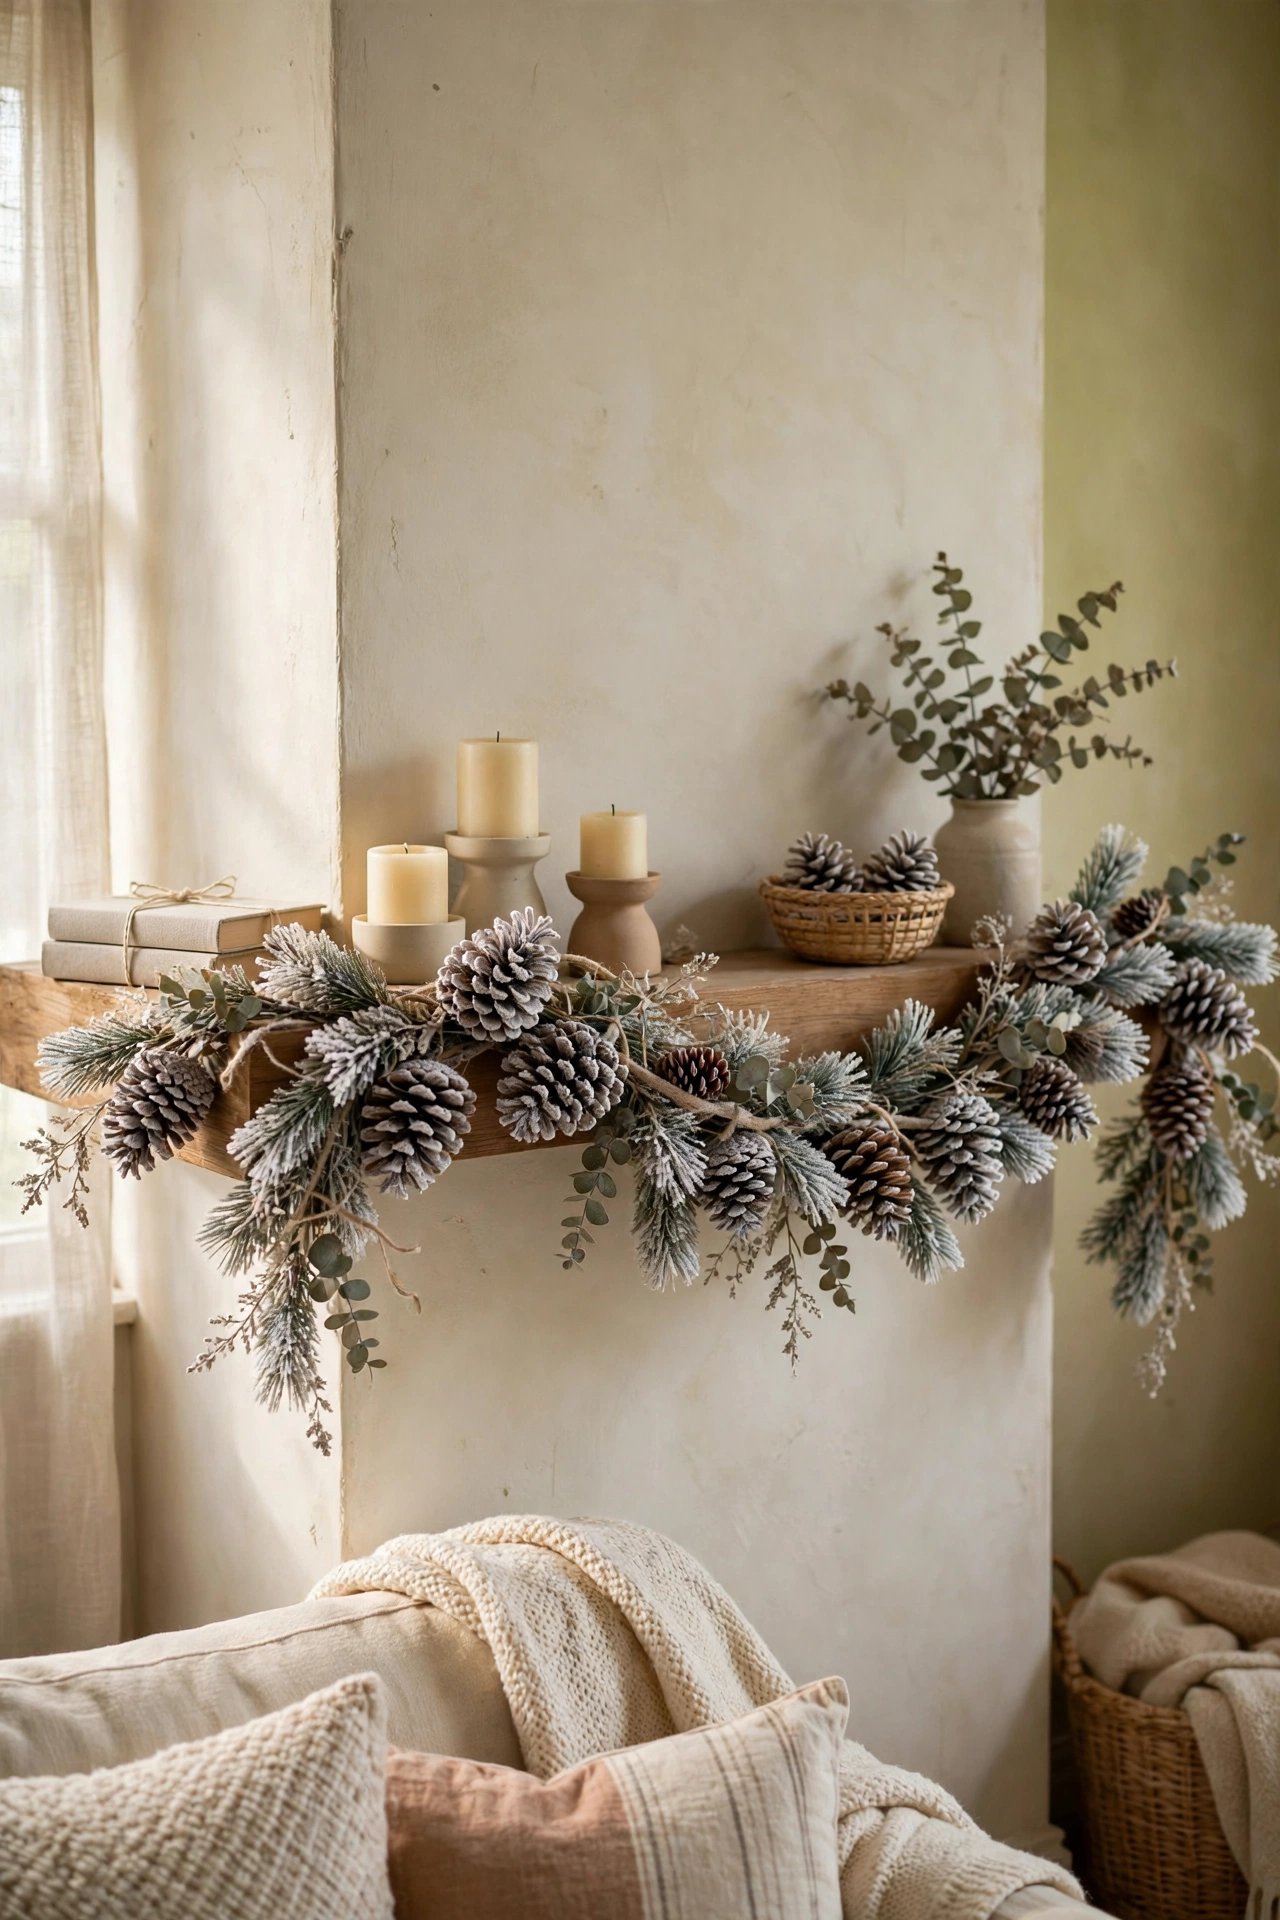
Pinecones from the dollar store come in bags, and a little white paint on the tips turns them into snowy little trees. String them on twine with a few wooden beads between each one, then drape the whole thing across the mantel. I dabbed the paint on with an old sponge instead of a brush, which gave a much softer frosted look. The first time I tried this I glued them too close together and the garland wouldn’t hang straight. Space them out, let the twine show, and it suddenly looks handmade in the good way.
Cost: ~$5 | Time: 25 minutes
3. Ribbon-Wrapped Wreath With a Bow
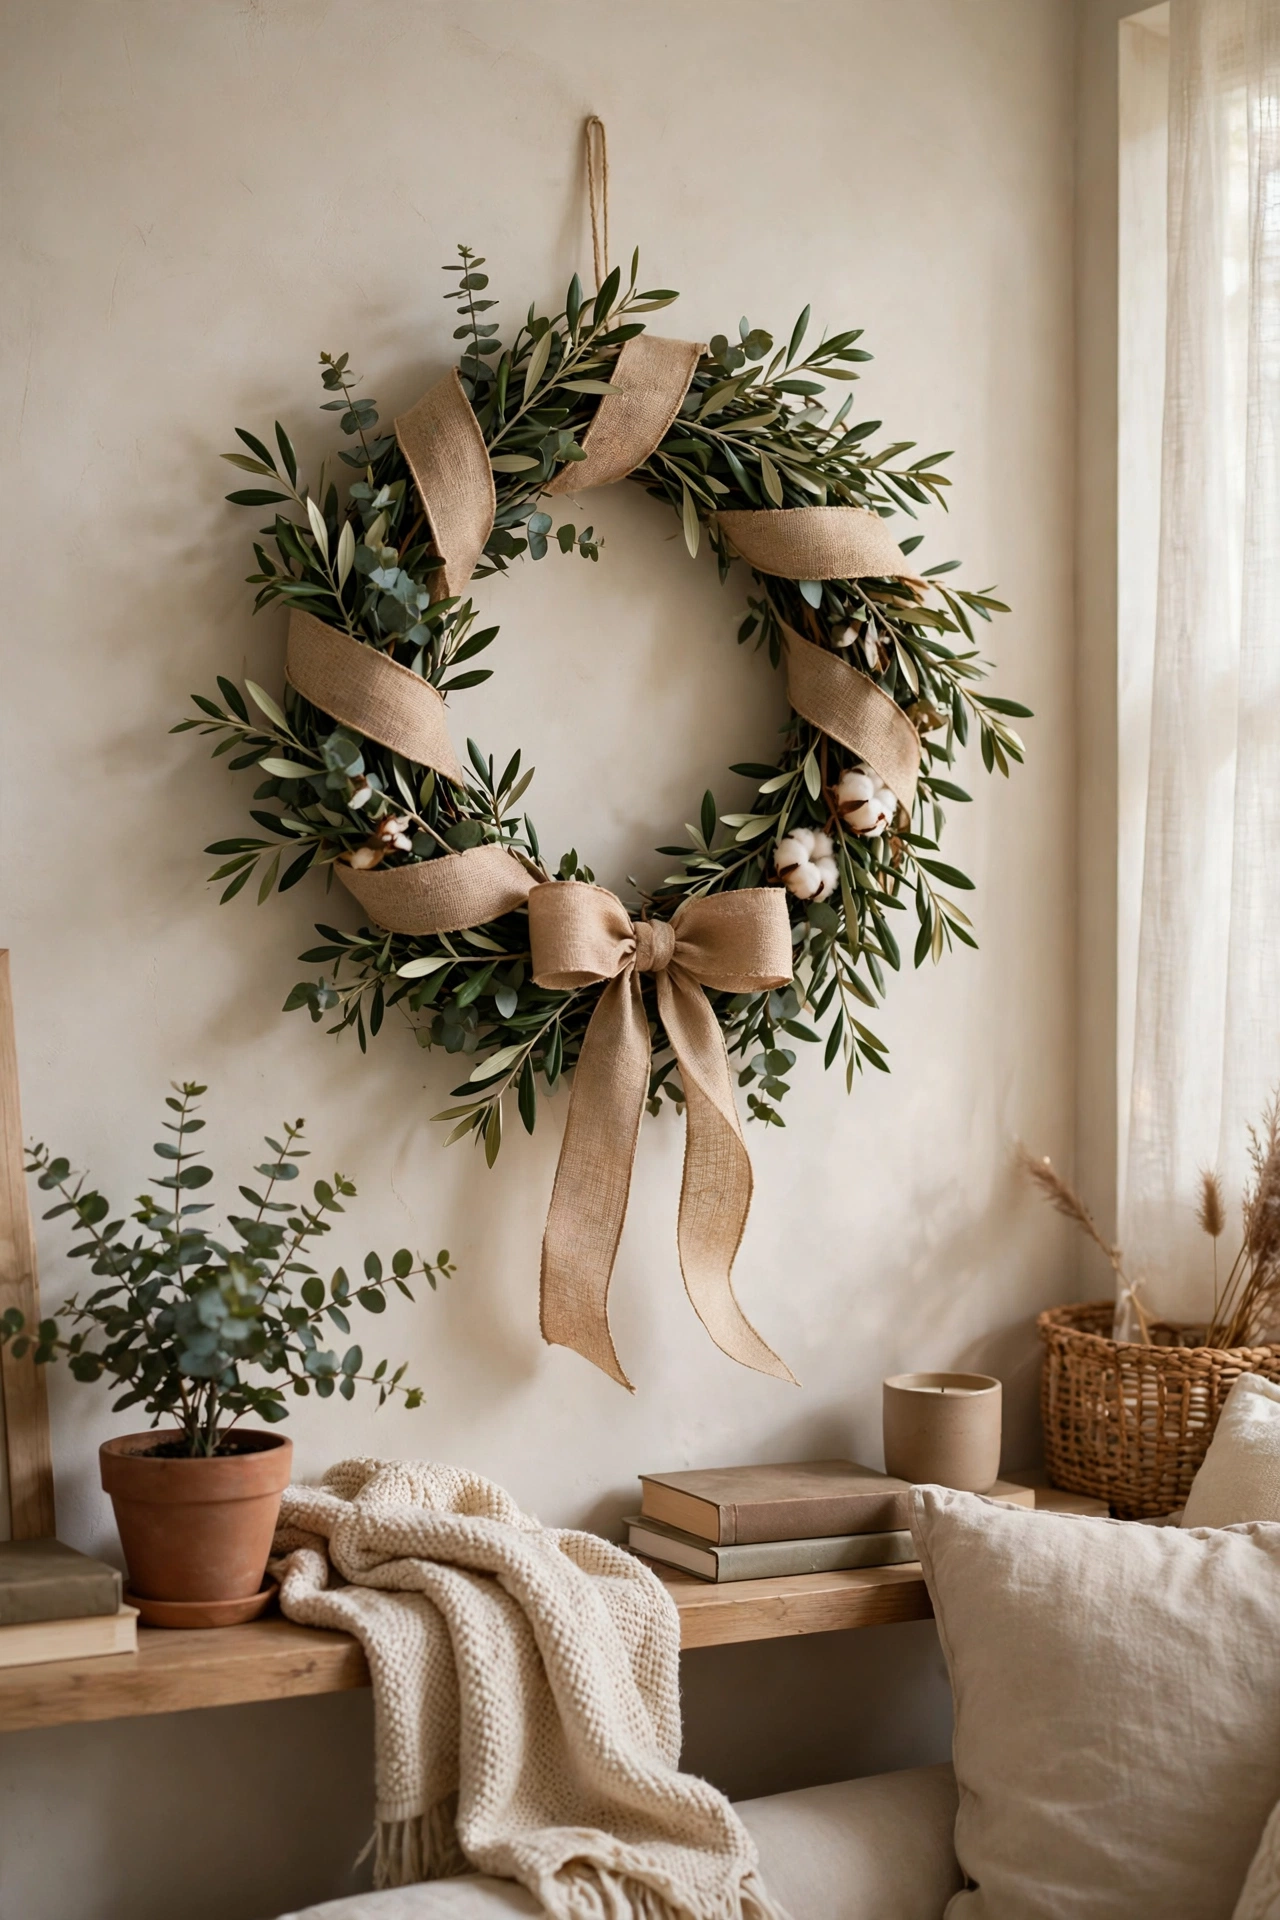
Buy a plain foam or wire wreath form and a couple of rolls of wide ribbon — velvet if they have it, or a classic red plaid. Wrap the ribbon snugly around the form, overlapping slightly, then finish with a big looped bow at the bottom. Add three small ornaments wired into the bow and you’re done. I used to think wreaths needed greenery to look real, but a fully ribbon-wrapped one looks neat and intentional on a door. Mine survived two winters in a storage box, which is more than I can say for the shop-bought one it replaced.
Cost: ~$6 | Time: 30 minutes
4. Mason Jar Snow Globes on the Windowsill
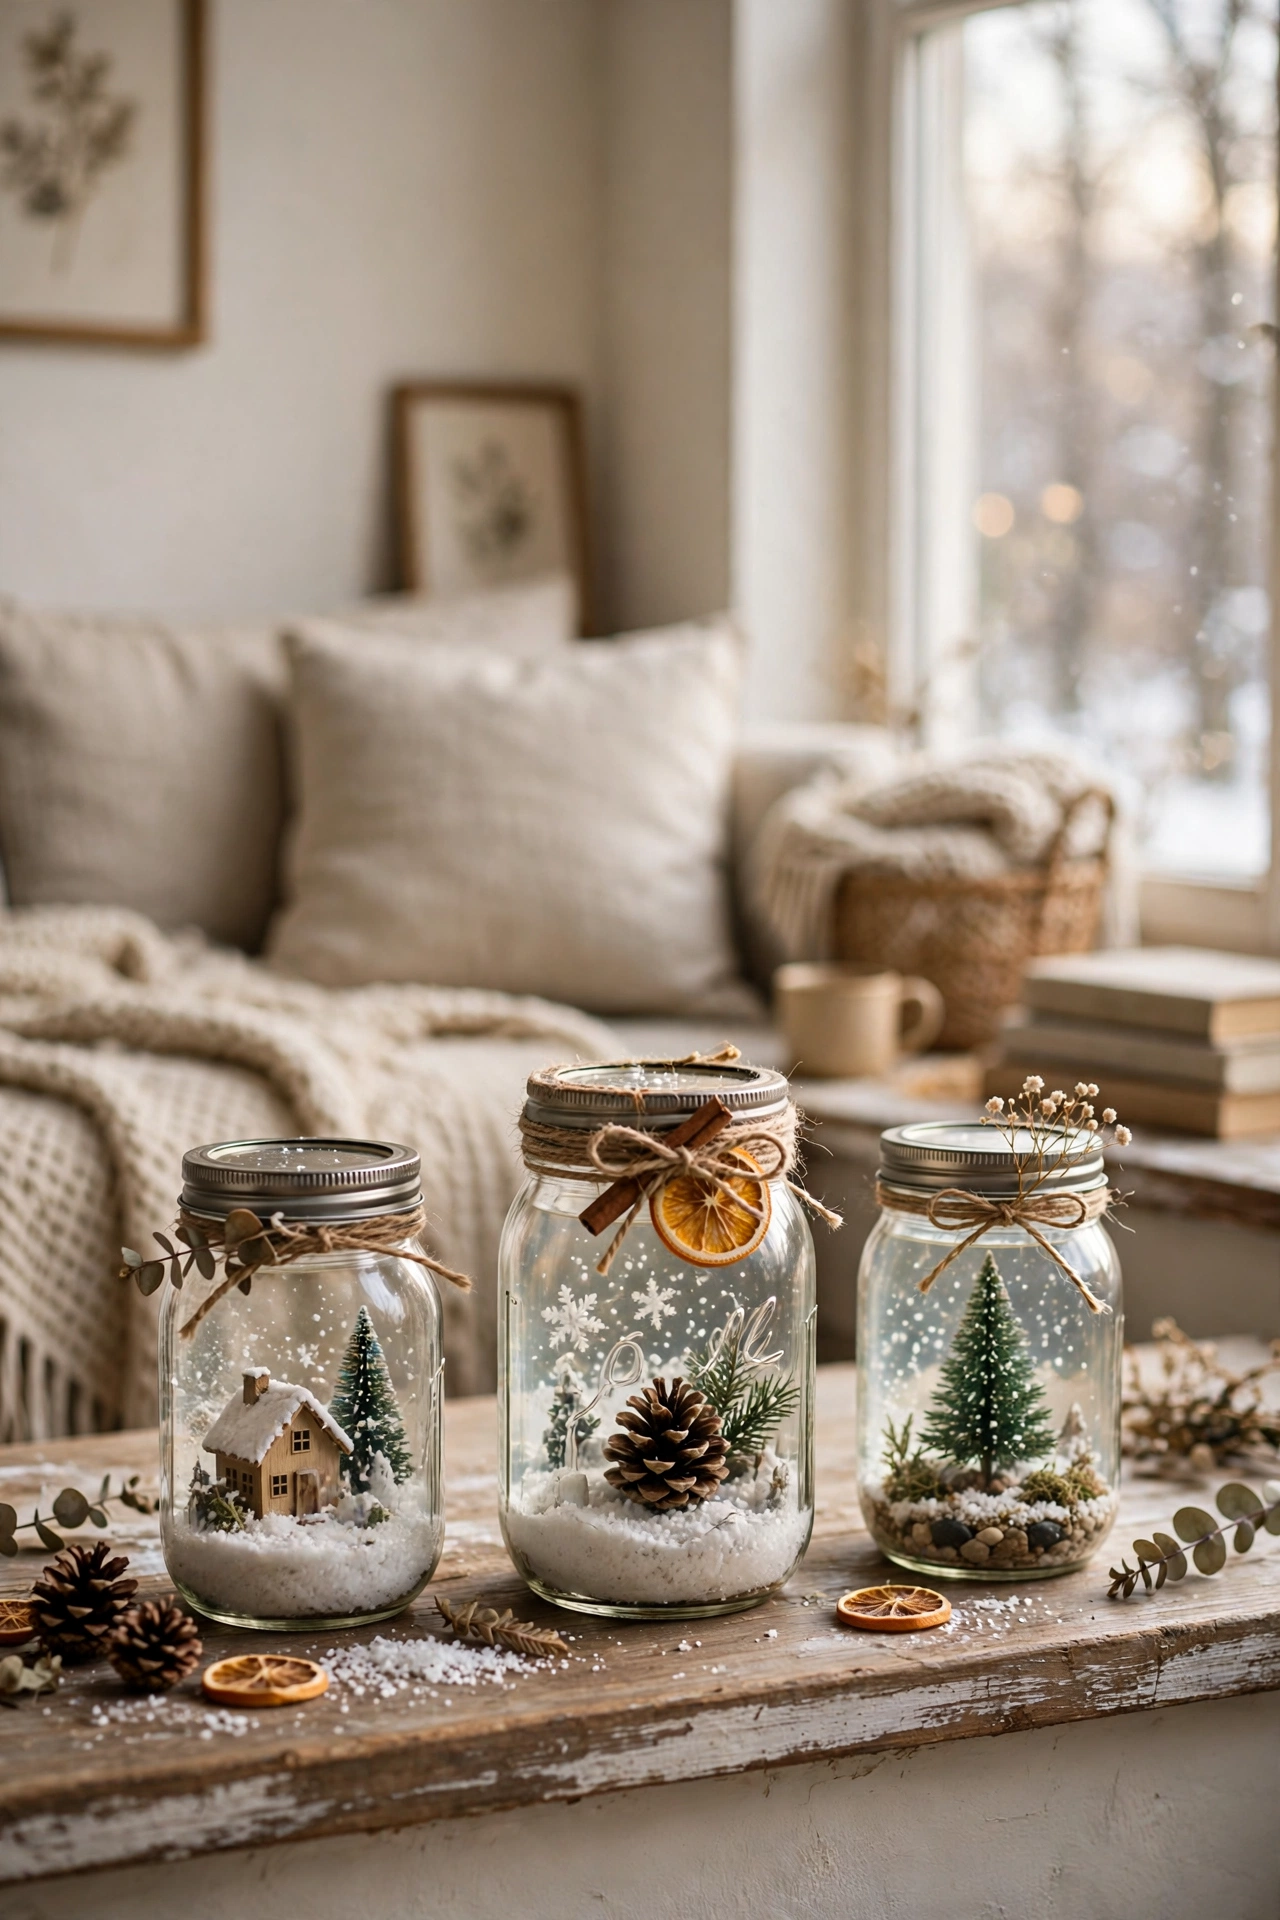
A small mason jar, a miniature tree or house from the craft aisle, glitter, and water — that’s the whole project. Glue the little scene to the inside of the lid, fill the jar almost to the top with water and a pinch of glitter, screw it shut, and flip it over. My first one leaked because I didn’t seal the lid edge, so now I run a thin line of hot glue around it before filling. The kids shake them every time they walk past the windowsill, and honestly, so do I. They catch the light beautifully in the late afternoon.
Cost: ~$3 | Time: 15 minutes
5. Red Truck Cutout on the Entry Table
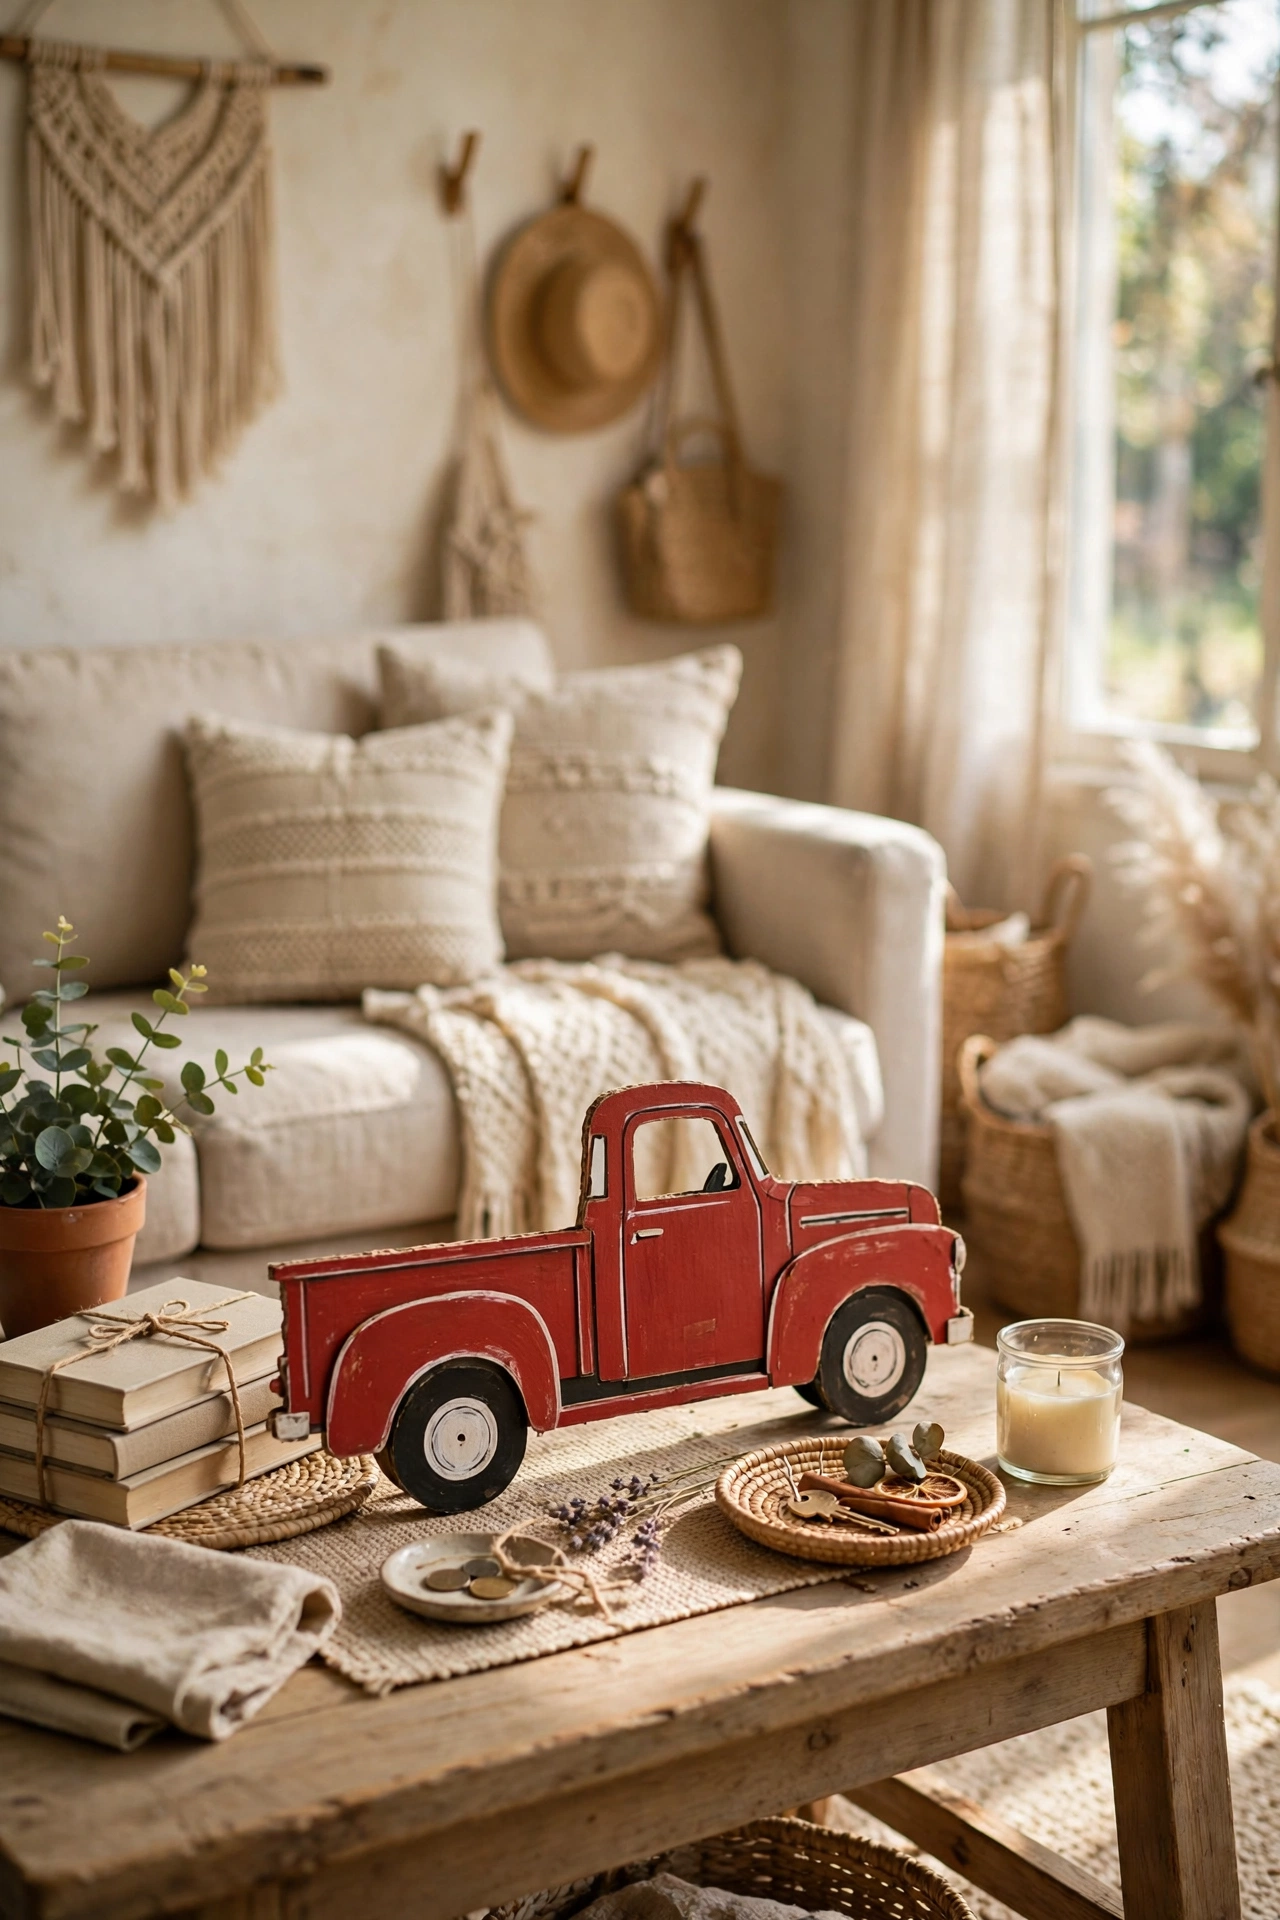
Those little wooden truck cutouts with a tree in the back show up every year, and they’re worth grabbing. Paint the truck red if it isn’t already, add a tiny wreath to the door with a dot of glue, and stand it on the entry table with a few pine sprigs. I propped mine against a stack of old books so it sat at eye level when you walk in. A friend asked if it was from a boutique, and I just smiled. Sometimes the cheapest thing in the room gets the most comments, and this is that thing.
Cost: ~$3 | Time: 15 minutes
6. Candle Holders Dressed With Greenery
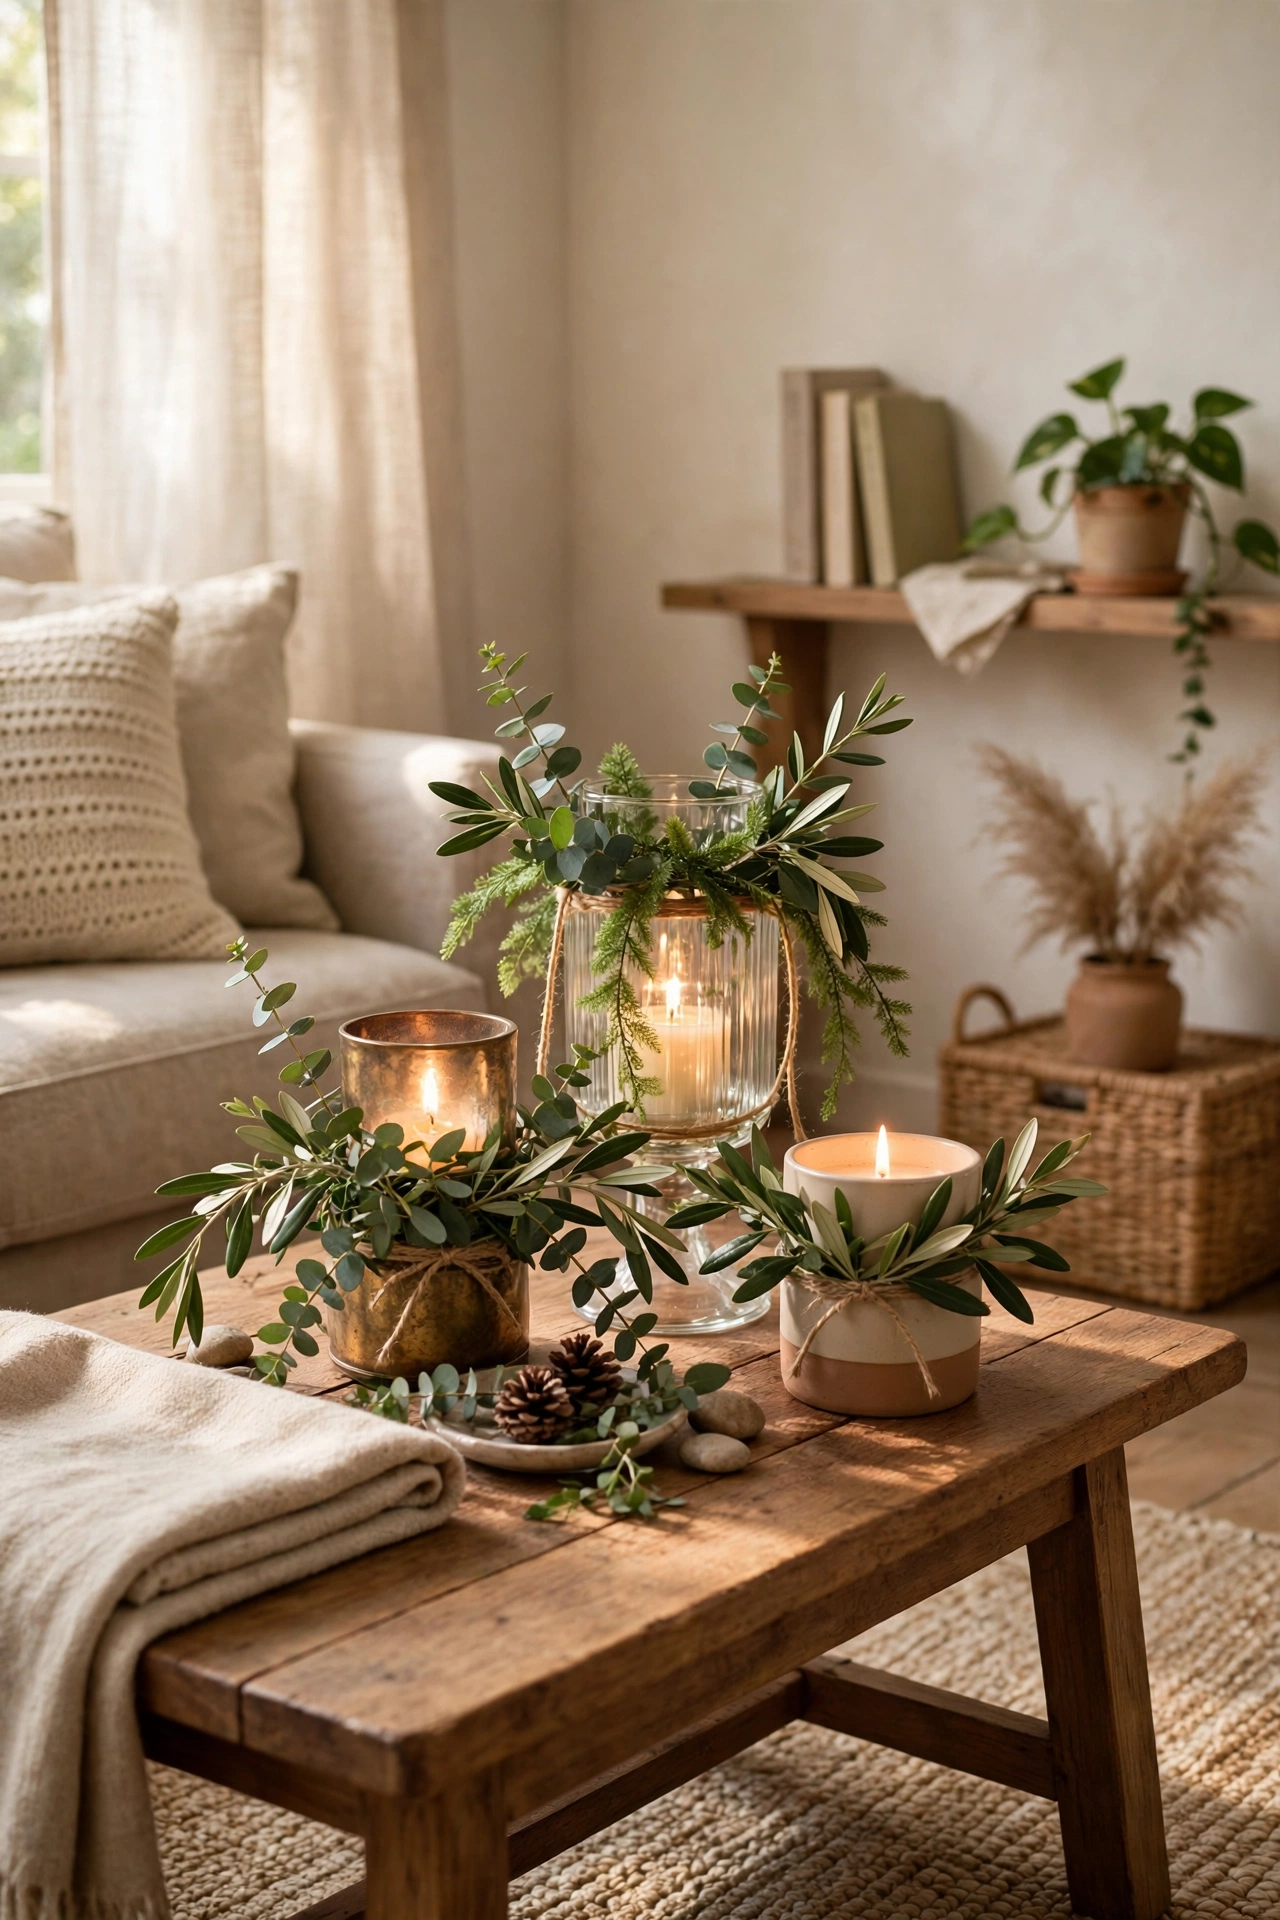
Plain glass candle holders look plain until you wrap a short piece of faux greenery around the base and tie it with twine. Add a battery pillar candle inside — never a real flame near fake greenery — and you have a centrepiece. I cluster three different heights together on a wooden tray I already owned. The trick I learned the hard way: trim the greenery short, or it droops over the rim and looks messy by dinner. Keep it tight, keep it simple, and the glow does the rest.
Cost: ~$5 | Time: 10 minutes
7. Ornament Wreath From a Pool Noodle
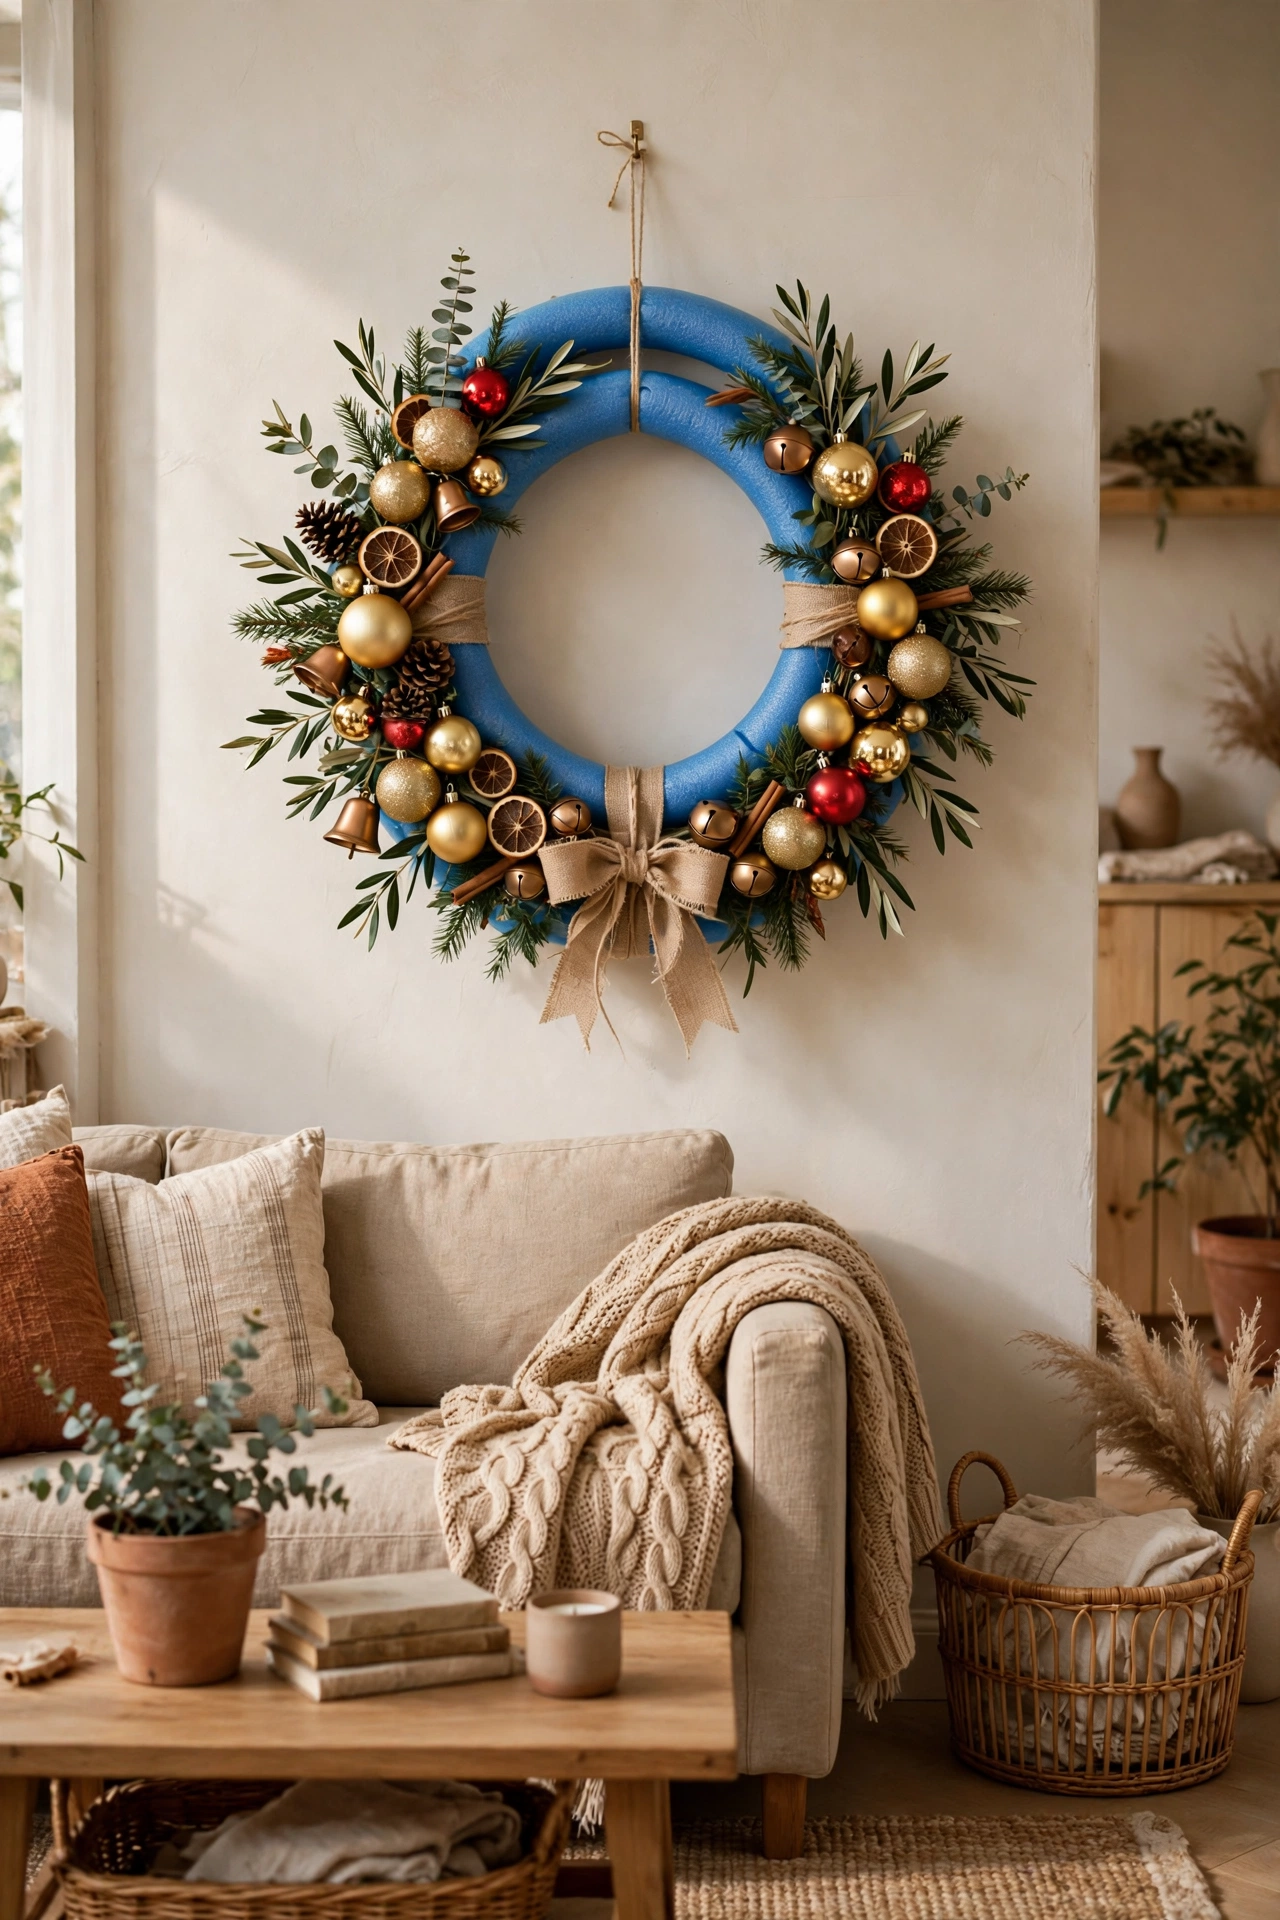
This one sounds odd and looks wonderful. Bend a pool noodle into a circle and tape the ends, then hot-glue shatterproof ornaments all over it until no noodle shows. Use two sizes and two colours — say red and gold — and fill the gaps with small ones. I hung mine with a wide ribbon loop and it looked far more expensive than the $8 it cost. Wear gloves for the gluing, because hot glue and fingertips are not friends. My neighbour now makes one every year after seeing mine on the door.
Cost: ~$8 | Time: 45 minutes
8. Snowy Village on the Sideboard
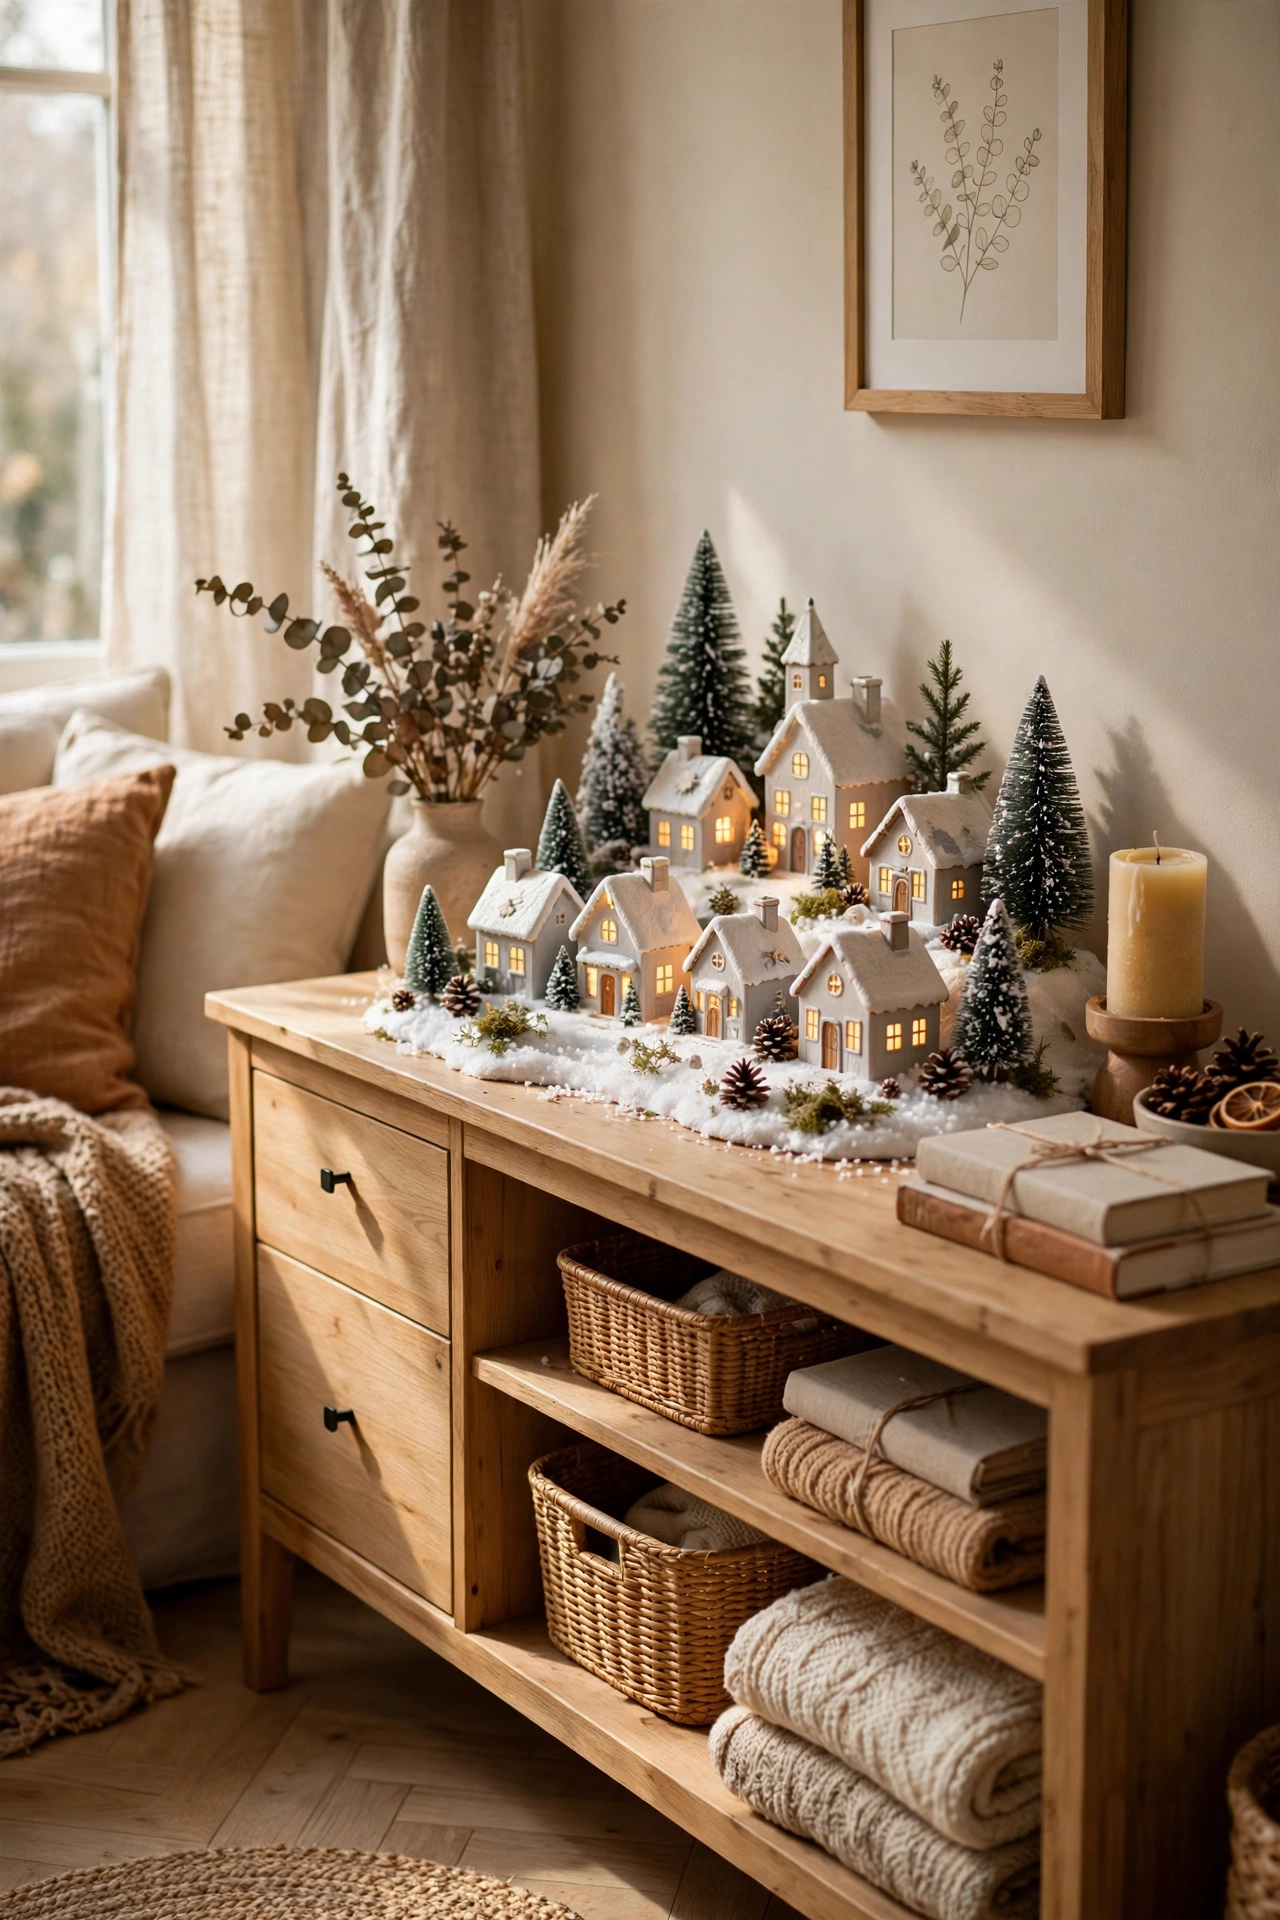
Pick up three or four little ceramic houses, a bag of fake snow, and a string of warm fairy lights. Spread the snow along the sideboard, set the houses in a row, and weave the lights between them. I add a few tiny bottle-brush trees for height, which cost about a dollar each. The first year I put the lights on top of the snow and they looked tangled; tucking them underneath gives a soft glow instead. At night, with the room lights low, this little street is the cosiest corner of the house.
Cost: ~$9 | Time: 20 minutes
9. Plaid Ribbon Bows on Every Chair
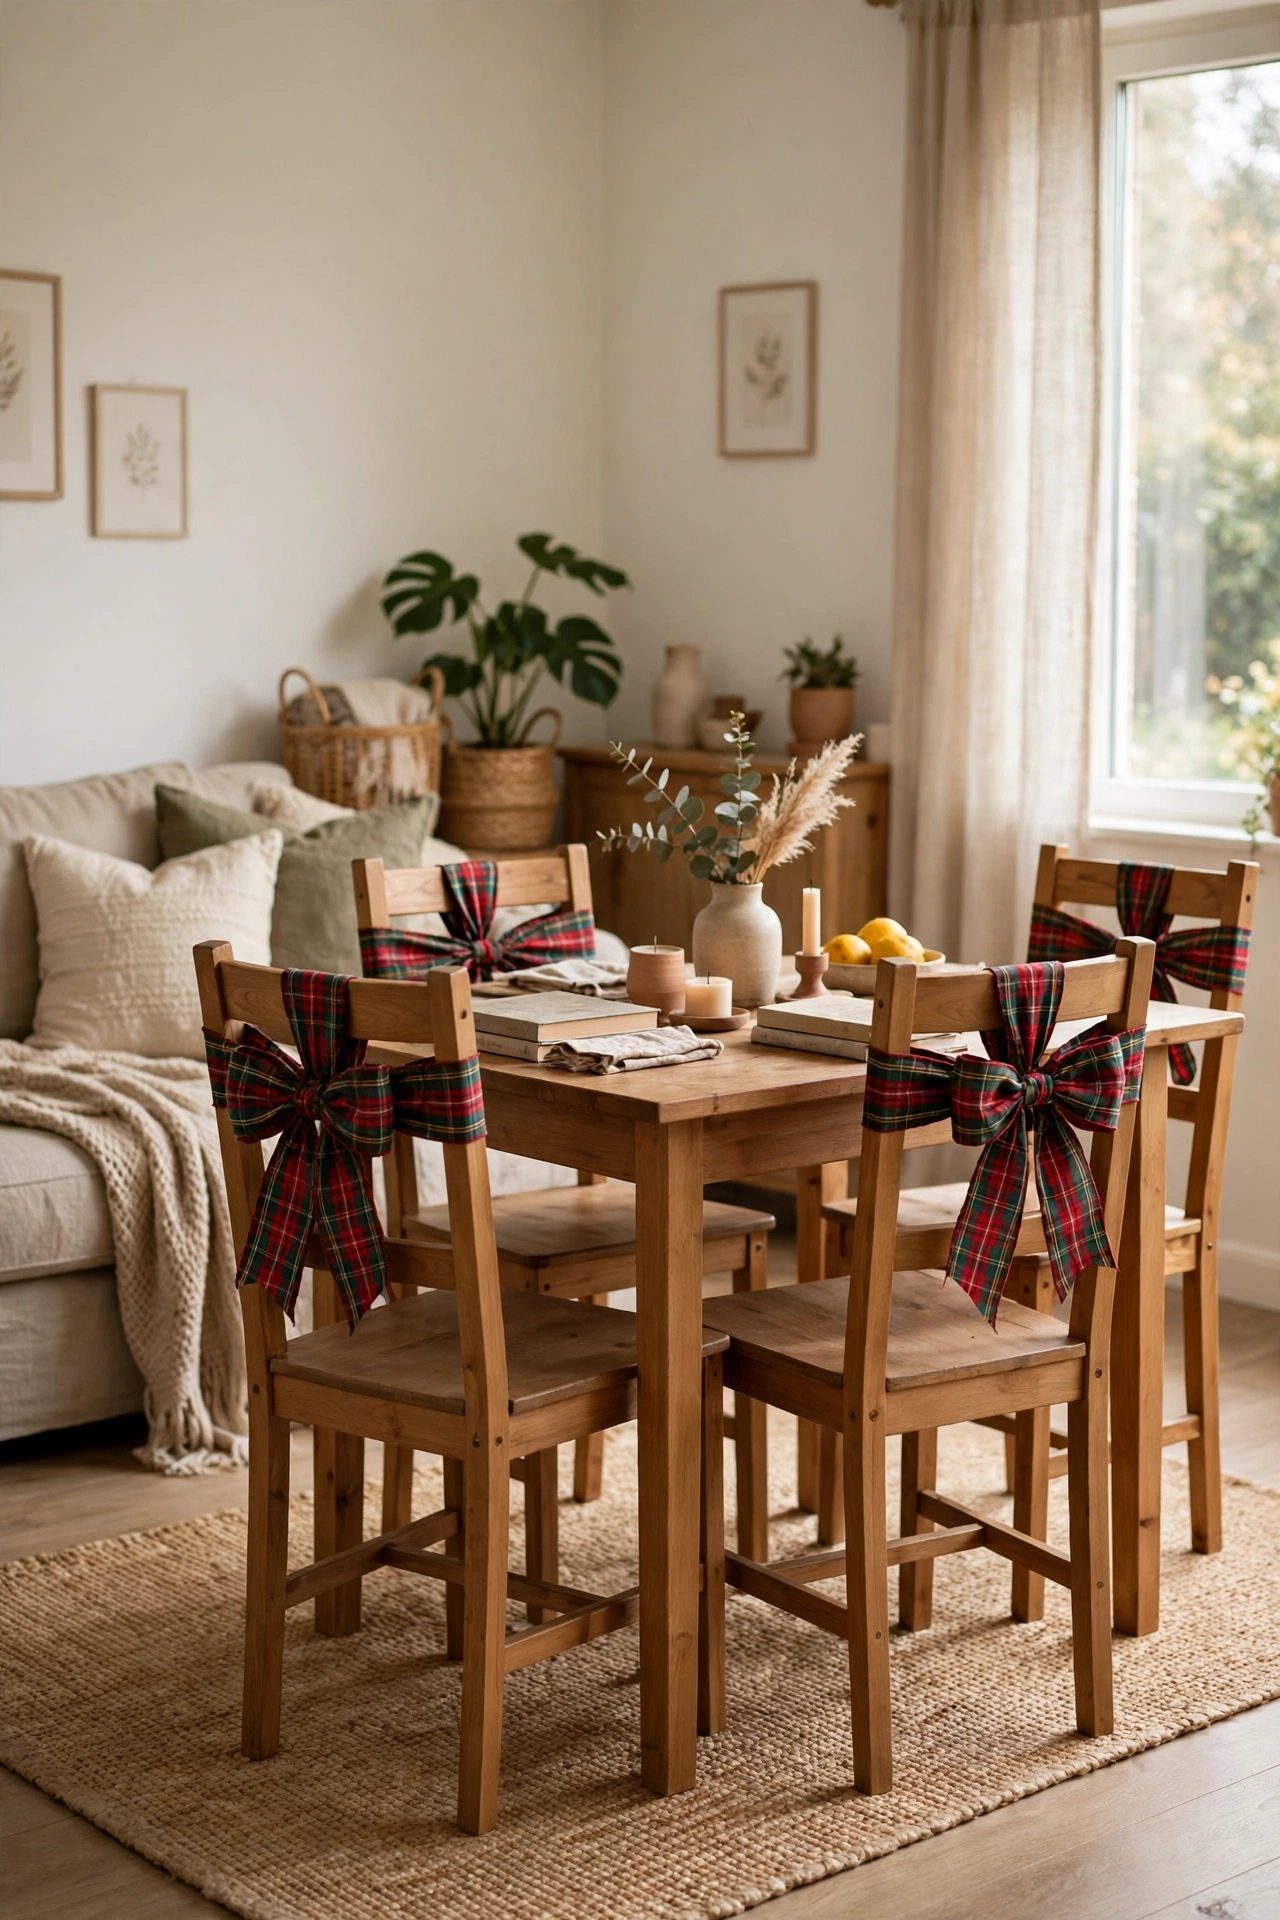
Cut wide plaid ribbon into strips, tie a simple bow around the back of each dining chair, and trim the tails at an angle. It takes one roll for four chairs if you measure instead of guessing — I wasted half a roll my first year by cutting too generously. The dining room suddenly looks dressed for a party, and guests always notice before they notice the food. If plaid isn’t your thing, a solid deep green works just as well. Swap the ribbon after Christmas and the same trick works for birthdays.
Cost: ~$4 | Time: 20 minutes
10. Pine Sprig Place Cards for Christmas Dinner
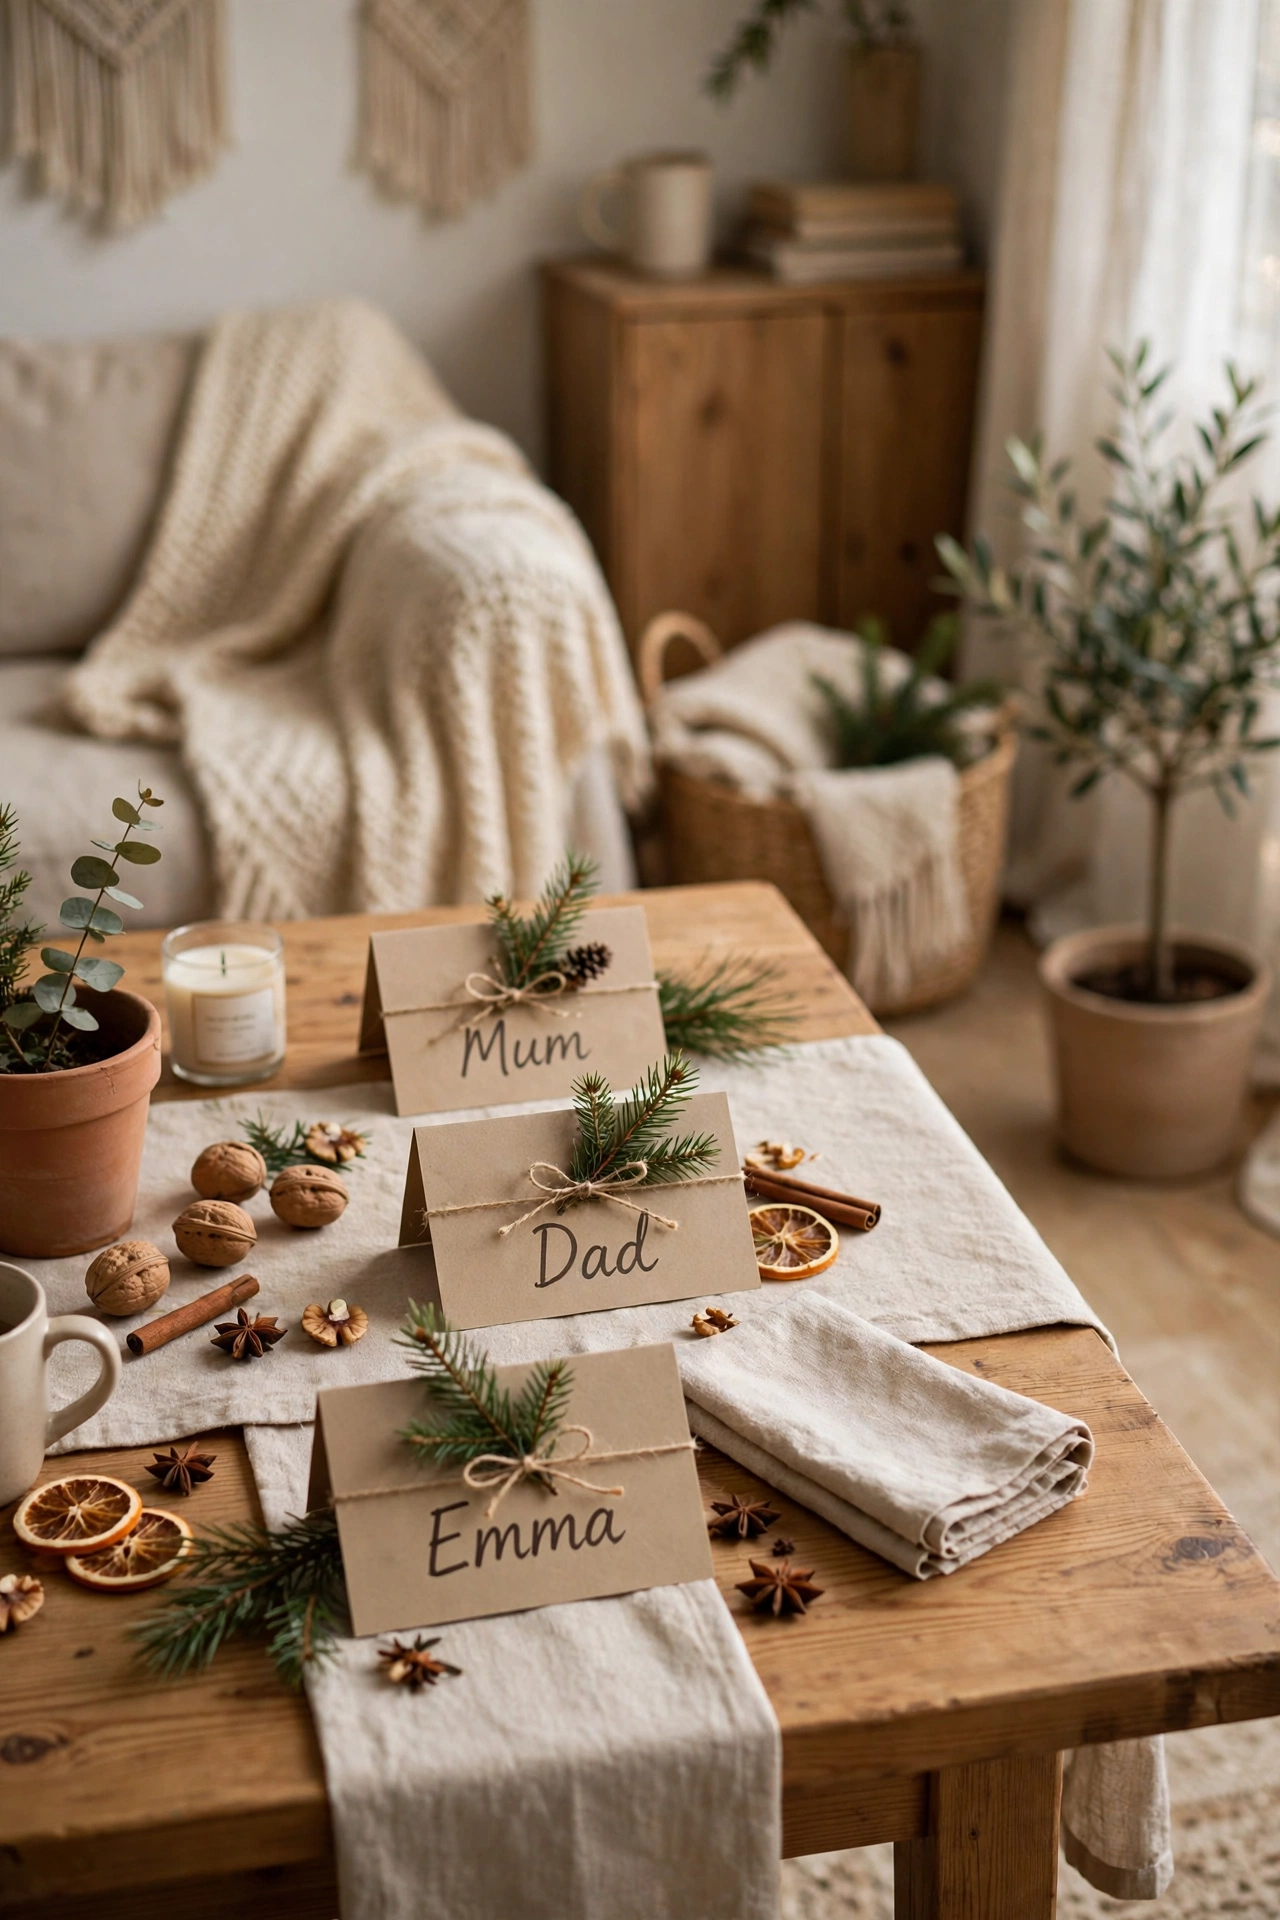
A sprig of faux pine, a small kraft tag, and a name written in your best handwriting — that’s a place card people actually keep. Lay the sprig across each plate with the tag tucked underneath, or tie the tag to the sprig with twine. I did these for a family dinner and my aunt still has hers on her fridge. The key is keeping the sprigs small, or they crowd the plate and end up in someone’s gravy. Cheap, personal, and it makes the table feel like you planned it weeks ago.
Cost: ~$2 | Time: 15 minutes
11. Frosted Window Clings for Instant Cheer
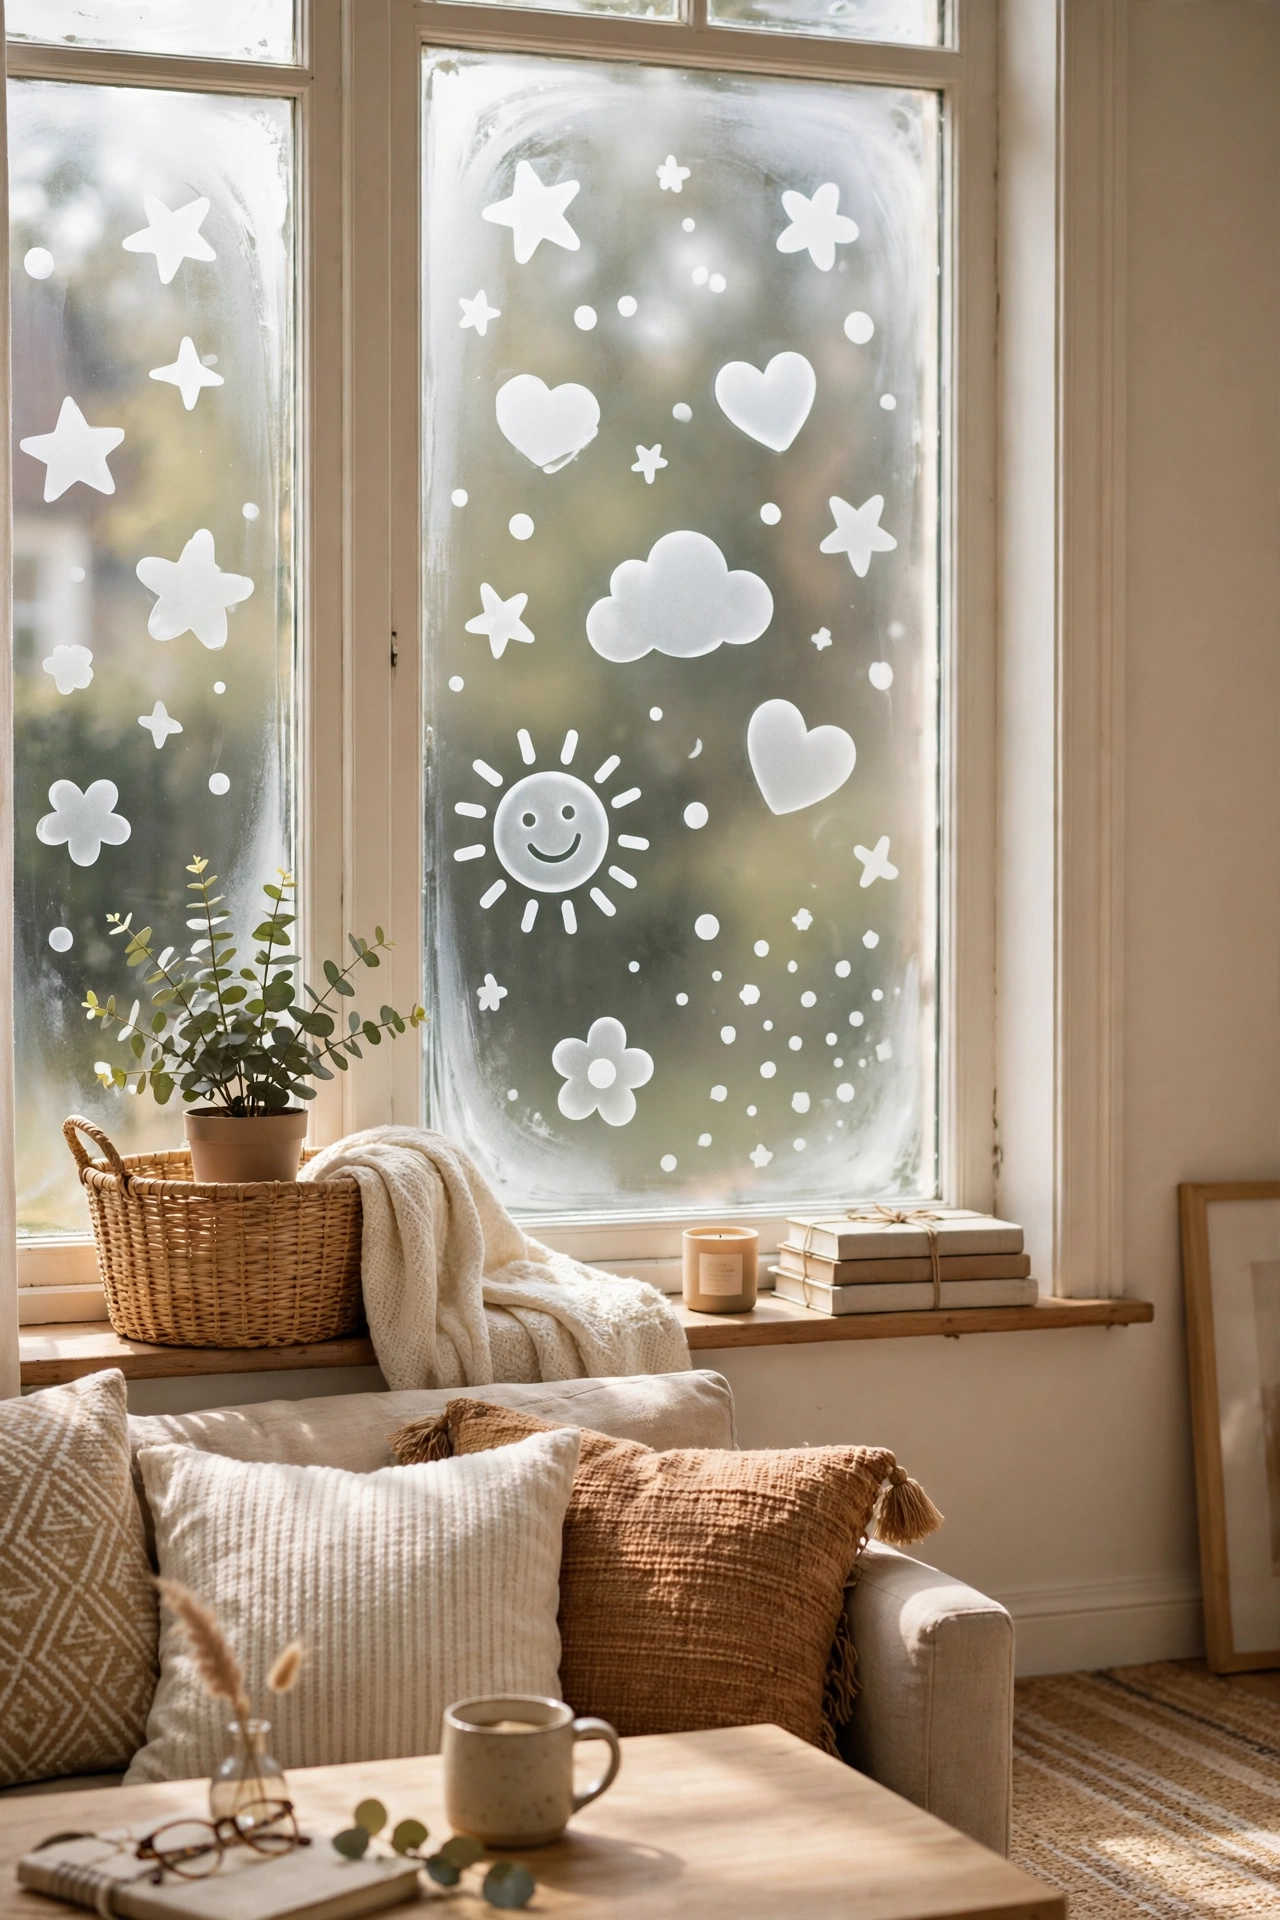
Window clings are the easiest win in the whole store. Peel, stick, smooth out the bubbles with a credit card, and your front window looks decorated from the street. I use snowflakes on the living room window and a little scene on the front door glass. They peel off clean in January, which matters more than you’d think — I once used a sticker that left glue for months. Clings are reusable if you keep the backing sheet, so mine are on their third Christmas now.
Cost: ~$2 | Time: 10 minutes
12. Jingle Bell Napkin Rings
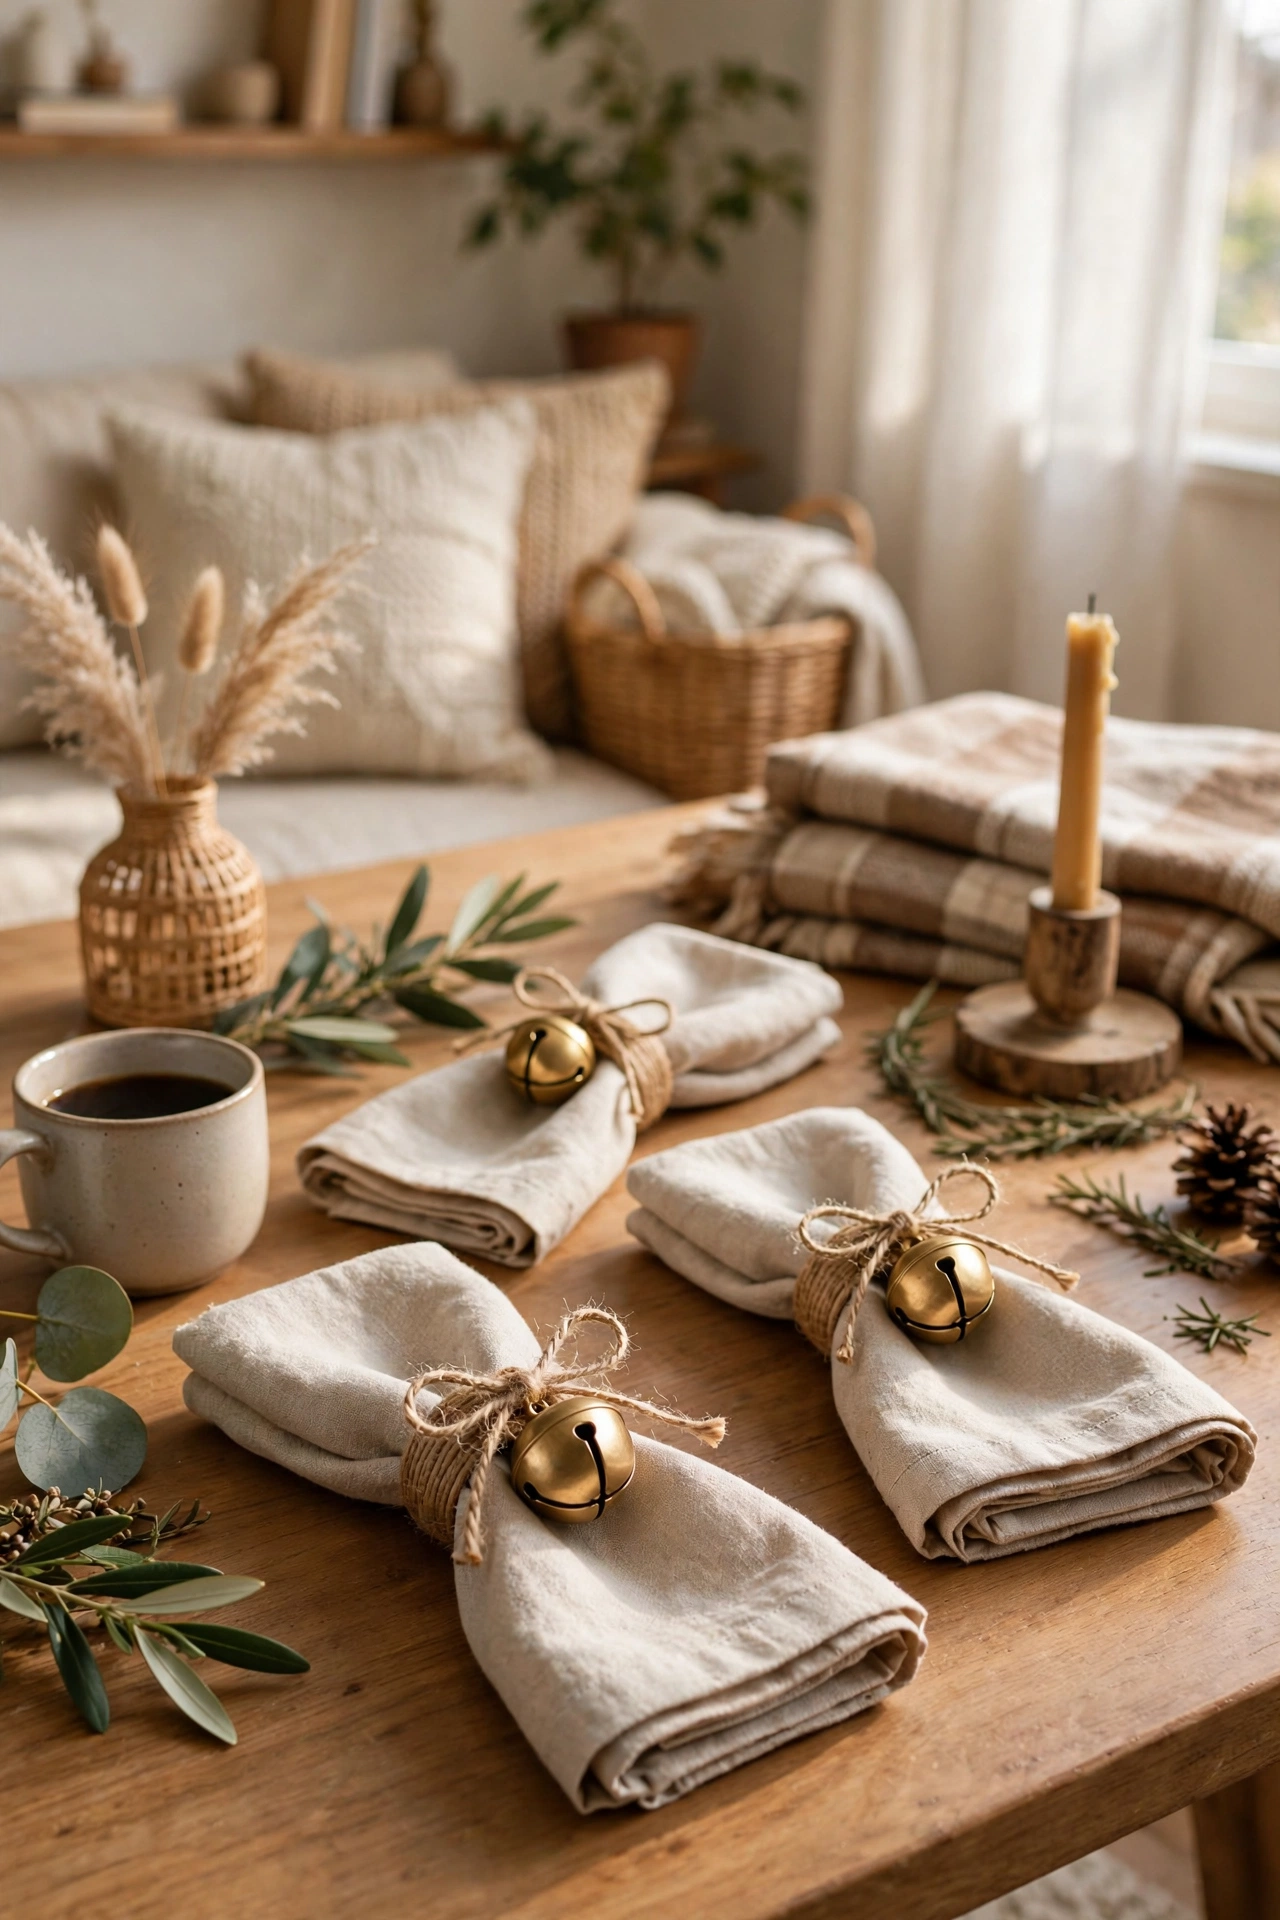
Thread three tiny jingle bells onto a short piece of ribbon or twine, tie it in a loop, and slide a rolled napkin through. They jingle faintly when people sit down, which makes everyone smile. I made a dozen in one evening while watching TV, and the whole batch cost less than a fancy coffee. The only fiddly bit is keeping the bells evenly spaced, so I tie a small knot between each one. They store flat in a zip bag and come out again next year.
Cost: ~$3 | Time: 20 minutes
13. Mini Trees in Tin Cans
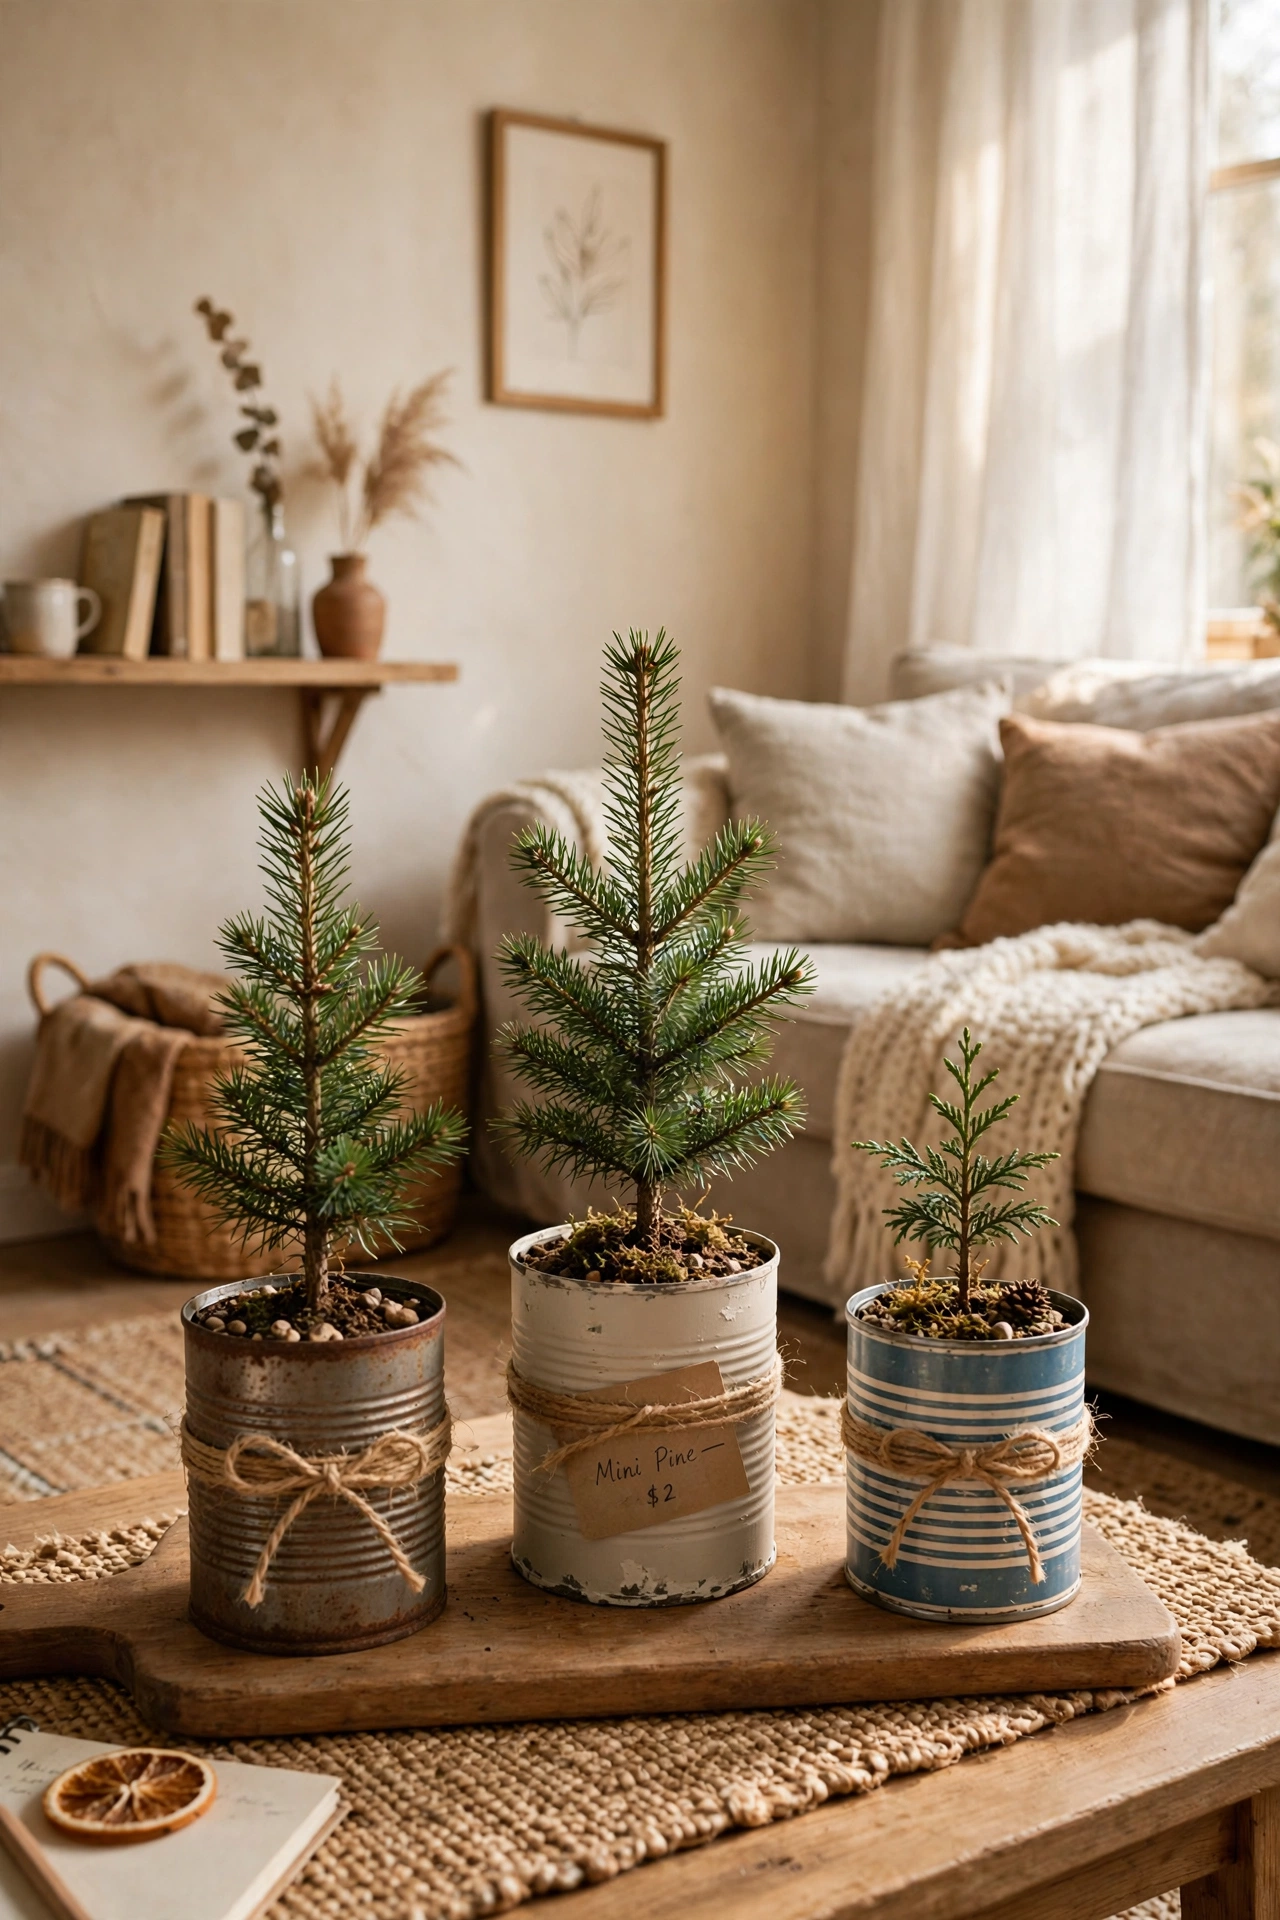
Small faux trees look far better when they aren’t in their plastic pots. Wrap a clean tin can in burlap or kraft paper, tie twine around it, and pop the tree inside. I line three of them along the kitchen windowsill at different heights by stacking one on a couple of books. A sprinkle of fake snow on the branches finishes it. My first attempt used a can that was too tall and the tree looked swallowed, so go for short cans — tuna tins work brilliantly for the smallest trees.
Cost: ~$4 | Time: 15 minutes
14. Star Garland Across the Bookshelf
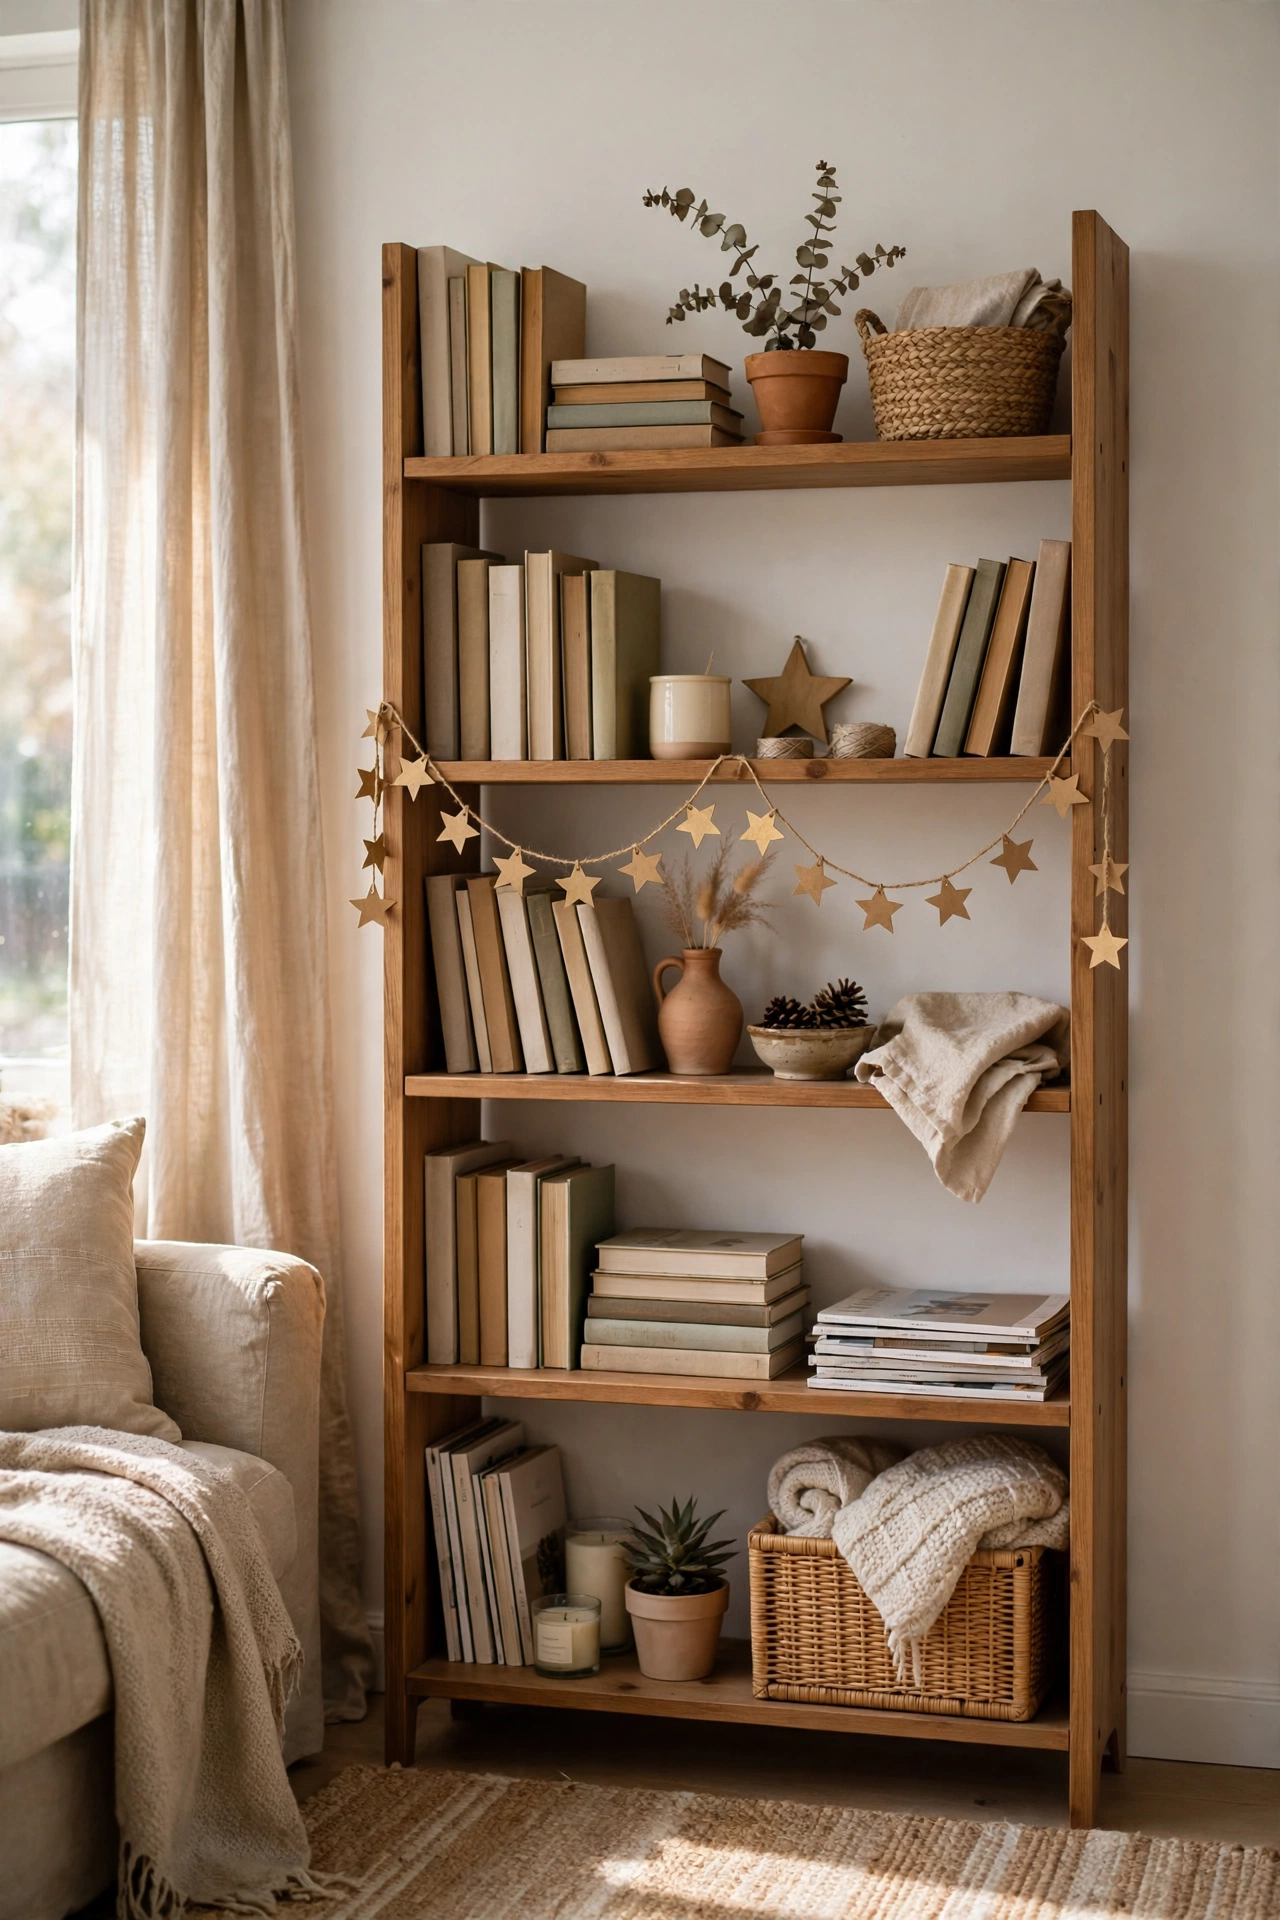
Wooden or cardboard stars, a bit of gold paint, and twine make a garland that works anywhere — bookshelf, doorway, or across a mirror. Paint the stars, let them dry properly, then thread them so they hang at slightly different heights. I learned to paint both sides, because the back shows when they spin. My bookshelf garland has been up since early December and it still makes me happy every time I walk past. It’s simple, but simple is what makes it look calm.
Cost: ~$3 | Time: 25 minutes
15. Candy Cane Vase Filler
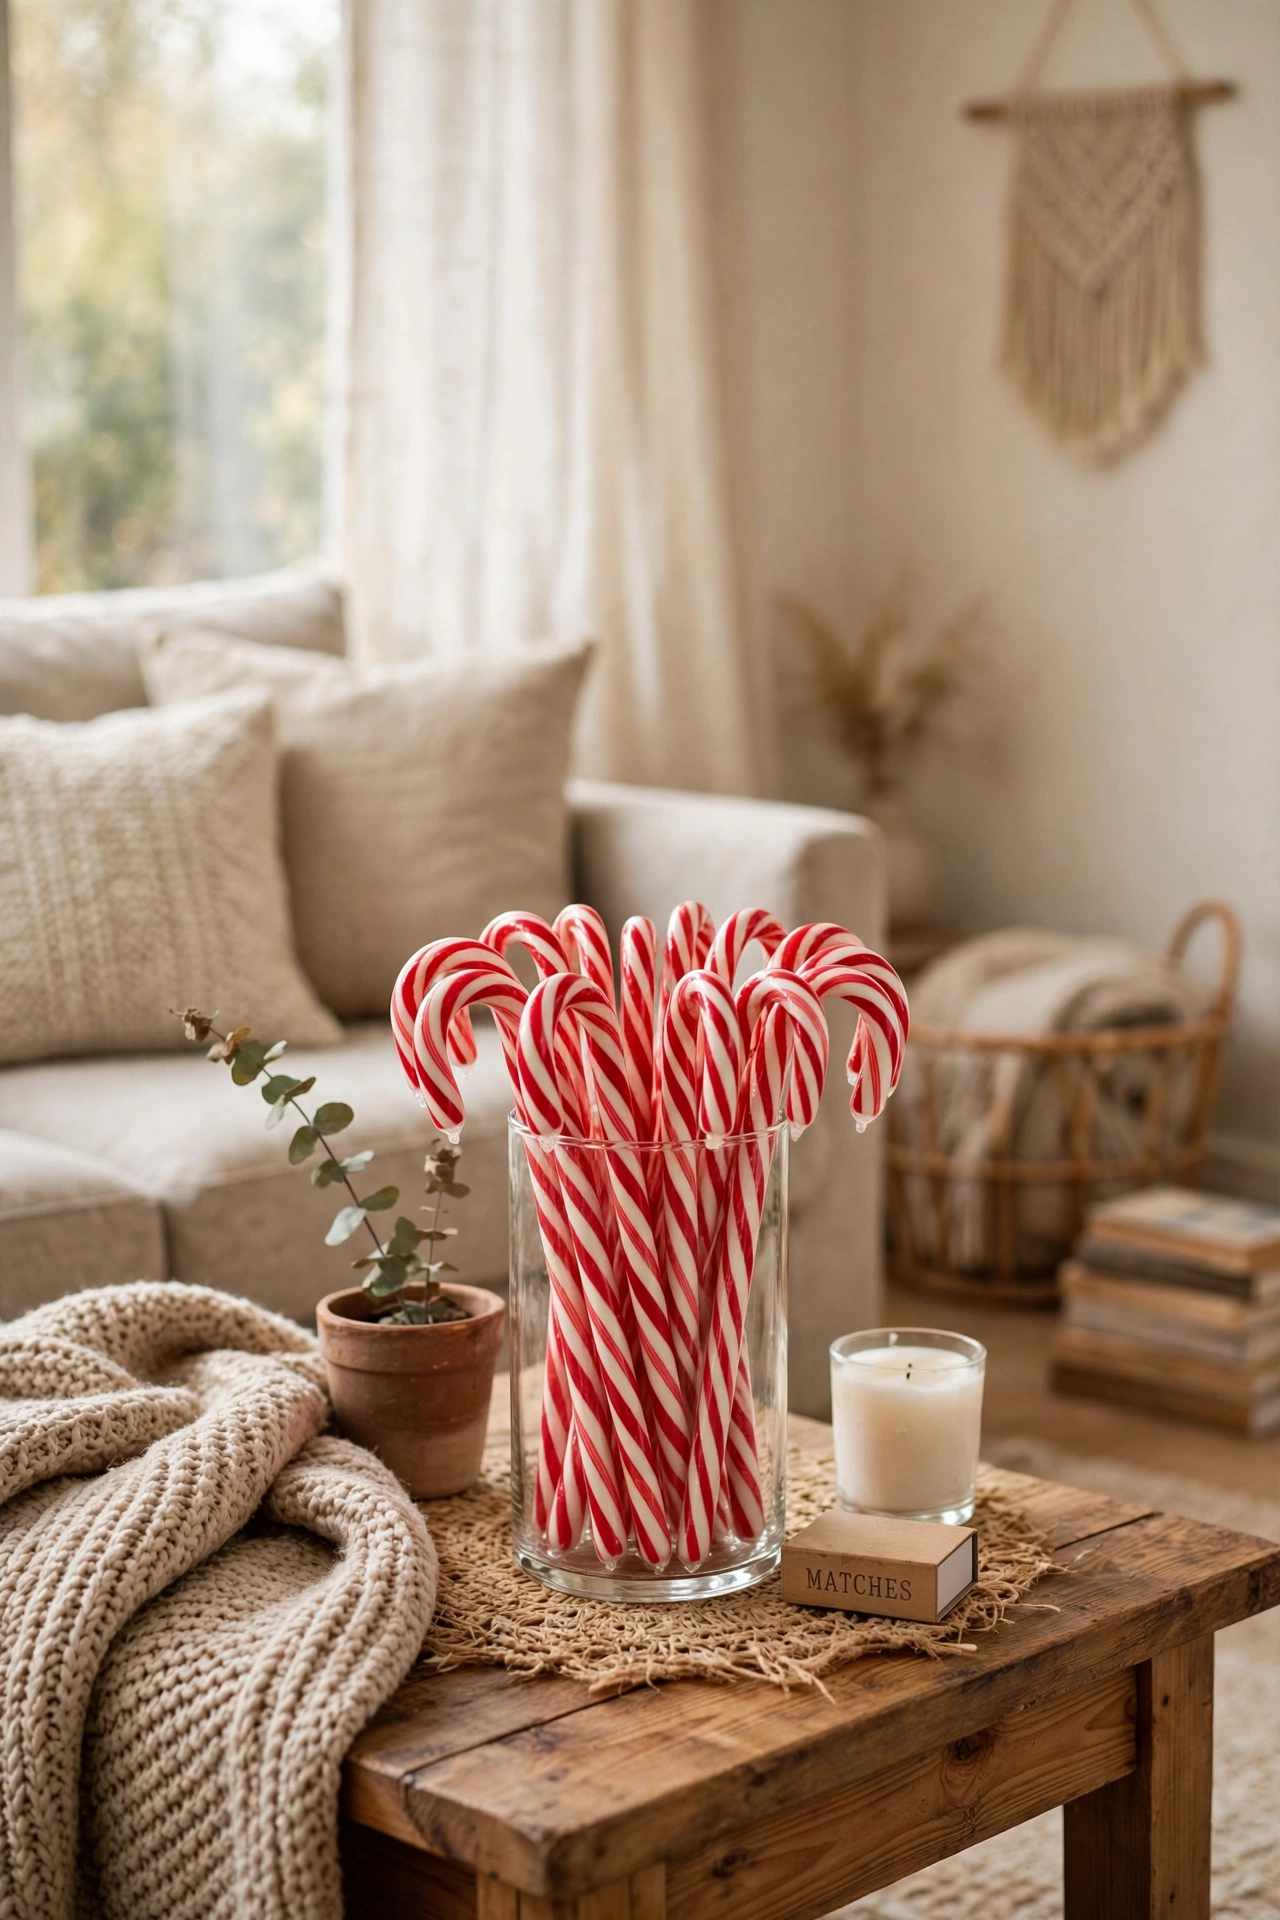
Fill a tall glass vase with real or plastic candy canes, then stand a few pine sprigs or a single white candle in the middle. It doubles as a centrepiece and a sweet treat for visitors. I use the plastic ones so they last the whole season, and I keep the real ones in a jar by the door for kids. One tip: don’t fill the vase to the brim, or the canes lean outwards and look untidy. Two-thirds full, sprigs on top, and it looks like a sweet shop display.
Cost: ~$4 | Time: 5 minutes
16. Chalkboard Countdown Sign

A small chalkboard sign, a piece of chalk, and a sprig of holly taped to the corner — write “12 days to Christmas” and update it each morning. My kids fight over who gets to change the number, which tells me it was worth the dollar. I prop mine on the kitchen counter where everyone sees it at breakfast. Use a chalk marker instead of regular chalk if you want the writing to survive little fingers. Wipe it clean in January and it becomes a menu board for the rest of the year.
Cost: ~$2 | Time: 5 minutes
17. Twinkling Jar Lanterns for the Porch
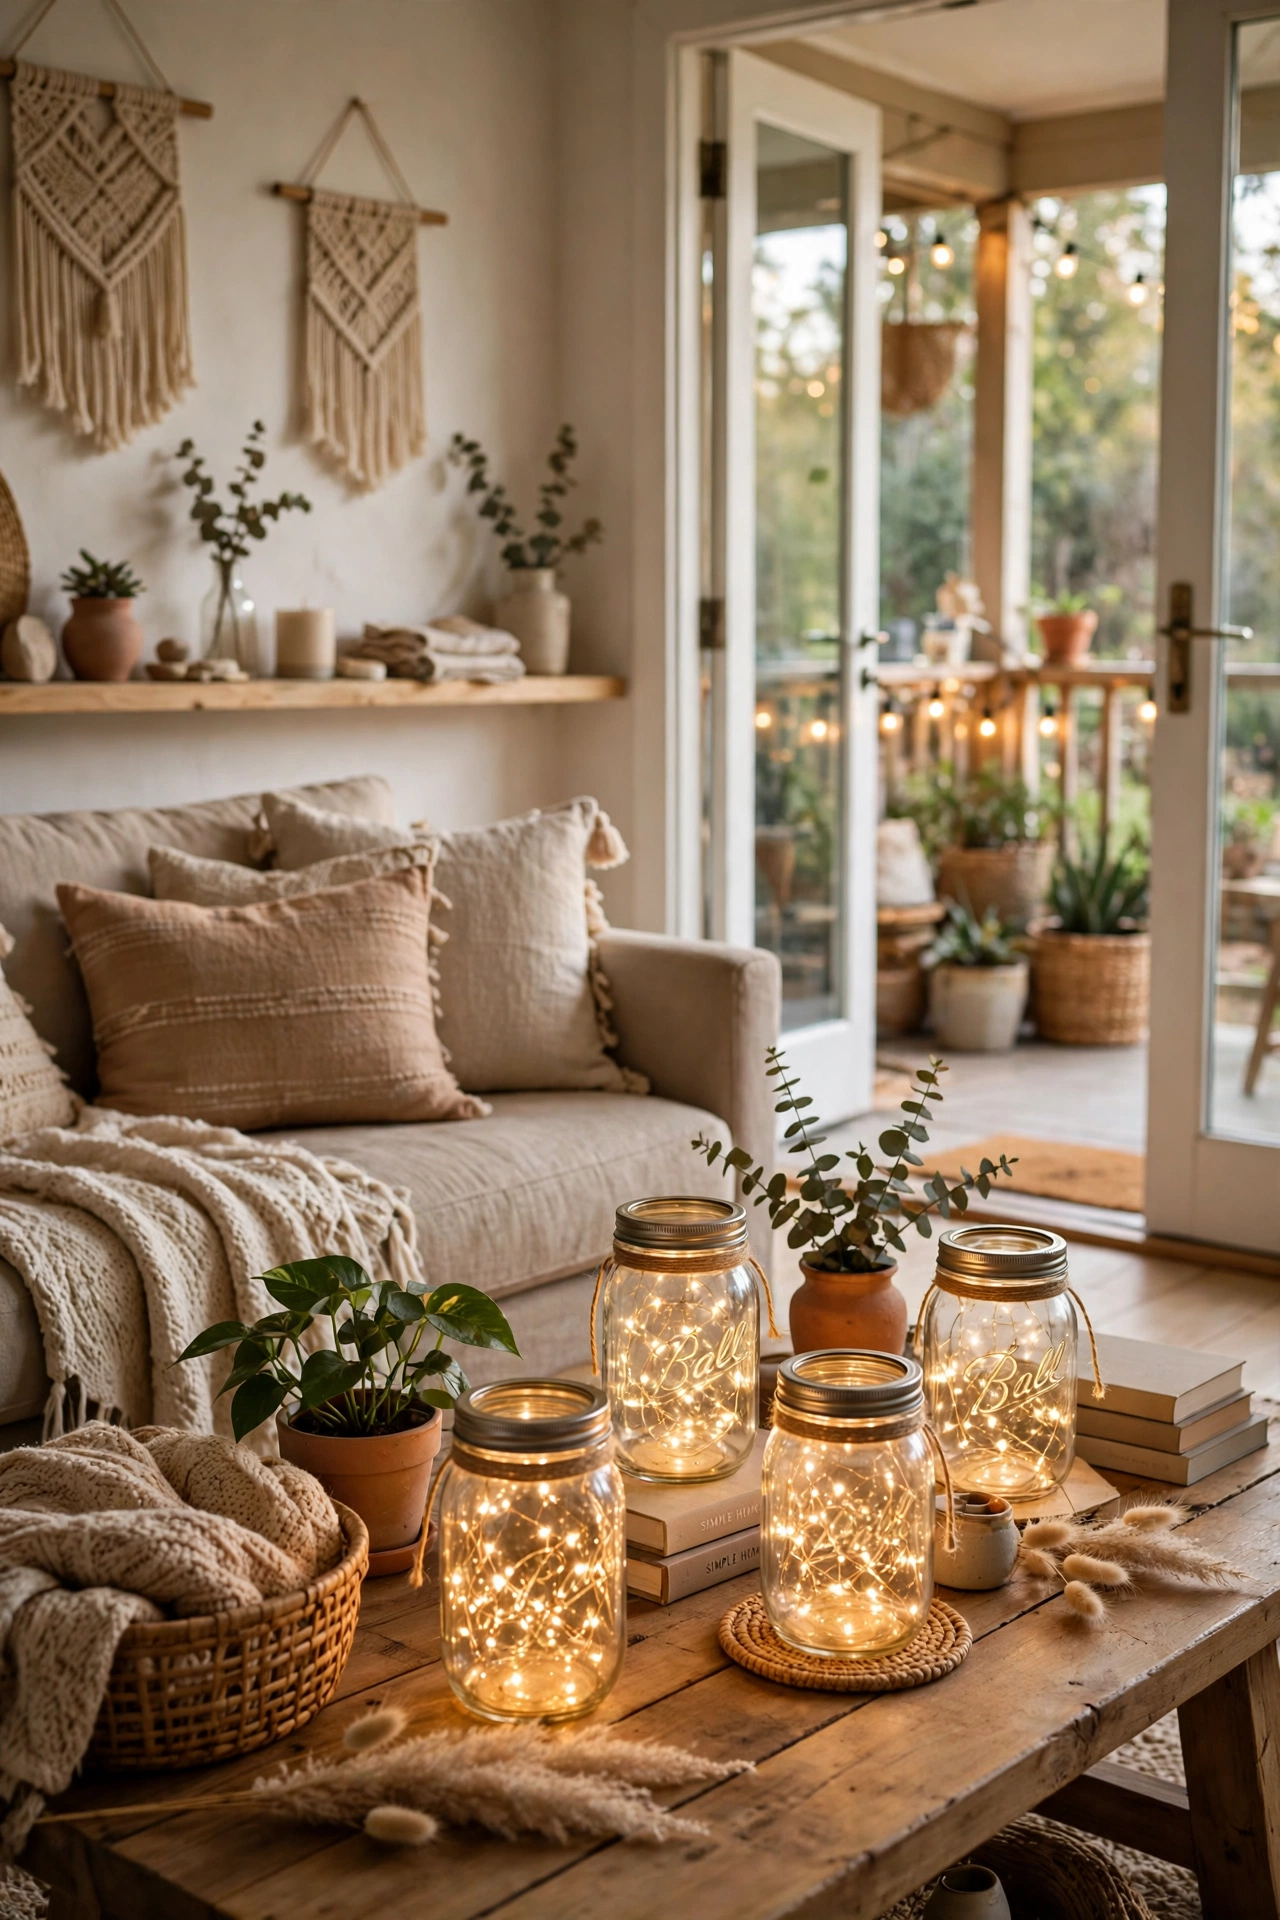
Drop a short string of battery fairy lights into a large mason jar, screw on the lid, and hang two or three from porch hooks with twine. They glow softly without any wiring, and they look magical after dark. I add a sprig of greenery inside each jar for a bit of colour. The first night I forgot to switch them off and the batteries lasted three days anyway, which was a pleasant surprise. Bring them in if heavy rain is forecast, and they’ll last for years.
Cost: ~$6 | Time: 10 minutes
