19 Renter-Friendly Entryway Ideas on a Budget
Moving into a rental used to mean living with a bare, awkward hallway until moving day, but a renter friendly entryway does not have to look temporary. When I moved into my last flat, the entry was a blank stretch of wall, a scuffed floor, and a pile of shoes by the door that greeted every guest. I had no permission to drill, no budget for a renovation, and no patience for a space that felt unfinished. So I started small, one adhesive hook at a time, and learned that the best renter fixes are the ones that look built-in but lift straight off when you leave. This list pulls together the ideas that actually worked in real rentals, with honest costs, realistic times, and no damage to get your deposit back. Think of it as a toolkit: pick the three or four that fit your doorway, skip the rest, and let your entry start working for you from tonight.
1. Command Hook Entryway Rail
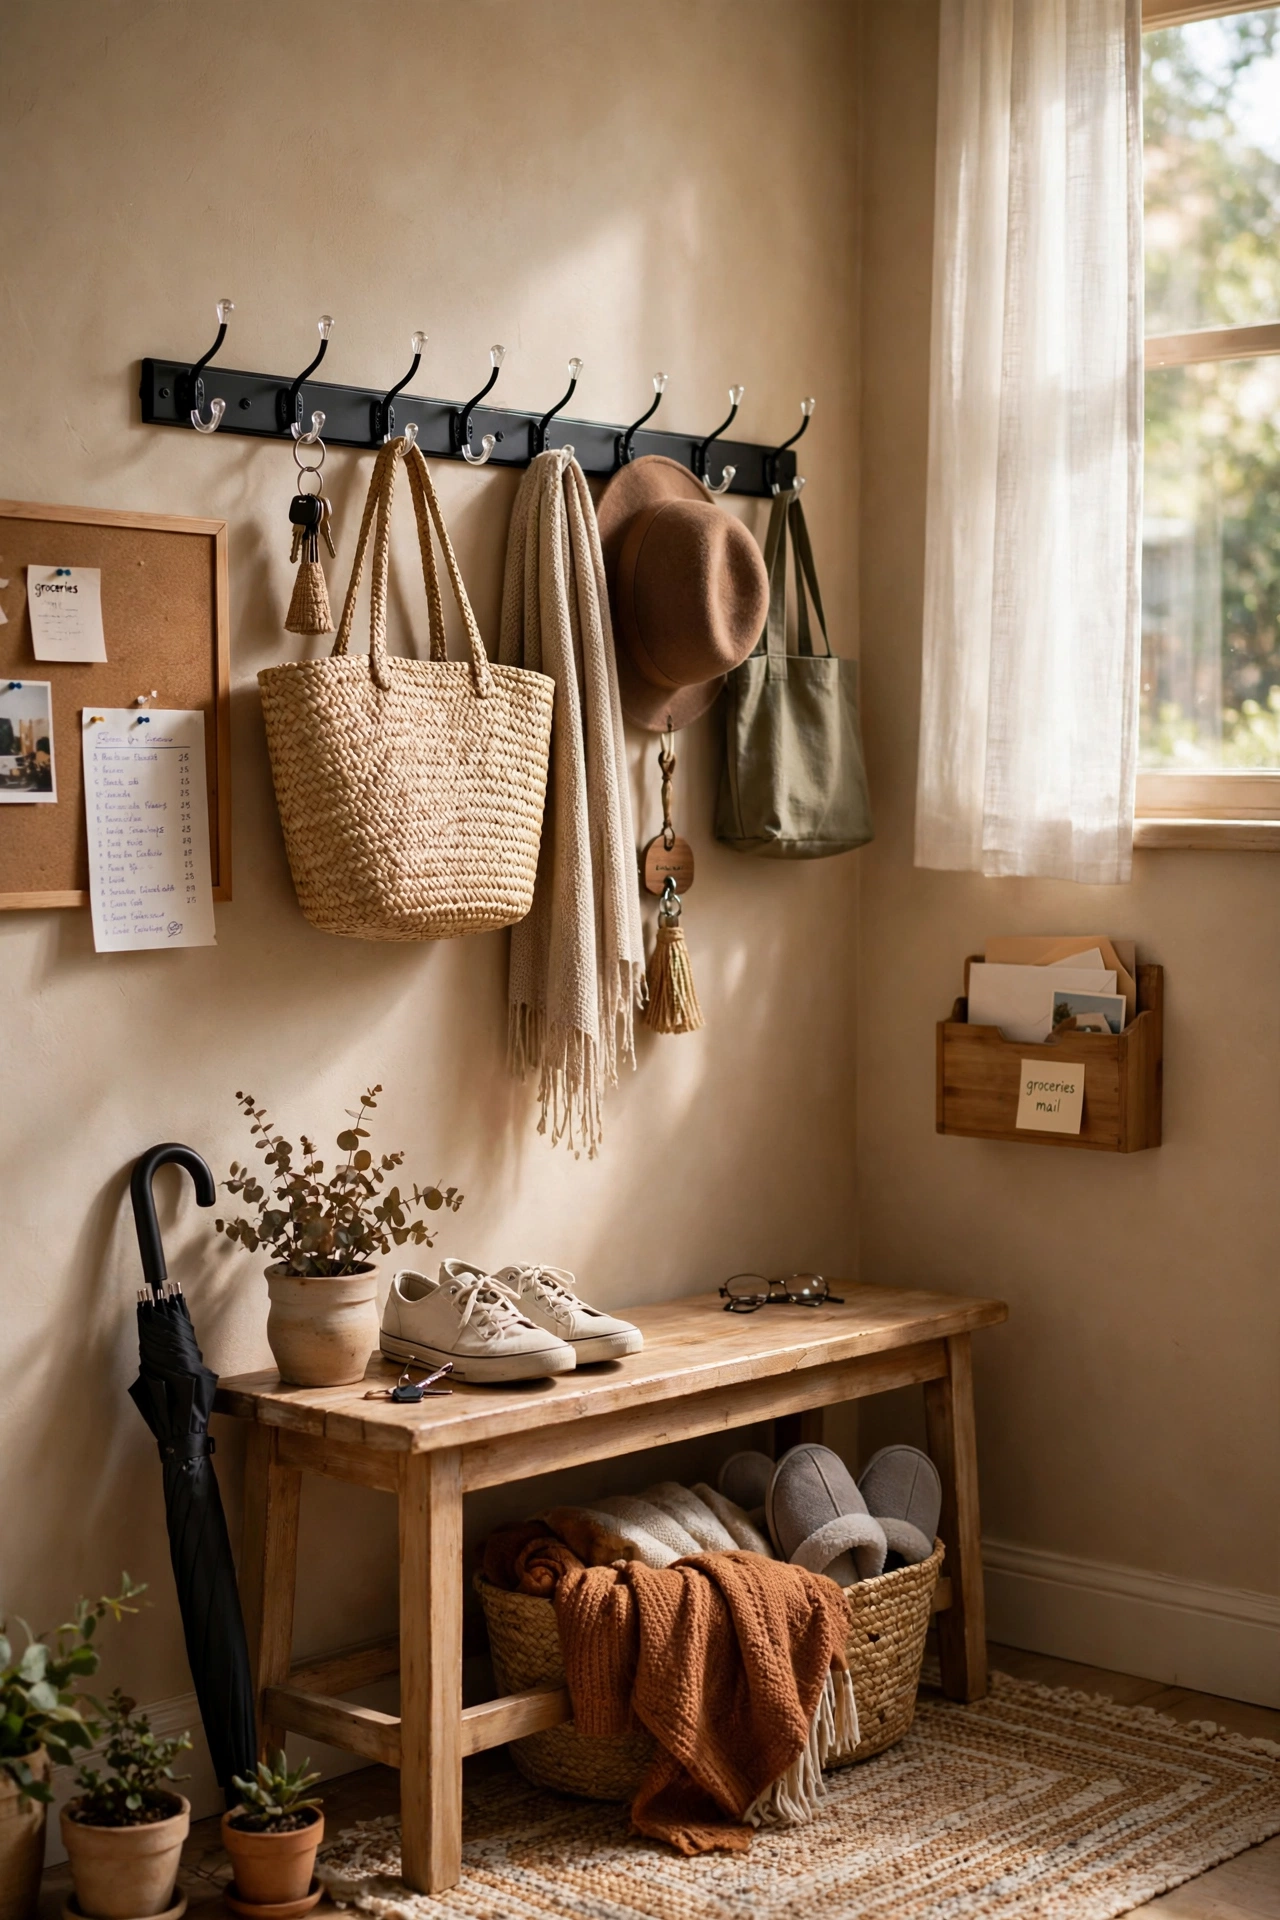
A row of strong adhesive hooks on a slim board gives you a renter-safe coat rail with zero holes in the wall. Start by measure a spot beside the door at shoulder height, then press each hook firmly for thirty seconds, and finish by hang coats, bags, and dog leashes by weight. I put ours up the afternoon we moved in, and two years later the paint underneath still looks untouched. Choose hooks rated for a few pounds more than you think you need, because winter coats get heavy fast.
Cost: ~$18 | Time: 20 minutes
2. Removable Peel-and-Stick Wallpaper Accent Wall
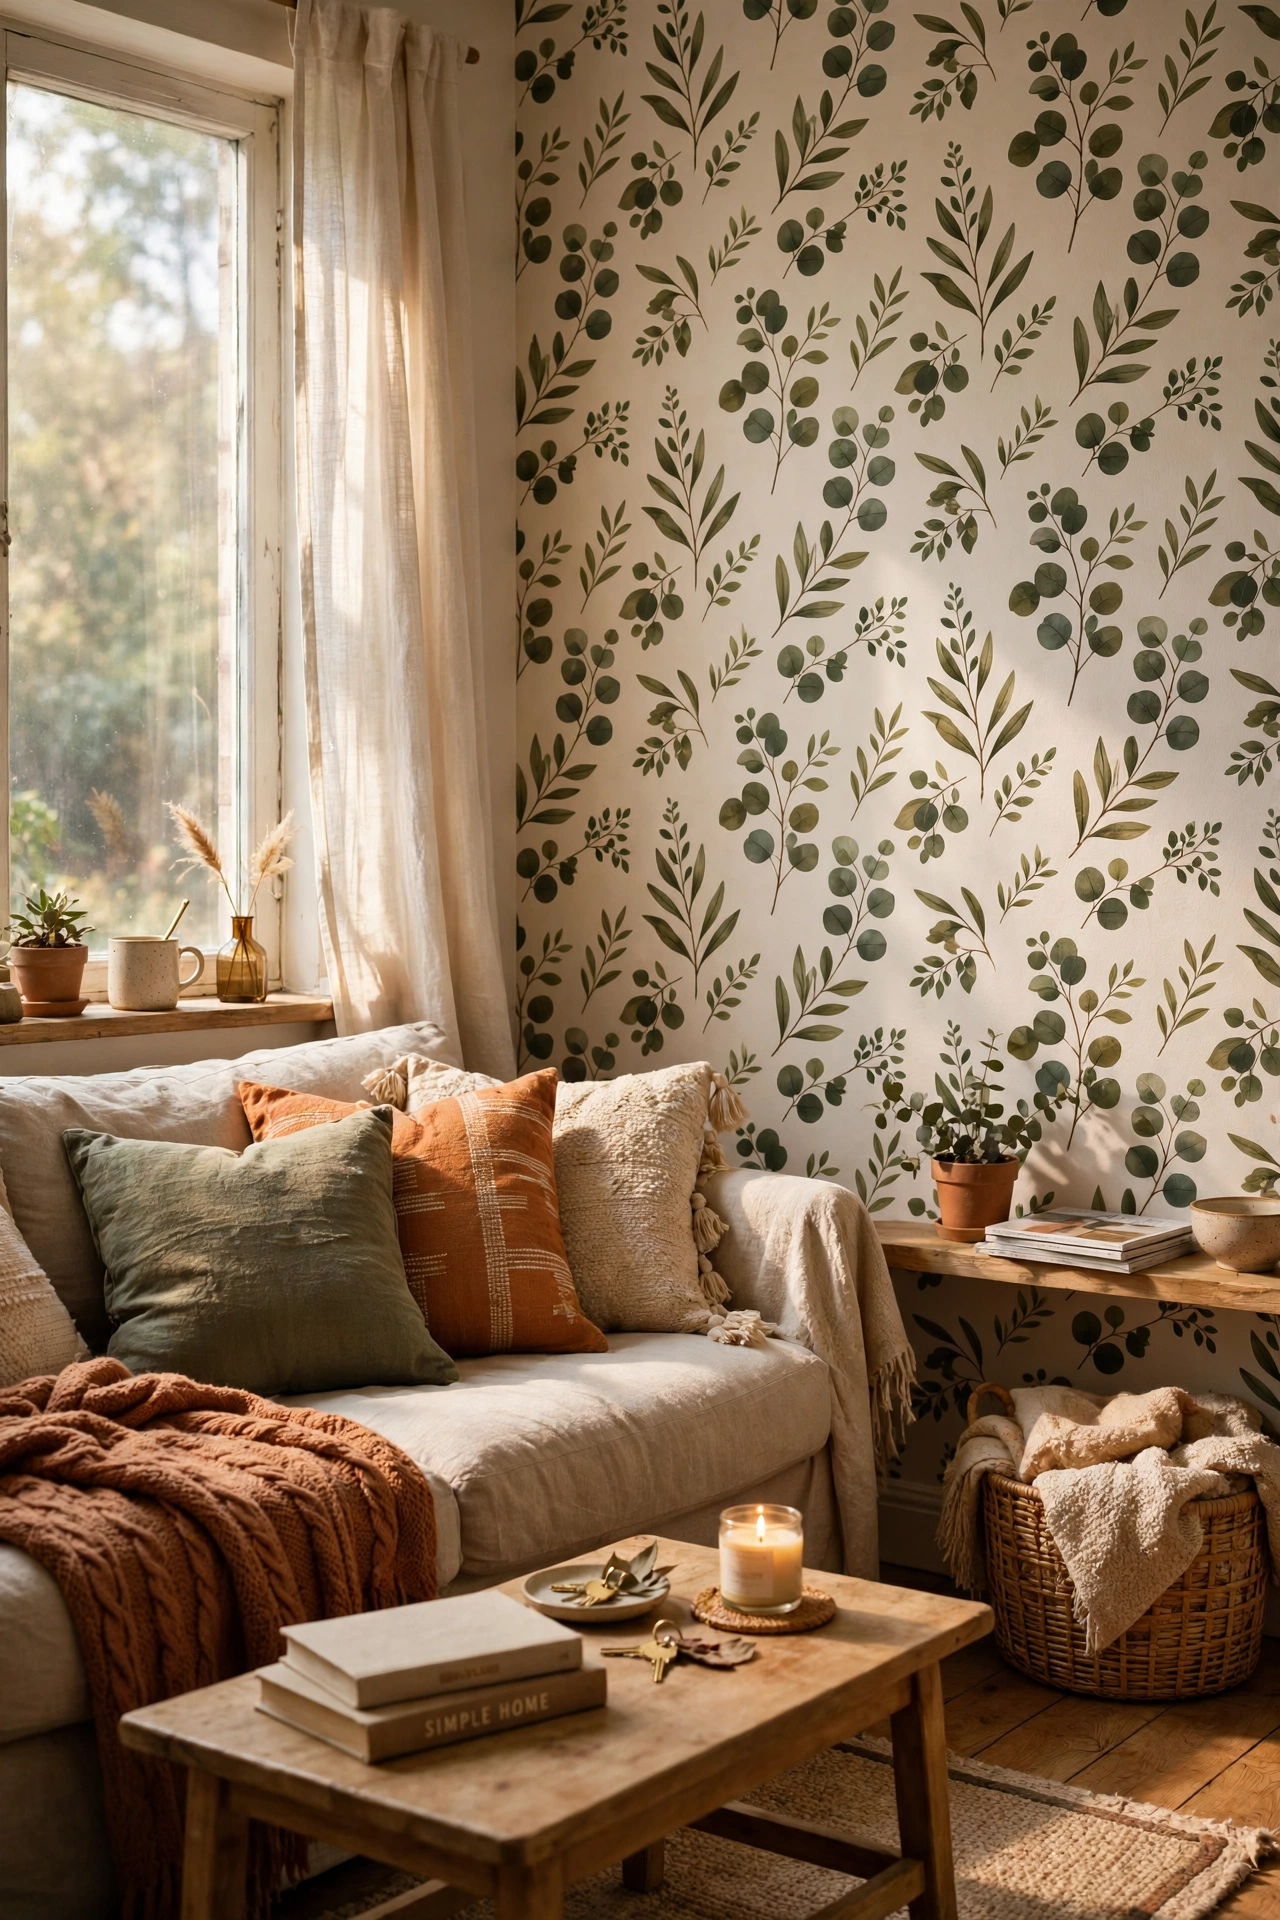
One wall of peel-and-stick wallpaper turns a plain rental entry into a space that actually feels chosen, not just rented. Start by clean the wall and let it dry completely, then line up the first strip at the ceiling edge, and finish by smooth out bubbles with a credit card as you go. My landlord walked past ours for months before realising it was not real wallpaper at all. Order one extra roll, because pattern matching around a door frame eats more paper than you expect.
Cost: ~$32 | Time: 60 minutes
3. Over-the-Door Hook Organizer
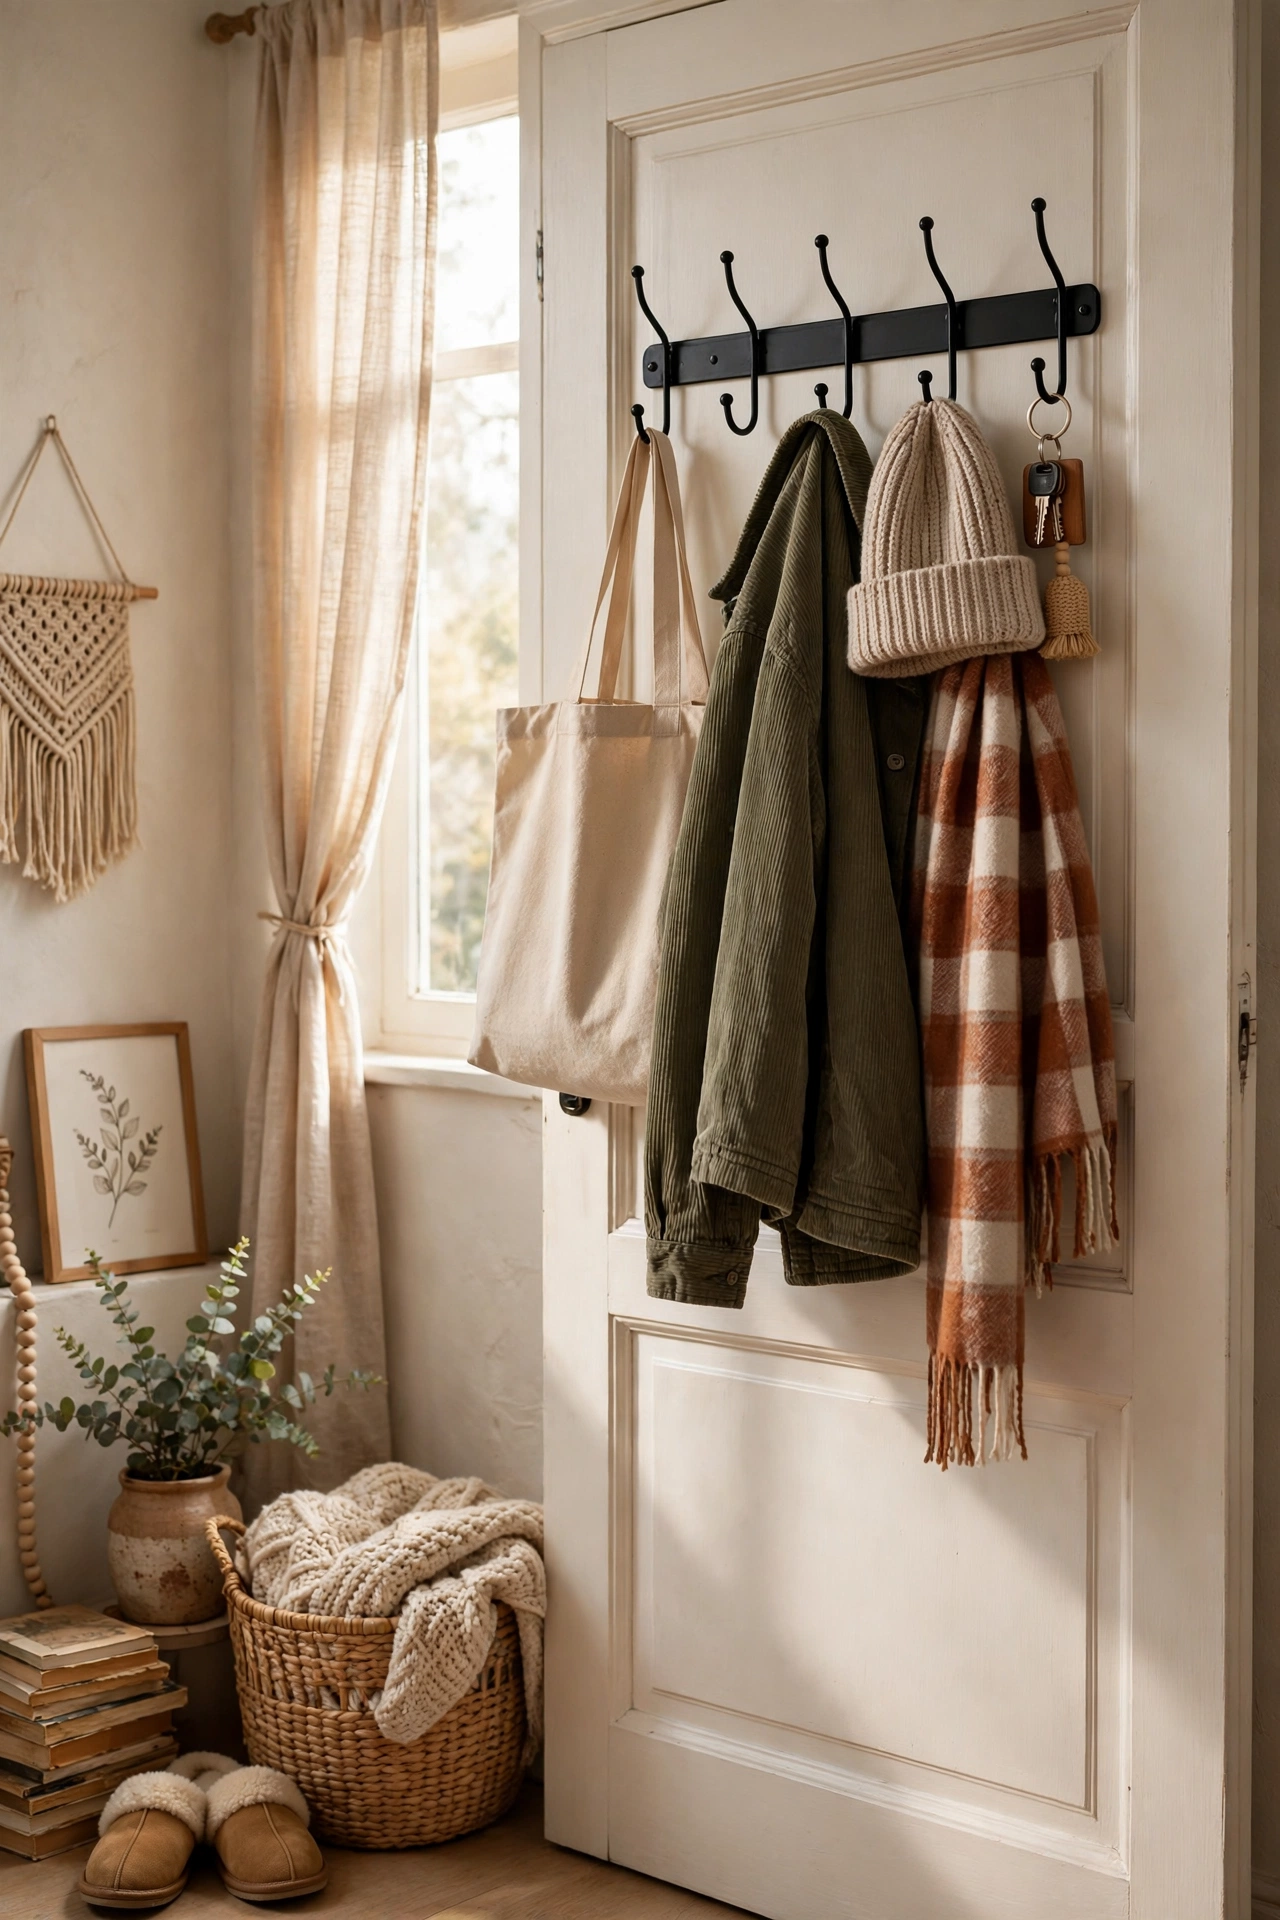
An over-the-door rack is the fastest fix for an entryway with no closet, and it moves with you when you leave. Start by hook it over a sturdy interior door, then tighten any foam pads so it does not rattle, and finish by assign one hook per person or purpose. Ours holds my work bag, my partner’s keys, and the umbrella we always used to lose. Pick a rack with flat hooks if the door needs to close fully without sticking.
Cost: ~$14 | Time: 5 minutes
Pro tip: hang the rail at a height kids can reach too, or their coats will still end up on the floor.
4. Freestanding Wooden Coat Rack
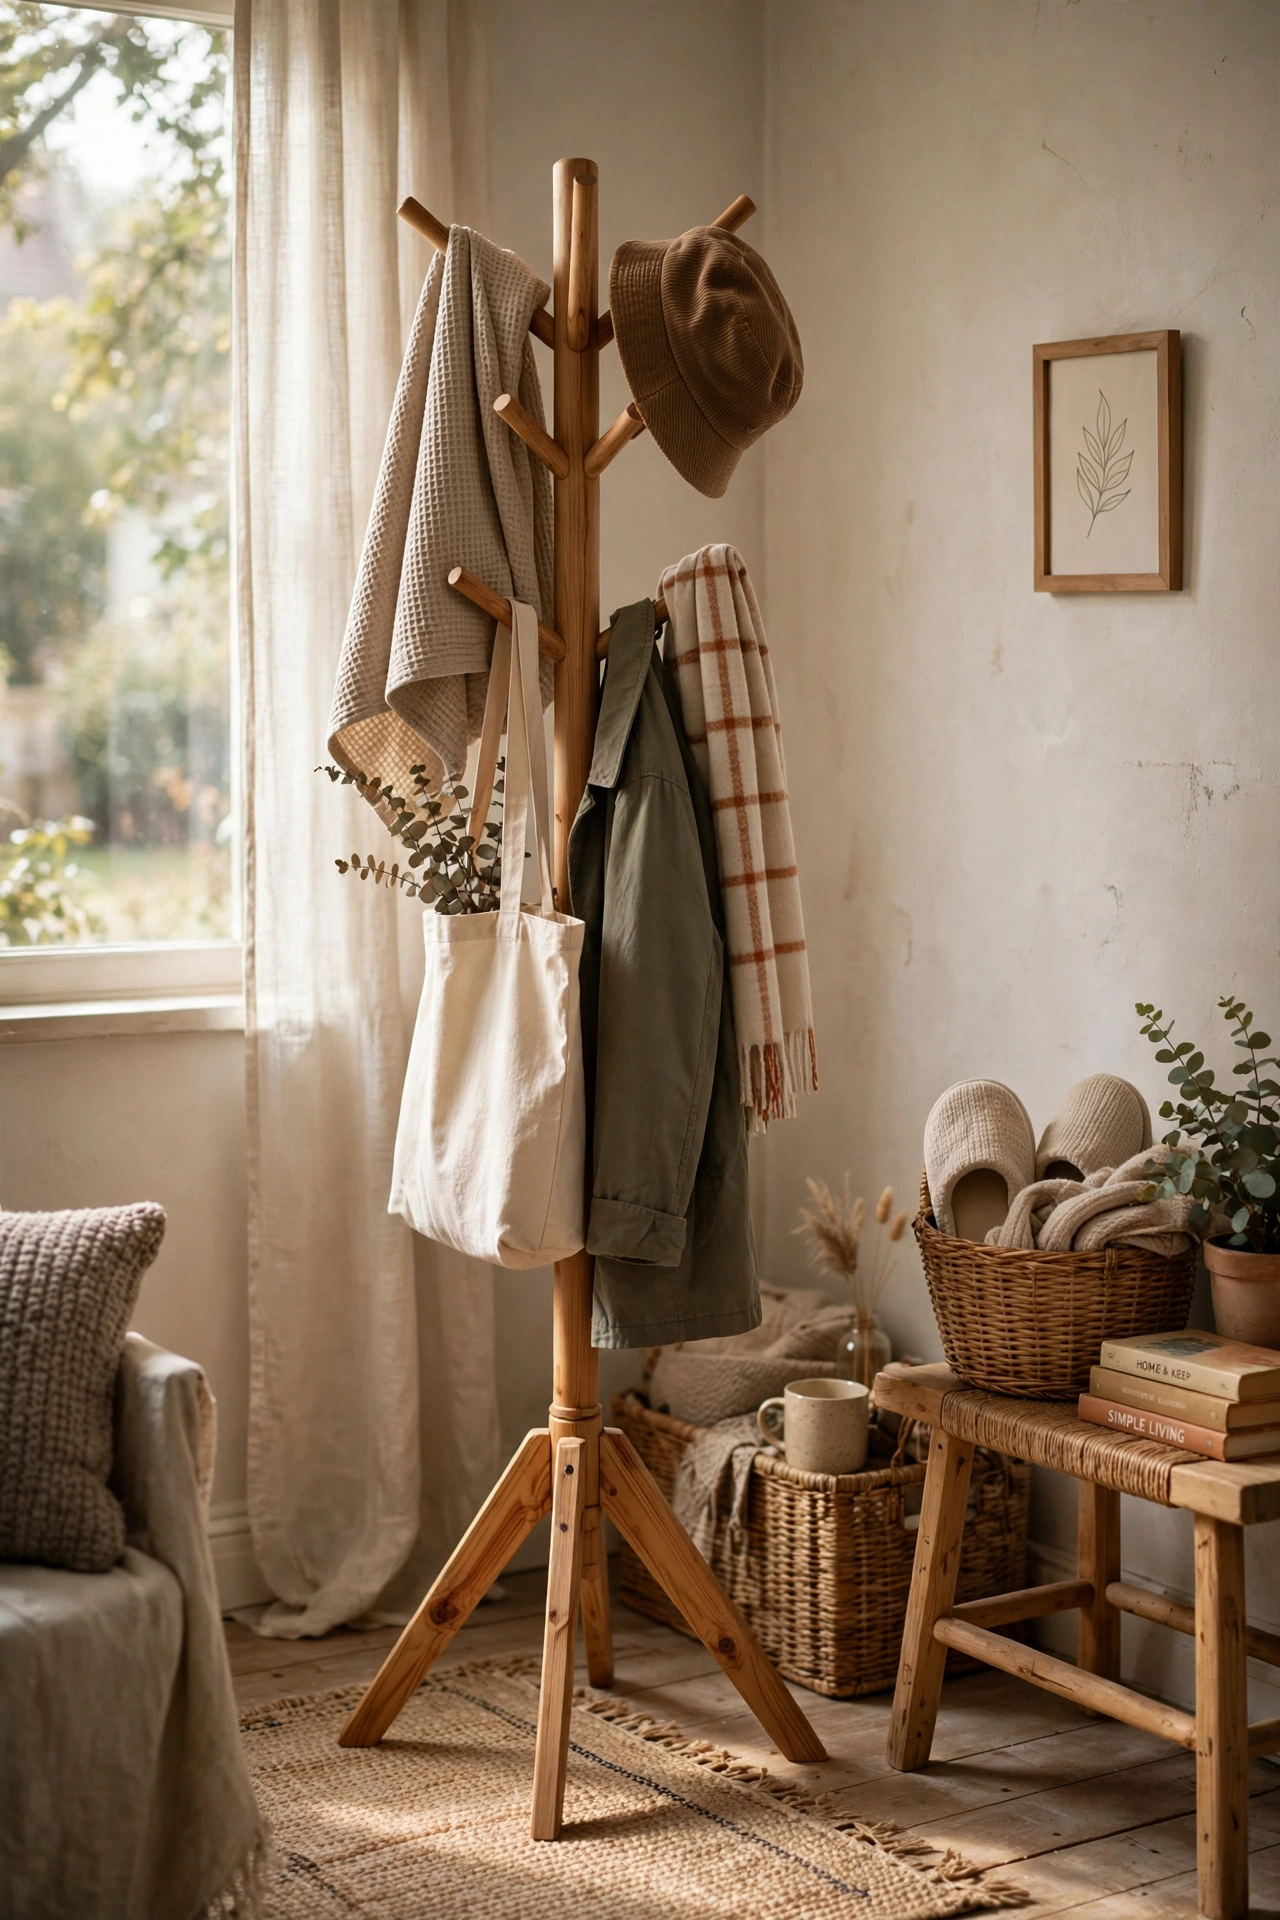
A freestanding coat rack adds height and warmth to a bare corner without asking your landlord for a single thing. Start by place it where the door swing will not hit it, then put heavier coats low to keep it stable, and finish by add a small tray underneath for shoes. I found mine secondhand for less than a takeaway dinner, and it still gets compliments from guests. A rack with a weighted base will not topple when kids grab their coats in a rush.
Cost: ~$38 | Time: 10 minutes
5. Washable Entryway Runner Rug
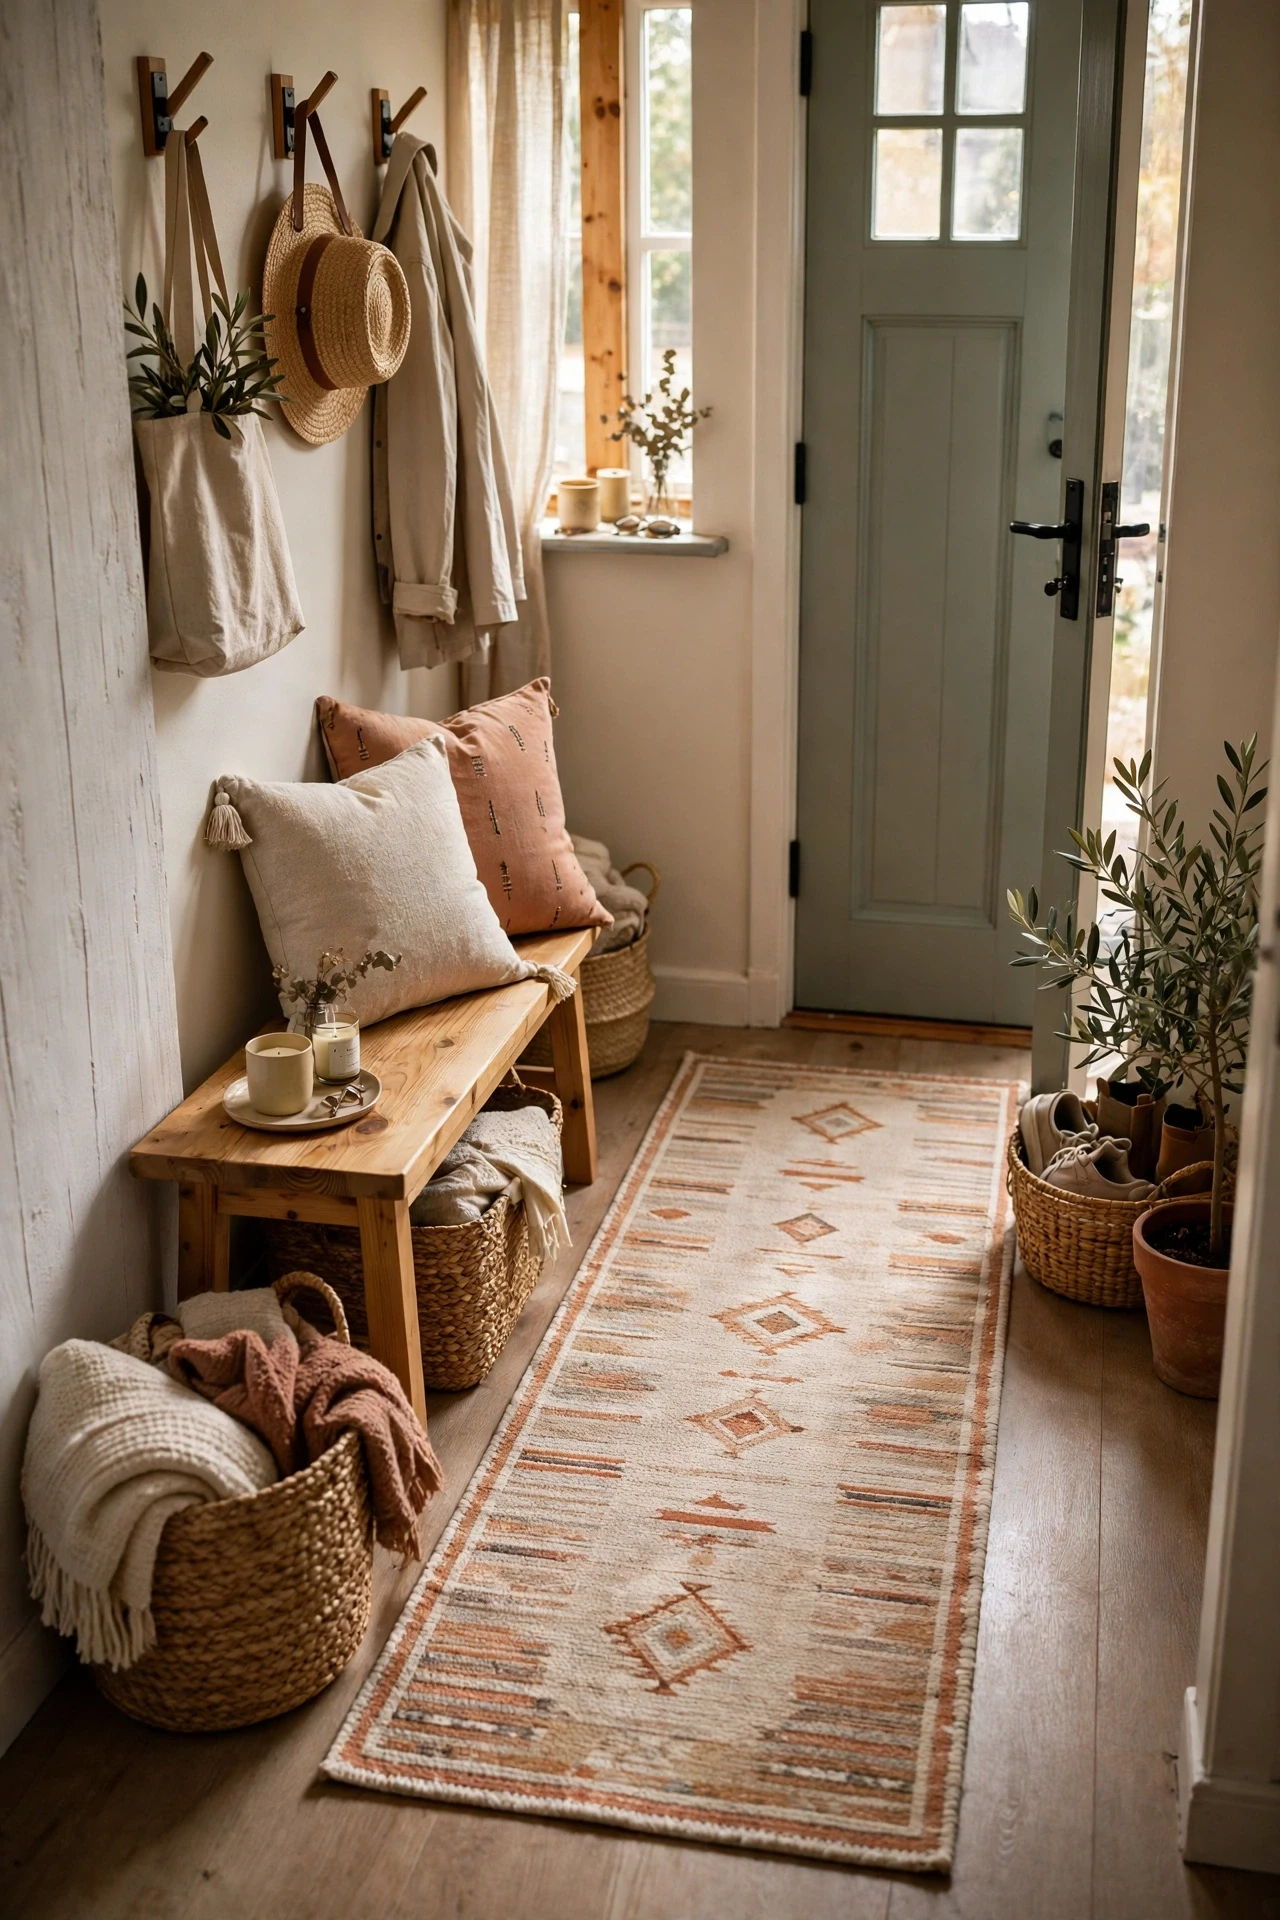
A washable runner catches mud, defines the entry, and can go straight in the machine after a rainy week. Start by measure from the door to where traffic naturally stops, then lay a non-slip pad underneath, and finish by shake it outside once a week. After one muddy school run, I was glad I had picked the washable one instead of the pretty wool rug. Dark patterns hide scuffs far better than pale solid colours in a busy entry. It also suits the smallest hallway, because it uses space you were already walking past, and it still leaves a clear path to the door.
Cost: ~$27 | Time: 15 minutes
6. Leaning Full-Length Mirror
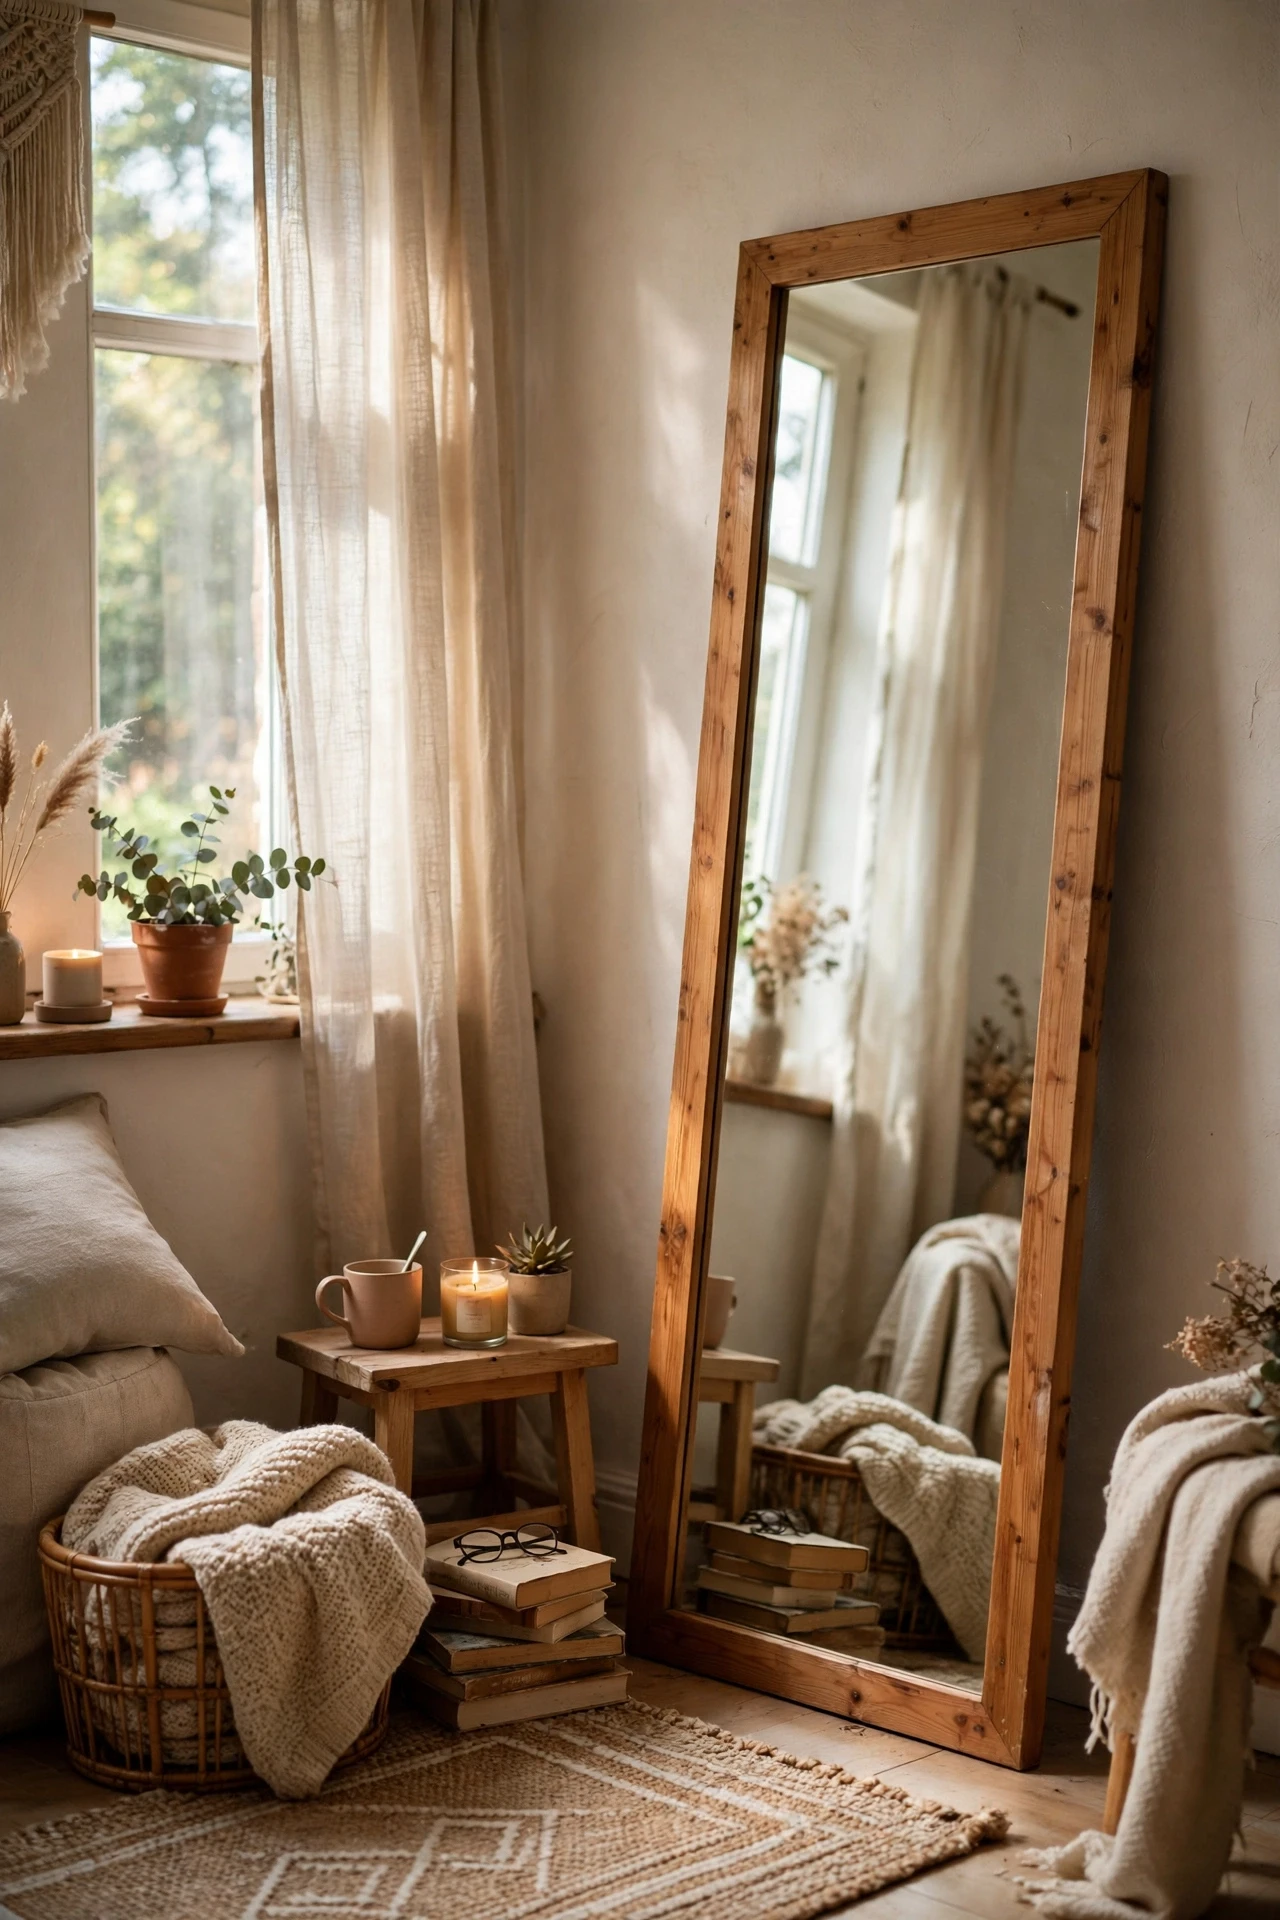
A leaning mirror opens up a narrow entry, gives you a last look before leaving, and needs no drilling at all. Start by choose a wall with a clear floor space, then lean it at a slight angle and secure the top with adhesive pads, and finish by angle it to bounce light from a window. I check my outfit in ours every morning, and the hallway honestly looks twice as wide now. Keep the base a few inches from the wall so it sits steady on uneven floors.
Cost: ~$45 | Time: 10 minutes
7. Stackable Shoe Bench with Baskets
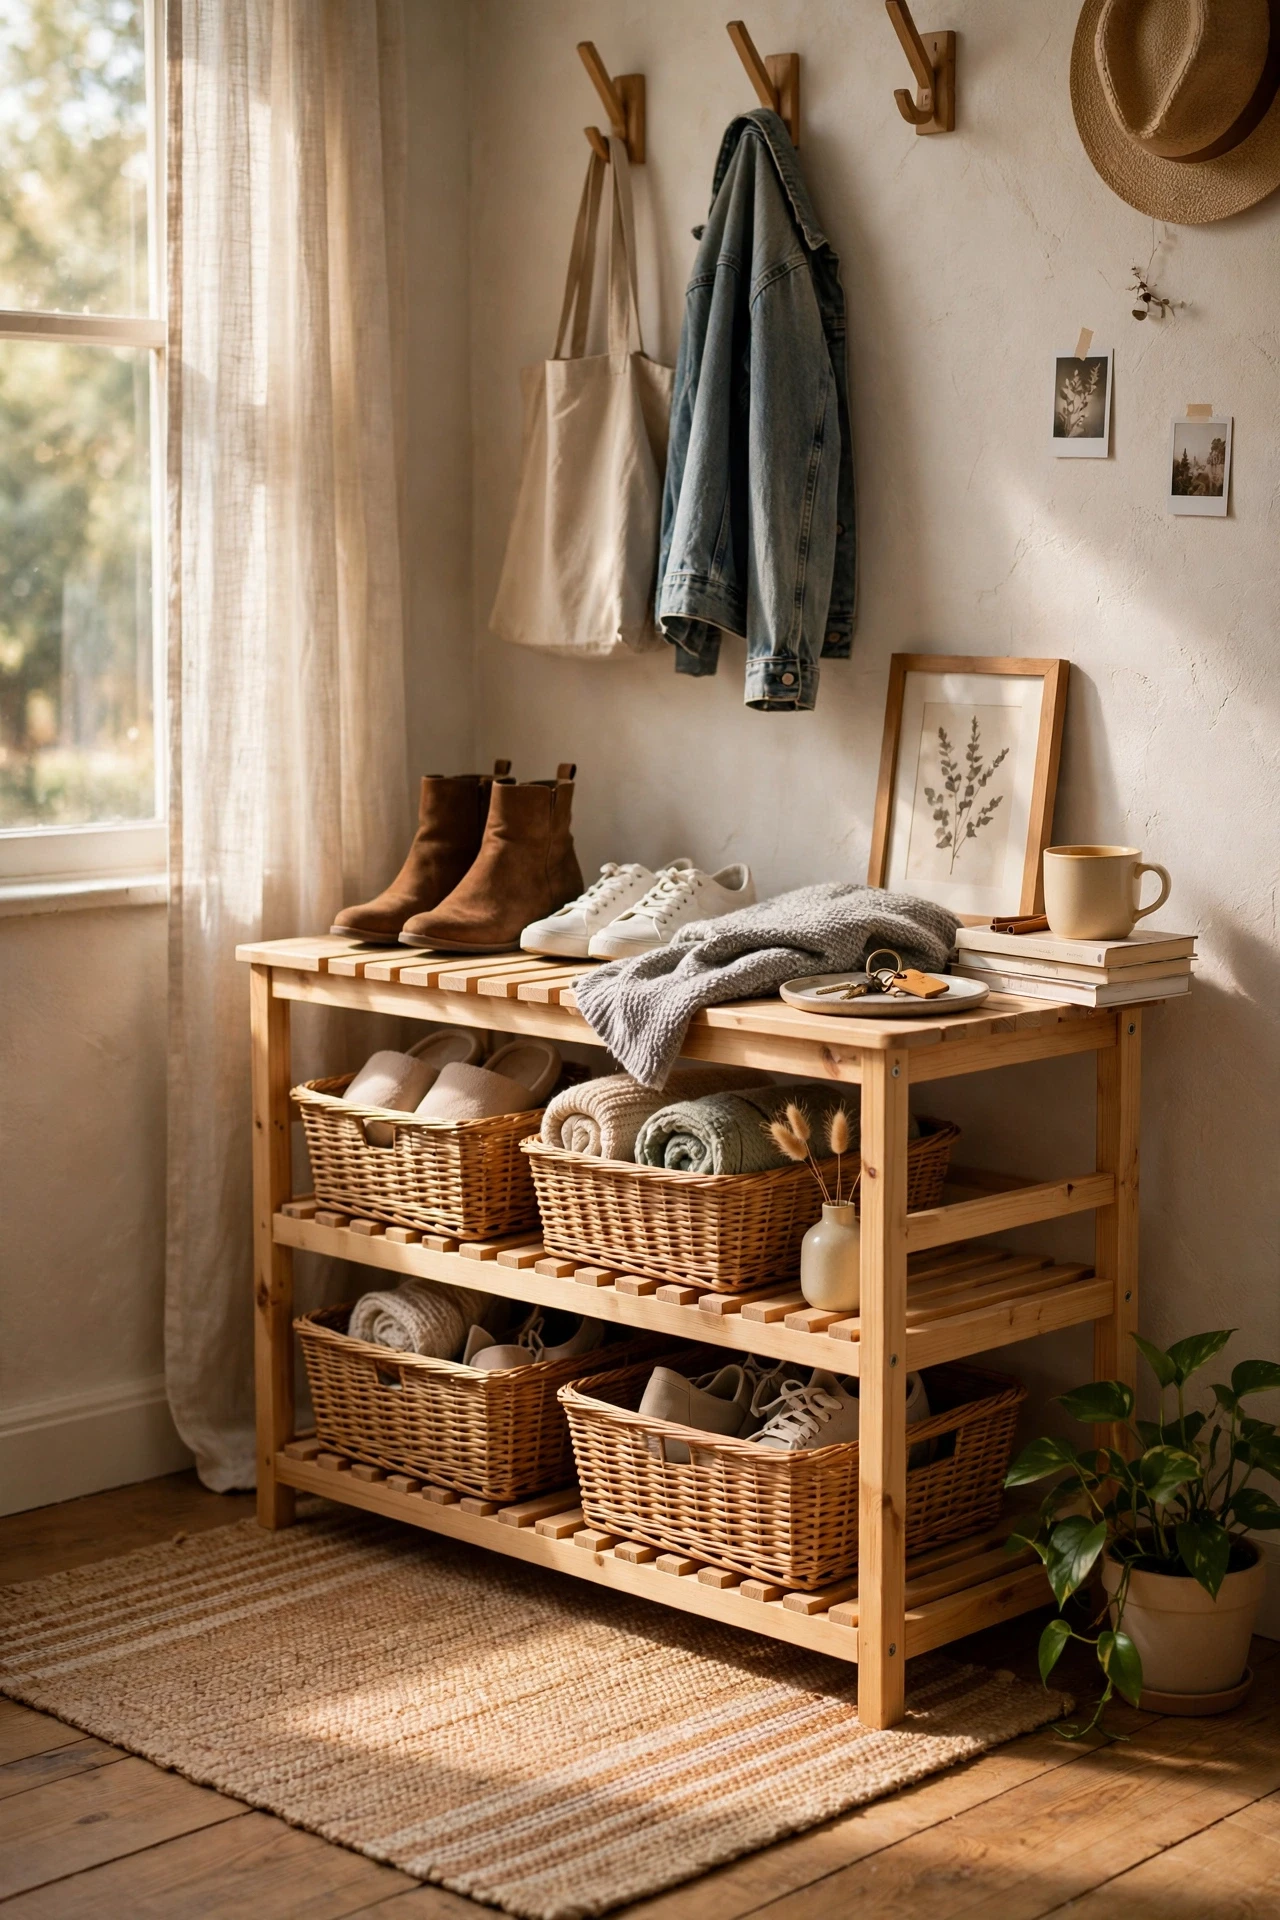
A low bench with baskets hides shoes, gives you somewhere to sit while lacing up, and keeps pairs from piling by the door. Start by assemble the bench against the longest free wall, then label one basket per person, and finish by keep only daily shoes in it and store the rest elsewhere. Our mornings got calmer the week we stopped tripping over shoes in the dark. Leave one basket empty on purpose, because guests always need somewhere to put their shoes.
Cost: ~$42 | Time: 30 minutes
8. Adhesive Magnetic Key Holder Strip
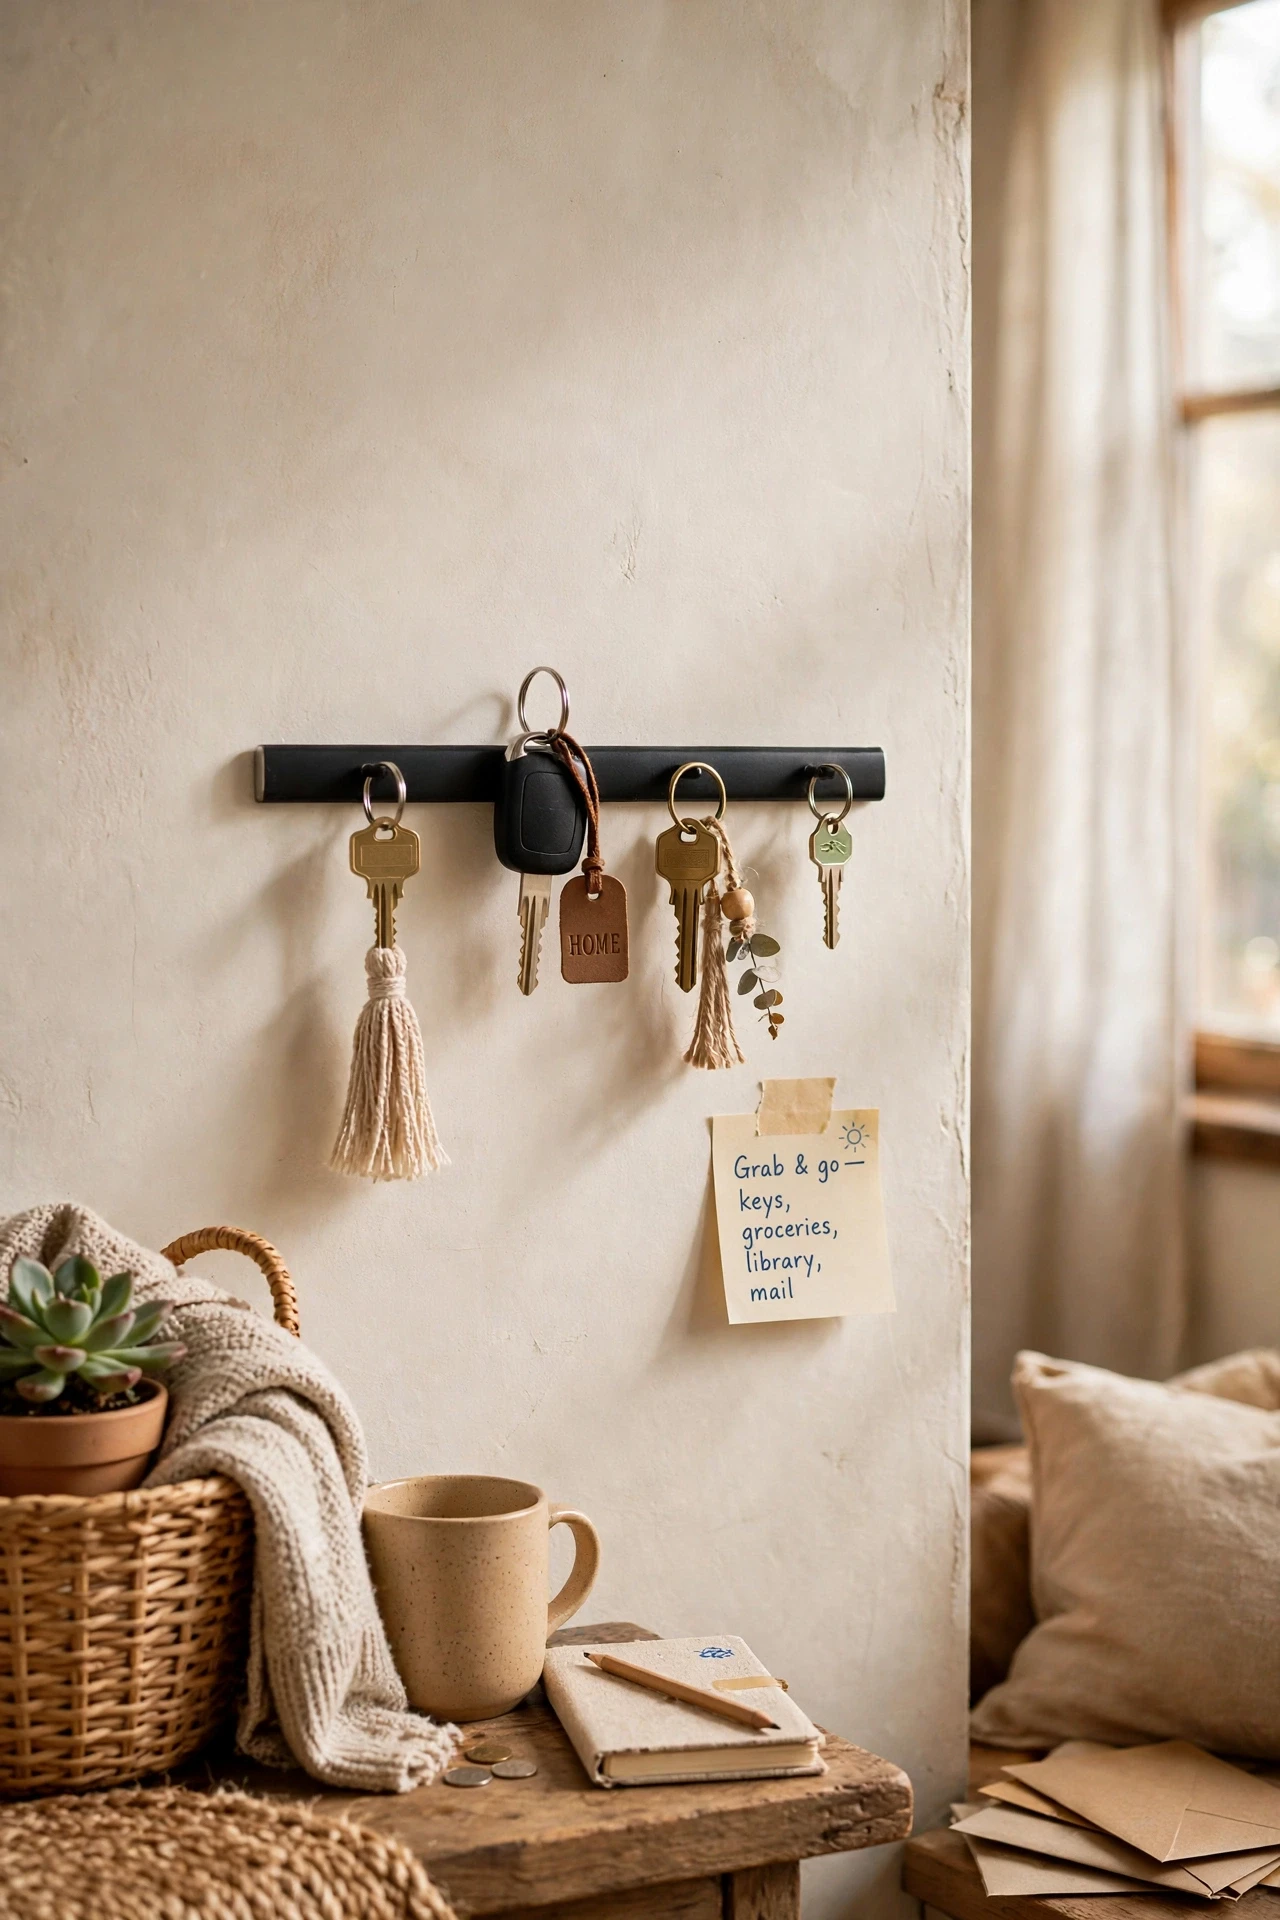
A slim magnetic strip stuck to the wall holds keys at eye level, so the frantic pocket search before work finally ends. Start by wipe the wall spot with rubbing alcohol, then press the strip on and wait an hour before loading it, and finish by add a small key ring to anything without metal. I have not lost my keys since fitting ours, which feels like a small miracle after years of searching. Put it beside the door handle side, not behind the door where it is easy to miss.
Cost: ~$12 | Time: 10 minutes
Pro tip: if your keys keep sliding off, add a tiny adhesive dot inside the strip’s groove for extra grip.
9. Removable Wall Decal Welcome Sign
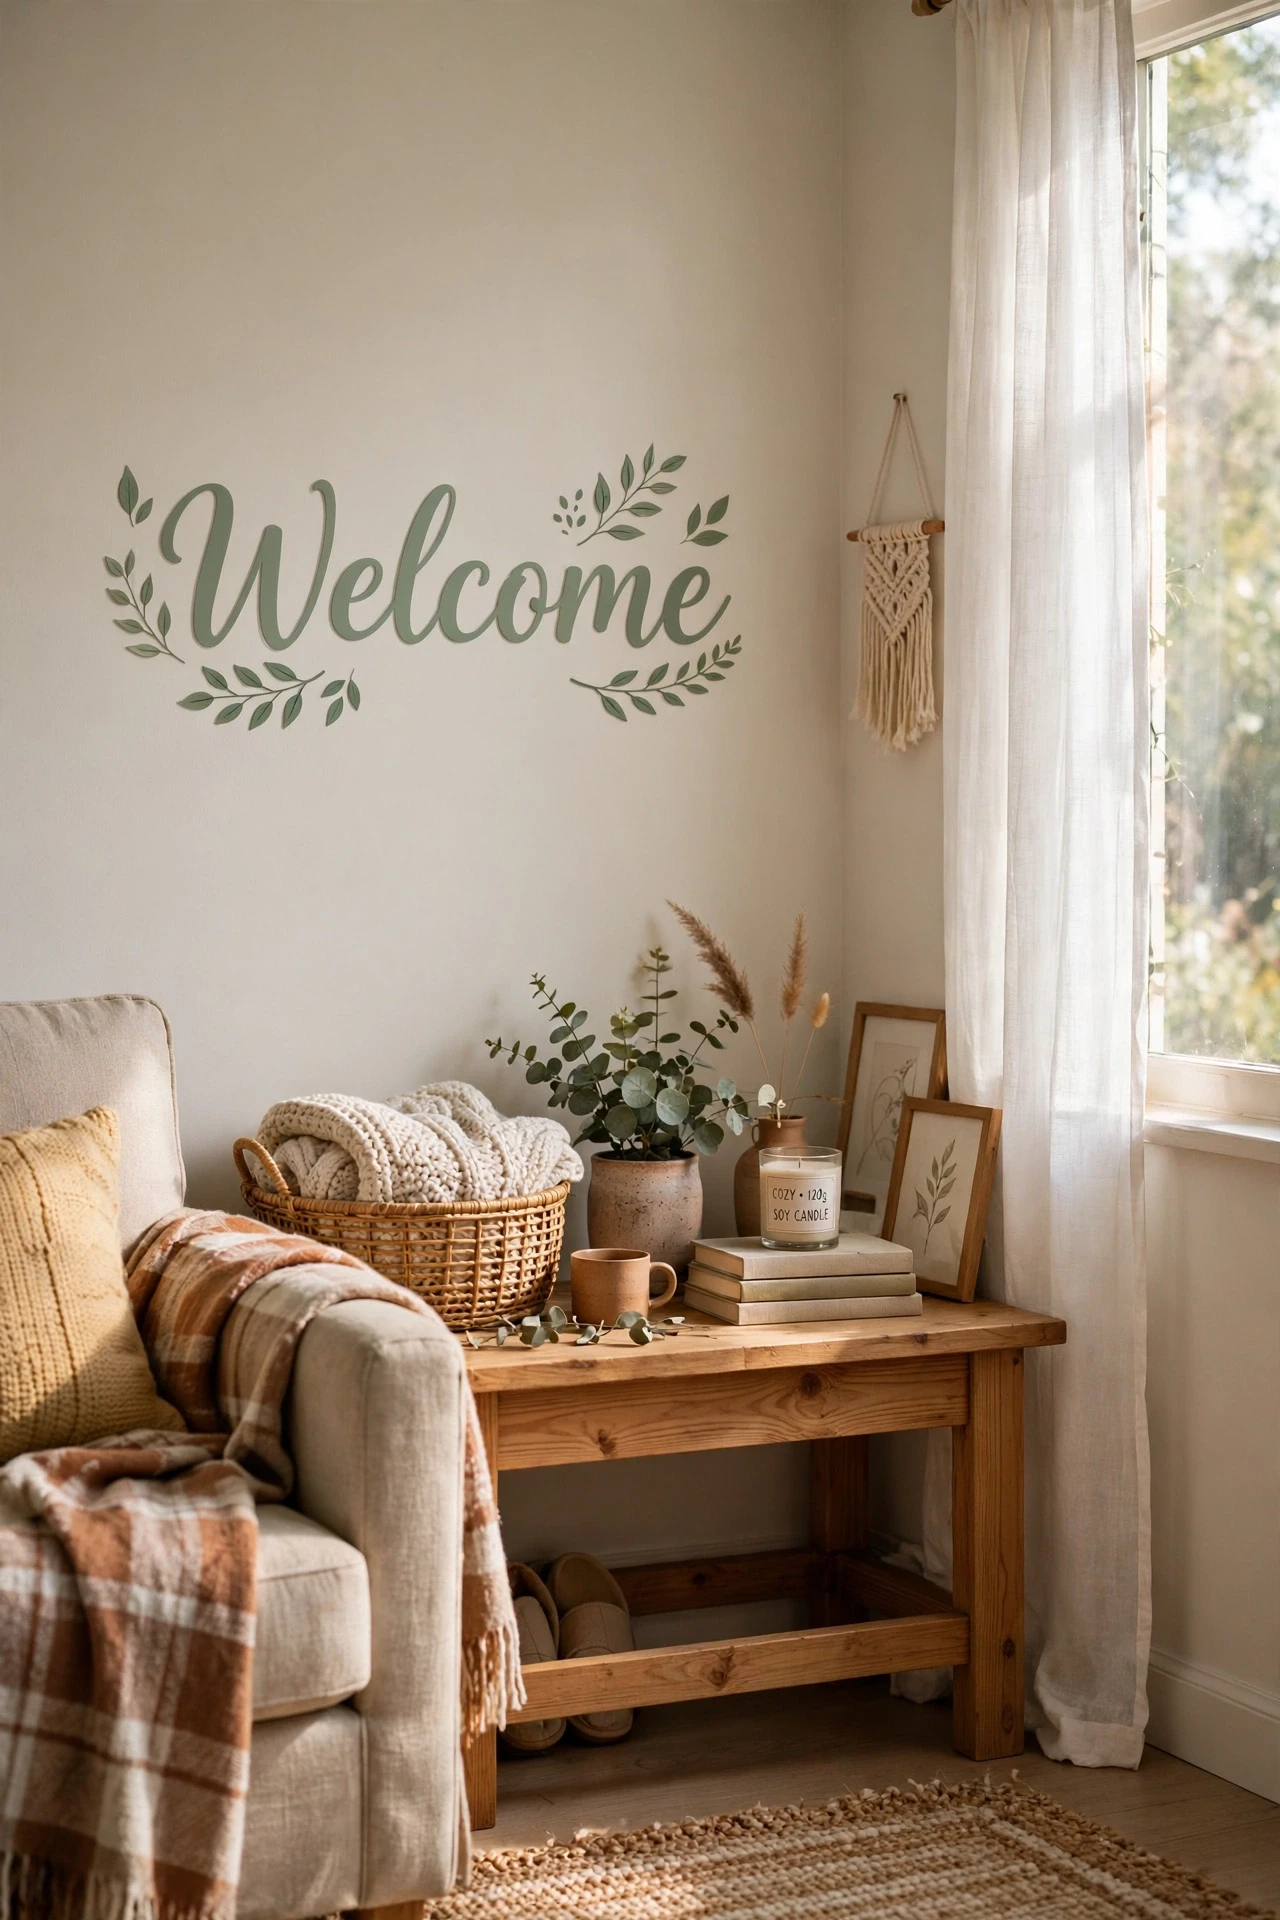
Removable decals spell out a welcome message or a simple pattern, and peel off cleanly when your lease ends. Start by plan the layout on the floor first, then apply from the centre outward to avoid bubbles, and finish by step back and check spacing from the doorway. I used a simple house number decal in our last flat, and it made the whole entry feel intentional. Test one small decal behind the door first if you are worried about your paint finish.
Cost: ~$11 | Time: 20 minutes
For a spring refresh that also rents well, see (see also: 15-spring-entryway-decor-ideas-on-a-budget).
10. Rolling Storage Cart for Entryway Essentials
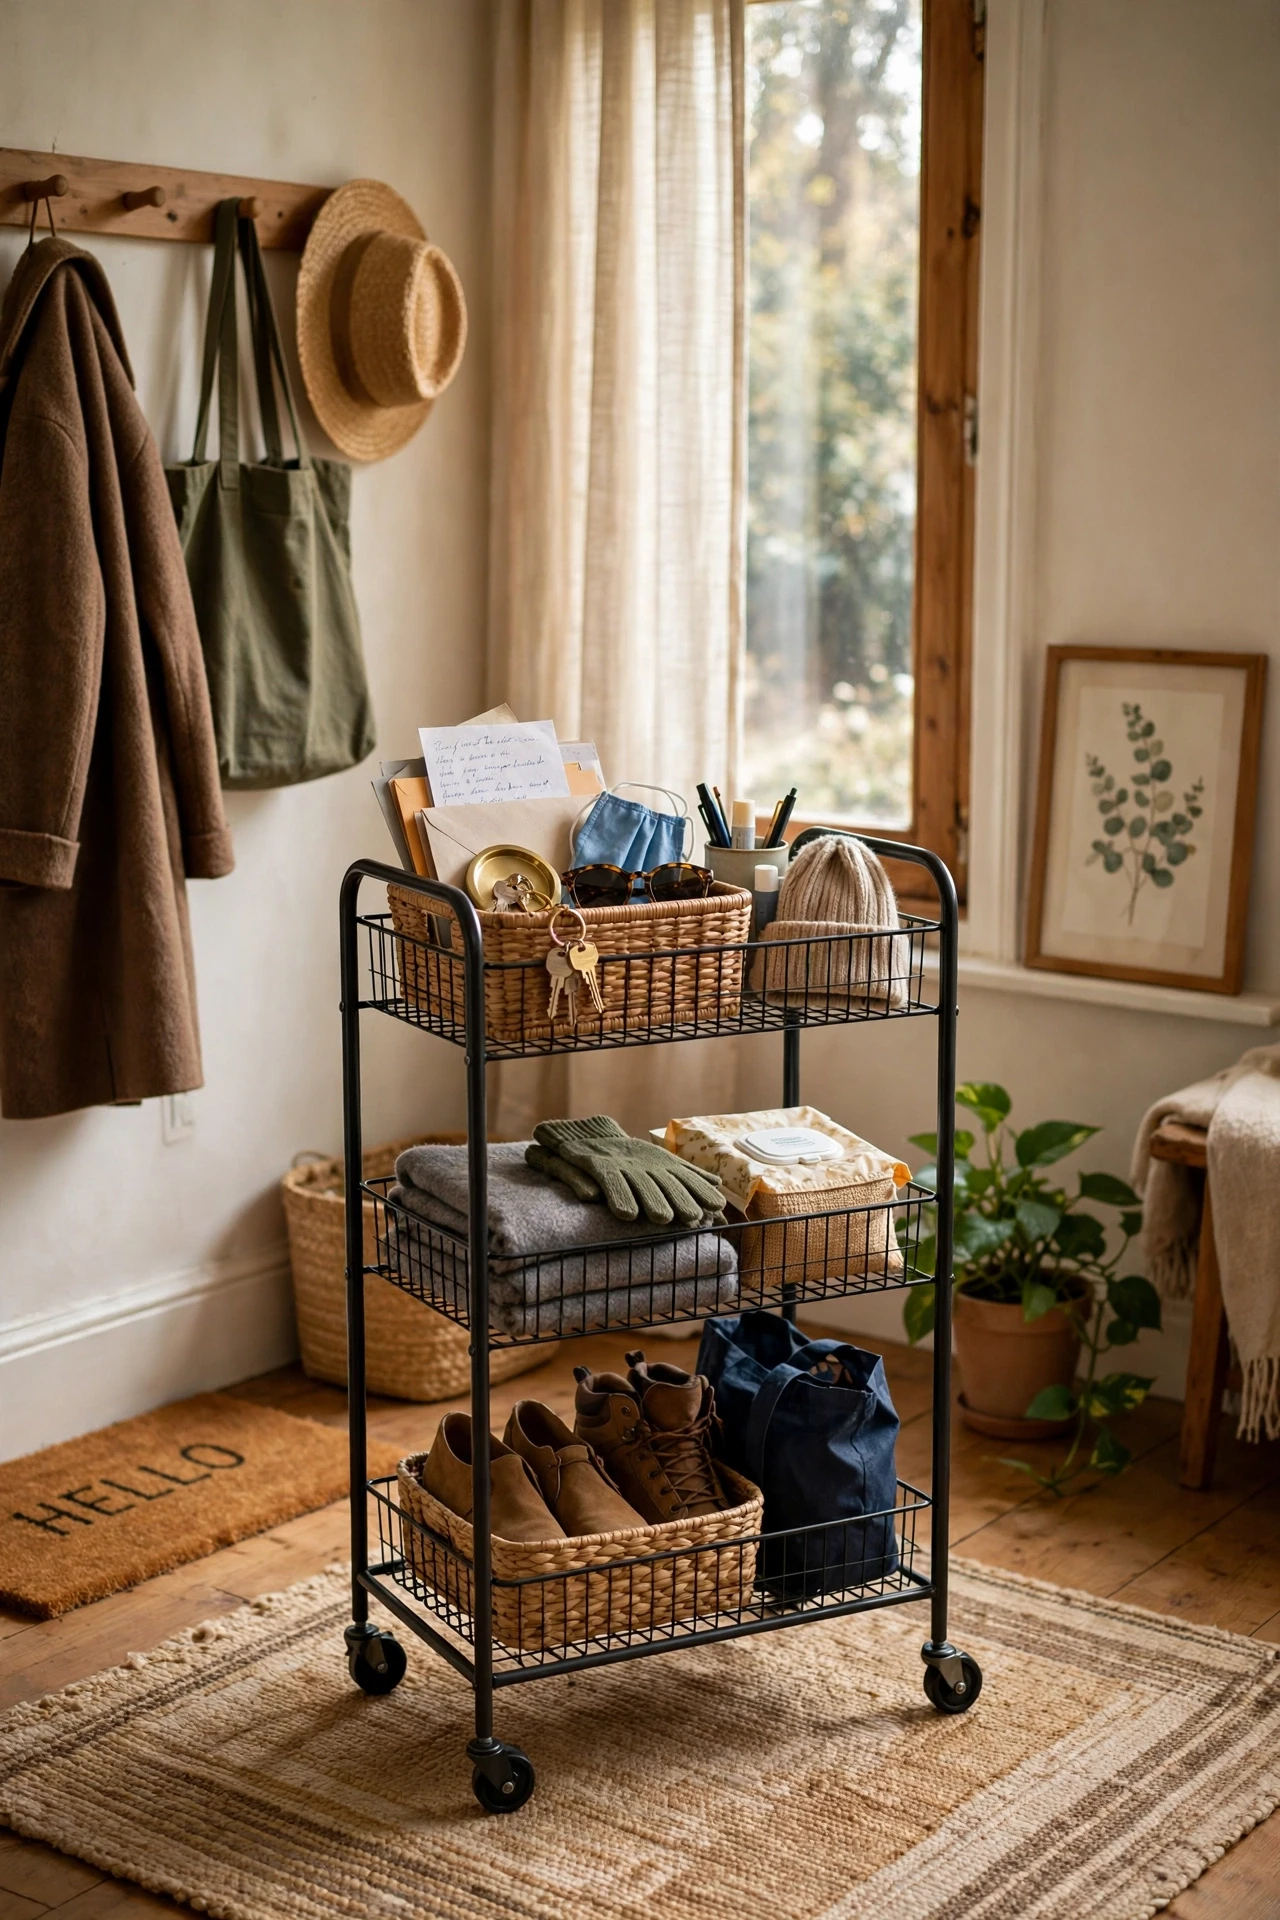
A narrow rolling cart tucks beside a console or door frame and holds sunscreen, dog treats, chargers, and all the small things entries collect. Start by measure the gap before you buy, then put daily items on top and spares below, and finish by add small bins so nothing slides around. Mine rolls out when I need it and hides when guests come, which is exactly what a small flat needs. Lock the wheels once it is in place, or it will drift every time the door slams.
Cost: ~$29 | Time: 15 minutes
11. Tension Rod Entryway Curtain Nook
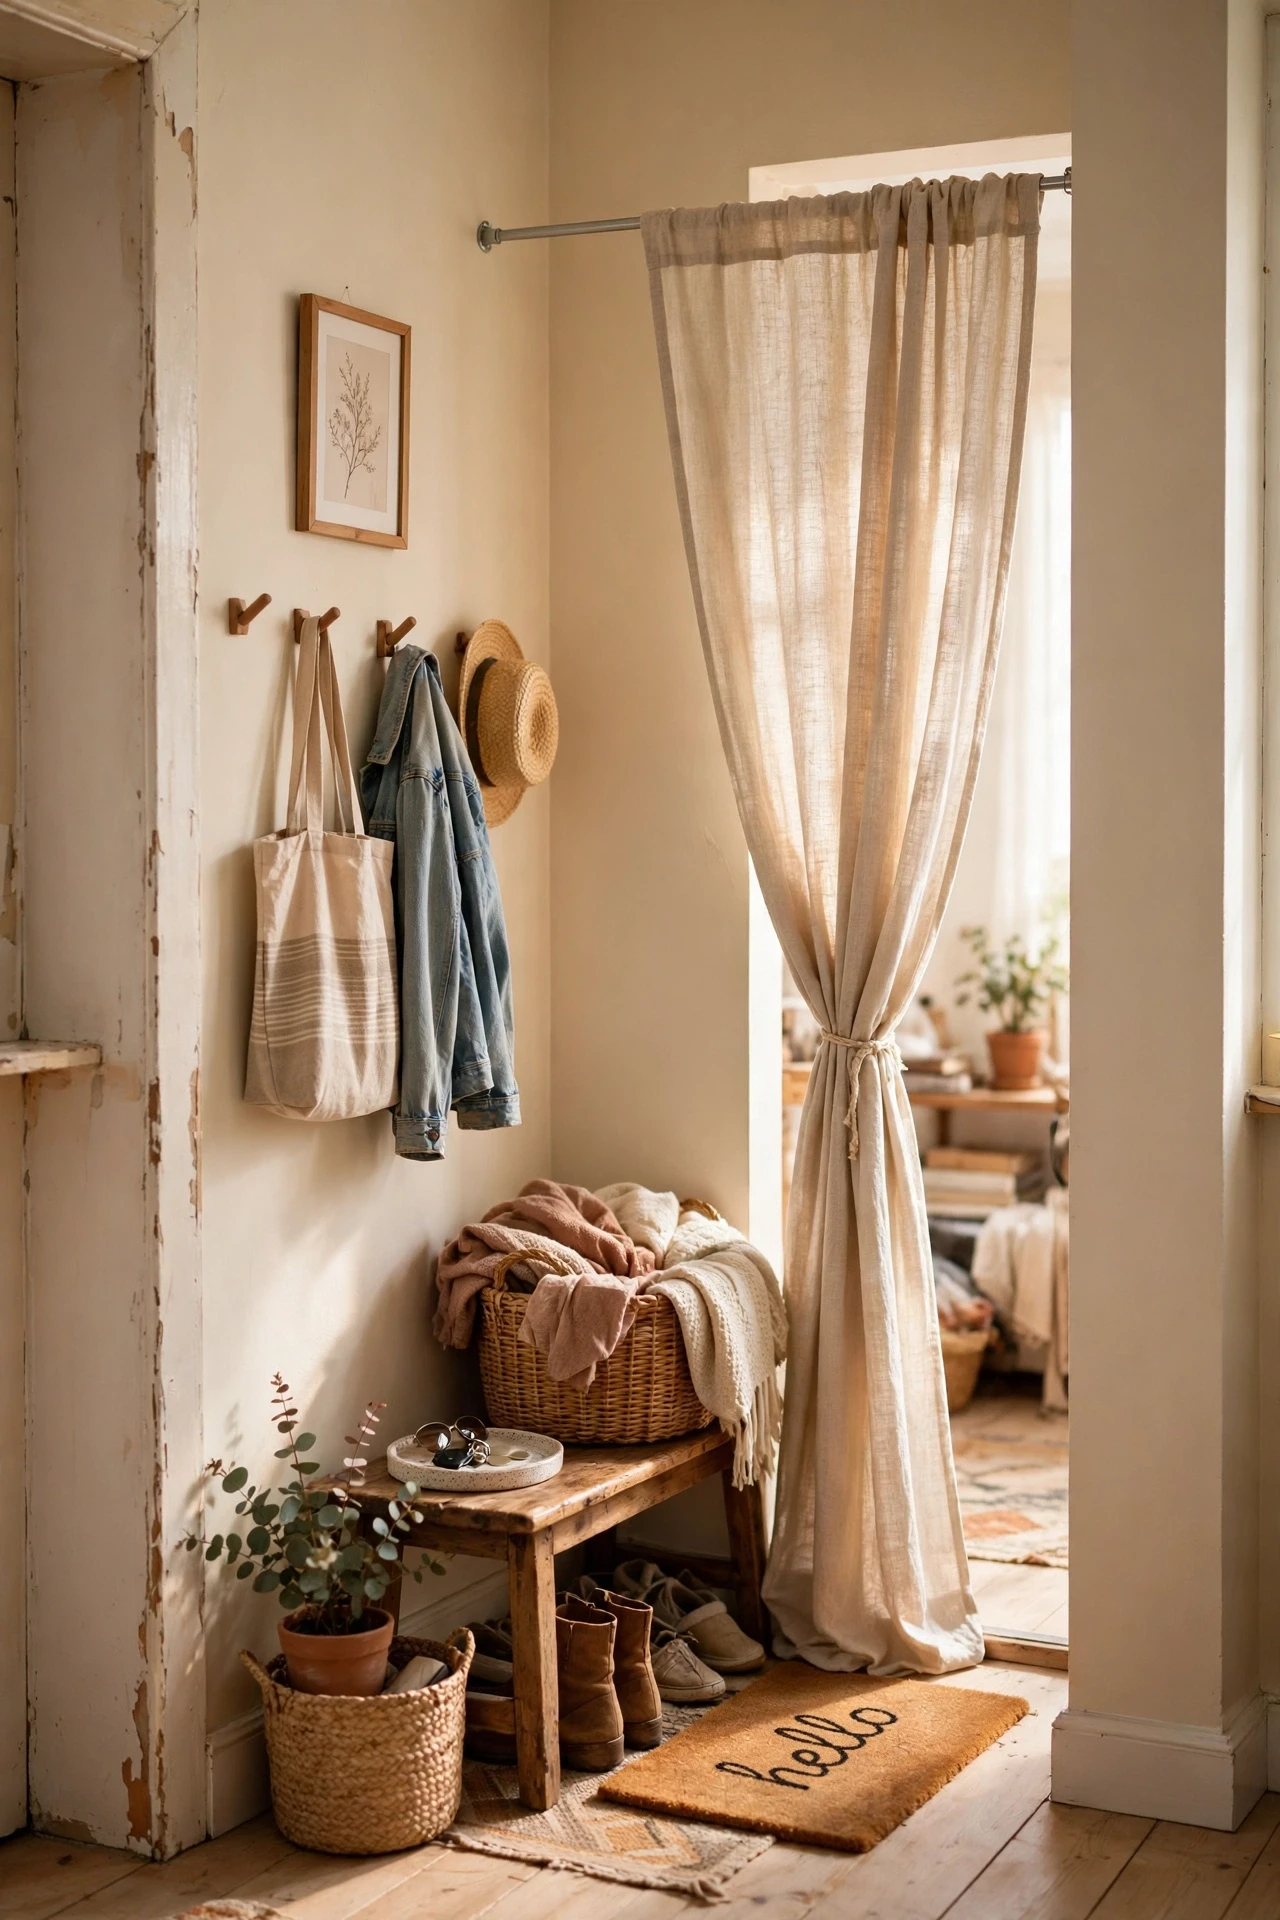
A tension rod with a curtain creates a soft little nook that hides clutter or separates the entry from the living room. Start by measure the opening at three heights, then twist the rod until it grips firmly, and finish by hang a machine-washable curtain panel. We used one to hide our open shoe shelf, and visitors now think we have a proper closet. Choose a rod rated wider than your opening so it stays put under the curtain weight.
Cost: ~$16 | Time: 15 minutes
12. Adhesive Wall Shelf for Keys and Sunglasses
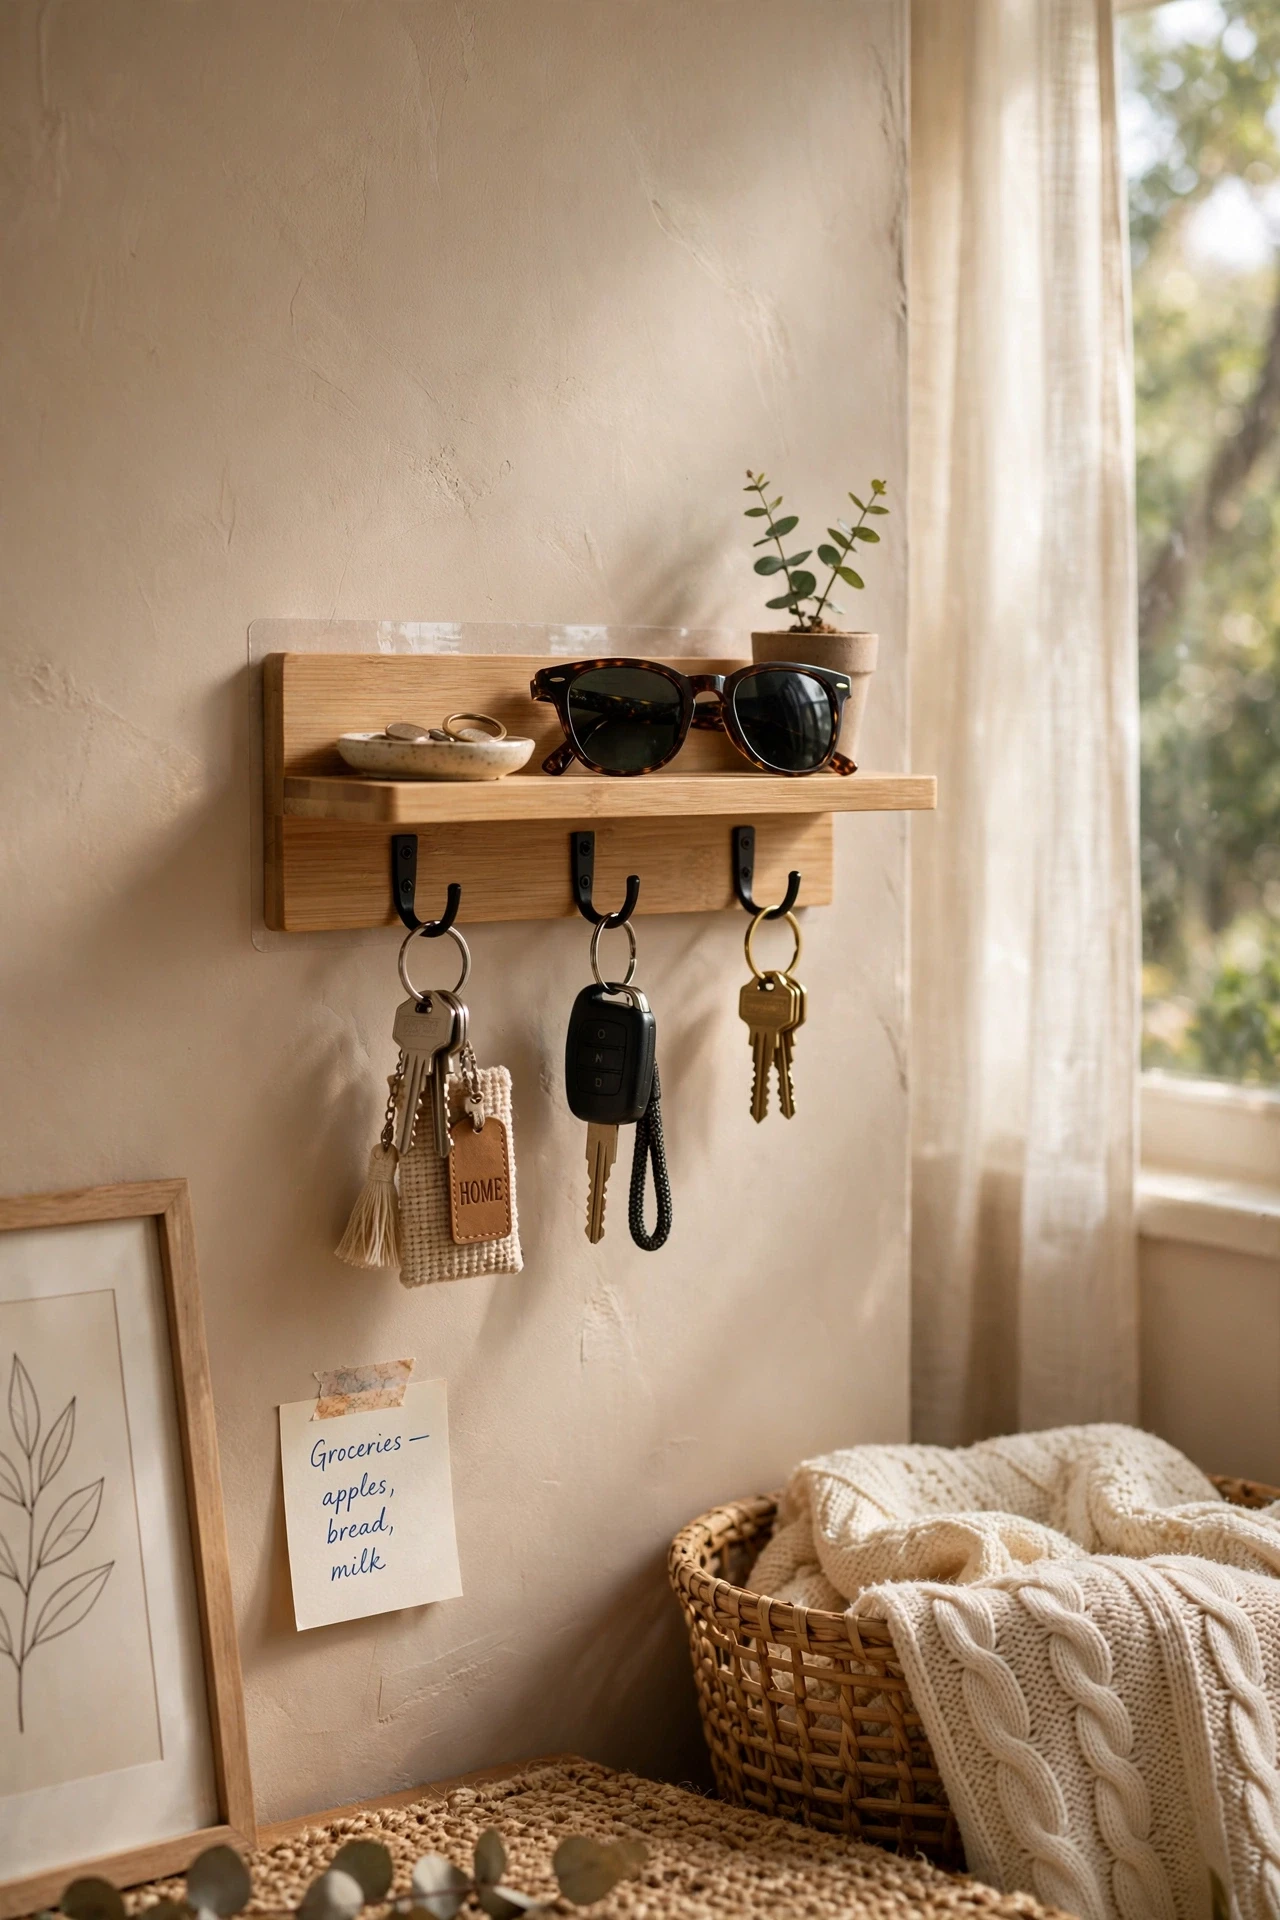
A small adhesive shelf near the door becomes the landing pad for sunglasses, wallets, and mail you actually need. Start by pick a spot you pass without thinking, then clean and dry the wall before sticking, and finish by keep only five items on it so it stays useful. Ours holds my sunglasses and the post I need to remember, and nothing else is allowed to live there. A shelf with a small lip stops keys sliding off when the door bangs shut.
Cost: ~$15 | Time: 10 minutes
13. Foldable Entryway Bench
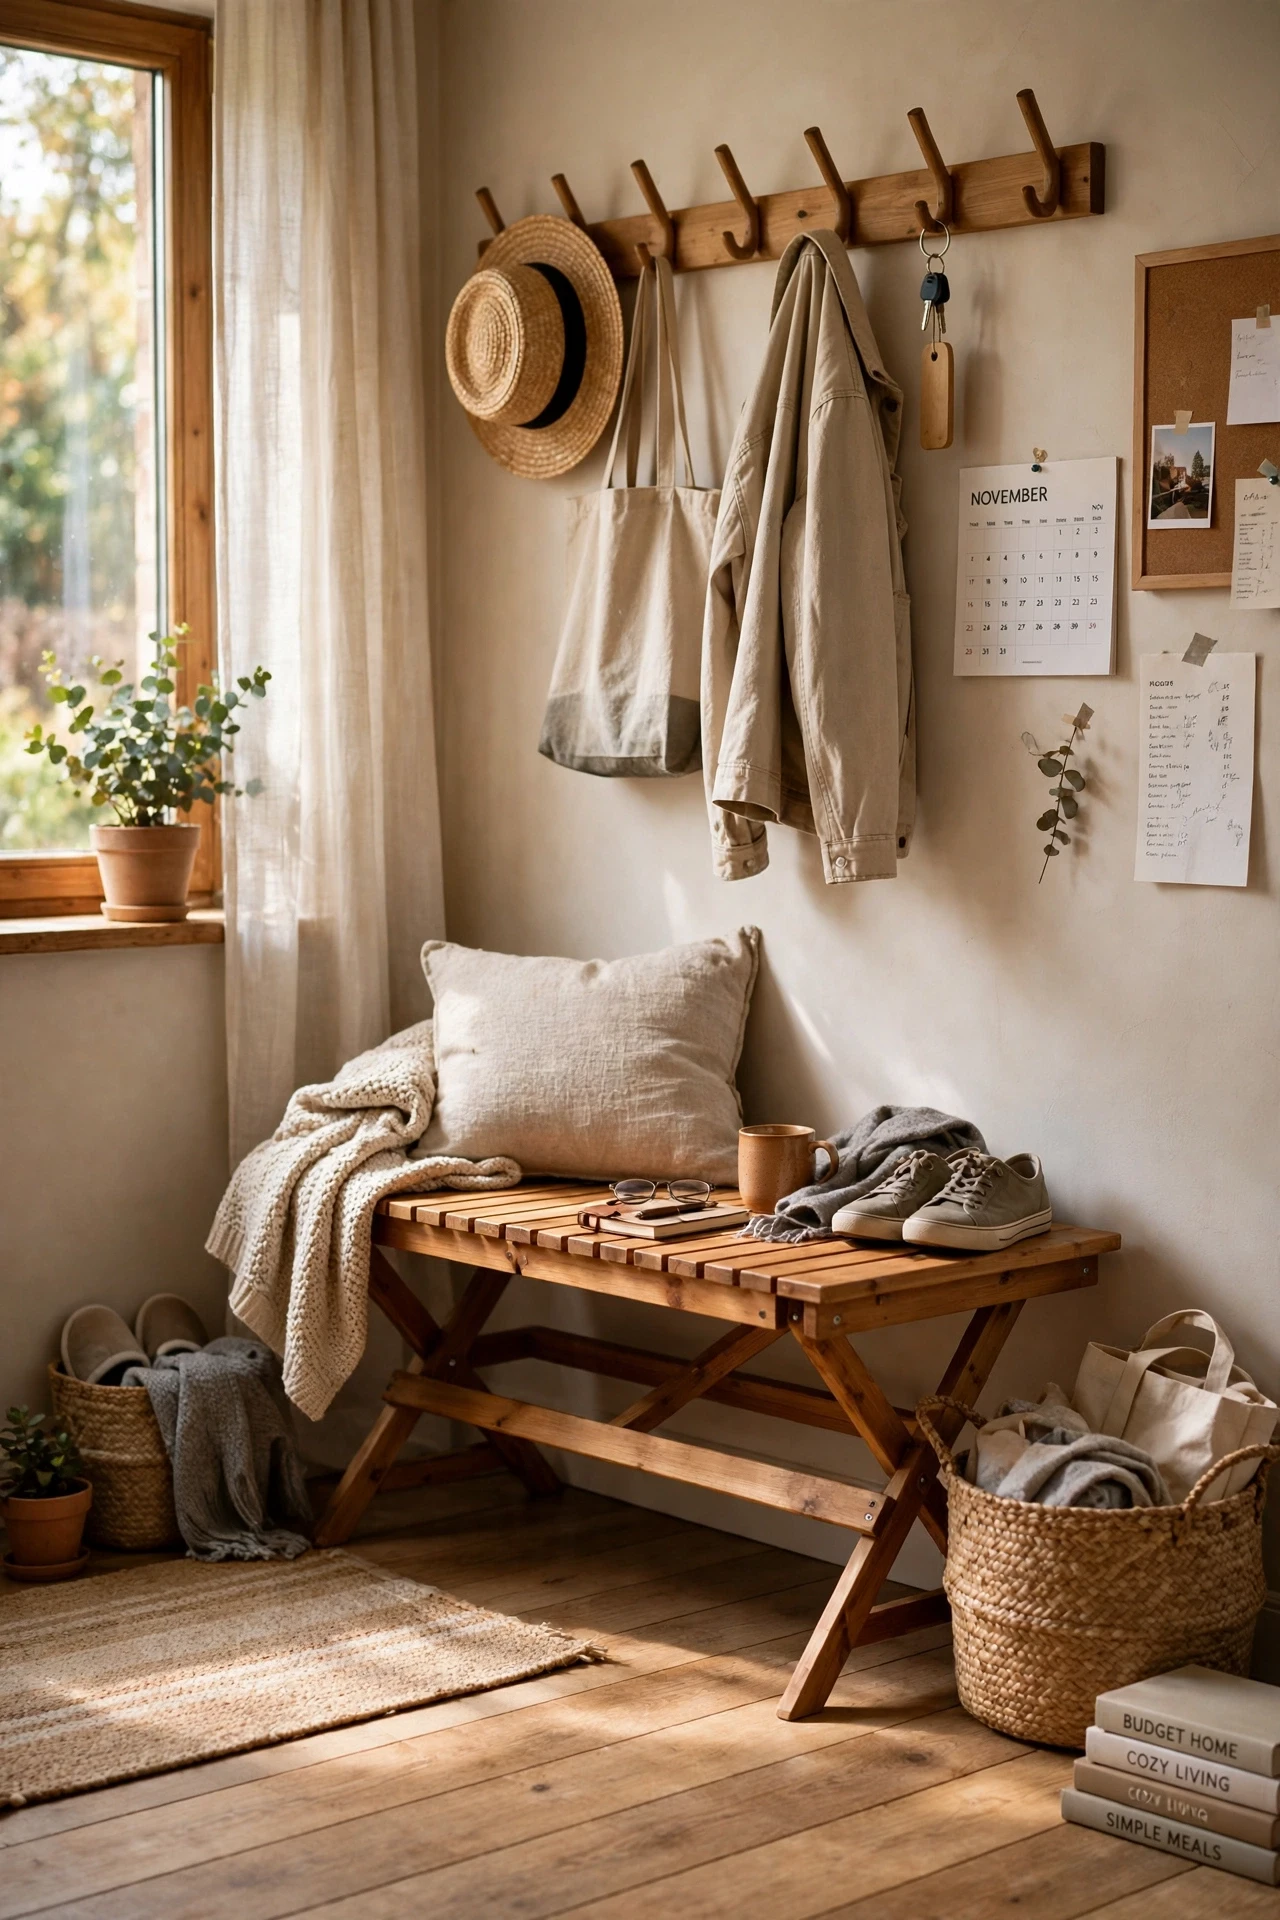
A foldable bench gives you a seat when you need it and folds flat when you need floor space for luggage or a pram. Start by open it fully and lock the legs, then place a folded blanket on top for comfort, and finish by fold it away behind the door when guests arrive. I keep ours folded in winter and open all summer, when everyone is coming in with muddy trainers. Check the folded thickness before buying, because some benches are bulkier than they look online.
Cost: ~$34 | Time: 5 minutes
Pro tip: a folded throw on a foldable bench makes it look like furniture, not camping gear.
14. Basket Wall Storage on Adhesive Hooks
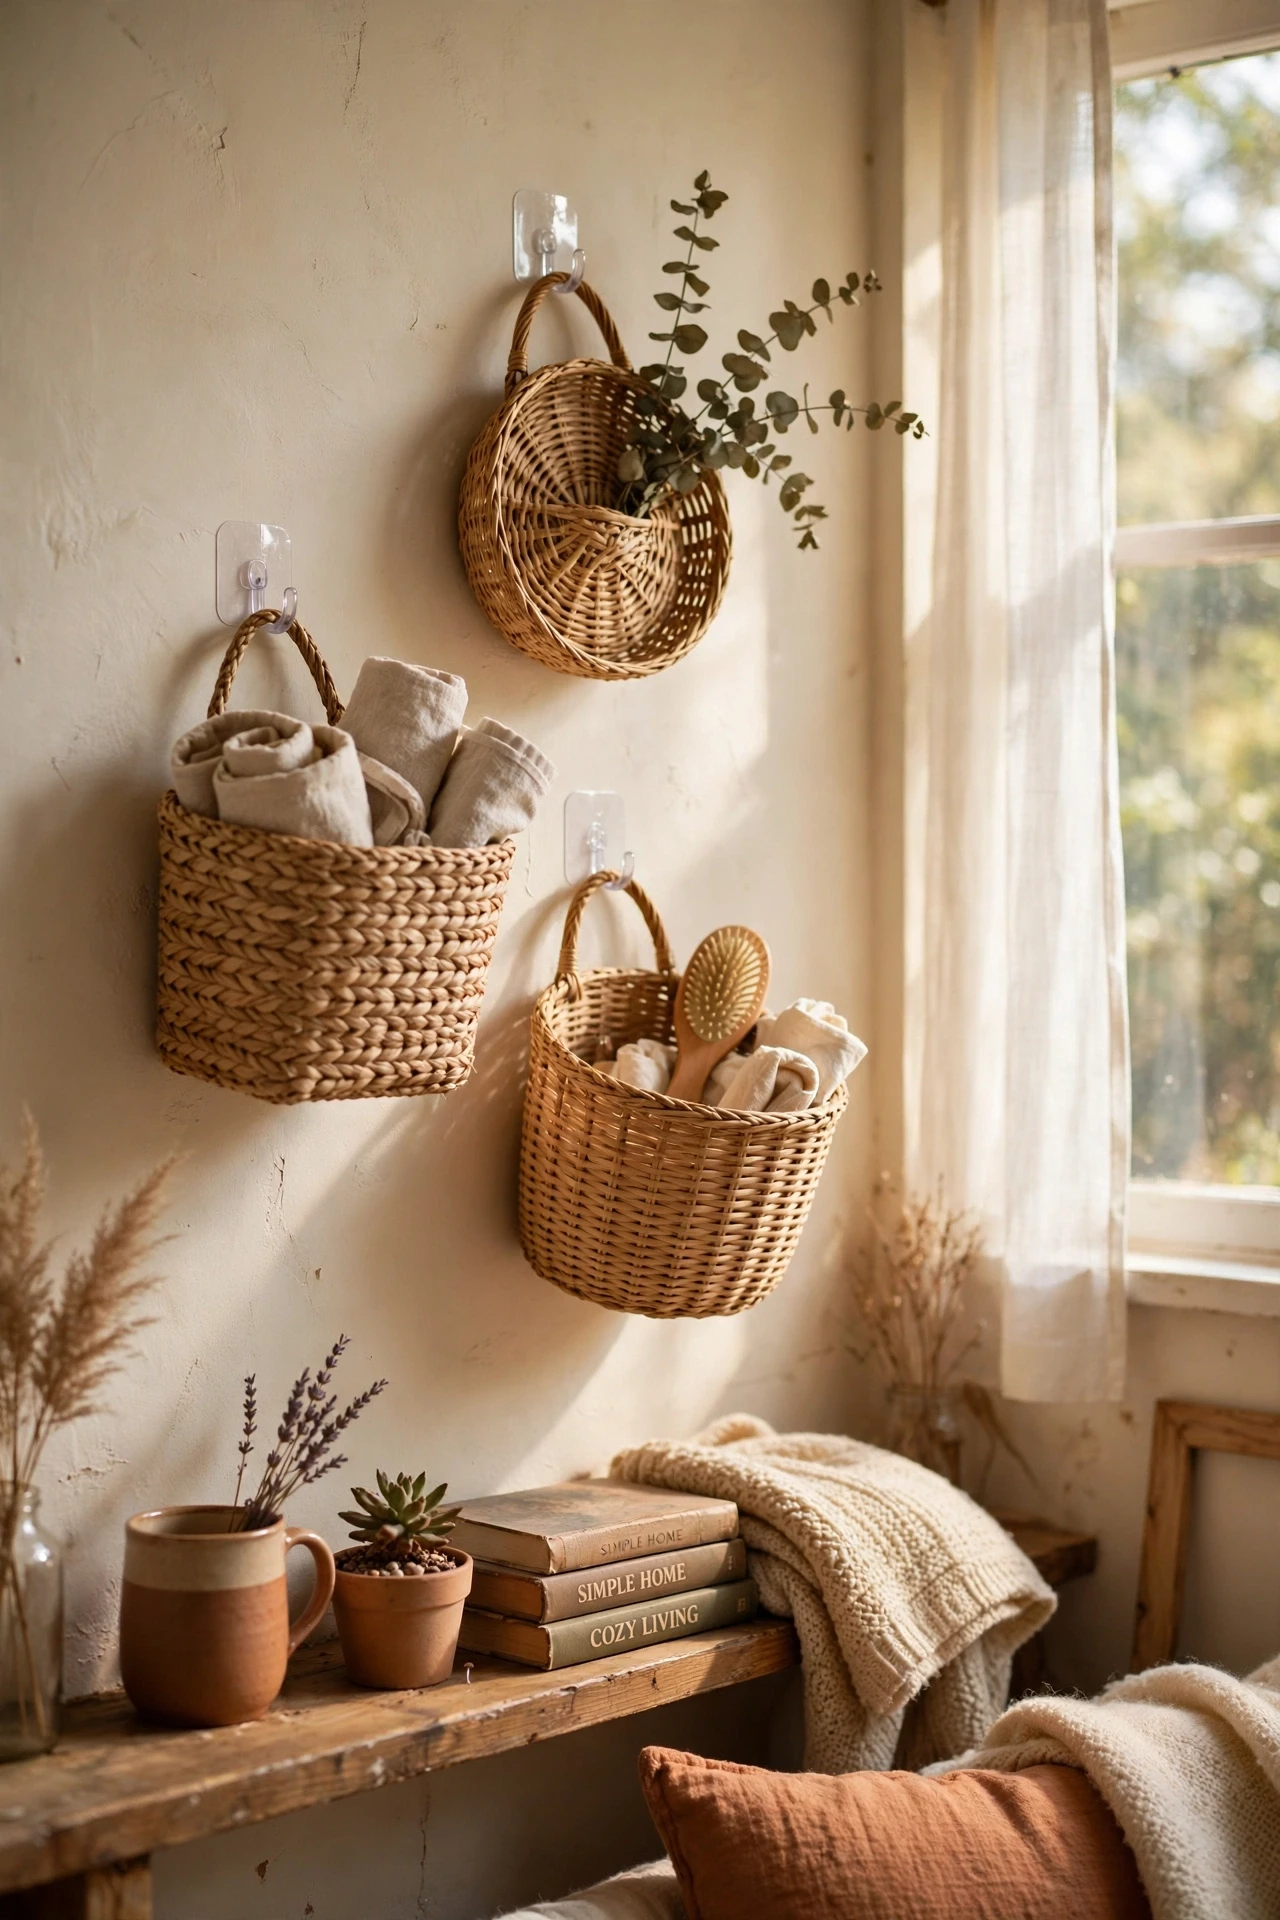
A few woven baskets hung on adhesive hooks turn dead wall space into pretty storage for scarves, hats, and gloves. Start by group baskets in odd numbers for a natural look, then hang the largest one lowest for easy reach, and finish by roll scarves instead of folding them to save room. Our basket wall holds winter gear all season, and swapping it for summer hats takes five minutes. Use hooks rated for the basket plus its contents, not just the empty basket.
Cost: ~$22 | Time: 25 minutes
15. Entryway Tray and Bowl Drop Zone
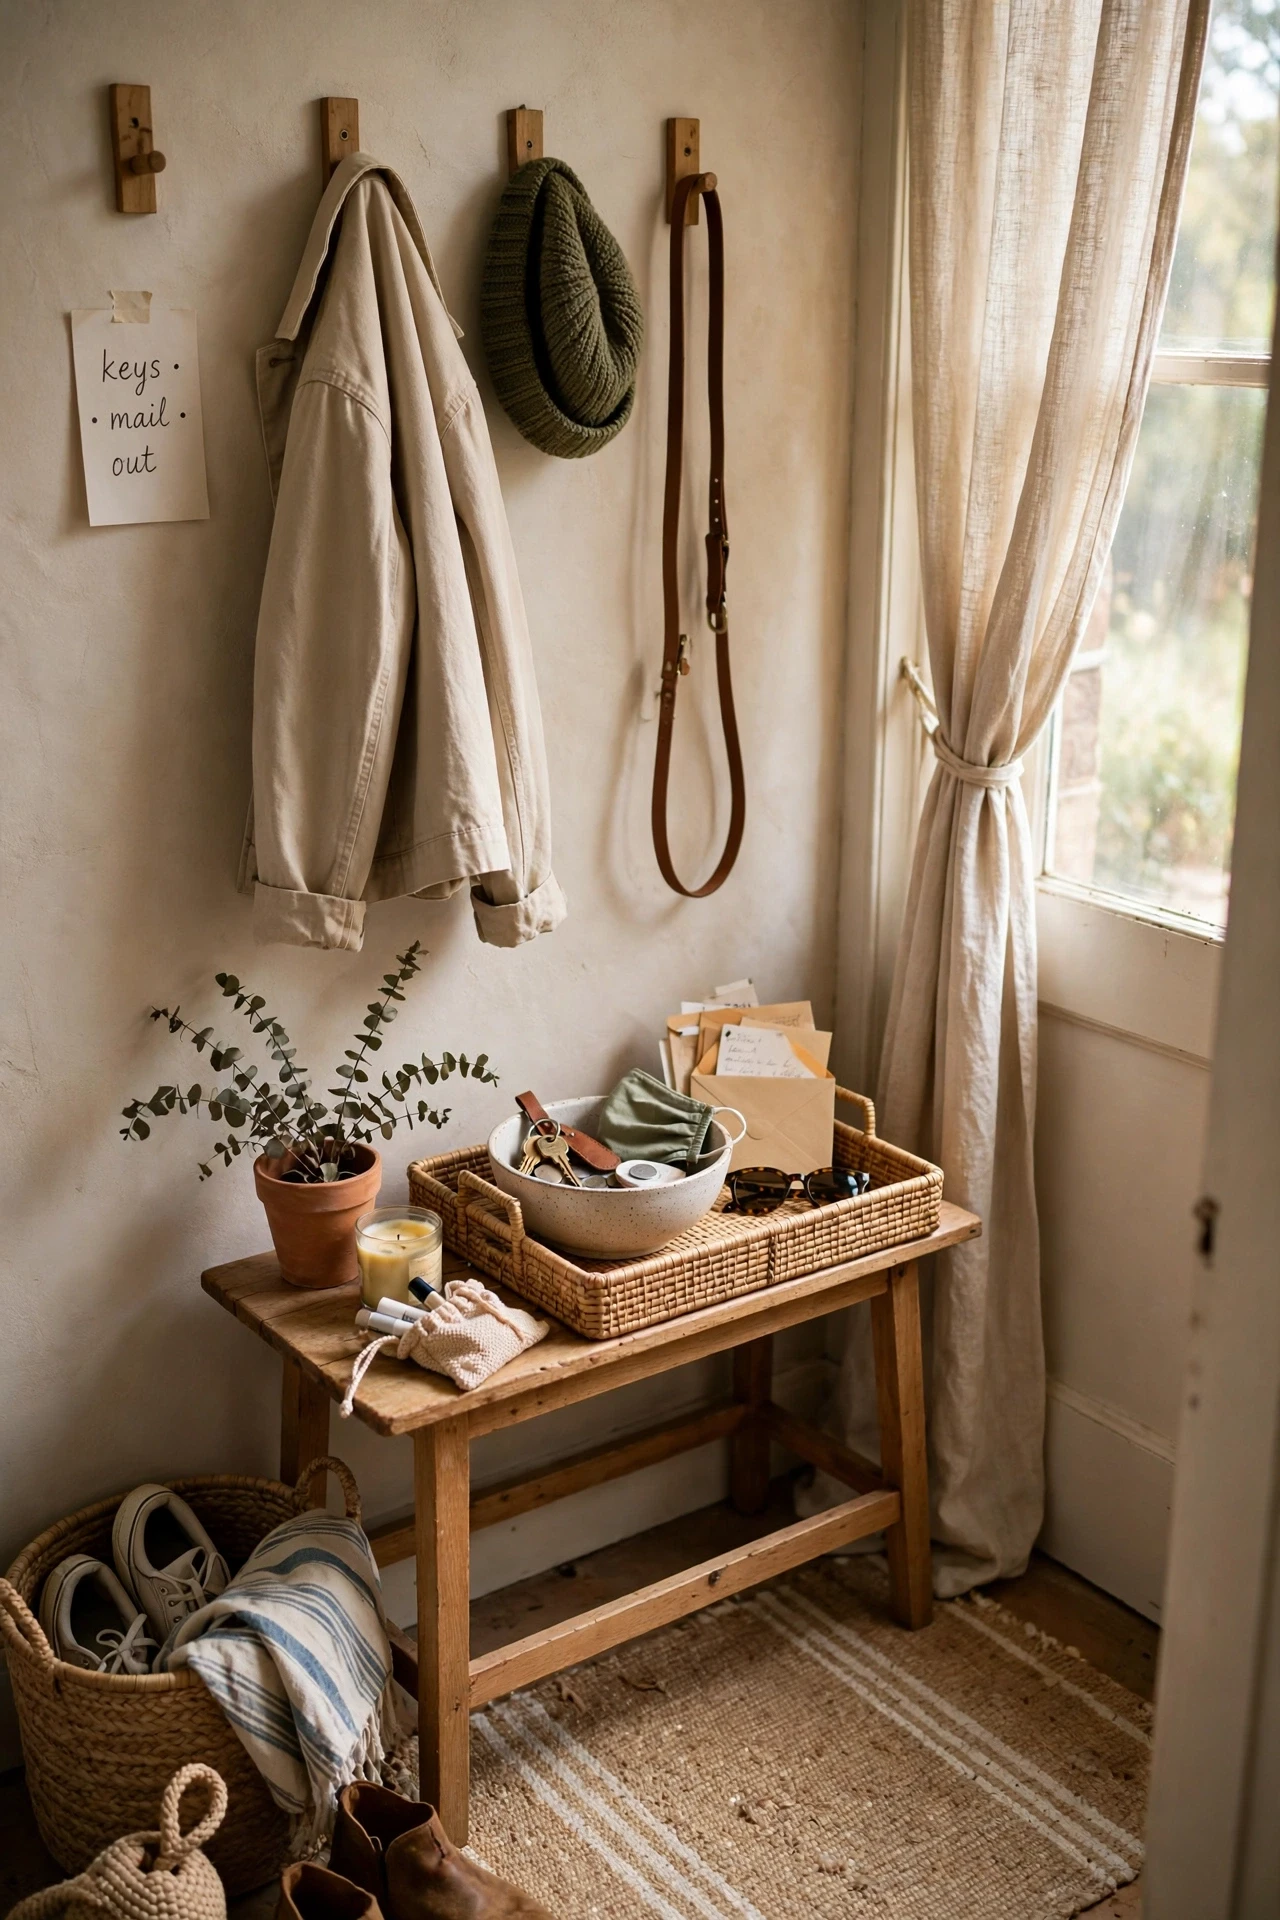
A tray on a small table with a bowl for keys creates a drop zone that stops clutter spreading across the whole house. Start by choose a tray big enough for keys, coins, and a phone, then put the bowl on the side nearest the door, and finish by empty the tray every Sunday night. The rule in our house is simple: if it is not in the tray, it is not my problem when it goes missing. A tray with raised edges keeps coins from rolling onto the floor.
Cost: ~$19 | Time: 10 minutes
16. Peel-and-Stick Wainscoting Panels
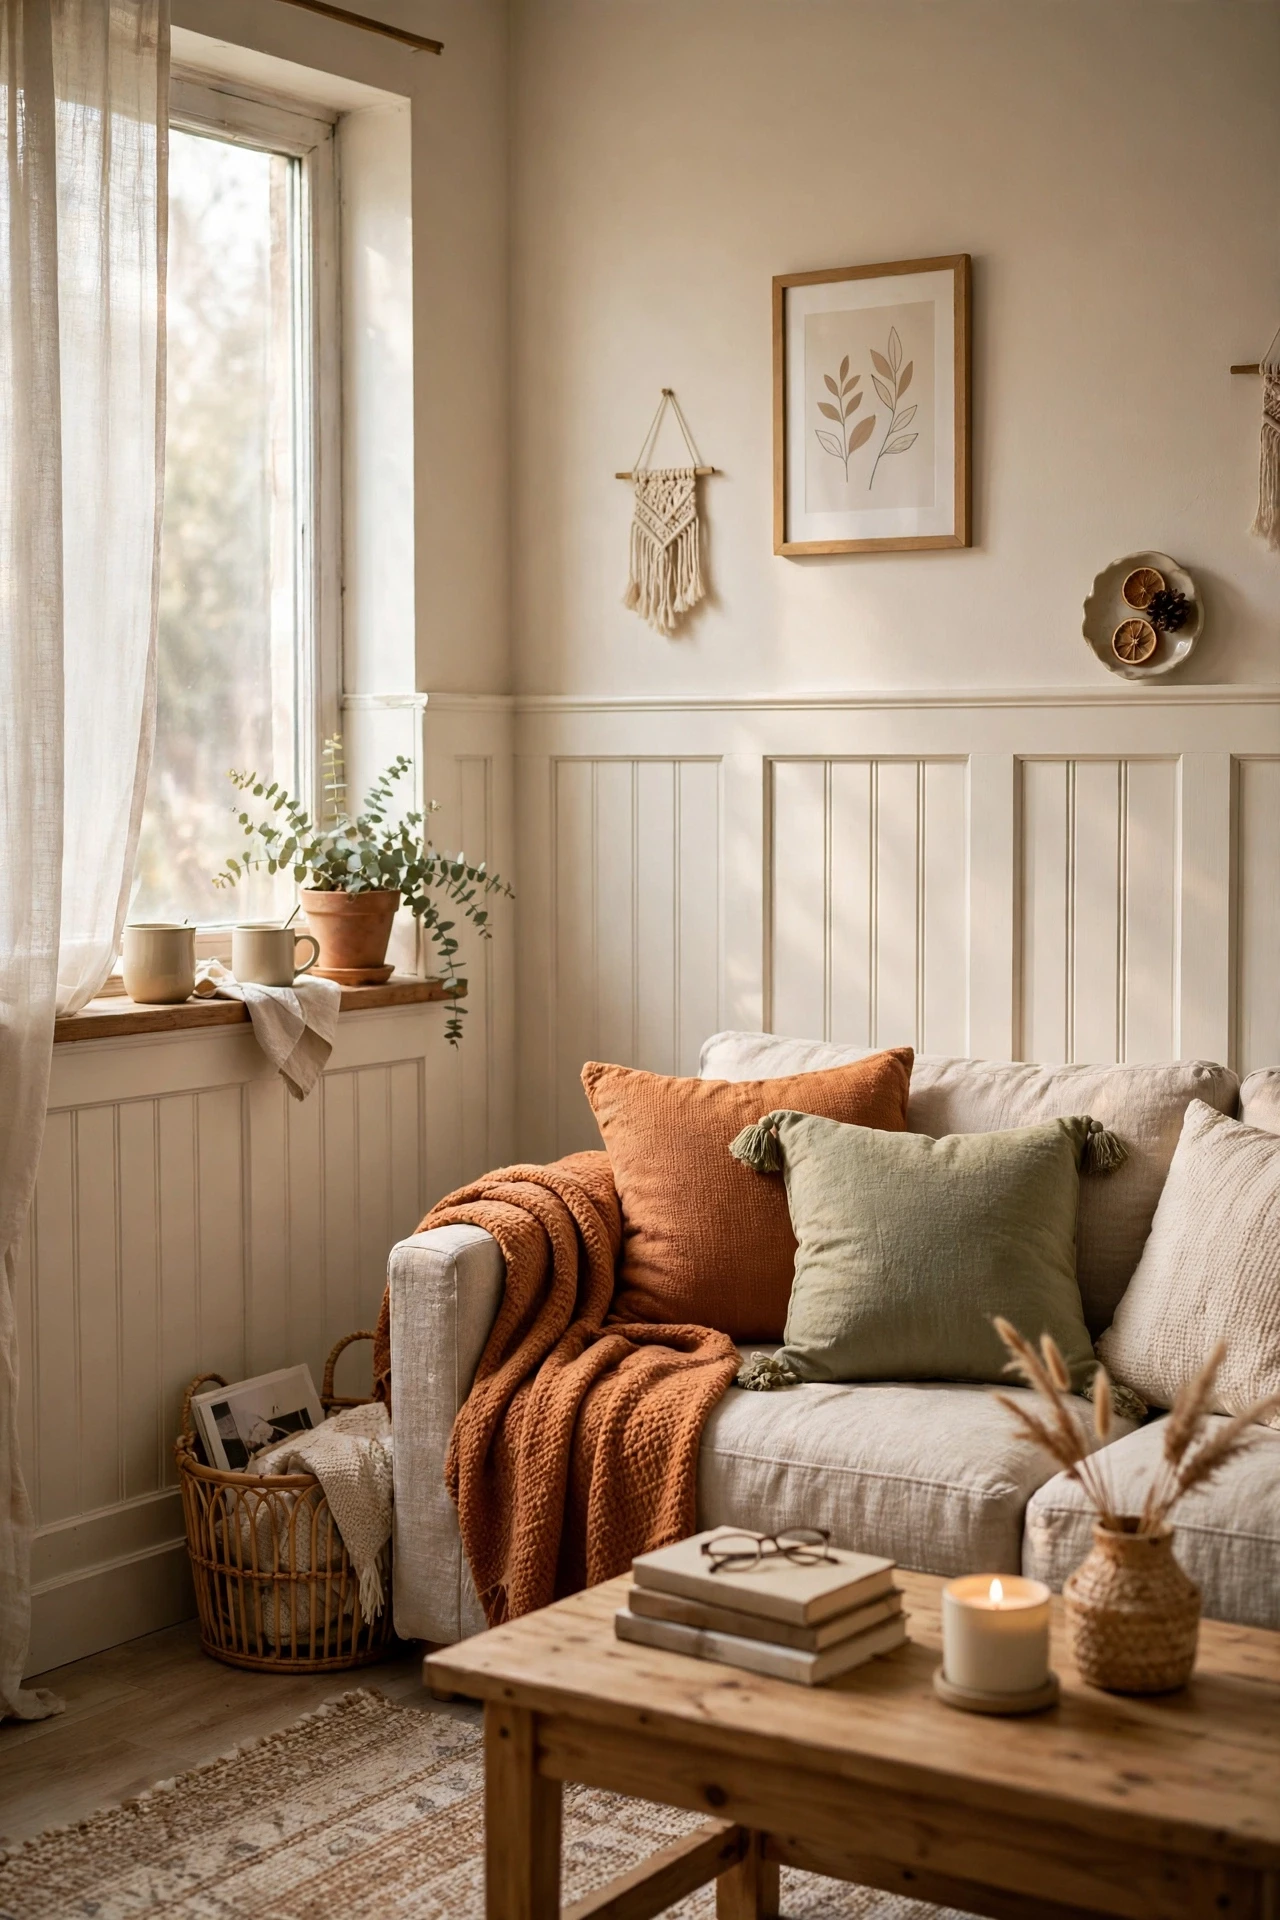
Peel-and-stick panels mimic classic wainscoting and add character to a flat rental wall without paint, nails, or landlord stress. Start by mark a level line at your chosen height, then cut panels around sockets with a craft knife, and finish by press each panel from the centre outward. I added them to our hallway last spring, and the whole space suddenly looked finished instead of temporary. Paintable panels let you match your trim colour exactly if white feels too stark.
Cost: ~$36 | Time: 75 minutes
If your space is more foyer than hallway, (see also: 17-small-foyer-ideas-on-a-budget) has small-space layouts worth borrowing.
17. Battery-Powered Entryway Sconce
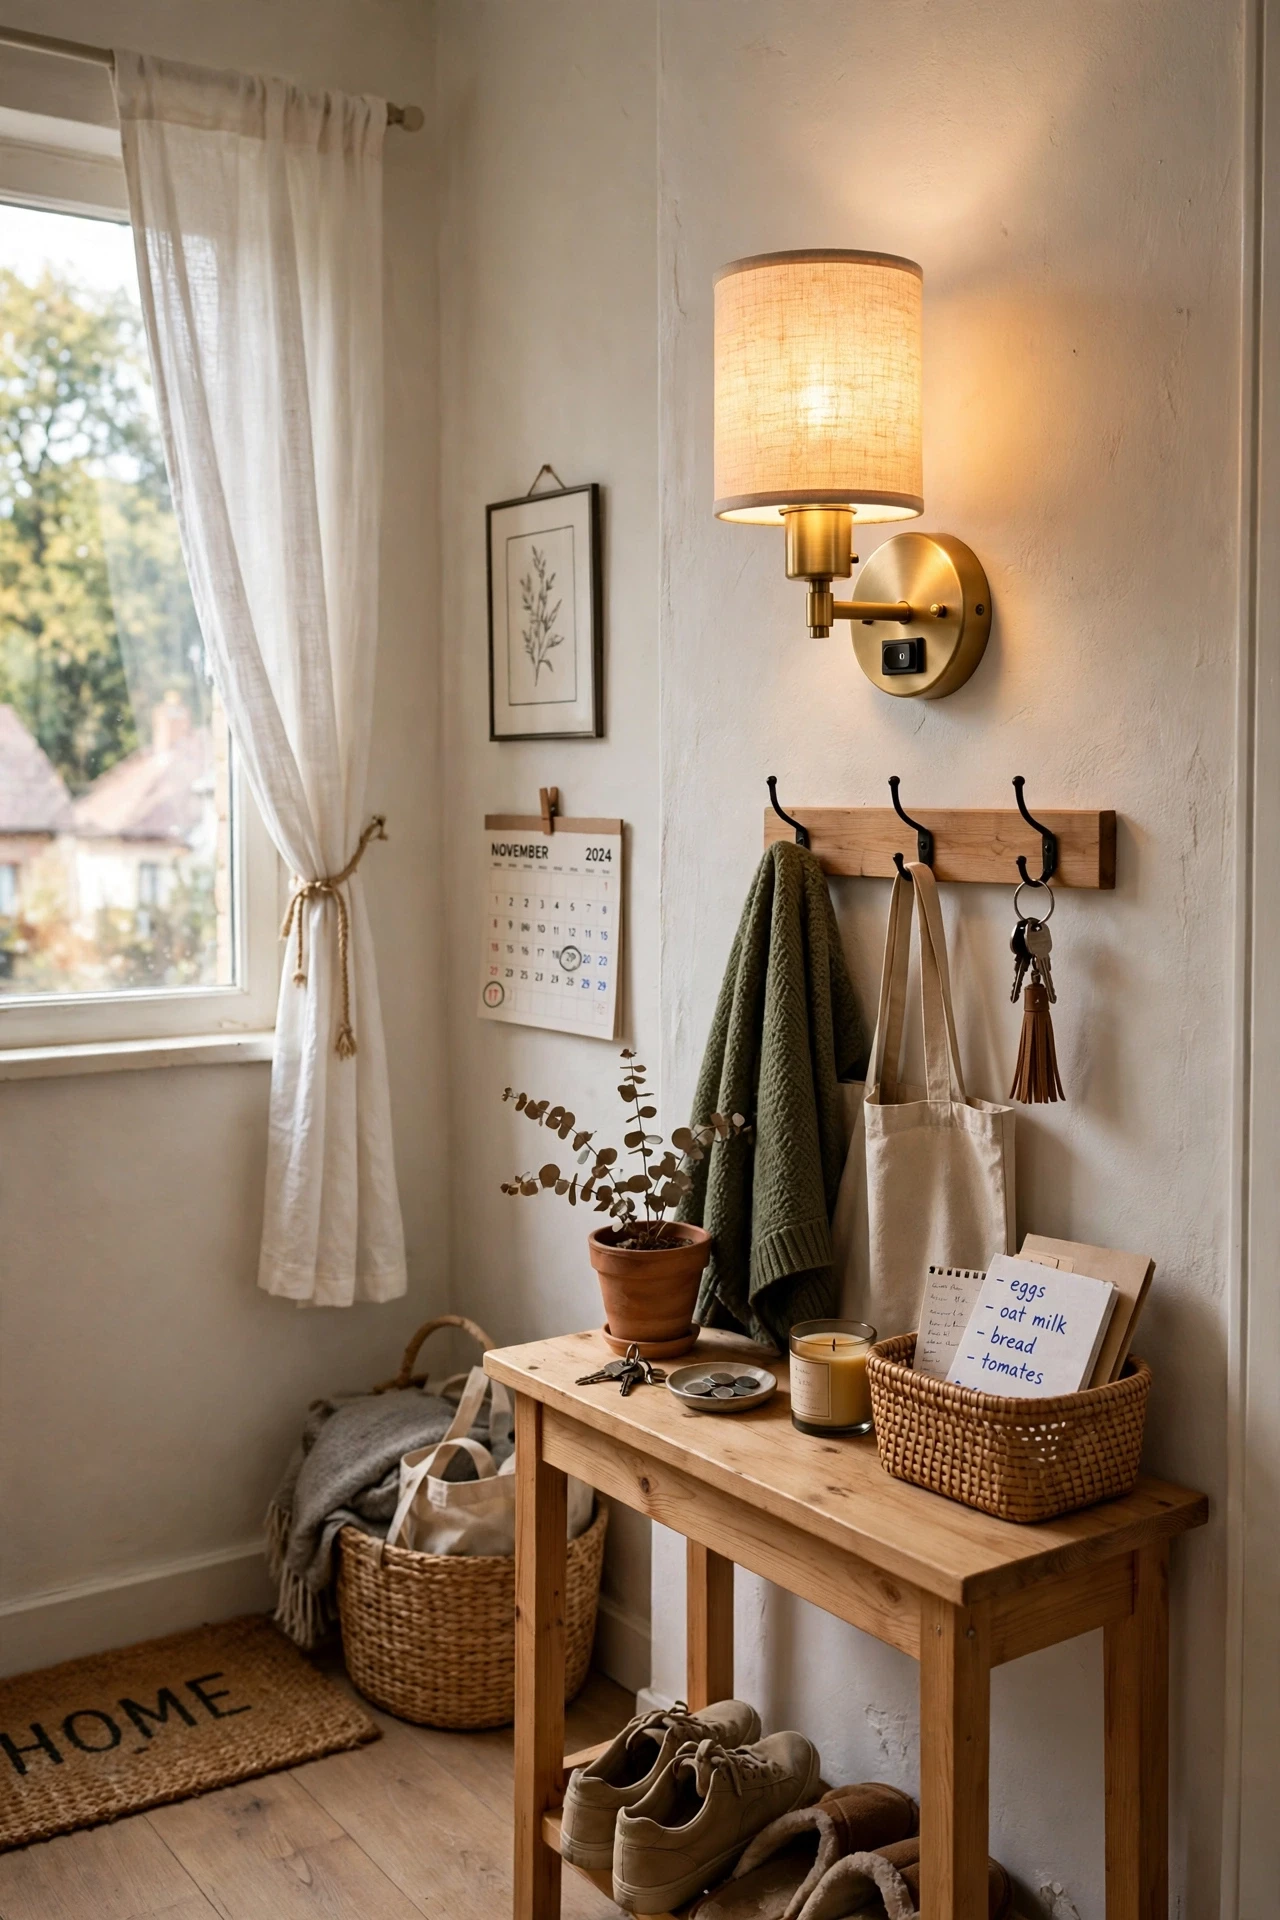
A battery sconce with a remote adds warm light to a dark entry with no wiring, no electrician, and no damage. Start by stick the mounting plate at eye level, then use warm-white bulbs for a welcoming glow, and finish by set a timer so it switches off by itself. Our hallway had no ceiling light, and one sconce changed it from gloomy to cosy in an evening. Keep spare batteries in the entry cart so a dead sconce never stays dark for a week.
Cost: ~$24 | Time: 15 minutes
18. Shoe Tray with a Boot Mat
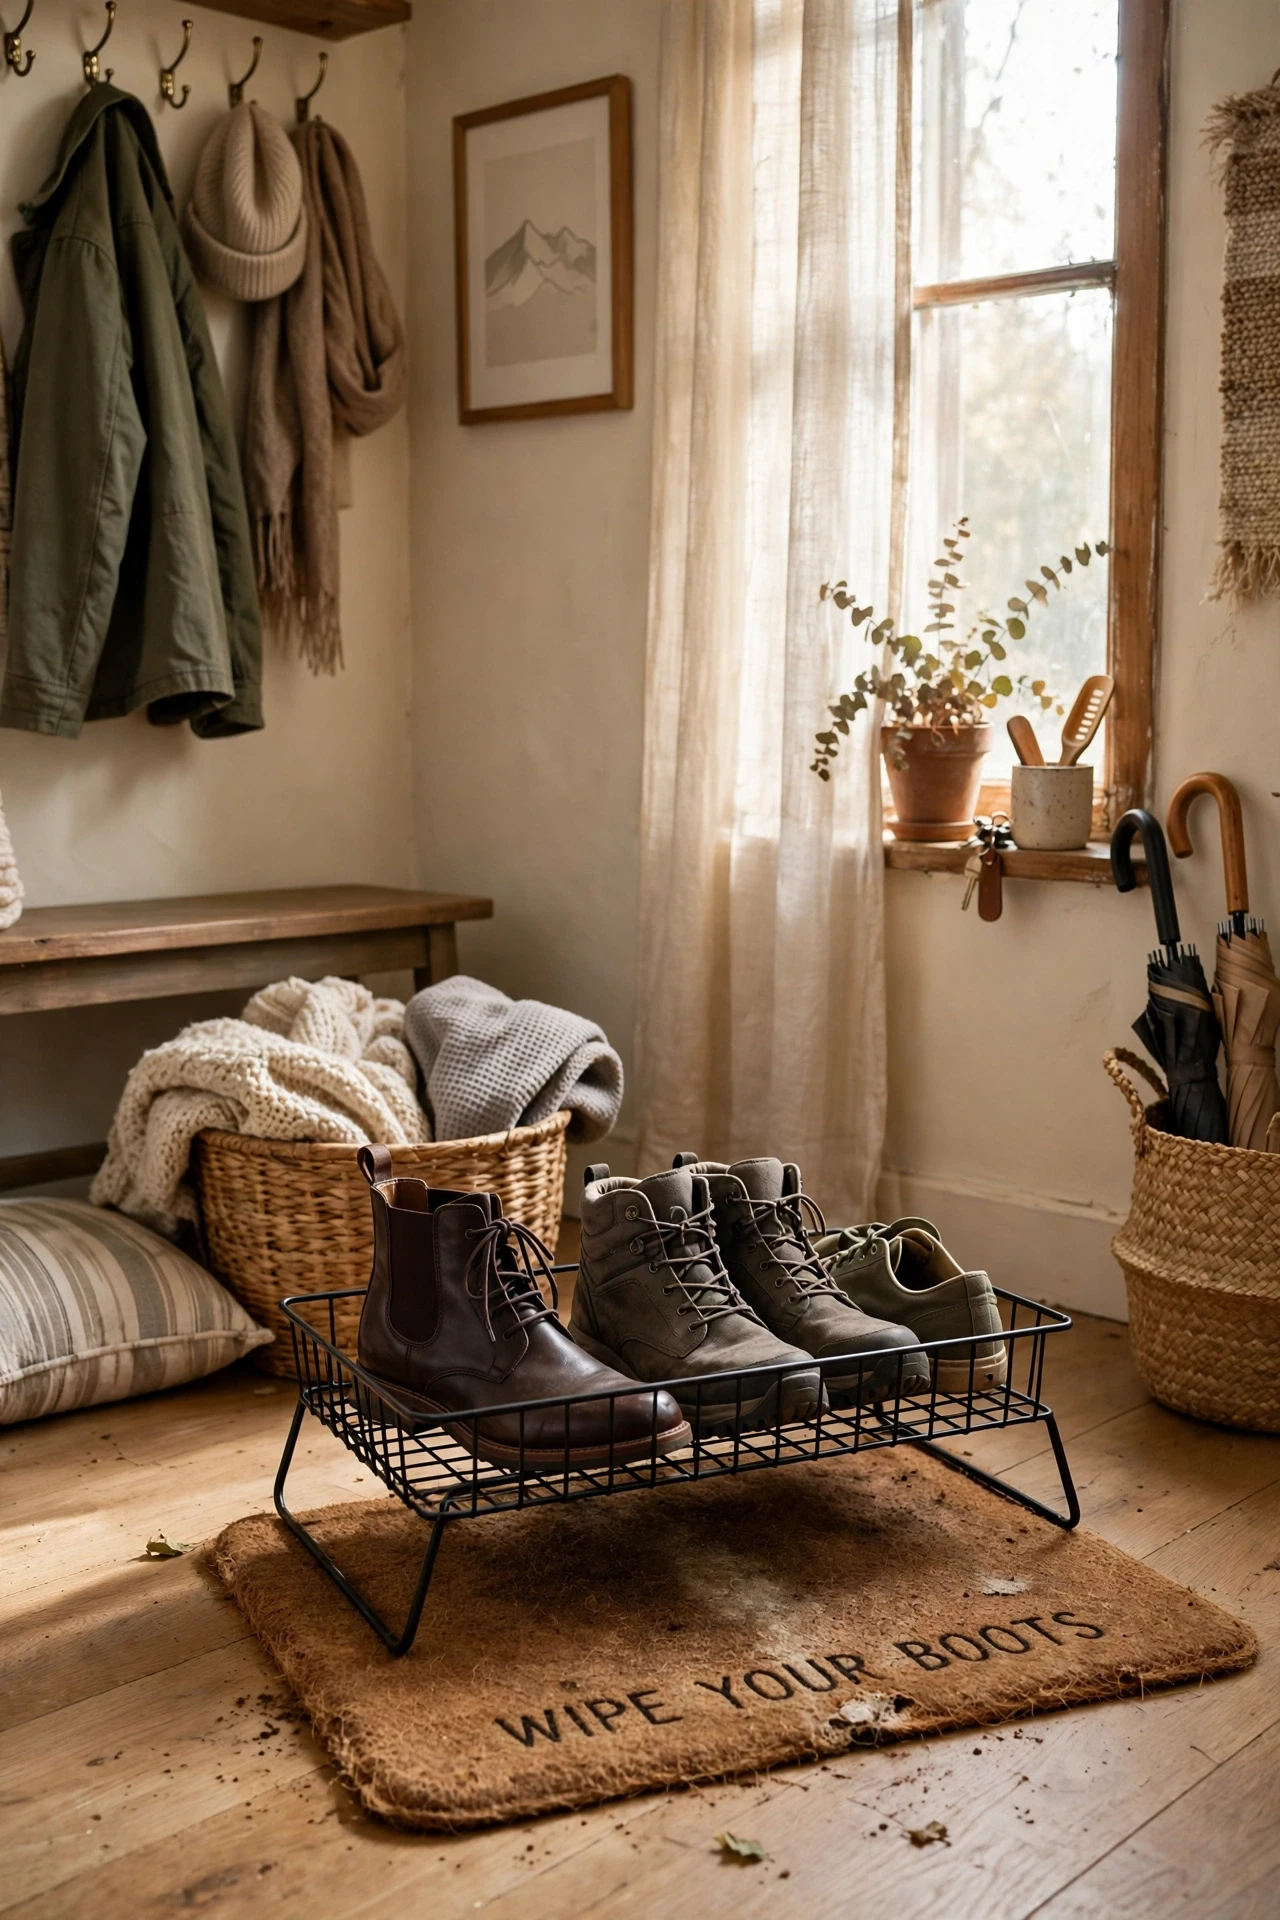
A sturdy tray with a boot mat contains wet shoes, drips, and grit, and protects rental floors from the first rainy day. Start by place the tray directly inside the door, then add a raised edge mat for boots, and finish by wipe the tray weekly so grit does not scratch it. After one winter of wet boots on bare floors, this tray paid for itself in saved cleaning time. Size the tray for your largest pair plus one, or boots will always hang over the edge.
Cost: ~$21 | Time: 5 minutes
19. Gallery Wall with Command Strips
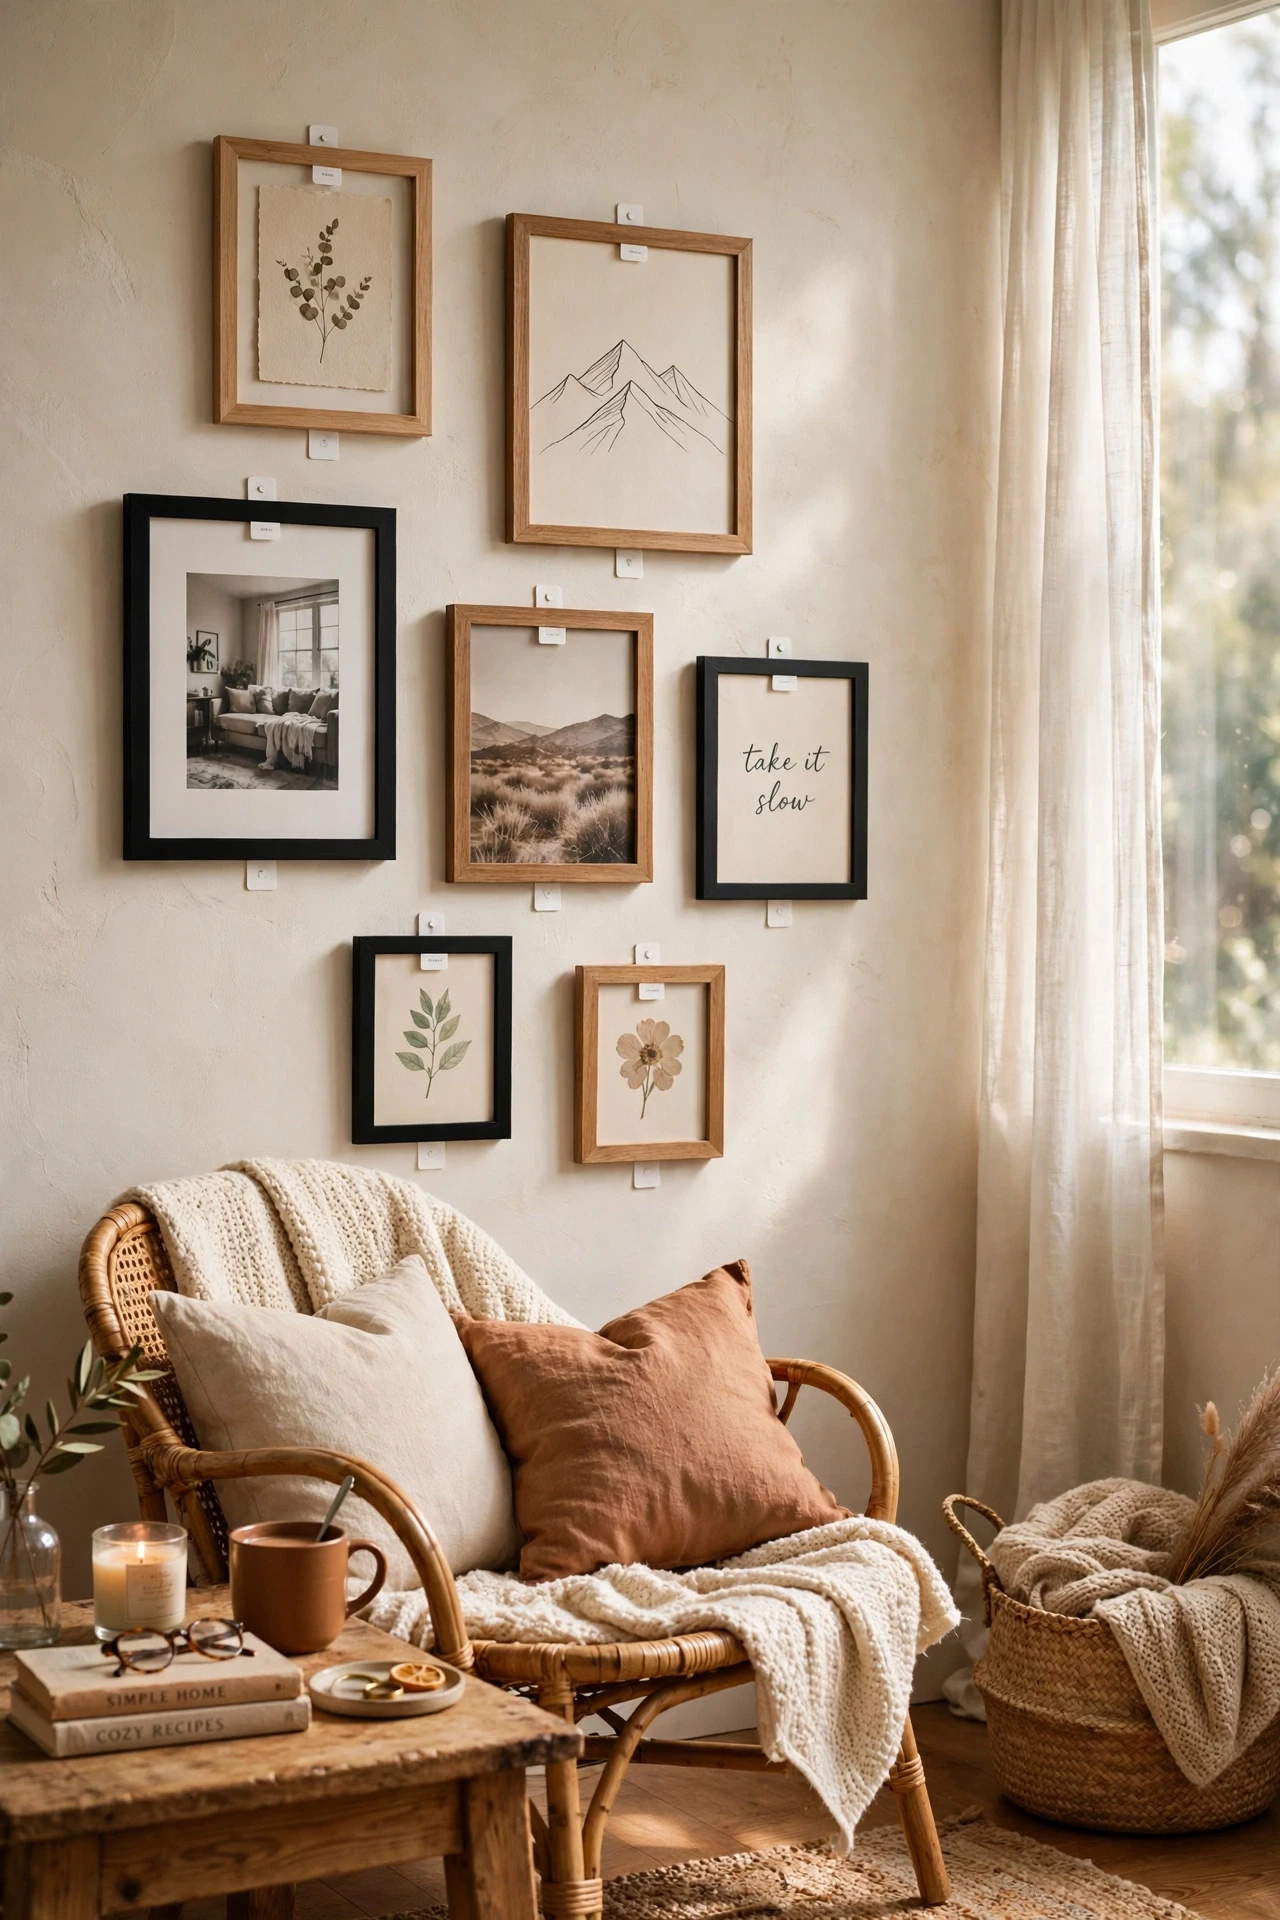
A gallery wall built with adhesive strips lets renters hang art and photos freely, then remove everything without a single hole to fill. Start by lay the frames on the floor to plan spacing, then use strips rated for each frame weight, and finish by hang the largest frame at eye level first. Our gallery wall is the first thing guests mention, and I know I can take it all down in an afternoon. Wait the full hour the strips recommend before hanging heavy frames, even if you are impatient.
Cost: ~$28 | Time: 45 minutes
If one of these ideas feels right for your doorway, save this post for moving week, when you will want the list, the costs, and the no-damage tricks all in one place.
