23 Small Backyard Ideas on a Dime
If you have ever stood in a tiny yard and wondered how anyone makes it look good without spending a fortune, these small backyard ideas are for you. Our own yard is barely bigger than a parking space, and for years I assumed a pretty garden needed a big budget. It turns out a few cheap projects, done one weekend at a time, can turn a scruffy patch into a place you actually want to sit in. Every idea below costs little, uses simple tools, and comes with the honest lesson I learned while doing it, so you can skip my mistakes and get straight to the good part.
Start With the Ground You Already Have
1. Pea Gravel Path That Costs Less Than Takeout
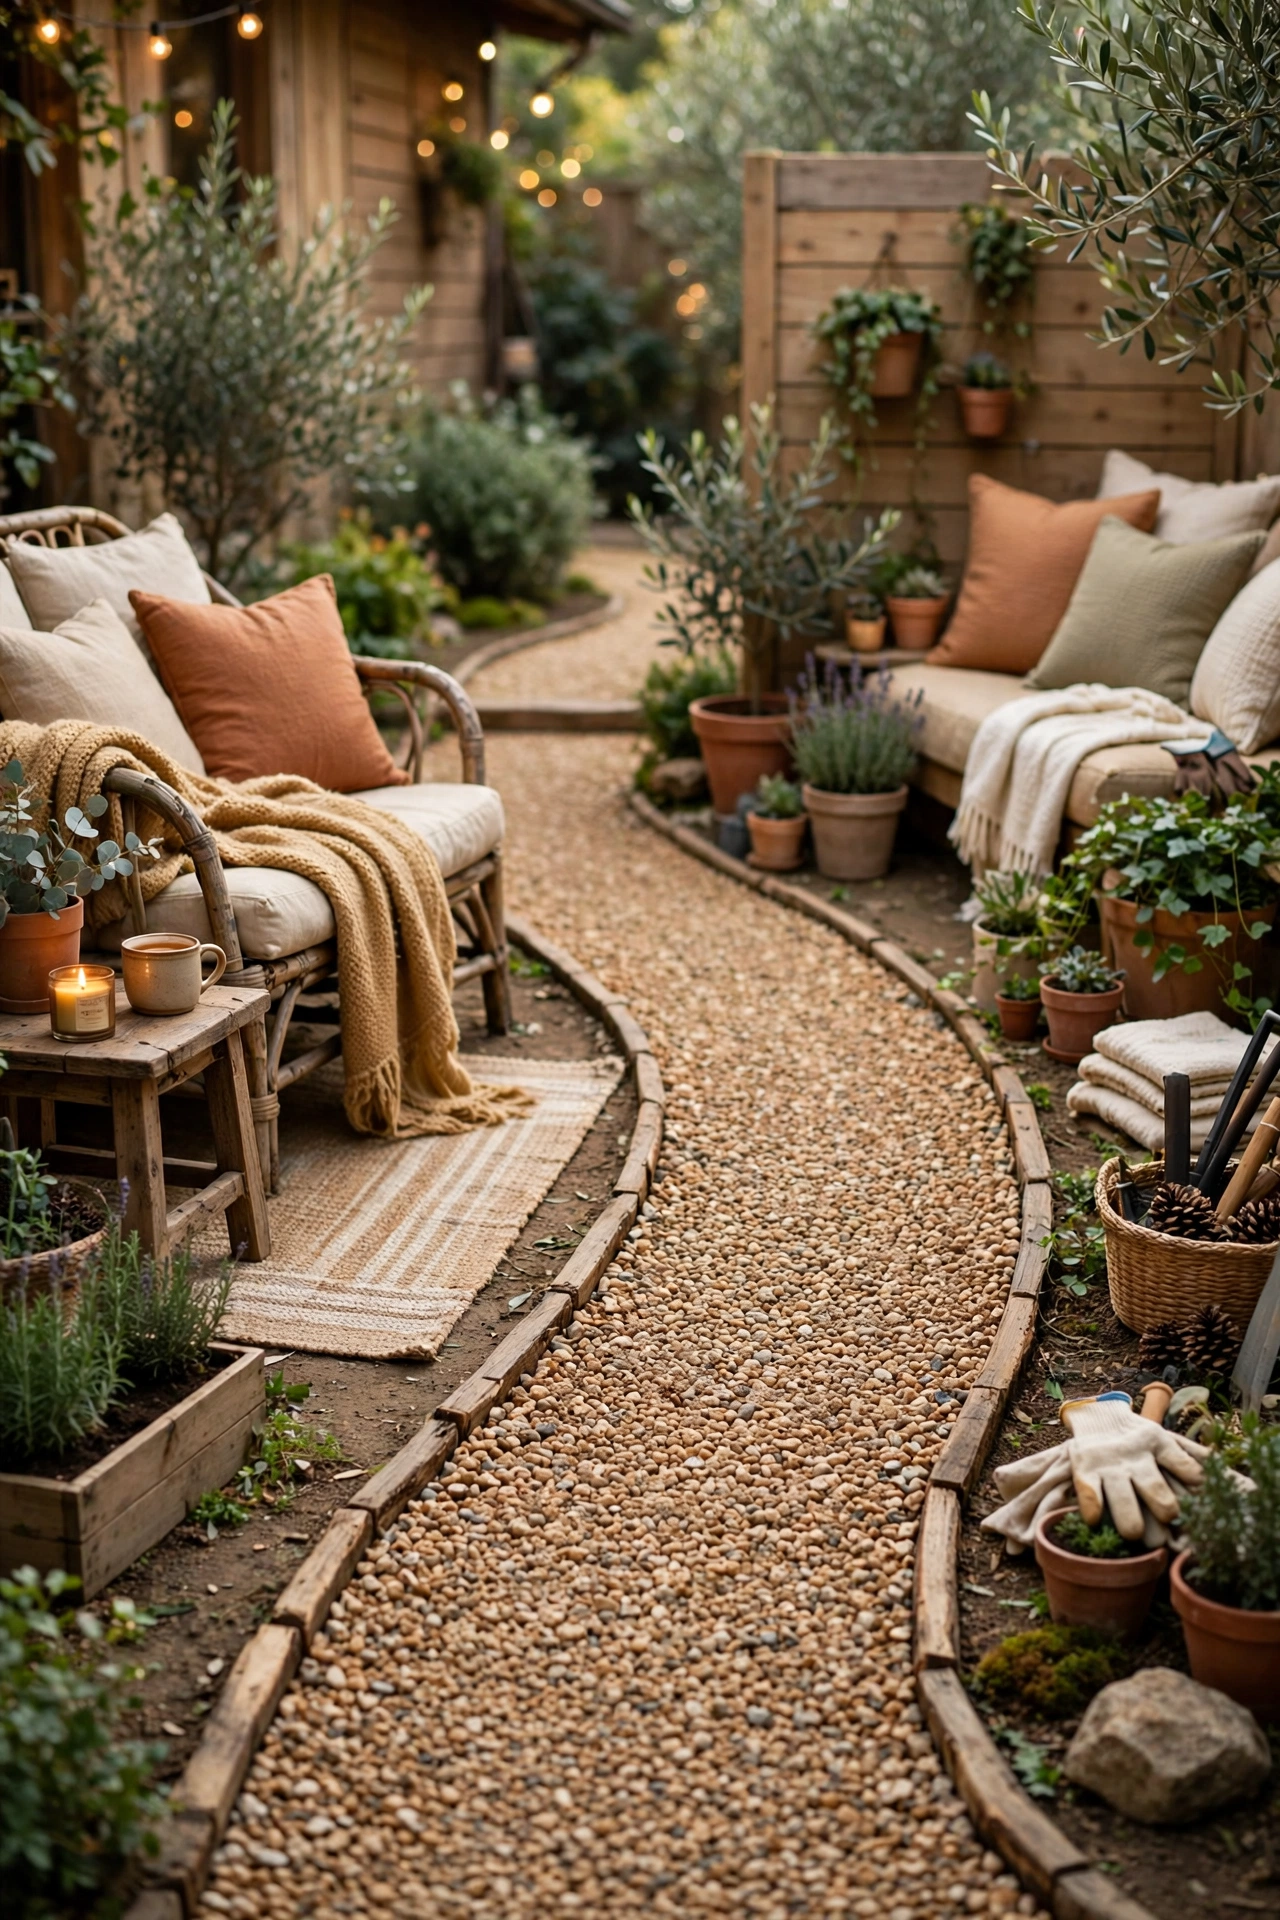
The first summer we had this yard, I walked the same muddy track to the gate every single day, and by July it was a bare dirt trench. One bag of pea gravel changed the whole route. Rake the path level, lay down a strip of old cardboard or landscape fabric to block weeds, then pour the gravel about two inches deep and rake it smooth. I edged mine with bricks I found behind the shed, which cost nothing and kept the stones from wandering into the lawn. My one mistake was skipping the fabric the first time, so weeds poked through within weeks; redoing it properly took one extra afternoon and it has stayed tidy since.
Cost: ~$18 | Time: 90 minutes
2. Painted Concrete Squares That Look Like Tile
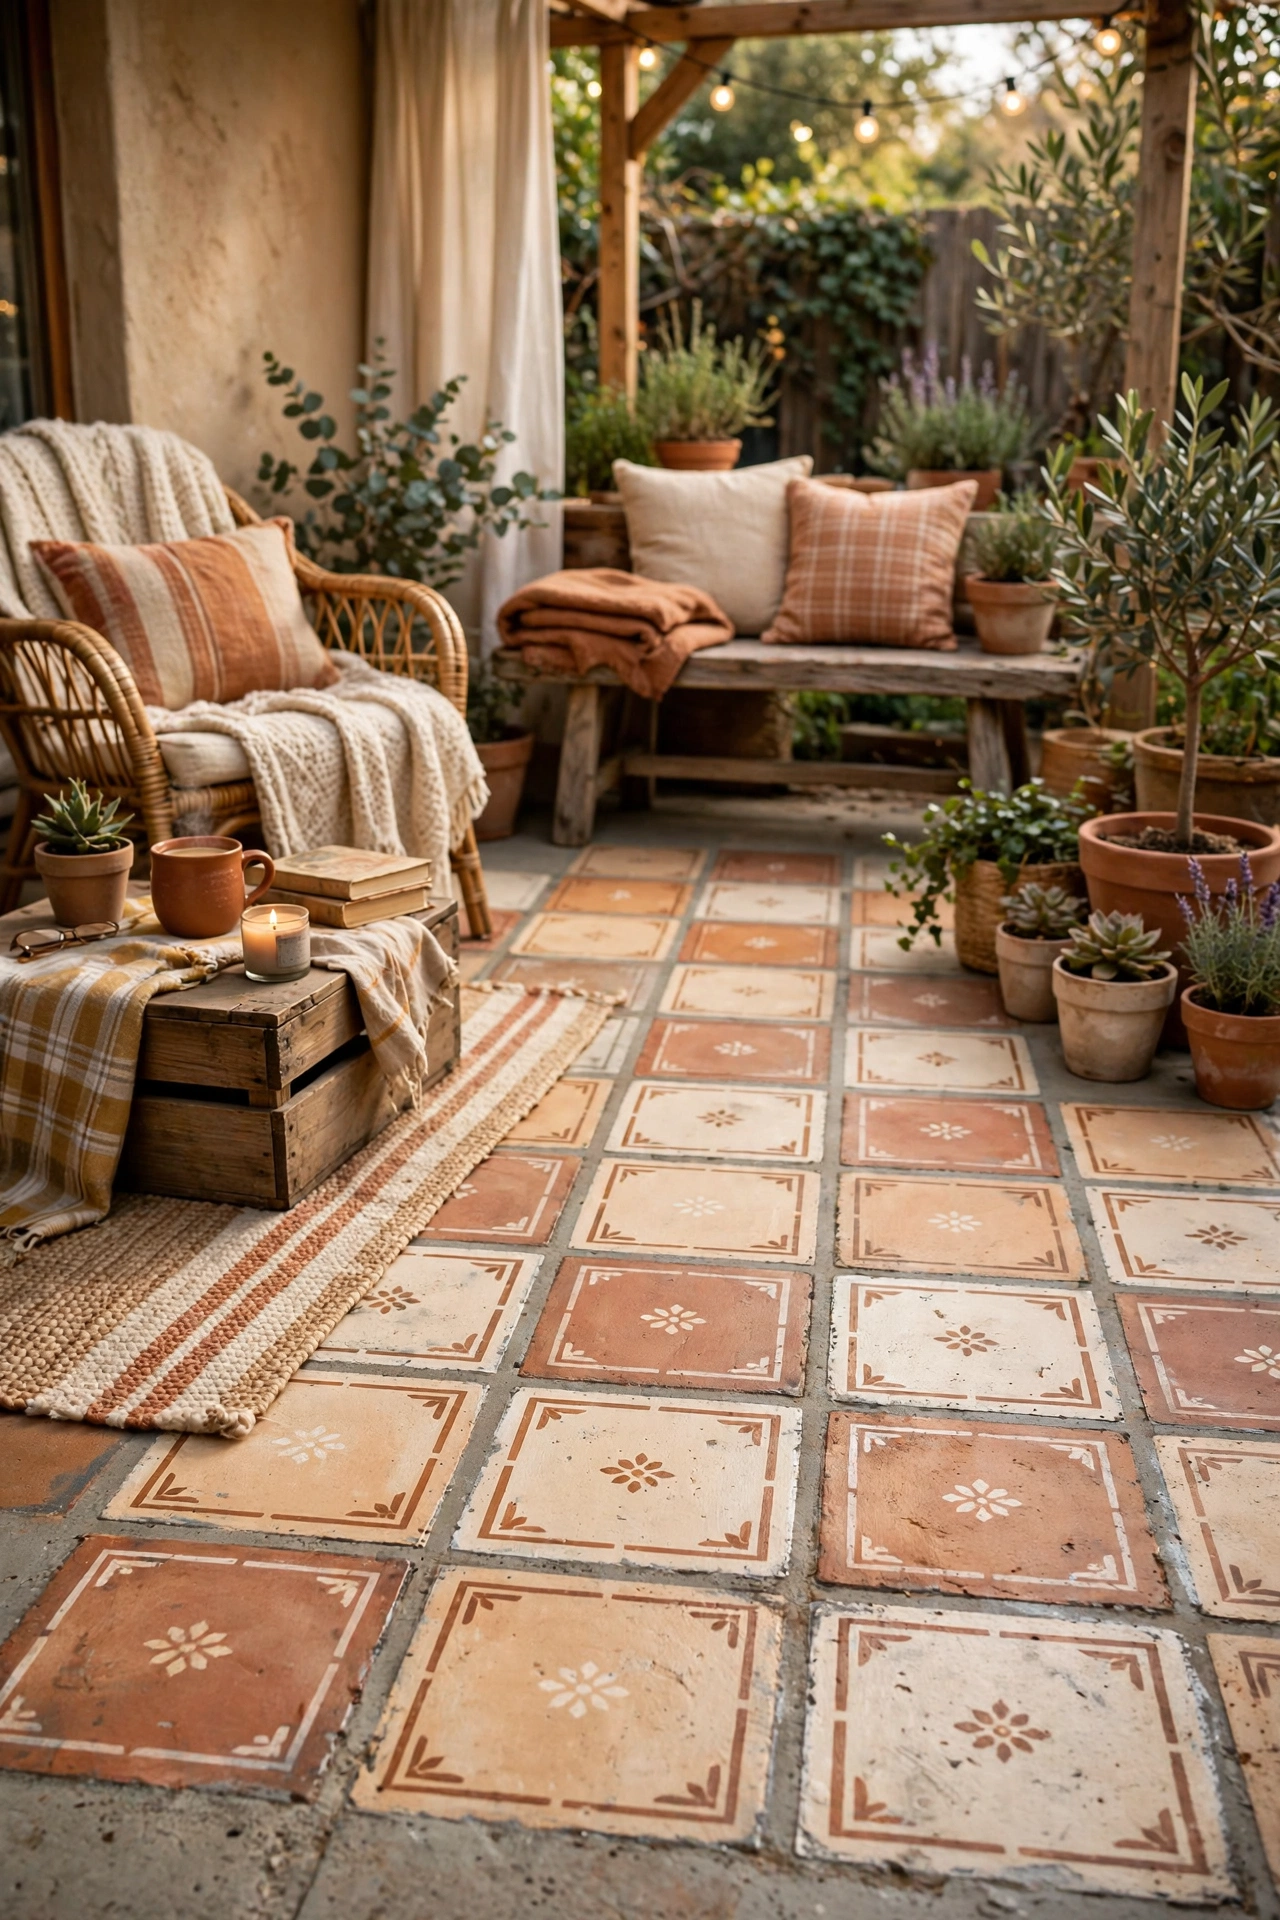
Our patio was a patchwork of stained concrete squares that I avoided looking at for a whole year. A tin of concrete paint and a Saturday afternoon fixed what I thought needed replacing. Sweep and scrub the squares clean, tape off a simple checker or border pattern with painter’s tape, then roll on two thin coats of exterior concrete paint and let each coat dry fully. I chose a soft charcoal and cream pattern, and visitors now ask where I bought the tile. I learned to paint on a dry, cloudy day after my first coat bubbled in direct sun, so check the forecast before you start.
Cost: ~$12 | Time: 120 minutes
3. Hand-Painted Stepping Stones From Plain Pavers
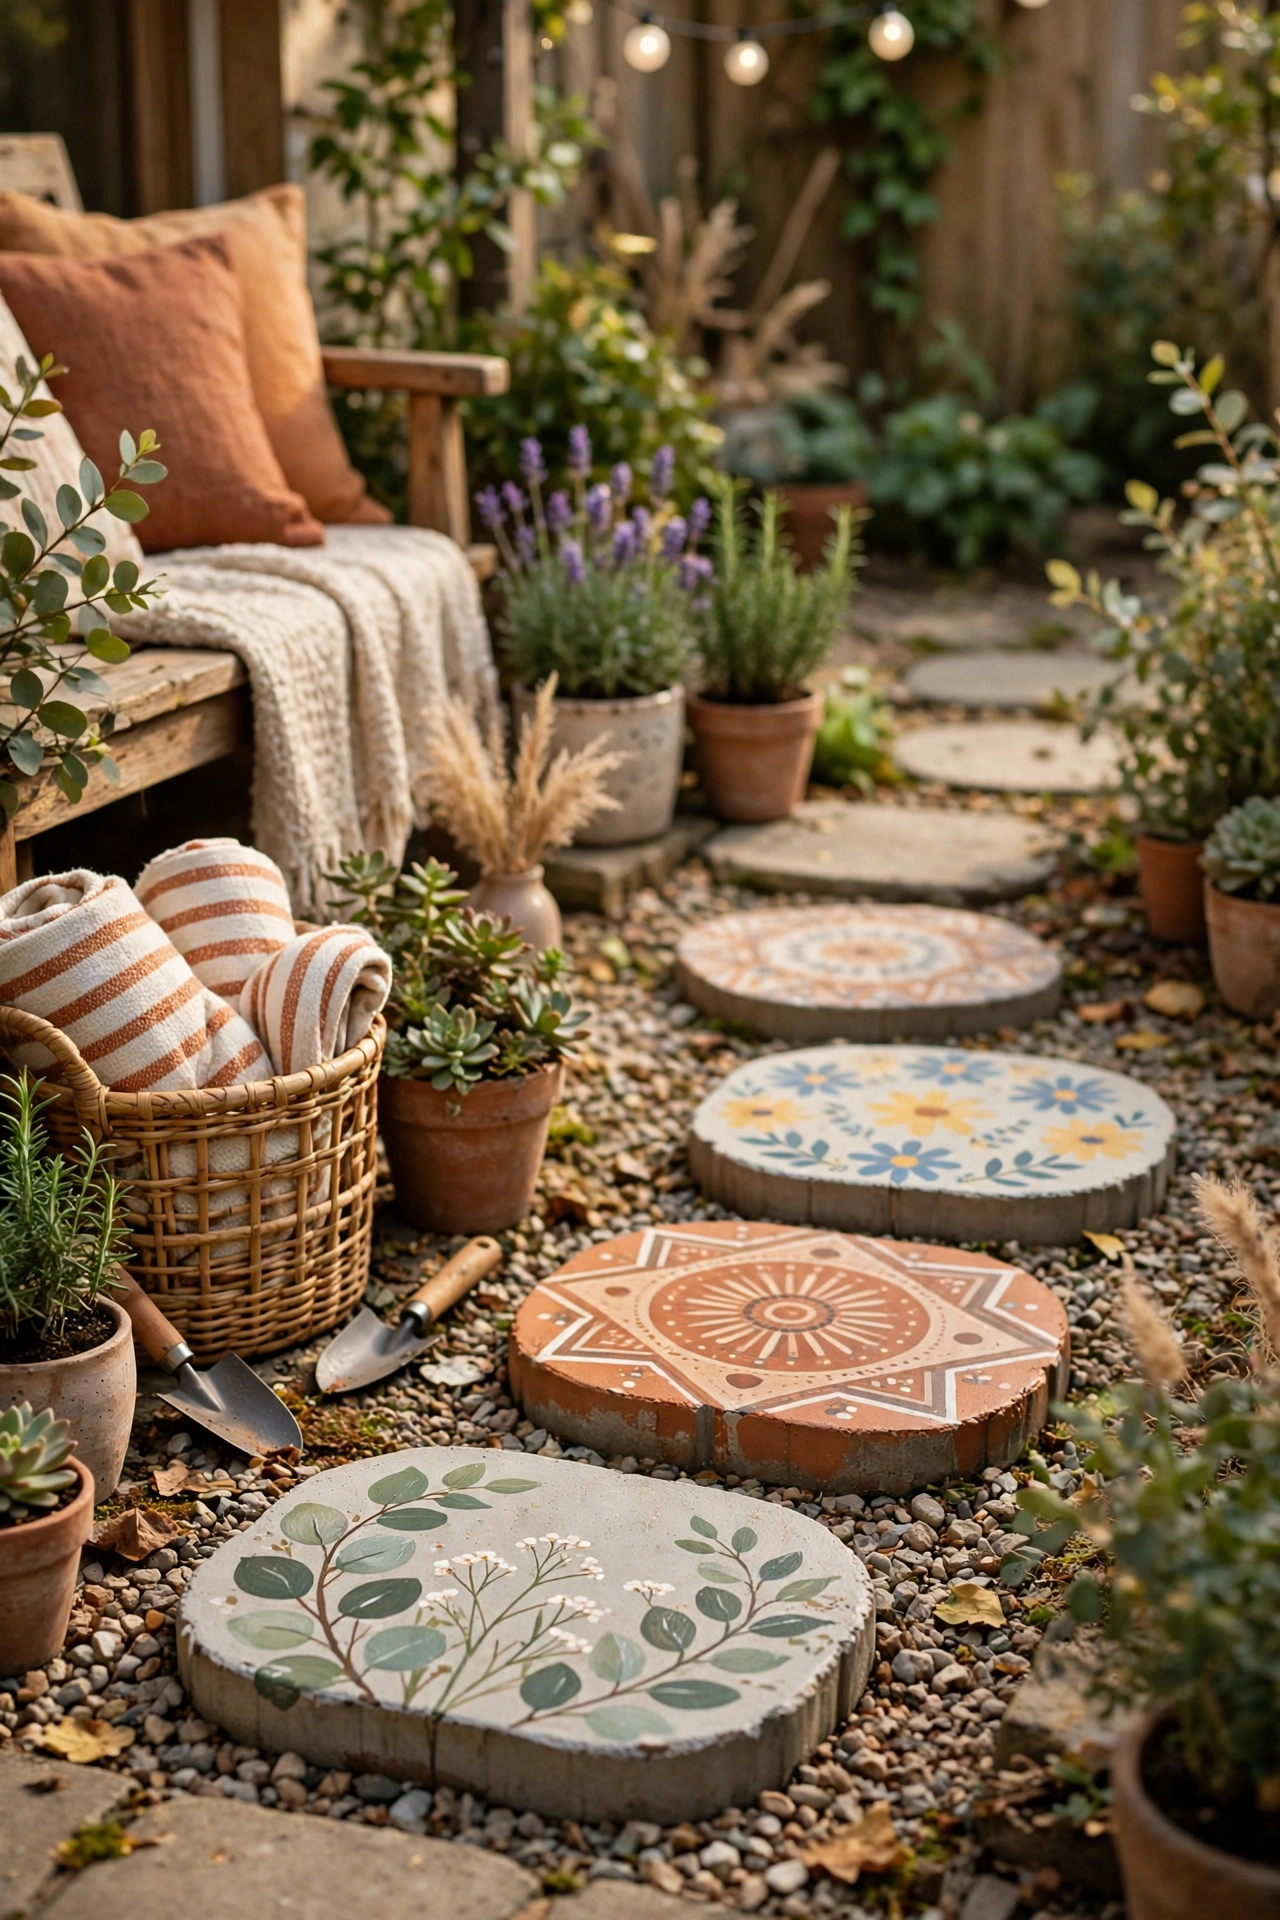
I bought six plain gray pavers on clearance and nearly talked myself out of the project because they looked so dull in the cart. Painting them turned out to be the most relaxing weekend job I did all year. Wash the pavers and let them dry, sketch a simple leaf or dot pattern in chalk, then fill it in with exterior acrylic paint and seal it with a clear outdoor sealer. I kept each stone to two colors so they looked planned instead of busy. My first stone had five colors and looked chaotic, so simpler really is better here, and the set now leads guests straight to the back gate.
Cost: ~$15 | Time: 60 minutes
4. Crisp Mulch Border That Makes Everything Look Tidy
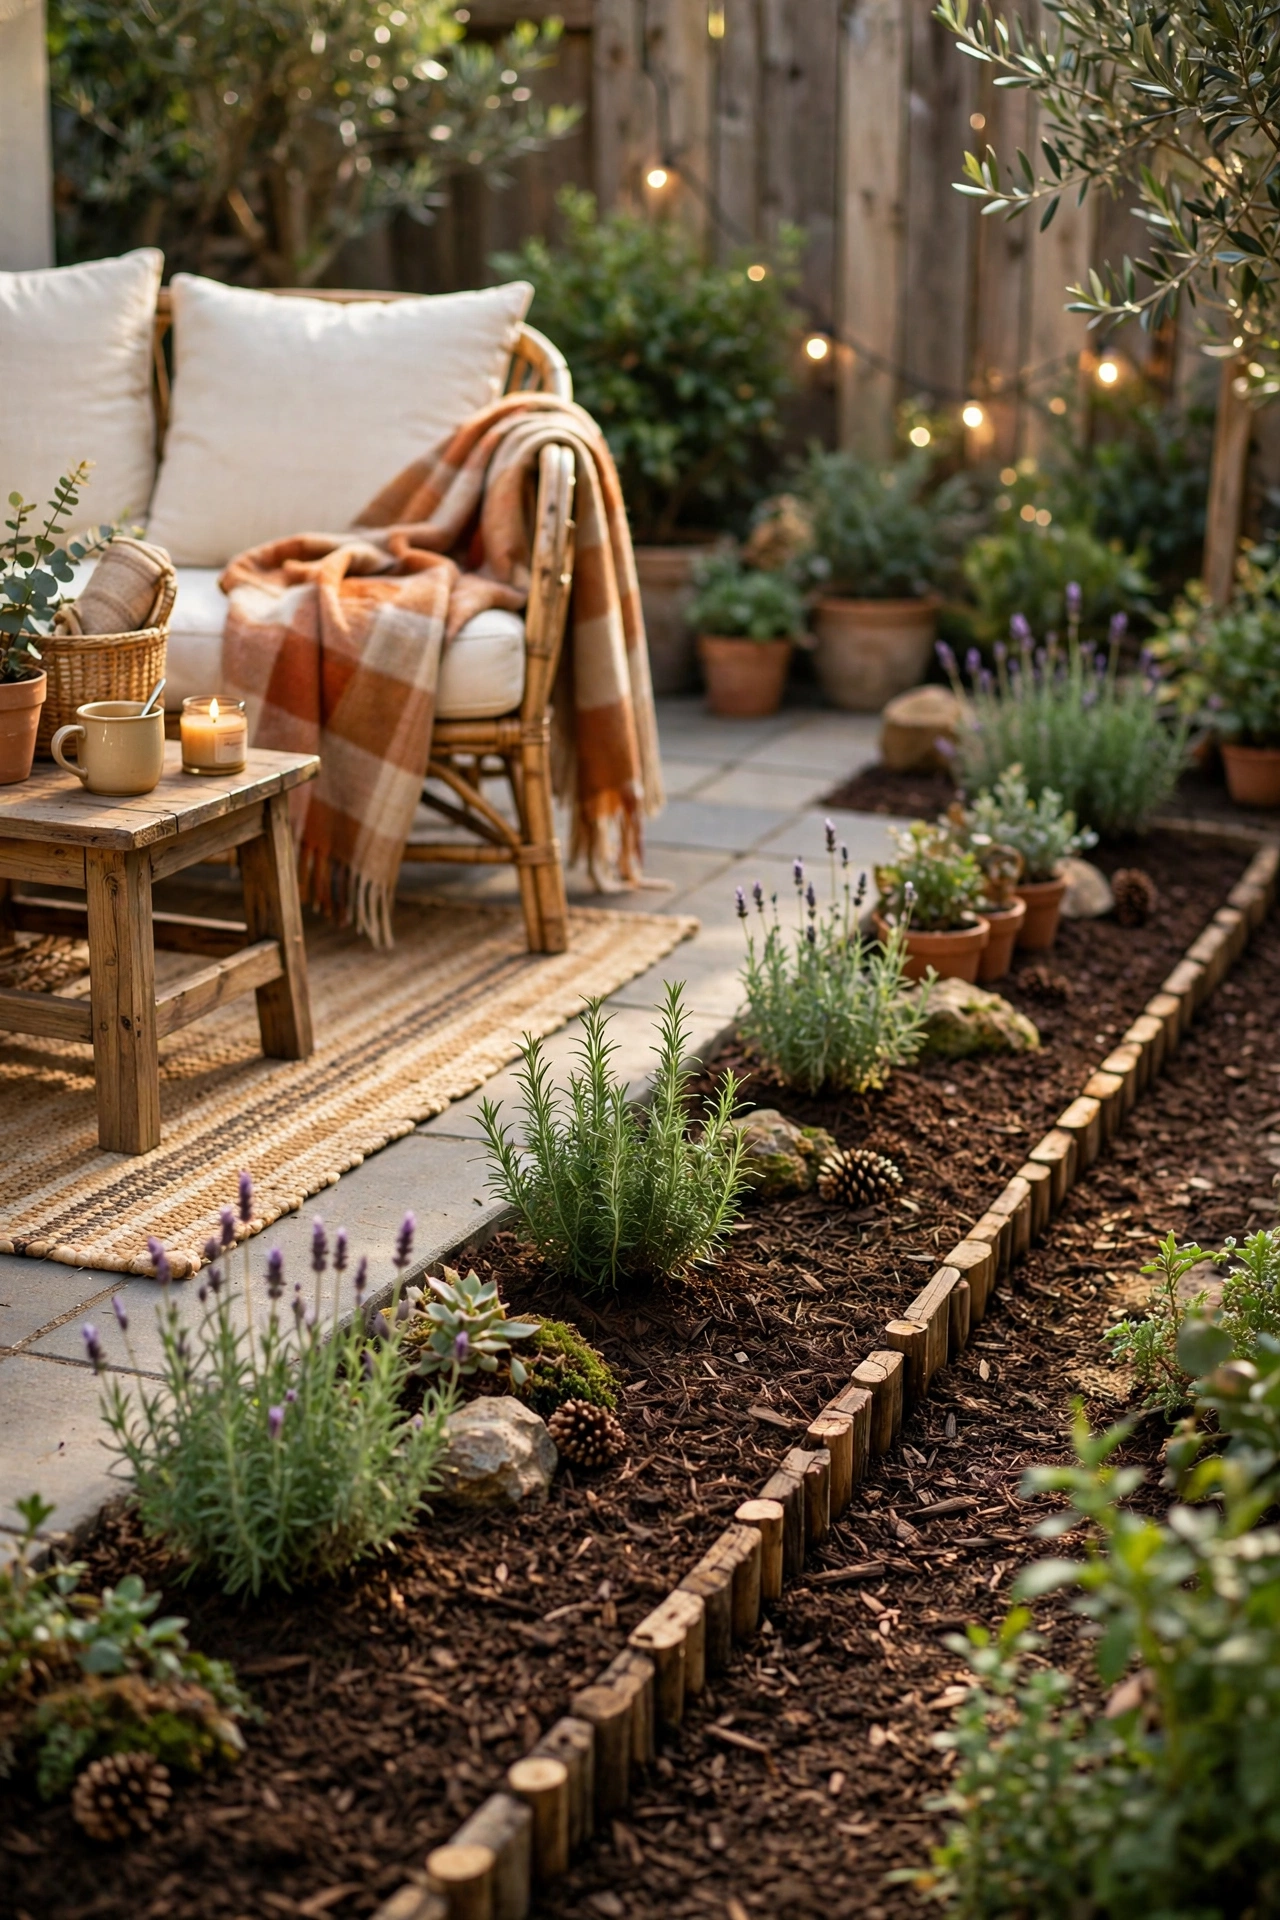
A neighbor once told me my yard looked tired, and she was right, mostly because the beds bled straight into the lawn with no edge at all. A mulch border gave the whole space a haircut. Cut a shallow trench along the bed edge with a spade, tuck in a row of cheap landscape edging or bricks, then spread mulch two to three inches deep and rake it level. I used undyed brown mulch because the red kind clashed with our fence. The mistake I made was piling mulch against the tree trunk, which I later learned can rot bark, so keep it a few inches clear of stems.
Cost: ~$20 | Time: 75 minutes
5. Secondhand Outdoor Rug Over Tired Grass
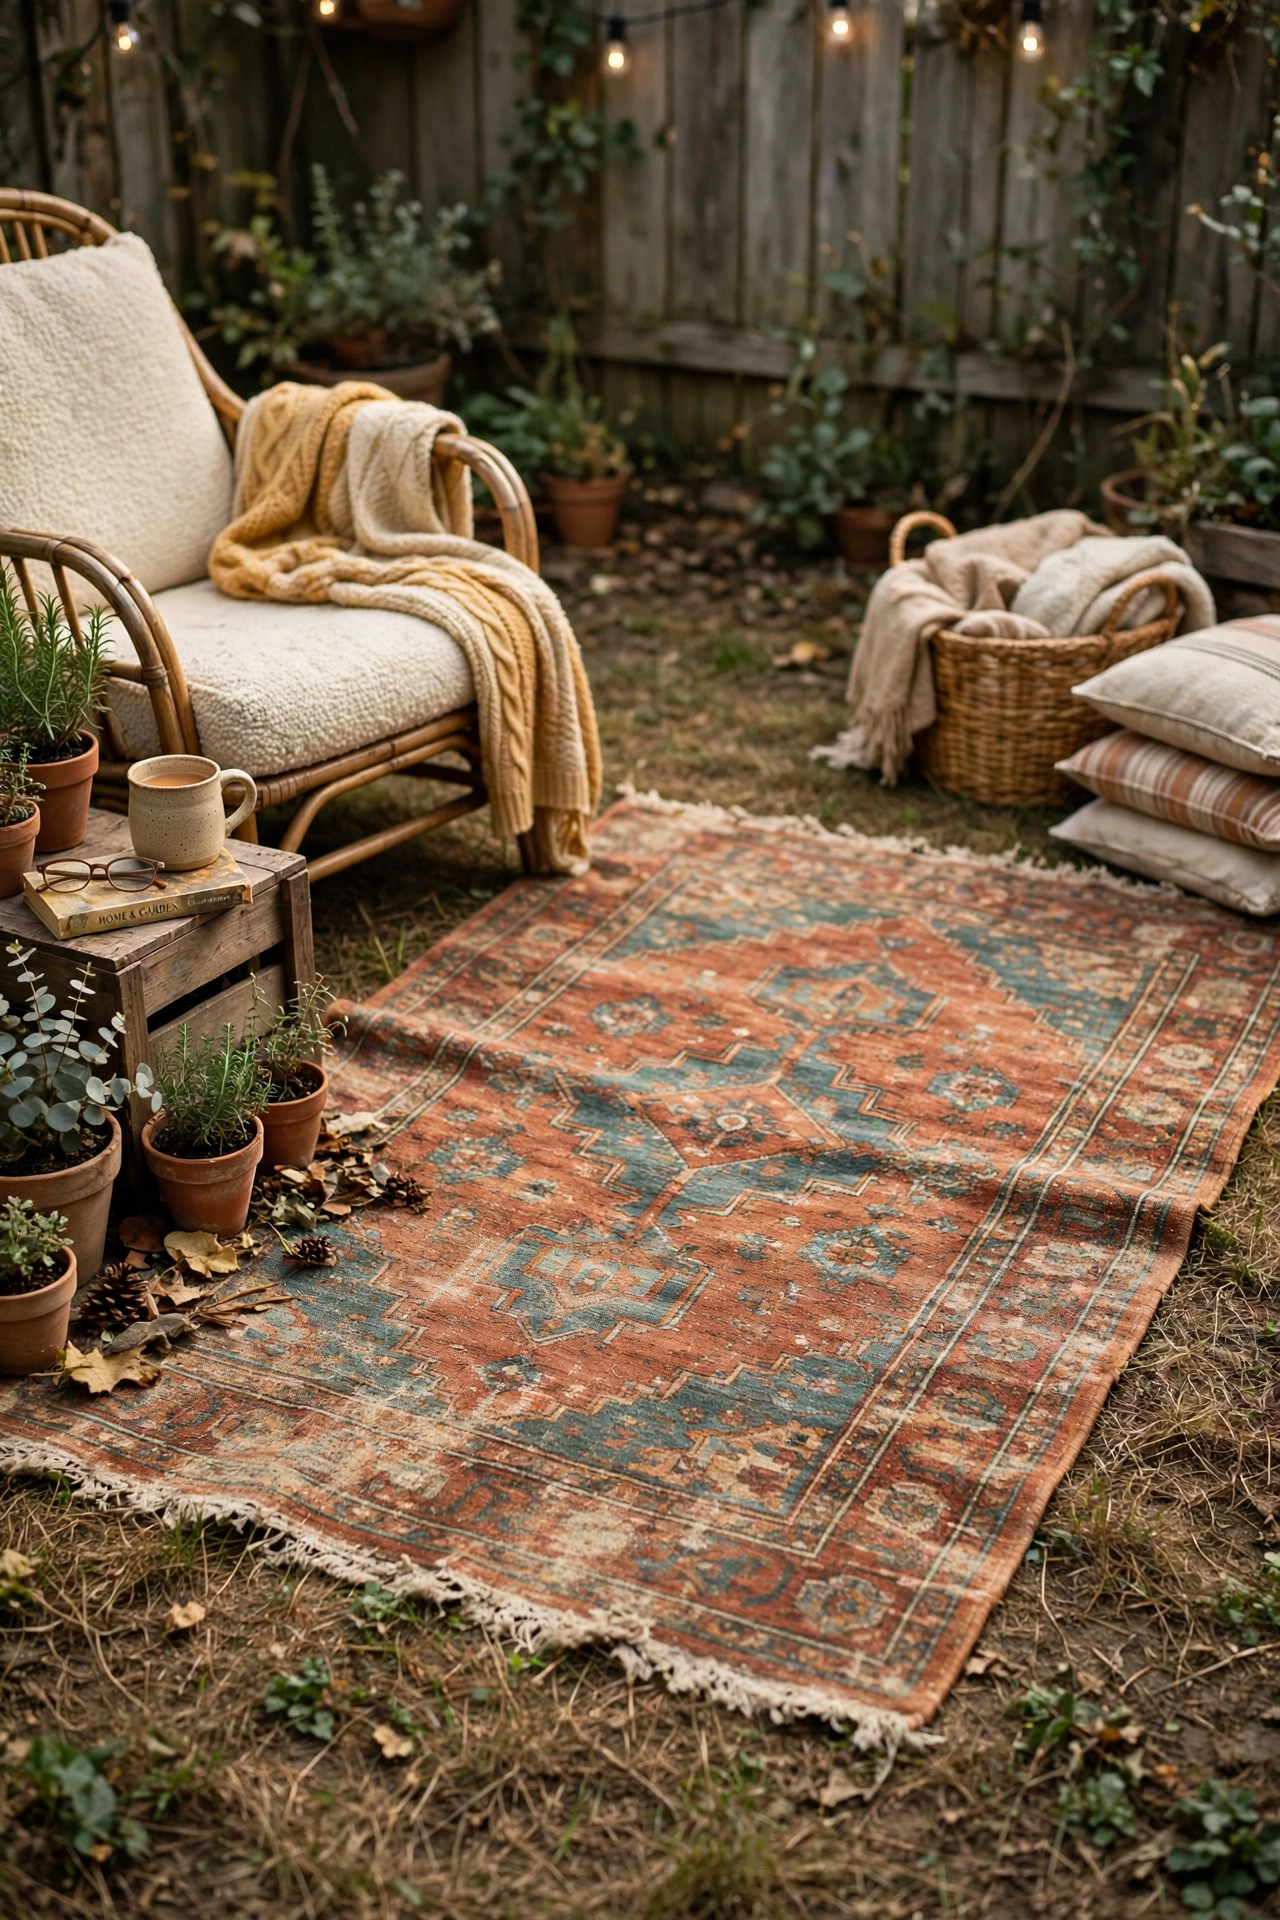
There was one bald patch by the chairs that no amount of watering would fix, and it made the whole seating area feel shabby. A secondhand outdoor rug covered it in five minutes flat. Measure the spot, check thrift stores or online marketplaces for a flat-weave rug in a pattern you like, then hose it down, let it dry in the sun, and lay it over the worn area. I found a striped one for a few dollars that hides dirt beautifully. I did learn to lift it after heavy rain, because trapped moisture turned the grass underneath yellow the first time I left it down for a month.
Cost: ~$10 | Time: 20 minutes
Seating That Costs Next to Nothing
6. Pallet Bench With Cushions Sewn From Old Pillows
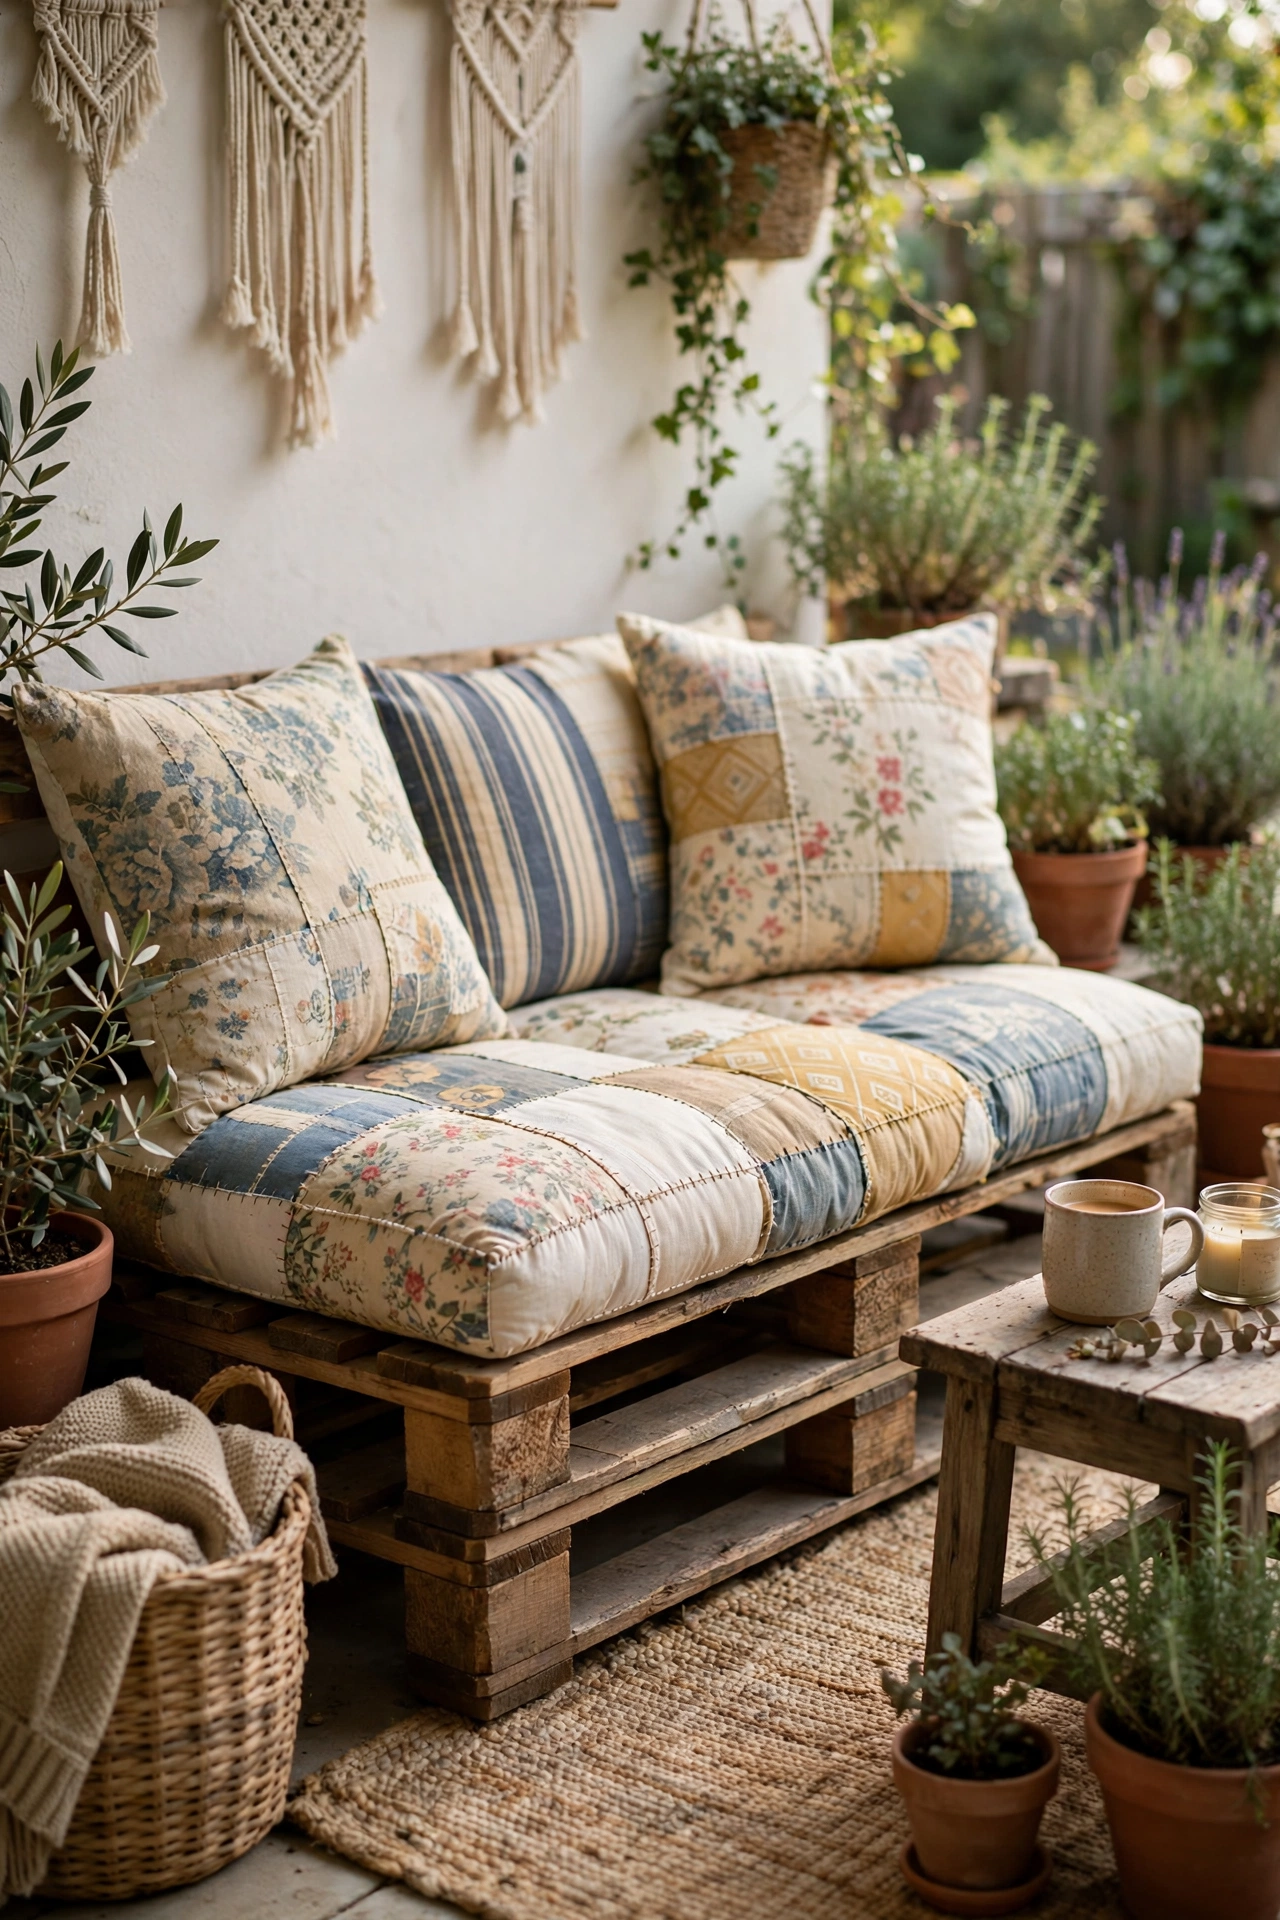
I almost paid for a garden bench until I spotted free pallets stacked behind a local shop and asked if I could take two. Sand the pallets smooth, stack and screw them into a low bench shape, then add a plywood top if you want a solid seat. For cushions, I unzipped two old bed pillows, cut them to size, and sewed simple covers from a clearance curtain panel. The whole thing looks far more expensive than it was. My early error was skipping the sanding, and one splinter later I took the bench apart and sanded every edge twice, which I should have done first. If you enjoy this kind of project, you will also like our ideas in (see also: 23-small-patio-ideas-on-a-dime).
Cost: ~$25 | Time: 180 minutes
7. Cinder Block Bench You Build in One Afternoon
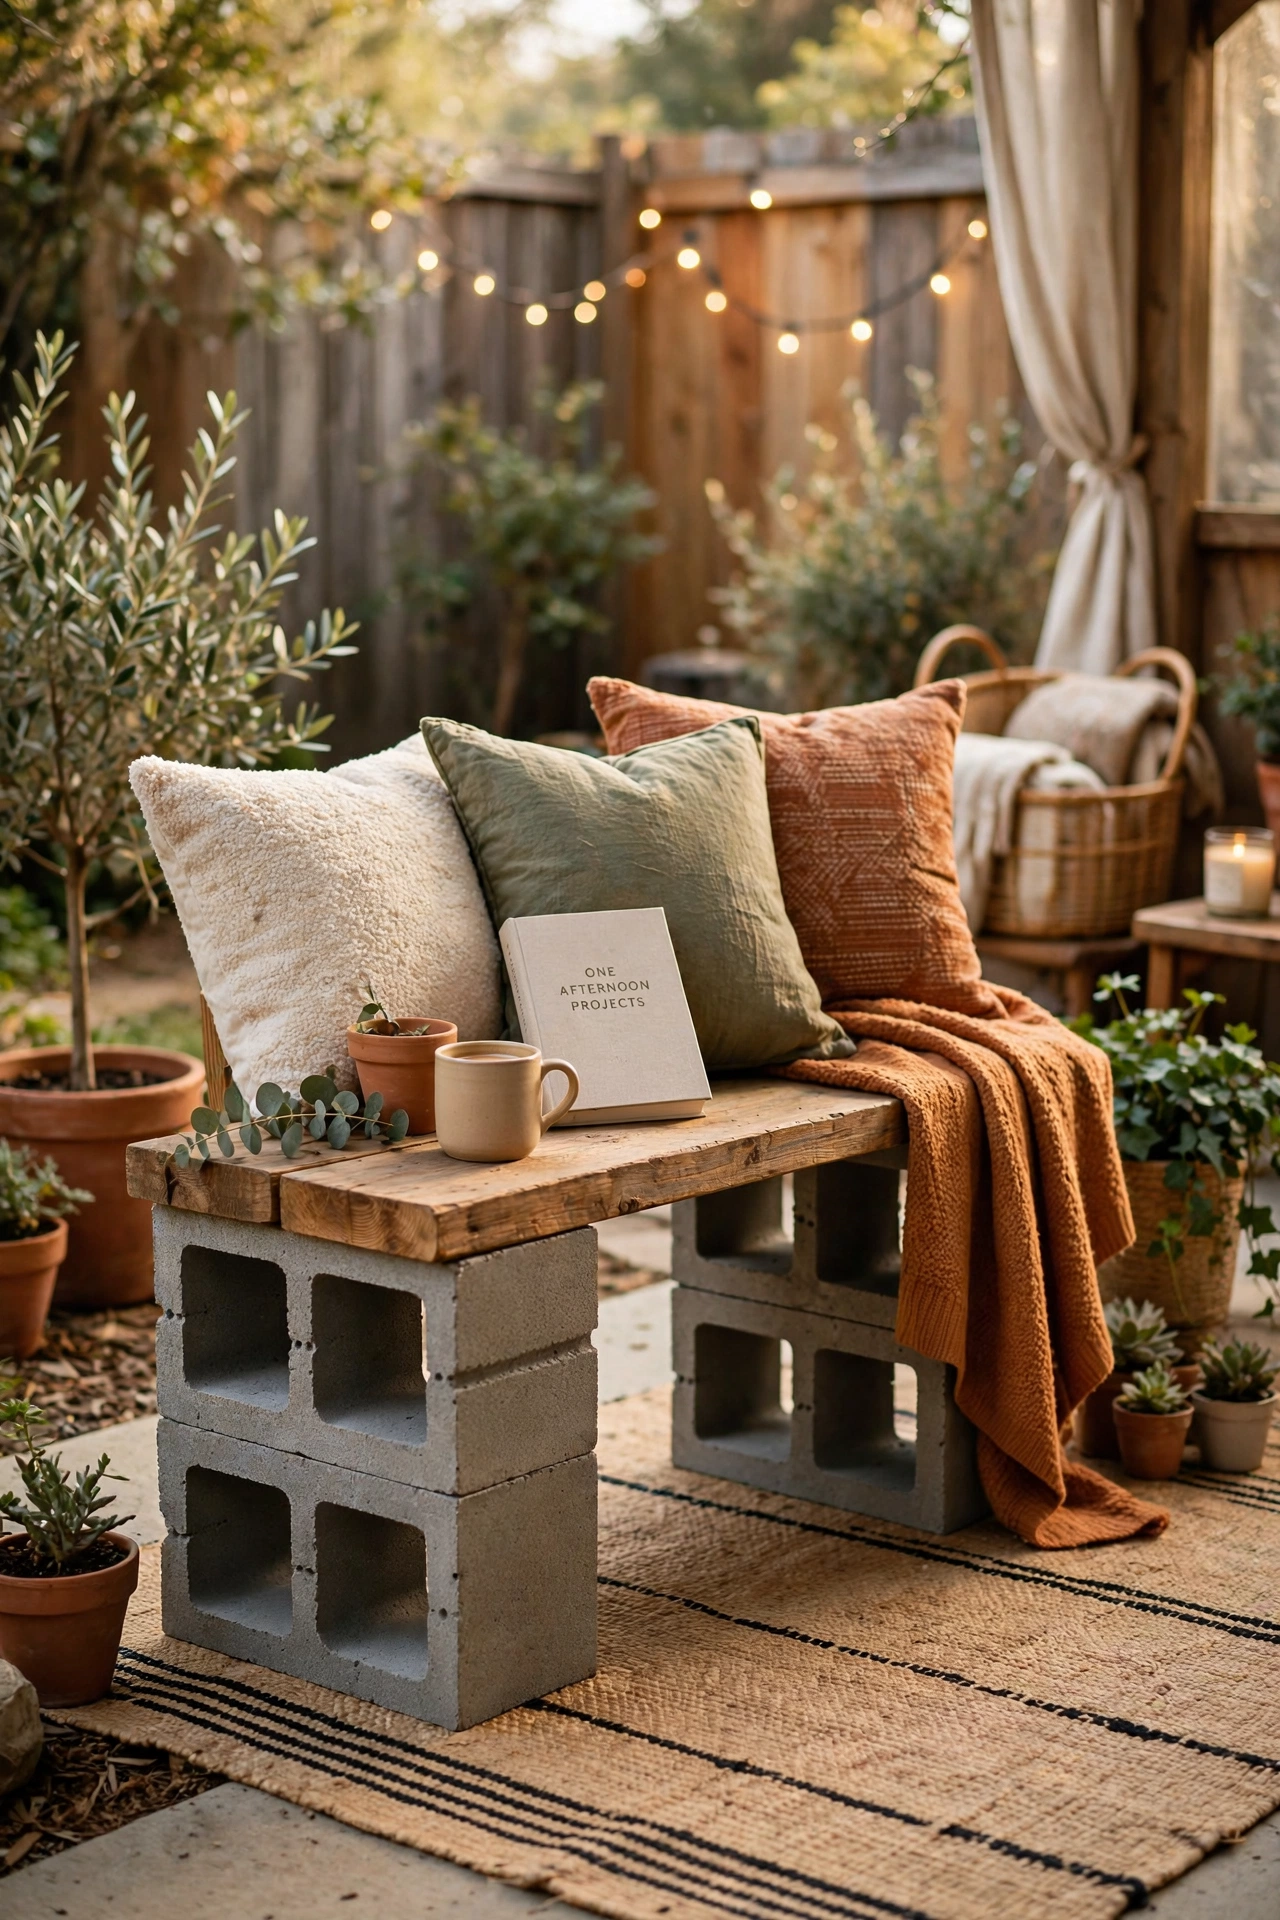
When friends started dropping by for evening chats, we had exactly two chairs and a lot of awkward standing. Cinder blocks solved the seating problem before dinner. Stack two blocks on each side, slide sturdy wooden boards through the block holes for the seat, then level everything with a spirit level and add outdoor cushions or a folded blanket. I painted my blocks white so they looked intentional rather than industrial. The win here was how solid it feels; my mistake was building it on uneven ground first, so level the spot with a little sand before you stack anything.
Cost: ~$30 | Time: 120 minutes
8. Folding Chairs Dressed Up With Cozy Throws
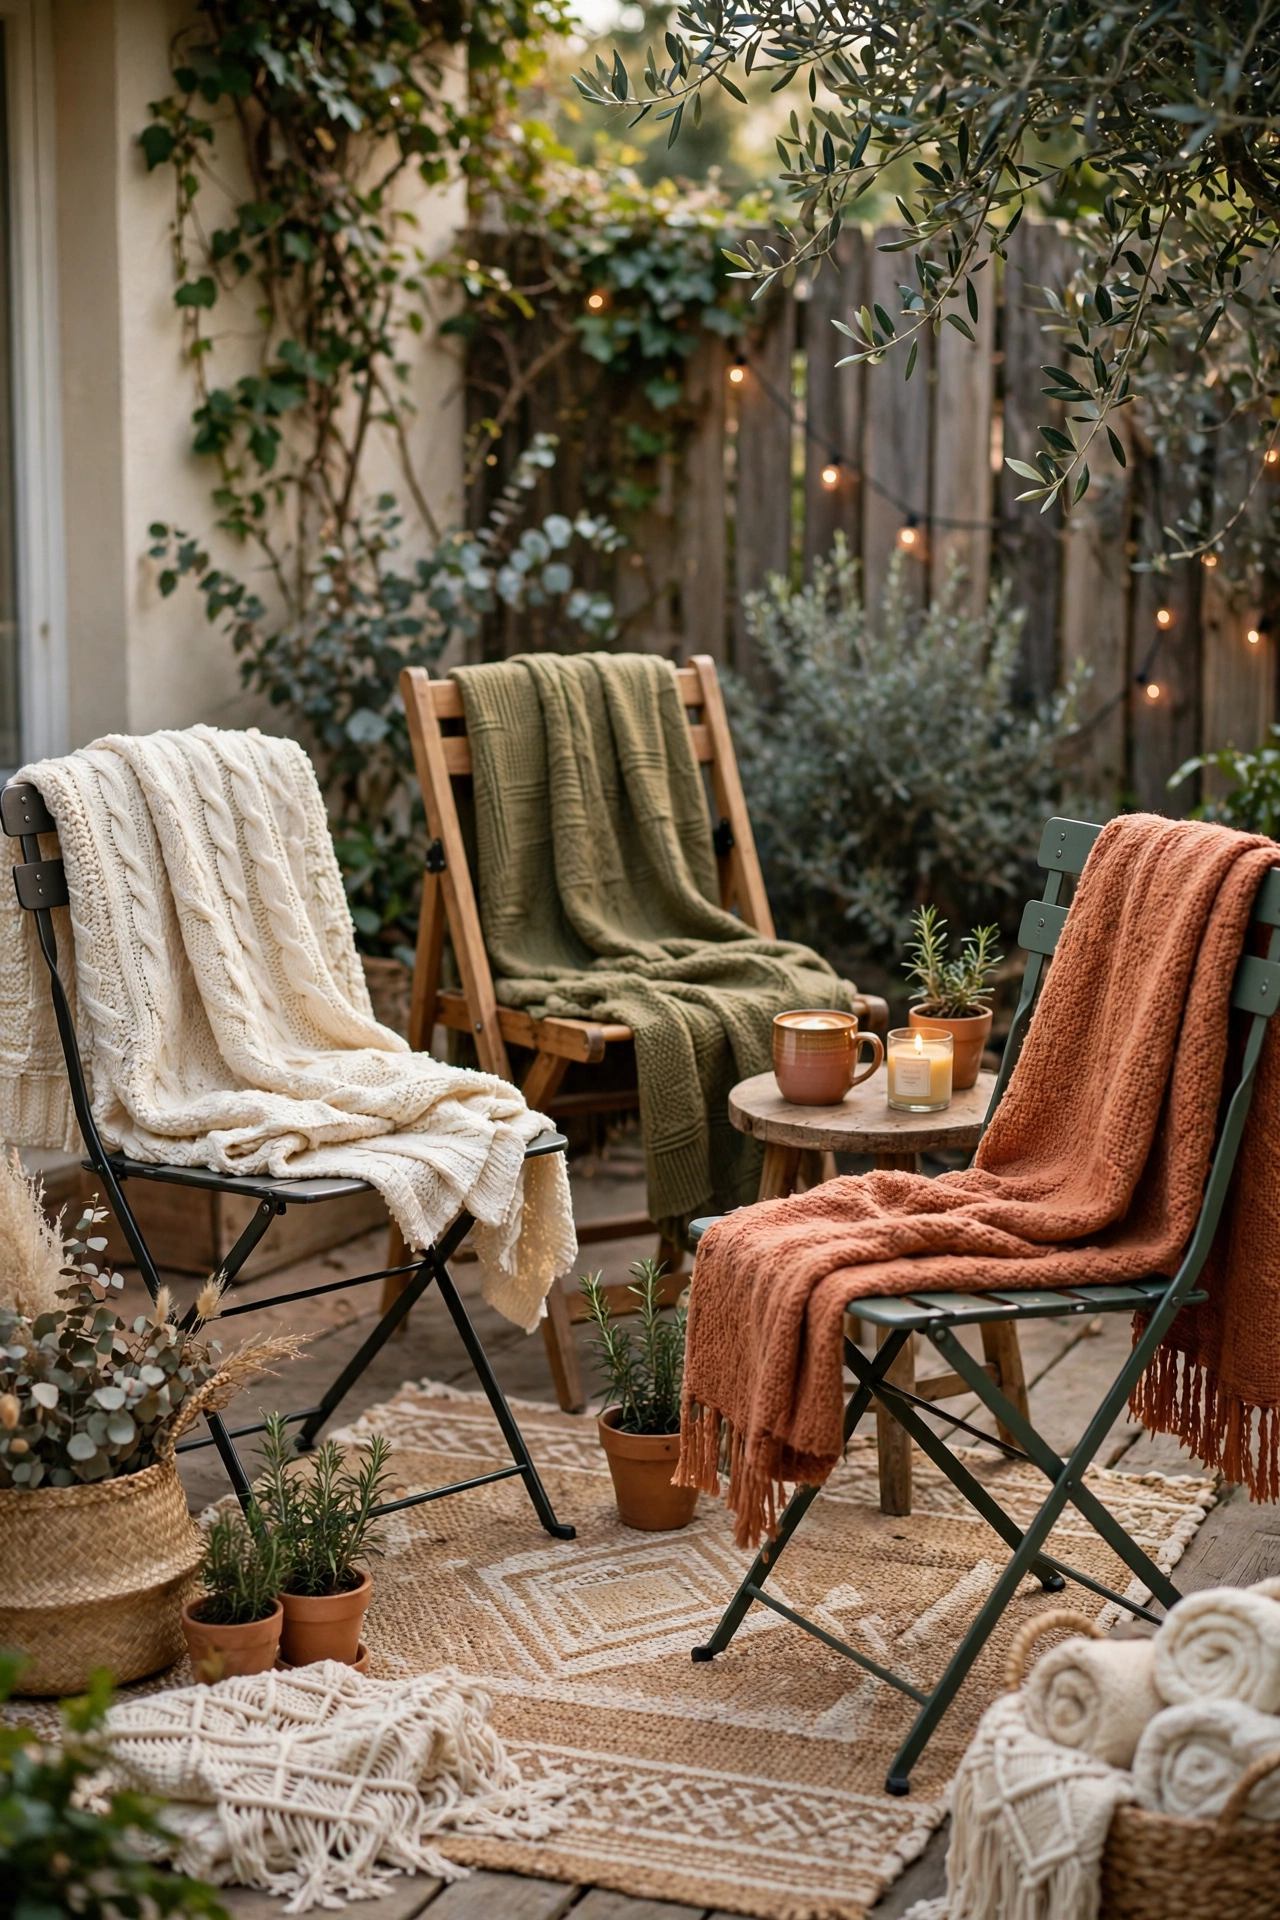
I owned four folding chairs that I was honestly embarrassed to bring out when people visited, because they screamed temporary. A basket of throws changed how they read entirely. Drape a soft throw over each chair back, add a small cushion tied with ribbon if you have one, and group the chairs around a low table instead of lining them against the wall. I grabbed throws from a clearance bin in mixed warm colors, and suddenly the chairs looked like a planned lounge corner. My tip is to keep the basket by the back door, so putting them away takes two minutes when rain rolls in.
Cost: ~$8 | Time: 30 minutes
9. Free Tree-Stump Side Tables
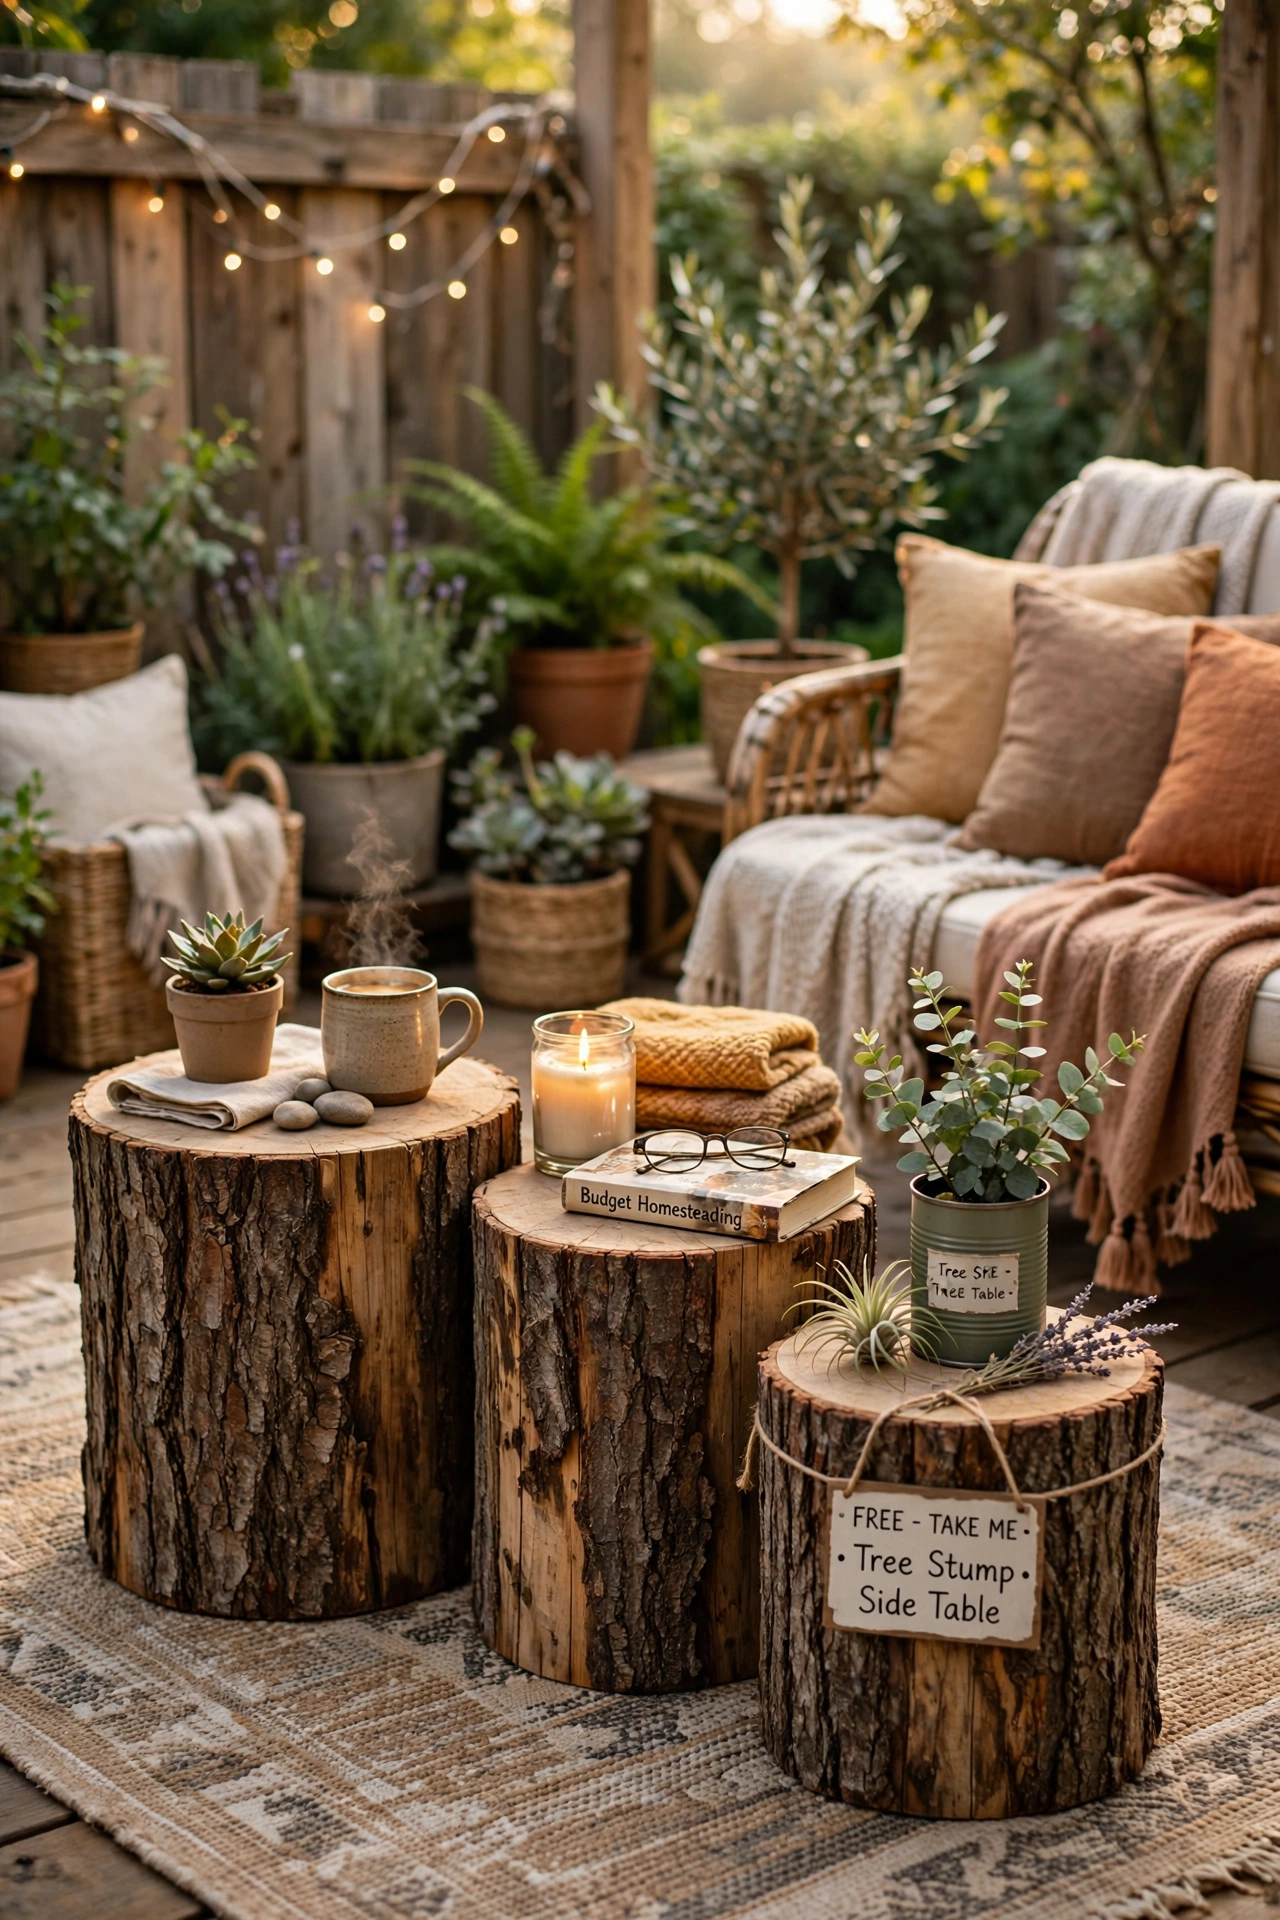
After a neighbor had a tree trimmed, the stump slices were headed for the yard waste pile, and I asked to take three. Sand the top and sides until smooth, brush on a coat of outdoor sealant, and set each slice beside a chair as a side table. One holds our drinks, one holds a lantern, and the third holds a little potted plant. They cost almost nothing and look wonderfully rustic. I did forget to seal the first one, and it soaked up a rainstorm and went gray, so seal both sides and the bottom too, and they will last through many summers.
Cost: ~$5 | Time: 45 minutes
10. Hammock Strung Between Two Sturdy Posts
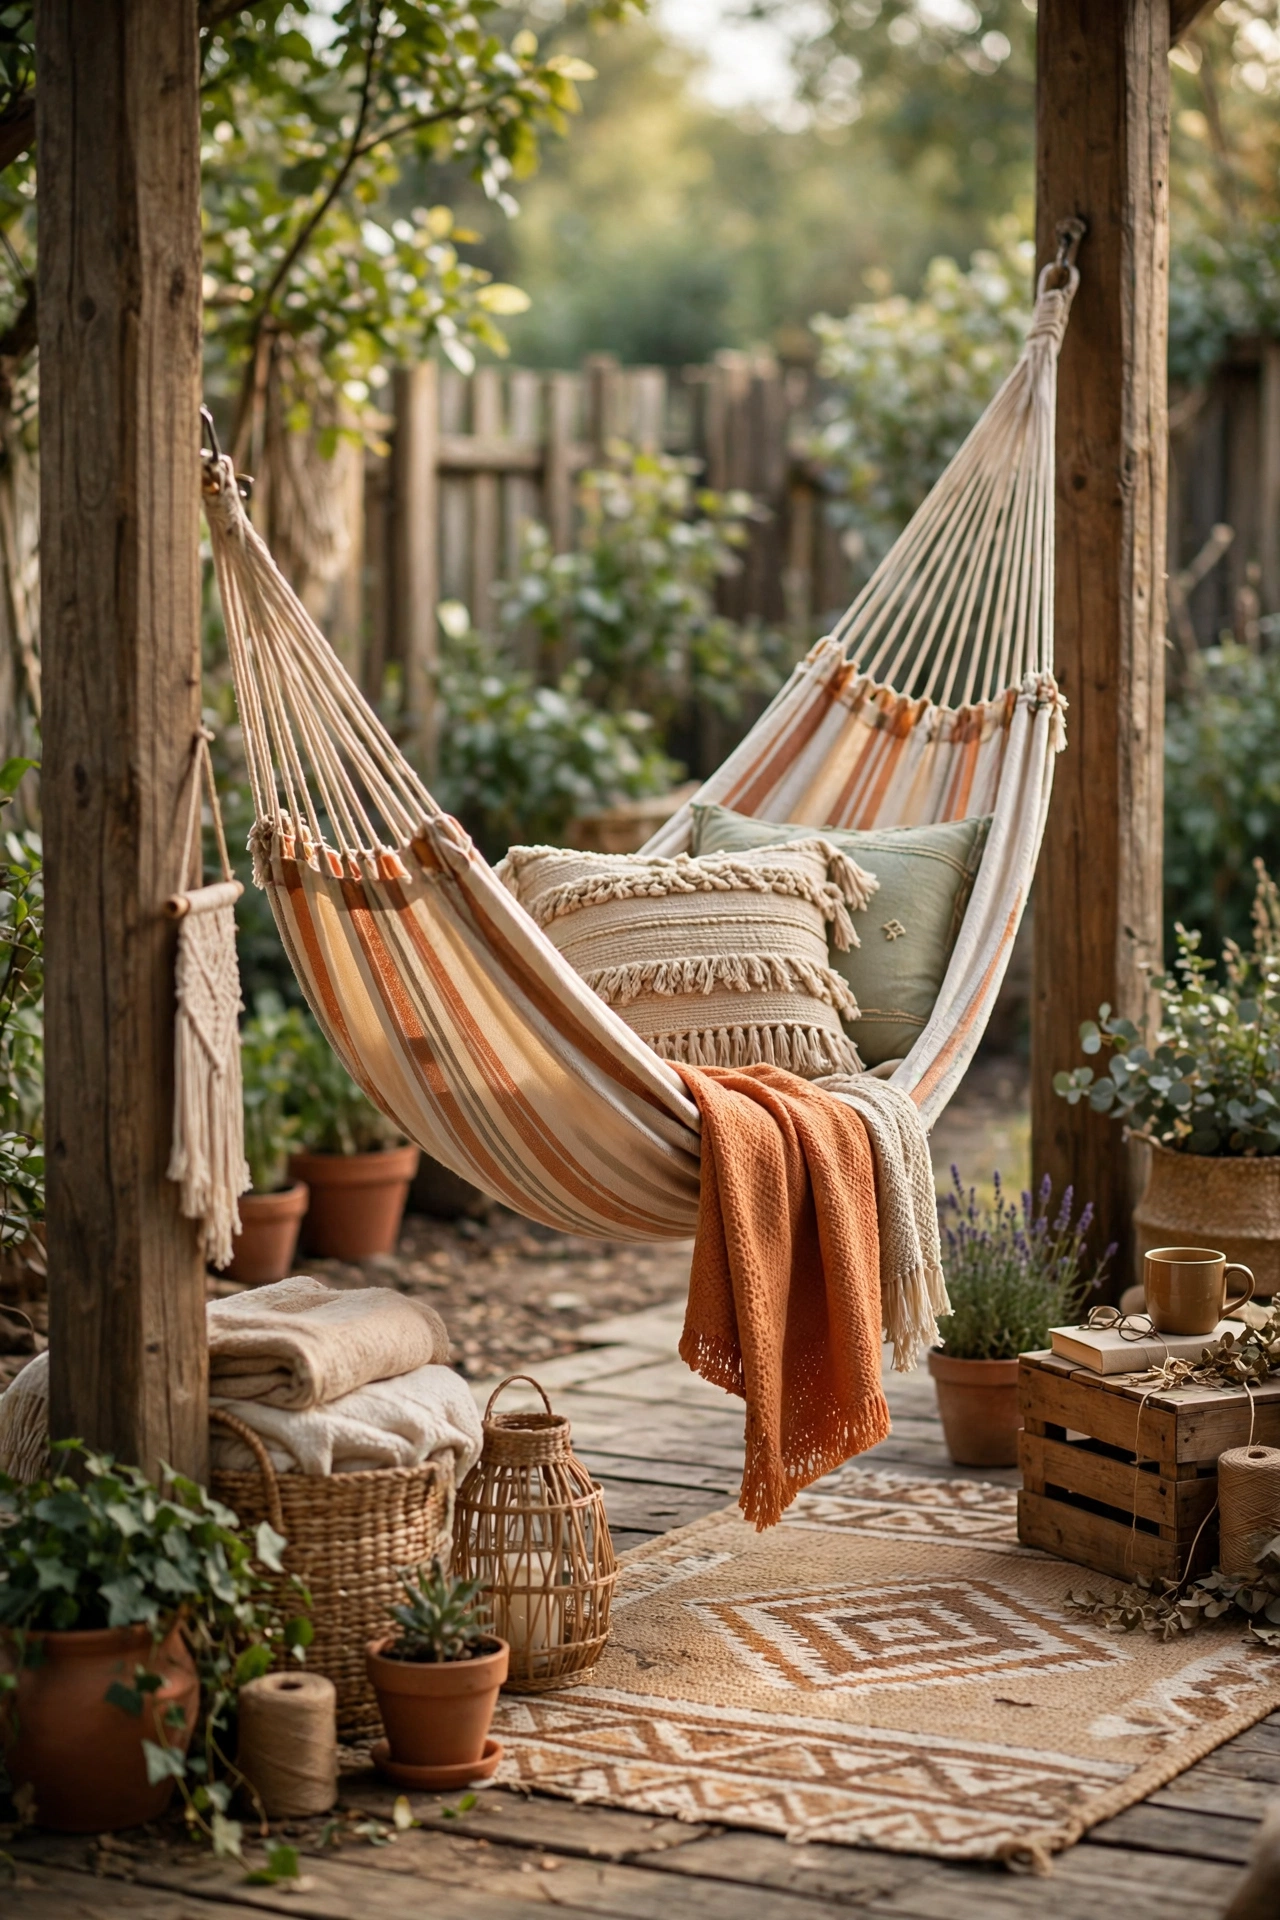
I bought a hammock on sale and let it sit in its bag for a month because I assumed I needed trees, and our yard has none. Two sturdy wooden posts fixed that. Dig two holes about twelve feet apart, set pressure-treated posts in concrete, let them cure overnight, then hang the hammock with strong rope or straps at sitting height. Test it gently before flopping in fully, because my first hang was too slack and I nearly touched the ground. Once the height was right, it became the spot where I read every sunny evening, and it cost less than one restaurant dinner.
Cost: ~$22 | Time: 60 minutes
Light and Color on a Dime
11. Solar String Lights Along the Back Fence
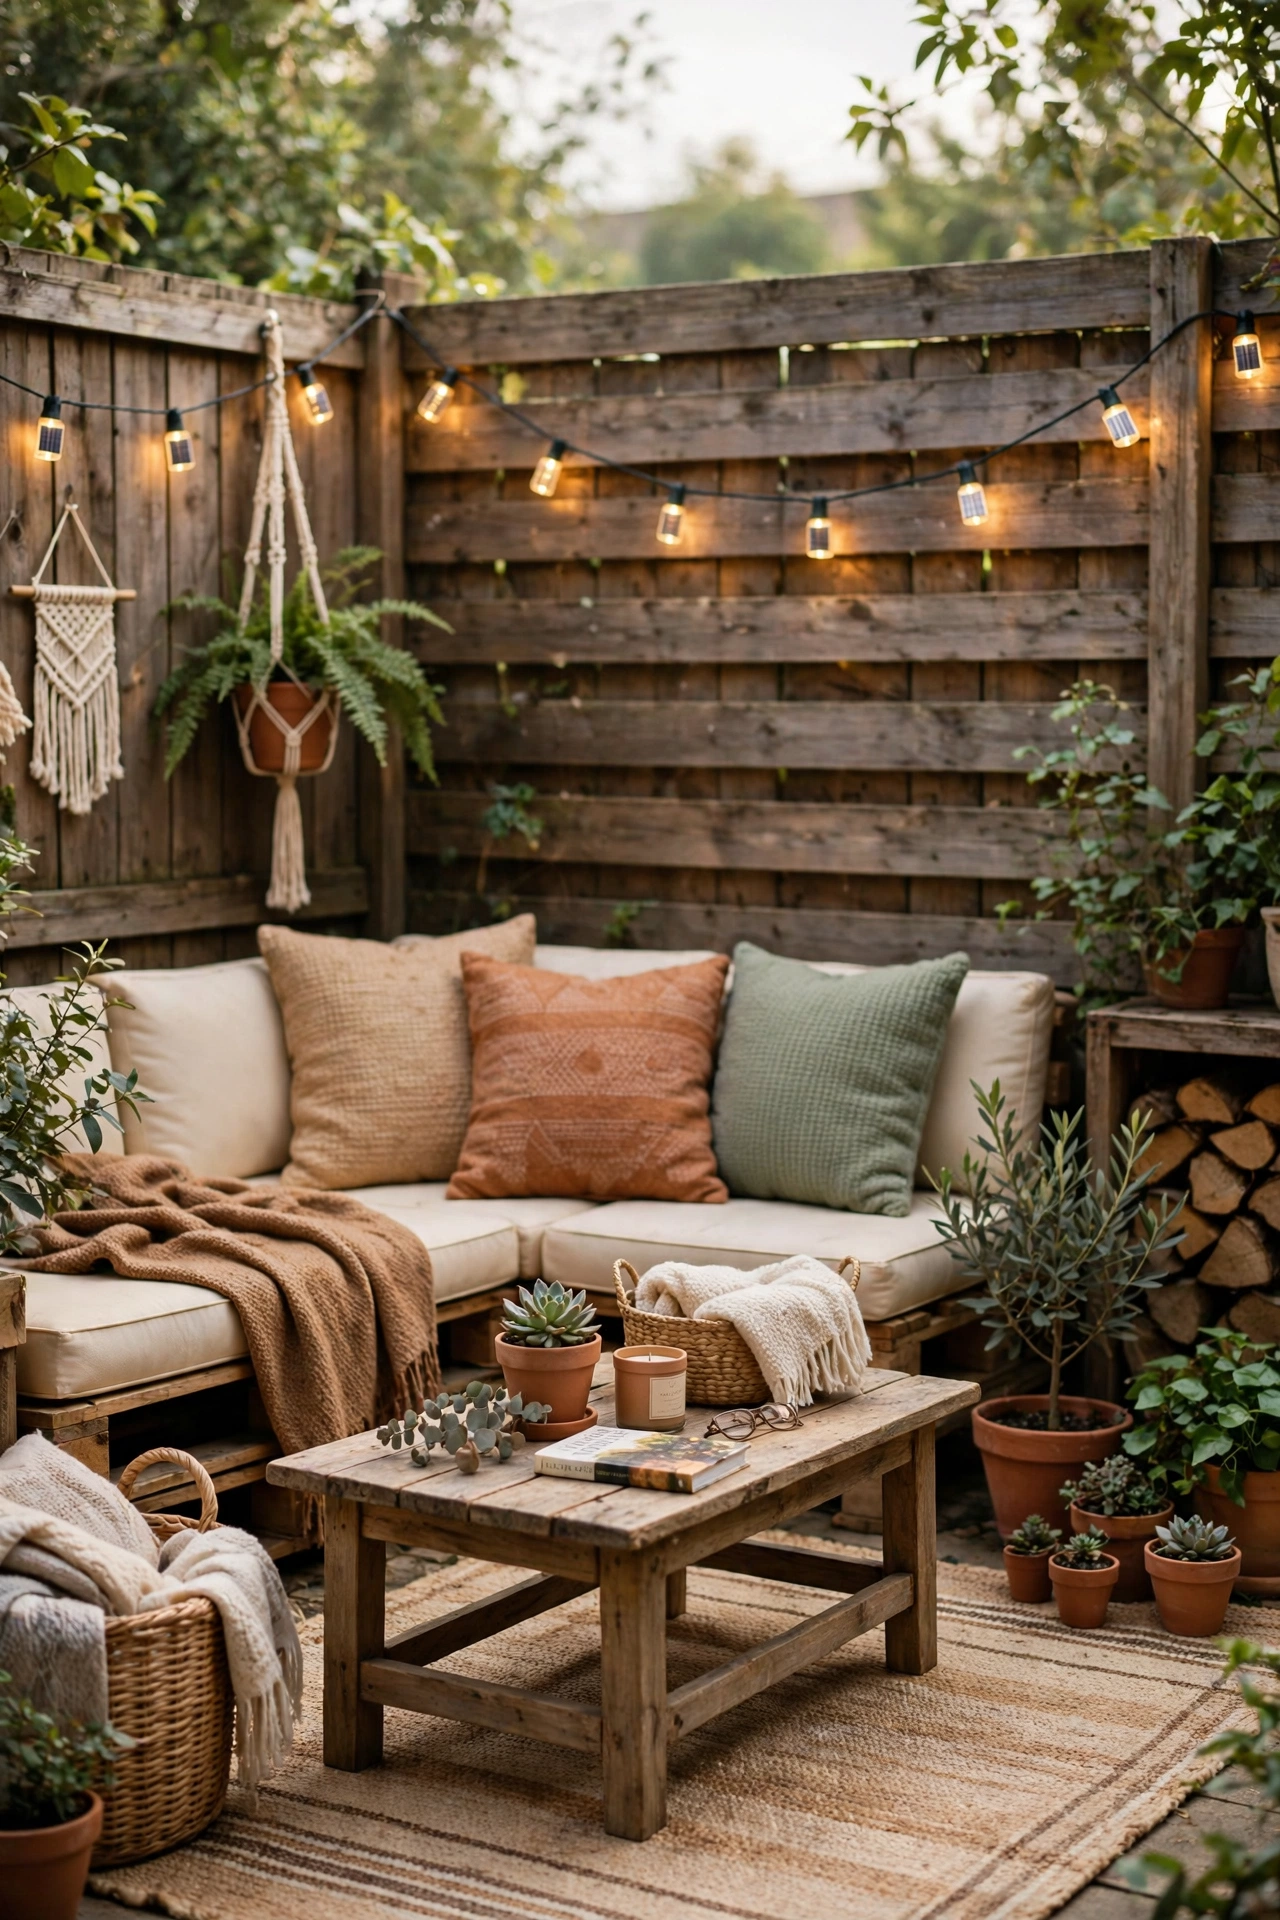
Our yard used to go dark at sunset, which meant evenings moved indoors even on perfect nights. A string of solar lights brought it back to life. Hook small screw-in hooks along the fence top, drape the lights in a gentle sag between hooks, and place the solar panel where it gets direct sun for most of the day. There is no wiring and no electric bill, which is exactly why I love them. My first set failed because the panel sat in shade behind a bush, so move the panel, not the lights, if yours look dim, and check that the panel faces south.
Cost: ~$15 | Time: 40 minutes
12. Mason Jar Lanterns on a Shepherd's Hook
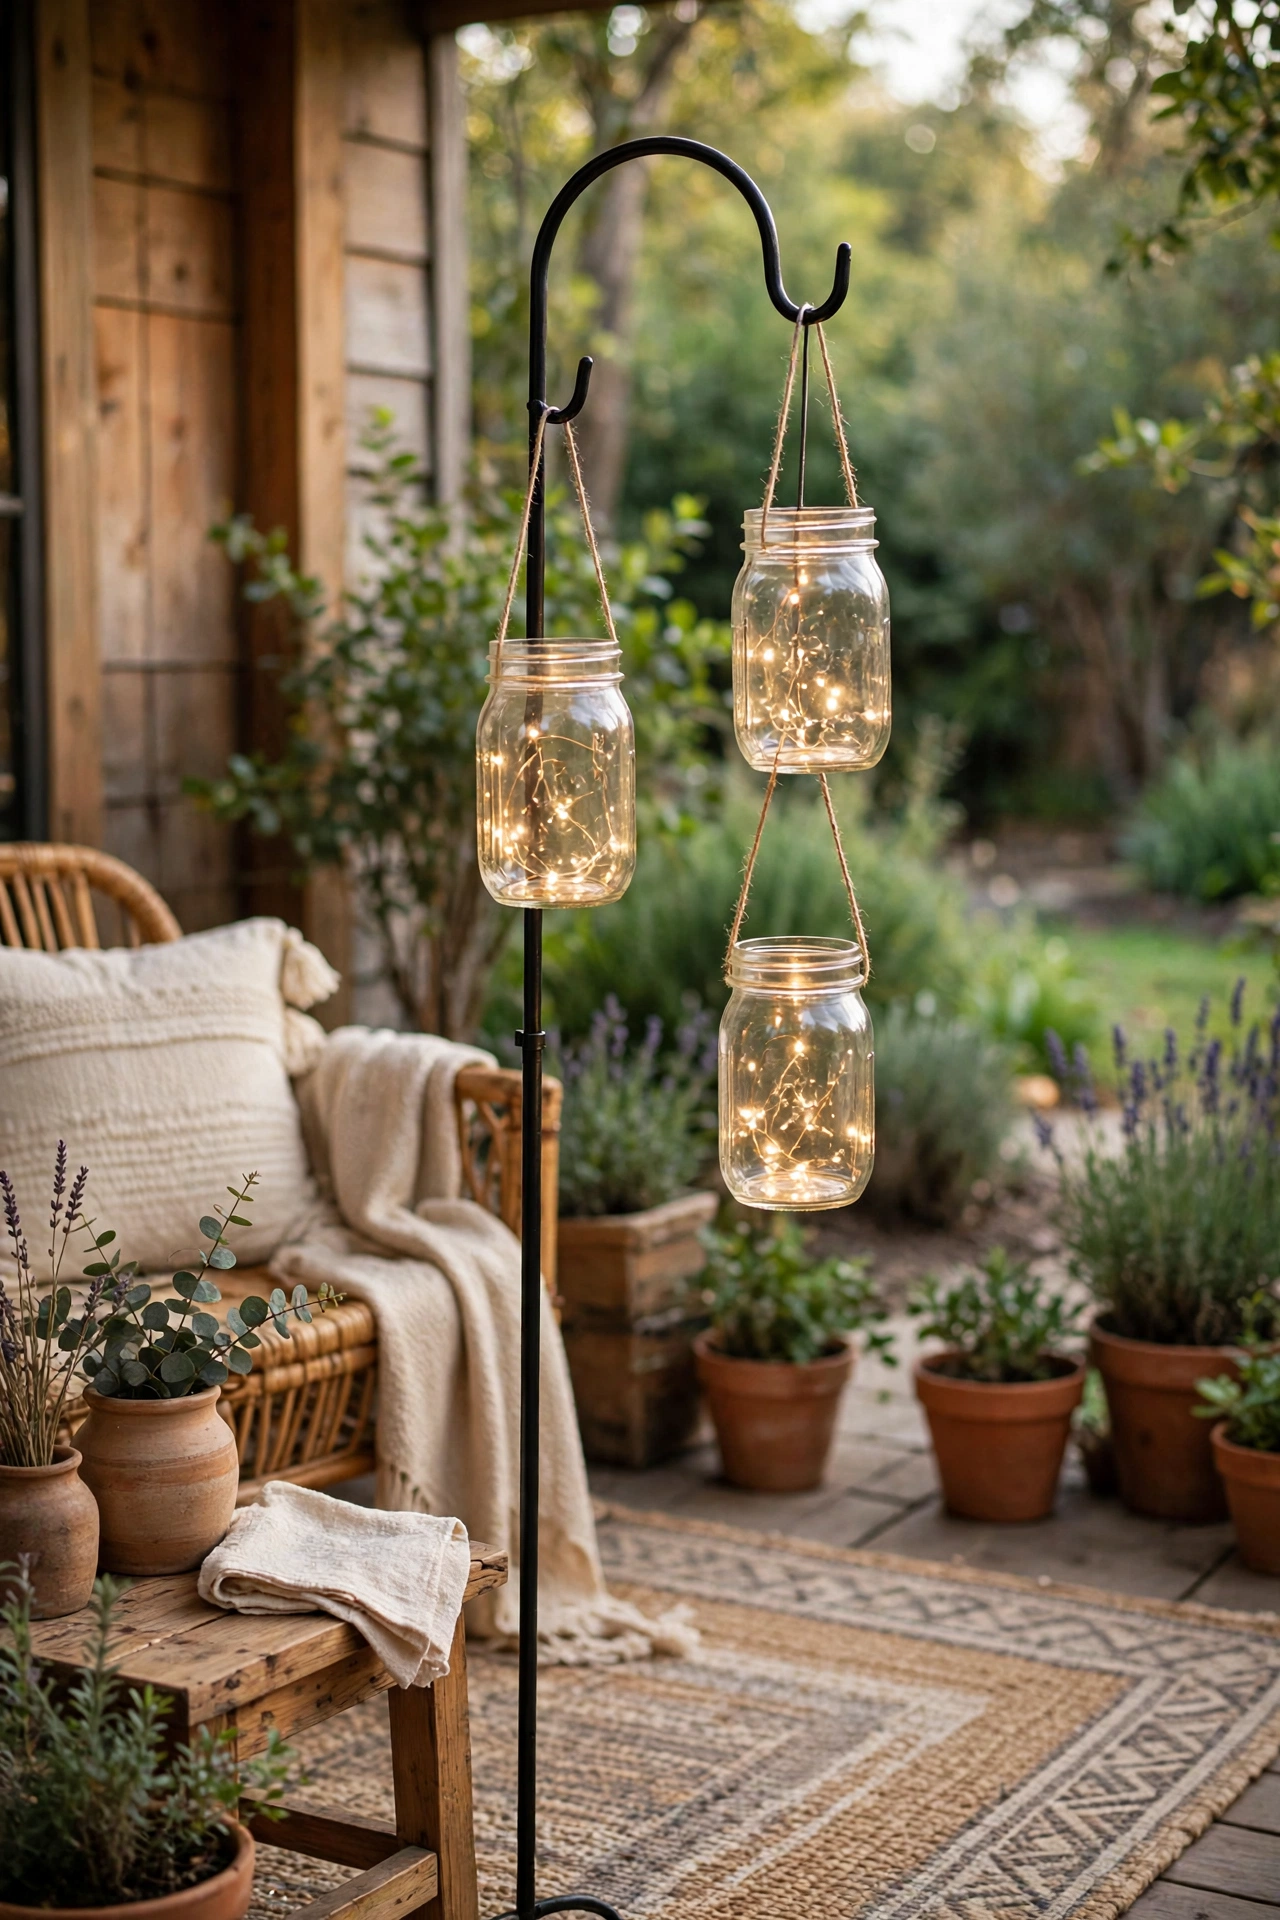
I had a box of old mason jars in the garage and a shepherd’s hook I bought years ago and never used. Putting them together made the prettiest corner of the yard. Drop a small battery candle or a solar fairy light into each jar, twist a loop of wire around the jar neck for hanging, then hang two or three jars at different heights from the hook. At dusk they glow like fireflies. My first attempt used real candles, and one blew out every five minutes, so battery candles are the calm choice here, and they are safer around kids and pets too.
Cost: ~$12 | Time: 50 minutes
13. Painted Tin Can Luminaries for the Table
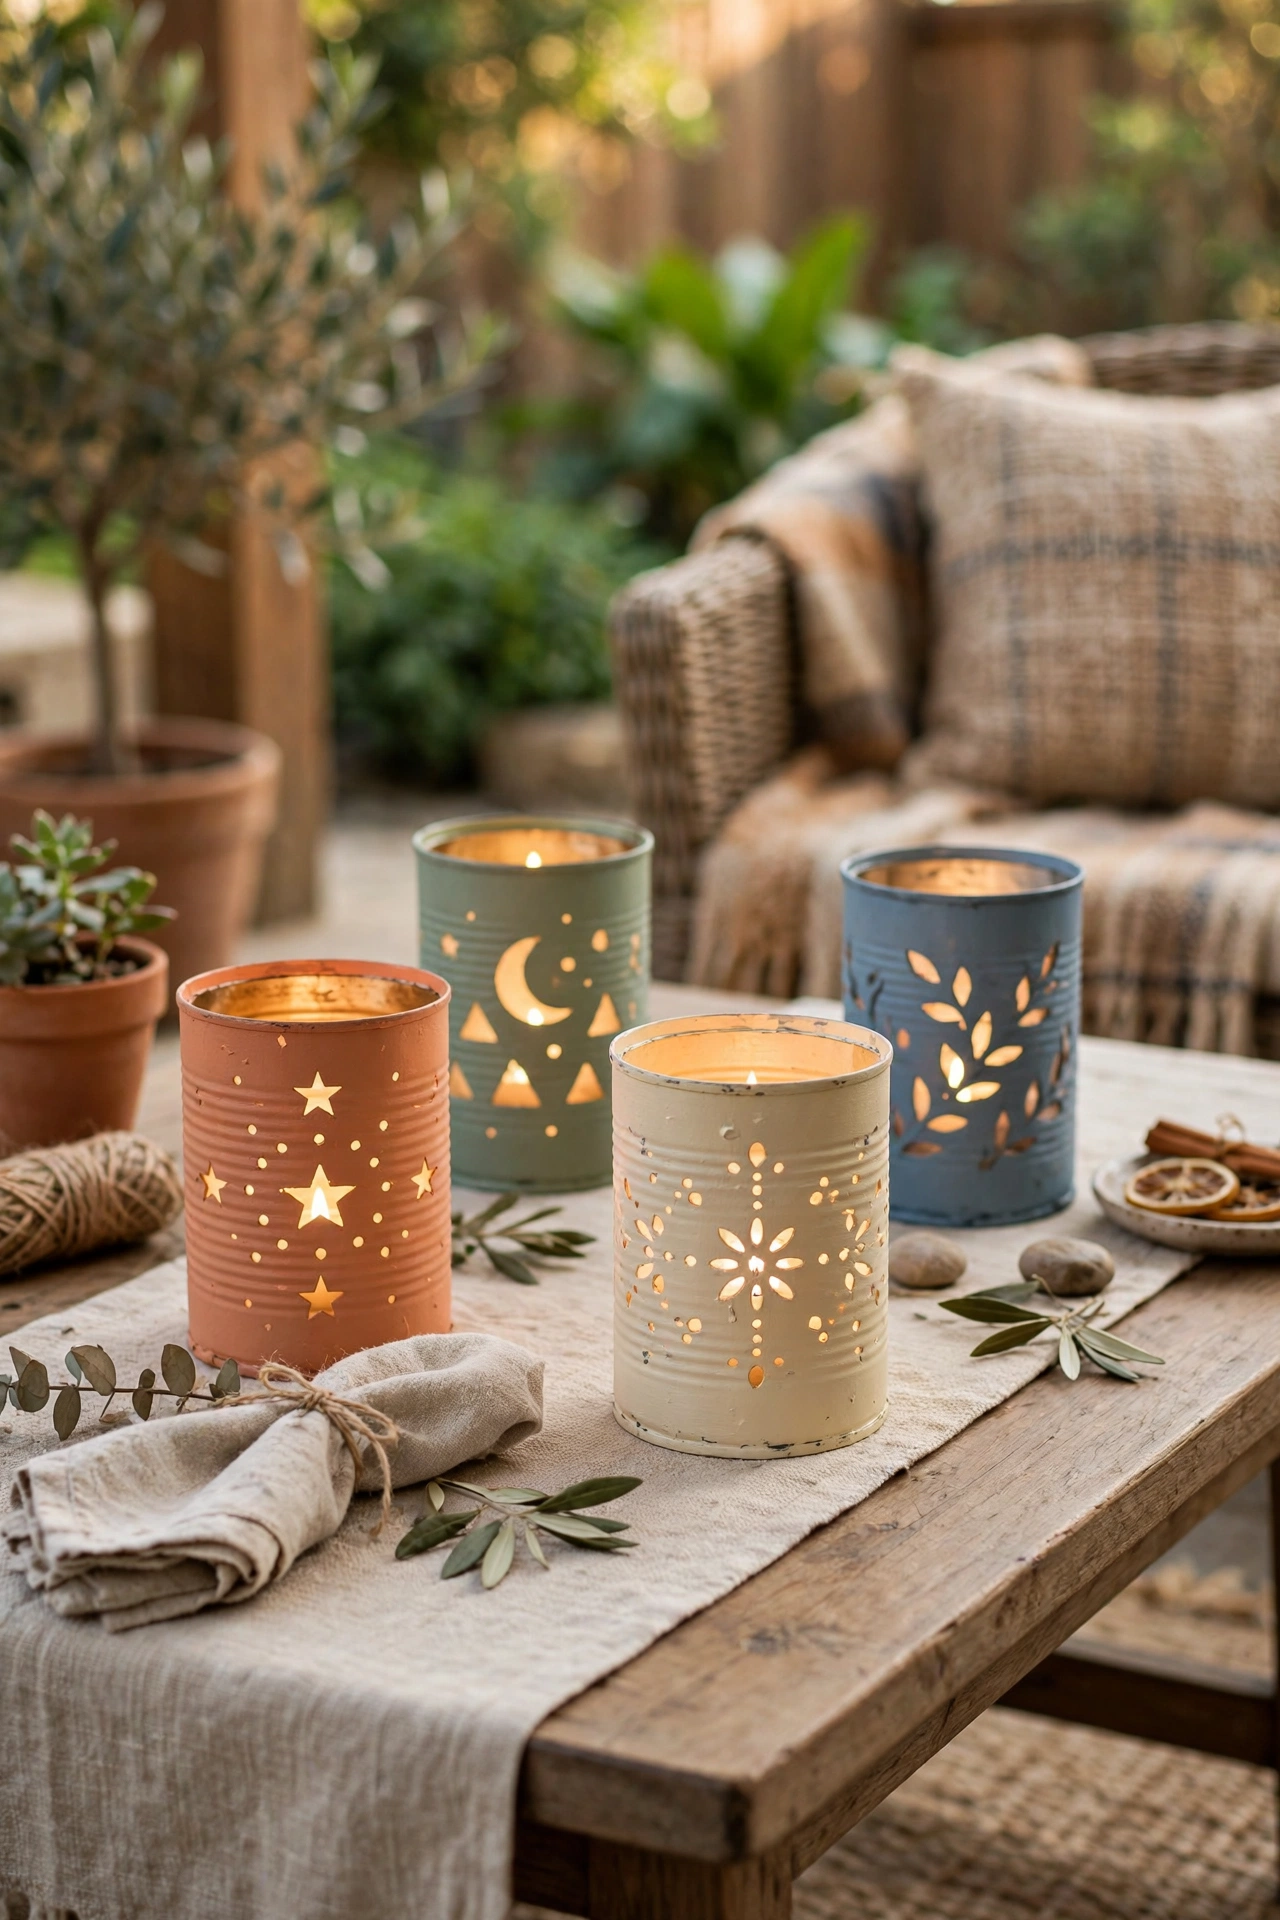
I nearly threw out a stack of tin cans after a big cooking weekend, then remembered a market stall selling almost identical luminaries for far more money. Wash and dry the cans, fill them with water and freeze overnight so the metal does not dent, then punch a simple dot pattern with a nail and hammer. Once thawed, paint the outside in one warm color and drop in a battery tea light. The dotted light pattern on the table is lovely. My tip is to wear gloves while punching, because I nicked a finger on a sharp edge the first time I rushed it.
Cost: ~$6 | Time: 45 minutes
14. Dollar-Store Bucket Planters in One Bright Color
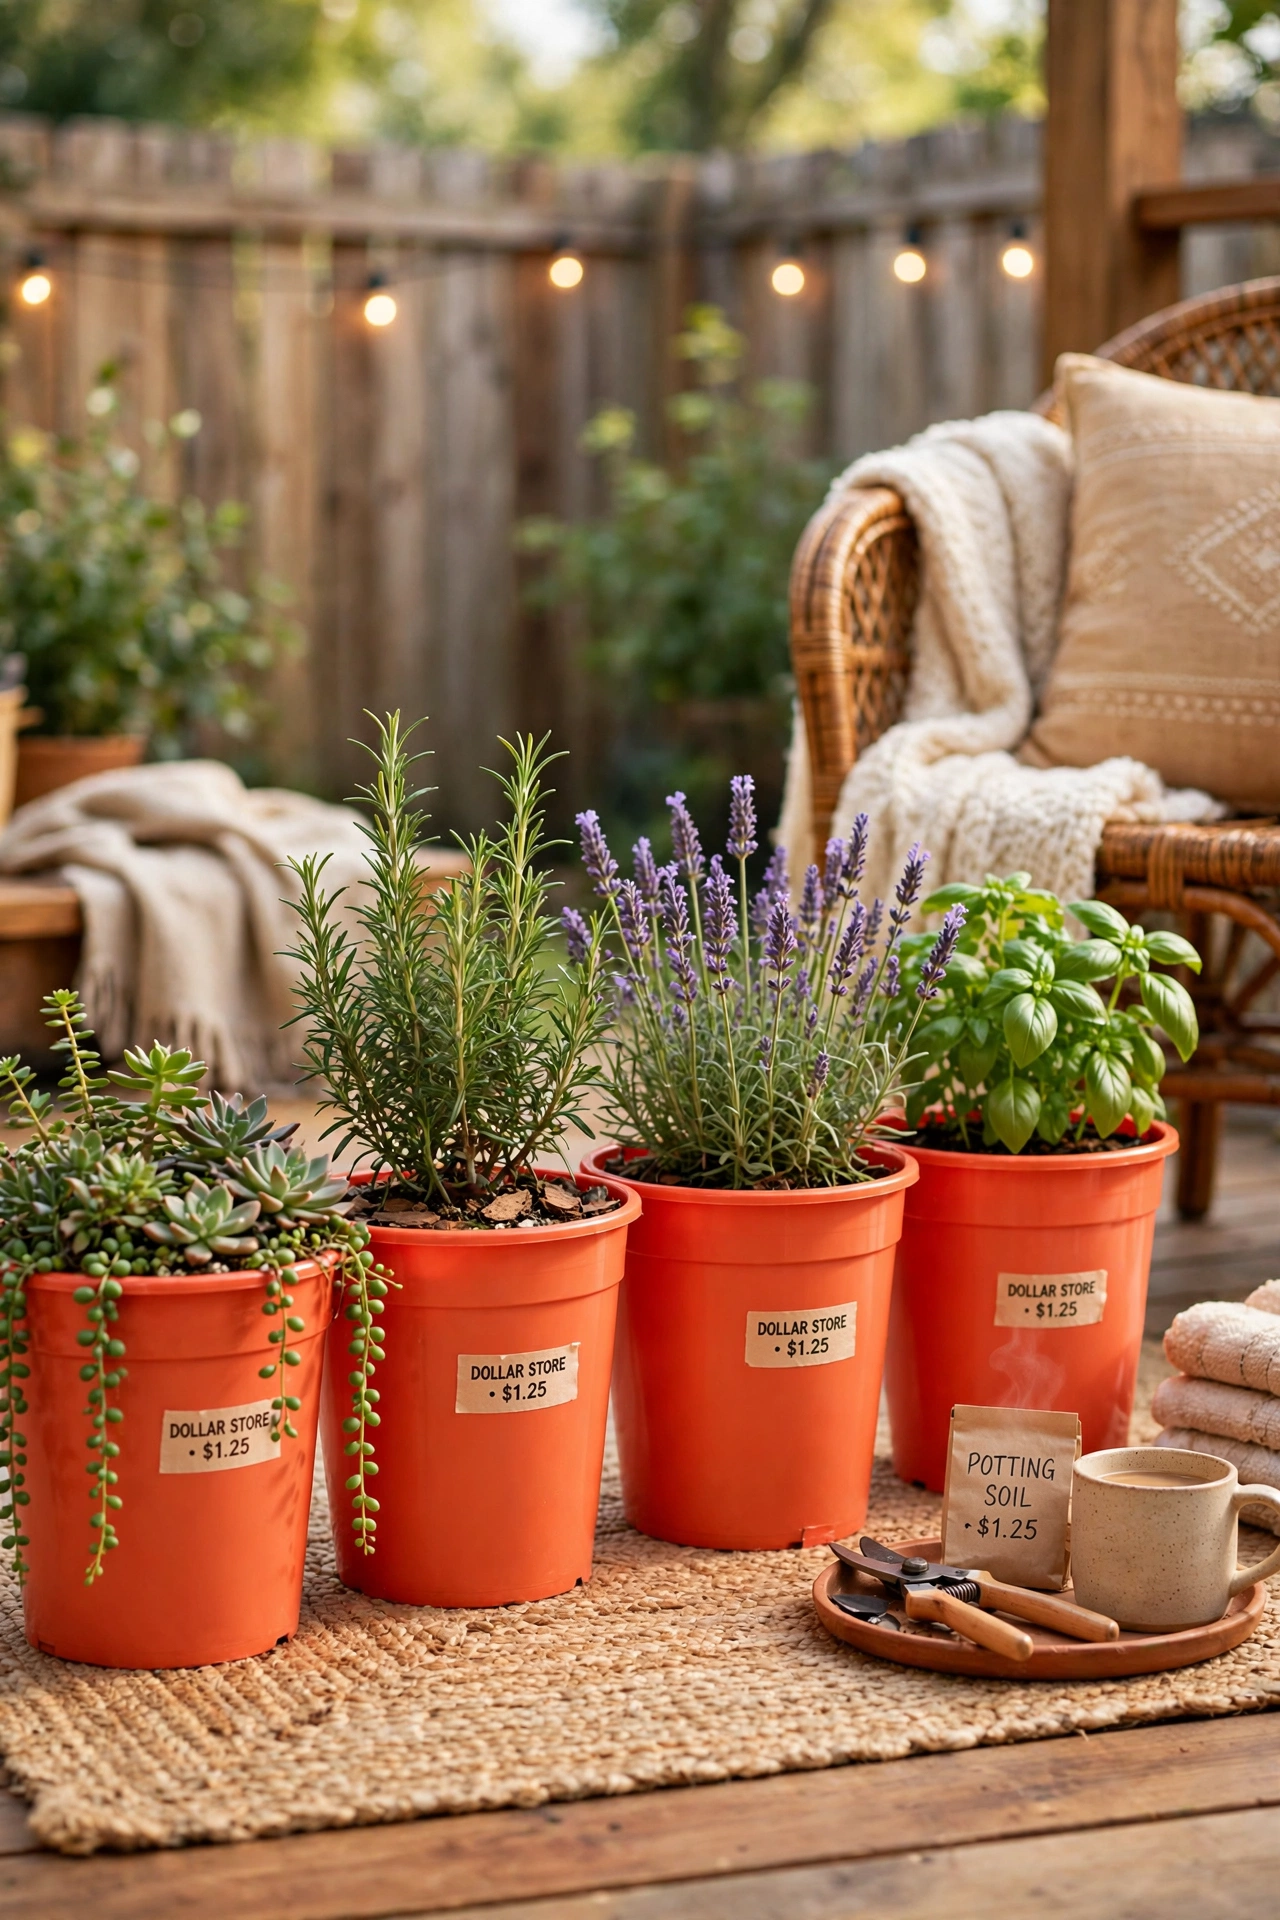
My plants lived in mismatched plastic pots that made the patio look like a clearance shelf. Matching buckets fixed the whole look for a few dollars. Drill three drainage holes in the bottom of each bucket, spray-paint them all in one bright color, let them dry fully, then fill with potting mix and your plants. I chose a sunny yellow that pops against our green fence, and suddenly the patio looked planned. The mistake to avoid is skipping drainage holes; my first bucket drowned a basil plant in a week, so drill first, plant second, every single time.
Cost: ~$9 | Time: 40 minutes
15. Bold Painted Stripe on the Fence
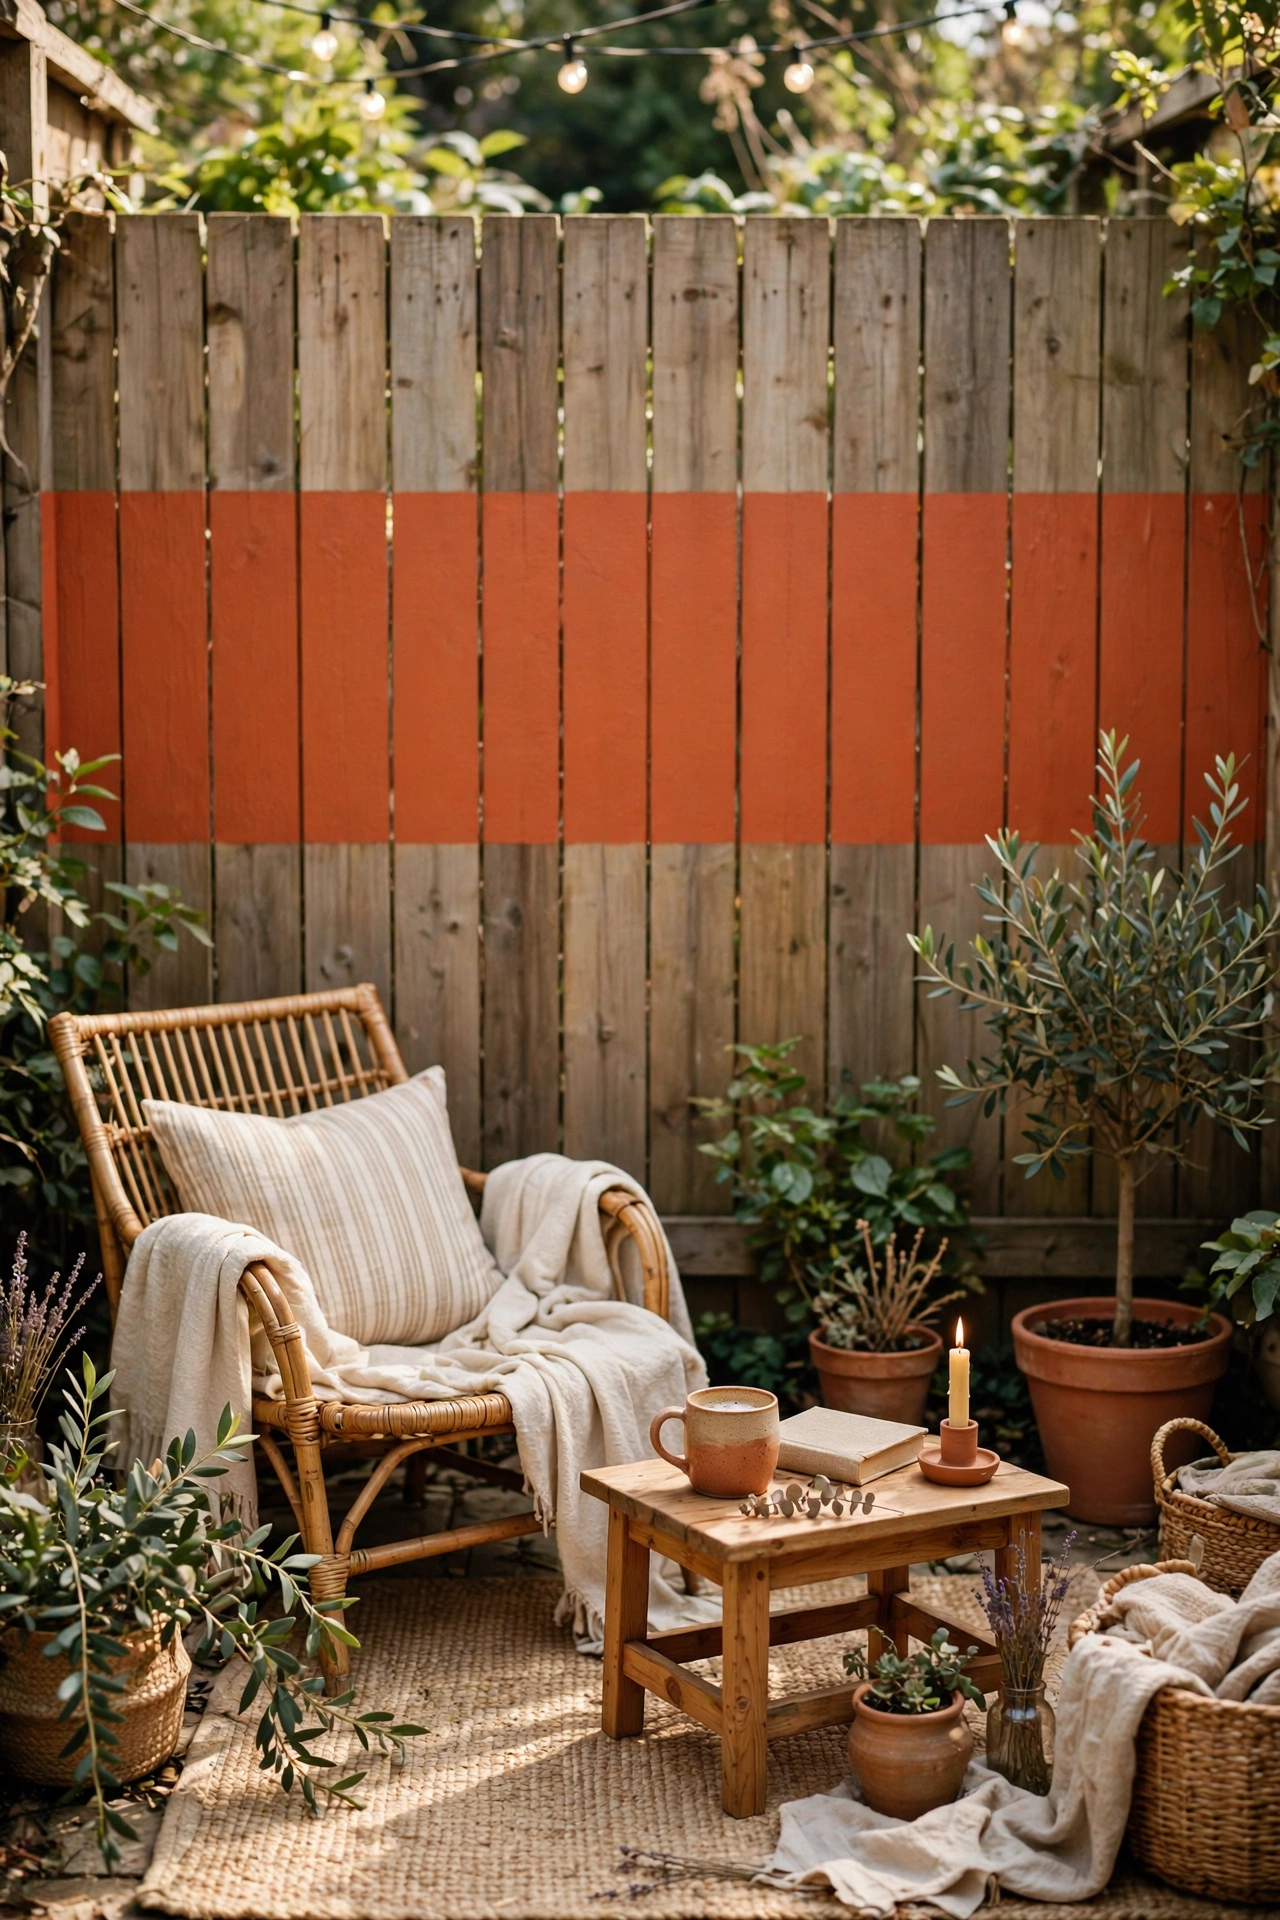
Our fence was weathered gray and made the whole yard feel gloomy, but replacing it was out of the question. One bold stripe changed its personality. Tape a straight horizontal line with painter’s tape and a level, then paint a wide stripe in a deep green or warm terracotta using exterior wood paint. I did one stripe about a foot tall, and it draws the eye along the yard instead of letting it stop at the fence. My first line wobbled because I eyeballed it, so use a chalk line or level, and step back often to check it reads straight.
Cost: ~$14 | Time: 90 minutes
Grow Something for Pennies
16. Back-Door Herb Pots From Grocery-Store Starts
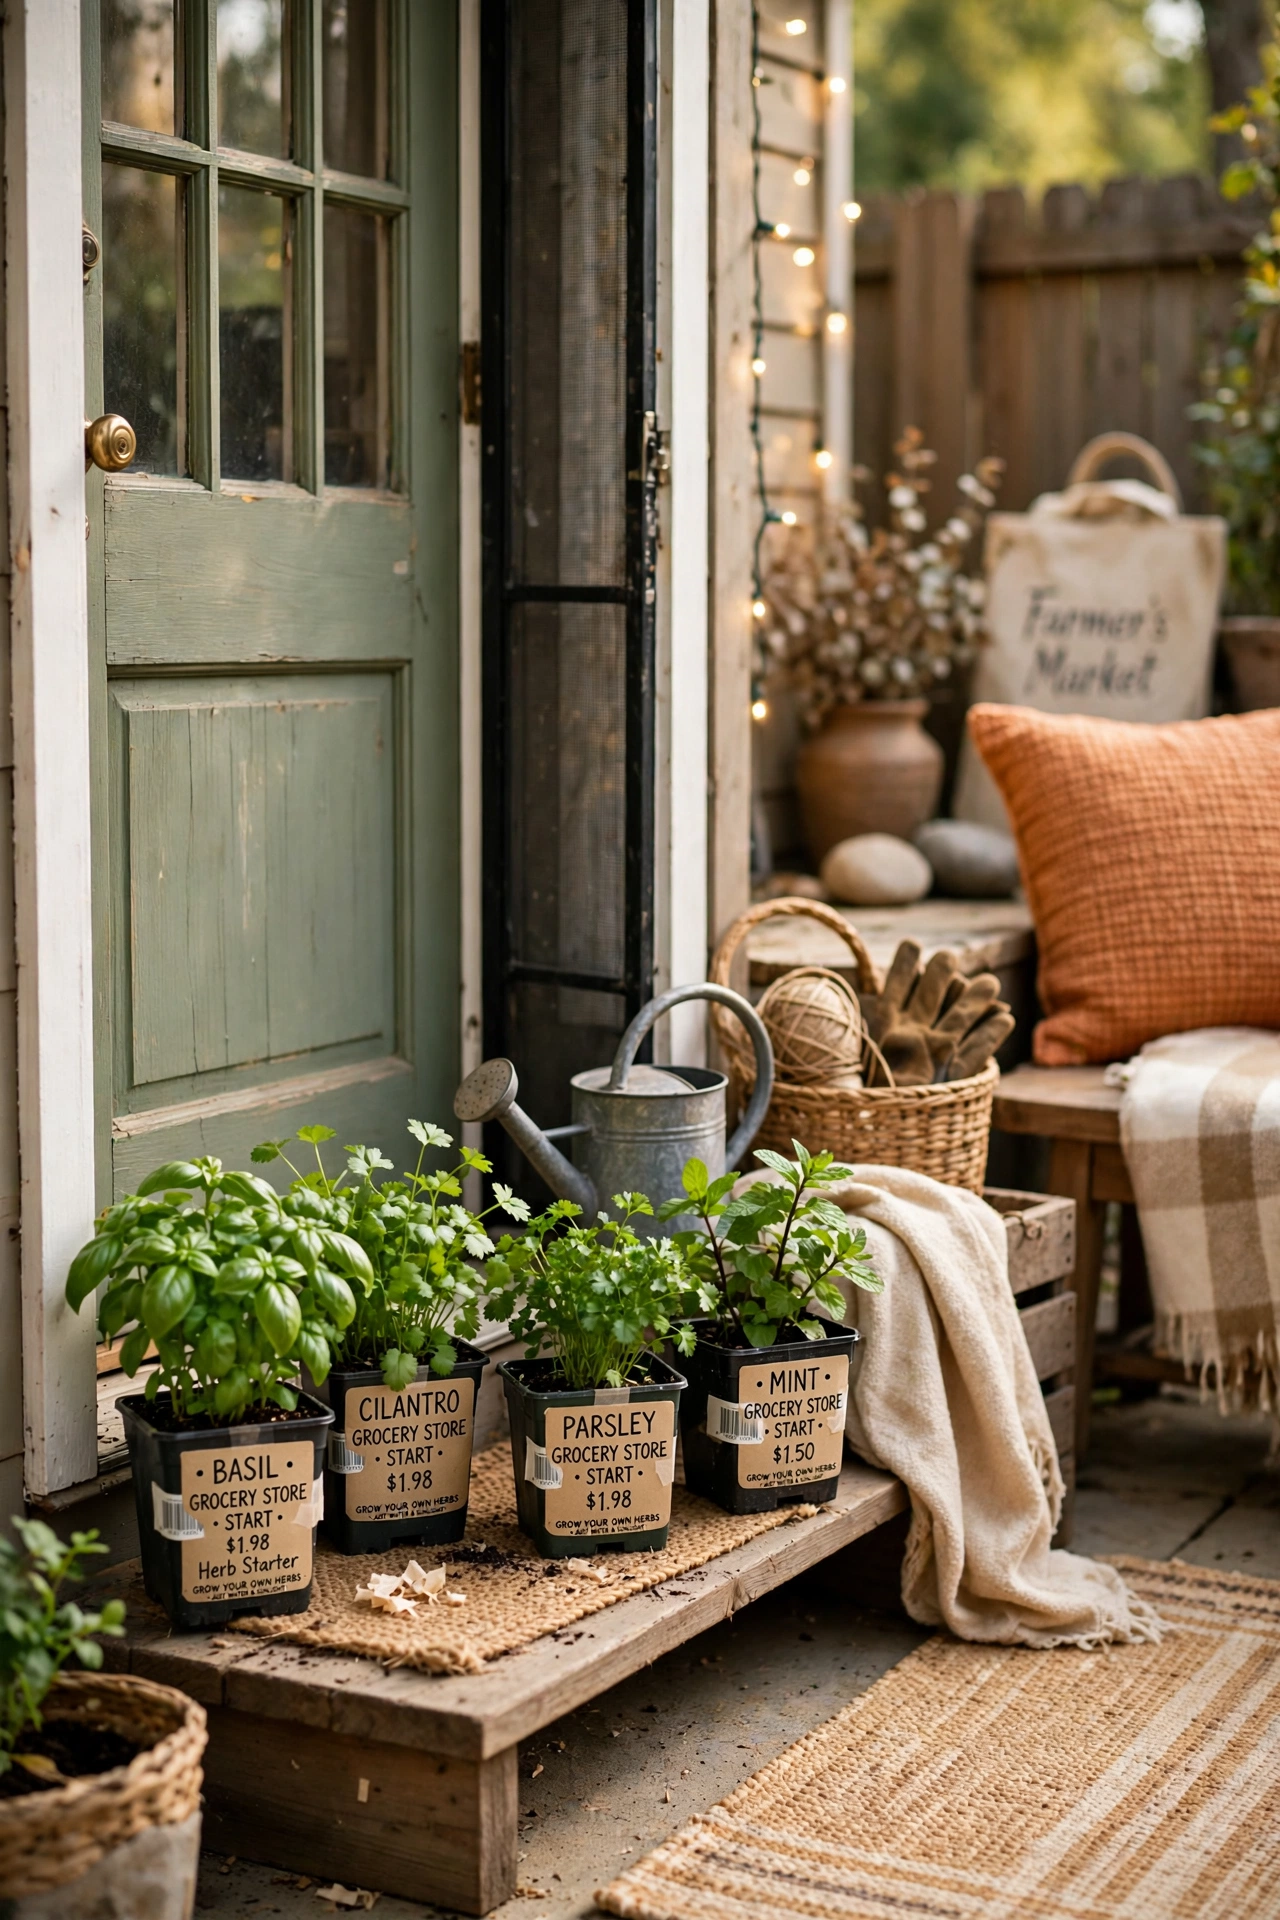
I used to buy fresh herbs every week and watch half of them wilt in the fridge. Growing them by the back door ended that waste. Pick three small pots with drainage, fill them with potting mix, then plant grocery-store herb starts like basil, mint, and parsley, keeping mint in its own pot because it spreads aggressively. Water when the top inch feels dry and snip from the top to encourage bushy growth. My first mint escaped into the flower bed and took over a corner, so the separate-pot rule is one I now follow without exception.
Cost: ~$11 | Time: 35 minutes
17. Three-Seed Vegetable Patch in a Corner Bed
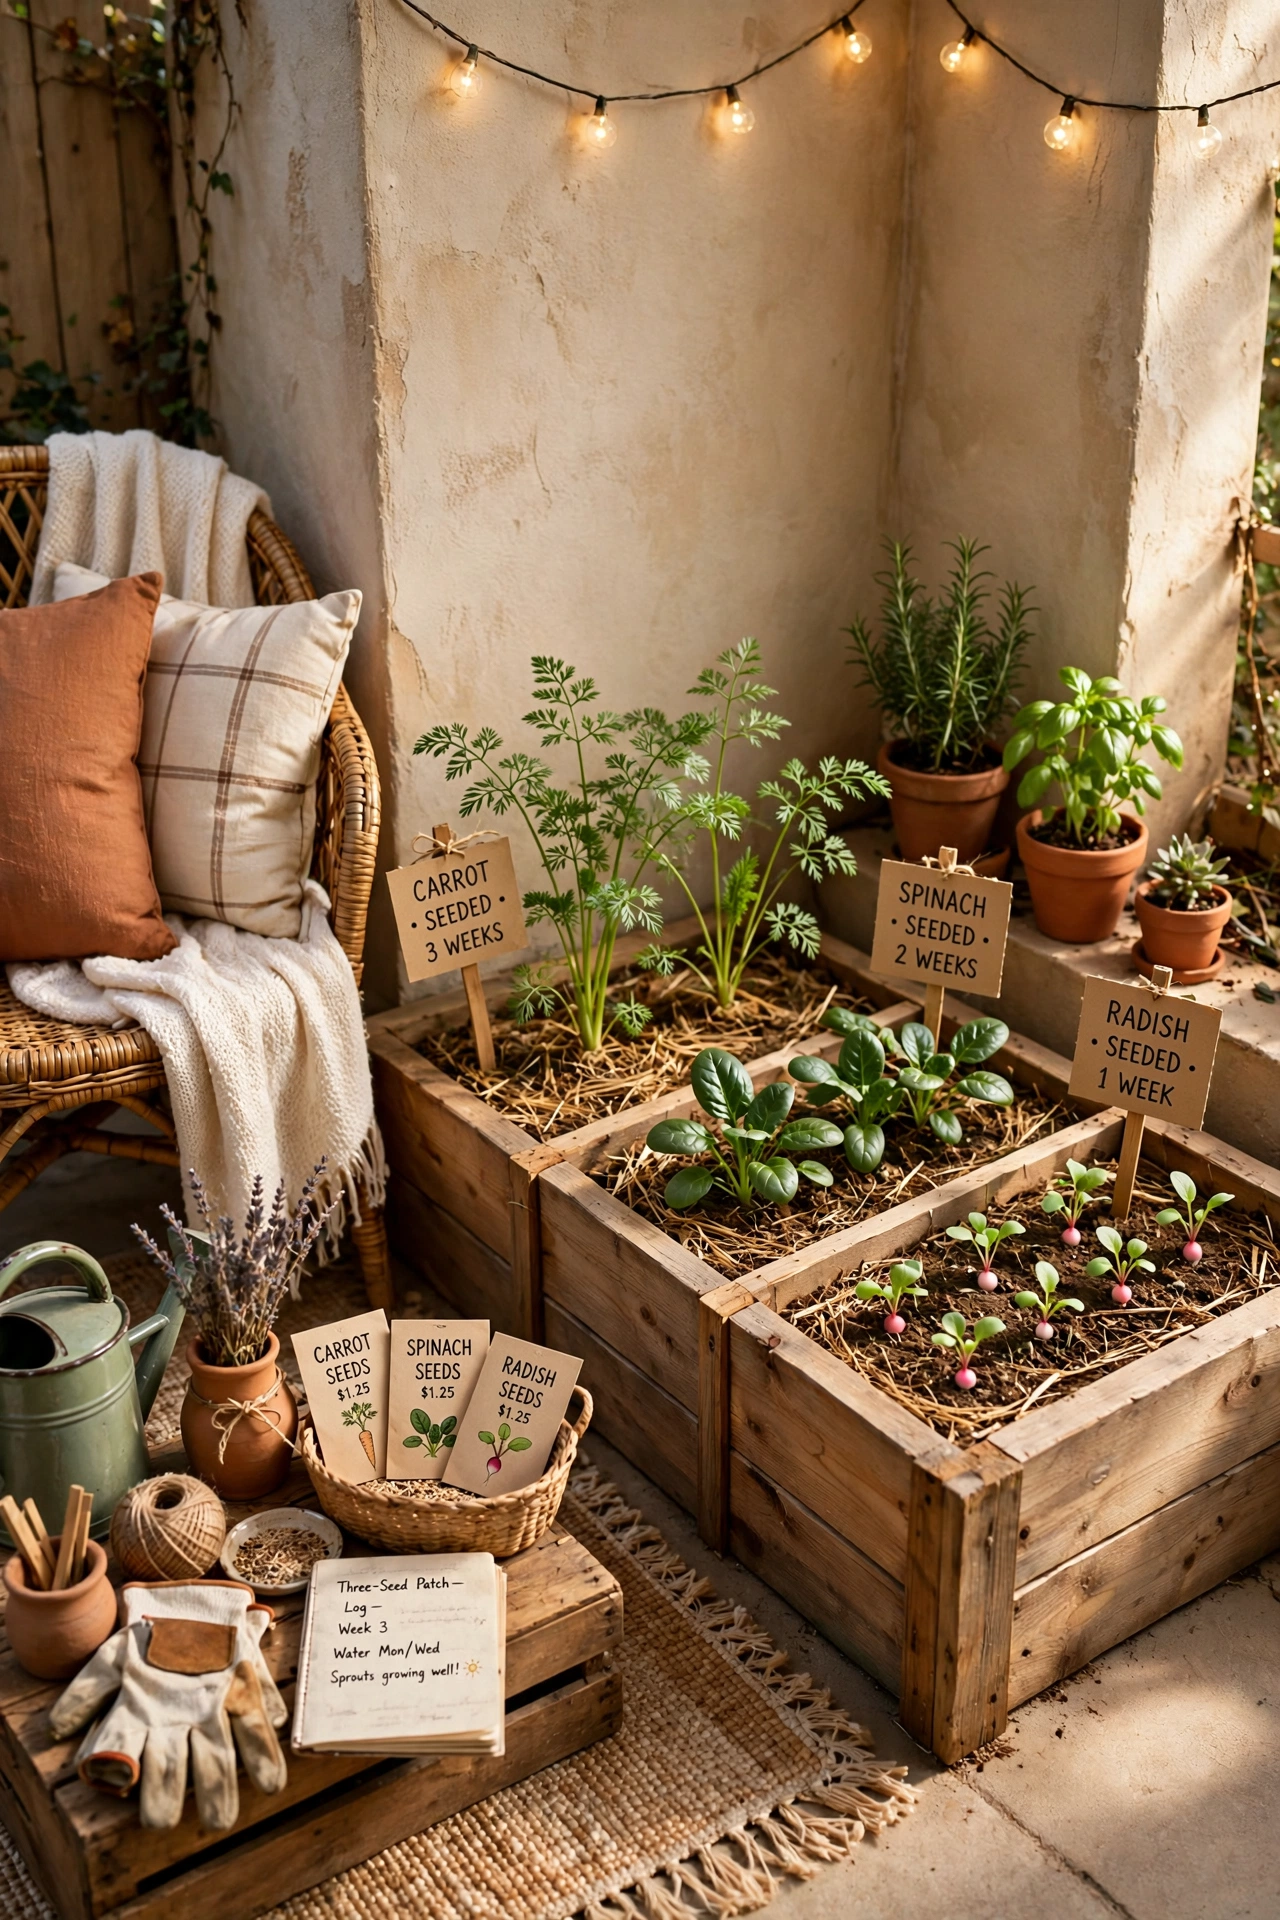
The corner bed by the fence sat empty for two years because I assumed vegetables needed a big garden. Three seed packets proved otherwise. Loosen the soil with a fork, rake it level, then sow one row each of lettuce, radishes, and beans, following the packet spacing and watering gently. Radishes sprouted first and kept me motivated while the beans caught up. I planted too thickly the first time and had to thin half the seedlings, which felt wasteful, so trust the spacing on the packet even when the seeds look tiny and far apart. For a matching project, see also (see also: 25-cozy-outdoor-lighting-ideas-that-cost-almost-nothing).
Cost: ~$10 | Time: 90 minutes
18. Free Plants From Cuttings and Neighbor Clippings
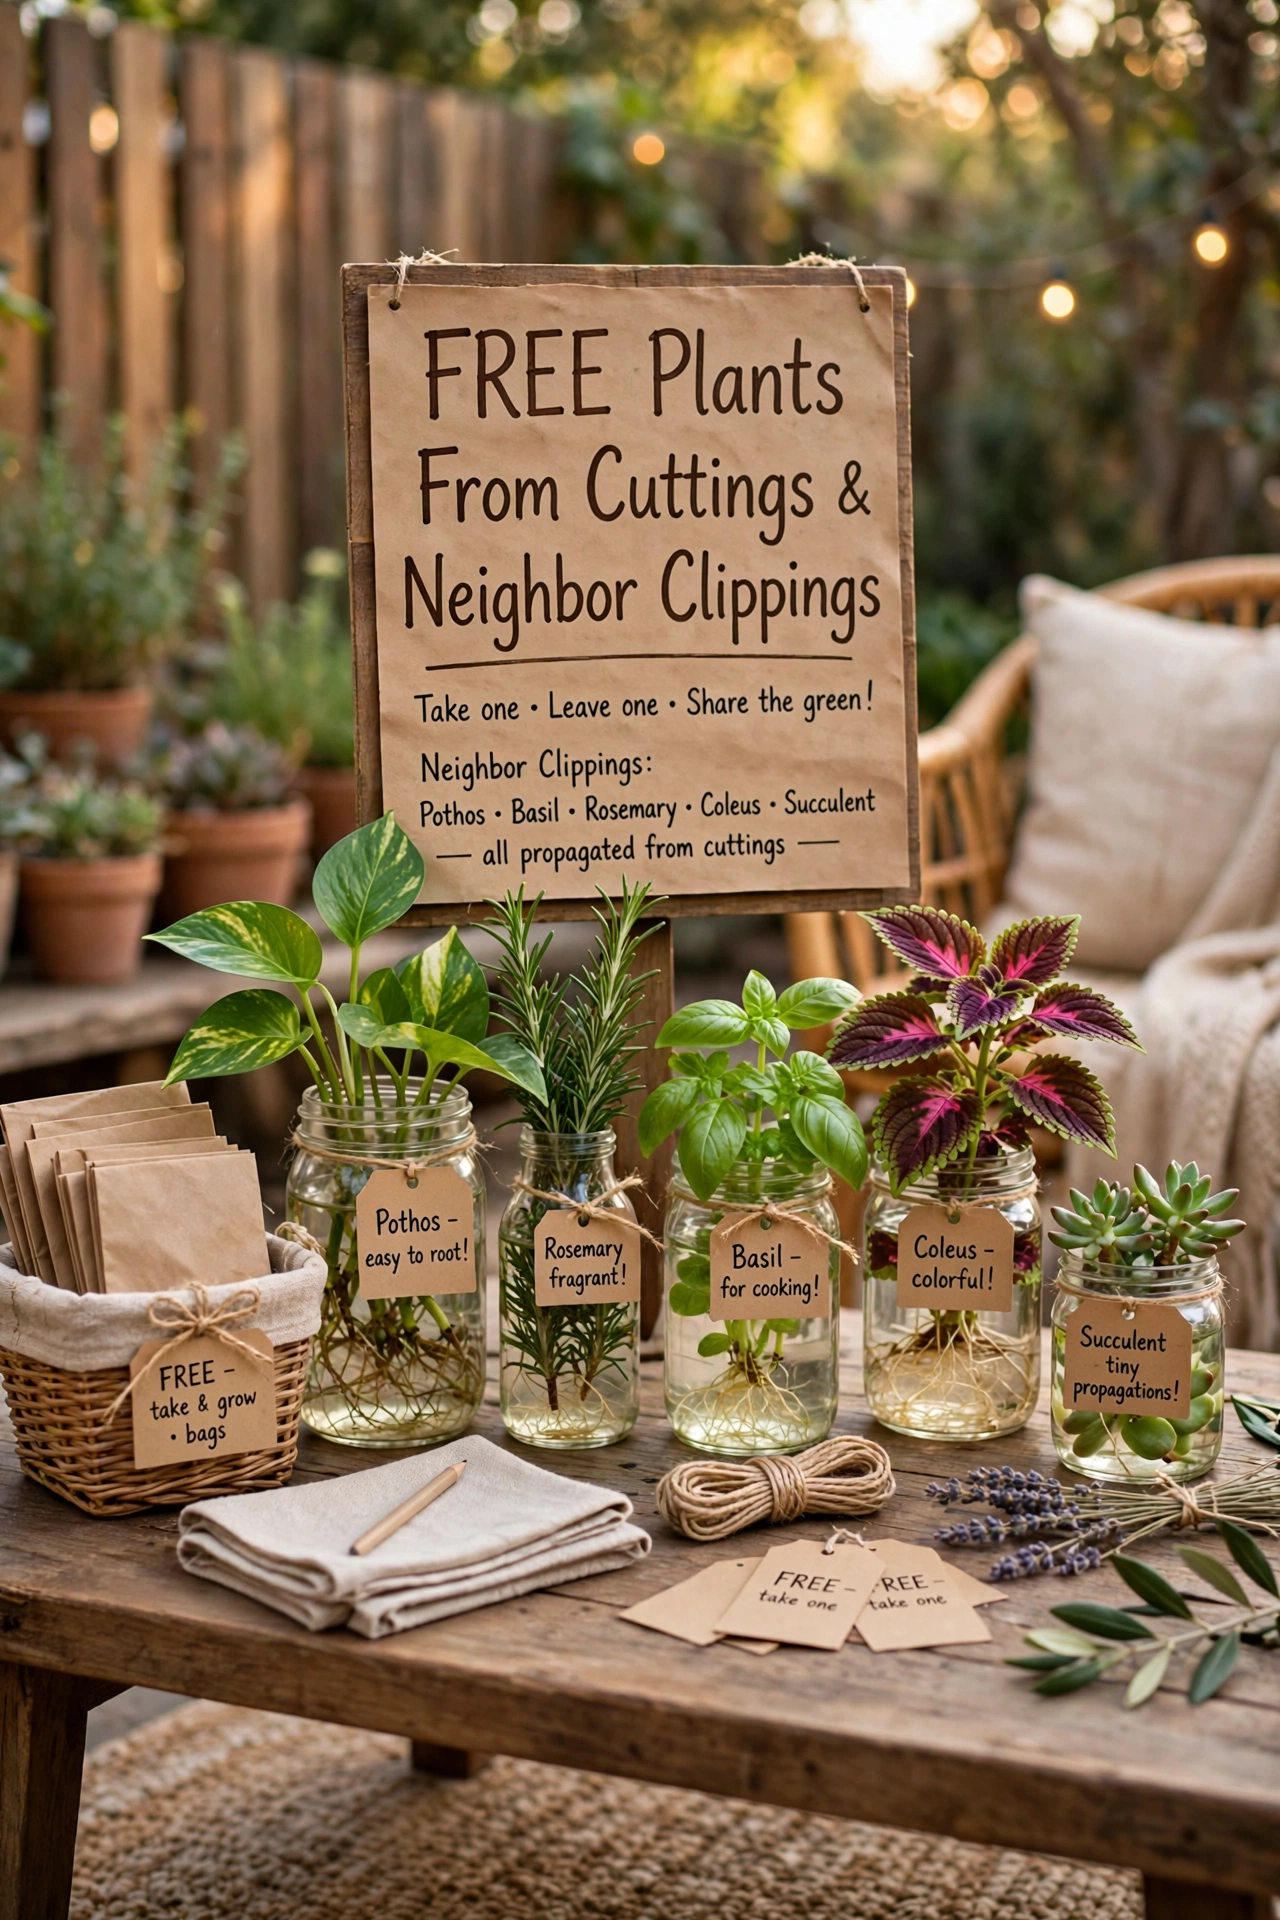
New plants used to be my biggest garden expense until a neighbor handed me a jar of cuttings and changed my whole approach. Take a healthy four-inch cutting just below a leaf node, strip the lower leaves, then place it in water or moist potting mix until roots form. Pothos, mint, and spider plants root especially easily. I now trade cuttings with two neighbors every spring, so our yards share plants for free. My early mistake was leaving cuttings in direct sun, which wilted them in hours, so bright indirect light is the rule until roots are strong.
Cost: ~$3 | Time: 30 minutes
19. Hanging Shoe Organizer Turned Herb Wall
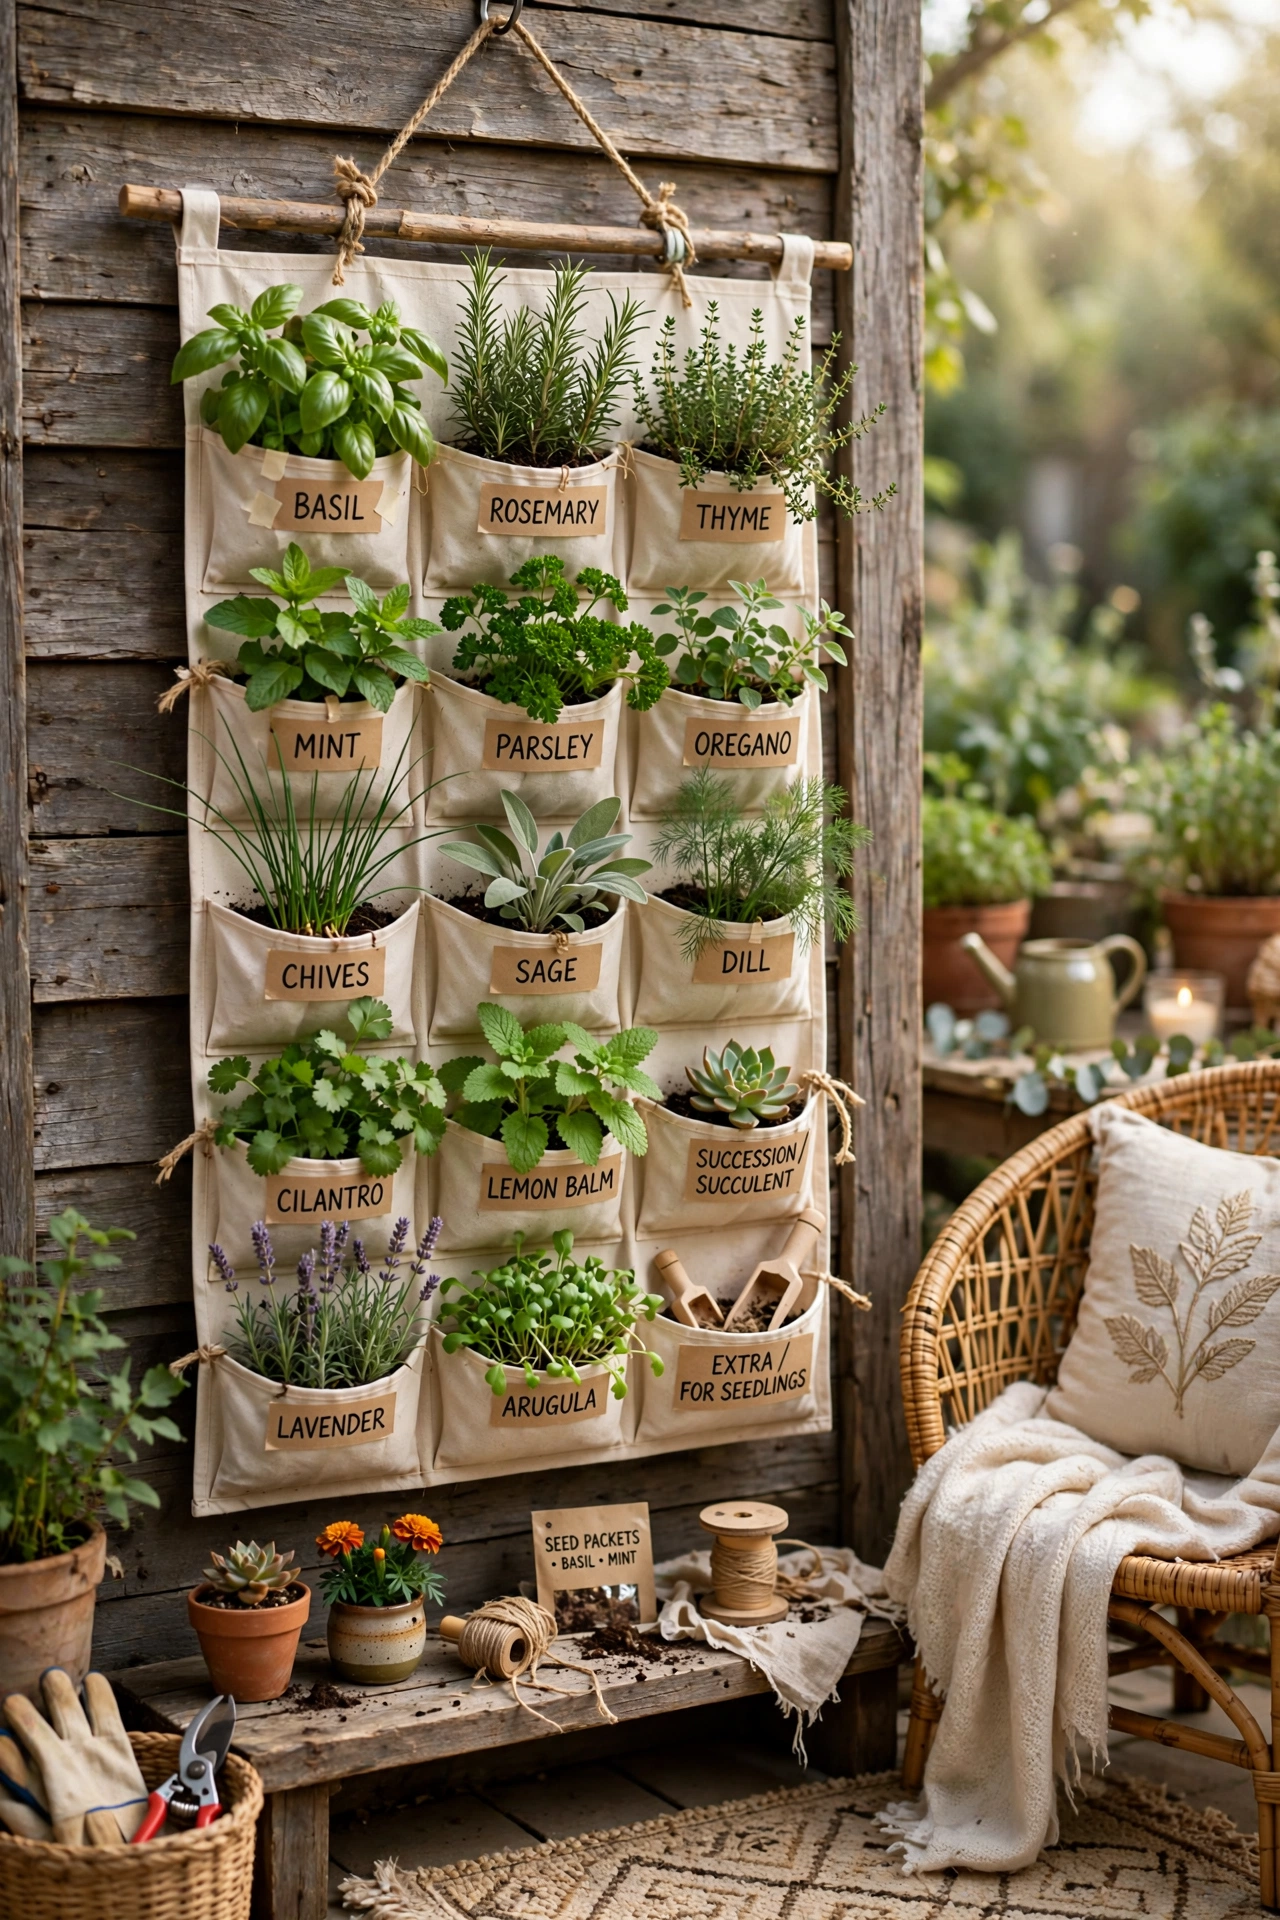
I had no ground space left for herbs but a blank fence that baked in the sun, and a clear shoe organizer solved both problems. Screw the organizer to the fence through its top loops, poke a tiny drainage hole in each pocket, fill with potting mix, then plant small herbs or trailing flowers pocket by pocket. Water slowly so it soaks in instead of running out. My first version had no drainage holes and the bottom pockets stayed soggy, so punch holes before planting, and hang it where you will actually reach it for daily watering.
Cost: ~$8 | Time: 50 minutes
Little Extras That Make It Feel Finished
20. Metal Bucket Fire Bowl for Cool Evenings
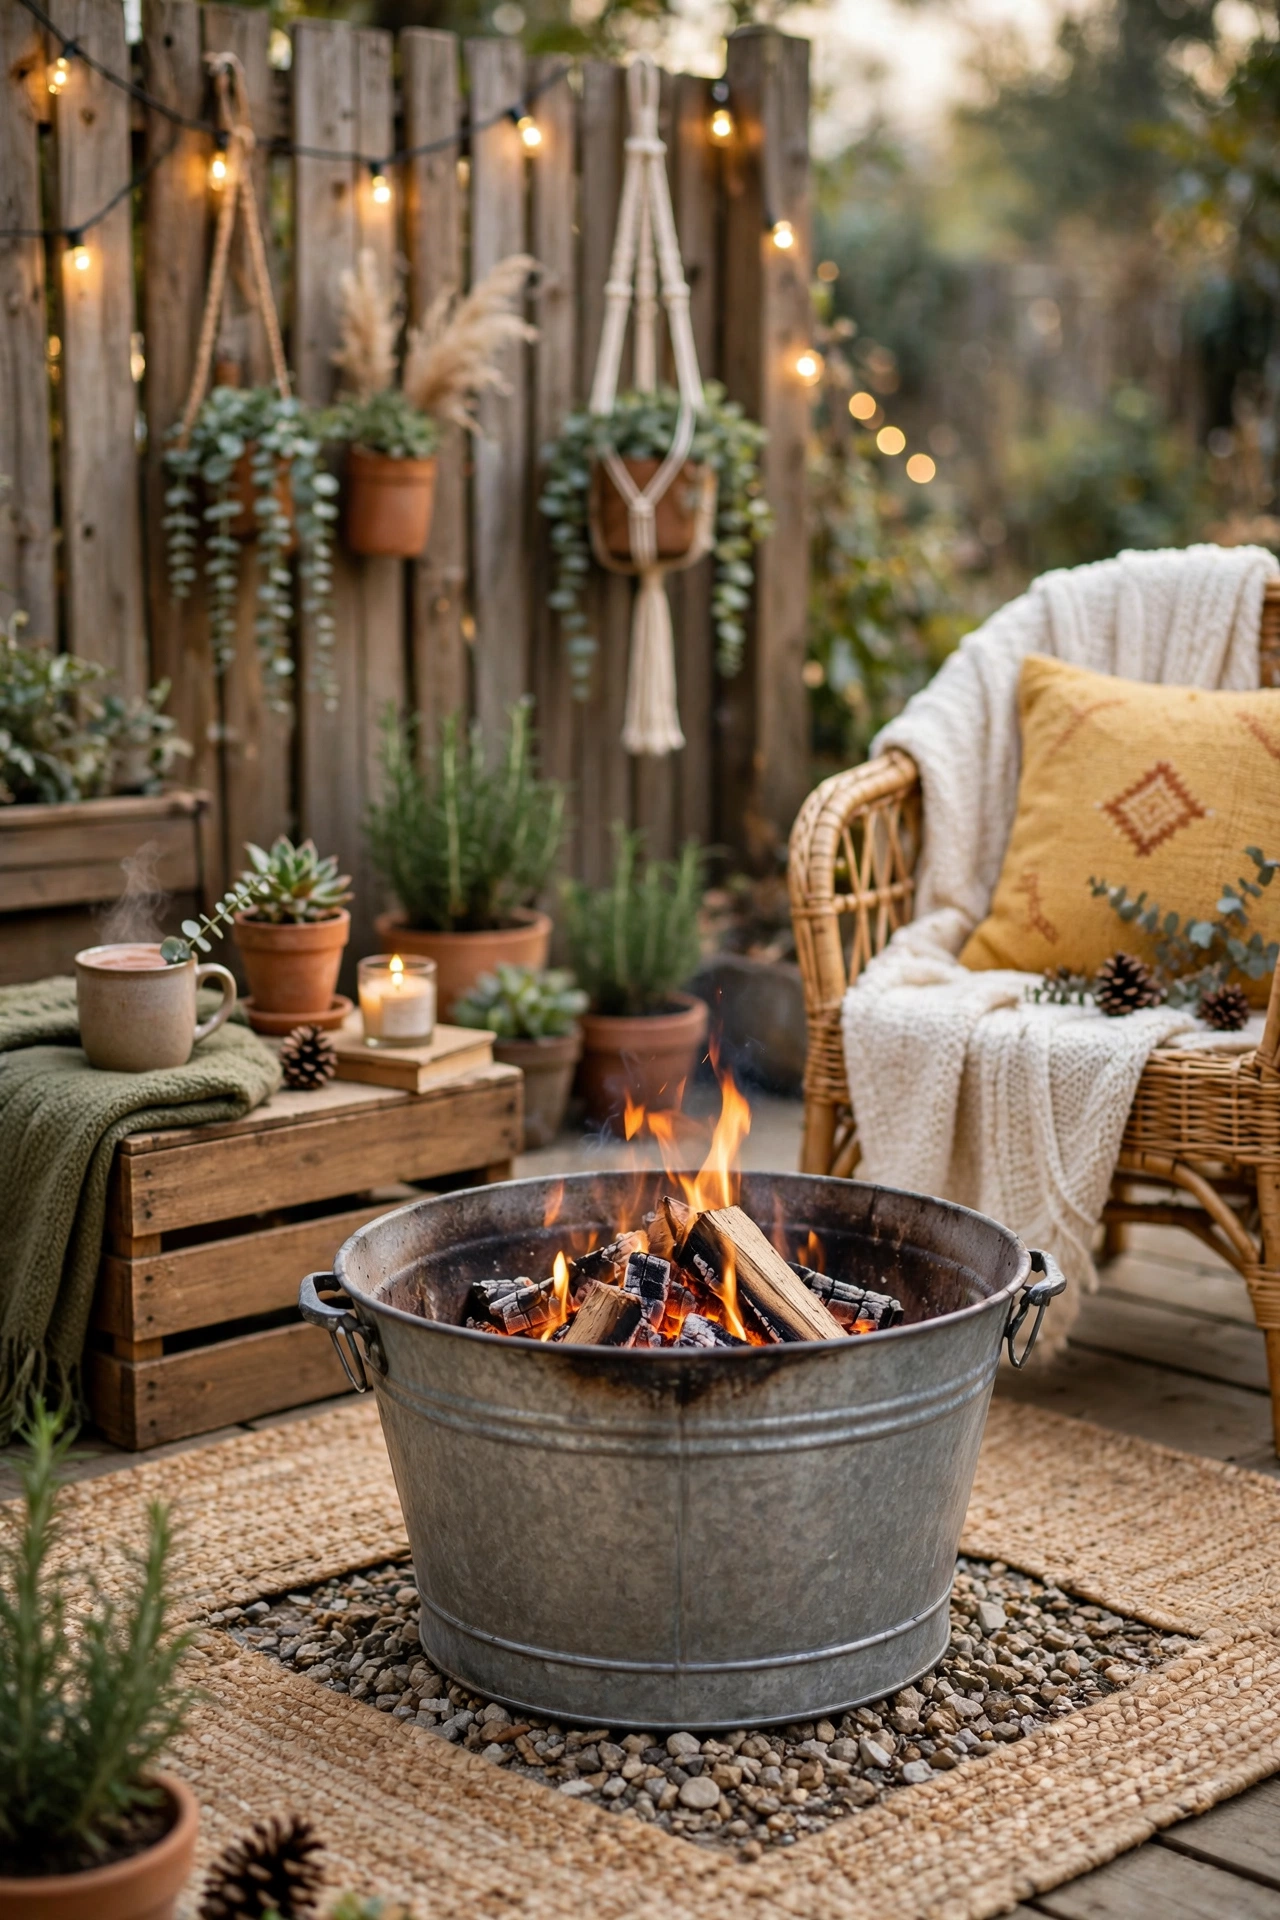
Cool evenings used to send us inside right after dinner, which felt like wasting the best part of the day. A metal bucket fire bowl brought the evening back outside. Set a large galvanized bucket on bricks or a fire-safe base away from the fence, add a layer of sand at the bottom, then build small fires with dry kindling and keep a bucket of water nearby. We toast marshmallows and talk for an extra hour now. My safety lesson came early: never use lighter fluid, and never leave it burning unattended, because a gust once scattered sparks toward dry leaves.
Cost: ~$20 | Time: 45 minutes
21. Thrifted Bowl Birdbath on a Plant Stand
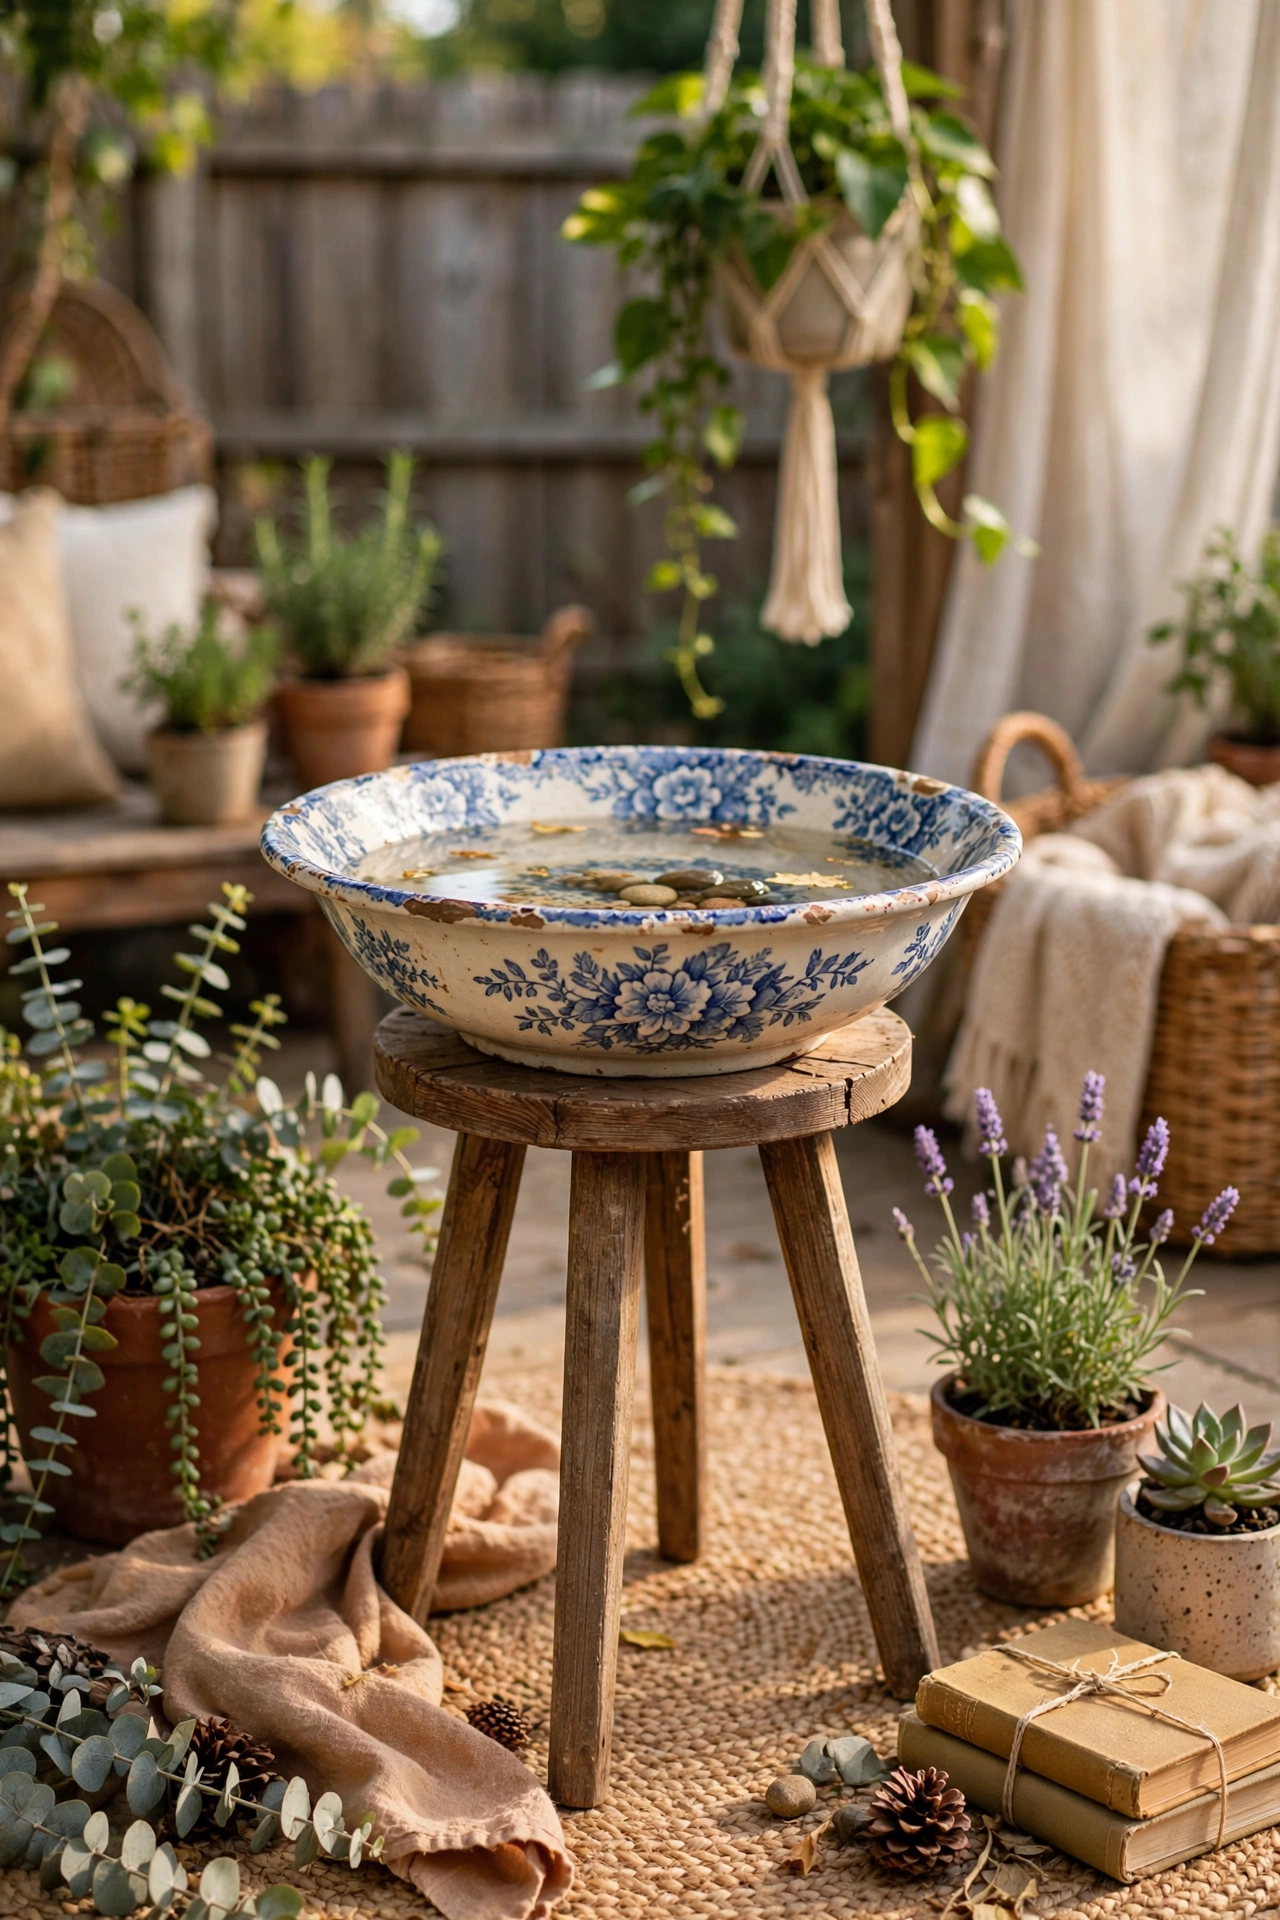
Birds visited our yard but never stayed, and I wanted a reason for them to linger. A thrifted birdbath did the trick for a few dollars. Find a wide shallow bowl at a thrift store, set it on a sturdy plant stand or an upturned pot, then level it and fill with fresh water about two inches deep. Place it near shrubs so birds have cover nearby. I change the water every couple of days, because my first bath went green and slimy within a week. Now finches splash in it most mornings, which is a lovely start to the day.
Cost: ~$7 | Time: 25 minutes
22. Welcome Chalkboard by the Back Gate
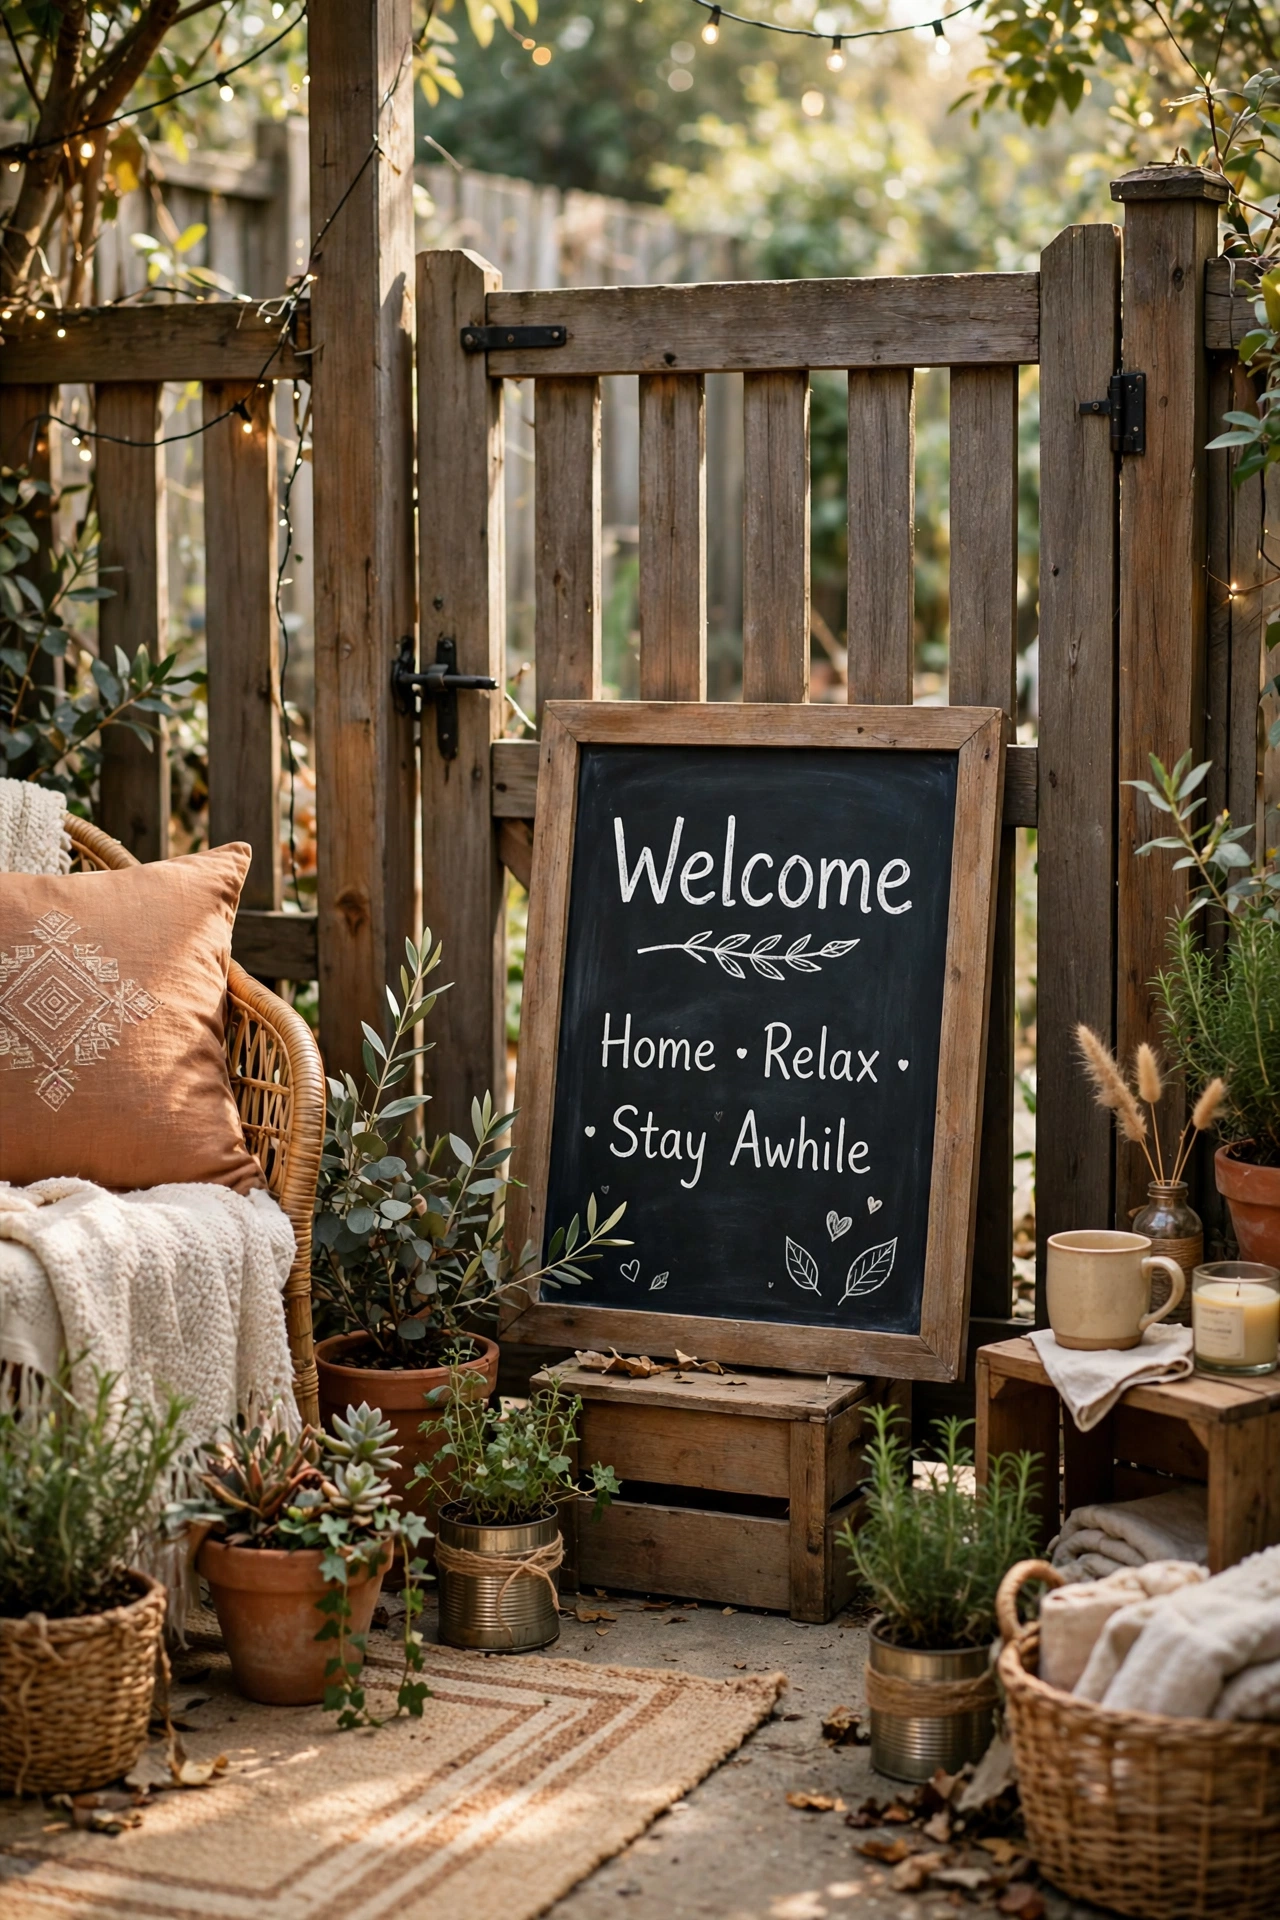
Guests used to wander in unsure whether to knock or just come around back, and a little chalkboard ended the confusion. Hang a small outdoor chalkboard by the gate, write a warm welcome message with chalk markers, and change it for birthdays, barbecues, or seasons. I write the menu for cookouts on ours, which saves me answering the same question ten times. My first board was plain chalk, and the first rain washed it away, so chalk markers are worth it, and a little overhang or a sheltered spot keeps the message readable all week.
Cost: ~$9 | Time: 40 minutes
23. Clothespin Photo Line Across the Fence
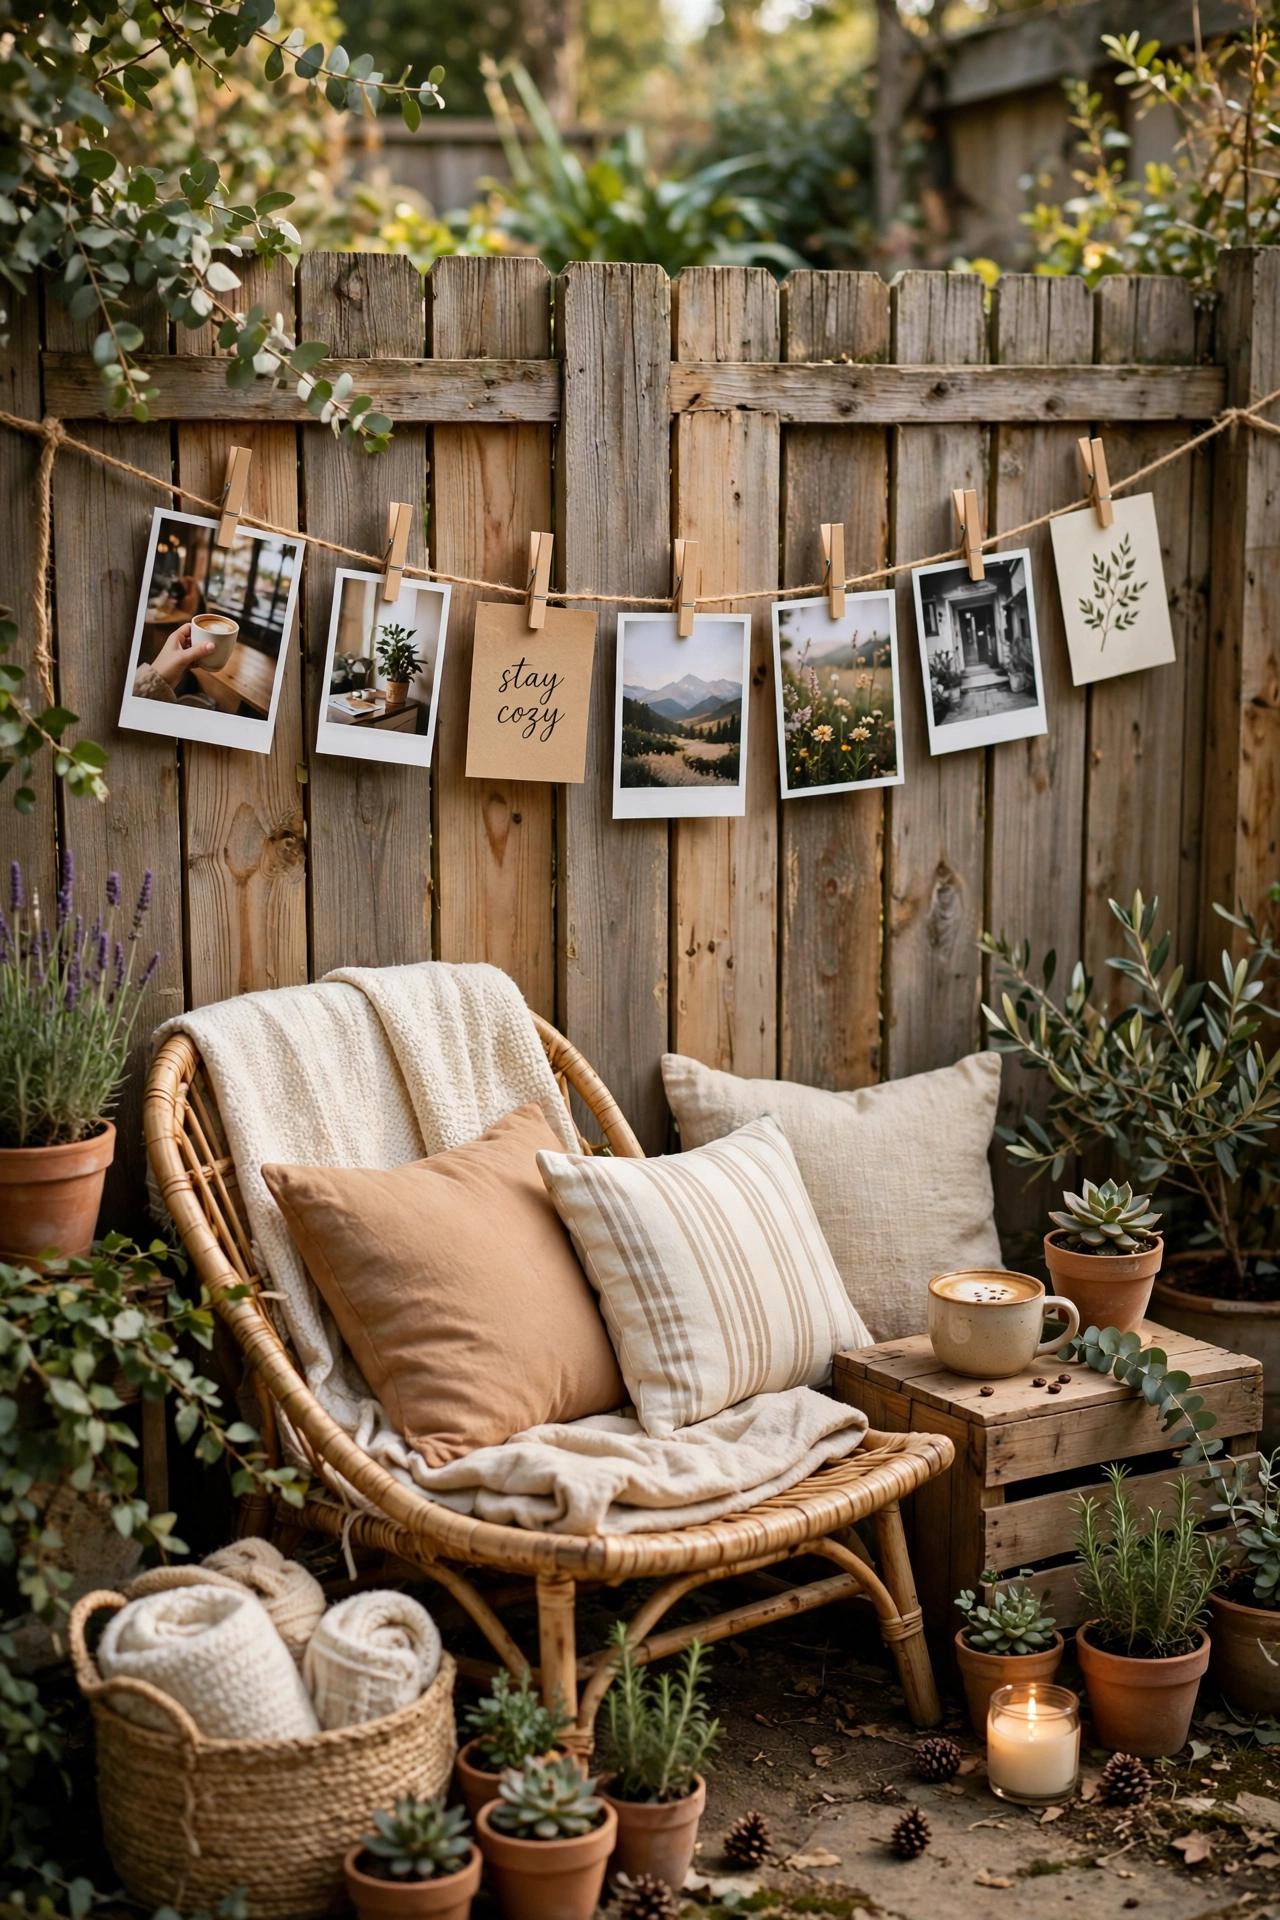
Our fence looked bare even after all the other projects, and I wanted something personal without spending much. A photo line did it for the price of string and clothespins. Stretch sturdy twine between two hooks along the fence, print favorite photos at home or a copy shop, then clip them along the line with wooden clothespins. I swap ours with the seasons, and guests always stop to look. My tip is to laminate the prints or slip them into small sleeves, because my first set curled and faded after one rainy week, and the sleeves keep them bright.
Cost: ~$6 | Time: 30 minutes
Save this post for your next free weekend, and start with just one idea, because one small change is often all a tiny yard needs to feel brand new.
