23 Tiny Kitchen Ideas on a Budget
Tiny kitchens punish bad layouts and reward good ones, and I learned that the hard way in a flat where the fridge door hit the oven and the only counter space was the top of the washing machine. These tiny kitchen ideas are the fixes that actually worked: cheap, mostly renter-friendly, and tested in a kitchen smaller than most walk-in closets. Work through them in order, or jump to the one that solves your biggest daily annoyance.
Hang Pots From a Ceiling Rail
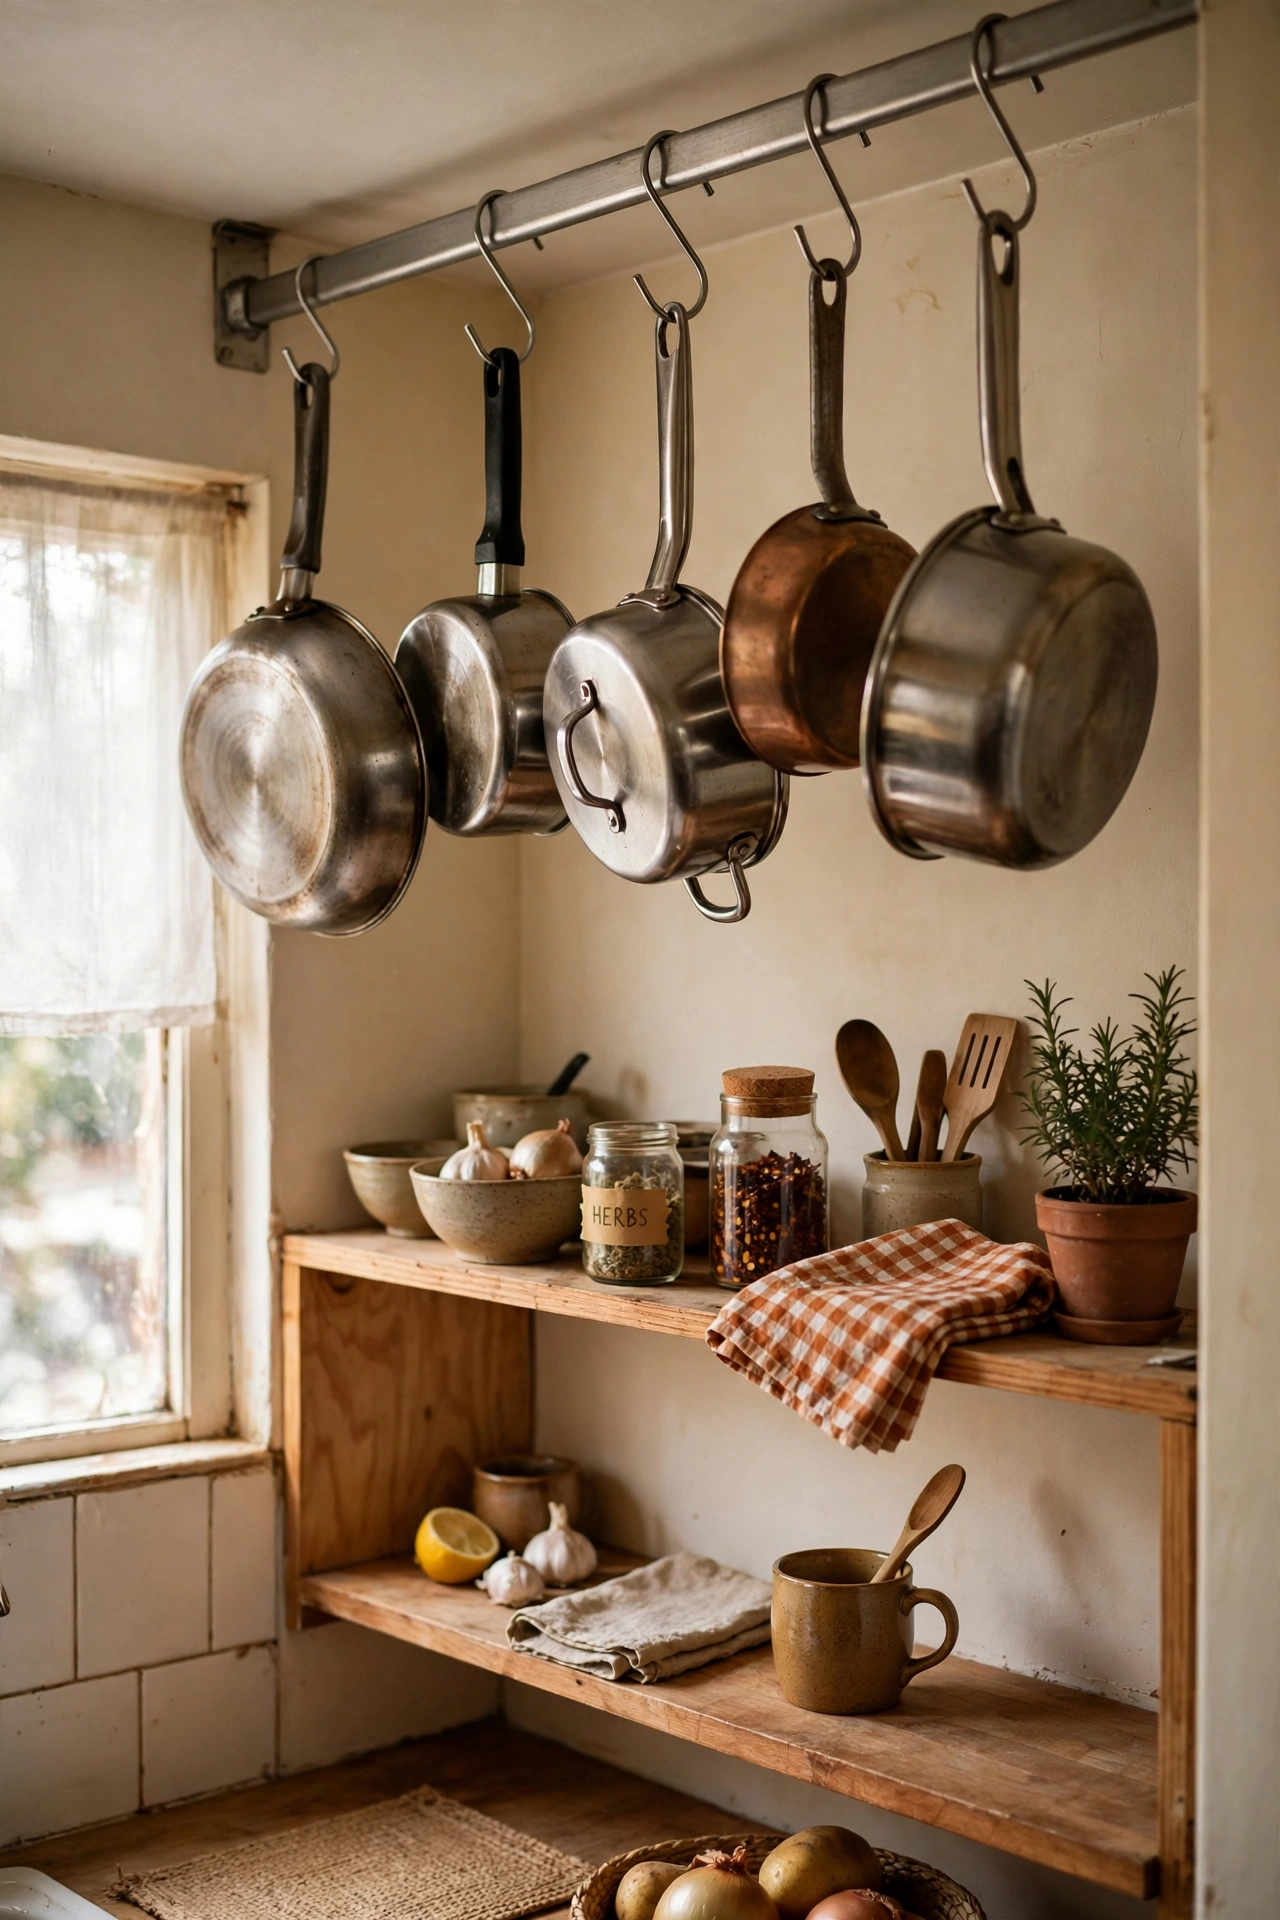
Pots and pans eat whole cabinets, but a ceiling rail puts them overhead where they are easy to grab. Fit a sturdy rail with S-hooks, hang your most-used pans, and keep lids on a separate small rack. Make sure the rail is screwed into joists, since a rack of cast iron is heavy. I hung mine above the stove gap and freed an entire cabinet for food. The mistake to avoid is hanging pans so low you bump your head, because you will take the rail down within a week.
Cost: ~$25 | Time: 45 minutes
Use the Inside of Cabinet Doors
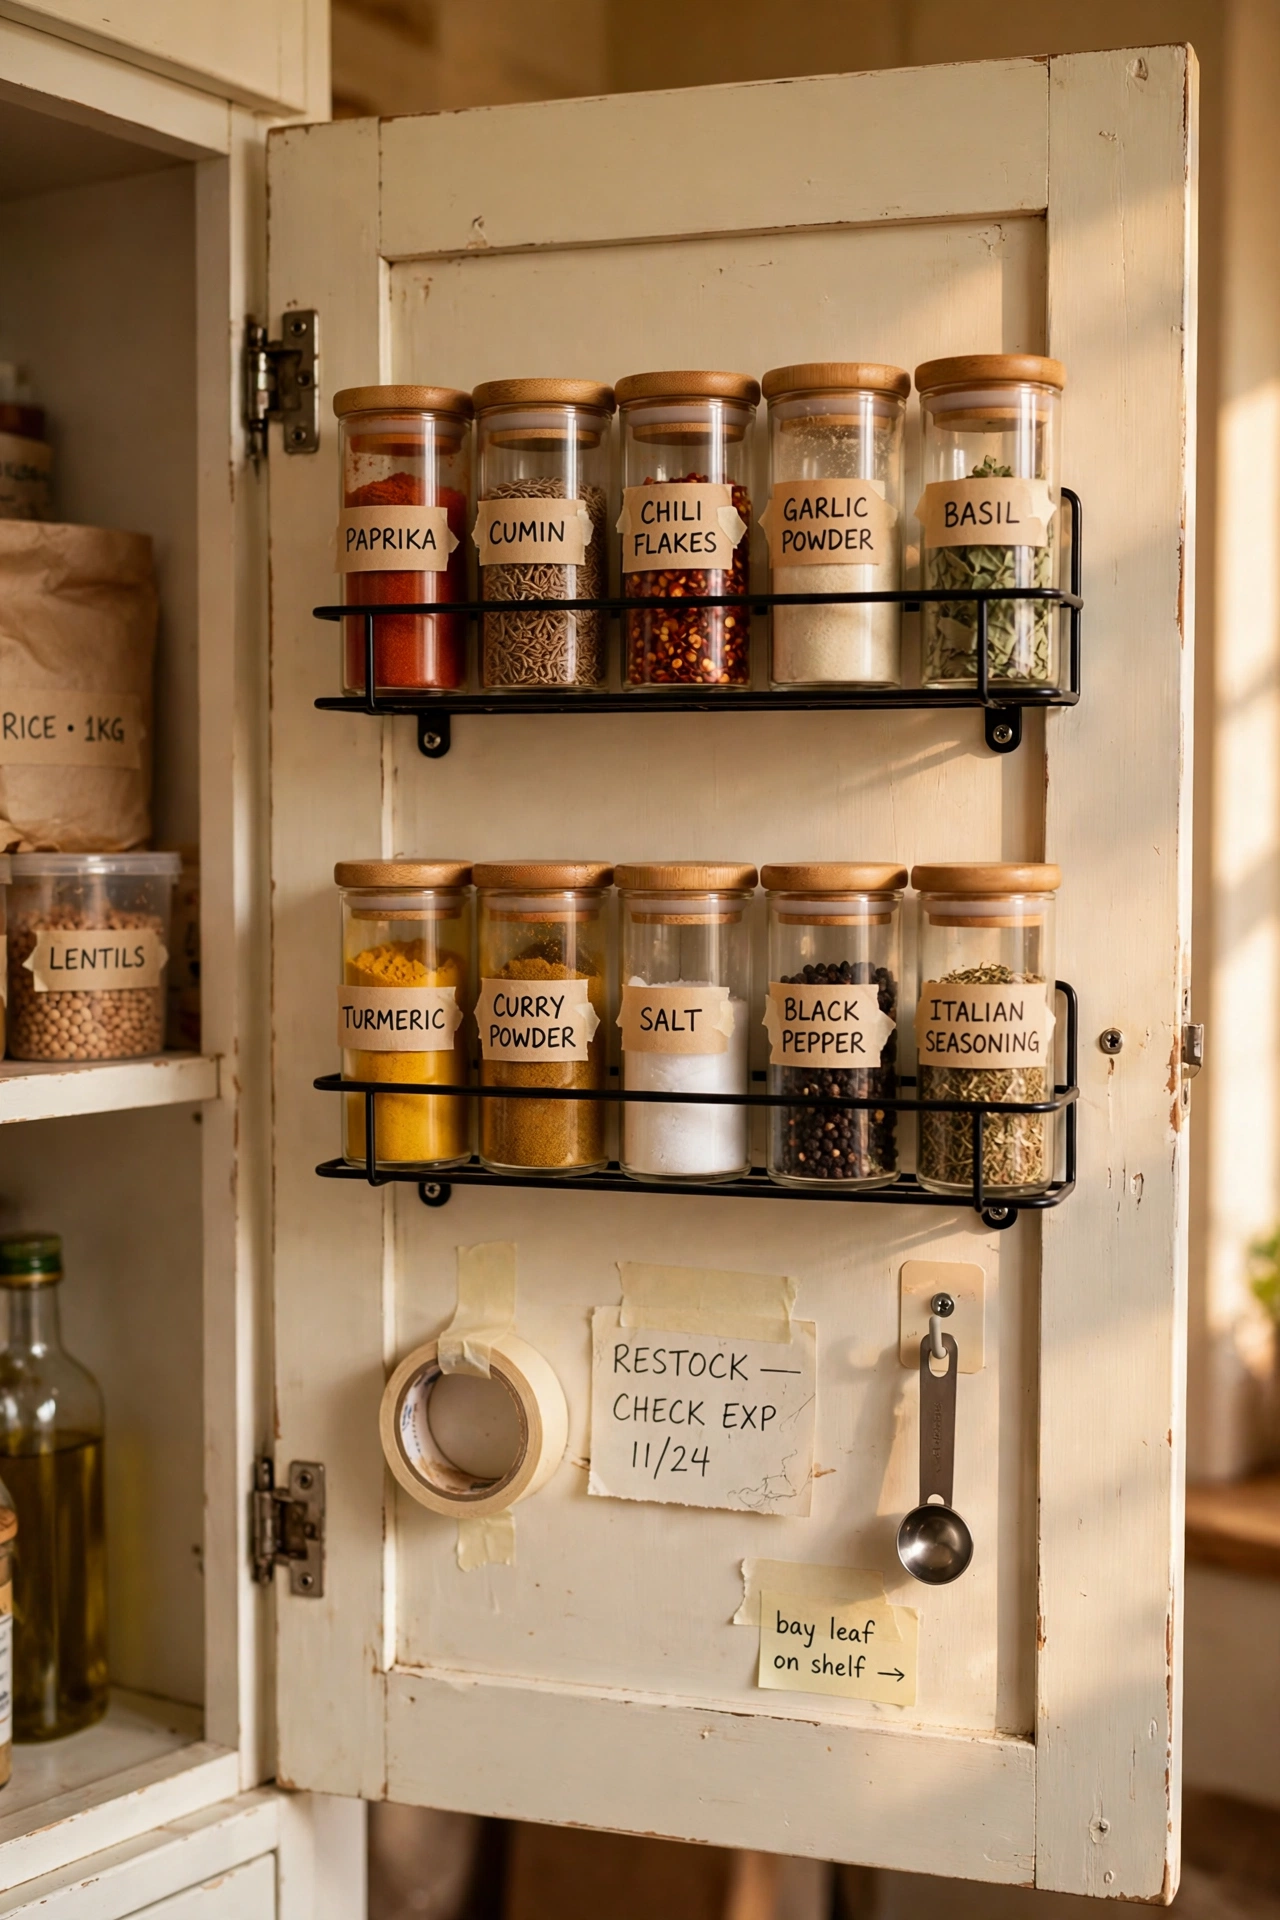
The inside of a cabinet door is free storage most people ignore. Stick on small racks for spices, measuring cups, or cling film, and suddenly the shelves inside stay clear. Use adhesive mounts if you rent, and keep heavy items off the door so the hinges survive. I fitted spice racks to two doors and stopped losing the cumin. The mistake to avoid is overloading a door until it will not close, because then the rack is worse than useless.
Cost: ~$14 | Time: 20 minutes
Stack Shelves Inside Deep Cabinets
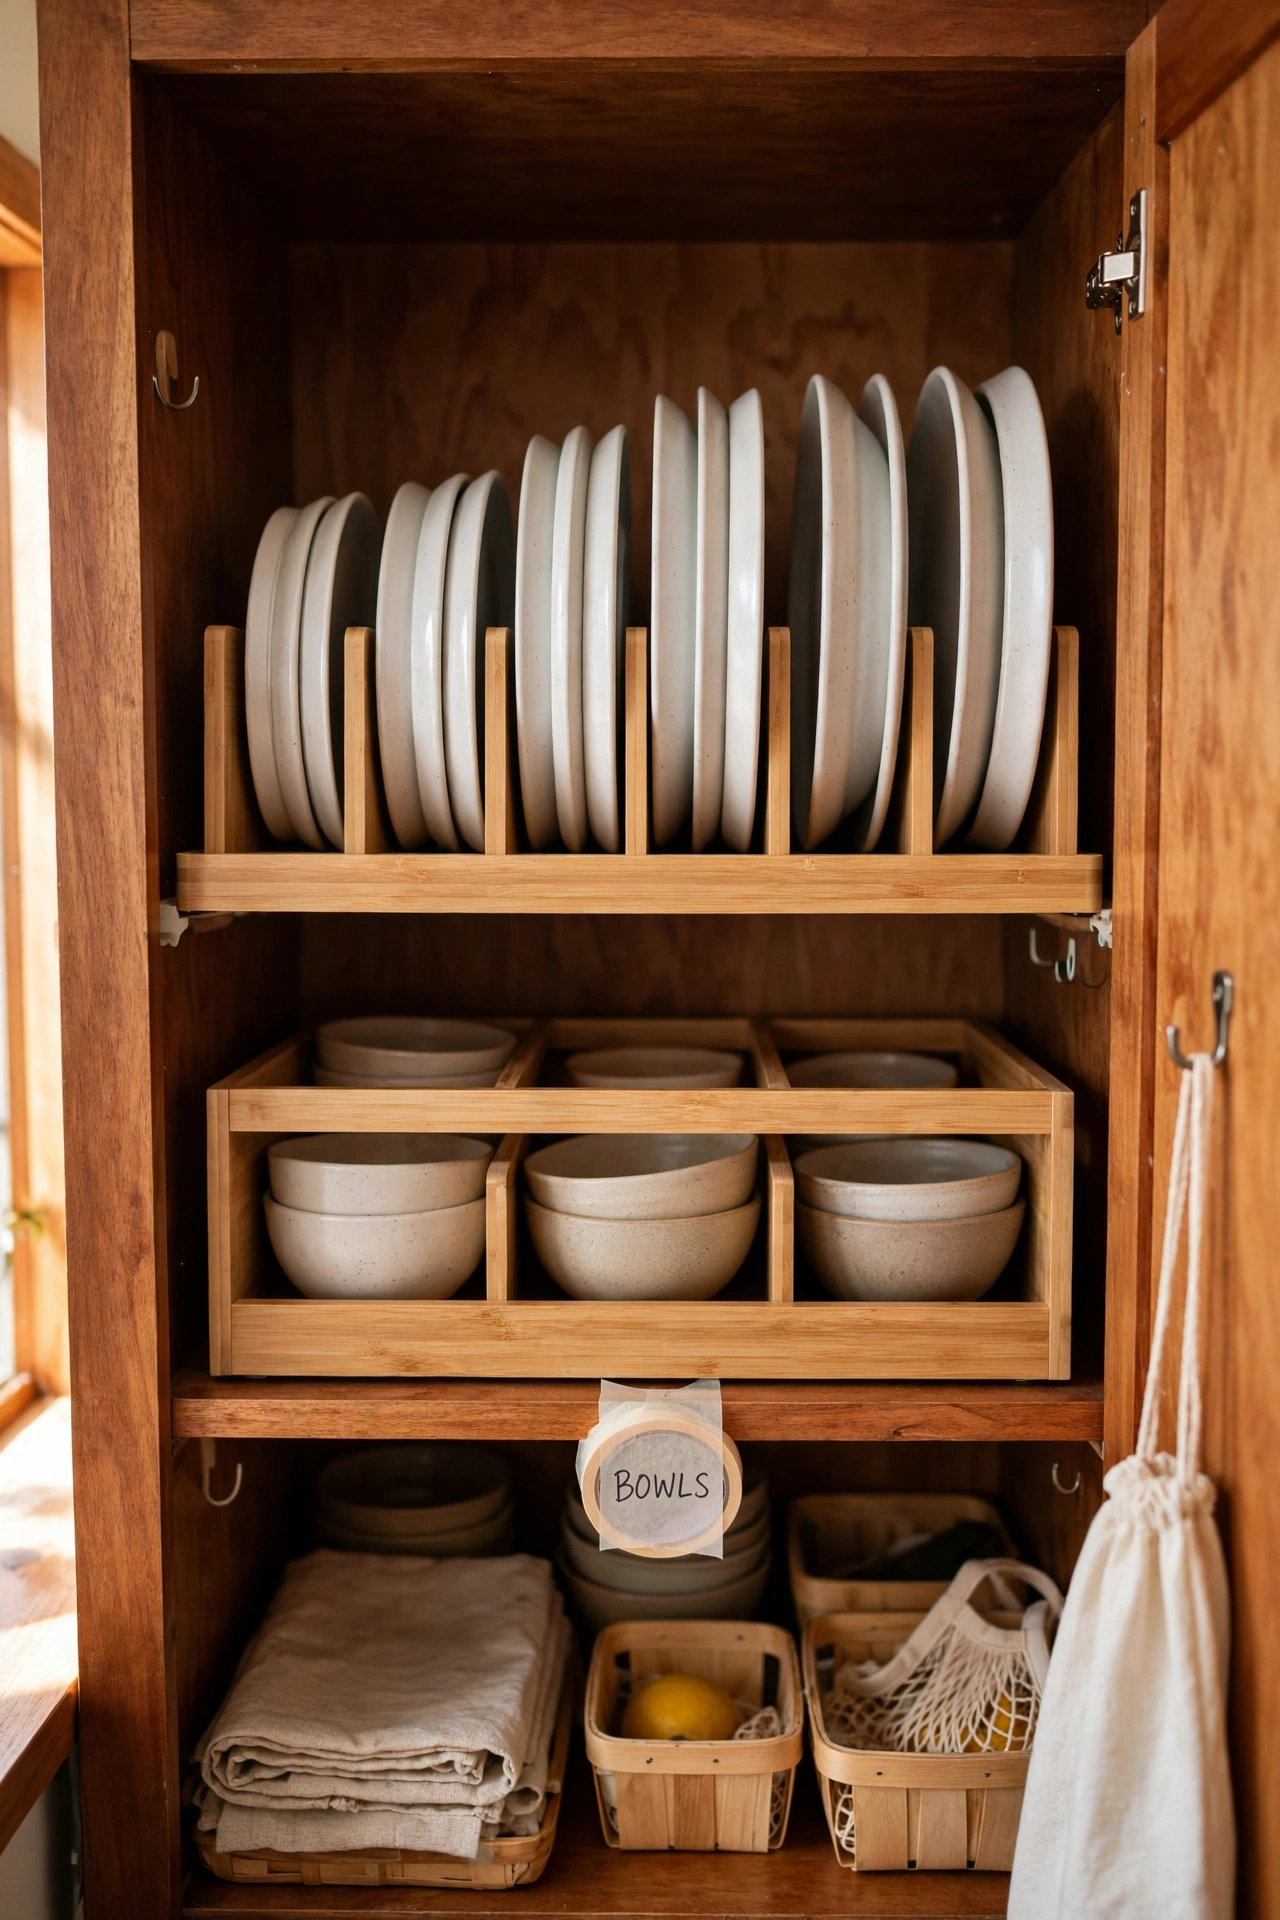
Deep cabinets waste the top half of their height, but stackable shelf inserts fix that in minutes. Slide a wire or bamboo shelf into the cabinet, put plates below and bowls above, and you can suddenly see everything you own. Measure the cabinet height first so the insert actually fits. I doubled the usable space in my two worst cabinets for the price of a pizza. The mistake to avoid is buying inserts without measuring, because a shelf half an inch too tall is just an expensive ornament.
Cost: ~$18 | Time: 10 minutes
Roll a Slim Cart Into the Gap
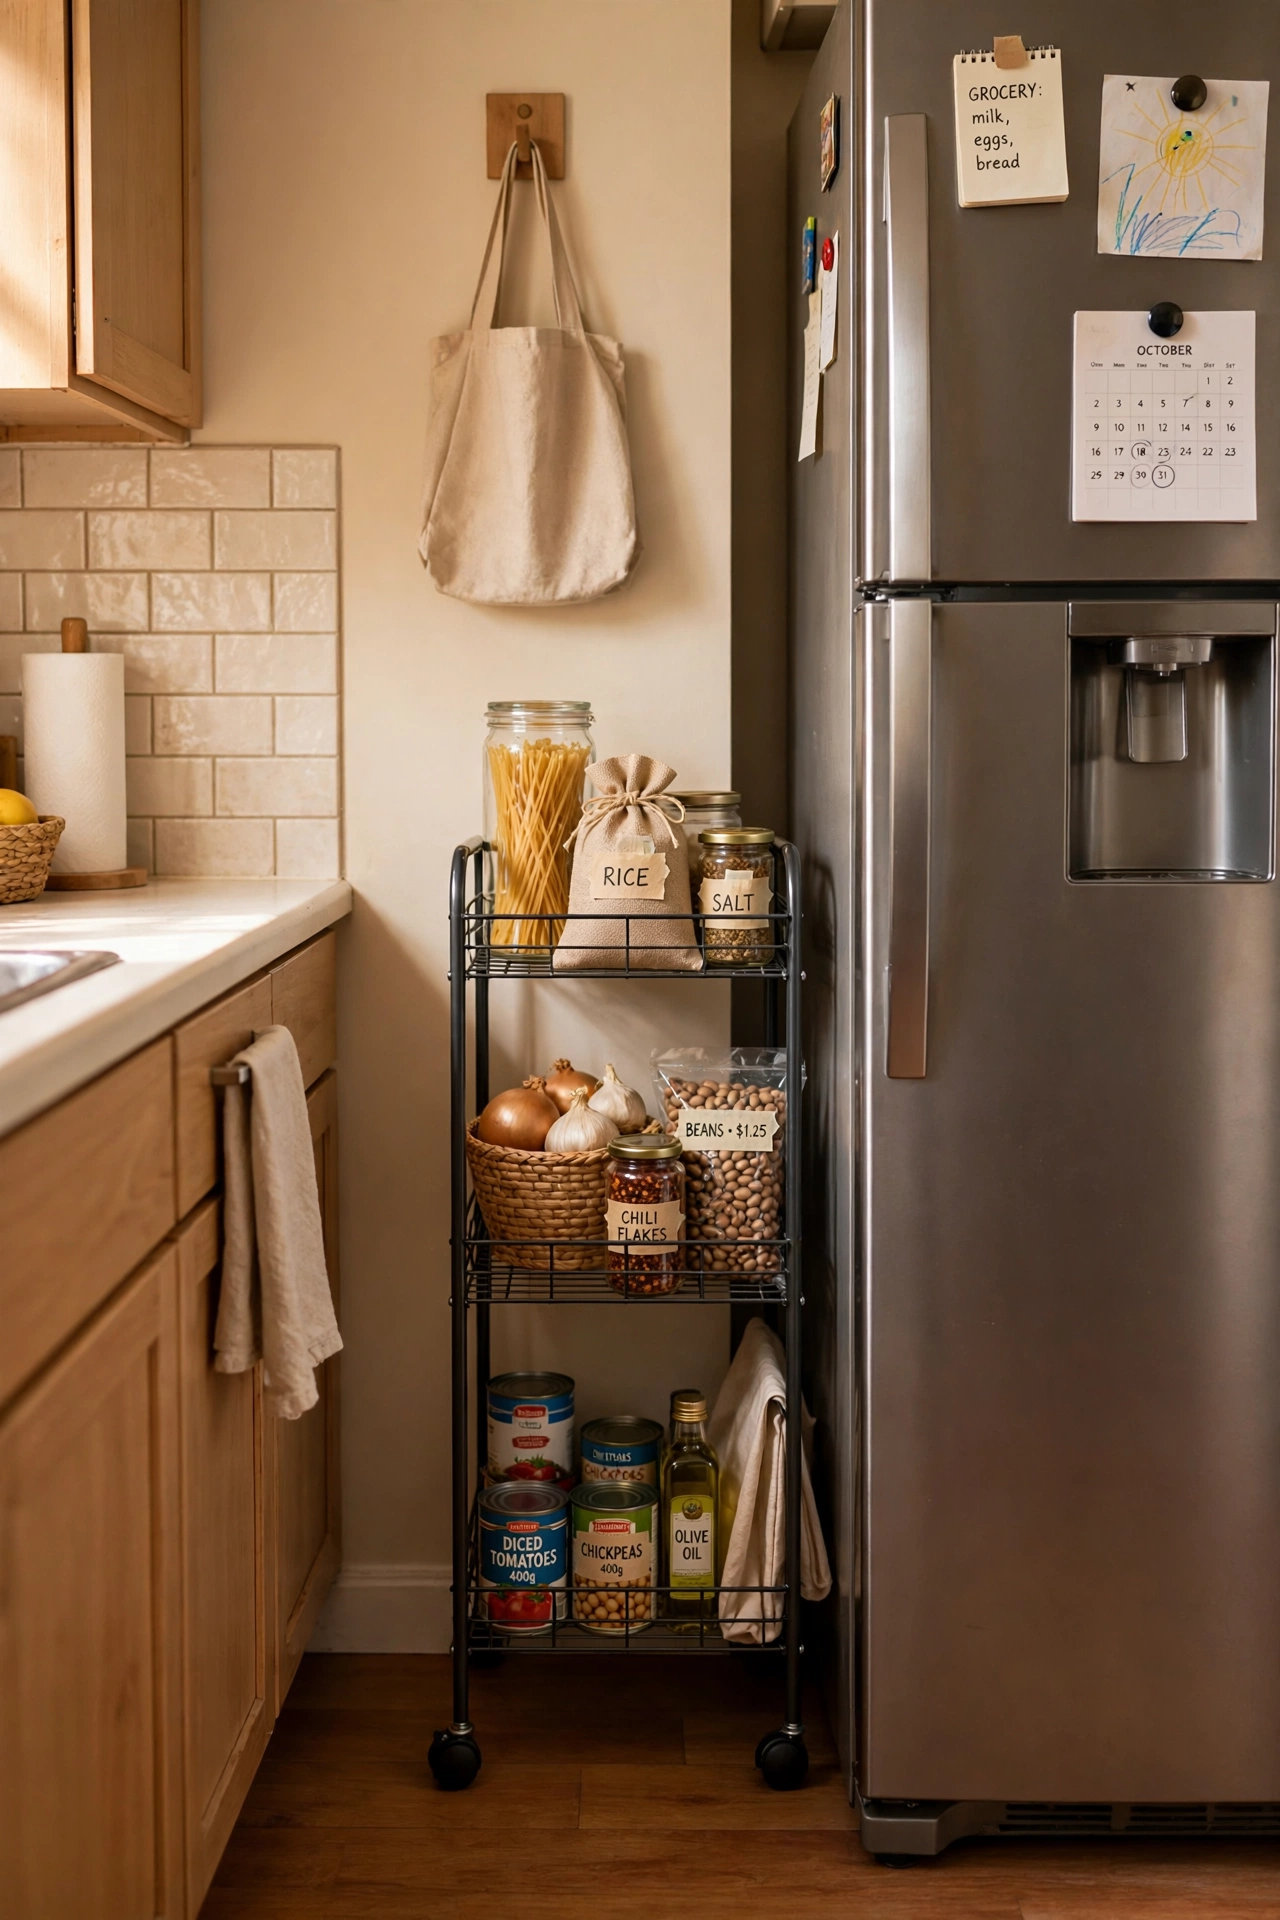
Most kitchens have a narrow gap beside the fridge or cooker, and a slim rolling cart turns it into a pantry. Pick a cart that fits with a little clearance, load it with oils, tins, and sauces, and roll it out when you cook. I found a ten-inch cart that held half my pantry and finally stopped stacking tins on the floor. The mistake to avoid is a cart so wide it scrapes the wall every time you move it, because the paint will suffer and so will your patience.
Cost: ~$30 | Time: 10 minutes
Mount a Magnetic Knife Strip
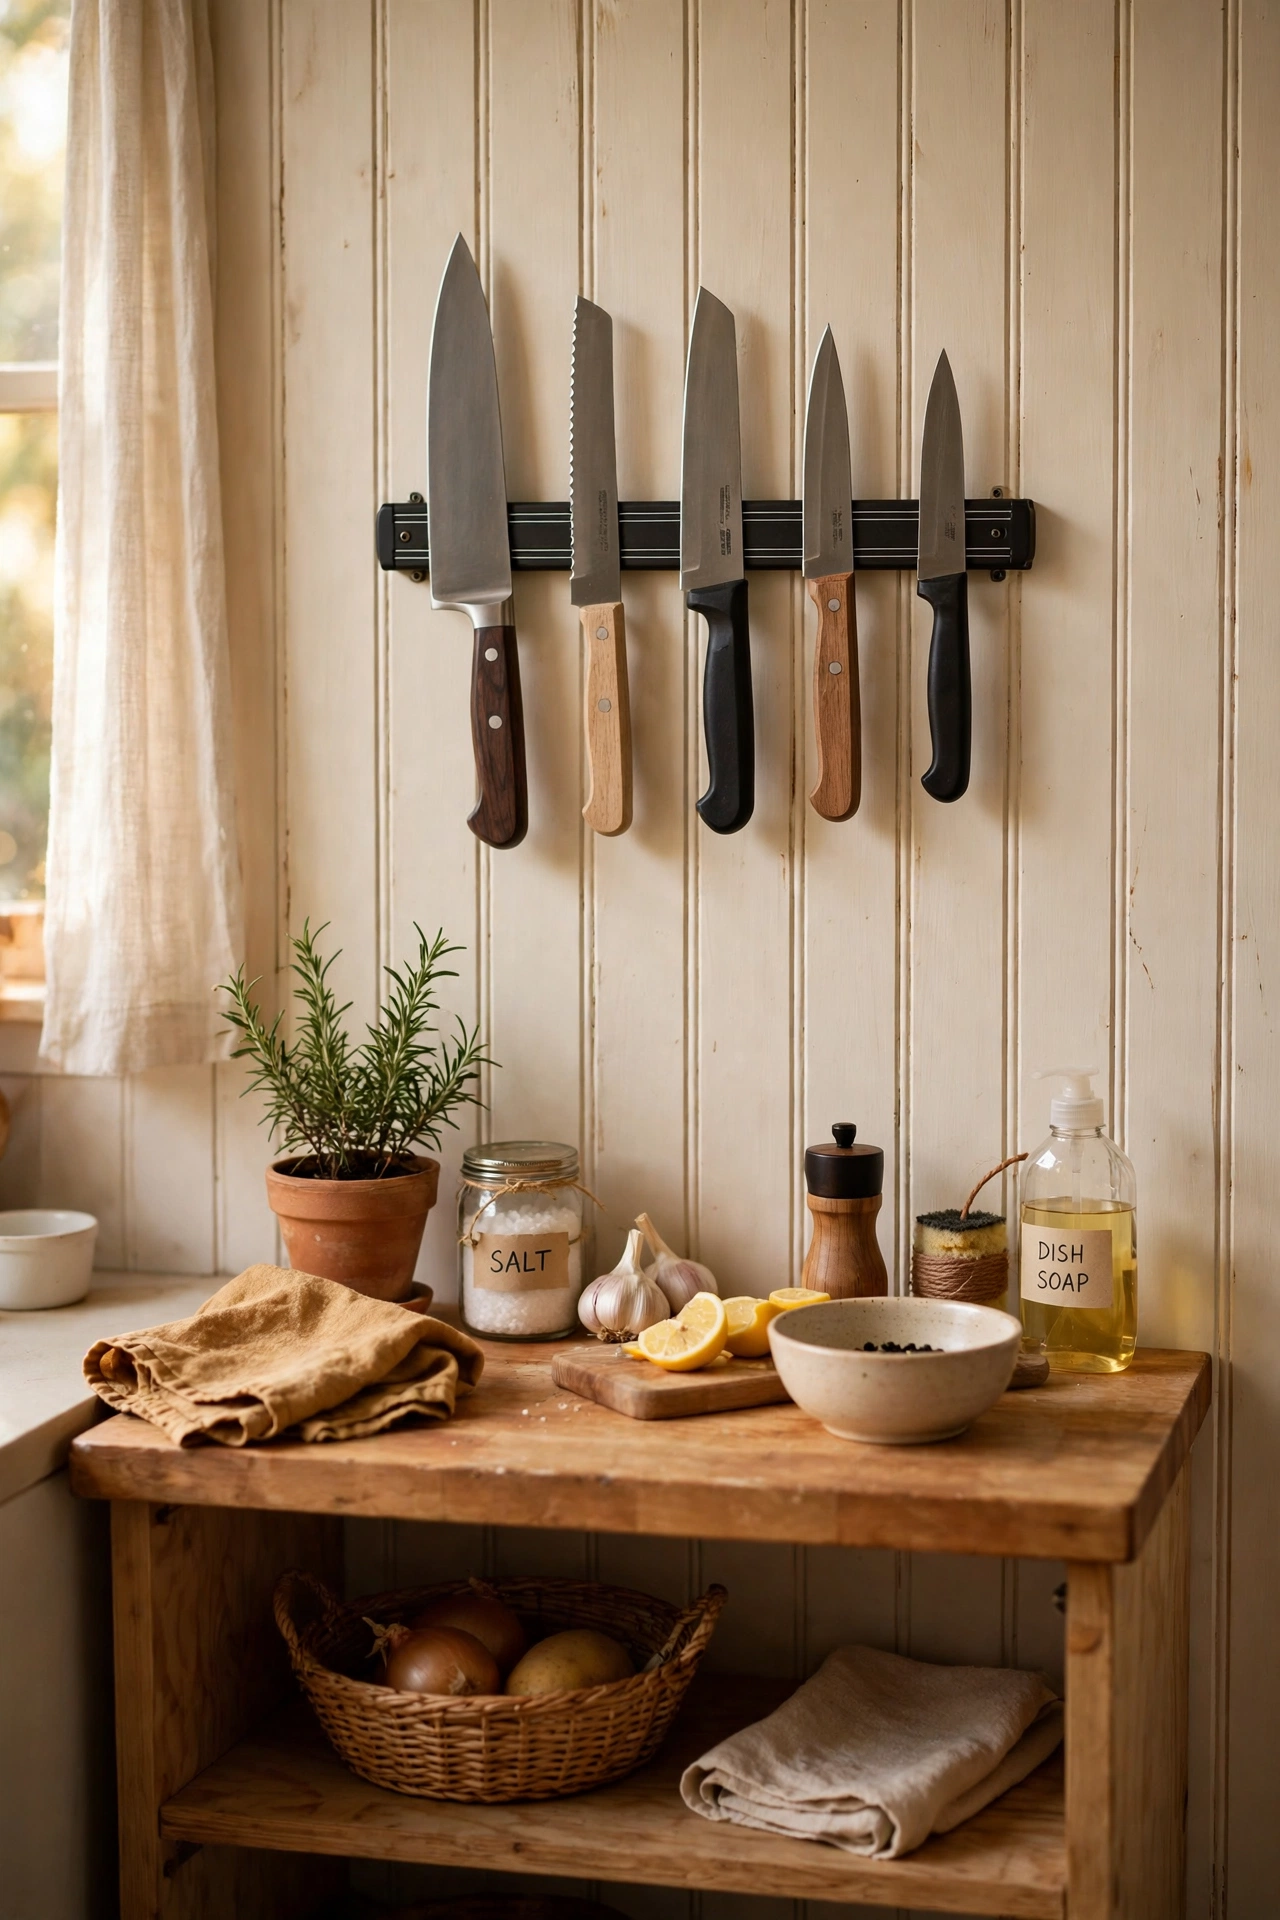
A magnetic knife strip frees a drawer and keeps your best tools in sight. Mount it on the wall above the counter, away from the sink splash, and hang knives, scissors, and metal measuring spoons from it. It is also safer than digging in a crowded drawer. I cleared a whole drawer this way and found a peeler I thought I had lost. The mistake to avoid is a weak strip that drops a knife onto the counter, so buy one rated for kitchen knives, not fridge magnets.
Cost: ~$16 | Time: 15 minutes
(see also: 19-tiny-kitchen-ideas-on-a-dime)
Use a Cutting Board Over the Sink
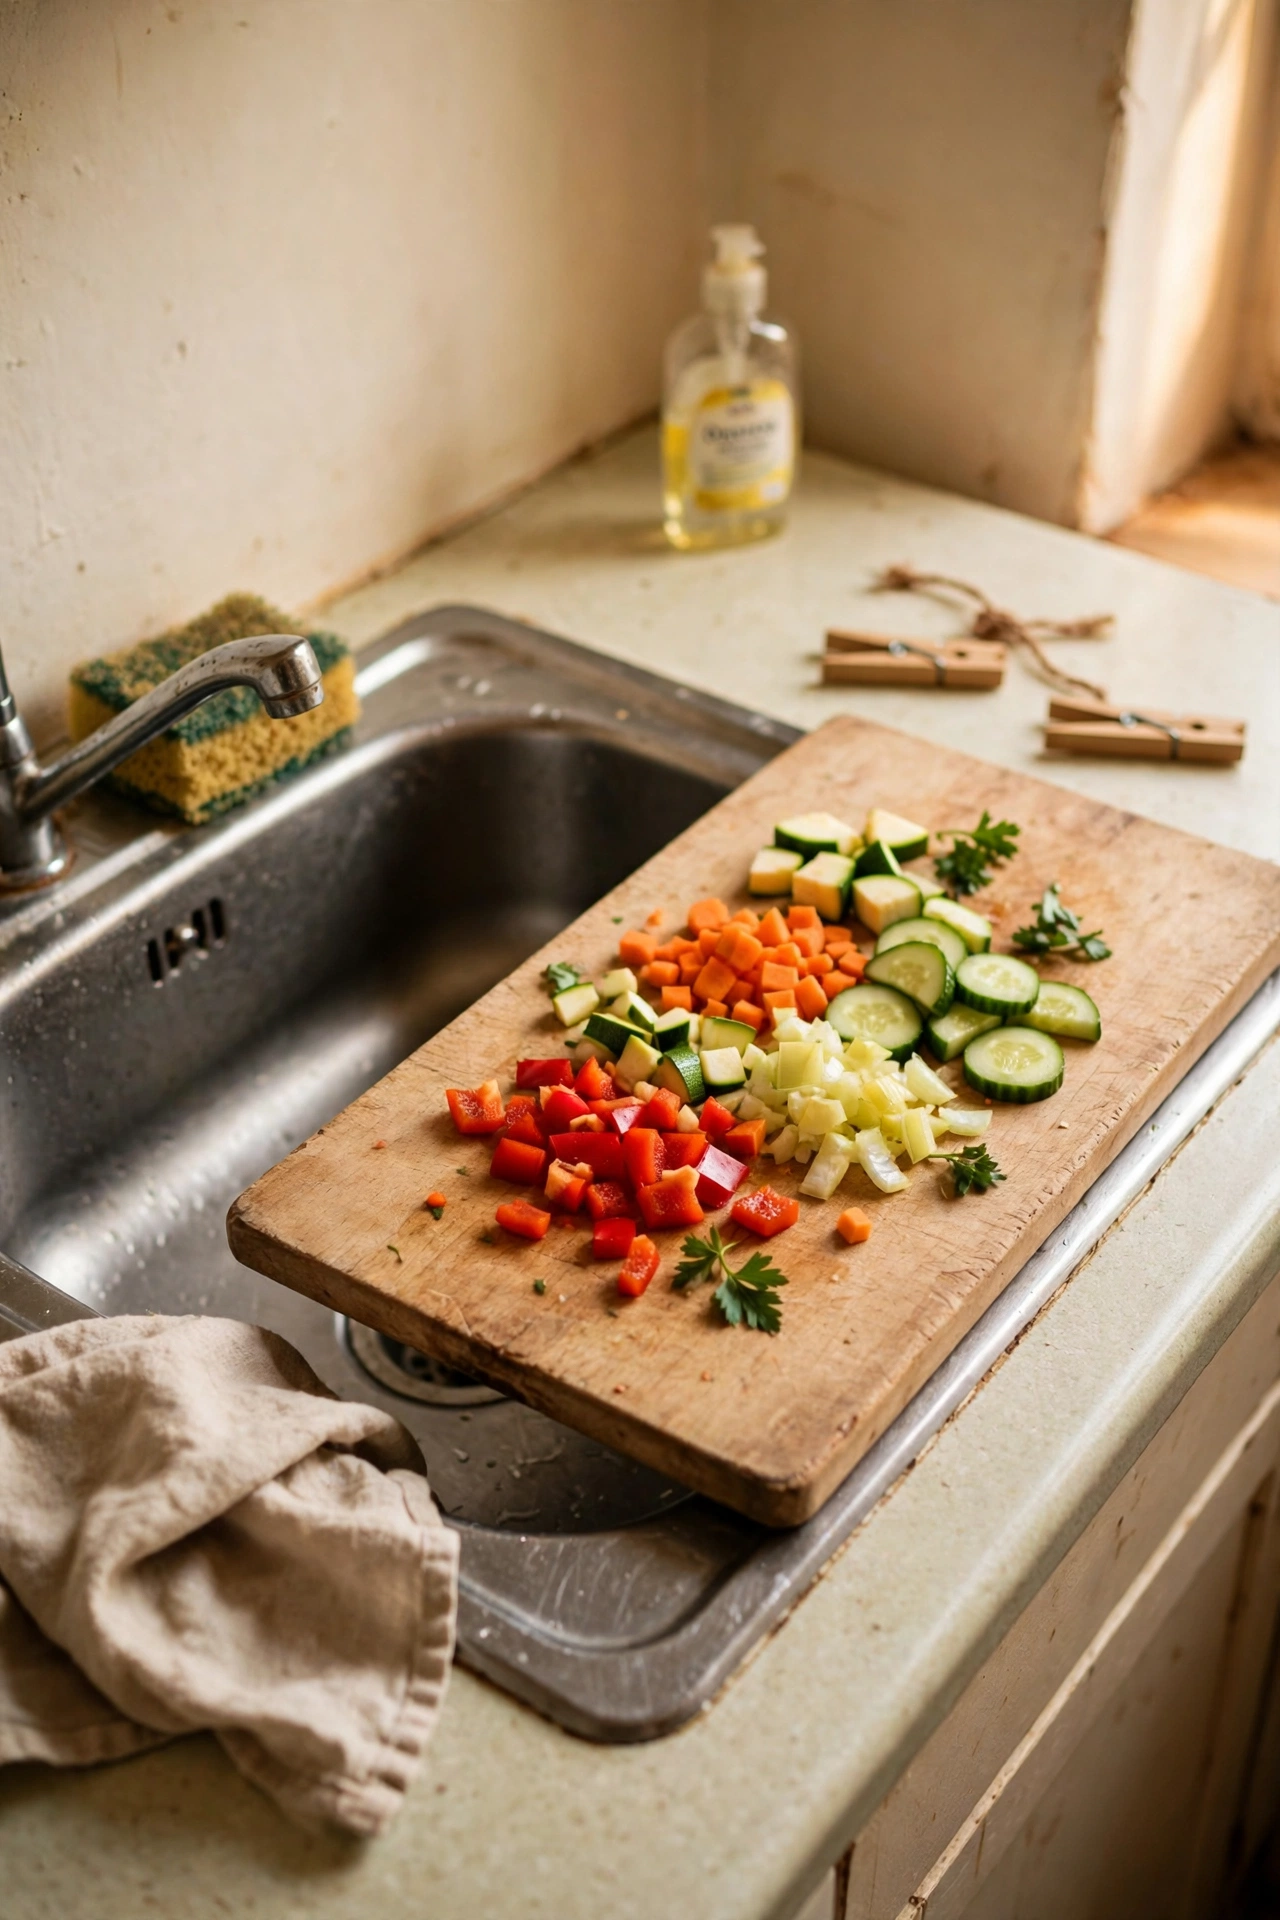
A cutting board that sits over the sink gives you counter space you did not have, right where you need it for rinsing and chopping. Choose a board with a lip or a colander insert, and it doubles as a drying rack. I prep all my vegetables this way in a kitchen with barely two feet of counter. The mistake to avoid is a board that slides around, because a knife and a moving board are a bad combination. Save this idea if your counter is always full.
Cost: ~$22 | Time: 5 minutes
Hang Mugs From Hooks Under Shelves
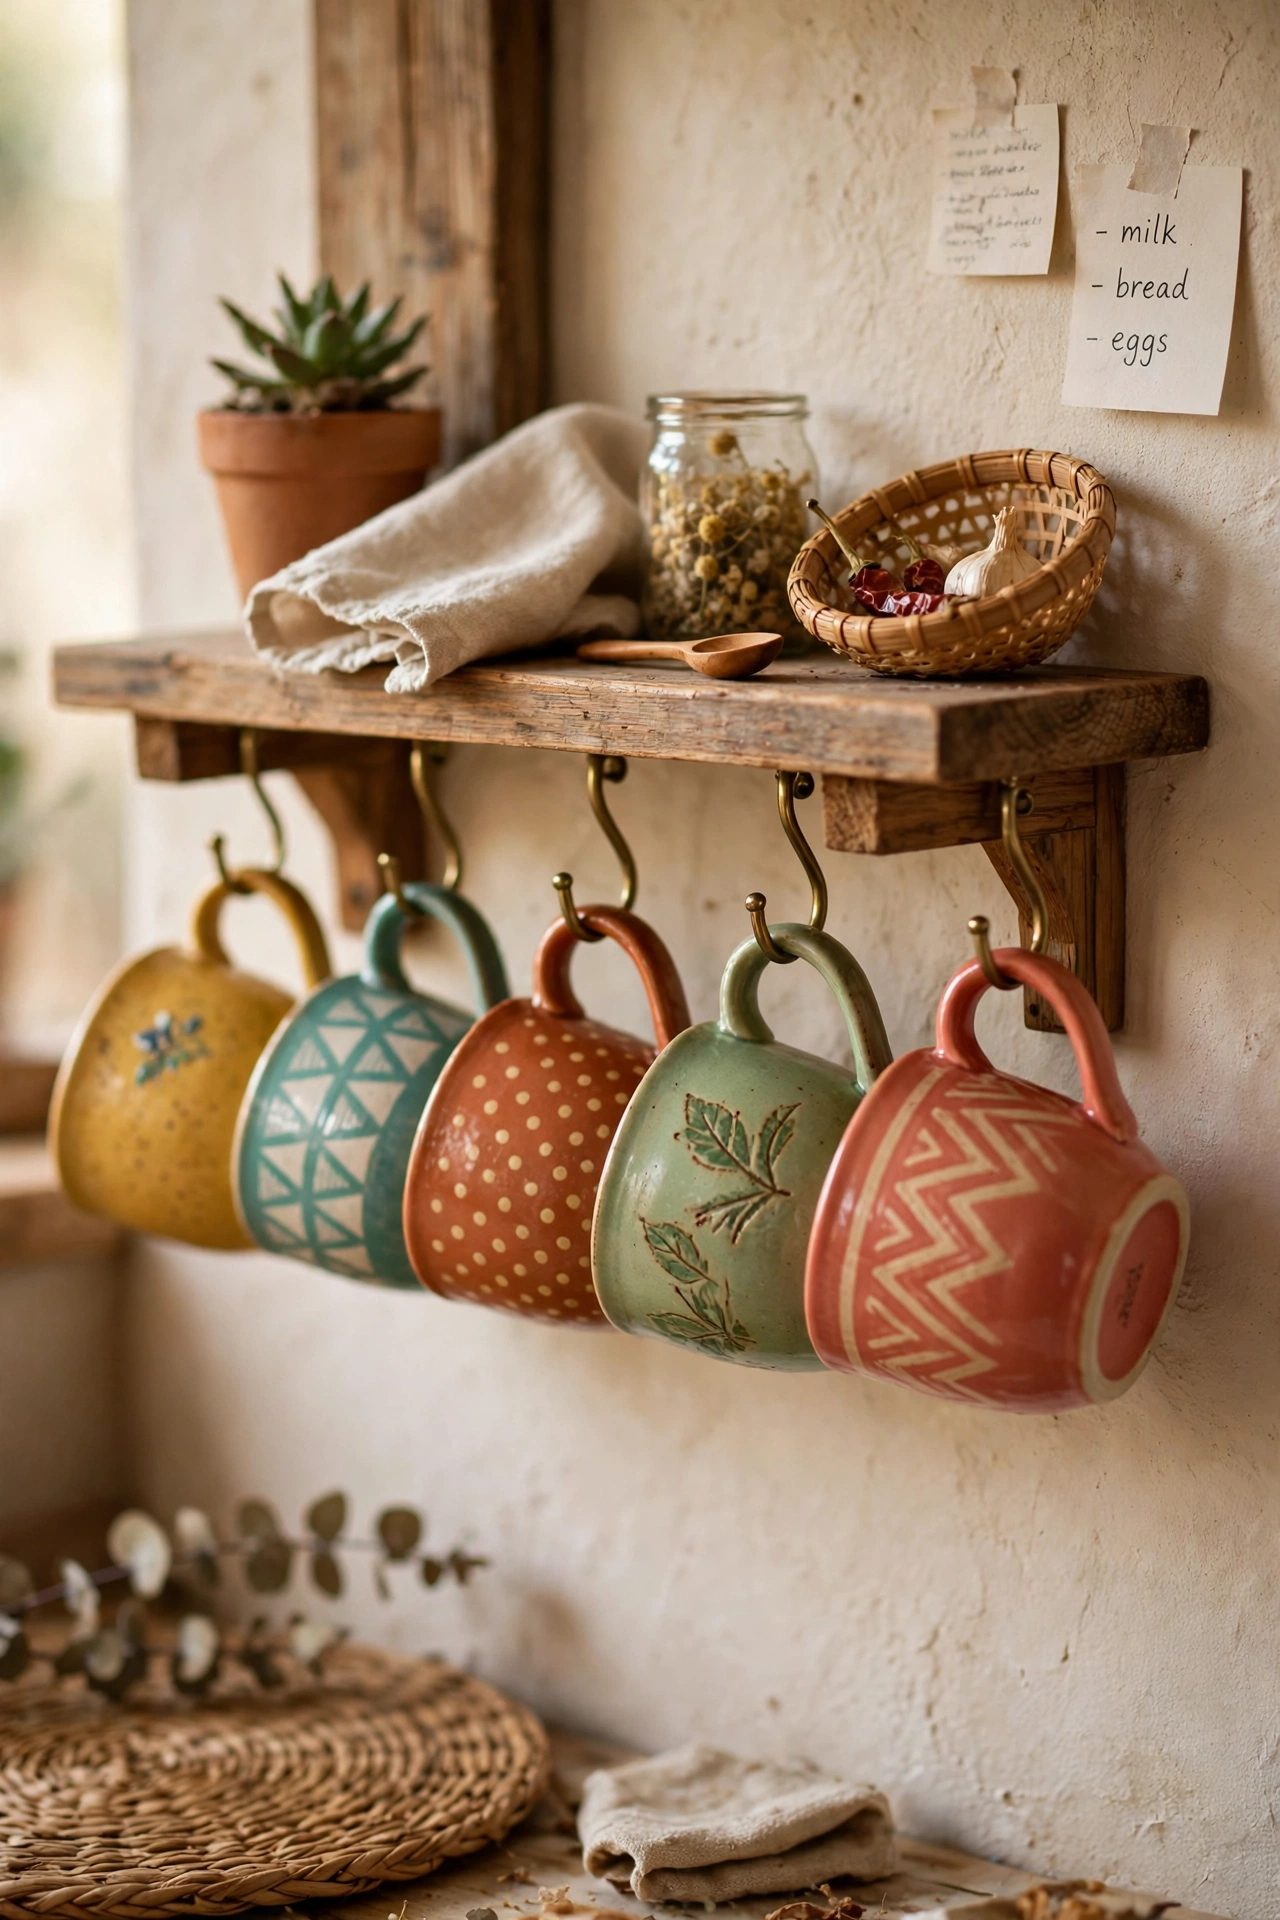
Mugs take up shocking amounts of shelf space, but hooks under a shelf hang them in the air gap nobody uses. Screw small cup hooks into the underside of an upper shelf, hang mugs by their handles, and the shelf above stays free for plates. I hung eight mugs this way and gained a whole shelf for bowls. The mistake to avoid is hooks too close together, because mugs clink and chip when you grab one.
Cost: ~$8 | Time: 20 minutes
Decant Dry Goods Into Square Jars
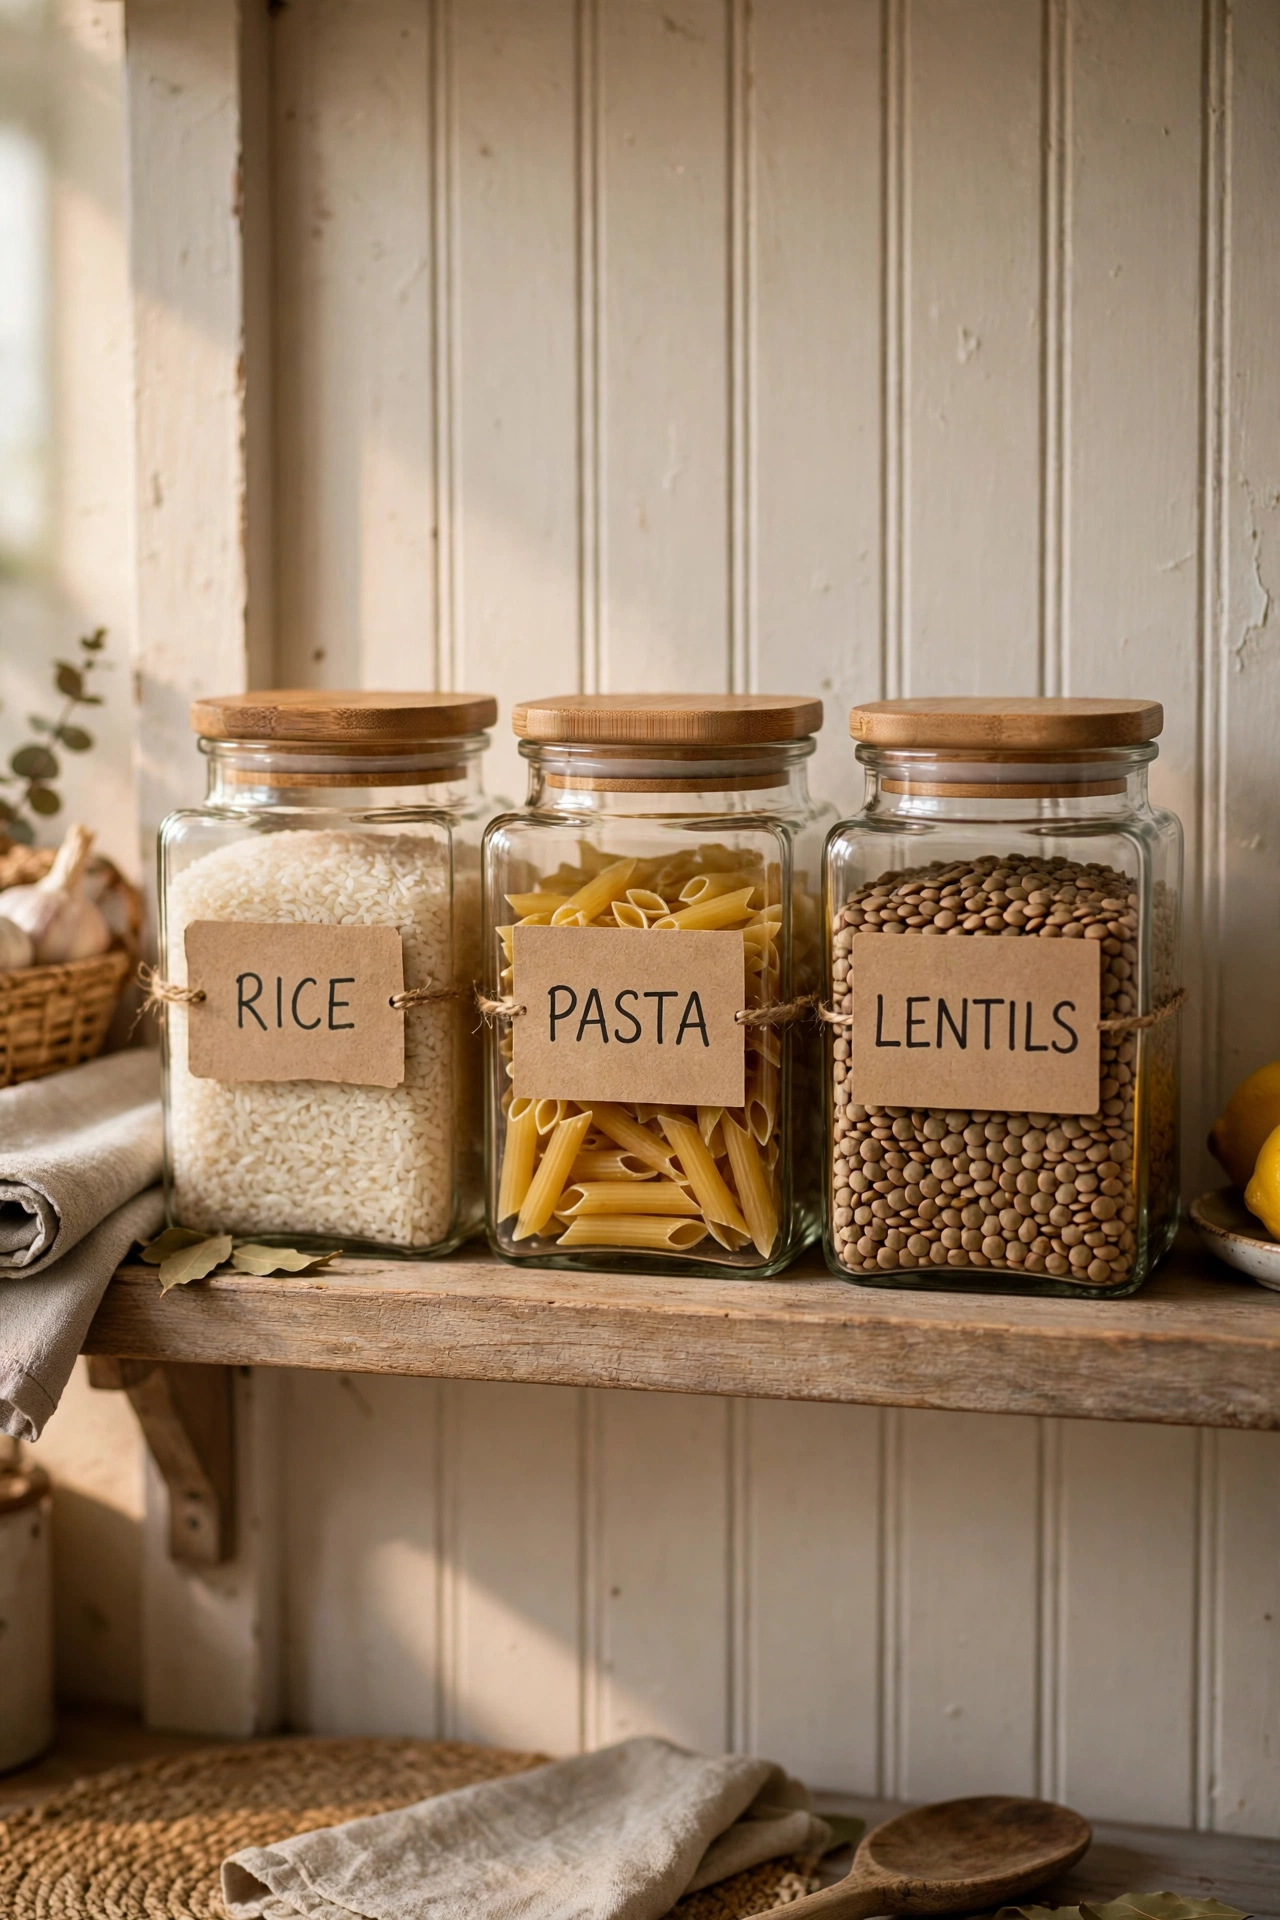
Square jars stack neatly and waste no space, unlike round ones that leave gaps. Decant rice, pasta, flour, and lentils into matching square jars, label them, and line them up on one shelf. You will see at a glance what needs replacing, and the shelf looks tidy without any effort. I switched to squares and fit a third more on the same shelf. The mistake to avoid is jars without airtight lids, because flour weevils do not care how pretty the jar looks.
Cost: ~$20 | Time: 45 minutes
Put a Lazy Susan in Corner Cabinets
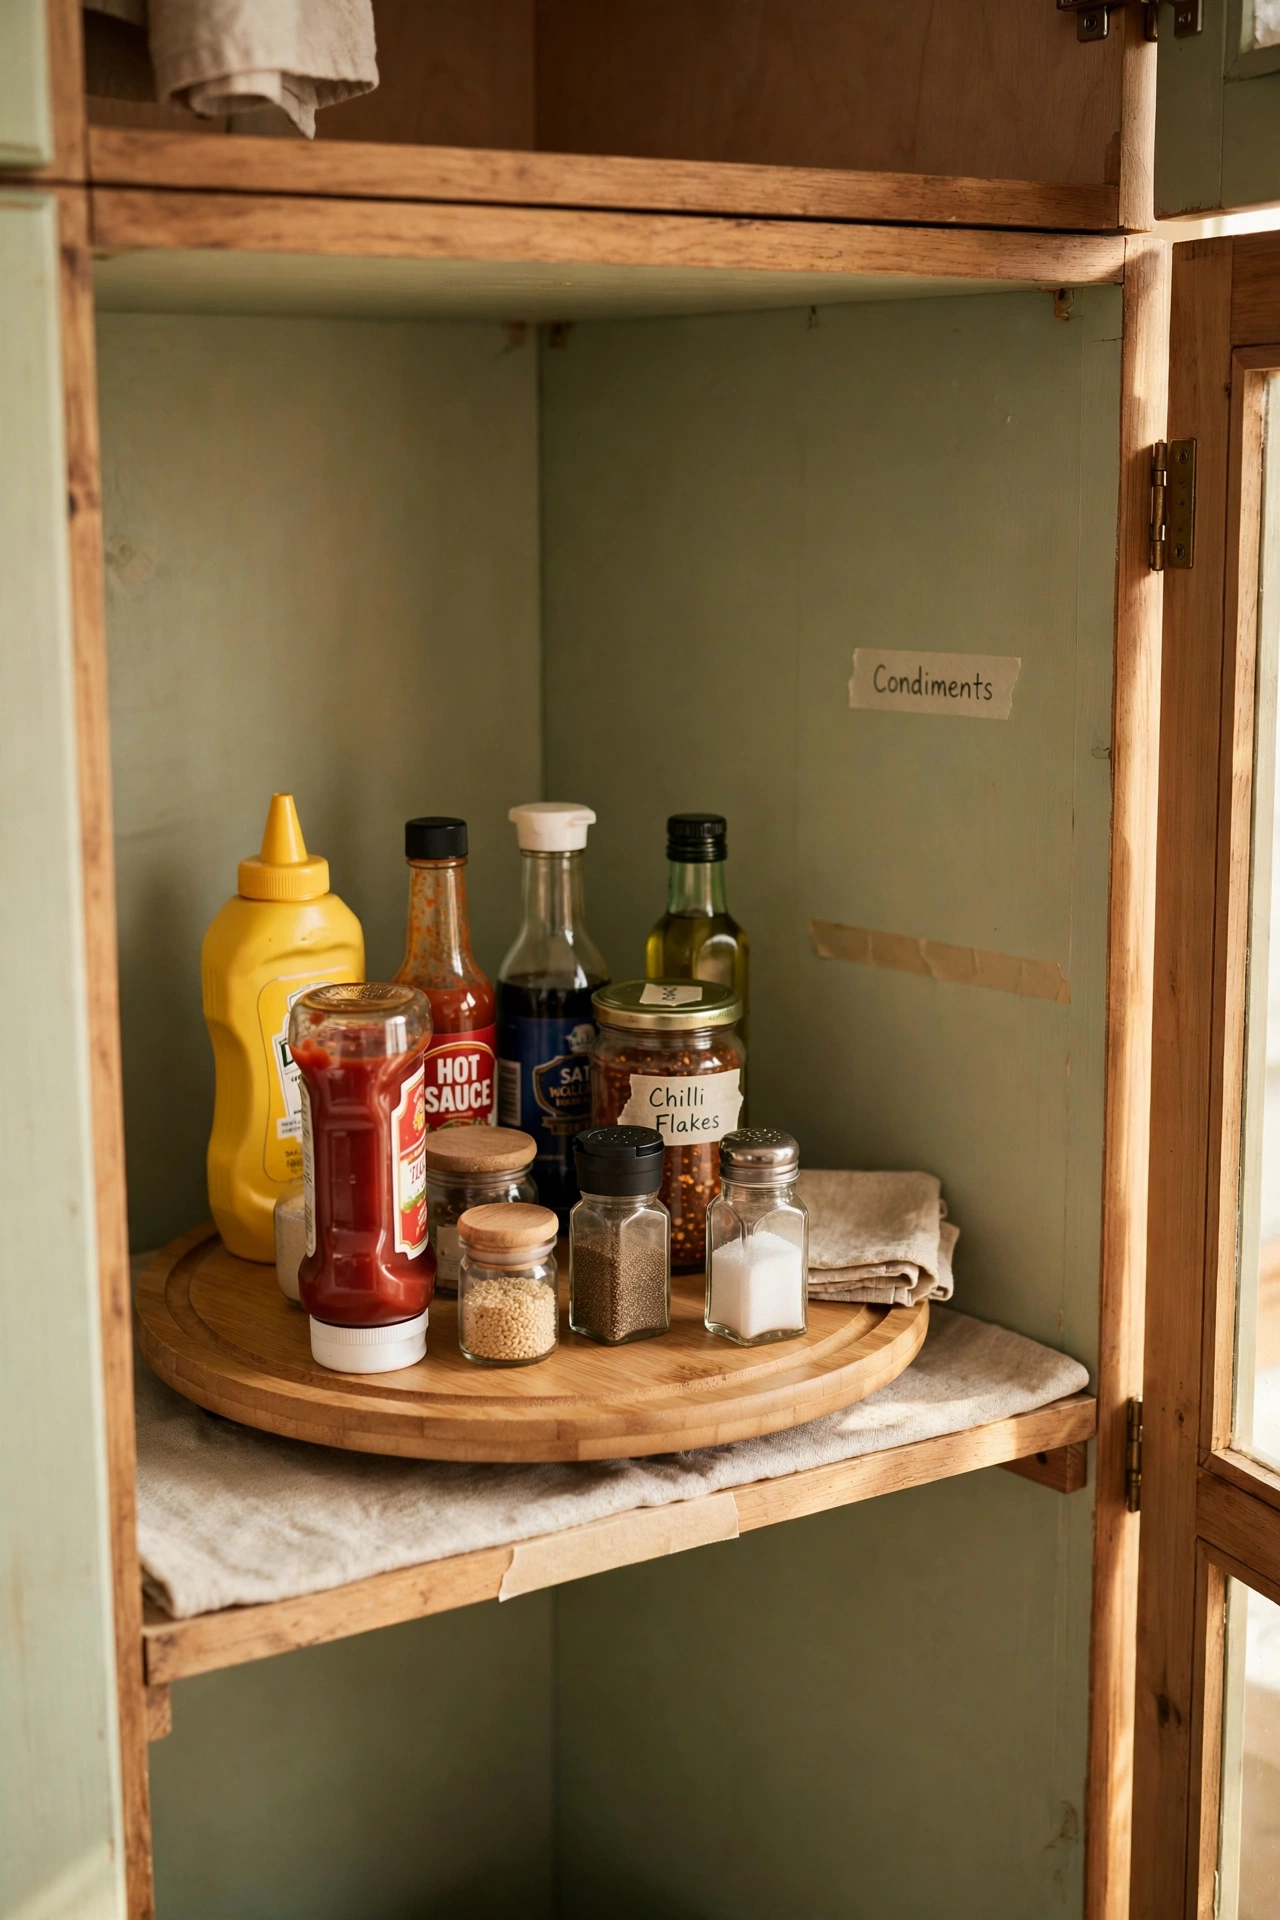
Corner cabinets are where condiments go to die, but a lazy Susan turntable brings everything to the front with one spin. Pick a turntable that fits the cabinet with room to rotate, and group similar items together. I rescued three bottles of sauce I had bought twice because I could not see the first one. The mistake to avoid is a turntable too big to spin, because a stuck turntable is just a round shelf you cannot reach behind.
Cost: ~$12 | Time: 5 minutes
Use a Tension Rod to Hang Spray Bottles
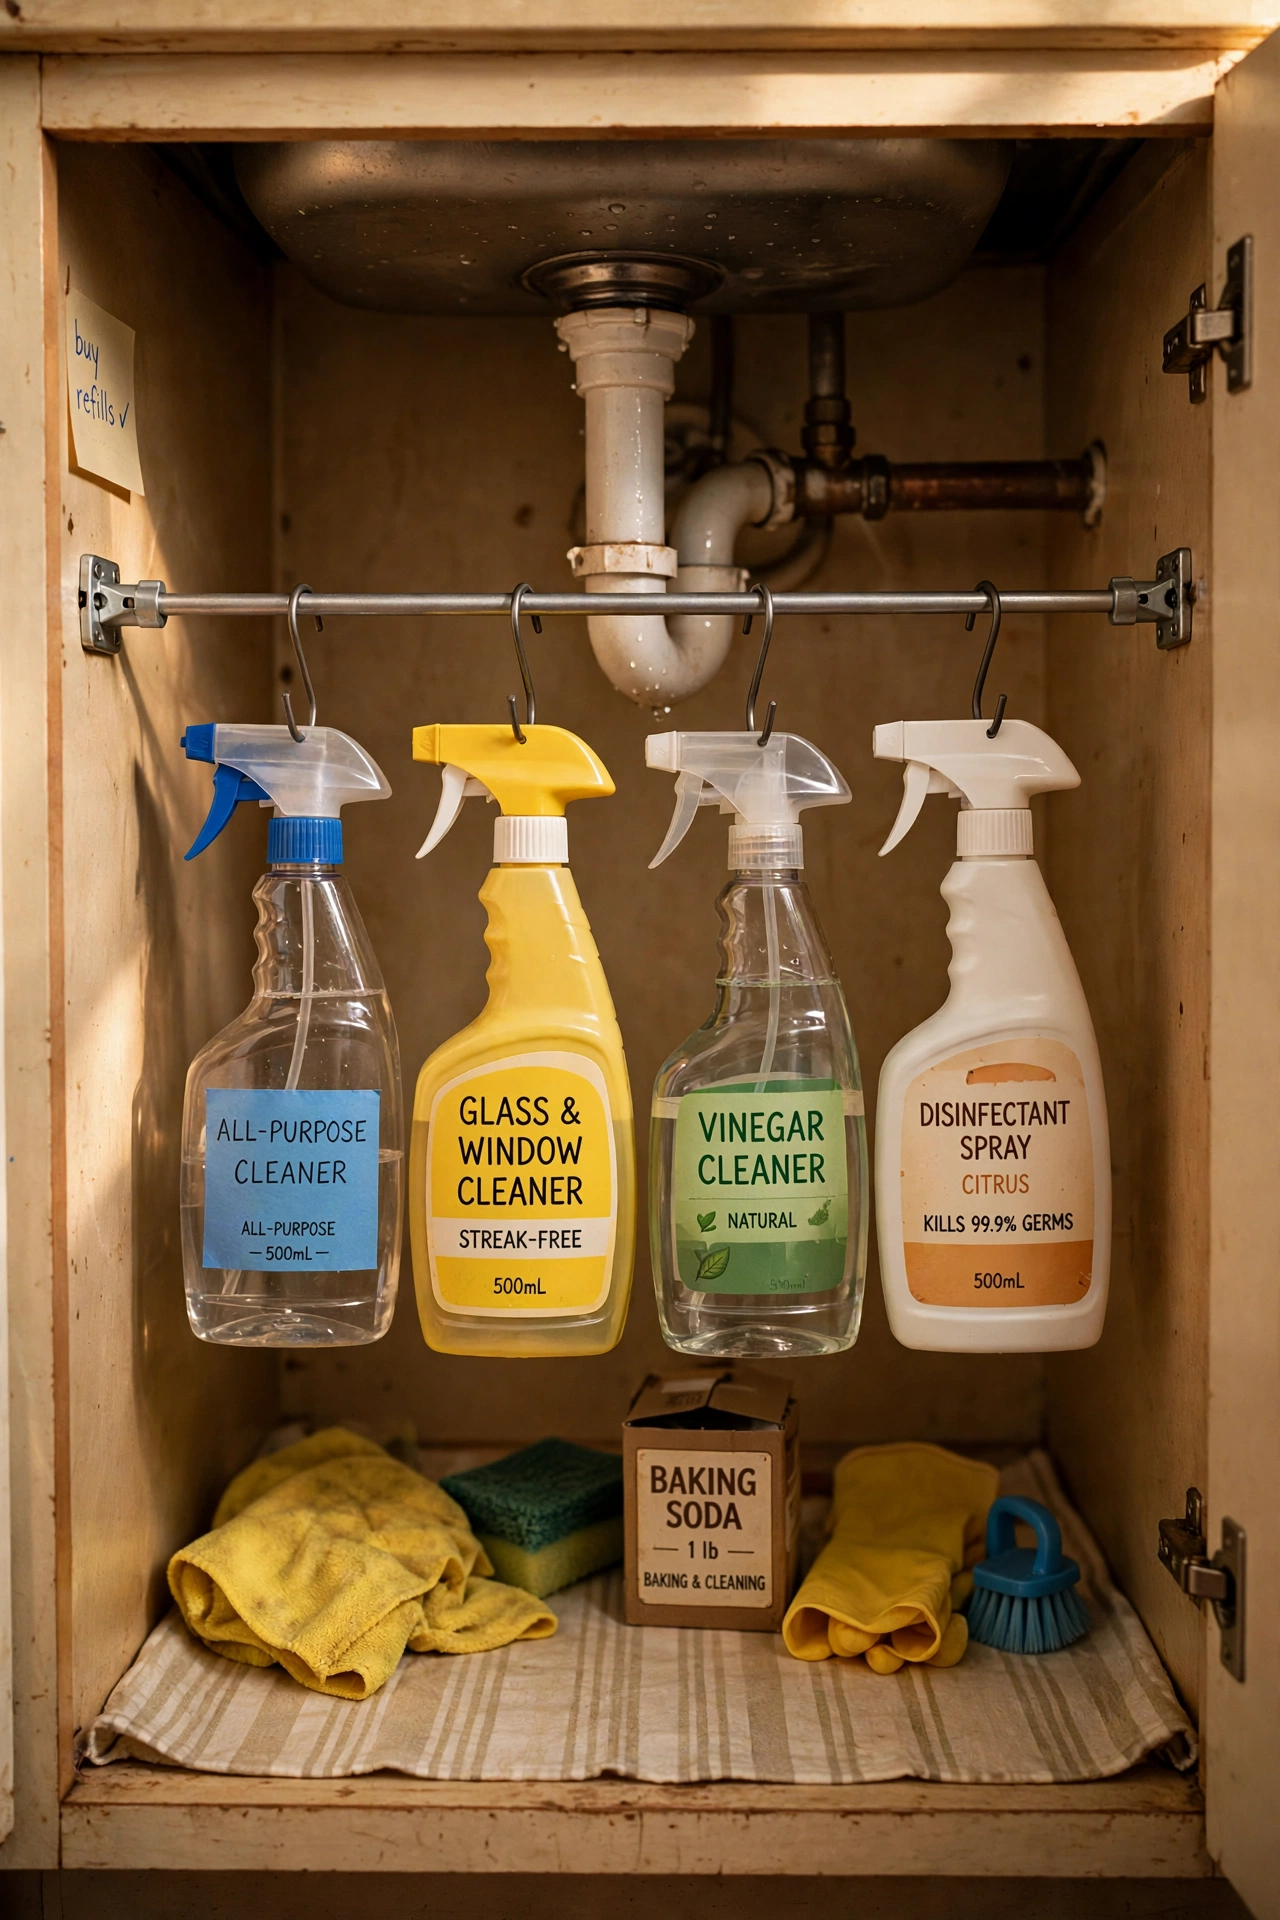
A tension rod under the kitchen sink holds cleaning sprays by their triggers and frees the cabinet floor for bigger items. Fit the rod across the cabinet, hang the bottles, and keep a small bin below for cloths. I did this in ten minutes and the under-sink chaos finally ended. The mistake to avoid is hanging heavy bottles on a thin rod, because it bows and drops everything into the bin below.
Cost: ~$6 | Time: 10 minutes
Stick a Fold-Down Table to the Wall
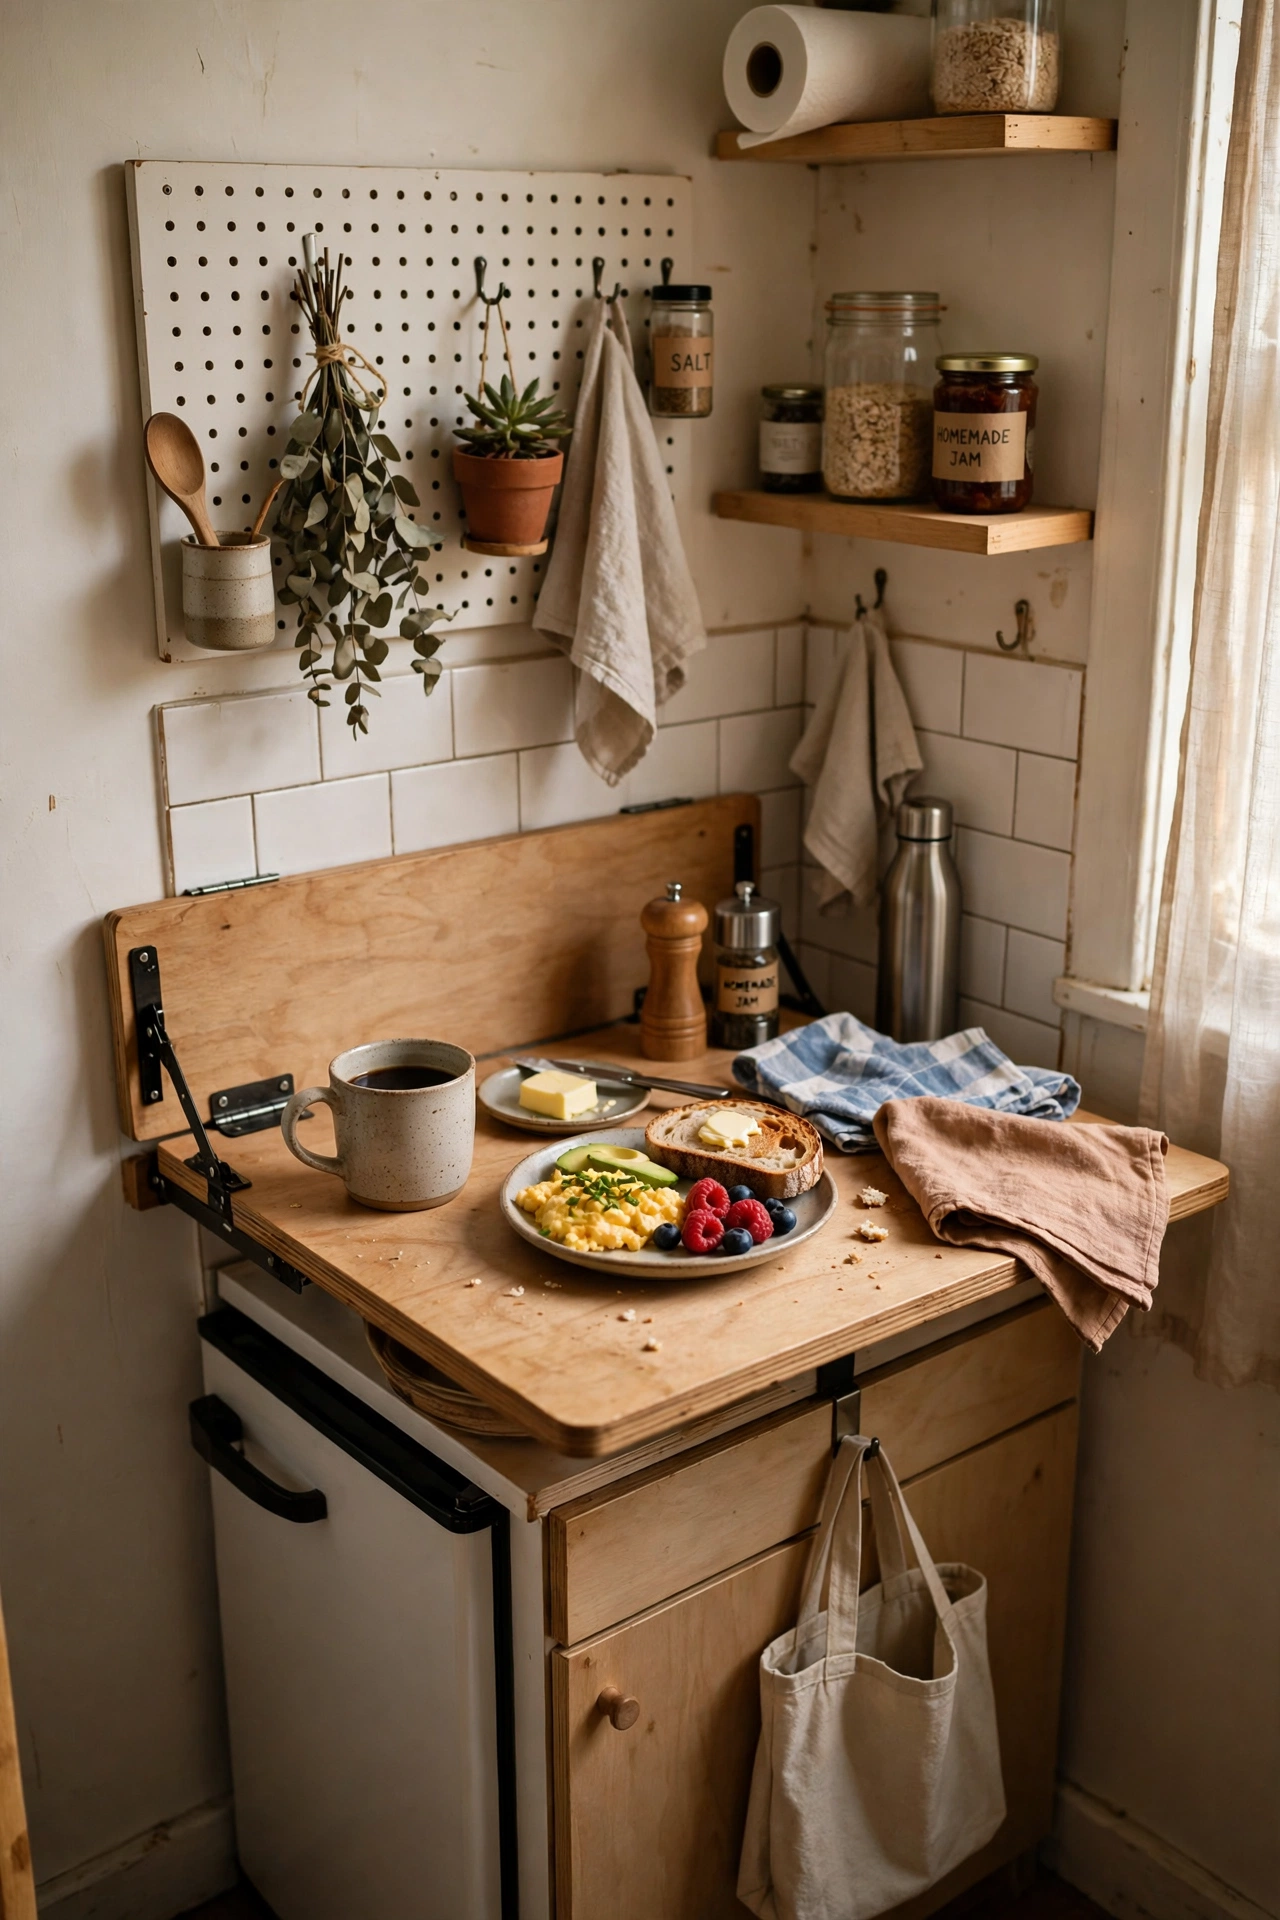
A wall-mounted fold-down table gives a tiny kitchen a breakfast spot that vanishes when you are done eating. Mount it at table height on a solid wall, add two folding stools that hang nearby, and fold it flat after meals. I ate every breakfast this way for a year and loved folding the kitchen away afterwards. The mistake to avoid is mounting it on plasterboard without proper fixings, because a table full of breakfast is heavier than it looks.
Cost: ~$45 | Time: 60 minutes
Hang a Pegboard for Tools and Pans
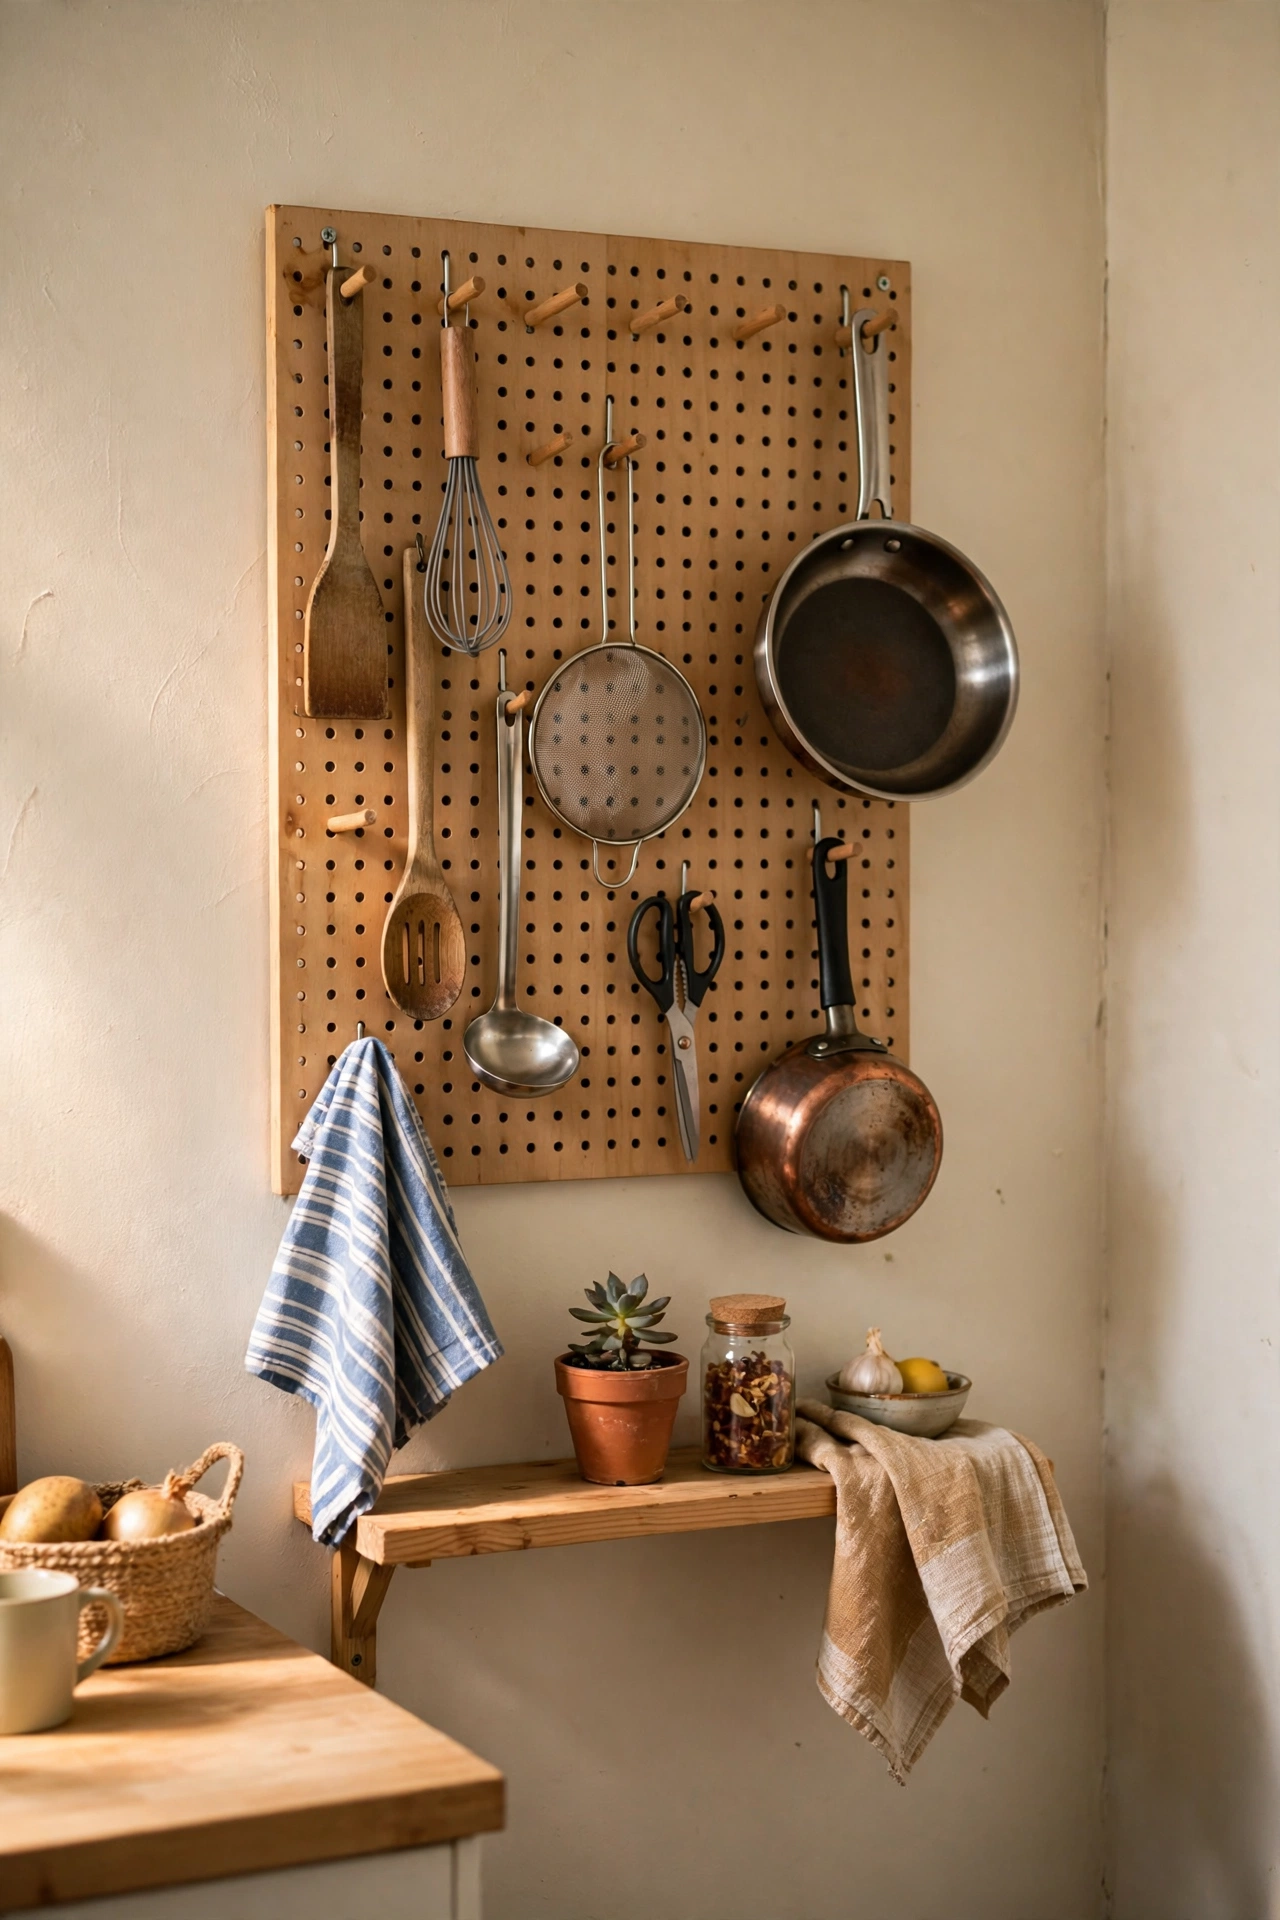
A pegboard on one kitchen wall holds utensils, pans, and scissors in plain sight, and it costs far less than new cabinets. Cut it to fit, frame it if you like, and hang tools on hooks you can rearrange as your collection changes. I covered a blank wall with pegboard and emptied two drawers. The mistake to avoid is hanging it without spacers behind it, because hooks need room to grip and the board needs airflow.
Cost: ~$28 | Time: 60 minutes
Use Clear Bins in the Fridge
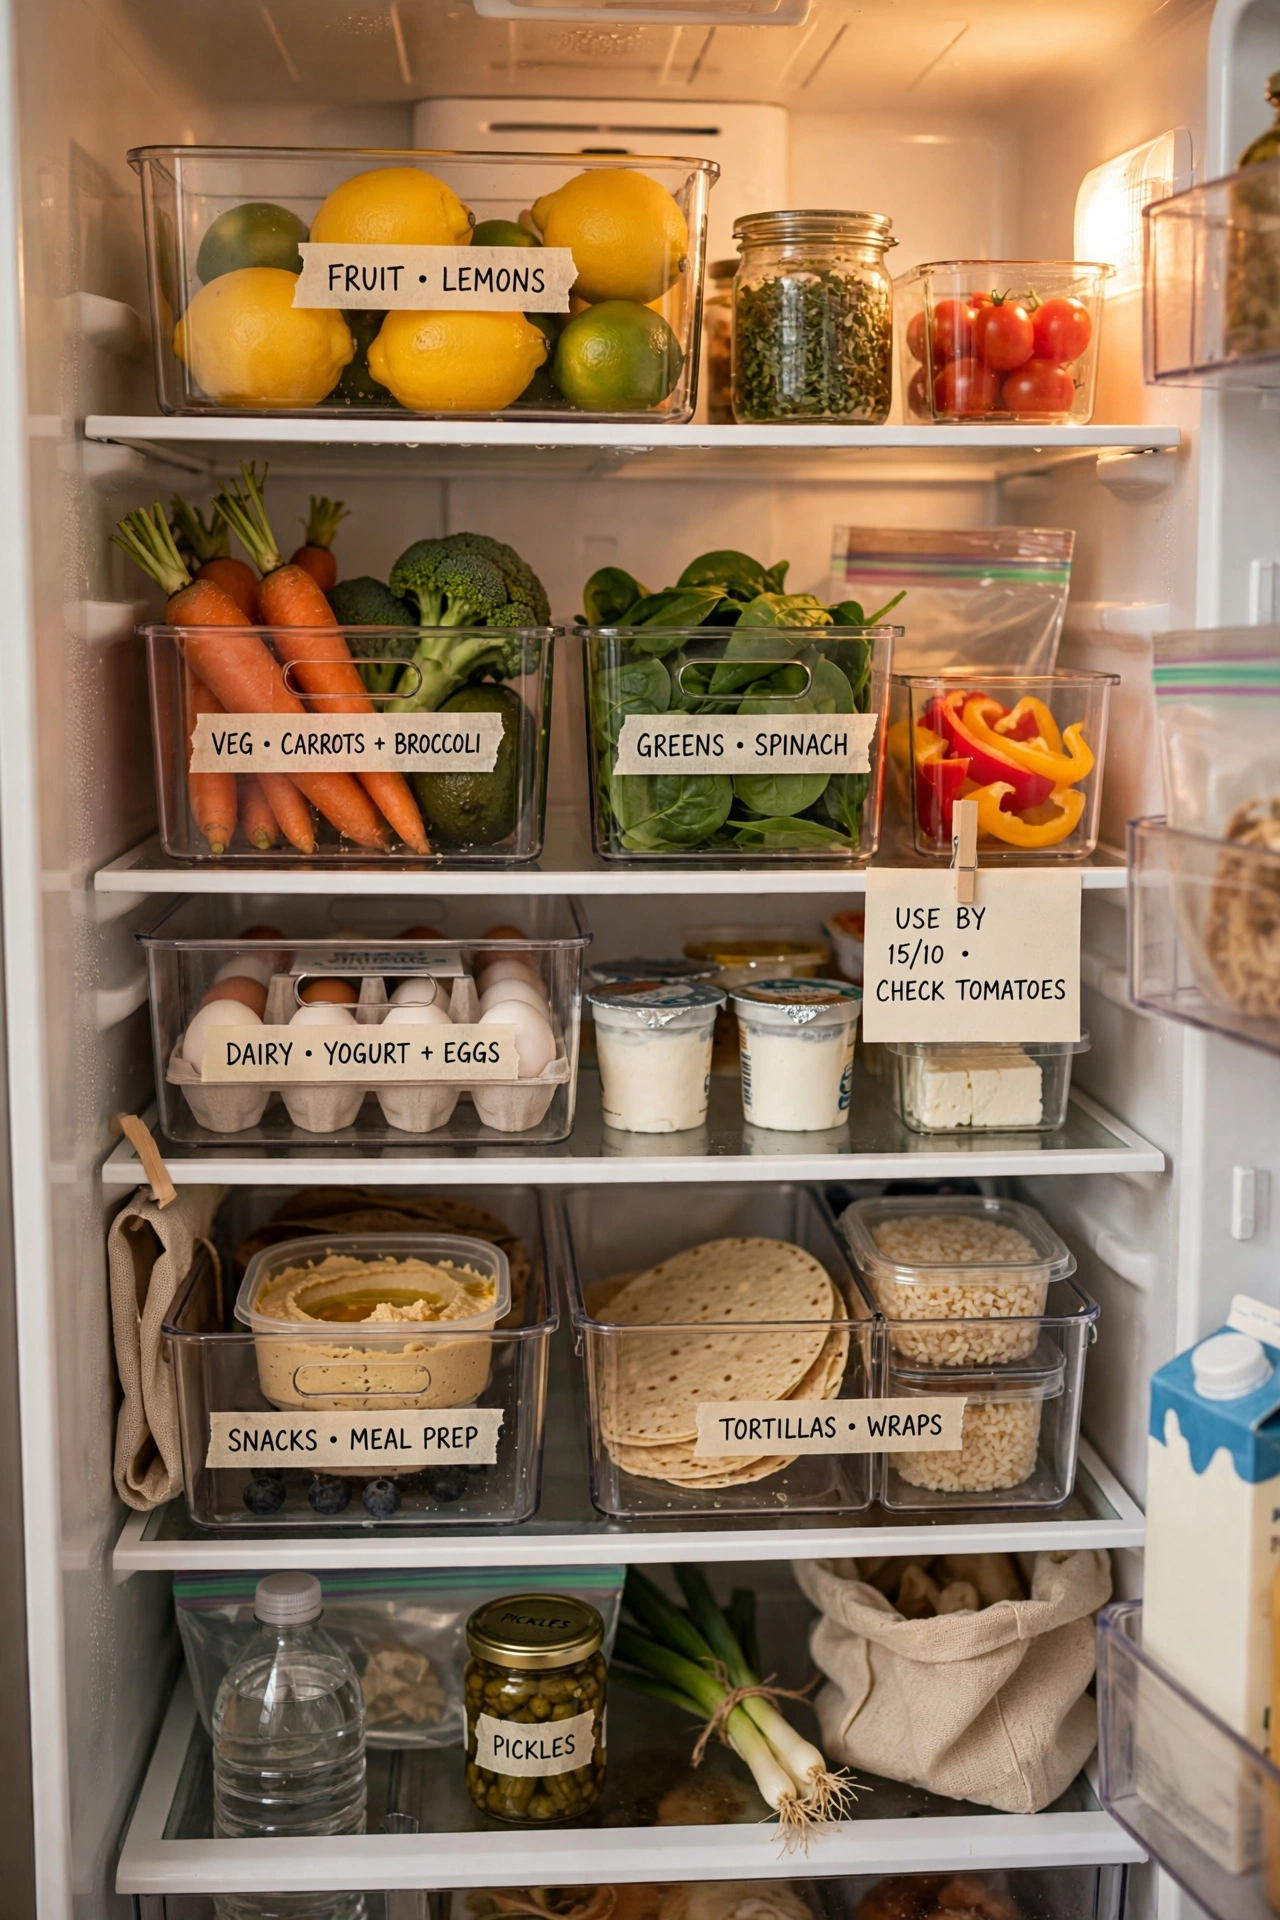
Clear bins in the fridge stop food getting lost at the back and going off, which saves money as well as space. Group snacks, sauces, and vegetables in separate bins, and pull the whole bin out instead of digging. Label them if you share the flat. I cut my wasted food noticeably after switching to bins. The mistake to avoid is bins so big they block airflow, because a fridge that cannot circulate air cools unevenly.
Cost: ~$15 | Time: 15 minutes
Put a Shelf Above the Door Frame
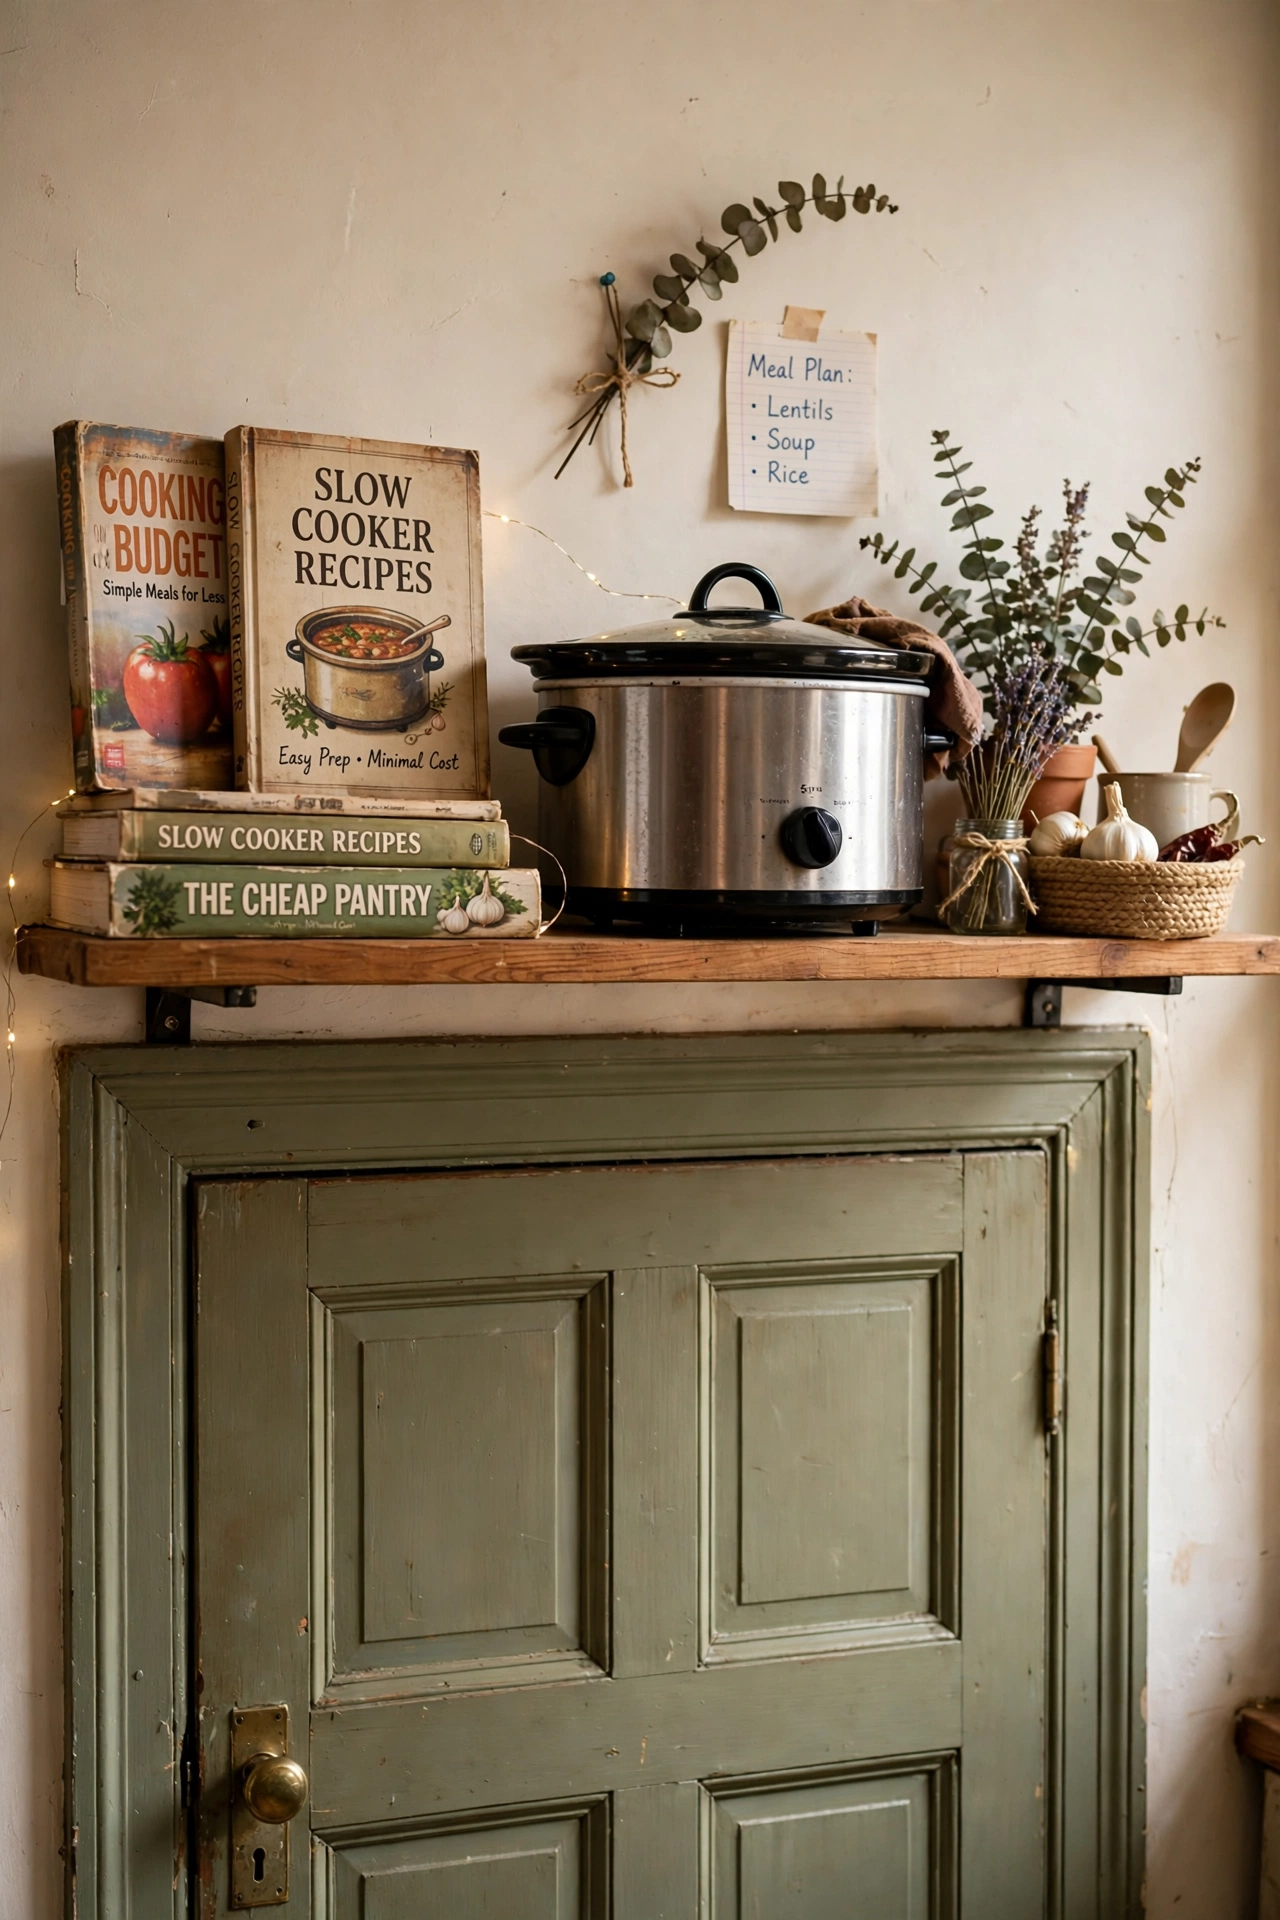
The space above a kitchen door frame holds cookbooks, spare appliances, and anything you use monthly rather than daily. Fit a single sturdy shelf, keep heavy items near the brackets, and use baskets so nothing looks messy from below. I put my slow cooker and a stack of cookbooks up there and freed a whole cabinet. The mistake to avoid is storing anything you need daily up there, because climbing for it every morning gets old fast.
Cost: ~$20 | Time: 40 minutes
Swap to a Single-Bowl Sink Setup
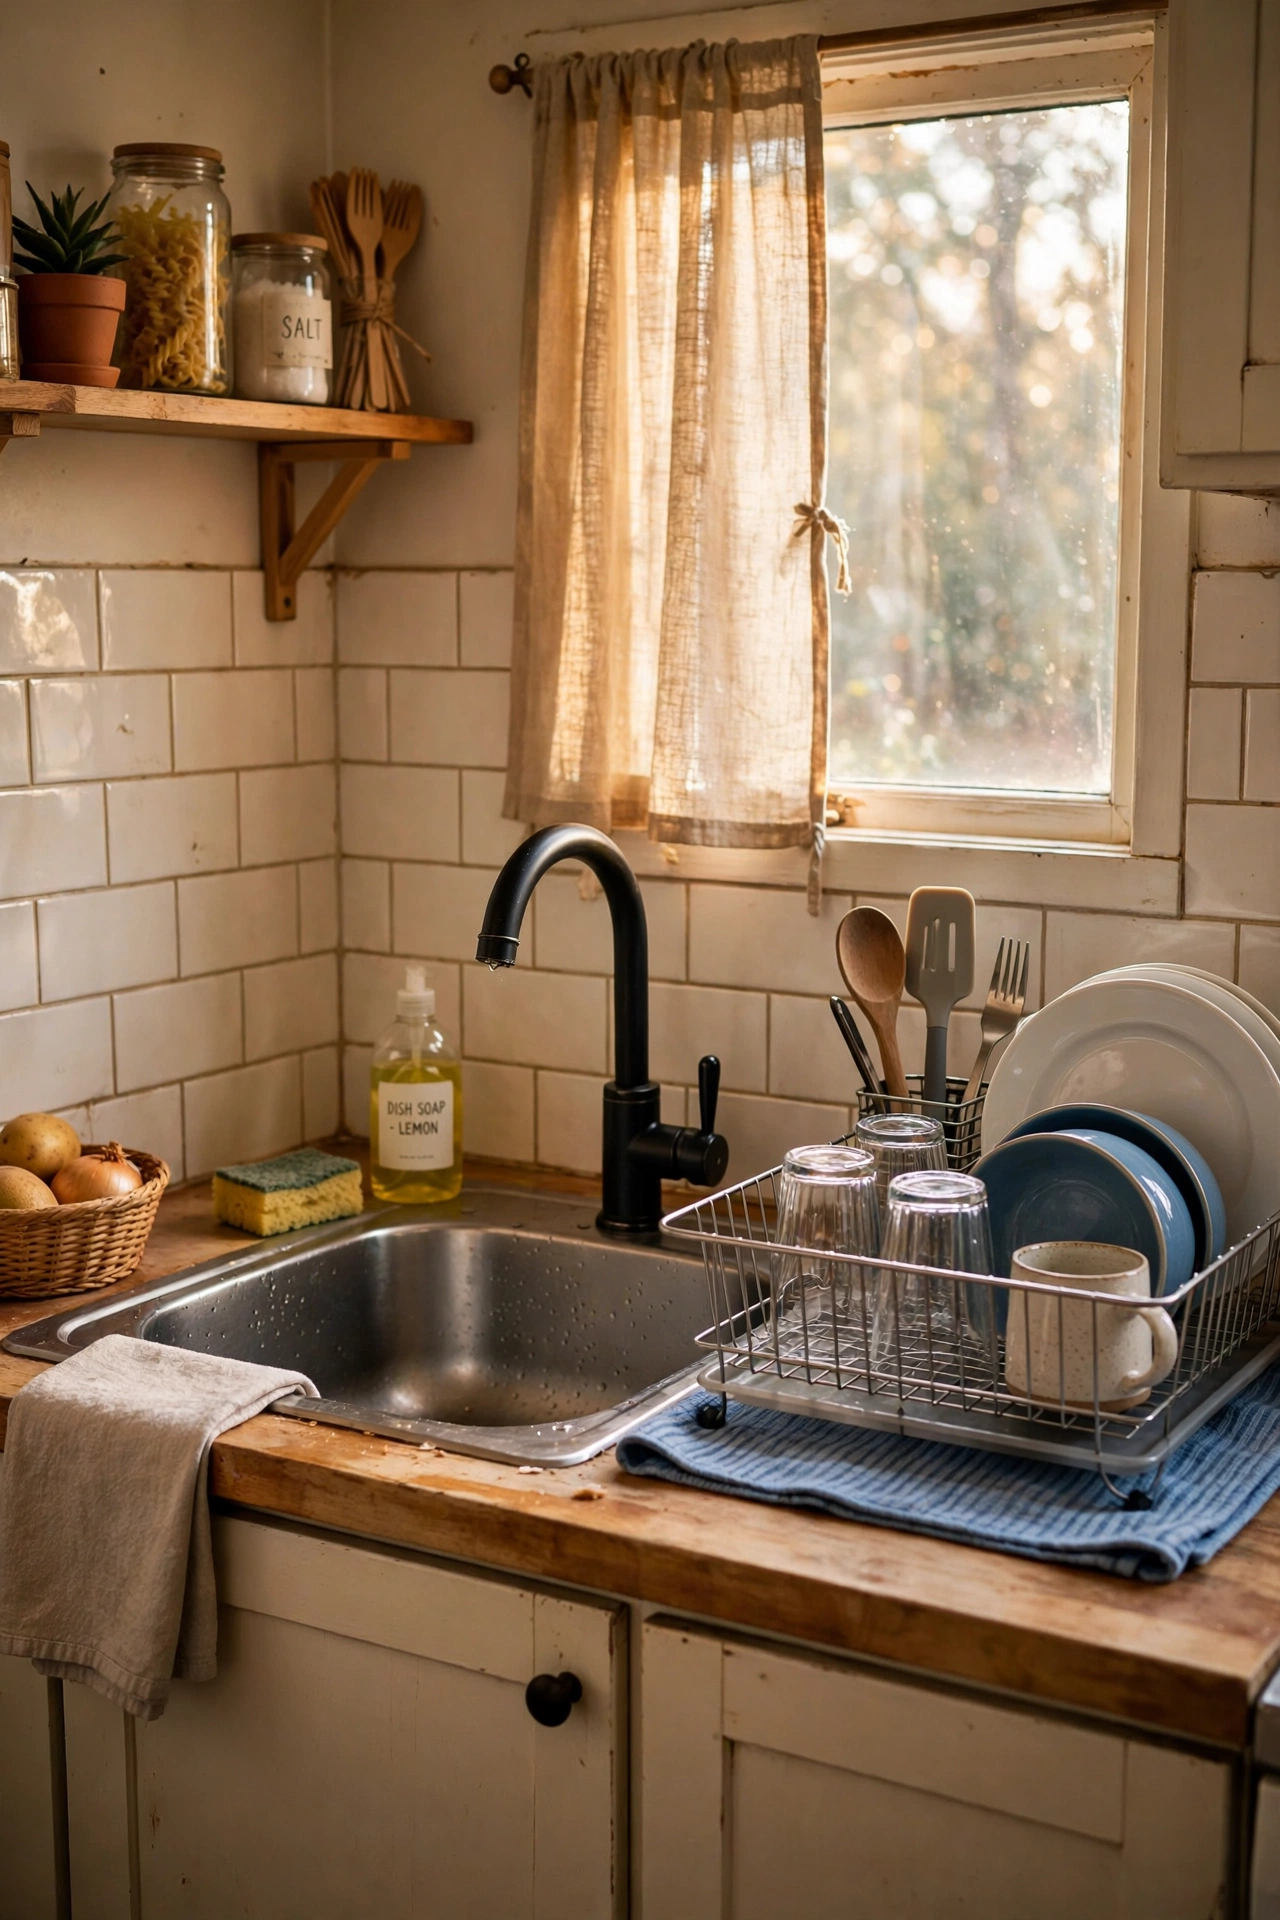
If you are replacing a sink anyway, a single deep bowl beats a double in a tiny kitchen, because it fits big pots and leaves more counter around it. Add a dish rack that sits over half the sink for draining, and you lose nothing. I swapped during a small renovation and gained six inches of counter I use every single day. The mistake to avoid is a shallow single bowl, which splashes everywhere and makes washing up miserable.
Cost: ~$90 | Time: 120 minutes
(see also: 15-tiny-kitchen-ideas-for-renters)
Use the Fridge Side for Storage
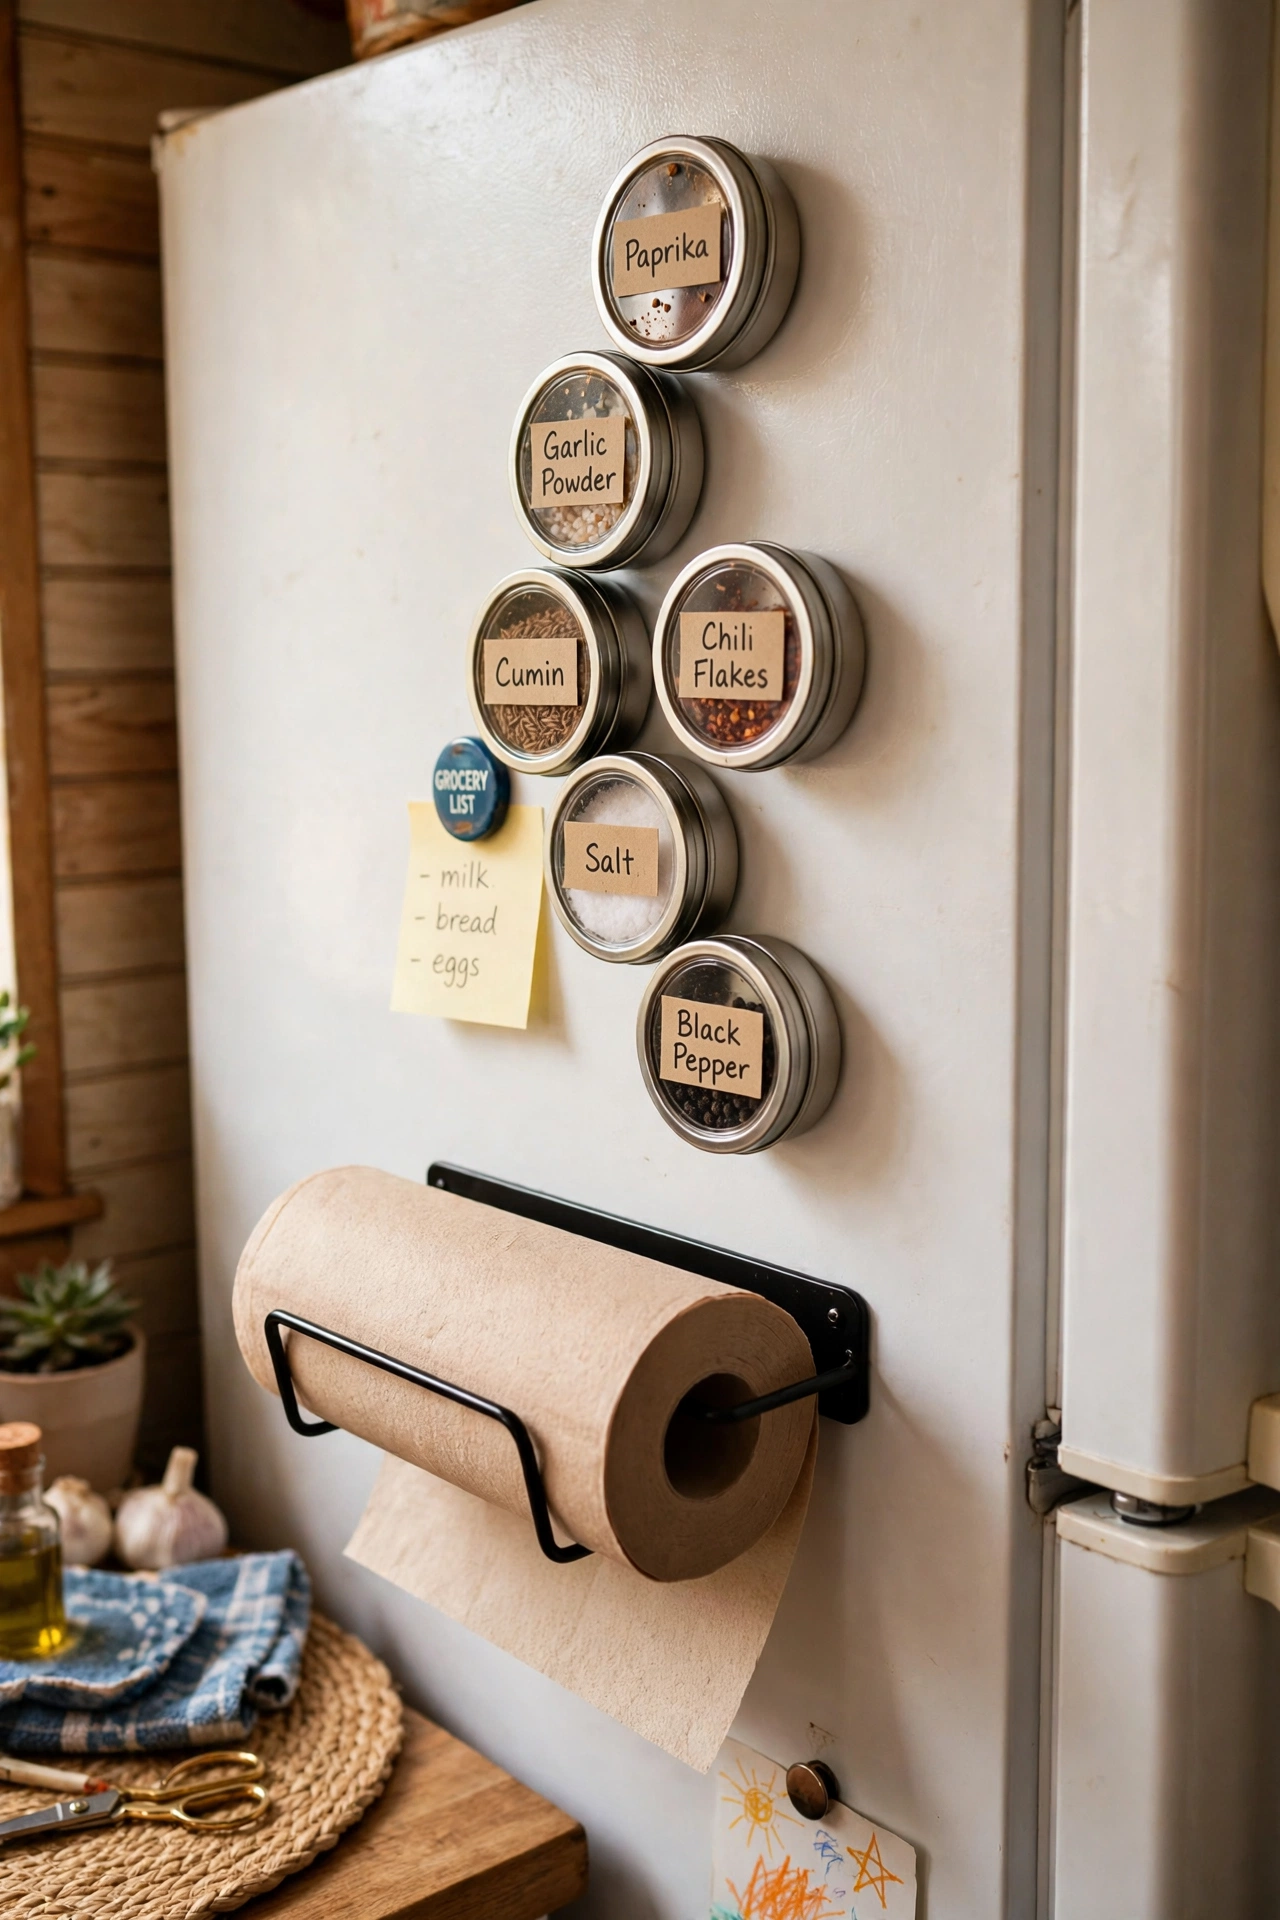
The side of the fridge is a blank wall waiting for magnetic storage. Stick on magnetic spice tins, a magnetic paper towel holder, or a magnetic knife strip, and you gain storage without a single screw. I keep my most-used spices on the fridge side and grab them mid-cook without opening a cabinet. The mistake to avoid is covering the fridge vents with magnets and tins, because the fridge works harder and your electricity bill notices.
Cost: ~$18 | Time: 10 minutes
Keep a Rolling Island for Extra Counter
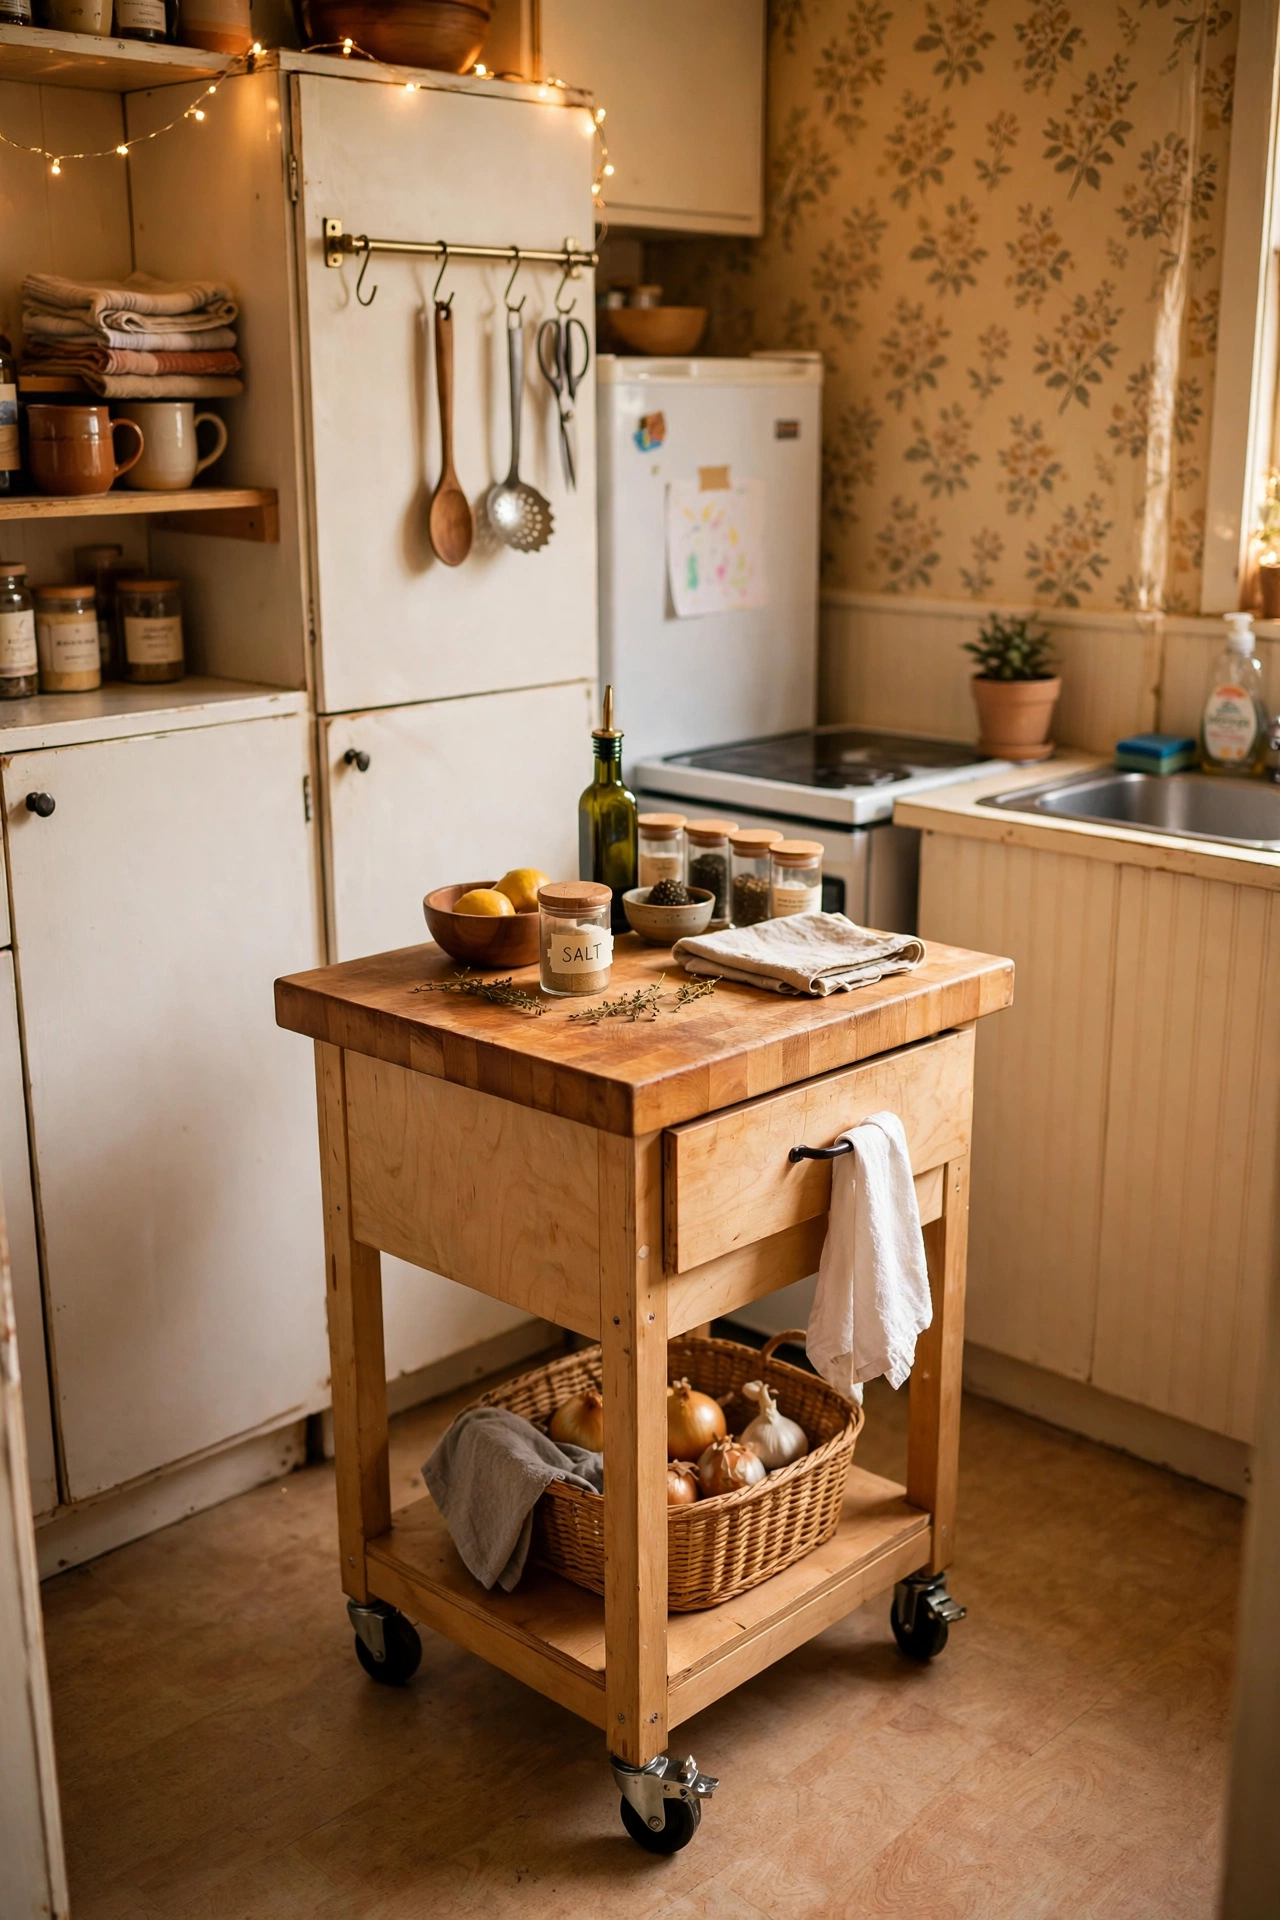
A small rolling island adds counter space when you cook and rolls away when you do not. Pick one with a butcher block top and a shelf below, and lock the wheels while you chop. I roll mine out for Sunday cooking and tuck it against the wall the rest of the week. The mistake to avoid is an island so big it blocks the fridge or the oven door, because then it creates more problems than it solves.
Cost: ~$70 | Time: 30 minutes
Hang Tea Towels on the Oven Bar
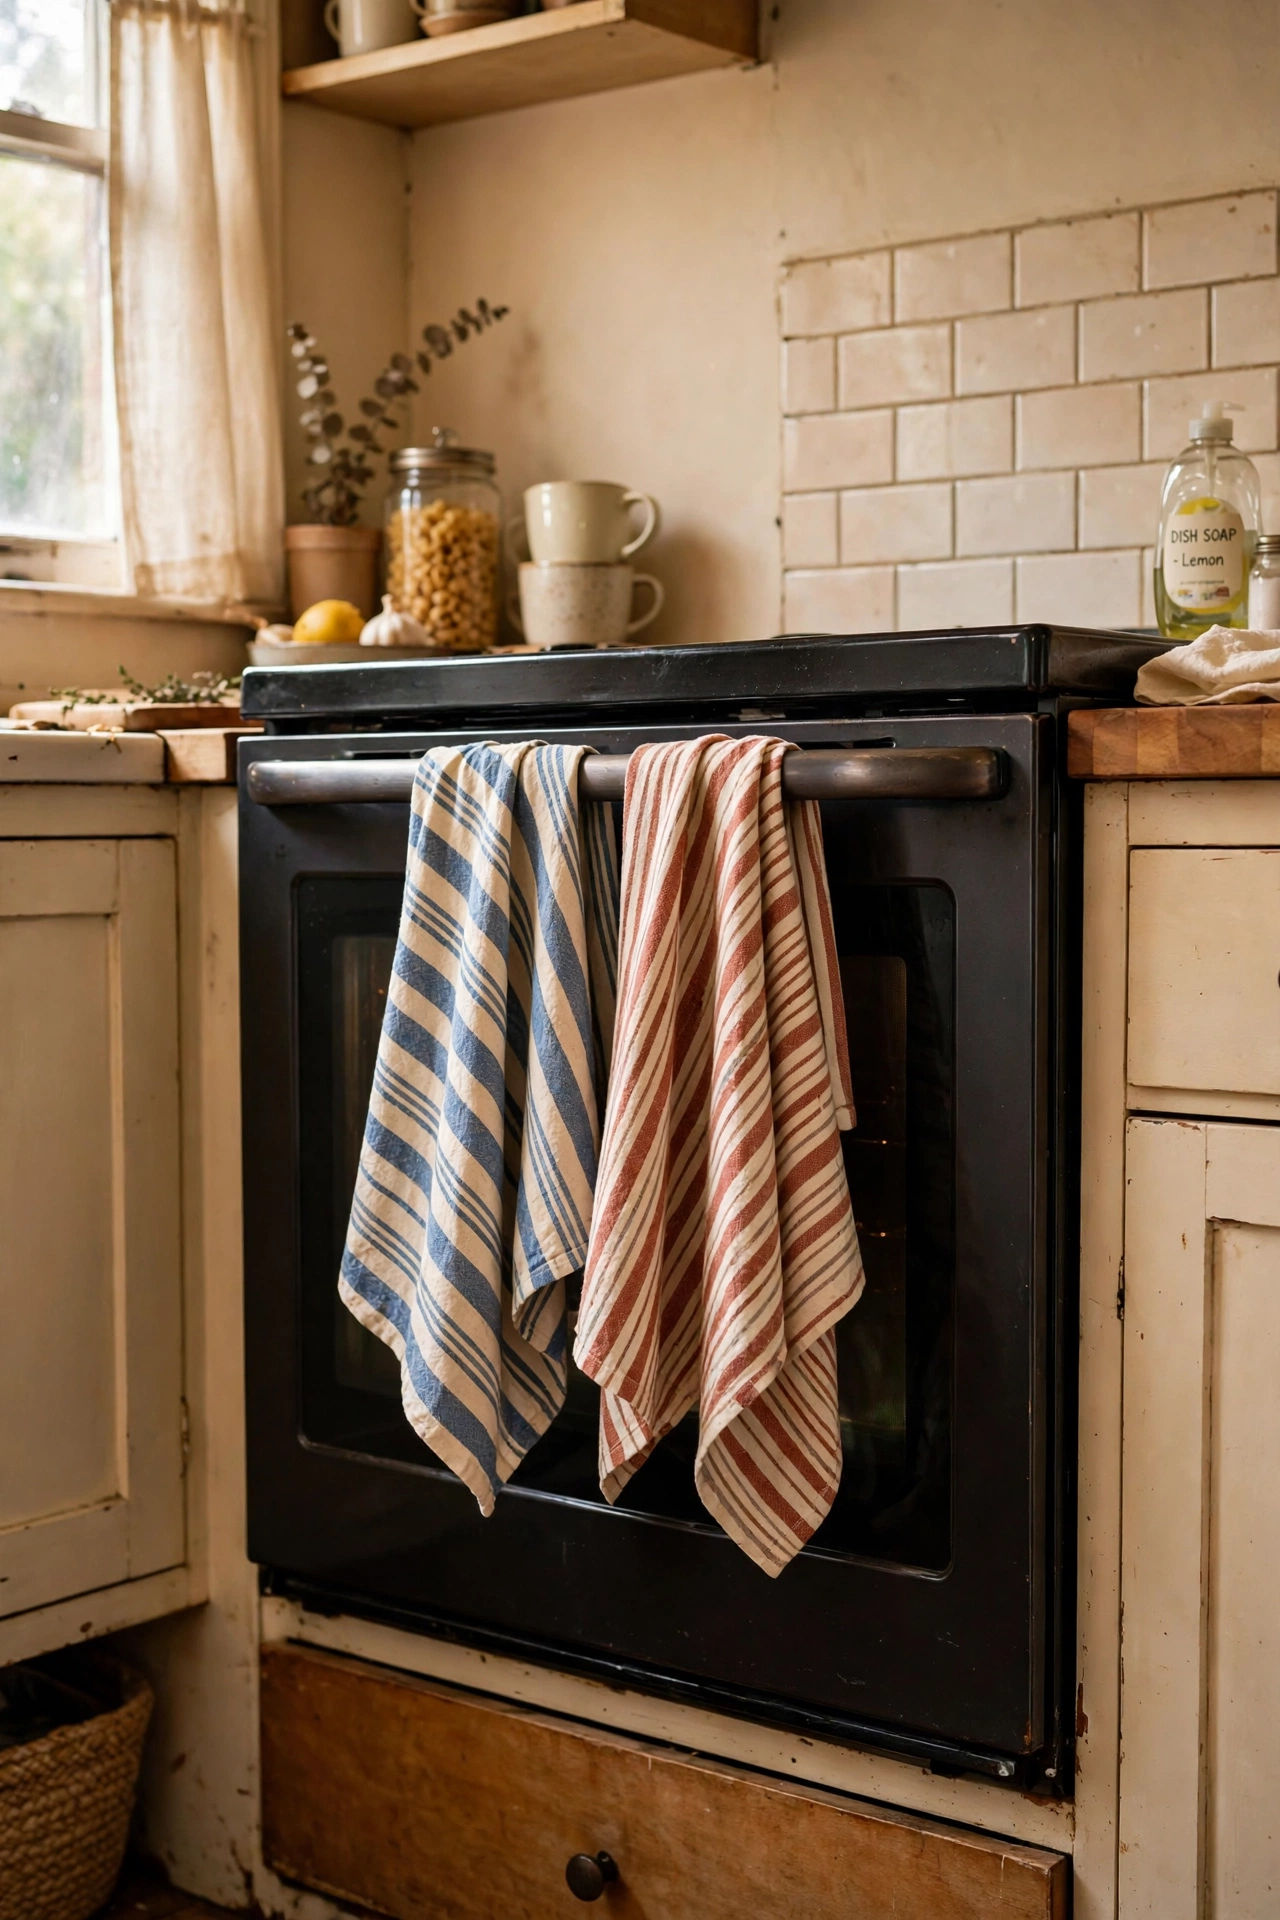
It sounds obvious, but using the oven handle bar for tea towels, plus a hook on the inside of a cabinet door for the rest, keeps towels off counters for free. Keep two in rotation, one in use and one clean, and the kitchen instantly looks tidier. I stopped draping towels over chairs once I made this a habit. The mistake to avoid is hanging a towel over a hot oven vent, because it can scorch or catch, so use the handle bar only when the oven is cool.
Cost: ~$0 | Time: 5 minutes
Store Baking Trays Vertically
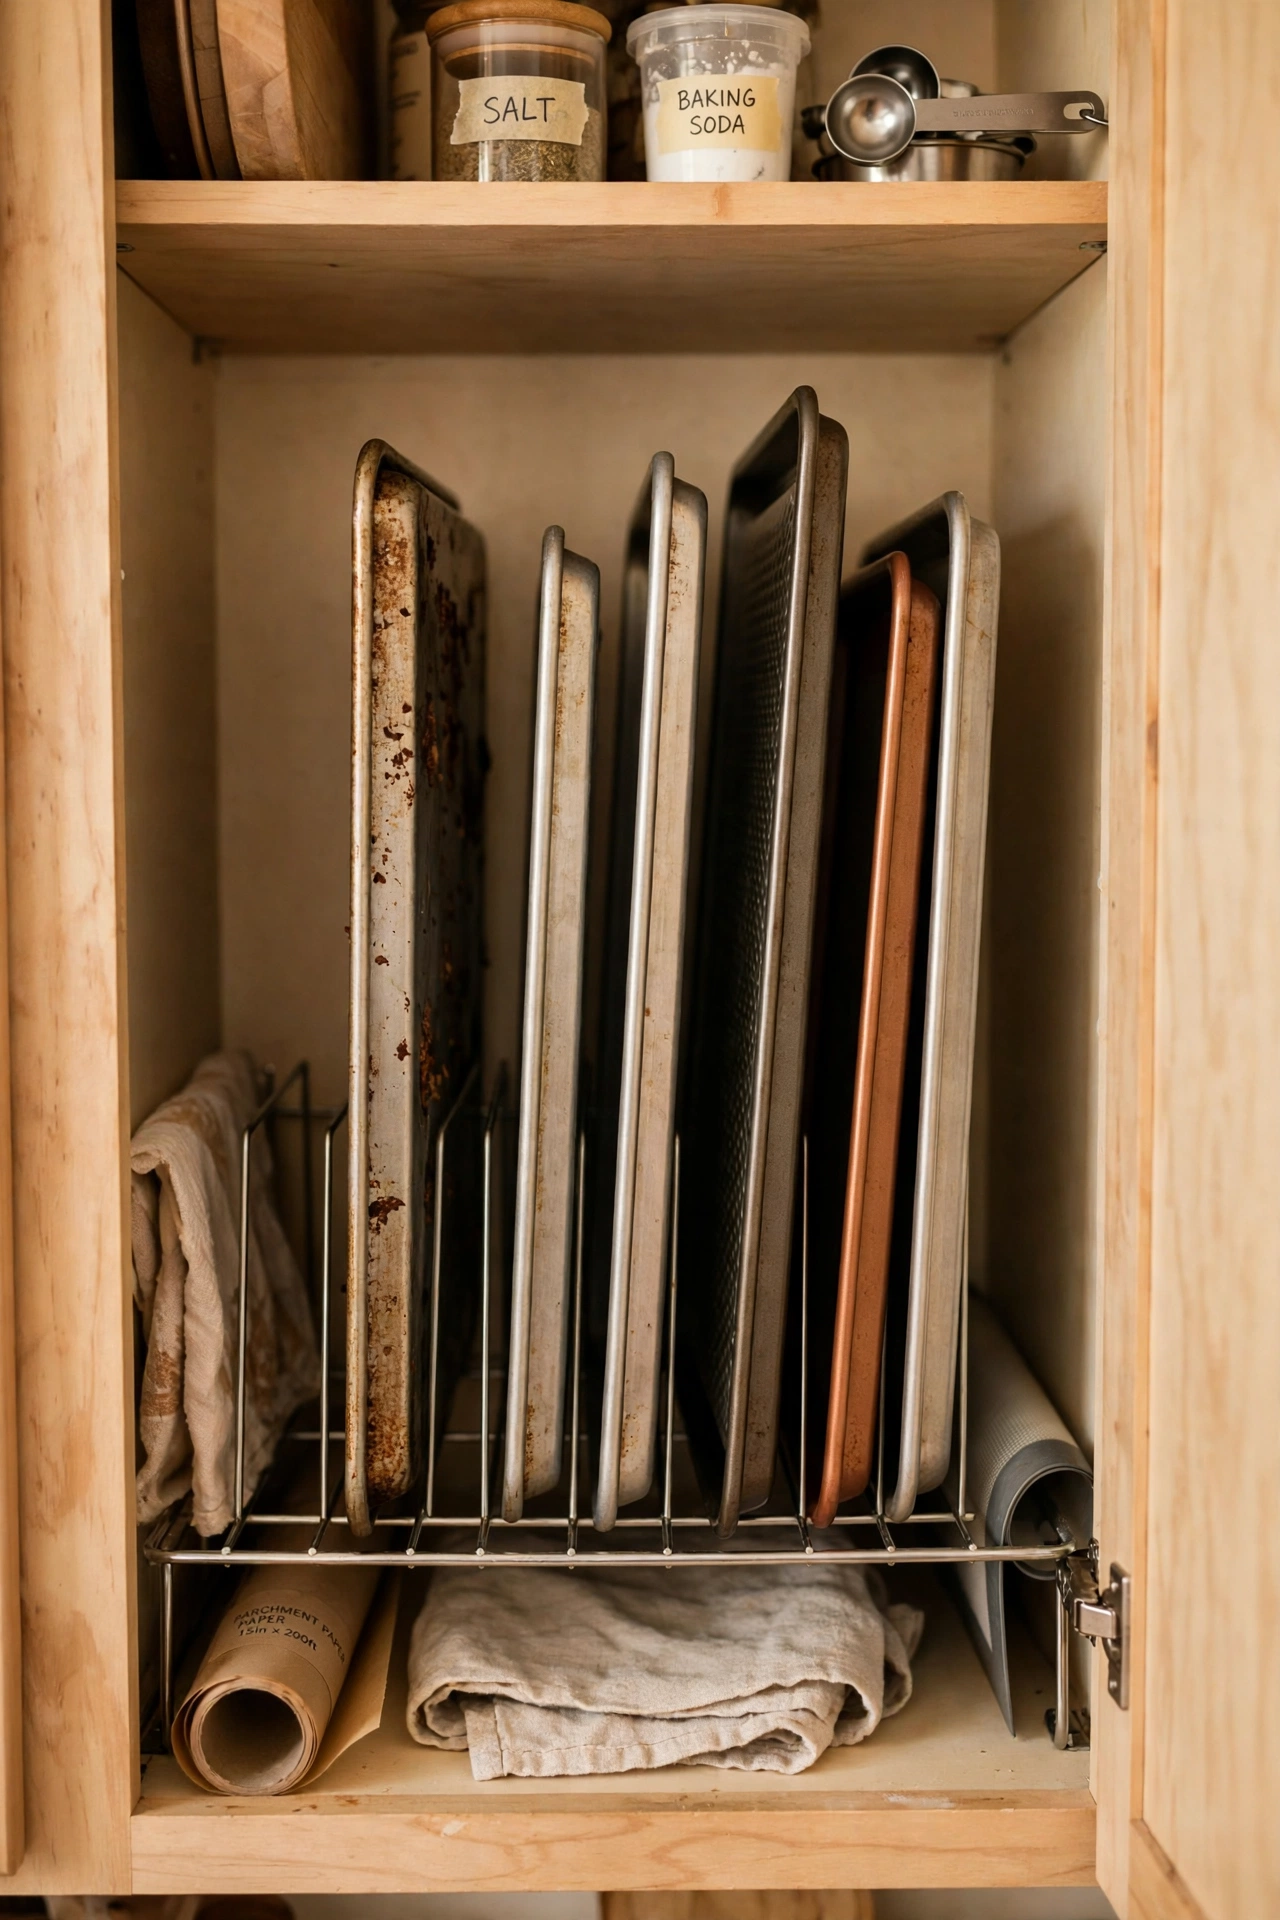
Baking trays stacked flat are a nightmare to pull out, but stored vertically in a rack they slide out one by one. Use a vertical file holder or a pan rack inside a cabinet, and sort trays by size. I did this with a ten-pound rack and stopped the daily tray avalanche. The mistake to avoid is a rack that is too narrow for your biggest tray, because then the biggest tray lives on top of everything anyway.
Cost: ~$10 | Time: 10 minutes
Use a Dish Rack That Drains Into the Sink
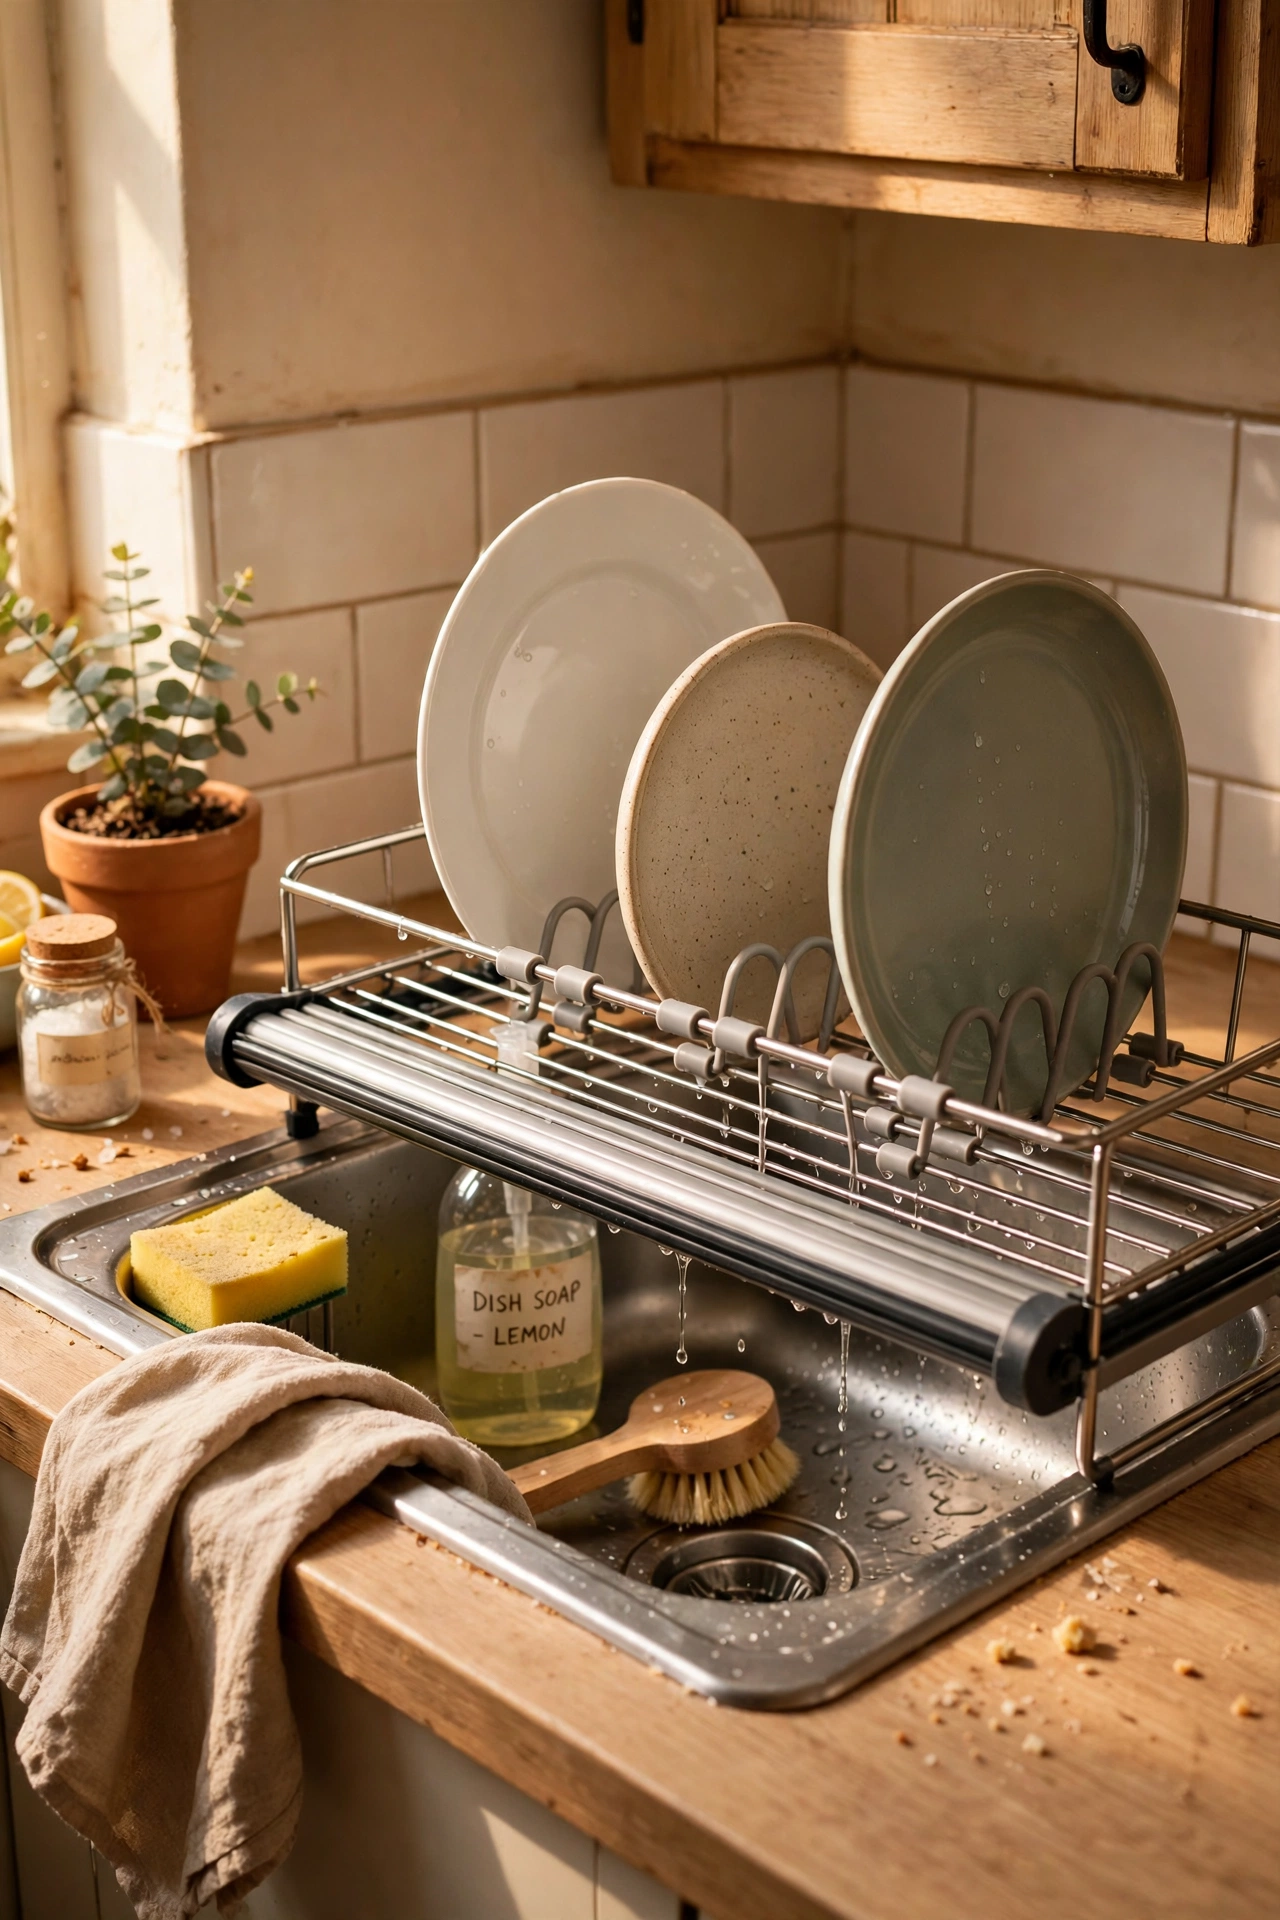
A dish rack that sits over the sink or drains into it frees the counter completely, which is priceless in a tiny kitchen. Choose a roll-up rack or an over-sink model, and let dishes drip straight into the sink. I switched to a roll-up rack and gained a full foot of counter. The mistake to avoid is a rack that drains onto the counter, because puddles and water marks undo the whole point.
Cost: ~$15 | Time: 5 minutes
Label Everything You Decant
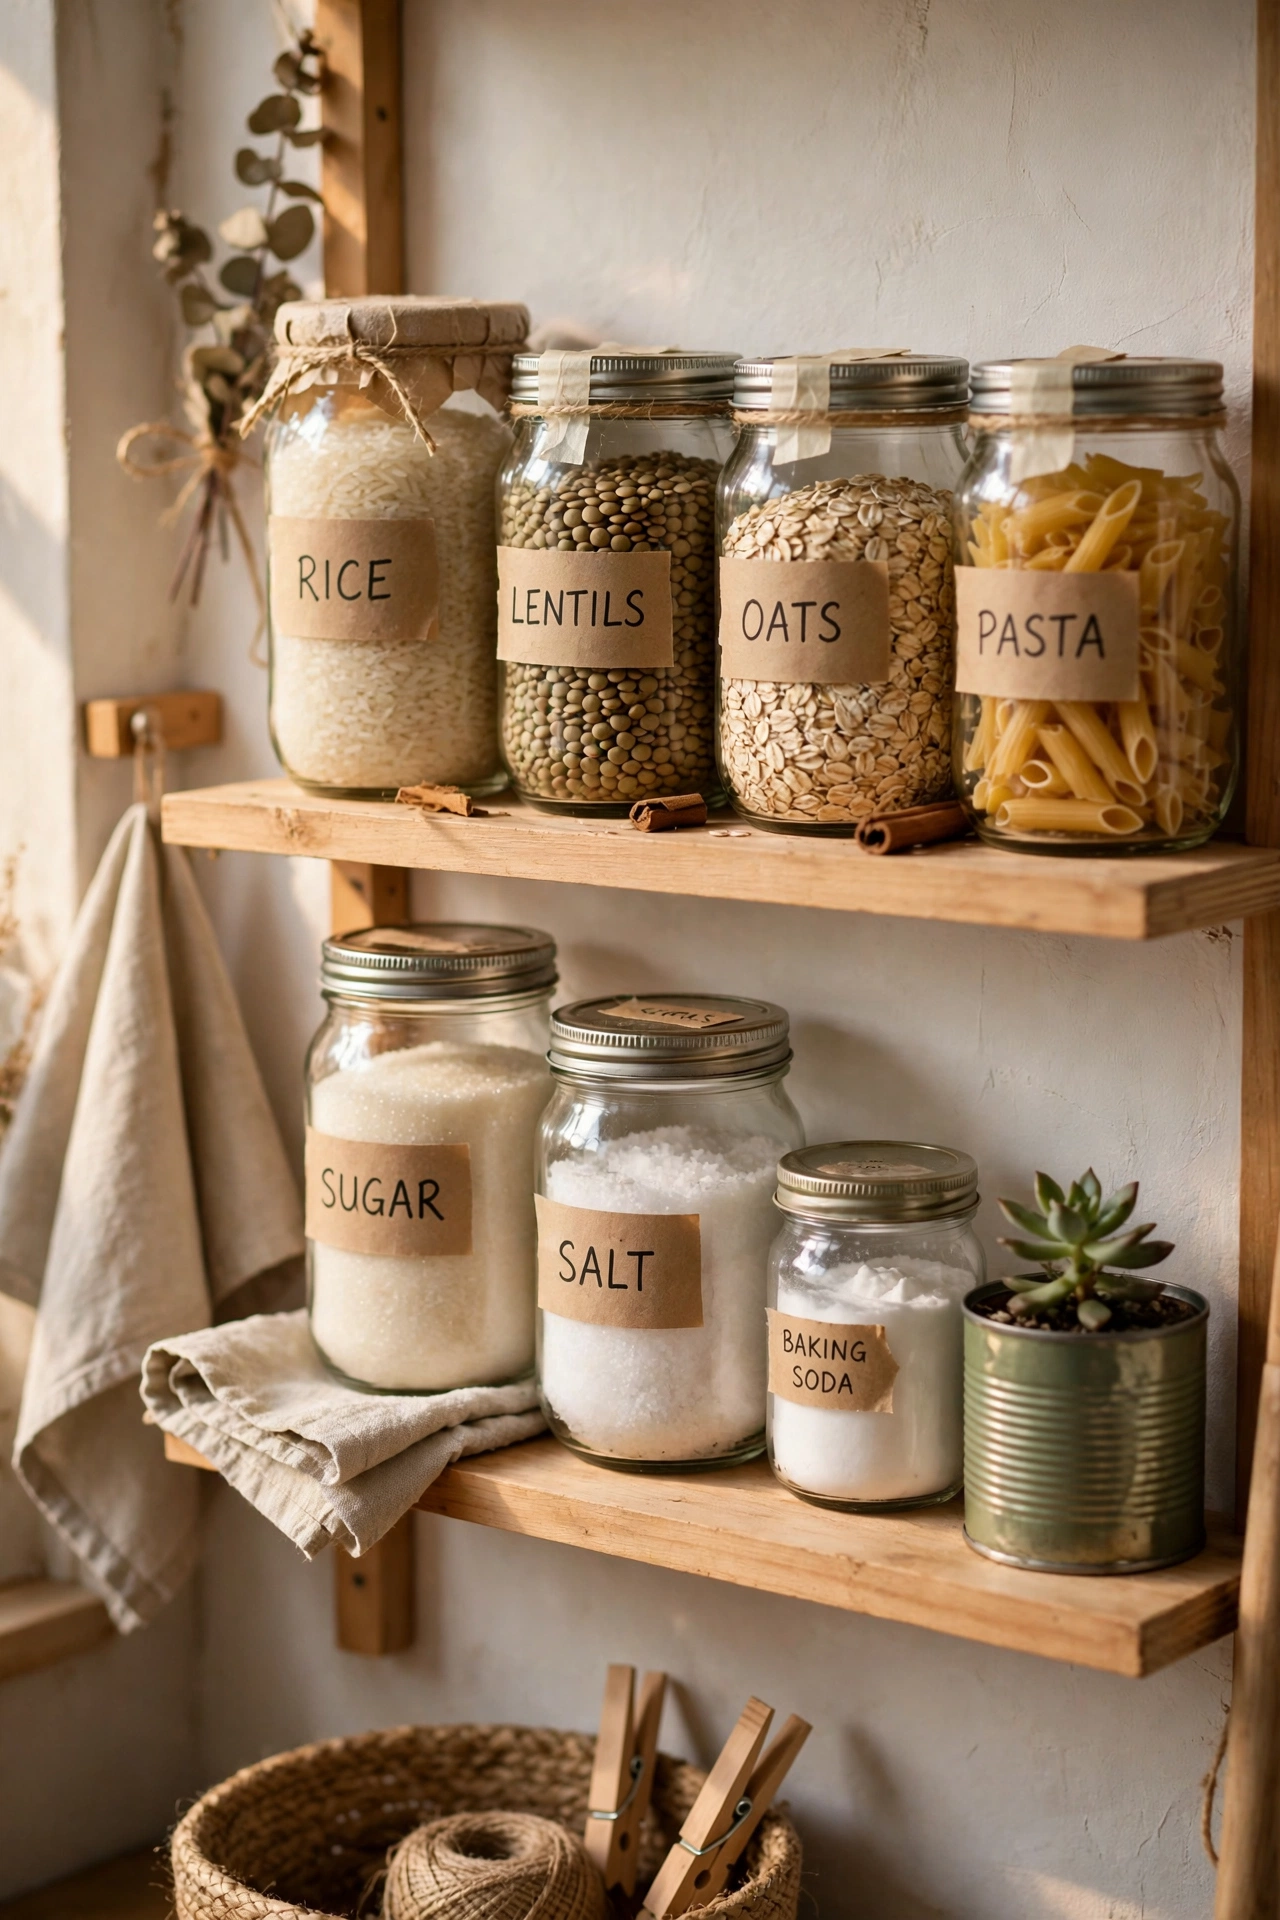
Labels turn a shelf of jars from a guessing game into a system you can actually cook from. Label every decanted jar with the contents and the date, and use a label maker or simple masking tape. I once baked with salt instead of sugar because two white powders looked identical, and I have labelled everything since. The mistake to avoid is pretty but vague labels, because “white stuff” helps nobody at 7 a.m.
Cost: ~$5 | Time: 20 minutes
Keep Counters Clear With a Daily Reset
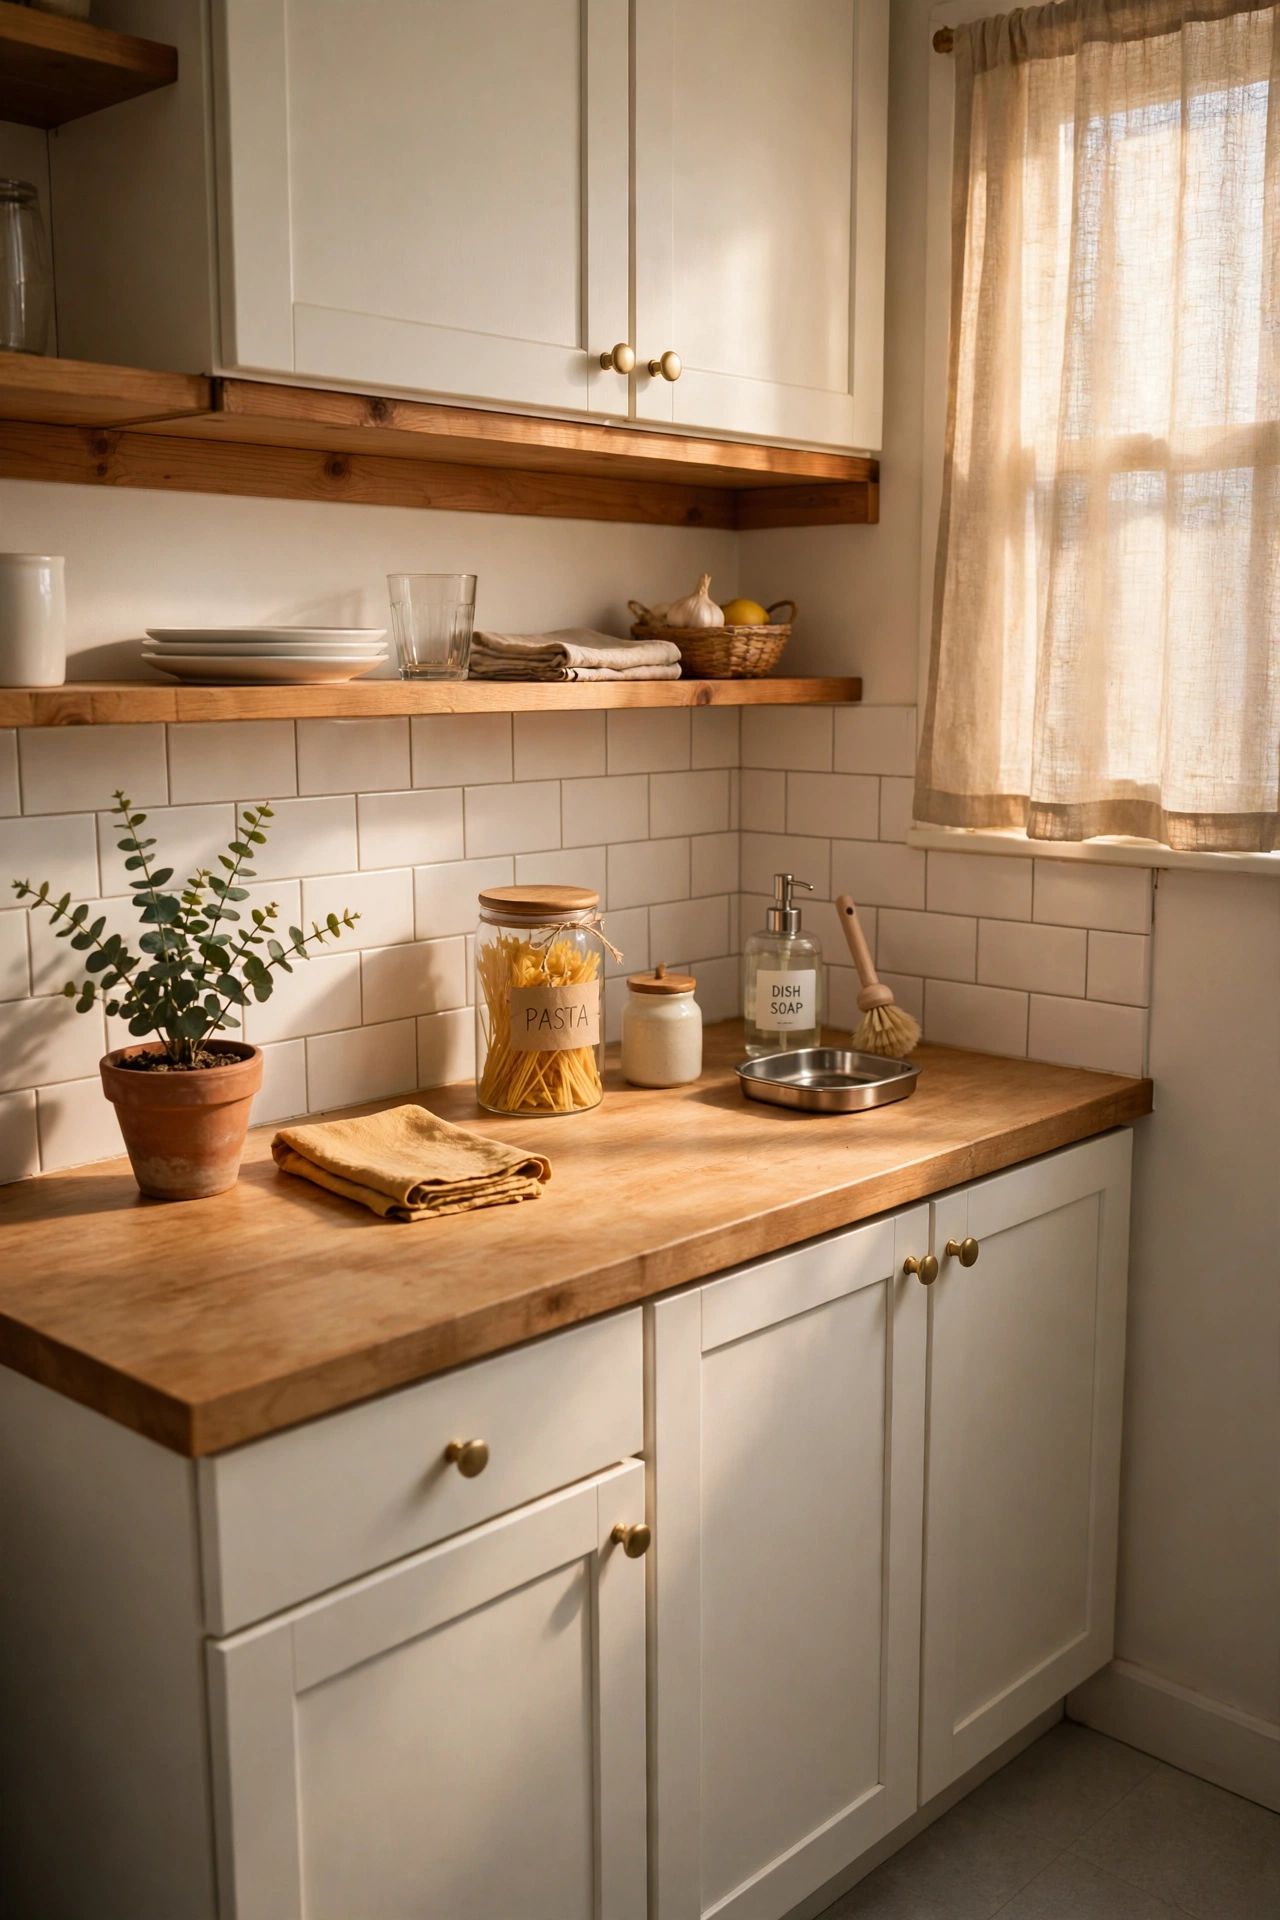
A tiny kitchen only works if the counters stay mostly clear, and a two-minute reset after cooking makes that possible. Put ingredients away, wipe the surfaces, and hang the towel, before you sit down to eat. It is a small habit, but it means the next meal starts in a clean kitchen instead of a messy one. I do this while food cools and it has changed how I feel about cooking. The mistake to avoid is the “I’ll do it later” pile, because in a tiny kitchen later means the next meal is cooked in clutter.
Cost: ~$0 | Time: 2 minutes
Cook One-Pot Meals to Cut the Washing Up
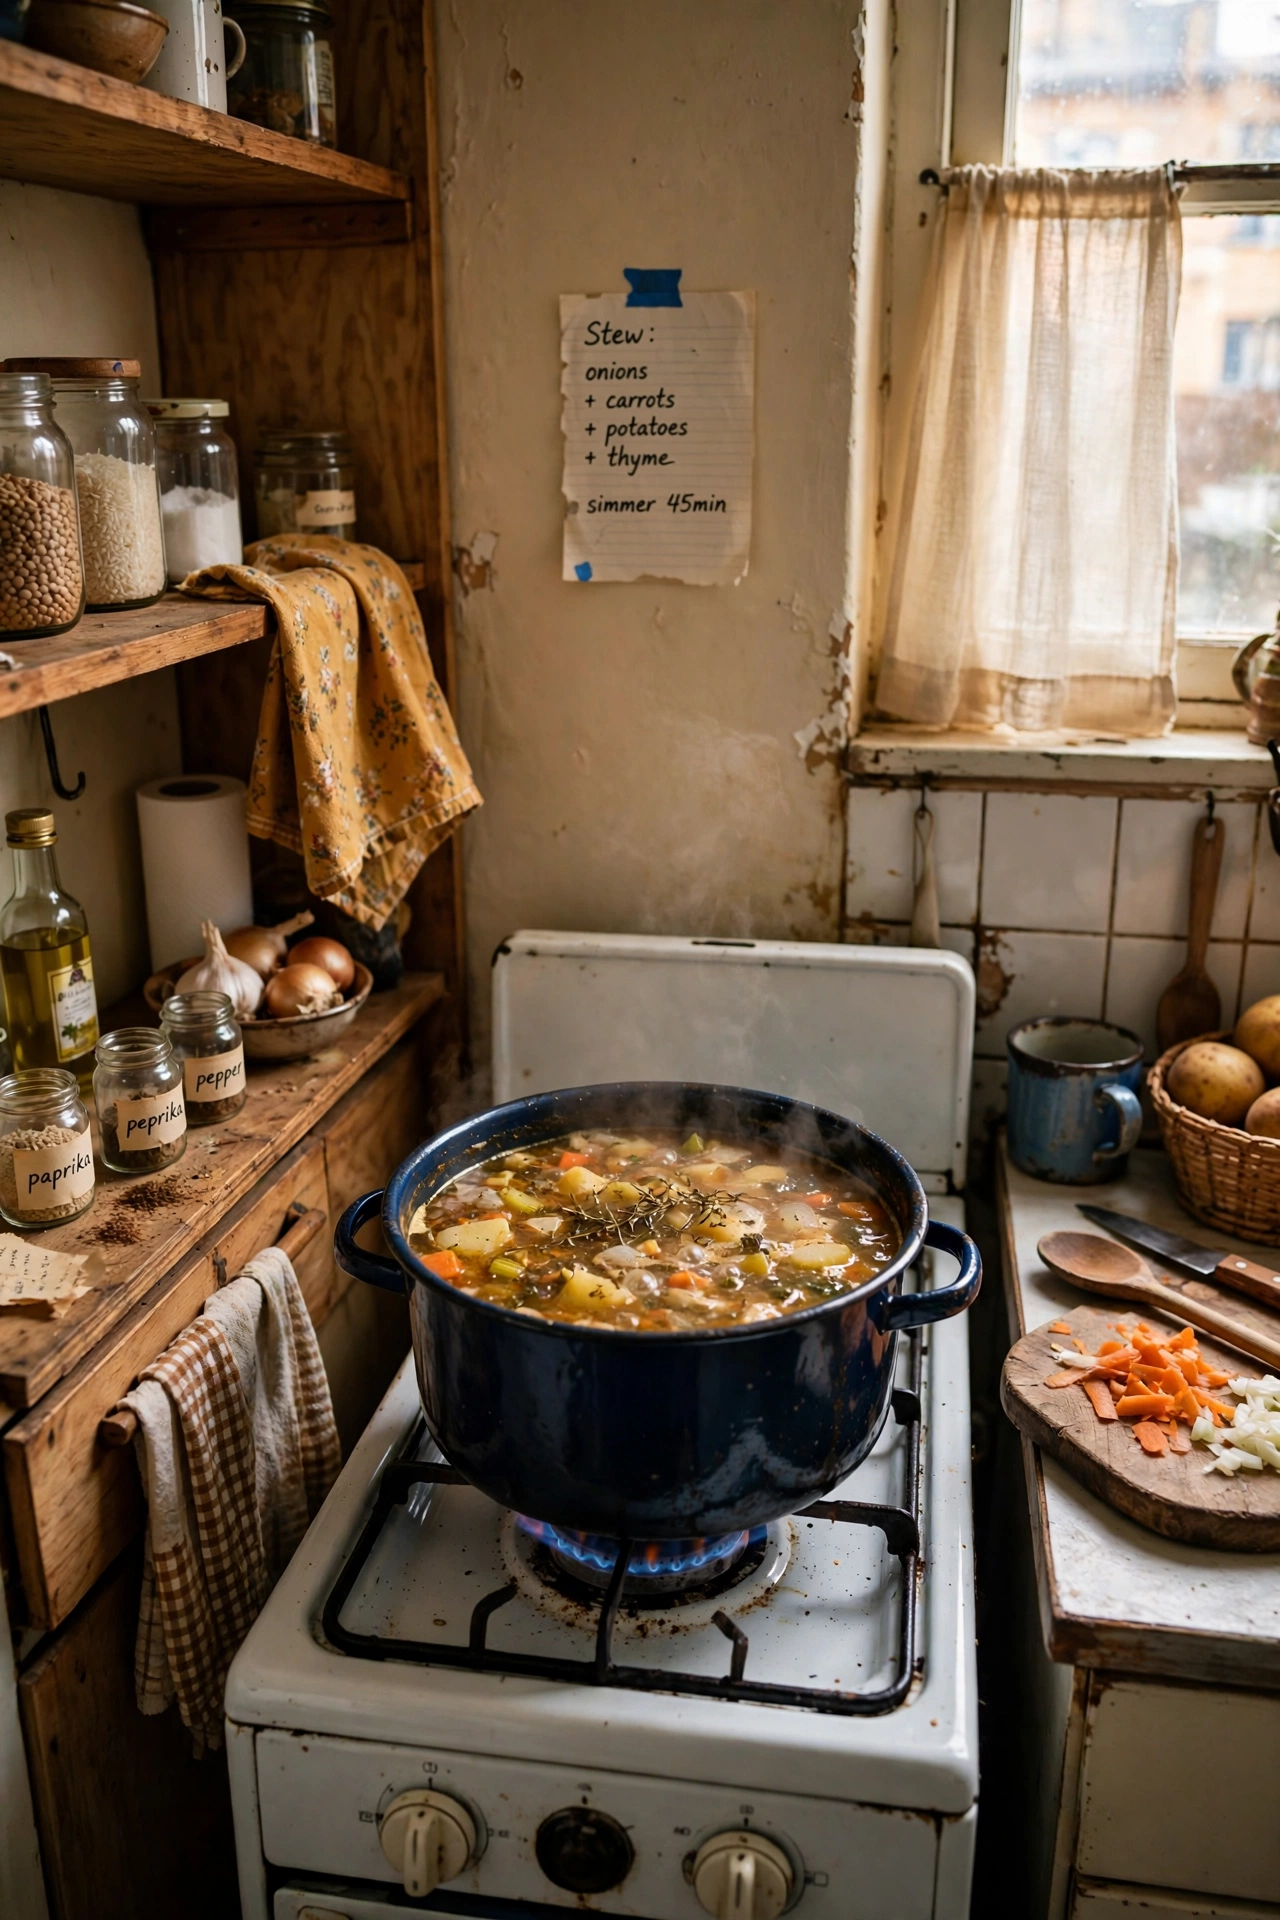
The final idea is not storage at all, it is cooking smarter: one-pot meals use one pan, one board, and one spoon, which is exactly what a tiny kitchen can handle. Stews, stir-fries, and tray bakes all work, and the washing up takes minutes. I switched to mostly one-pot cooking in my smallest flat and my kitchen stayed clean enough to enjoy. The mistake to avoid is a recipe that needs five pans “for best results”, because in a tiny kitchen, best results mean a clean kitchen, too.
Cost: ~$0 | Time: 30 minutes
Mini FAQ: Tiny Kitchens on a Budget
What is the cheapest first fix for a tiny kitchen? Start with the inside of cabinet doors and a tension rod under the sink. Both cost under $15 together and free up a surprising amount of space in one afternoon.
Can I do these ideas in a rented flat? Yes, most of them. Tension rods, adhesive mounts, rolling carts, and magnetic storage need no drilling at all, and anything screwed in can usually be refitted before you move out.
What should I buy first if I only have $50? A slim rolling cart, a magnetic knife strip, and a set of stackable shelf inserts. Together they free a drawer, a cabinet, and a gap beside the fridge.
A tiny kitchen works when everything has a place and the counters stay clear. Start with the cheapest fixes, add one bigger piece when you can, and cook the kind of meals that fit your space. Small kitchens can be the best kitchens, because everything you need is always within reach.
