19 Tiny Kitchen Ideas That Live Large
My first flat’s kitchen was so tight that opening the oven door meant stepping into the hallway, and I spent months convinced it would always feel like a cupboard. Then a friend with an even smaller galley showed me hers, and it felt calm, bright and easy to cook in. These tiny kitchen ideas work on the same principle: every change has to earn its place, cost very little, and make daily cooking easier. No extensions, no new cabinets — just smarter choices in the kitchen you already have.
1. Paint the Upper Cabinets a Pale Colour
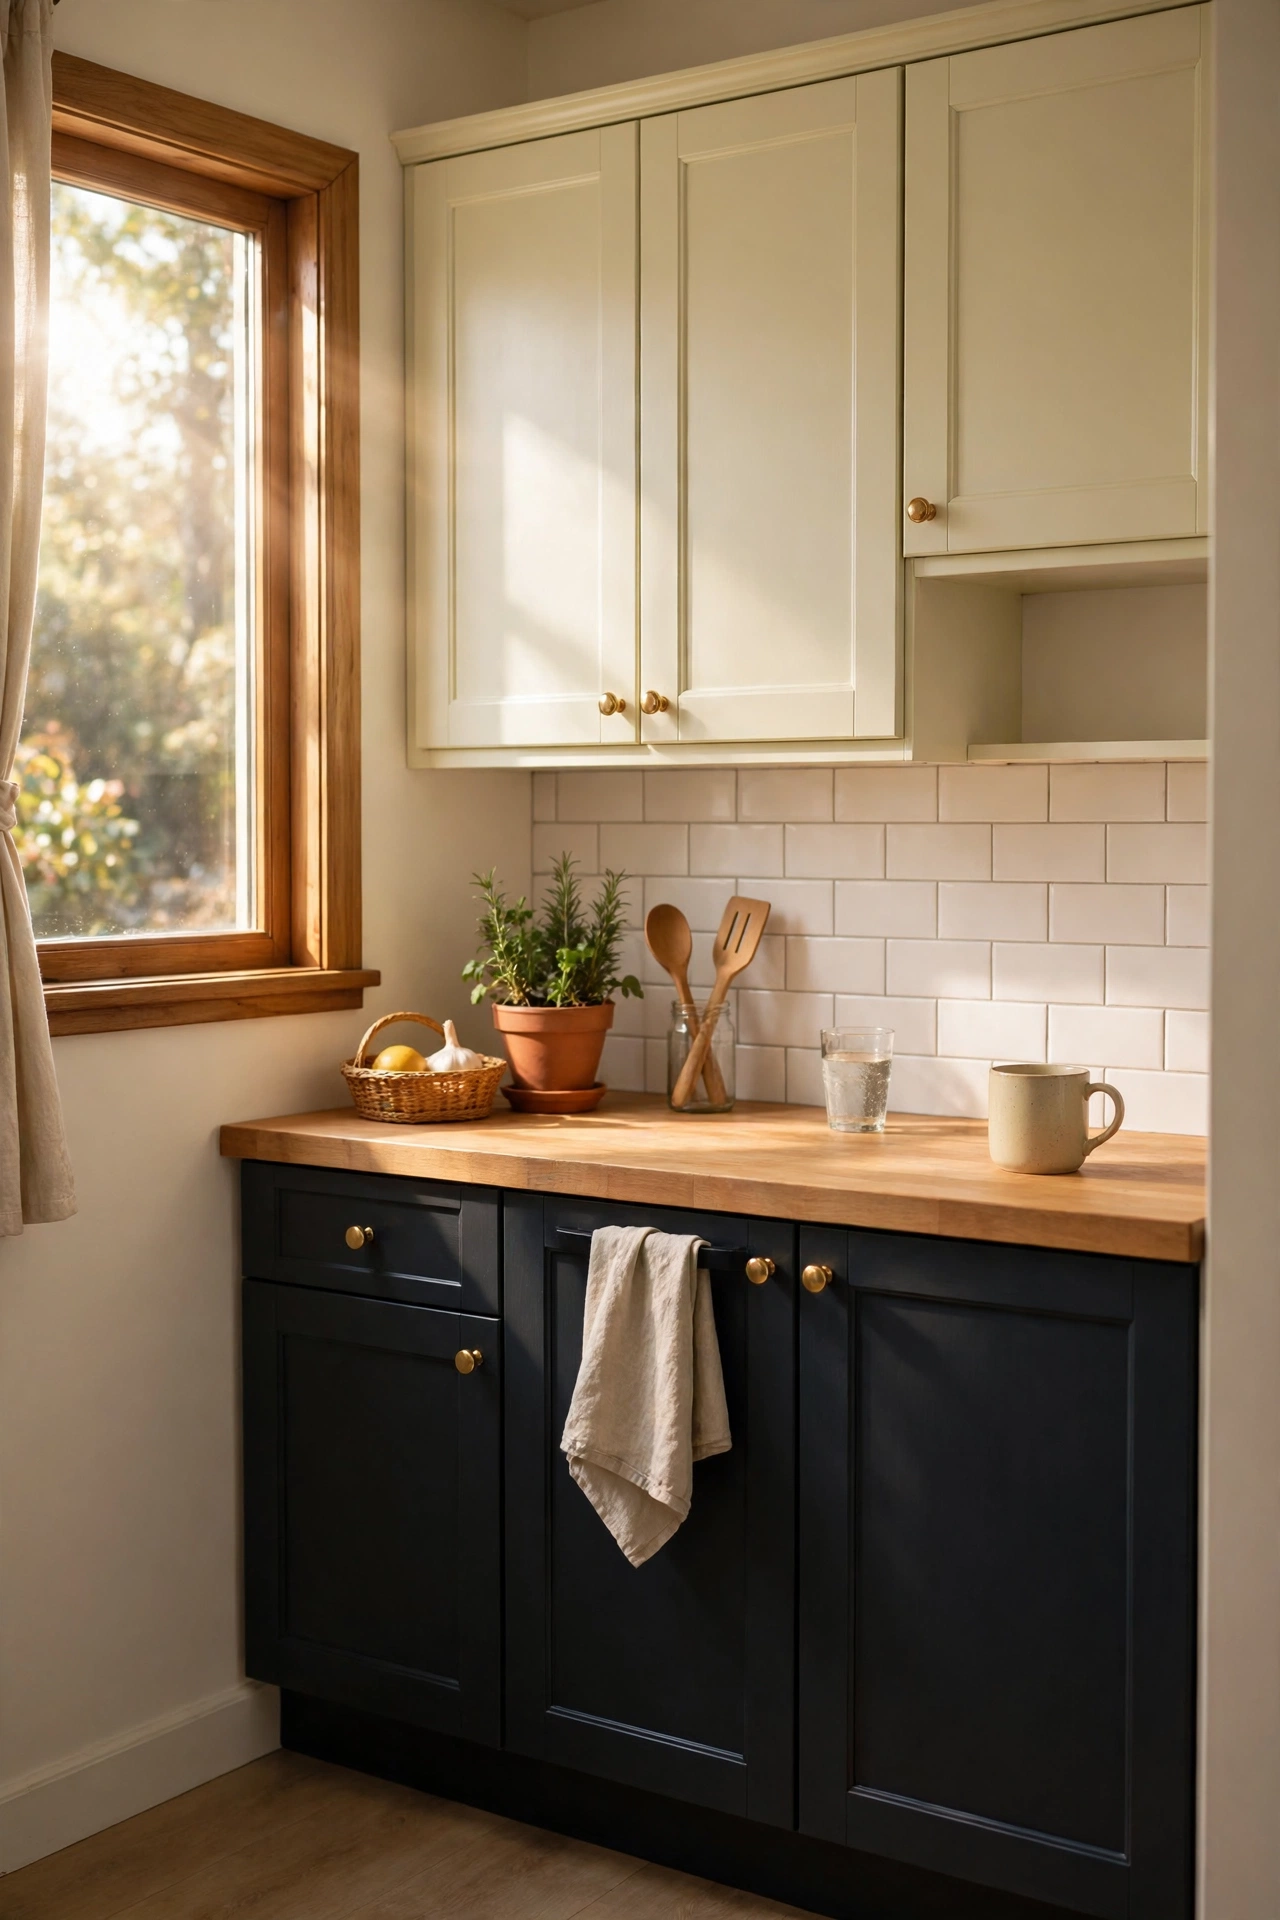
Dark upper cabinets hang over a tiny kitchen like a heavy lid, so painting just the uppers a pale cream or soft white lifts the whole room in a weekend. Leave the lower cabinets alone for contrast, and use a satin finish made for cabinetry so the paint survives steam and wipedowns. Take the doors off and lay them flat for a smooth coat, and sand lightly first so the paint actually grips. I tried this — the mistake to avoid is one thick coat, which drips and peels. Two thin coats take longer but look professional for years.
Cost: ~$28 | Time: 5 hours
2. Add a Pull-Out Pantry in a Dead Gap
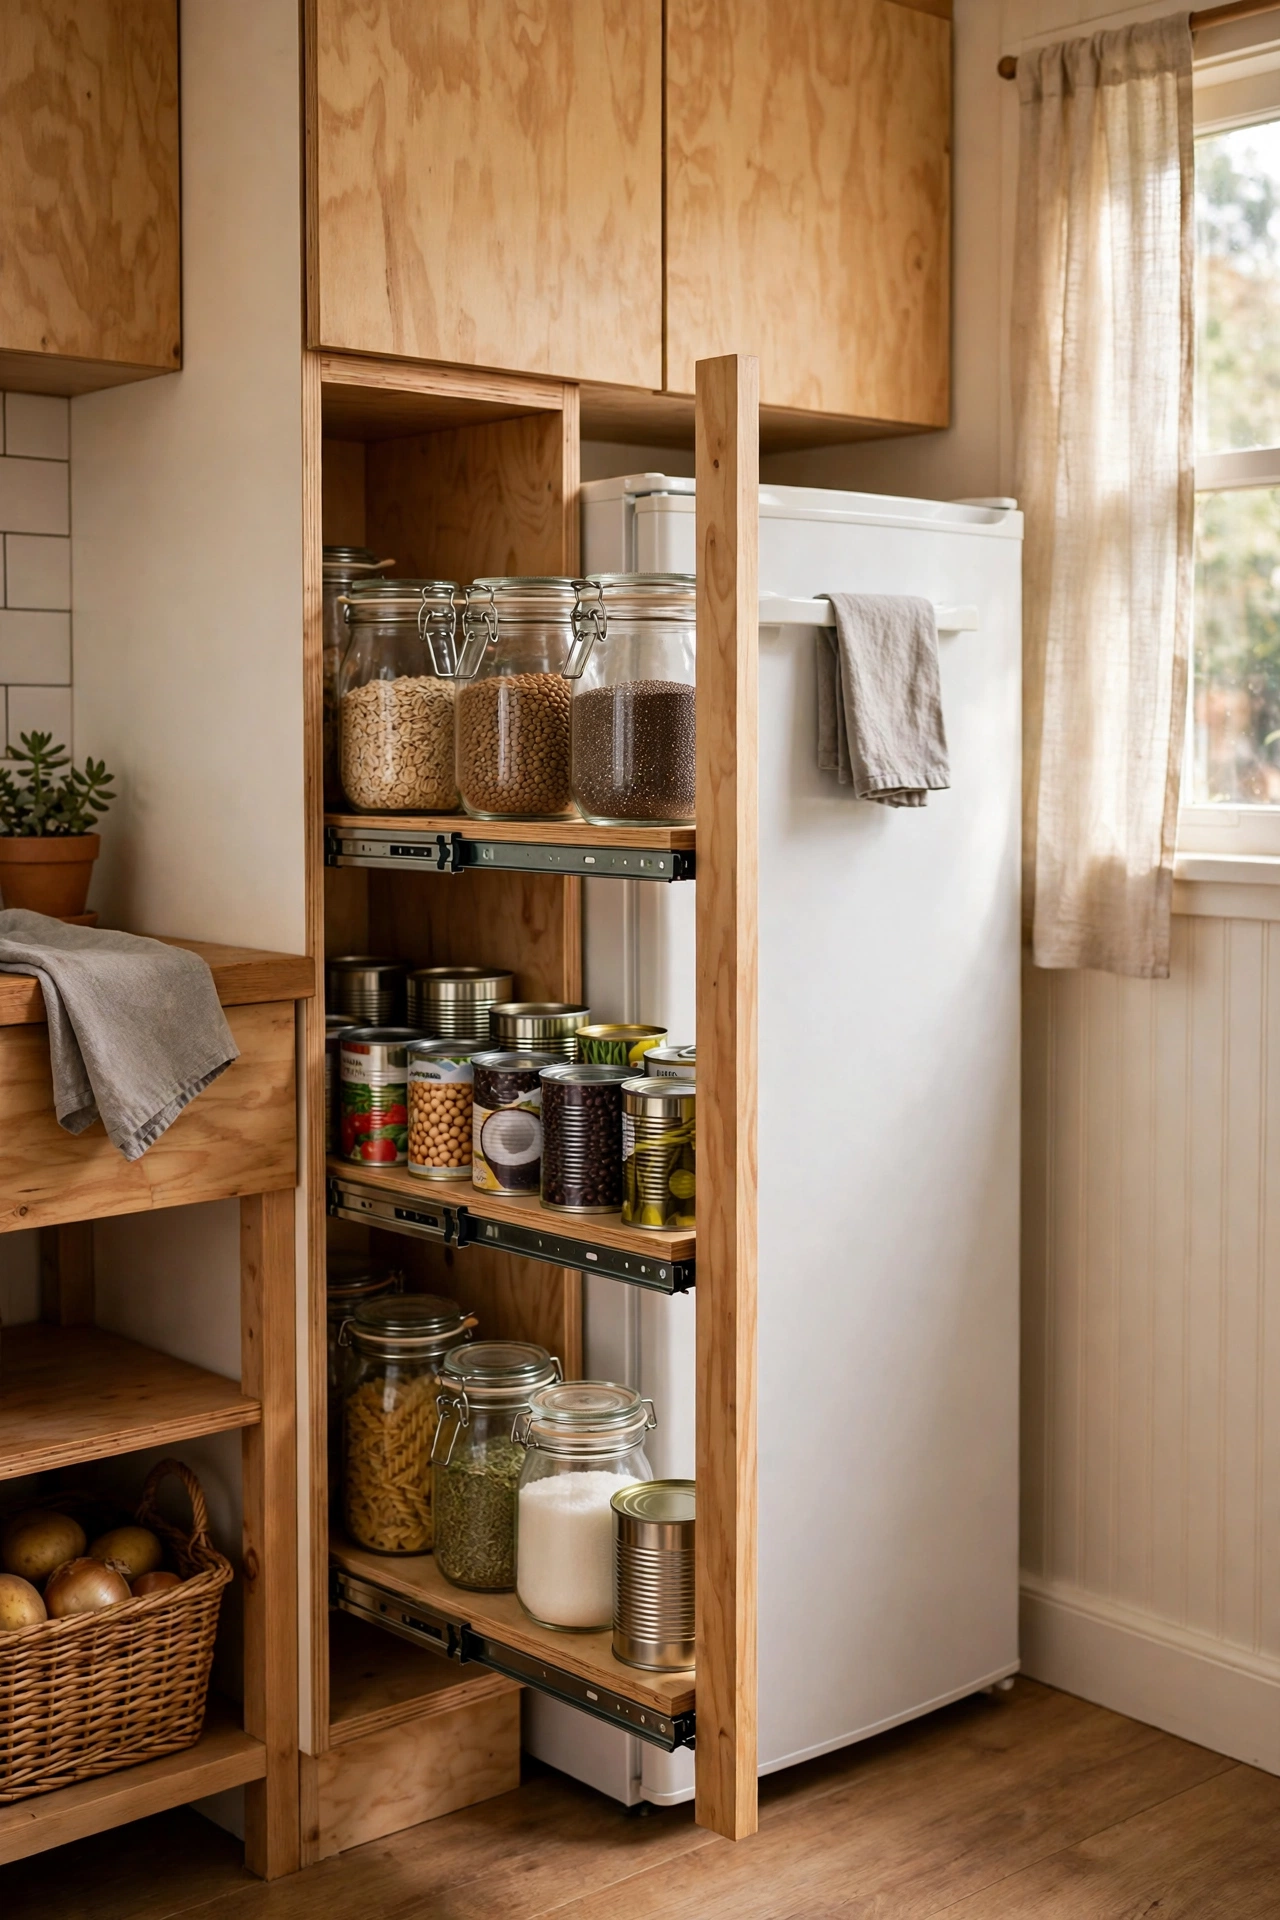
Most tiny kitchens have a wasted gap somewhere — beside the fridge, between the cooker and the wall — and a slim pull-out pantry turns it into real storage. Measure the gap carefully, including the skirting board, and buy a rolling unit that fits with a finger’s width to spare. Fill it with oils, tins and spice jars, heaviest at the bottom so it rolls smoothly. I found a six-inch gap in my old kitchen that now holds a month of cooking supplies. It feels like discovering a room you didn’t know you owned.
Cost: ~$35 | Time: 20 minutes
3. Hang Pots on a Wall Rail
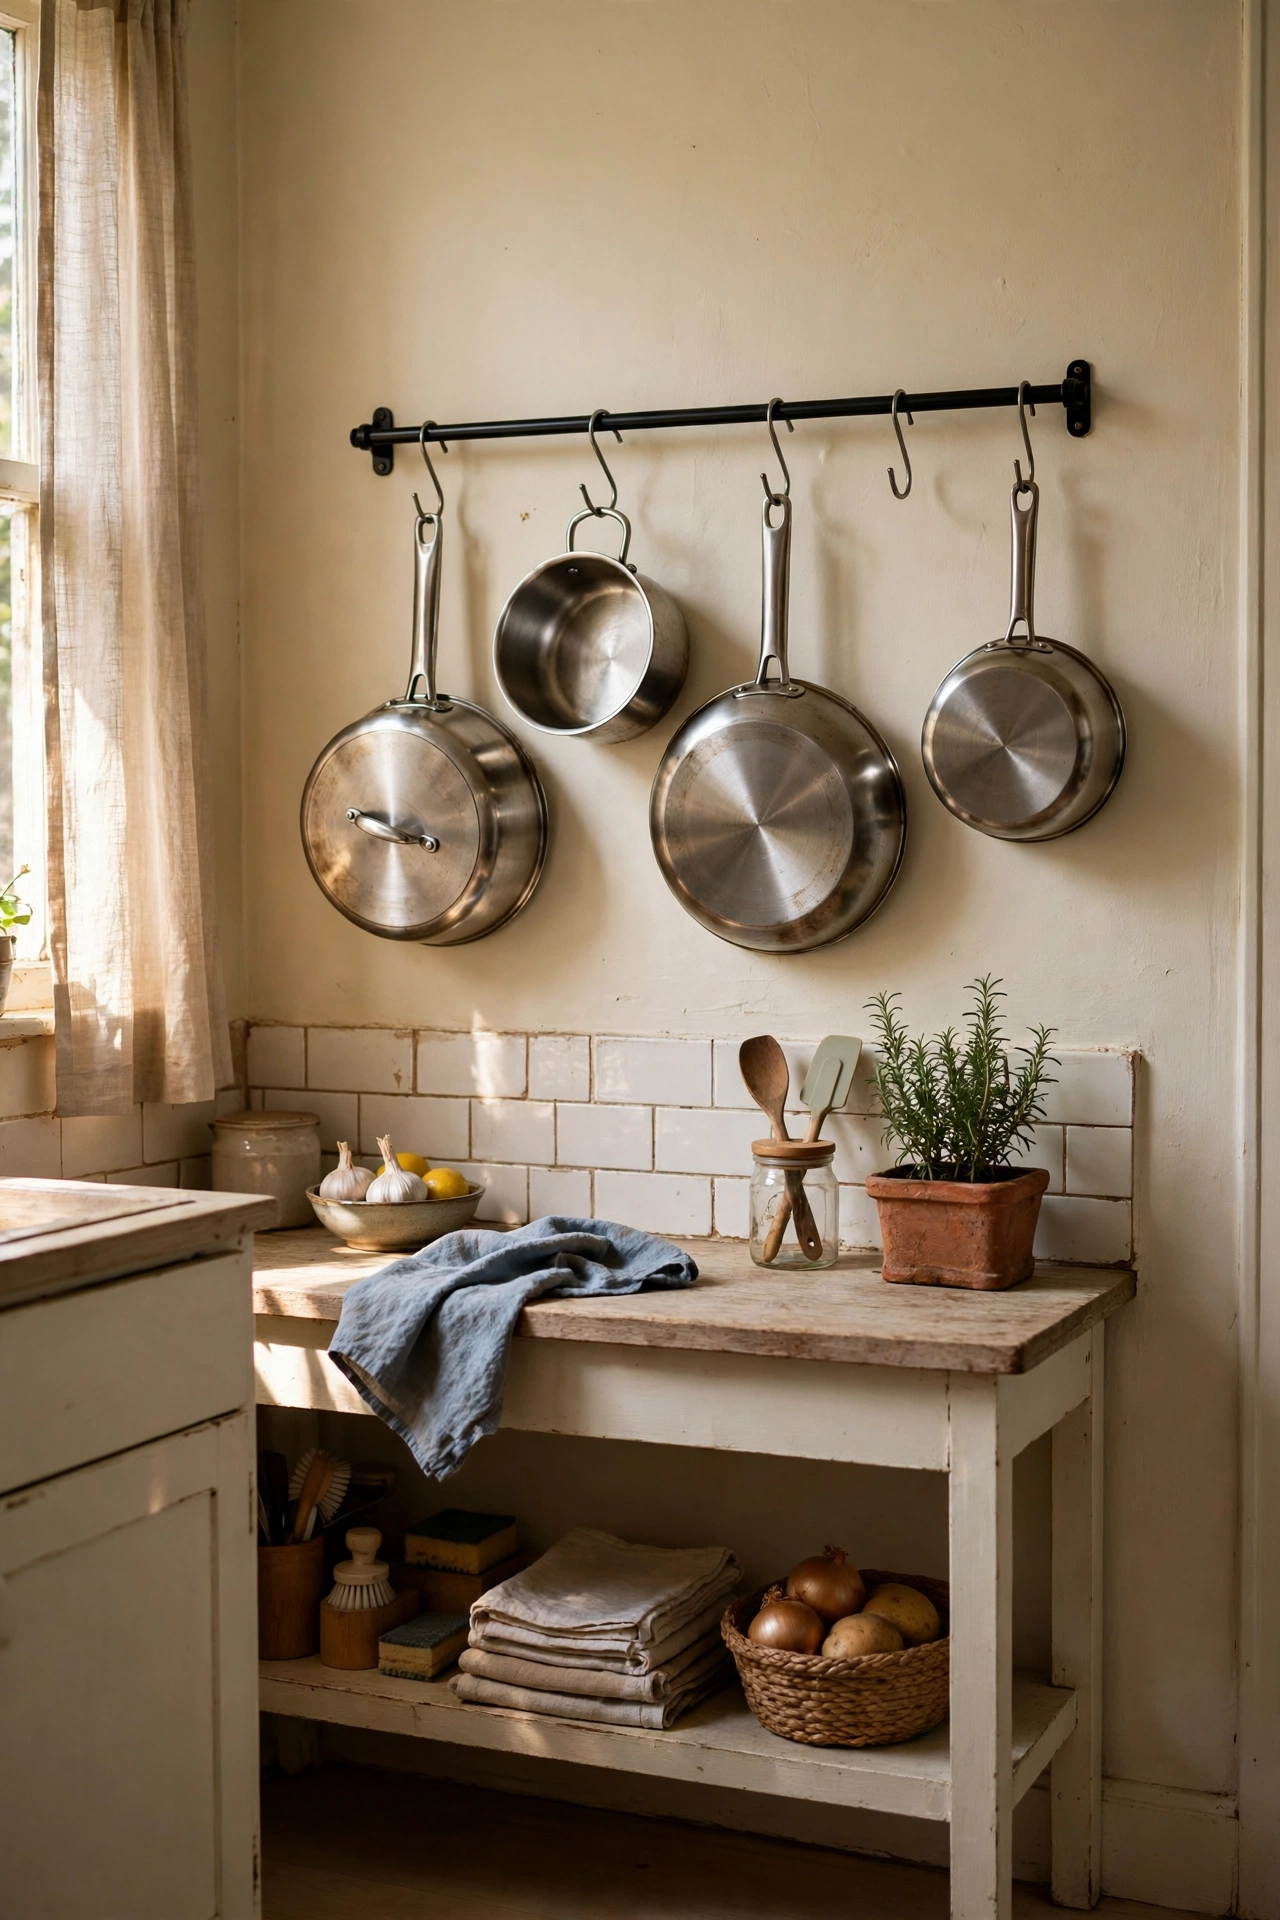
Pots and pans eat an entire cabinet in a small kitchen, but a wall rail with S-hooks frees that cabinet in an afternoon. Mount the rail on a solid wall at a height where the pans hang clear of the counter, and keep only the pans you use weekly on display — the rest can live up high. Choose a rail rated for real weight, not a decorative one, and anchor into studs or masonry. My everyday frying pan went from buried under three saucepans to hanging right by the stove, and cooking got noticeably faster.
Cost: ~$18 | Time: 45 minutes
4. Use a Rolling Cart as Extra Counter
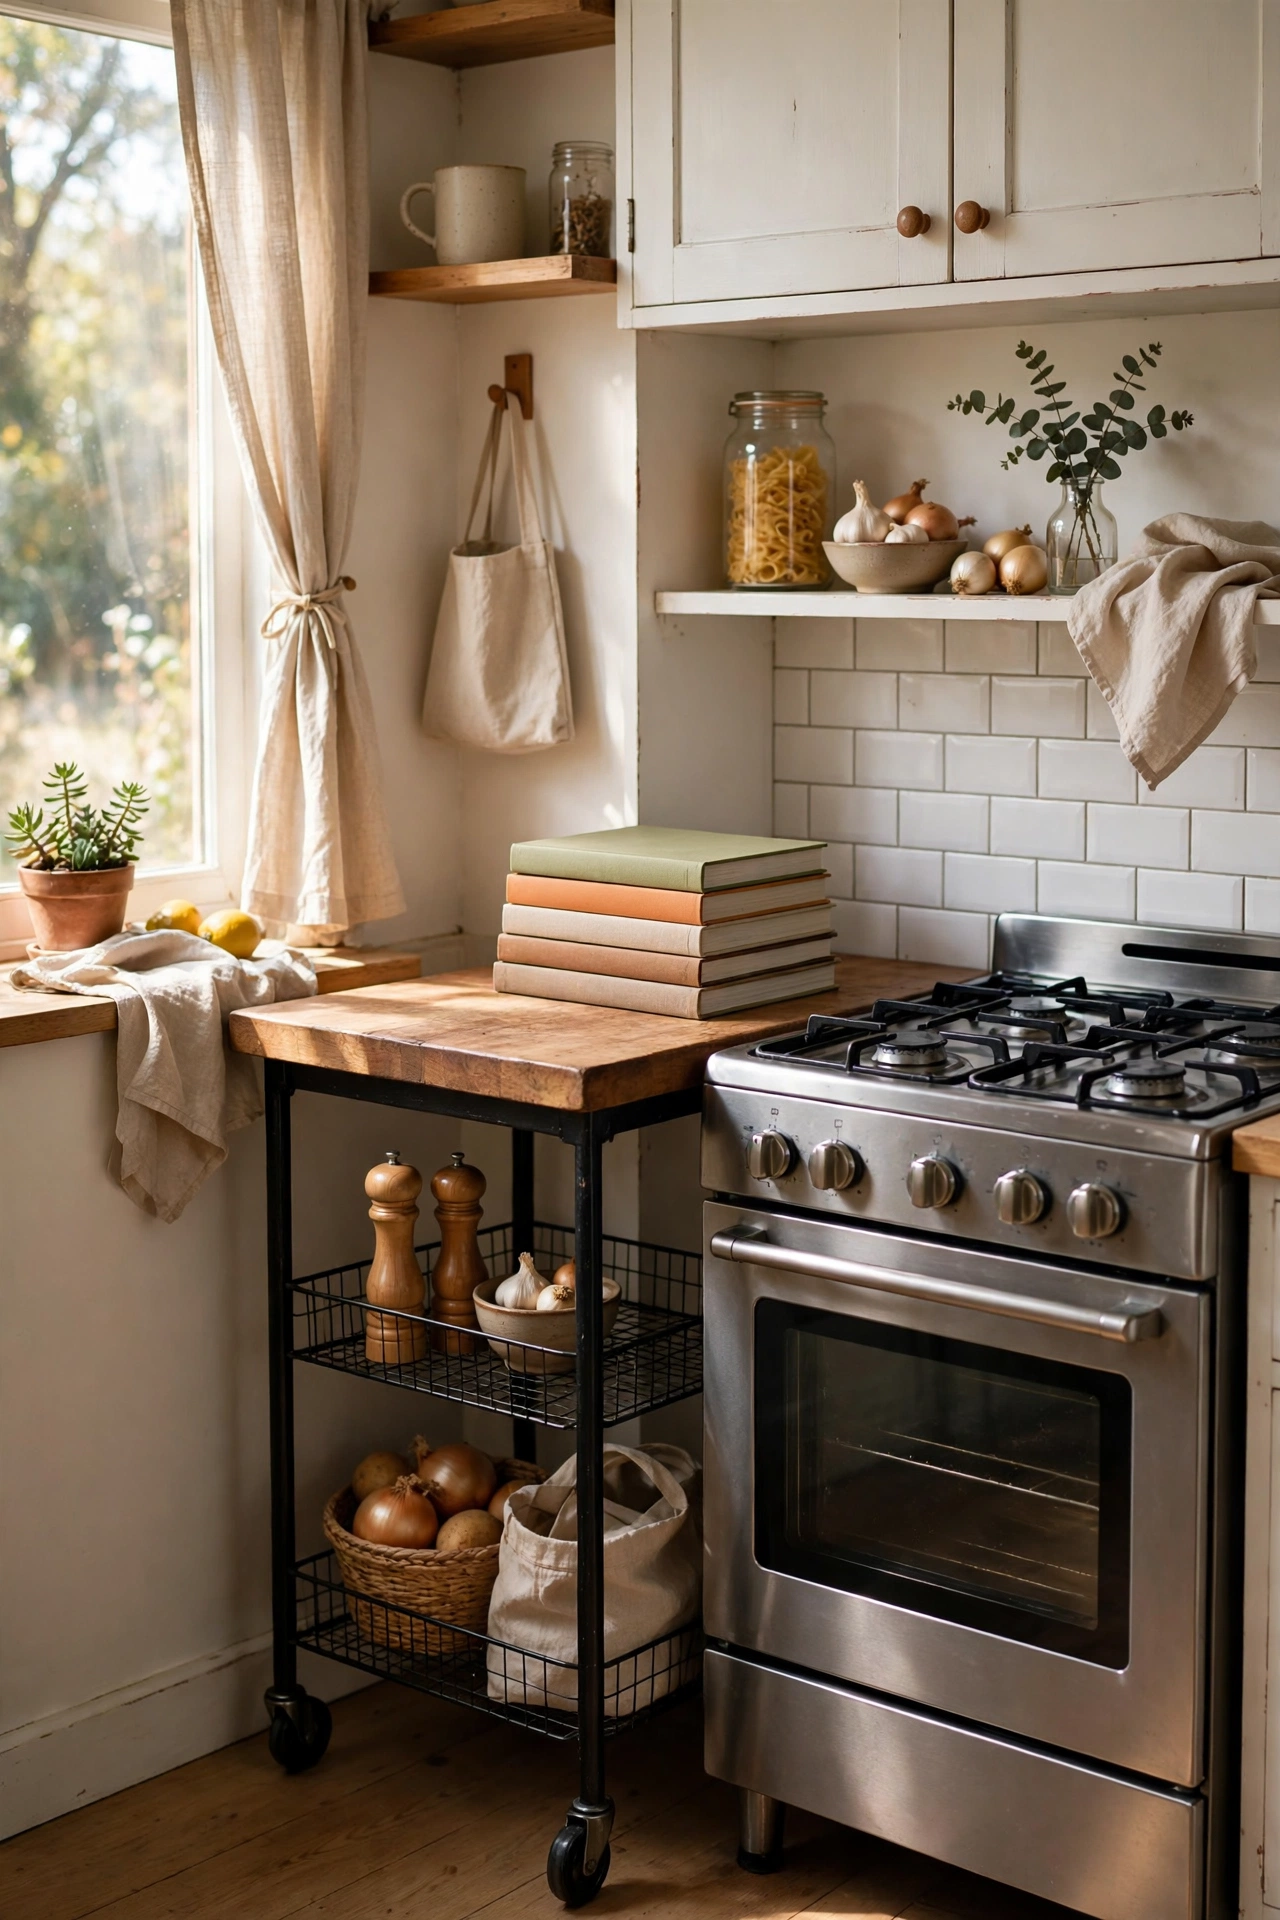
When counter space runs out mid-recipe, a rolling cart is the extra surface you can park against the wall the rest of the time. Roll it beside the stove for prep, tuck it away for dinner, and use the lower shelf for bowls or cookbooks. Locking wheels matter — a cart that drifts while you chop is worse than no cart at all. I bought mine secondhand, sanded the wooden top, and oiled it; three years later it is still the hardest-working piece in my kitchen. For more flexible storage, see my (see also: tiny-kitchen-storage-ideas) roundup.
Cost: ~$40 | Time: 20 minutes
5. Fit LED Strips Under the Cabinets
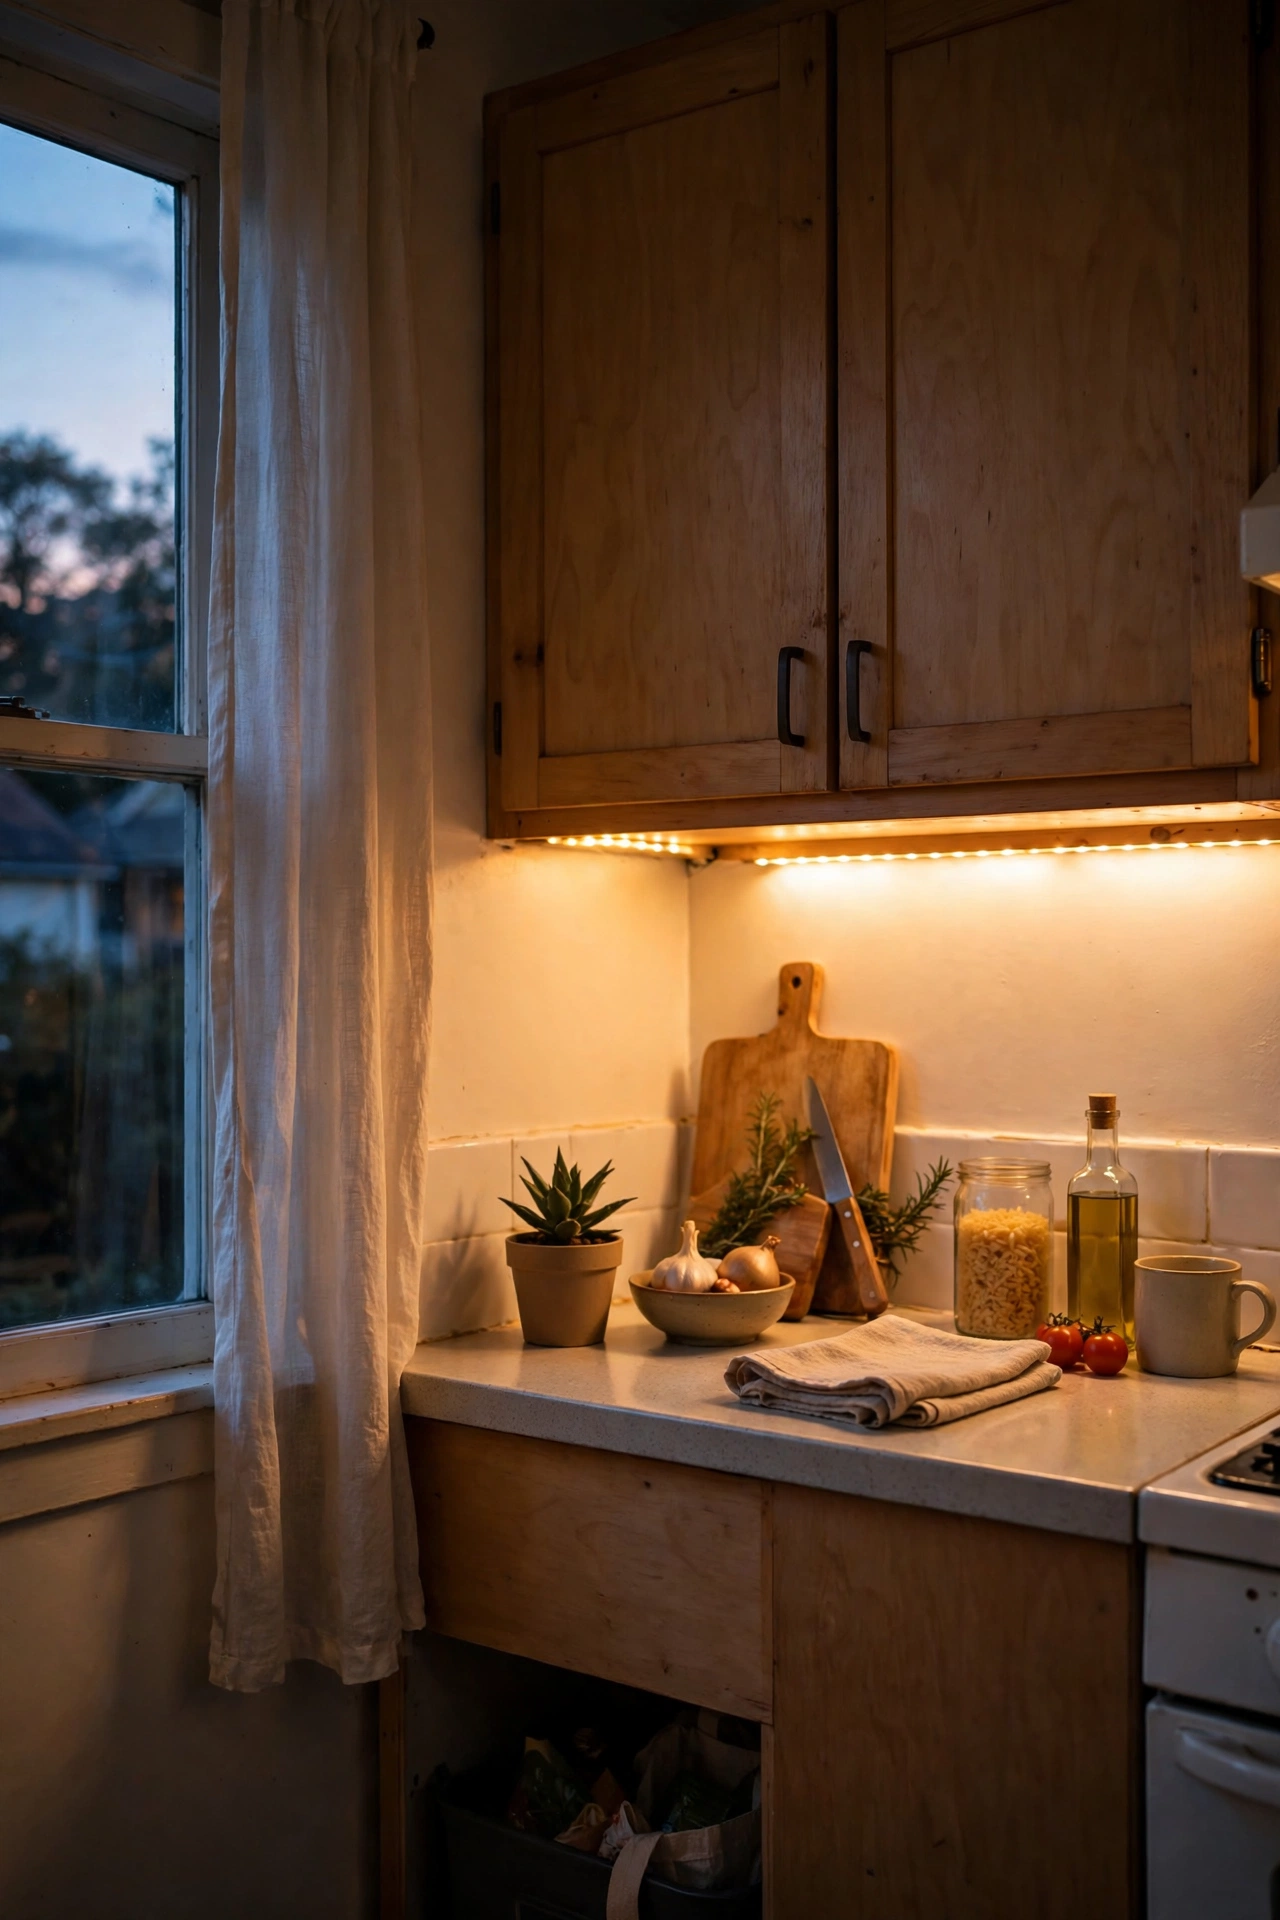
A single ceiling bulb leaves tiny-kitchen counters in shadow, which makes the room feel smaller and cooking harder. Warm-white LED strips under the upper cabinets wash the worktop in light and make the whole space feel deeper. Stick them towards the front edge of the cabinet so light falls on the counter, not the wall, and pick warm white around 2700K so the kitchen glows instead of glaring. Mine cost less than a takeaway and fitted in one evening. Cooking after dark went from a chore to something I actually look forward to.
Cost: ~$14 | Time: 30 minutes
6. Stack Shelves Above the Fridge
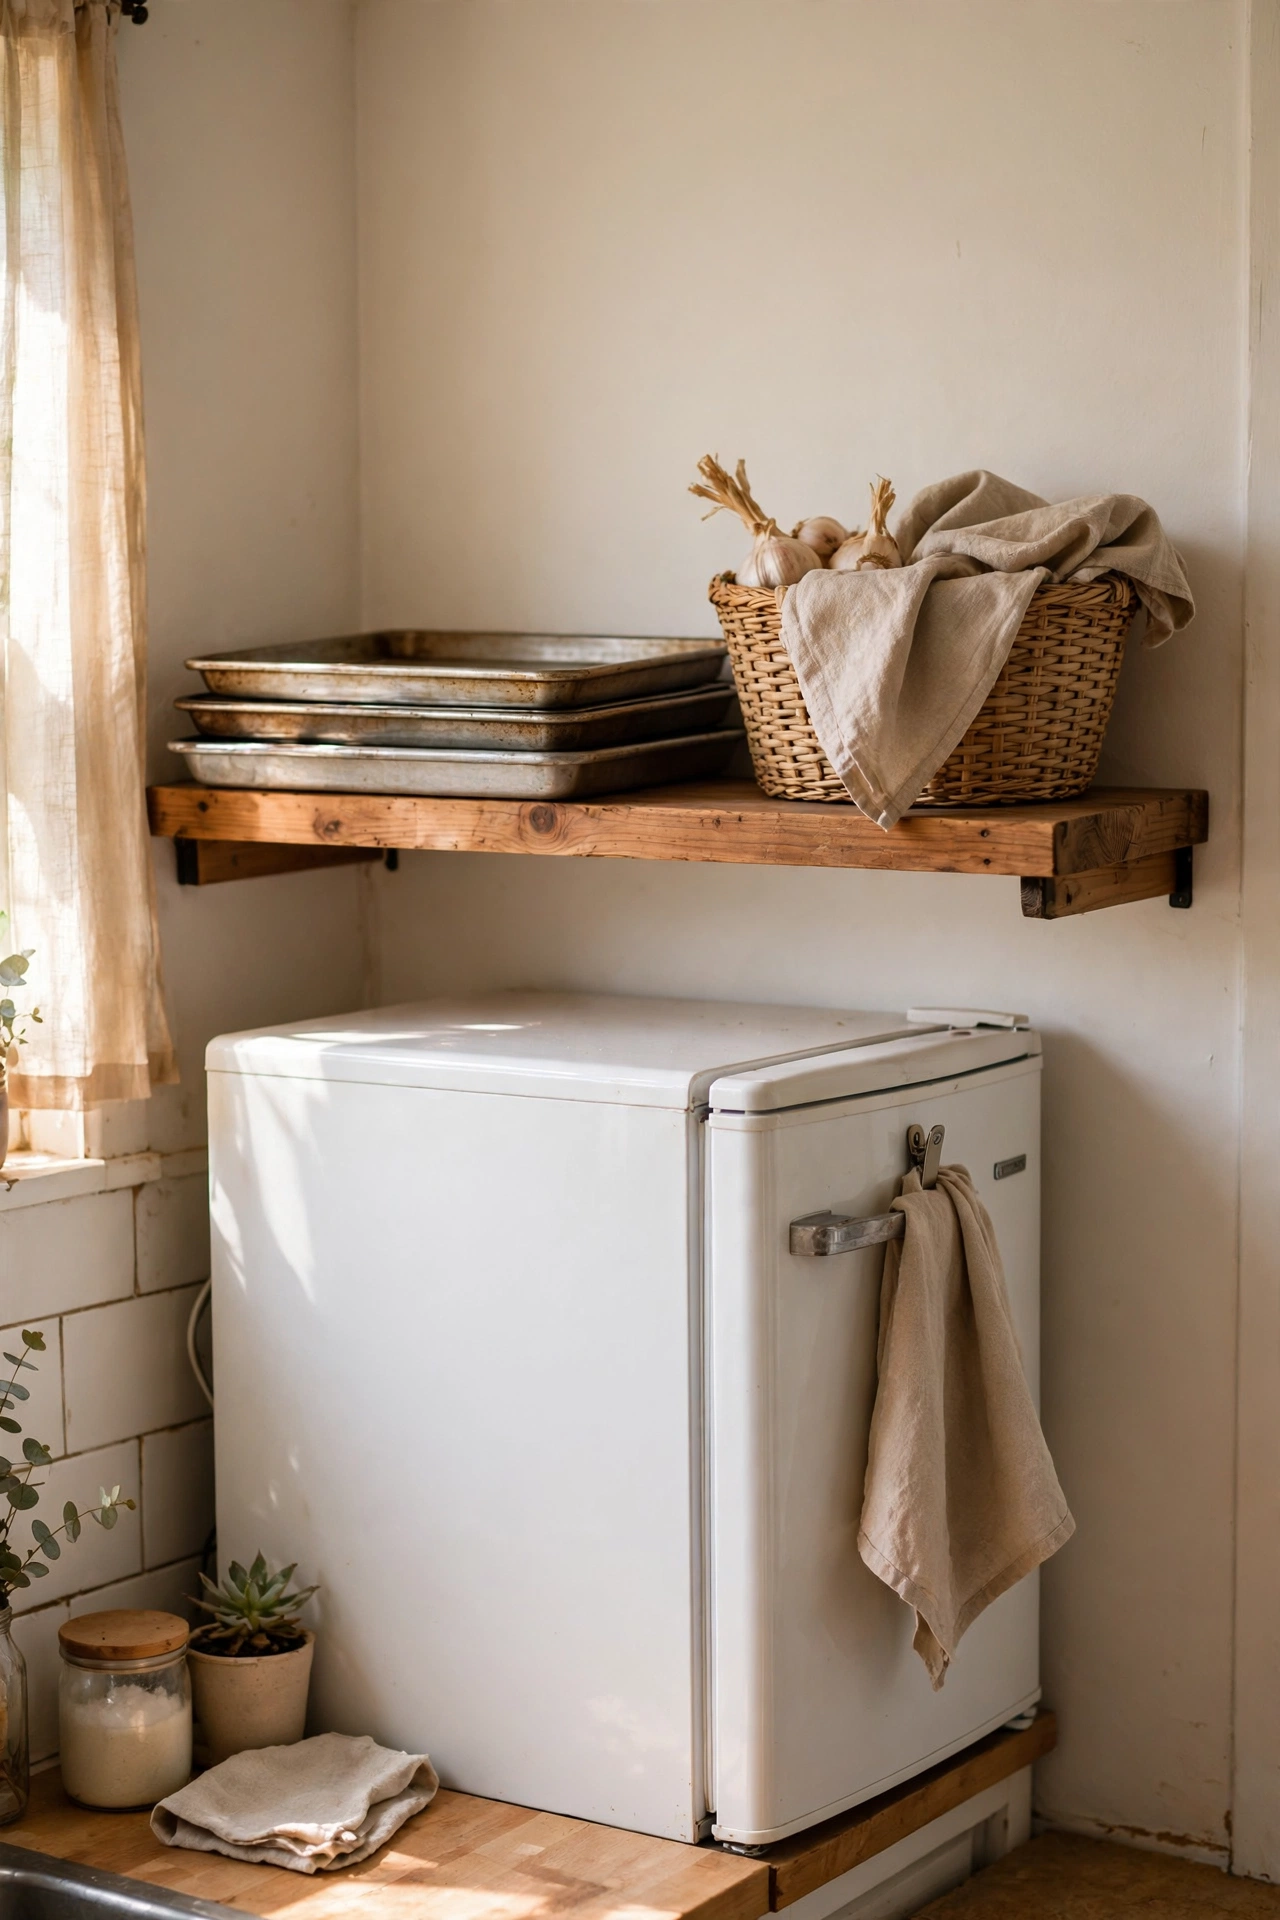
The space above the fridge is dead air in most kitchens, but a single shelf there holds the things you reach for monthly rather than daily: the big roasting tin, the picnic set, the spare baking trays. Keep it shallow so nothing disappears behind the fridge, and put a small basket up there for loose items so they don’t slide off. I tried this — the mistake to avoid is storing anything heavy or fragile above head height. Light, bulky, rarely used: that’s the rule, and it frees a whole cabinet below.
Cost: ~$15 | Time: 30 minutes
7. Hang a Fold-Down Table on the Wall
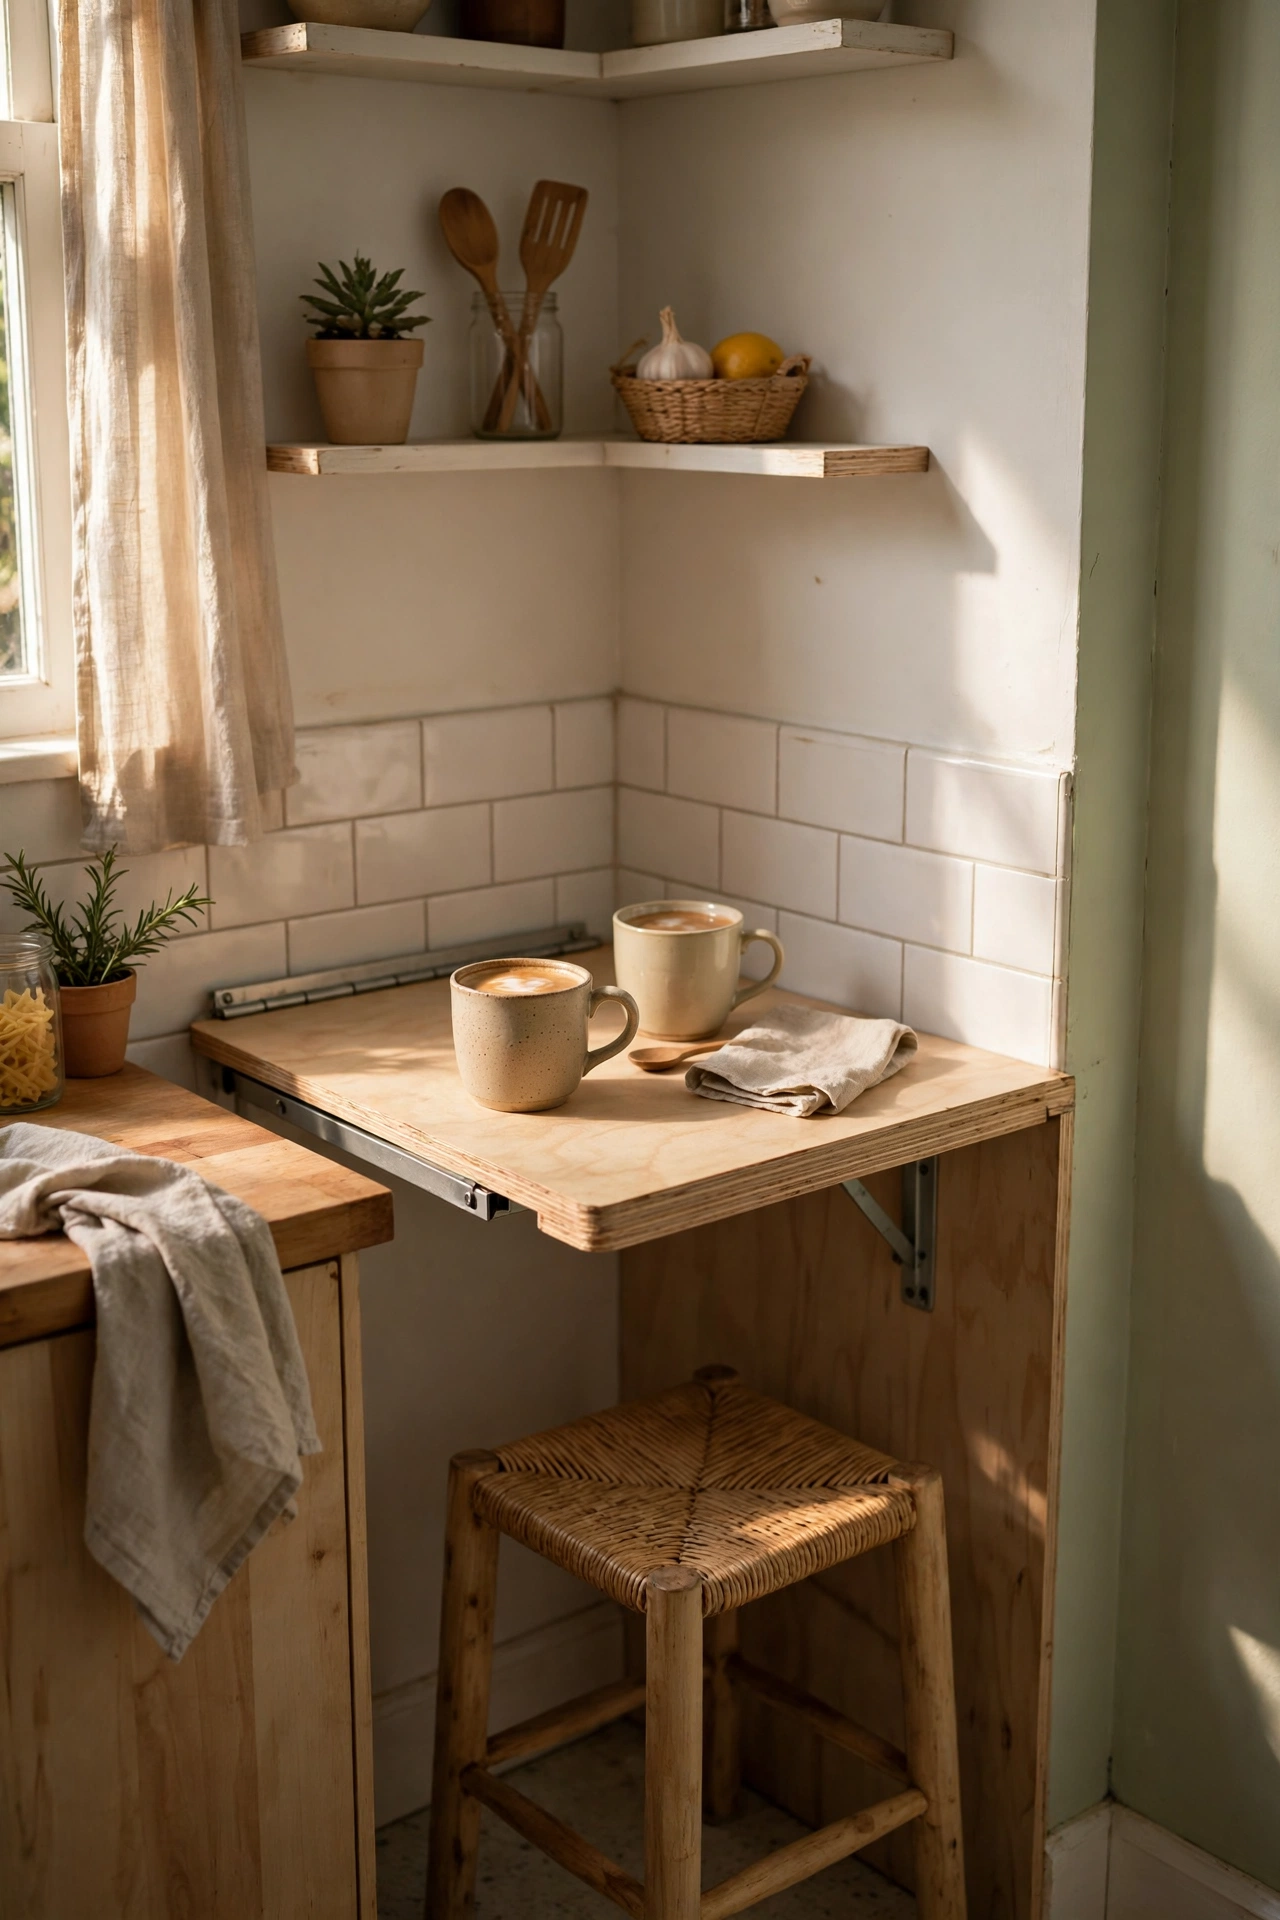
A permanent table steals floor space a tiny kitchen can’t spare, but a fold-down wall table gives you a breakfast spot that vanishes after eating. Mount a sturdy bracket at counter height, add a hinged top, and pair it with a stool that hangs on the wall or tucks underneath. Fold it up for coffee, fold it down when you need room to cook. Save this idea for your kitchen board — it is the best small-space dining trick I know. Spend a little extra on a bracket rated for real weight, because a wobbly table never gets used.
Cost: ~$35 | Time: 1 hour
8. Decant Dry Goods Into Matching Jars
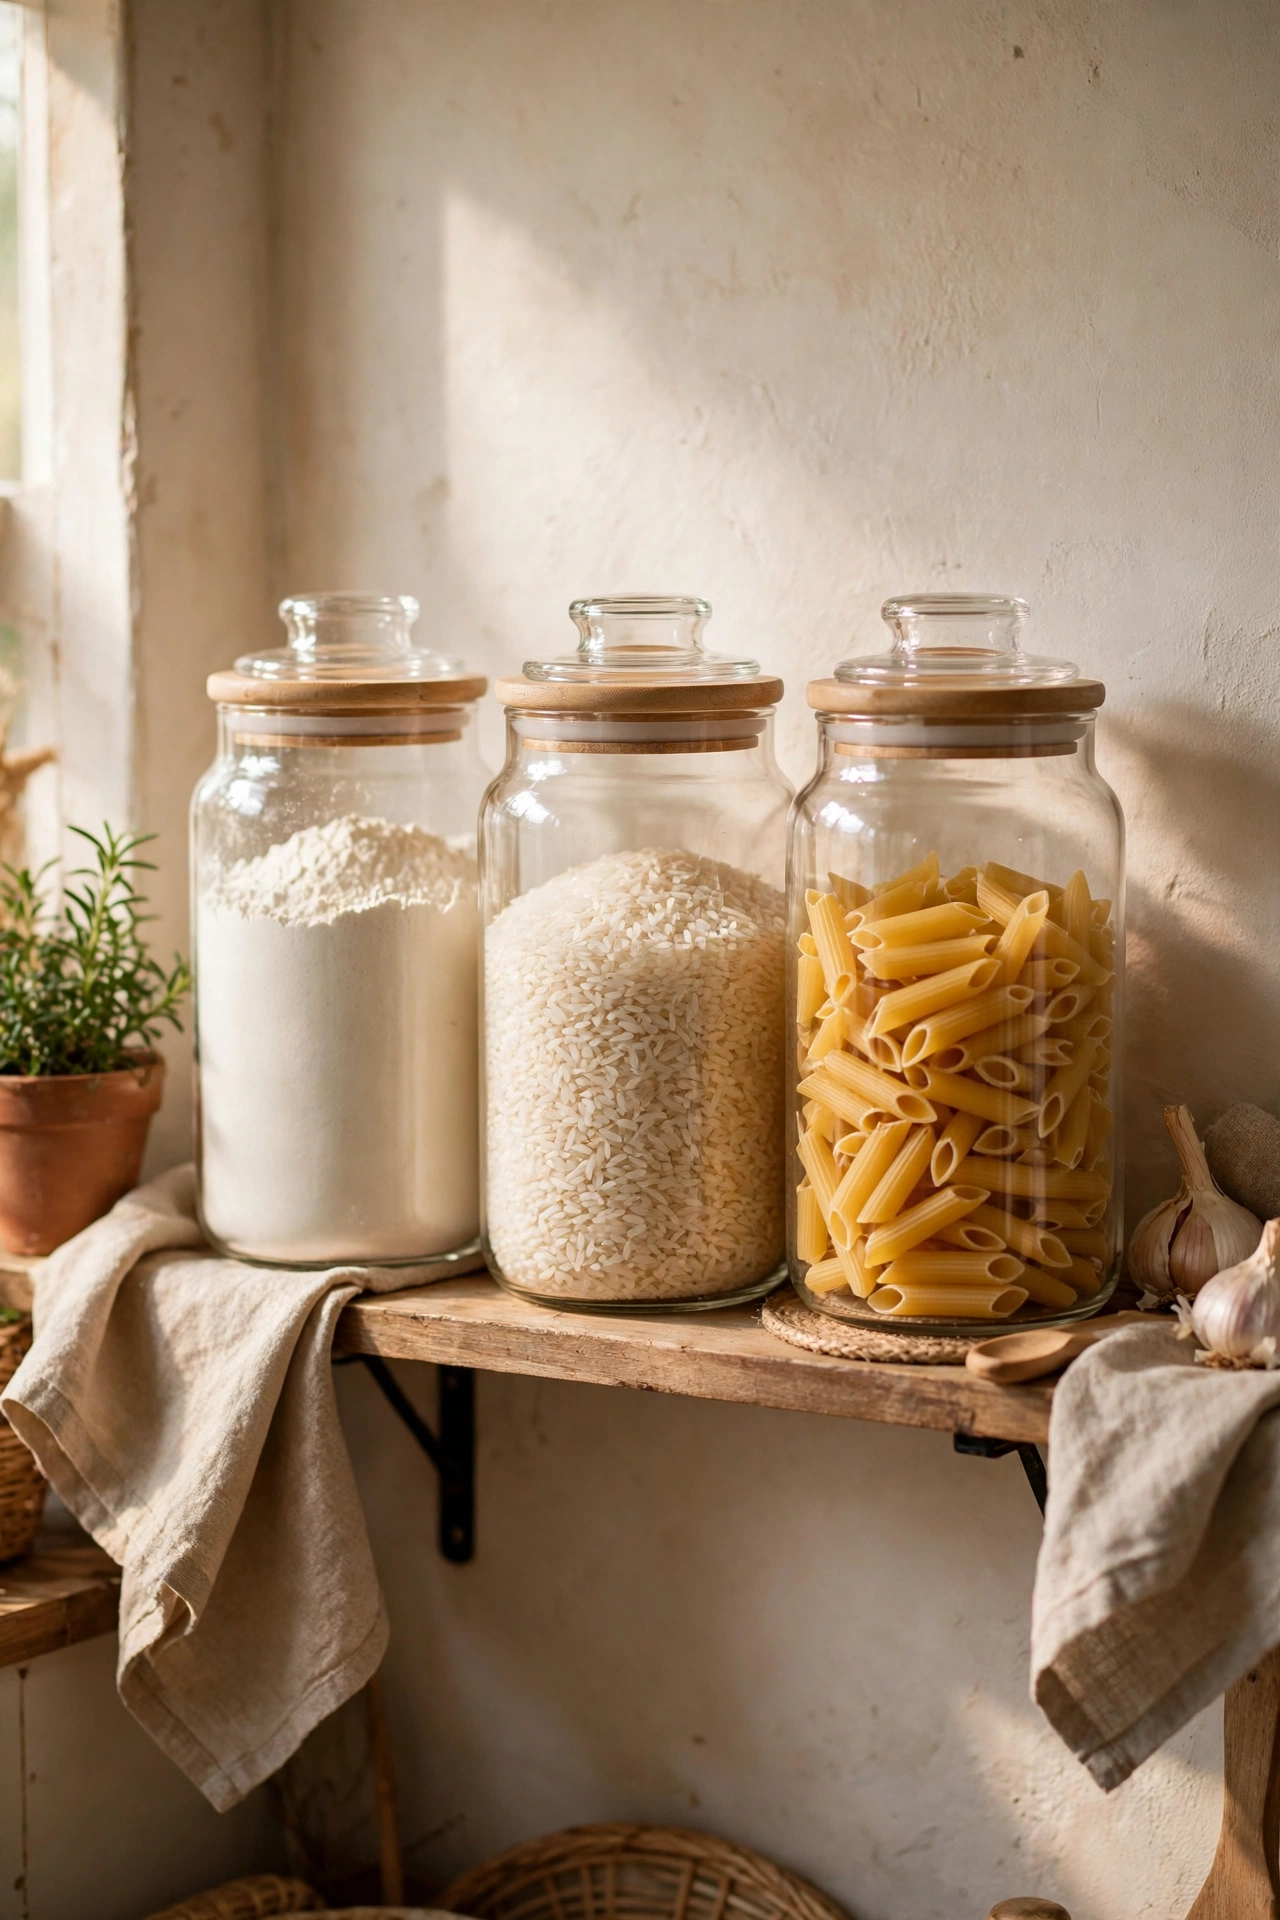
Half-empty boxes and crinkly bags make even a tidy pantry look chaotic, and chaos shrinks a small kitchen. Decanting flour, rice, pasta and cereal into matching clear jars turns a jumbled shelf into something calm and easy to scan. Square jars stack without wasted gaps, and you can see at a glance what needs replacing — which stopped me buying a third bag of rice I didn’t need. Label them simply with masking tape and a marker, and start with the five staples you use weekly. The rest can wait until the habit sticks.
Cost: ~$20 | Time: 2 hours
9. Swap Bulky Knobs for Slim Pulls
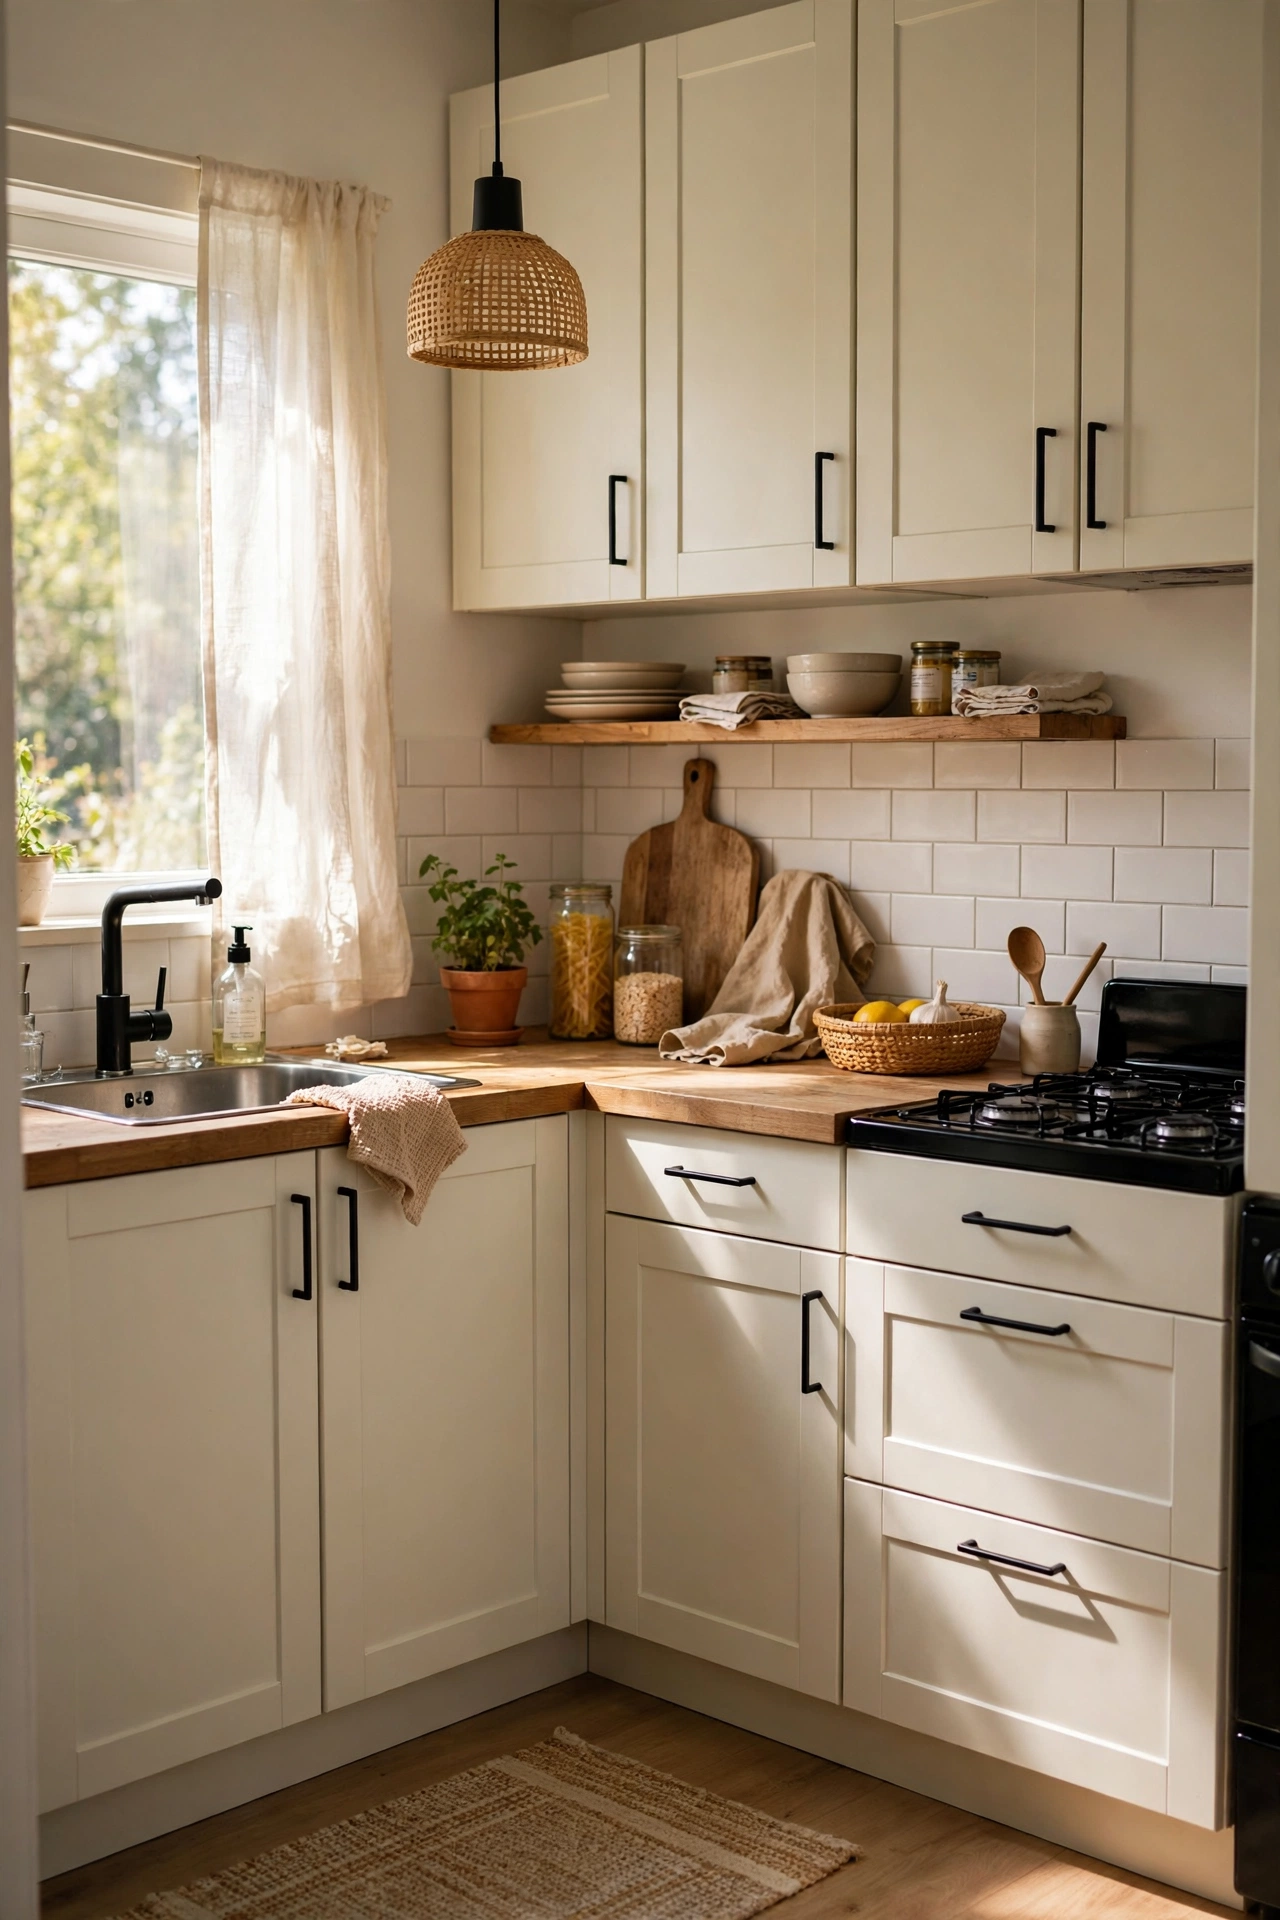
Chunky knobs and dated handles chop a small kitchen into visual pieces, while slim bar pulls in brushed nickel or matte black create long, clean lines that make the cabinets read as one calm surface. Measure the hole spacing on your existing handles before ordering, because most kitchens use a standard size and you can often reuse the same holes. Keep the old hardware in a bag for move-out day if you rent. The swap took me one evening with a screwdriver, and the kitchen looked noticeably more modern the moment the last pull went on.
Cost: ~$18 | Time: 90 minutes
10. Use the Inside of Cabinet Doors
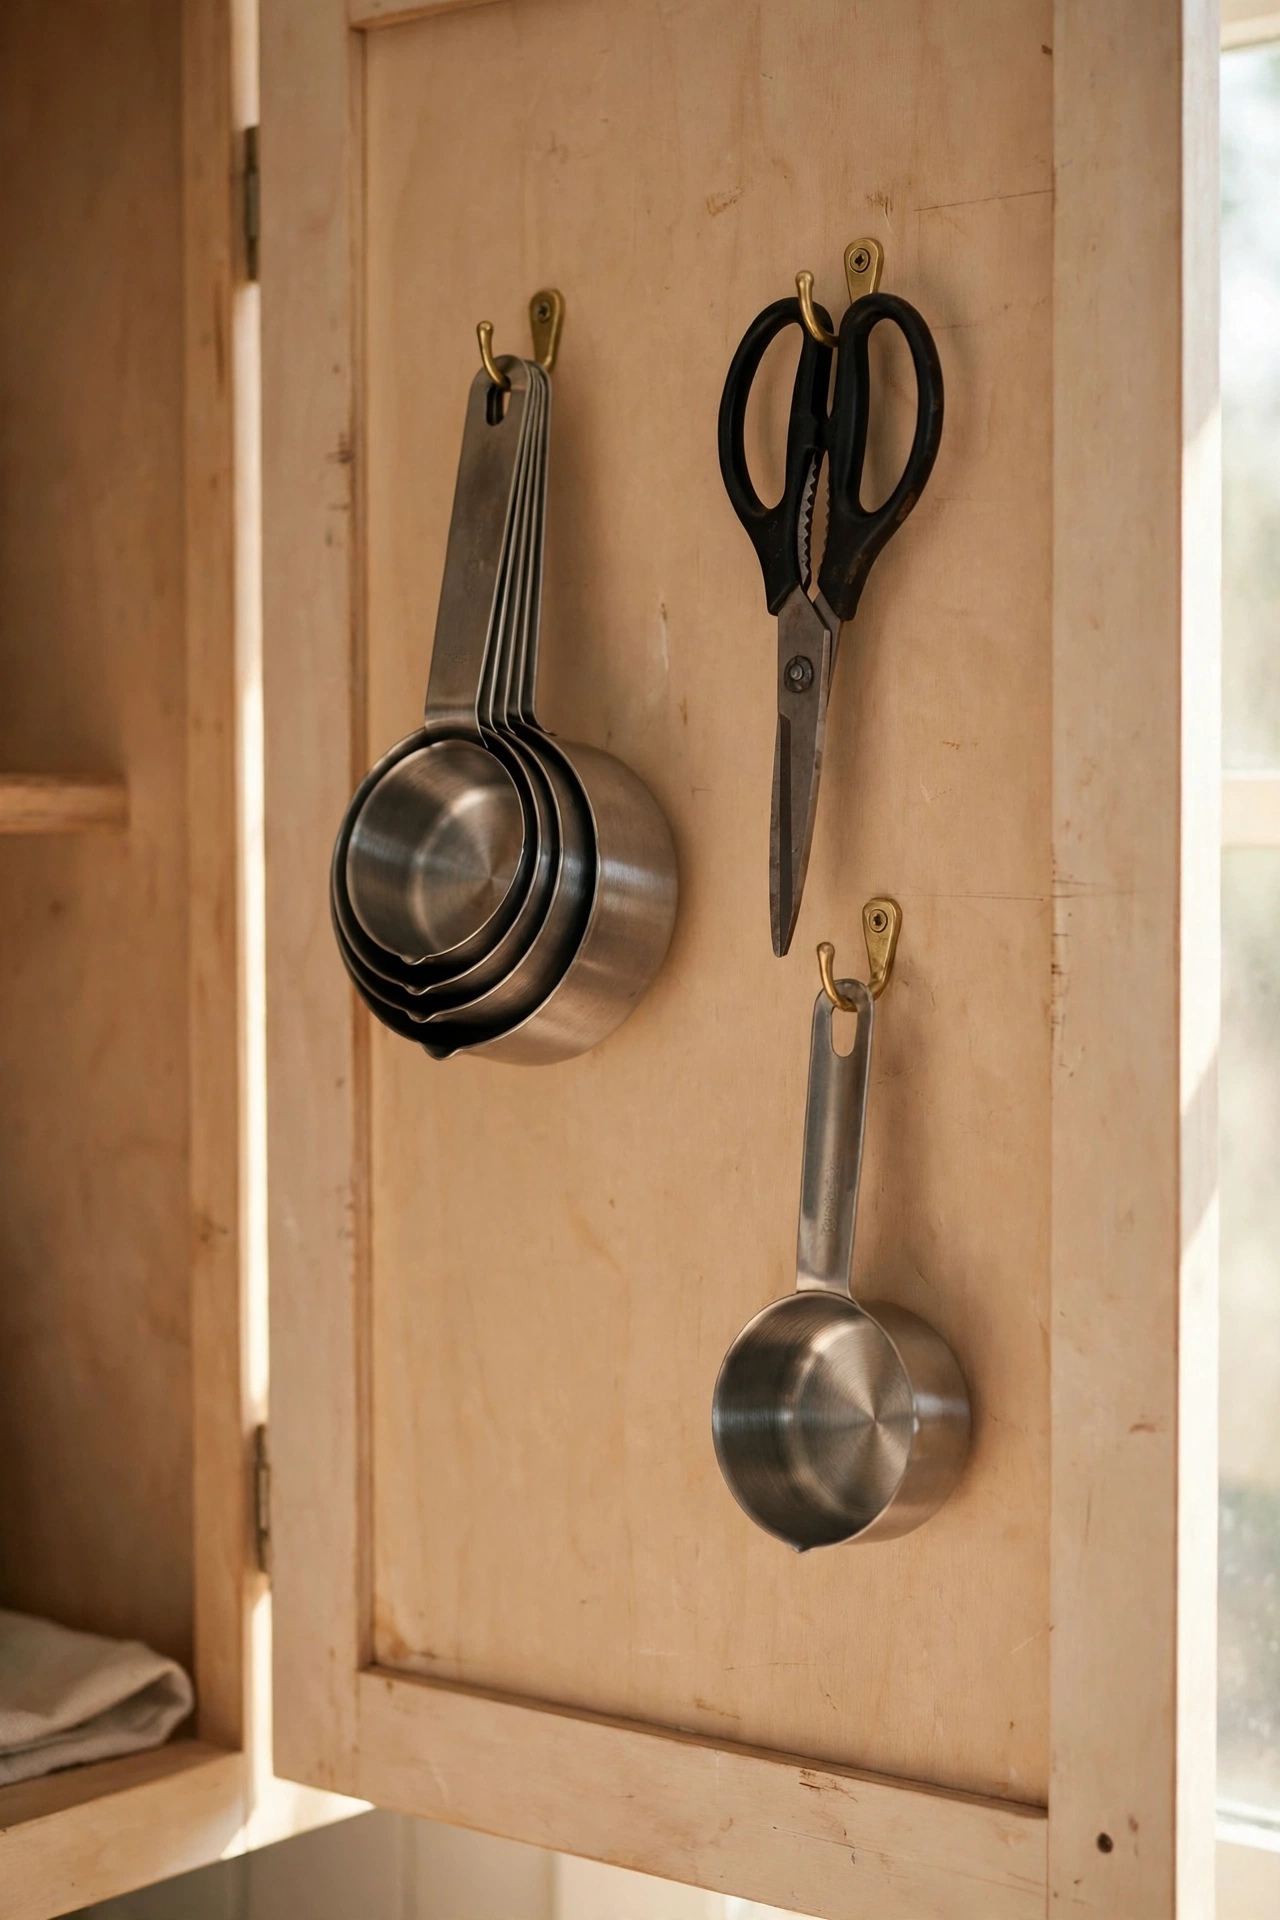
The inside of a cabinet door is storage you already own but probably never use, and small hooks or a slim rack turn it into a home for measuring cups, scissors and spice jars. Stick them inside a door near the prep area so the tools are exactly where you need them, and keep everything shallow so the door still closes flat. This trick costs almost nothing and takes minutes, yet it clears a surprising amount of drawer clutter. I tried this — the mistake to avoid is overloading one door until it won’t close. Two or three light items per door is the sweet spot.
Cost: ~$5 | Time: 15 minutes
11. Choose a Round Pedestal Table
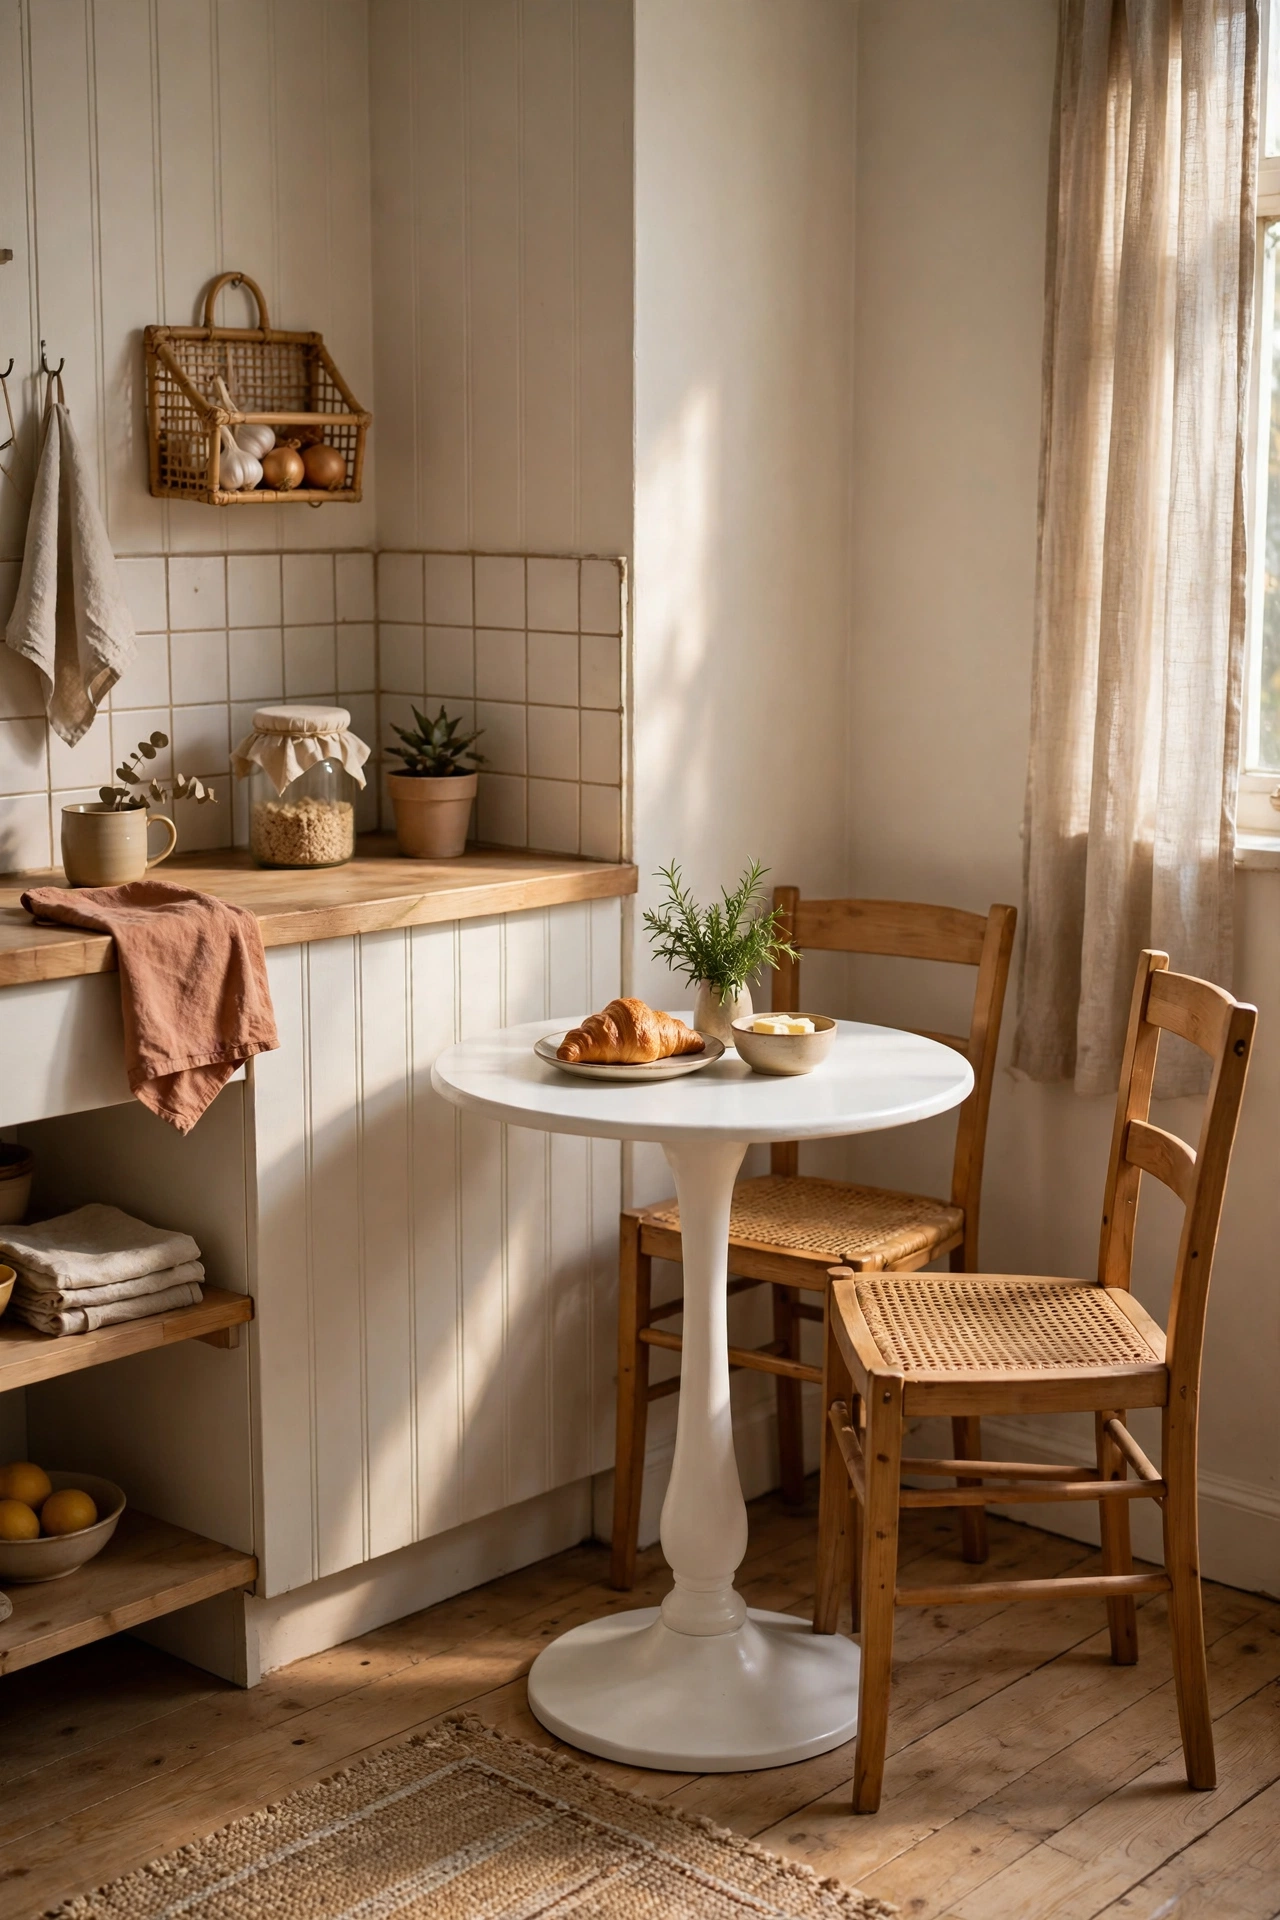
Rectangular tables have sharp corners that eat floor space and bruise hips in a tight kitchen, while a small round table tucks into a corner and seats the same two or three people. There are no corners to navigate around, so the walkways stay clear and the room flows better. A pedestal base beats four legs, because chairs slide in fully and nobody fights a table leg for foot room. I swapped a rectangle for a round pedestal table in my old flat and gained nearly a foot of walking space — the kitchen felt bigger overnight, even though it seated the same number of people.
Cost: ~$60 | Time: 30 minutes
12. Lay a Light Runner to Stretch the Room
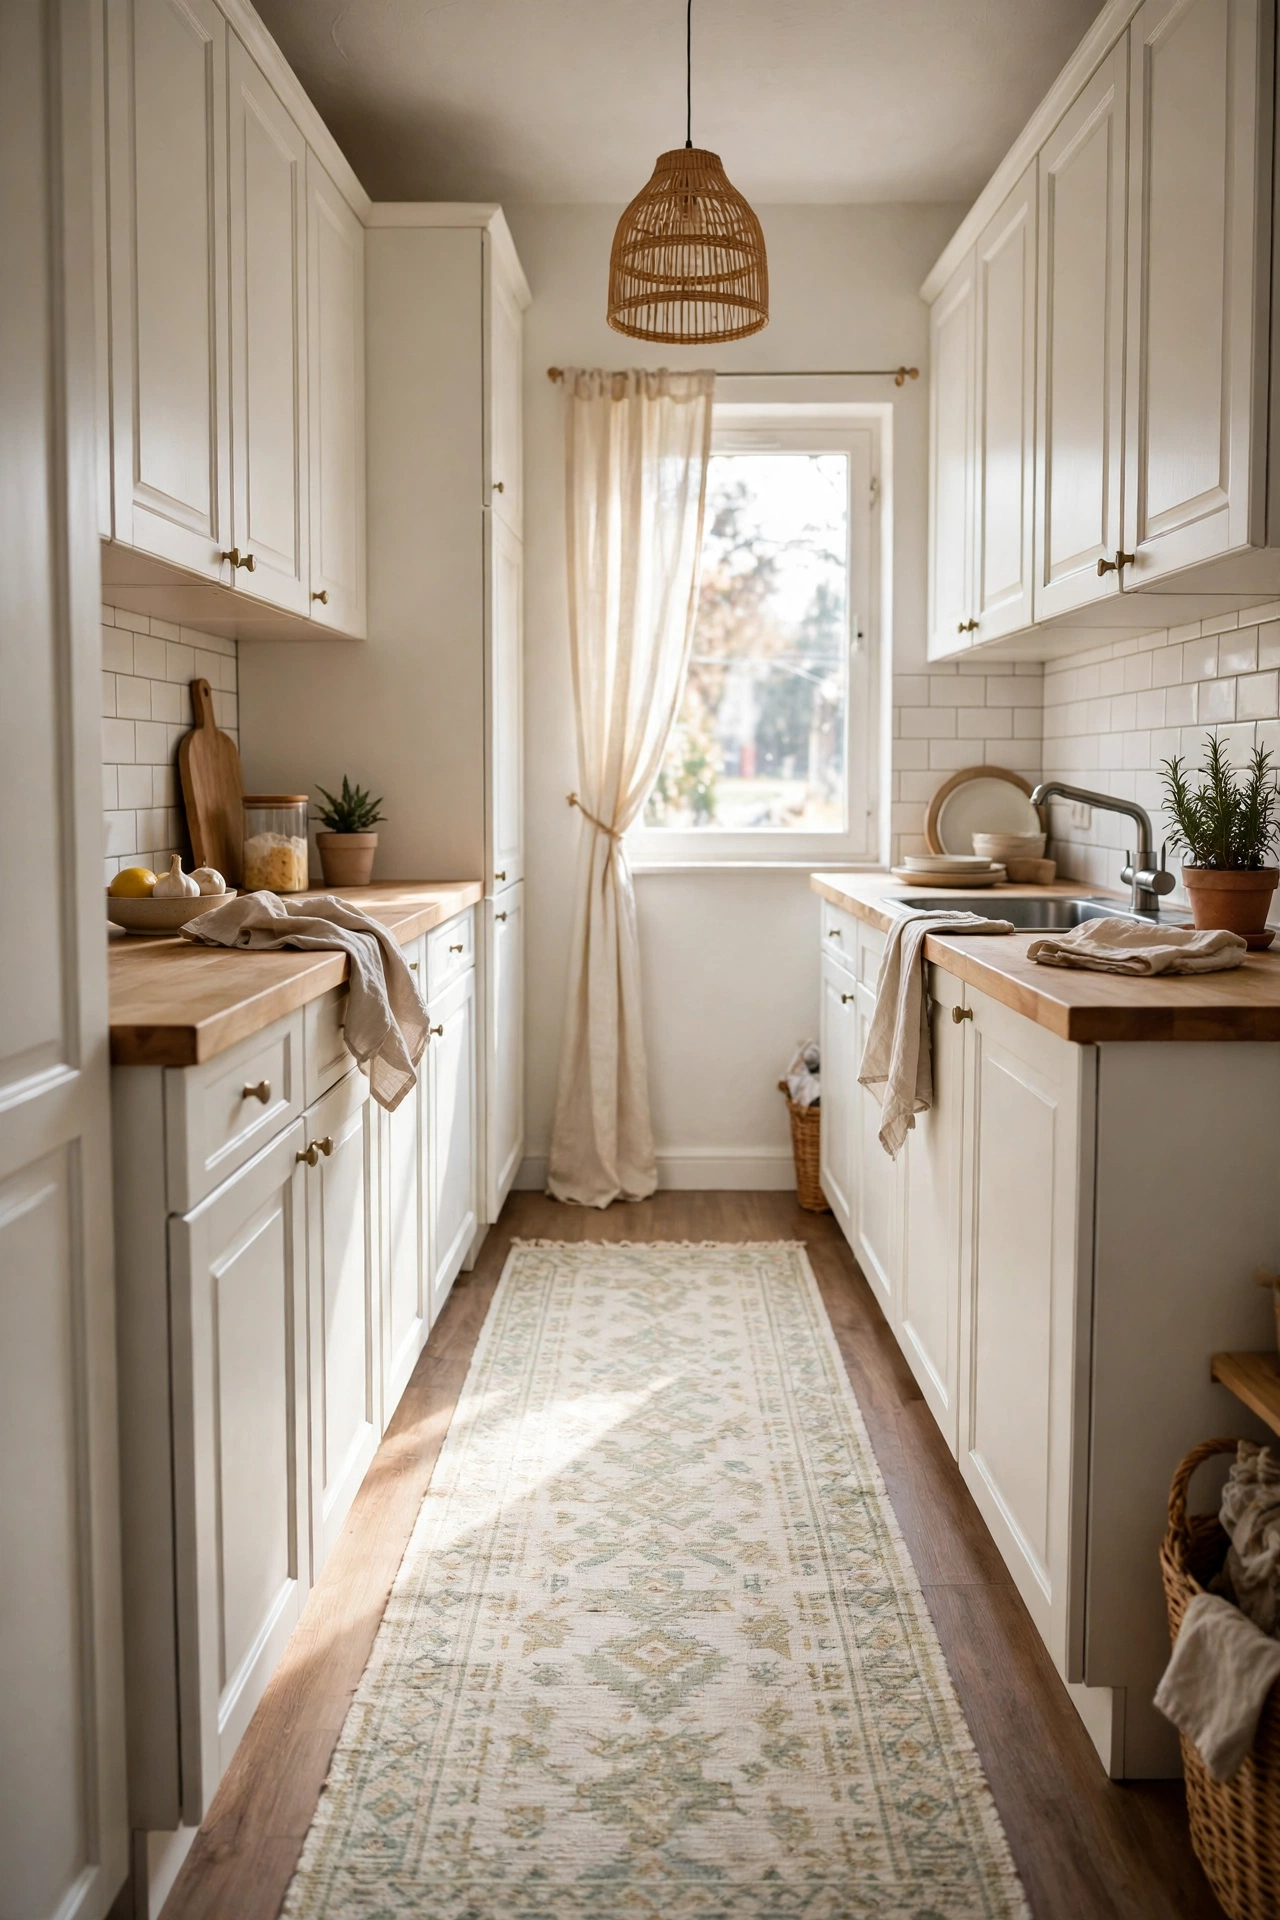
A long, light-patterned runner down a galley kitchen draws the eye along the length of the room, which tricks the brain into seeing more space. Choose a flat-weave, washable runner — it stays put underfoot, cleans easily, and won’t trip you while you carry a hot pan. A faded vintage-style pattern hides crumbs between washes, which matters in a room where spills are a matter of when, not if. For more small-kitchen floor ideas, my (see also: small-kitchen-floor-ideas) post has patterns worth stealing. The runner cost me less than two takeaways and changed the whole feel of the room.
Cost: ~$25 | Time: 10 minutes
13. Mirror or Gloss the Splashback
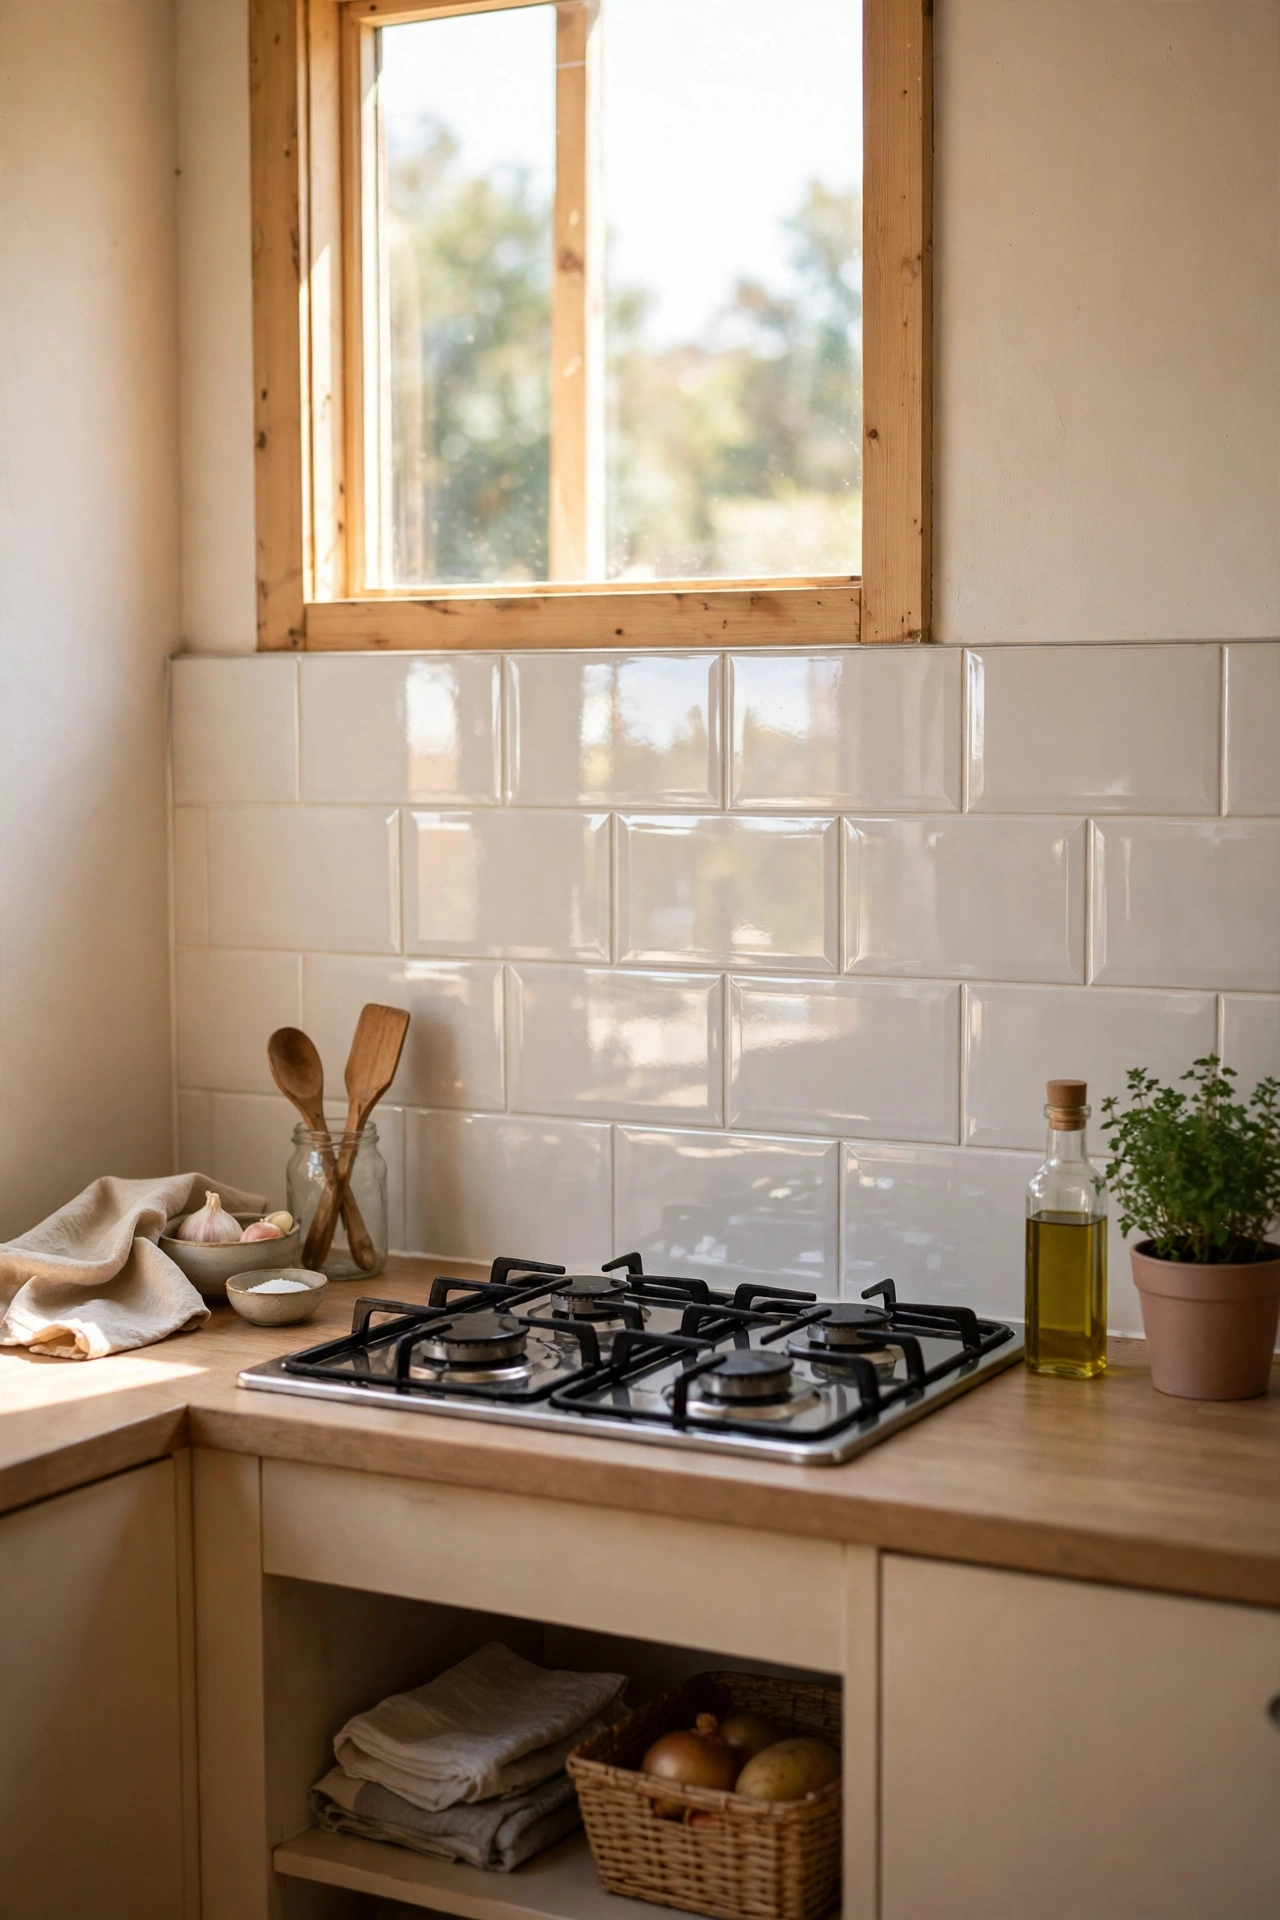
A mirrored or high-gloss splashback bounces light around a tiny kitchen and doubles the sense of depth, much like a mirror in a narrow hallway. You don’t need real mirror tiles: glossy white subway tiles or a sheet of reflective acrylic behind the hob give a similar effect for far less money. Keep the counter below it fairly clear, because a reflective surface doubles whatever sits in front of it — clutter included. Wipe it down after cooking and it stays bright; let grease build up and the trick stops working. It is a small change with an outsized payoff.
Cost: ~$30 | Time: 2 hours
14. Keep a Crock of Everyday Tools by the Stove
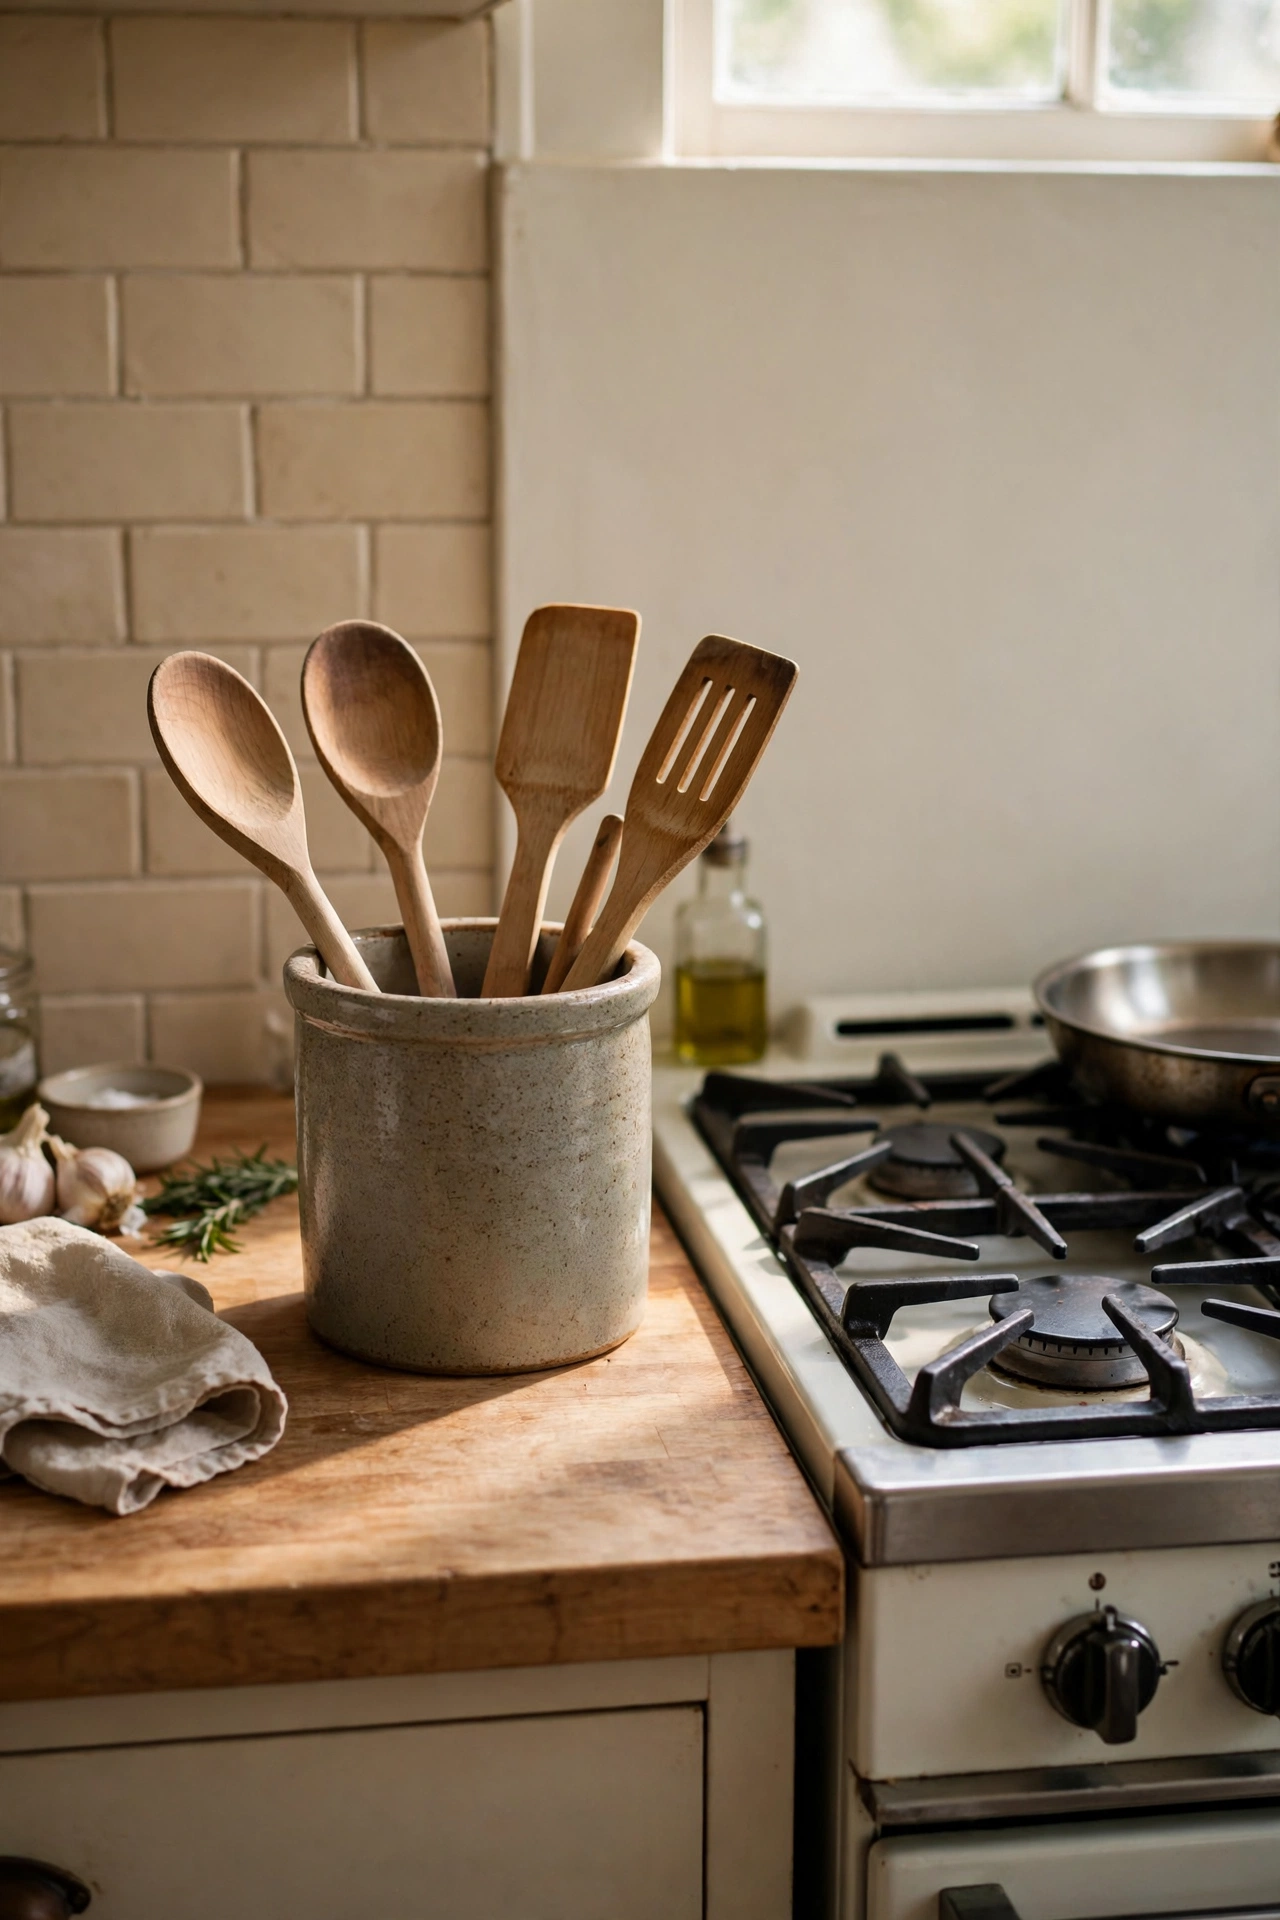
Wooden spoons, spatulas and whisks scattered across drawers are a daily annoyance, and a heavy crock by the stove solves it in one move. Choose one tall enough that tools don’t topple, heavy enough that it stays put when you grab a spoon, and neutral enough to disappear into the background. Keep only the tools you reach for weekly; the turkey baster and the melon baller can live elsewhere. The crock also frees a whole drawer, which in a tiny kitchen feels like finding an extra room. Mine is a plain stoneware jar from a charity shop, cheaper than the drawer organiser it replaced.
Cost: ~$8 | Time: 5 minutes
15. Add a Magnetic Strip for Knives and Spice Tins
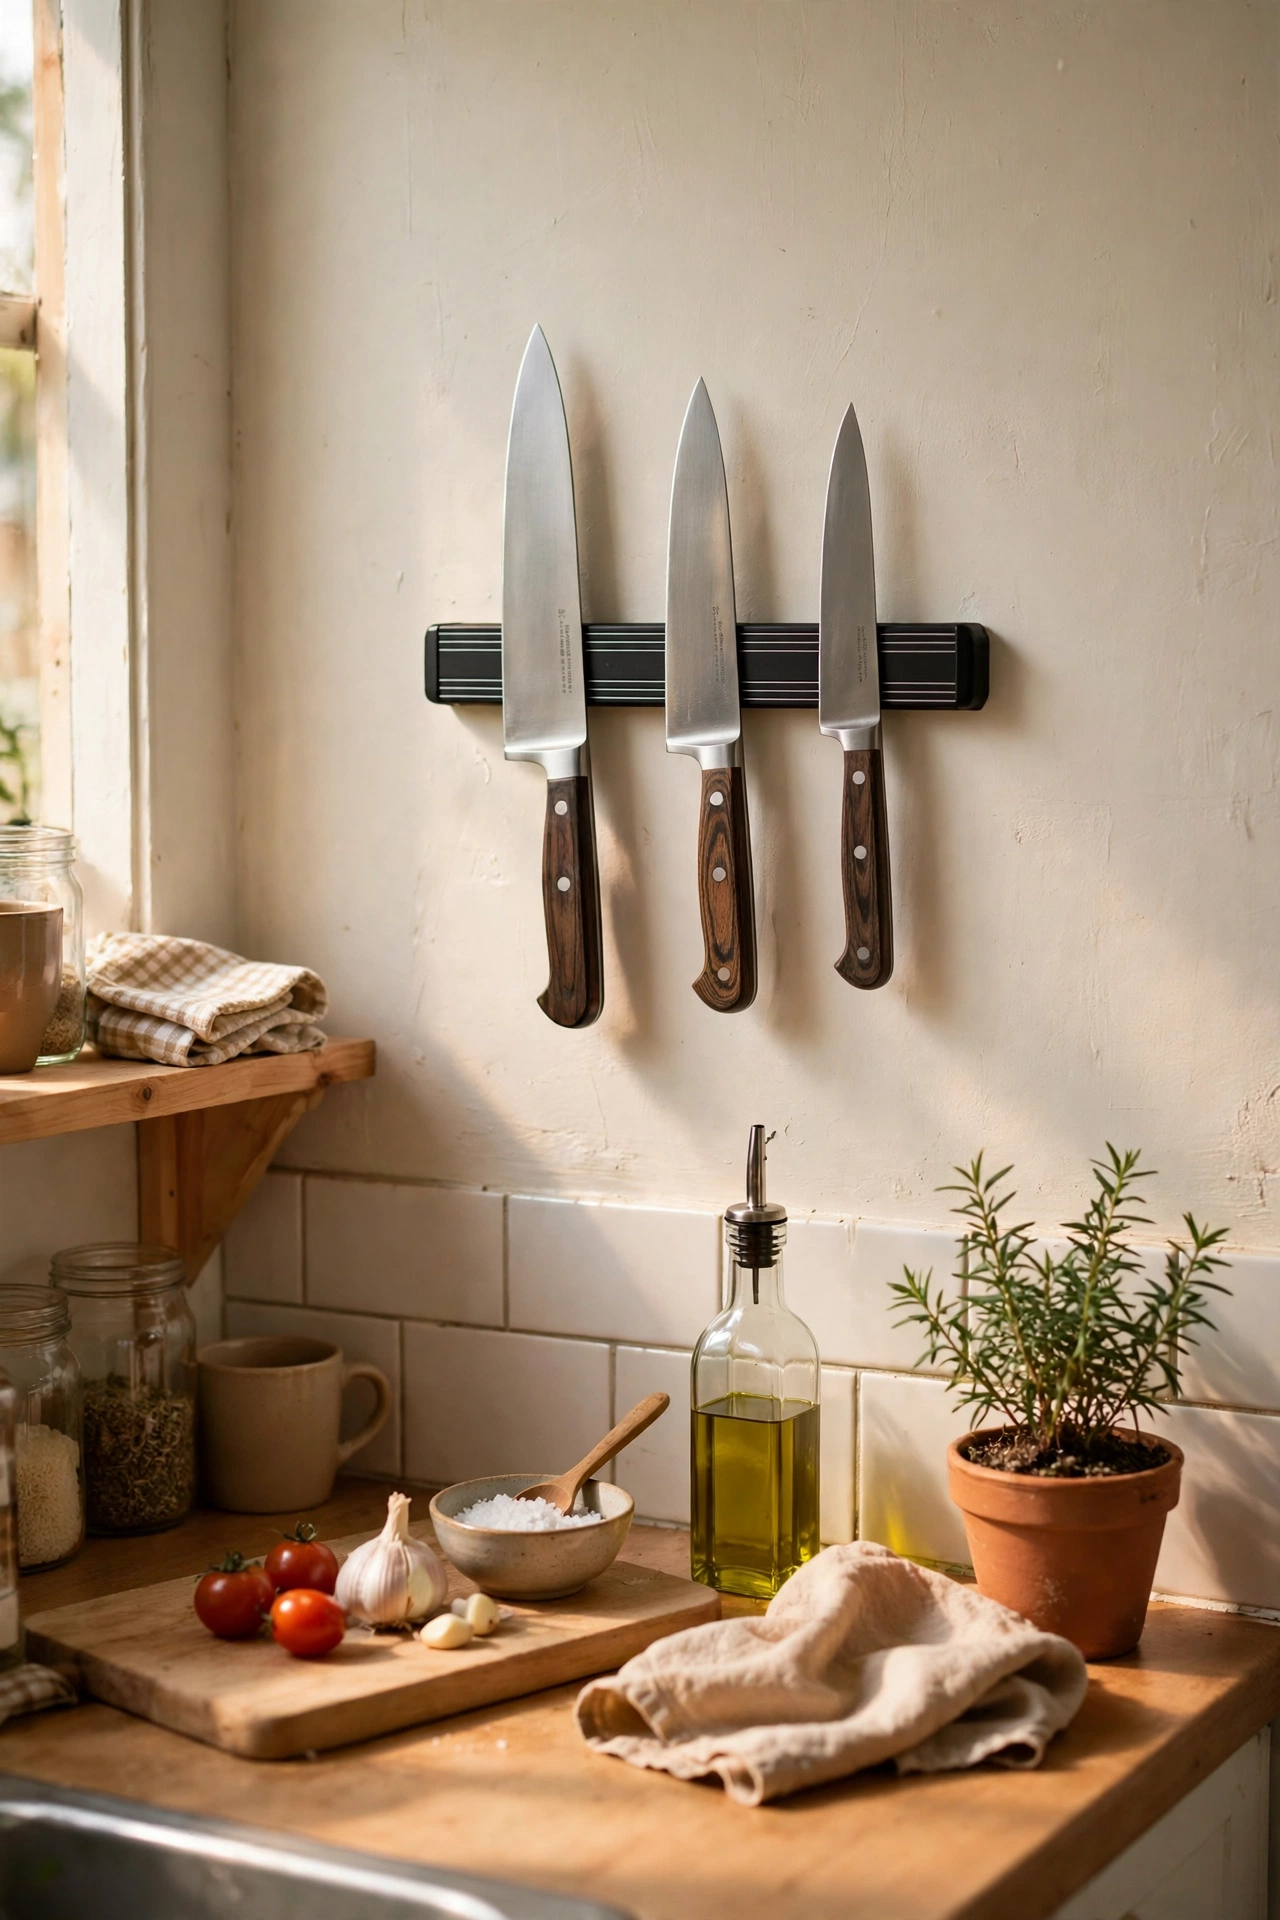
A knife block eats a surprising chunk of counter, and a magnetic strip puts that space back while keeping blades in easy reach. Mount it on a dry stretch of wall above the prep area — never above the stove, where steam and grease coat the blades — and test the hold before loading it with heavy chef’s knives. The same trick works for small magnetic spice tins on a metal board, which frees yet another shelf. I fitted both in one afternoon, and the counter space I gained is now where I actually chop. Two strips, one wall, a much calmer kitchen.
Cost: ~$15 | Time: 30 minutes
16. Store Baking Trays Vertically With a File Holder
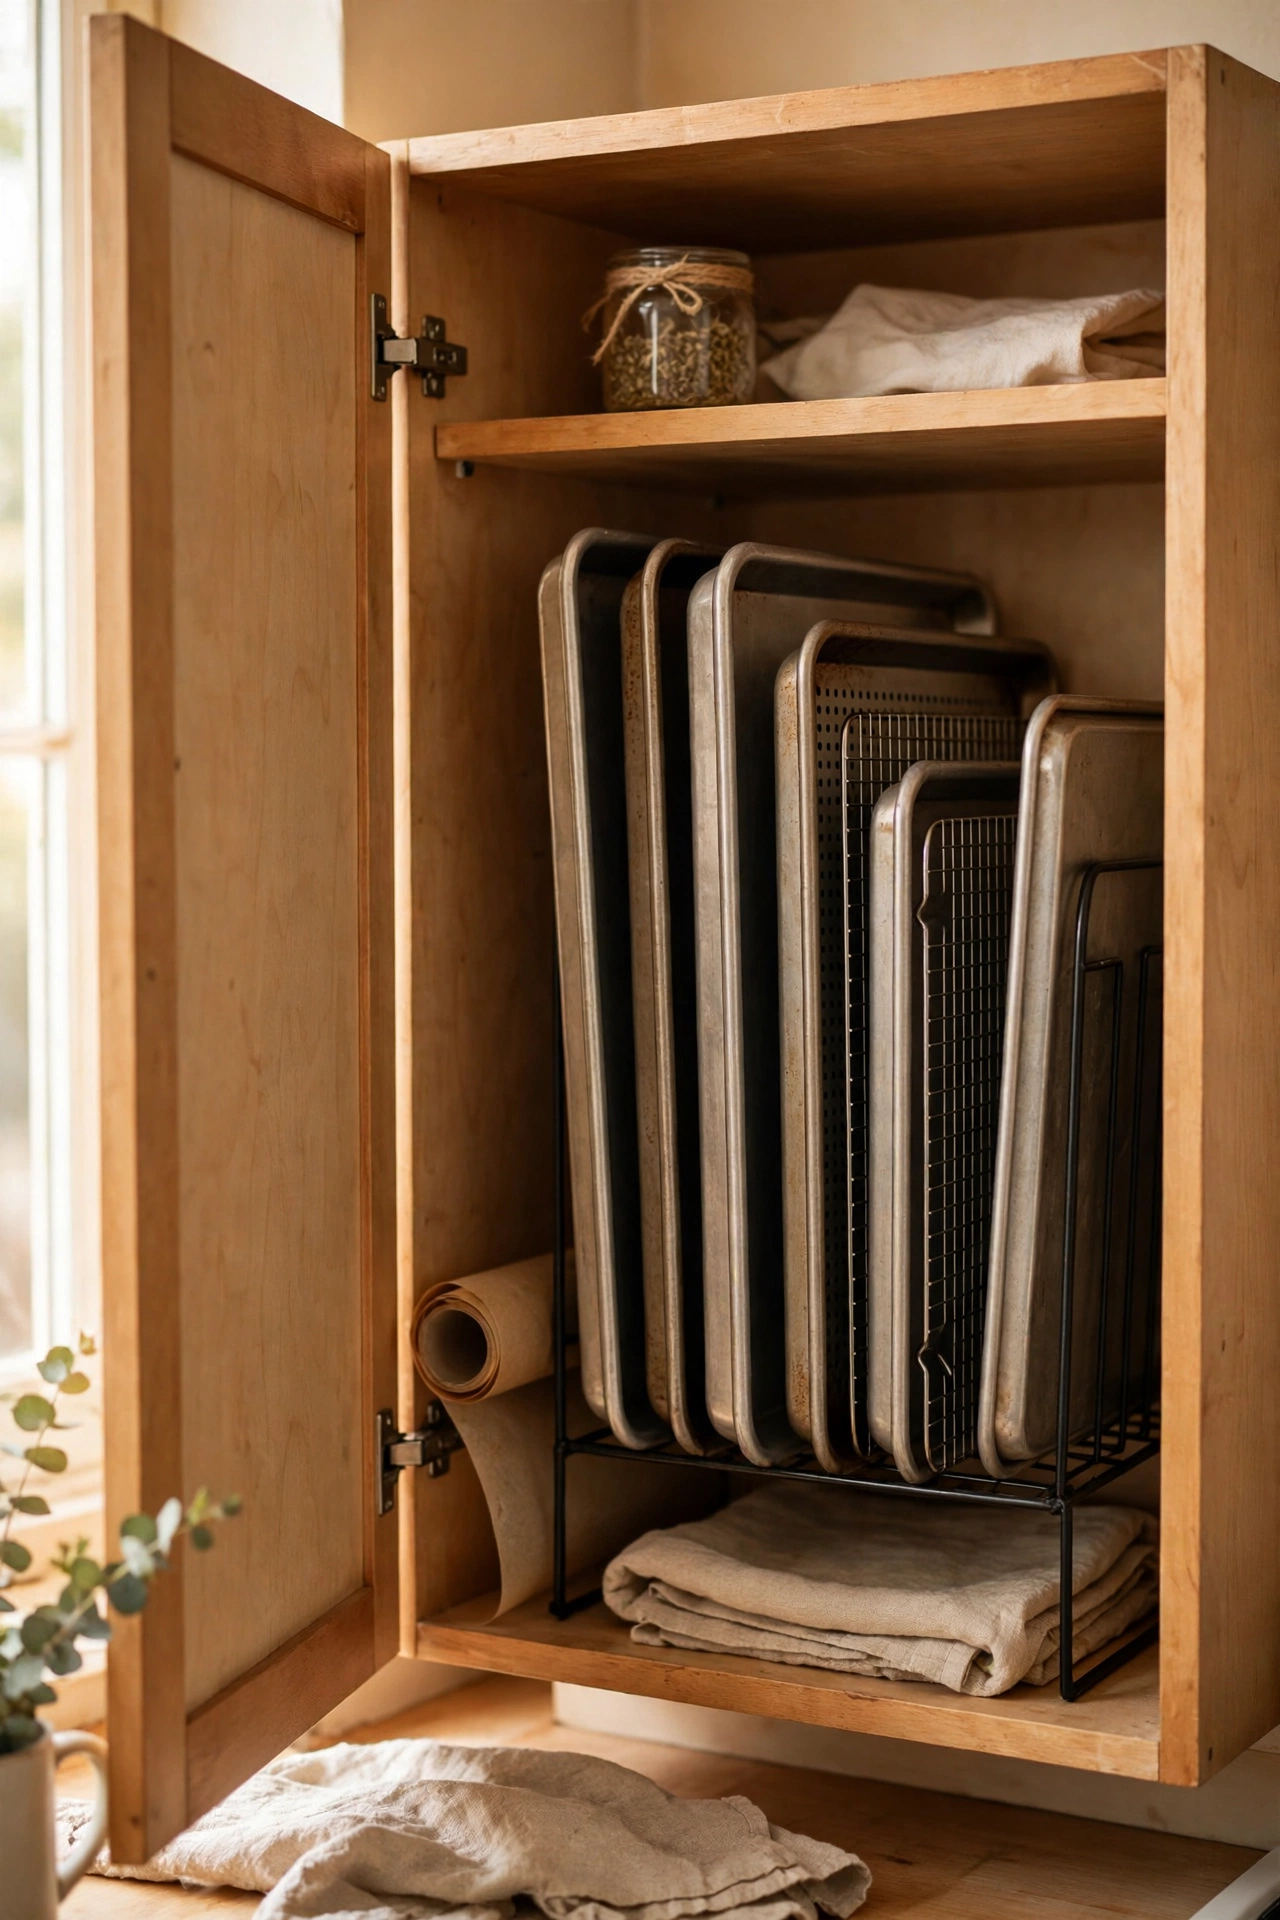
Baking trays stacked flat are a nightmare: you always need the one at the bottom. A cheap vertical file holder or a tension rod inside a cabinet turns that stack into a filing system, so each tray slides out like a book. Measure your tallest tray first, and pick a holder wide enough that trays don’t wedge. I keep mine in the narrow cabinet beside the oven, and the daily tray shuffle is gone for good. It is a two-dollar fix, honestly, and it saves more swearing than almost anything else on this list.
Cost: ~$4 | Time: 10 minutes
17. Hang a Tension Rod Under the Sink for Sprays
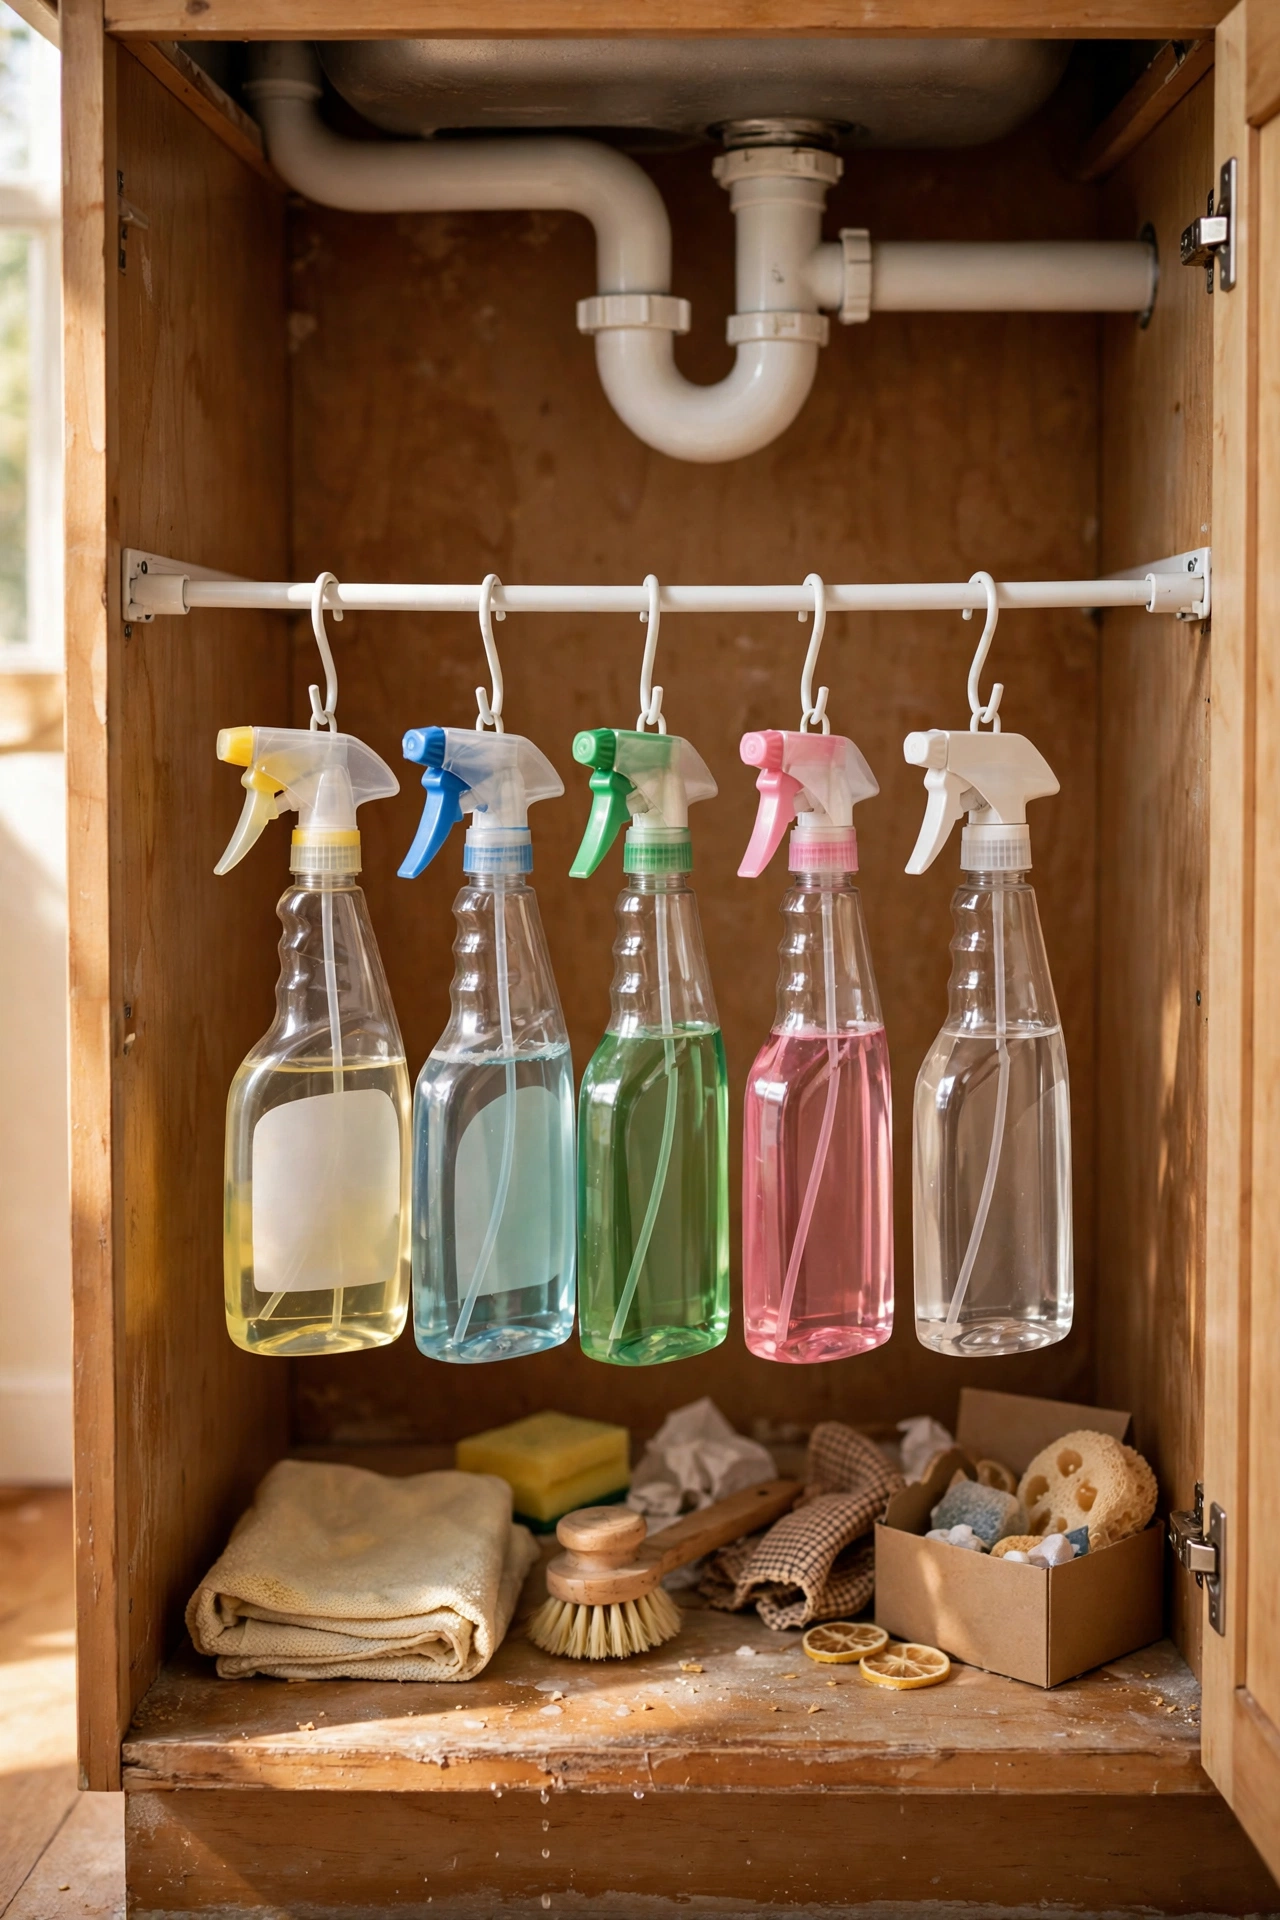
The cupboard under the sink is usually a graveyard of half-used spray bottles, but a tension rod across the inside turns it into hanging storage. Clip the spray triggers over the rod so the bottles hang in a row, and the floor of the cupboard stays free for cloths and bin bags. No drilling, no screws, and it fits renters perfectly — the rod comes out cleanly when you move. I did this in twenty minutes and finally stopped knocking bottles over every time I reached for the washing-up liquid. Simple, cheap, and it stays done.
Cost: ~$6 | Time: 20 minutes
18. Use a Tiered Stand for Corner Counters
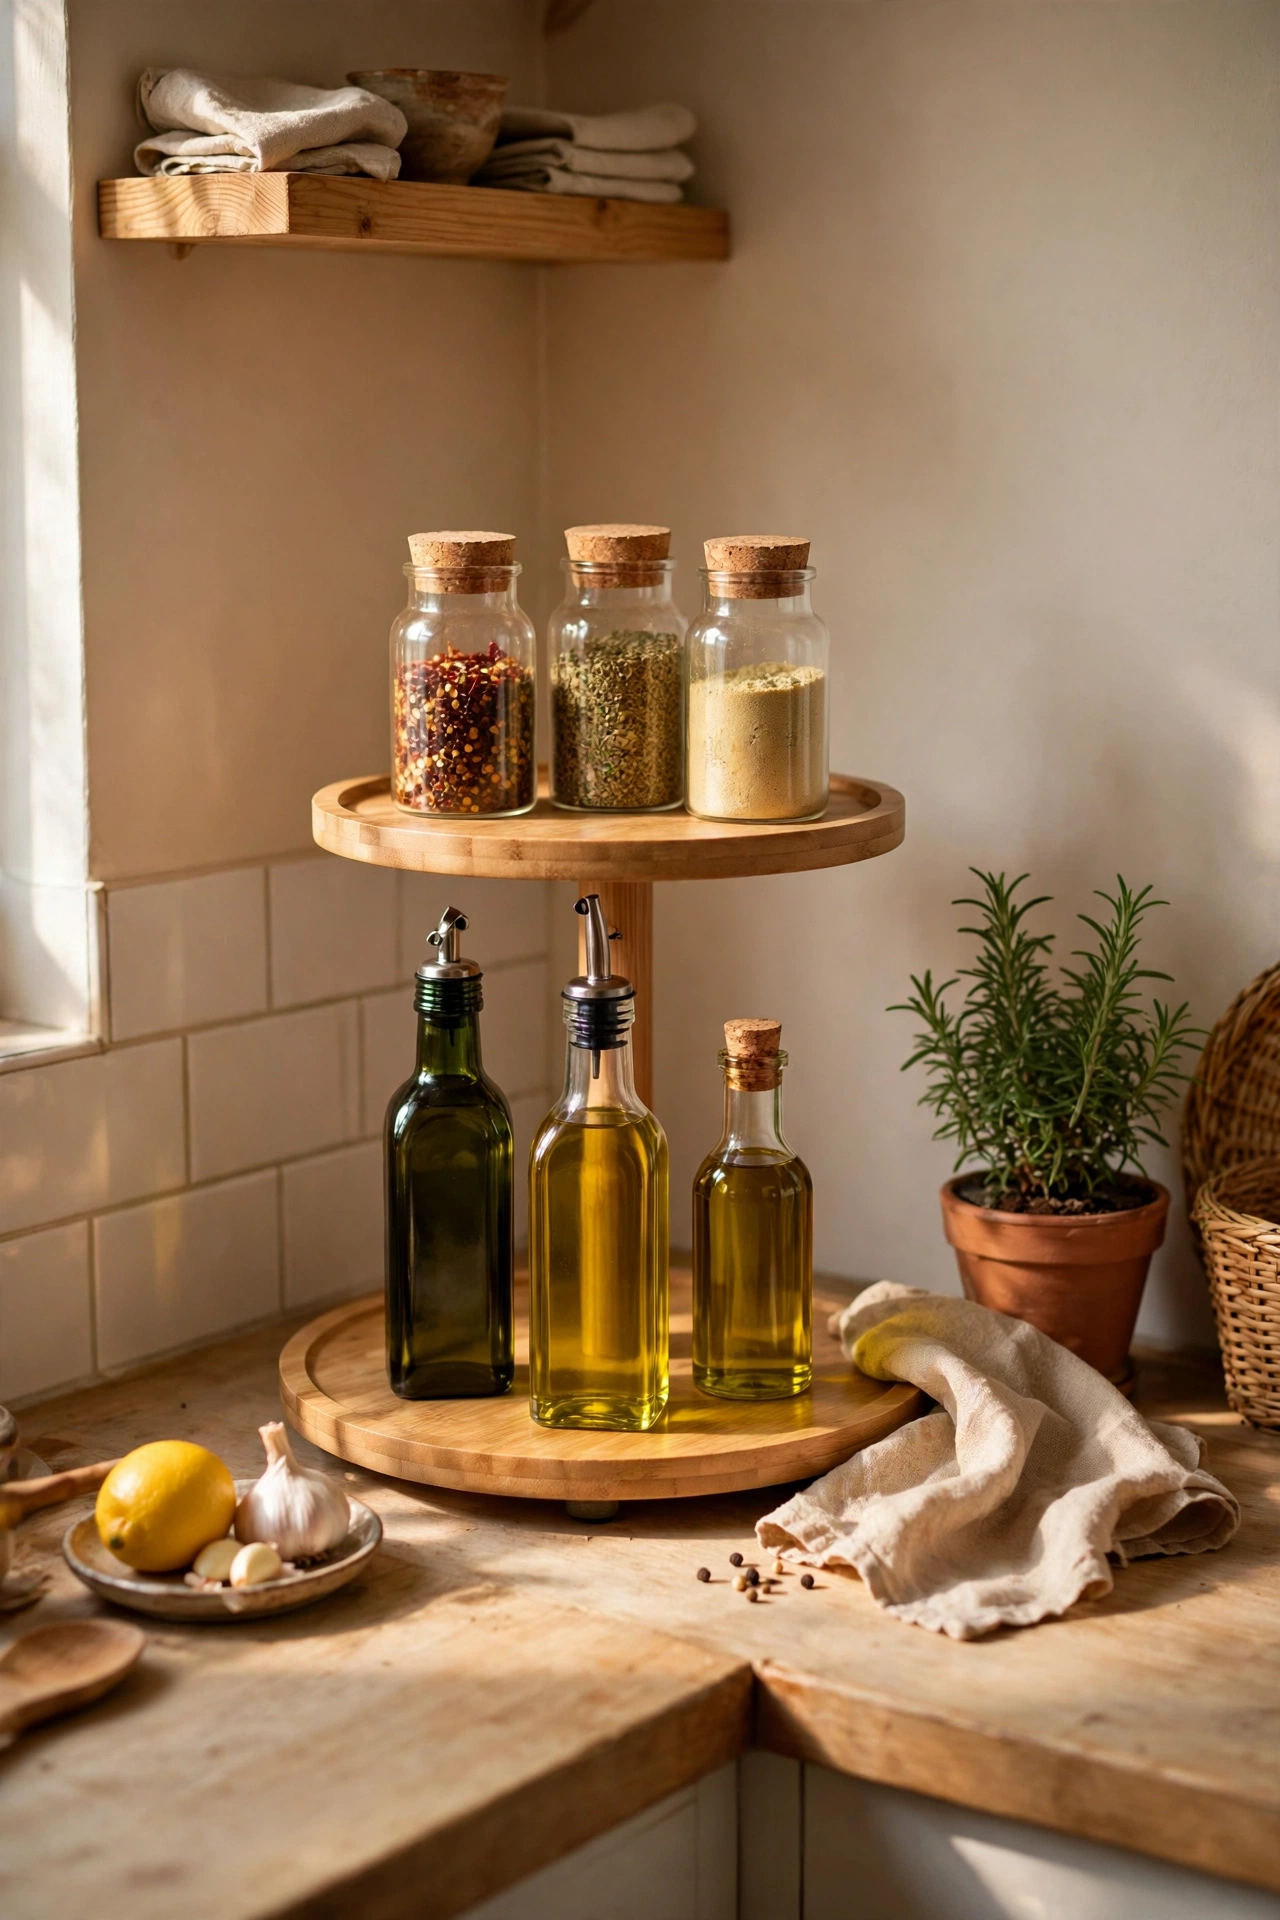
Corner counters in tiny kitchens become dumping grounds because the back of the corner is hard to reach. A two-tier turntable or a small stepped stand brings everything forward: oils and sauces on the top tier, everyday spices below, all visible with one spin. Measure the corner before buying, and leave enough clearance for upper cabinets above. Mine holds a dozen bottles in the space one tray used to waste, and I no longer buy duplicates of things hiding at the back. For more corner fixes, my (see also: tiny-kitchen-corner-ideas) post covers the awkward spots.
Cost: ~$12 | Time: 10 minutes
19. Keep One Counter Clear on Purpose
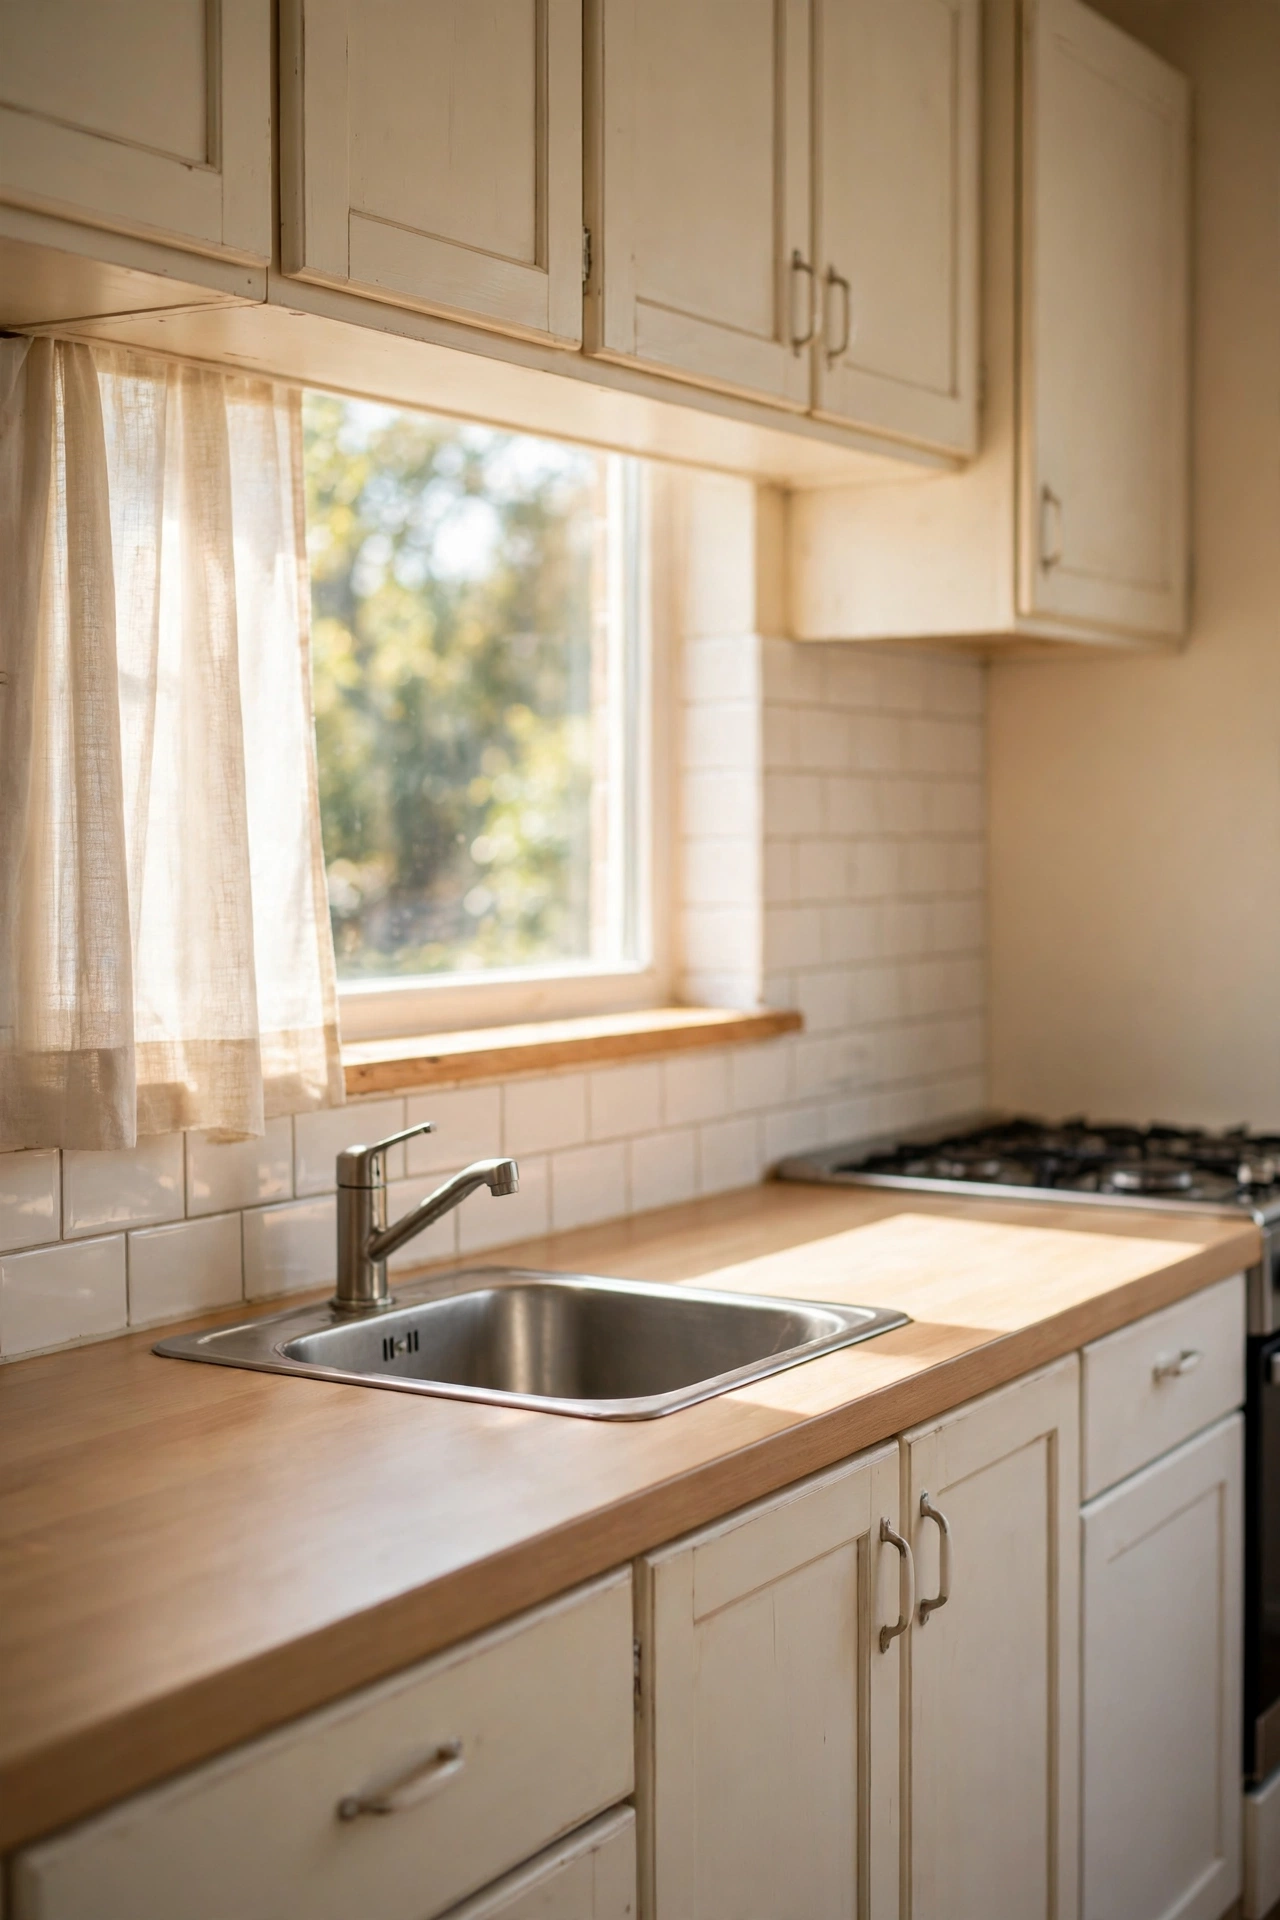
The hardest tiny kitchen idea is also the cheapest: leave one full stretch of counter empty, on purpose, all the time. No toaster parked there, no fruit bowl, no mail pile — just clear surface ready for cooking. An empty counter makes the whole kitchen look bigger, because the eye rests instead of snagging on clutter, and it makes cooking faster since you always have somewhere to work. It takes about three weeks for the habit to stick, and the family will test it daily. I tried this — the mistake to avoid is treating it as a one-time clear-out. It is a habit, and it is worth protecting.
Cost: ~$0 | Time: 30 minutes
Frequently Asked Questions
What is the cheapest first change for a tiny kitchen?
Clearing one counter and adding hooks inside a cabinet door costs almost nothing and changes how the room feels within an hour. Paint and lighting come next, once the free wins are in place.
Which of these ideas are safe for renters?
Almost all of them: tension rods, rolling carts, magnetic strips on adhesive mounts, rail planters, and fold-down tables on removable brackets all come out cleanly. Avoid drilling into tiles or repainting without your landlord’s written okay.
What colour makes a tiny kitchen look bigger?
Pale, warm whites and soft sage on the upper cabinets reflect the most light without feeling cold. Keep one accent at most — a single coloured wall or a patterned runner — so the room stays calm.
How do I keep a tiny kitchen tidy long term?
Give everything a fixed home, keep only weekly-use tools on the counter, and do a two-minute reset after cooking. Small kitchens stay tidy through habits, not through buying more organisers.
Tiny kitchens reward the cook who edits ruthlessly and spends carefully. Start with the free wins — the clear counter, the hooks, the file holder — then add paint and light as the budget allows. Before long, your tiny kitchen will feel like the hardest-working, best-looking room in the house.
