17 Small Space Storage Ideas Worth Every Penny
When I moved into my first studio, I owned one suitcase, three boxes, and a wildly optimistic belief that I would somehow stay tidy. Within a month, shoes lived by the door, chargers tangled on every surface, and I lost my keys at least twice a week. The flat did not get bigger — I just got smarter about where things lived. These small space storage ideas are the ones that actually stuck, because they use the space you already have instead of asking you to buy more of it. Every idea here earns its keep, and none of them needs a renovation.
1. Use the Back of Every Door
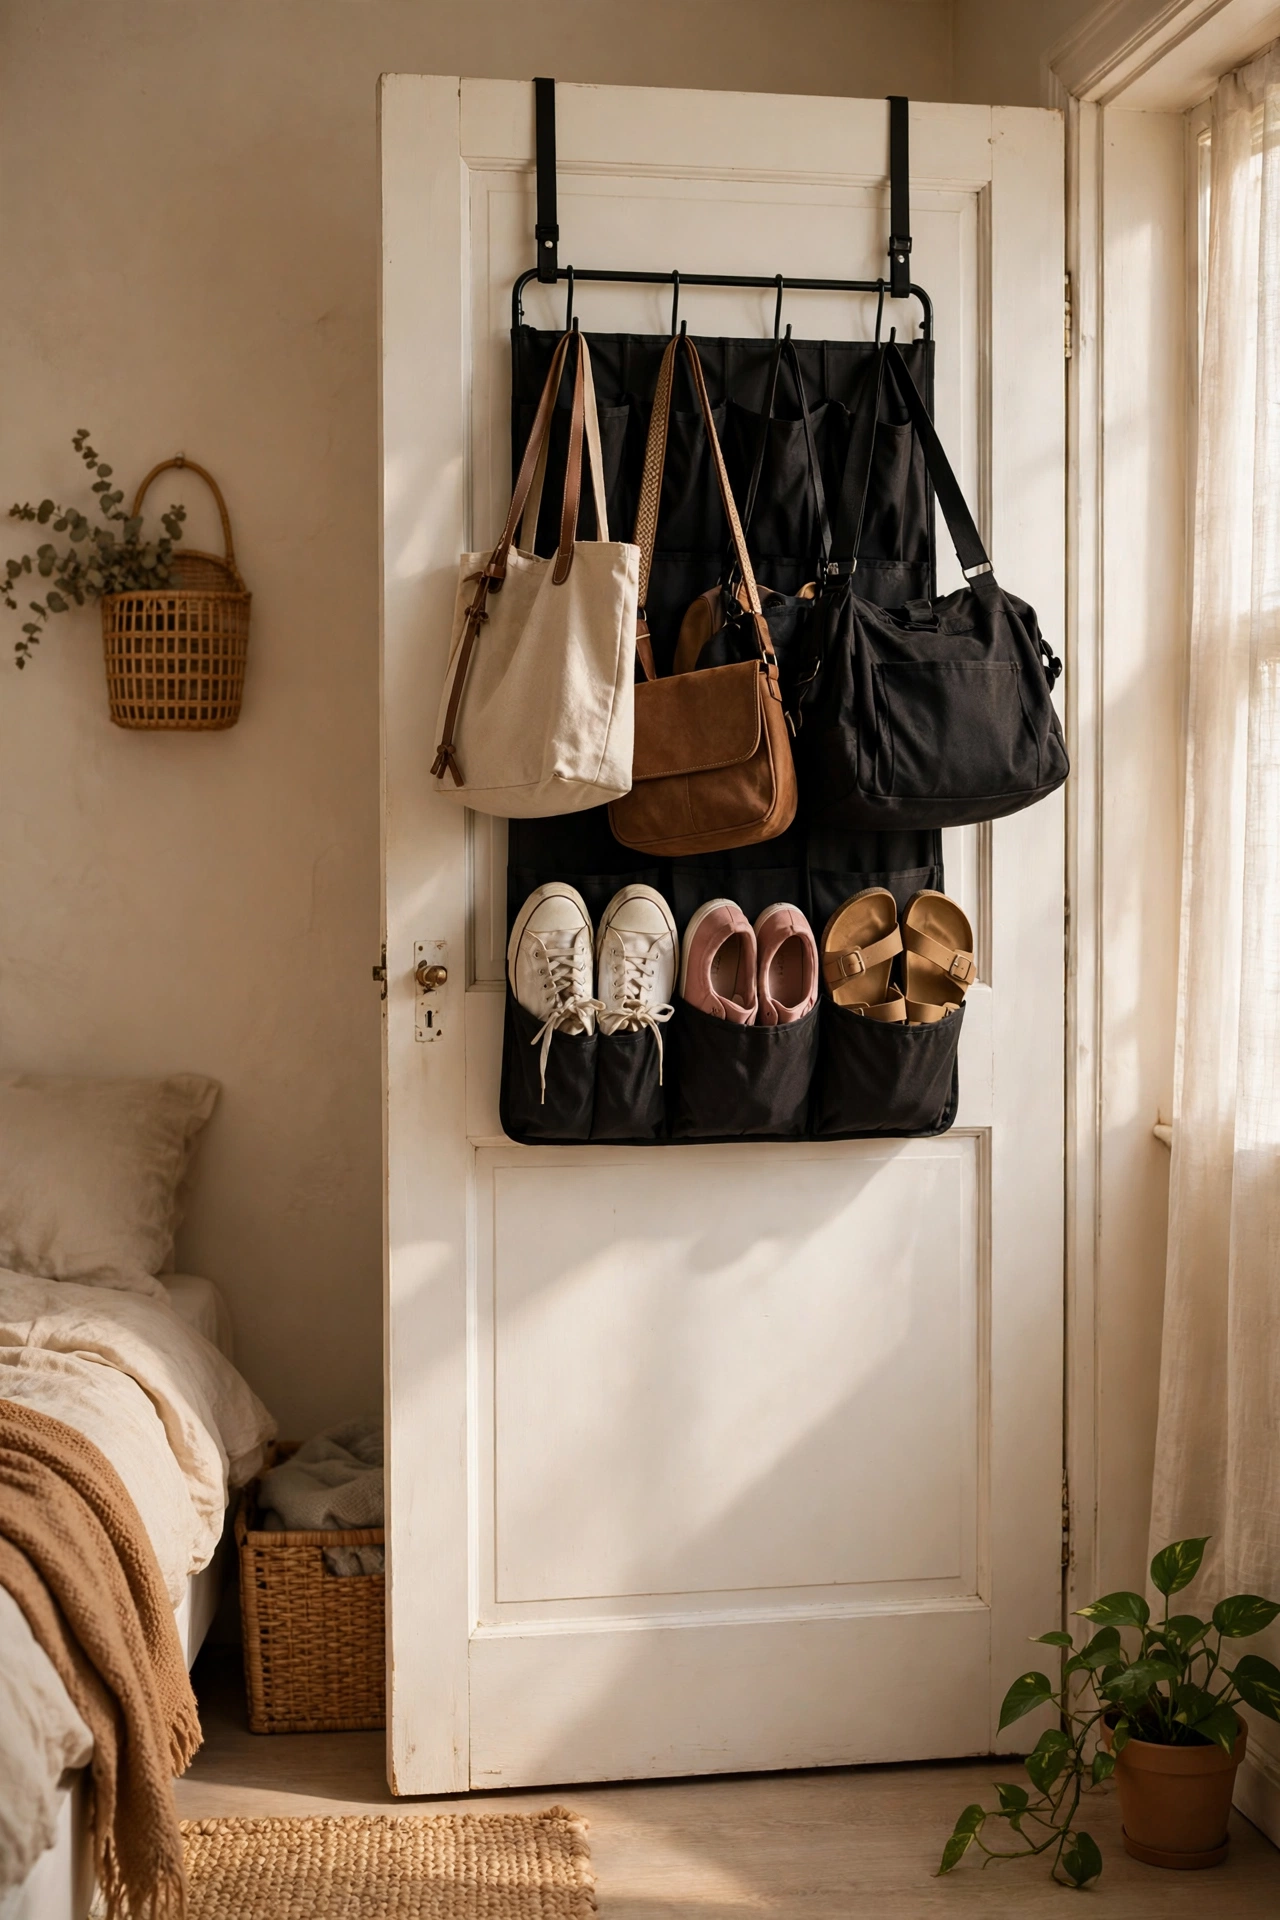
The back of a door is a whole wall you walk past every day without using, and a simple over-door rack turns it into a pantry, a shoe store, or a cleaning cupboard. Hang it over a bedroom door for shoes and bags, over a bathroom door for toiletries, or over a pantry door for spices and wraps. No screws, no damage, and it moves with you when you leave. I put one on my bathroom door for hair tools and suddenly the counter was clear for the first time in months. The trick is to keep it light — heavy racks swing every time the door moves.
Cost: ~$12 | Time: 10 minutes
Pro tip: Stick a small felt pad where the rack meets the door to stop rattling and scuff marks.
2. Stack Clear Bins on High Shelves
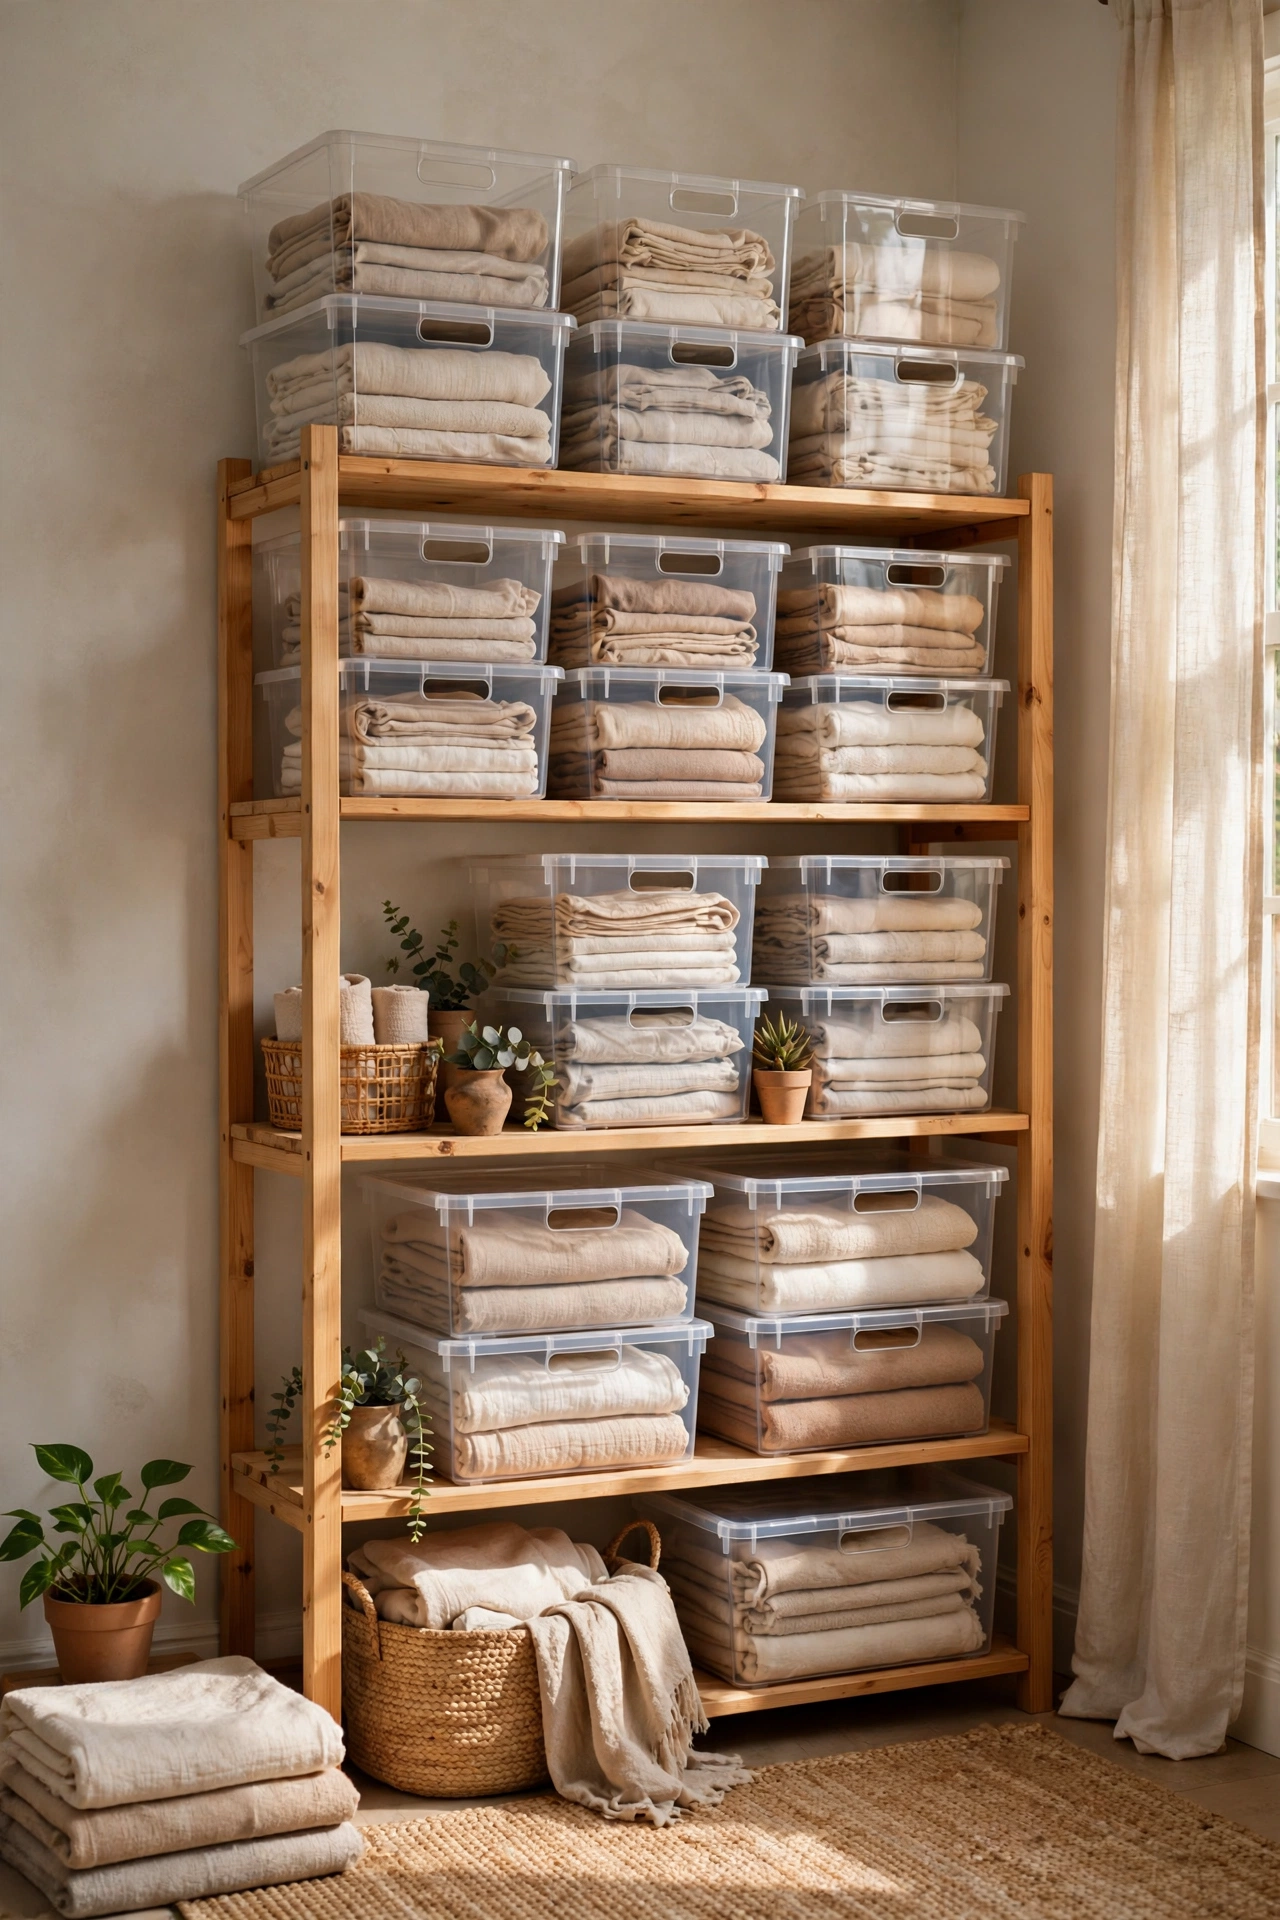
High shelves are where things go to be forgotten, because you cannot see what is up there without a step stool. Clear bins fix that in one move: you can spot the winter scarves or the spare bedding without pulling everything down. Label each bin on the front, keep the heaviest ones low, and leave a little finger gap so you can pull a bin out easily. I labelled mine by season rather than by item, and packing for a trip finally stopped involving a full shelf excavation. Clear bins also keep dust off things you only need twice a year.
Cost: ~$20 | Time: 1 hour
3. Slide Rolling Bins Under the Bed
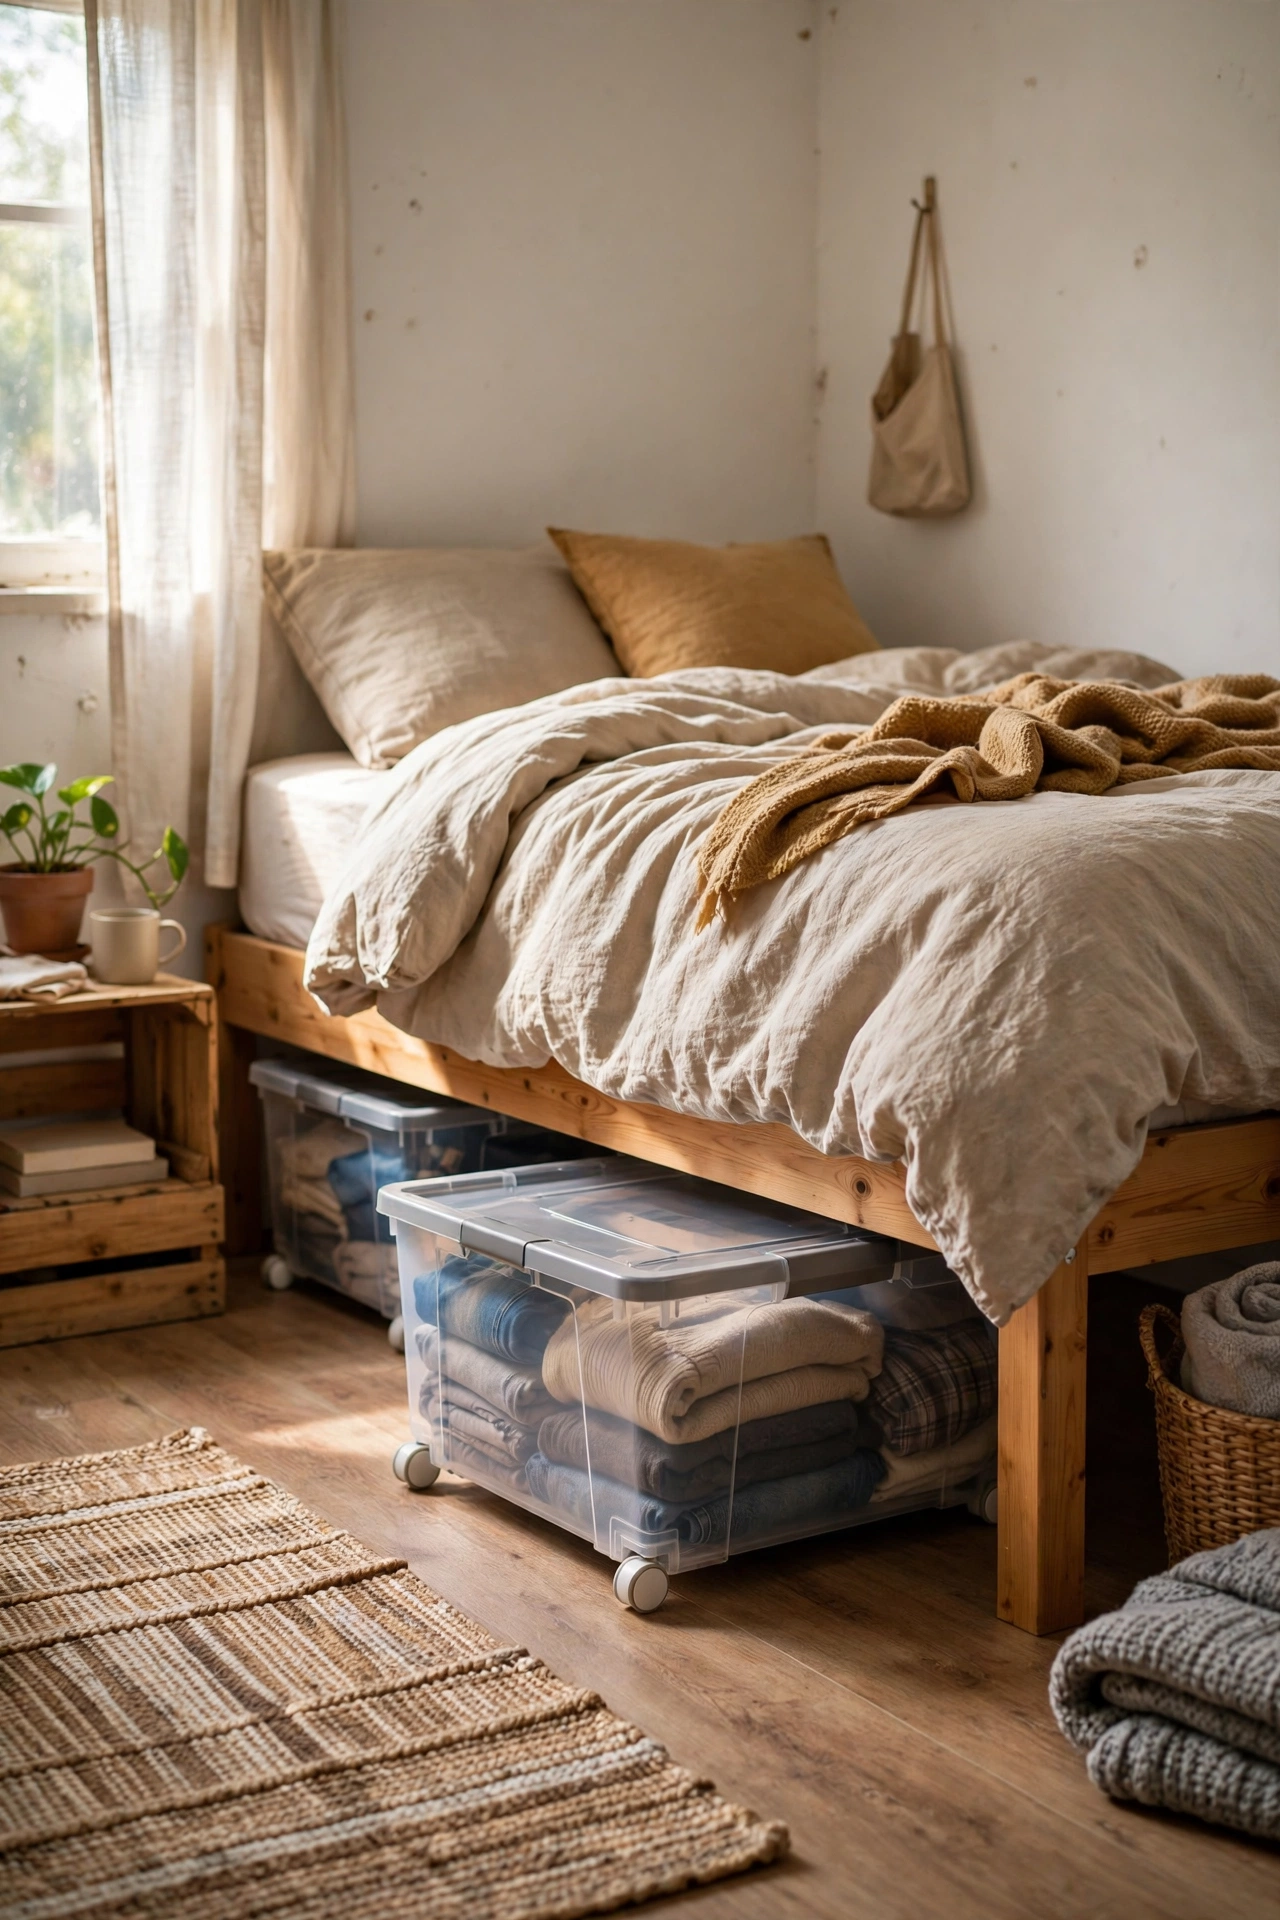
The space under a bed is often the largest empty area in a small home, and rolling bins turn it into a proper wardrobe extension. Low, flat bins hold out-of-season clothes, spare bedding, or shoes, and wheels mean you can reach them without crawling on the floor. Measure your bed clearance before buying — a bin that is a centimetre too tall is useless. I keep one bin for winter coats and one for guest bedding, and both disappear completely behind a bed skirt. It feels like gaining a whole cupboard without losing a single square foot of floor.
Cost: ~$25 | Time: 20 minutes
Pro tip: Put a cedar block or lavender sachet in each bin so stored clothes smell fresh months later.
4. Hang a Rail Inside a Cupboard Door
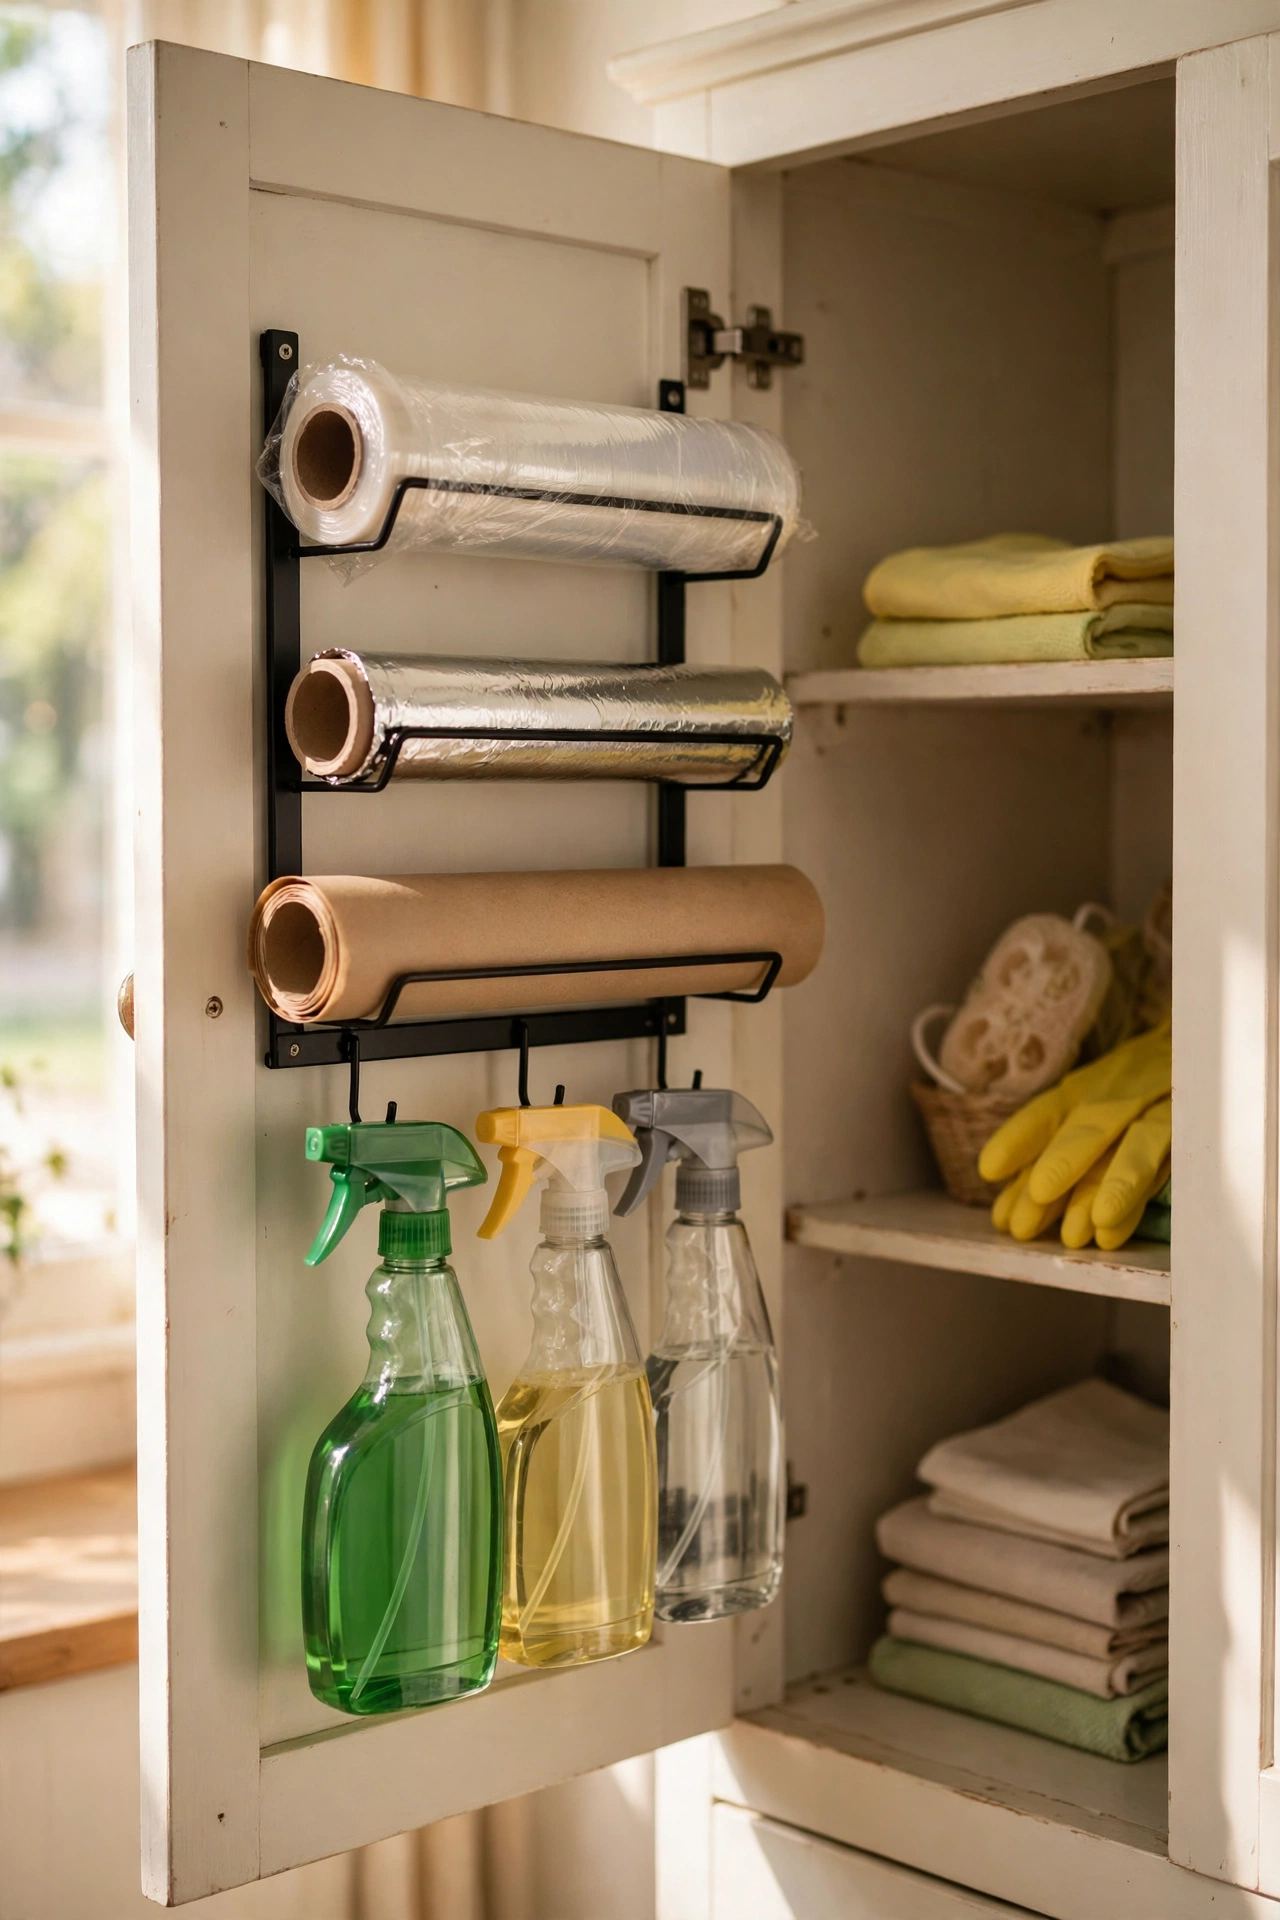
Cupboard doors hide a surprising amount of usable space, and a narrow rail screwed or stuck inside one holds cling film, foil, or cleaning sprays right where you need them. In the kitchen, it frees a whole shelf for food; in the bathroom, it holds hair tools off the counter. Keep the rail shallow so the door still closes flat, and check the depth before you buy. For more kitchen storage tricks, see my (see also: small-kitchen-storage-ideas) roundup. I fitted one inside my cleaning cupboard door, and the spray bottles finally stopped falling over every time I reached for the mop.
Cost: ~$8 | Time: 15 minutes
5. Turn a Ladder Shelf Into a Vertical Pantry
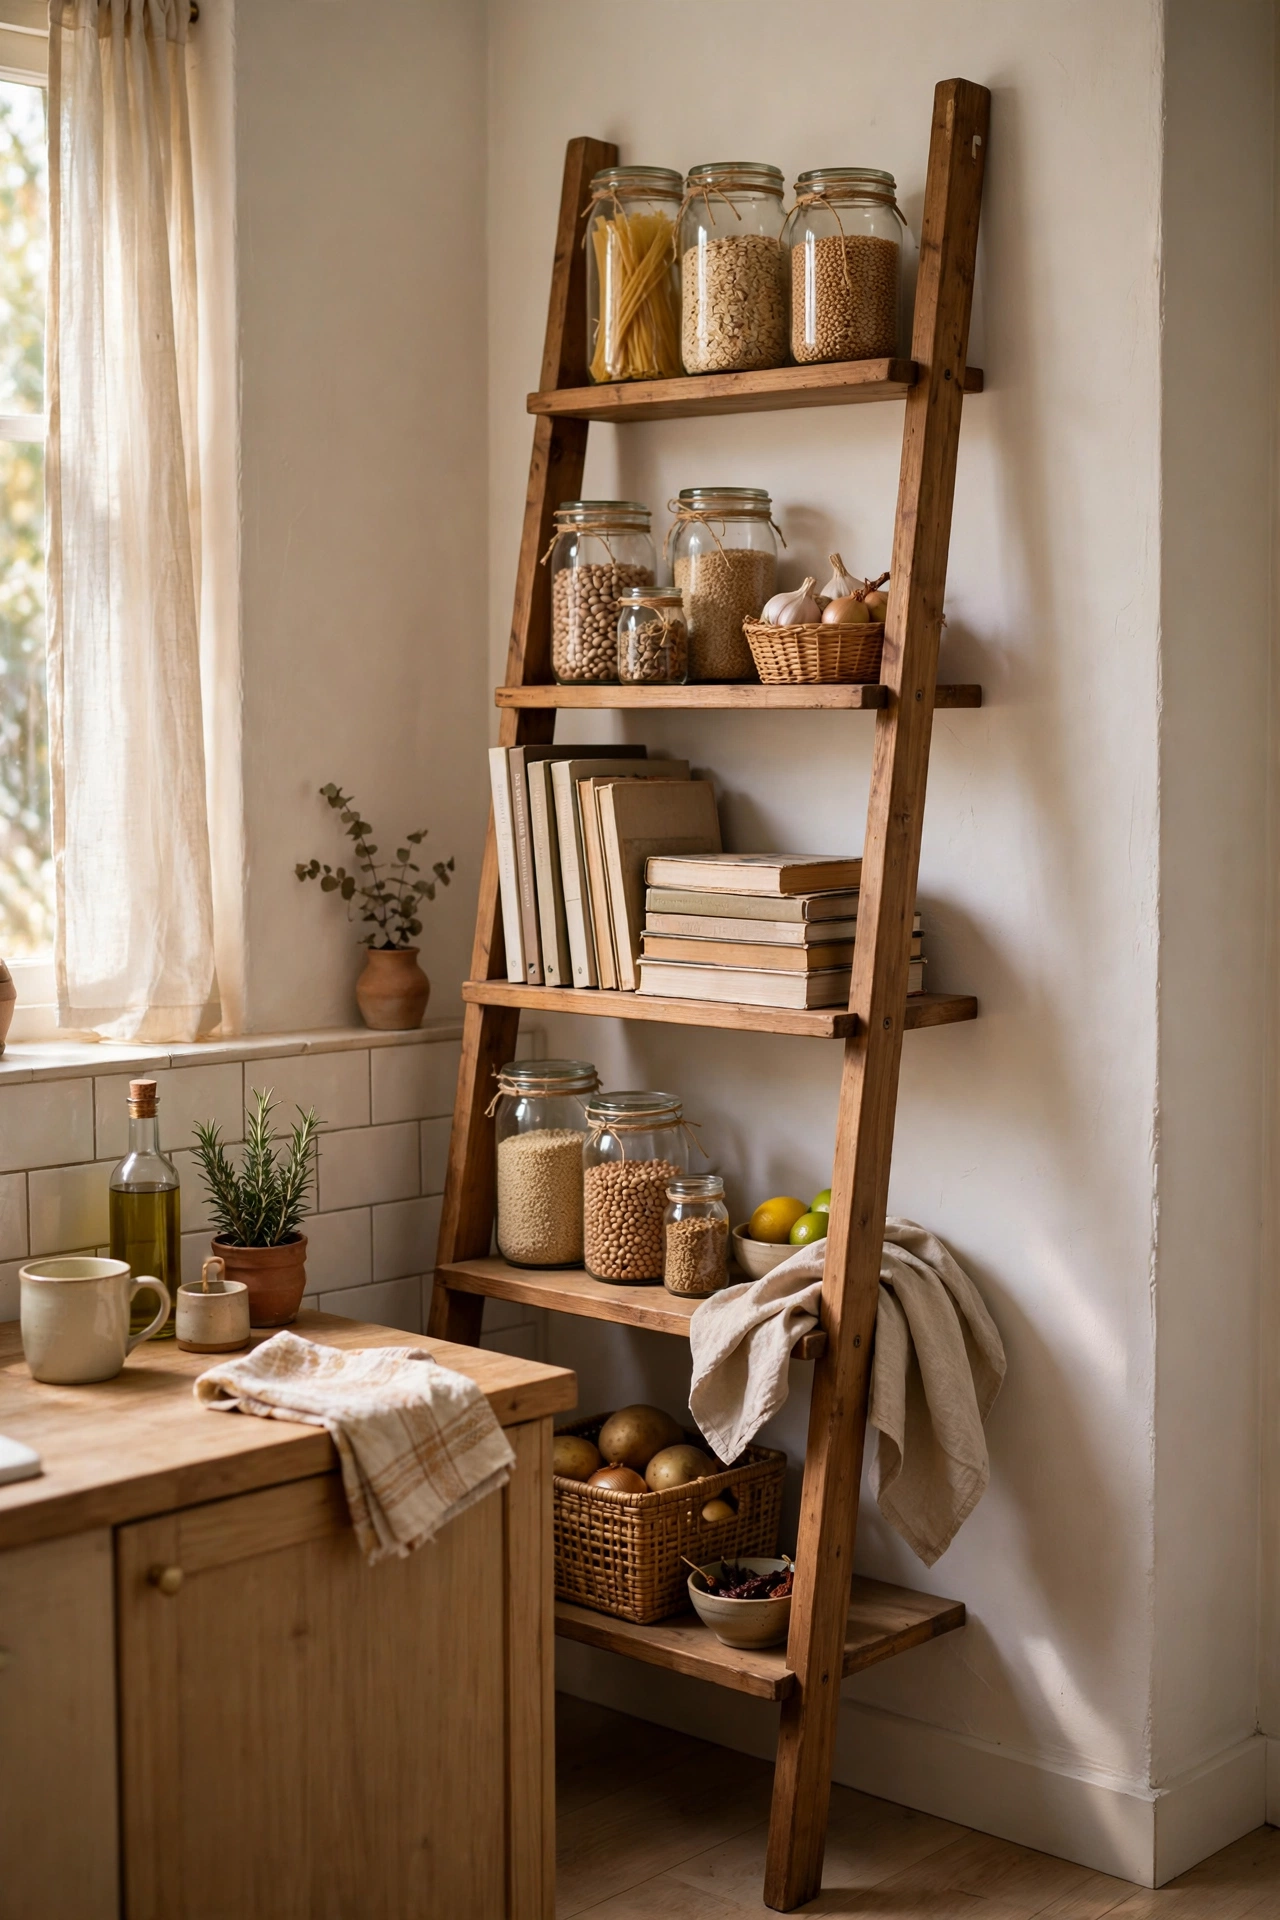
A leaning ladder shelf takes up almost no floor space but gives you five or six shelves of storage going straight up the wall. Use it in the kitchen for jars and cookbooks, in the bathroom for towels and toiletries, or by the desk for stationery and plants. Baskets on the lower shelves hide the less pretty things, while the top shelves can hold items you use daily. I tried this in a tiny kitchen — the mistake to avoid is overloading the top shelf, because a leaning shelf tips if the weight sits too high. Heavy things low, light things high, and it stays steady.
Cost: ~$35 | Time: 30 minutes
Pro tip: Anchor the top of a ladder shelf to the wall with a small hook if you have children or pets bumping past it.
6. Store Shoes in a Bench With a Lid
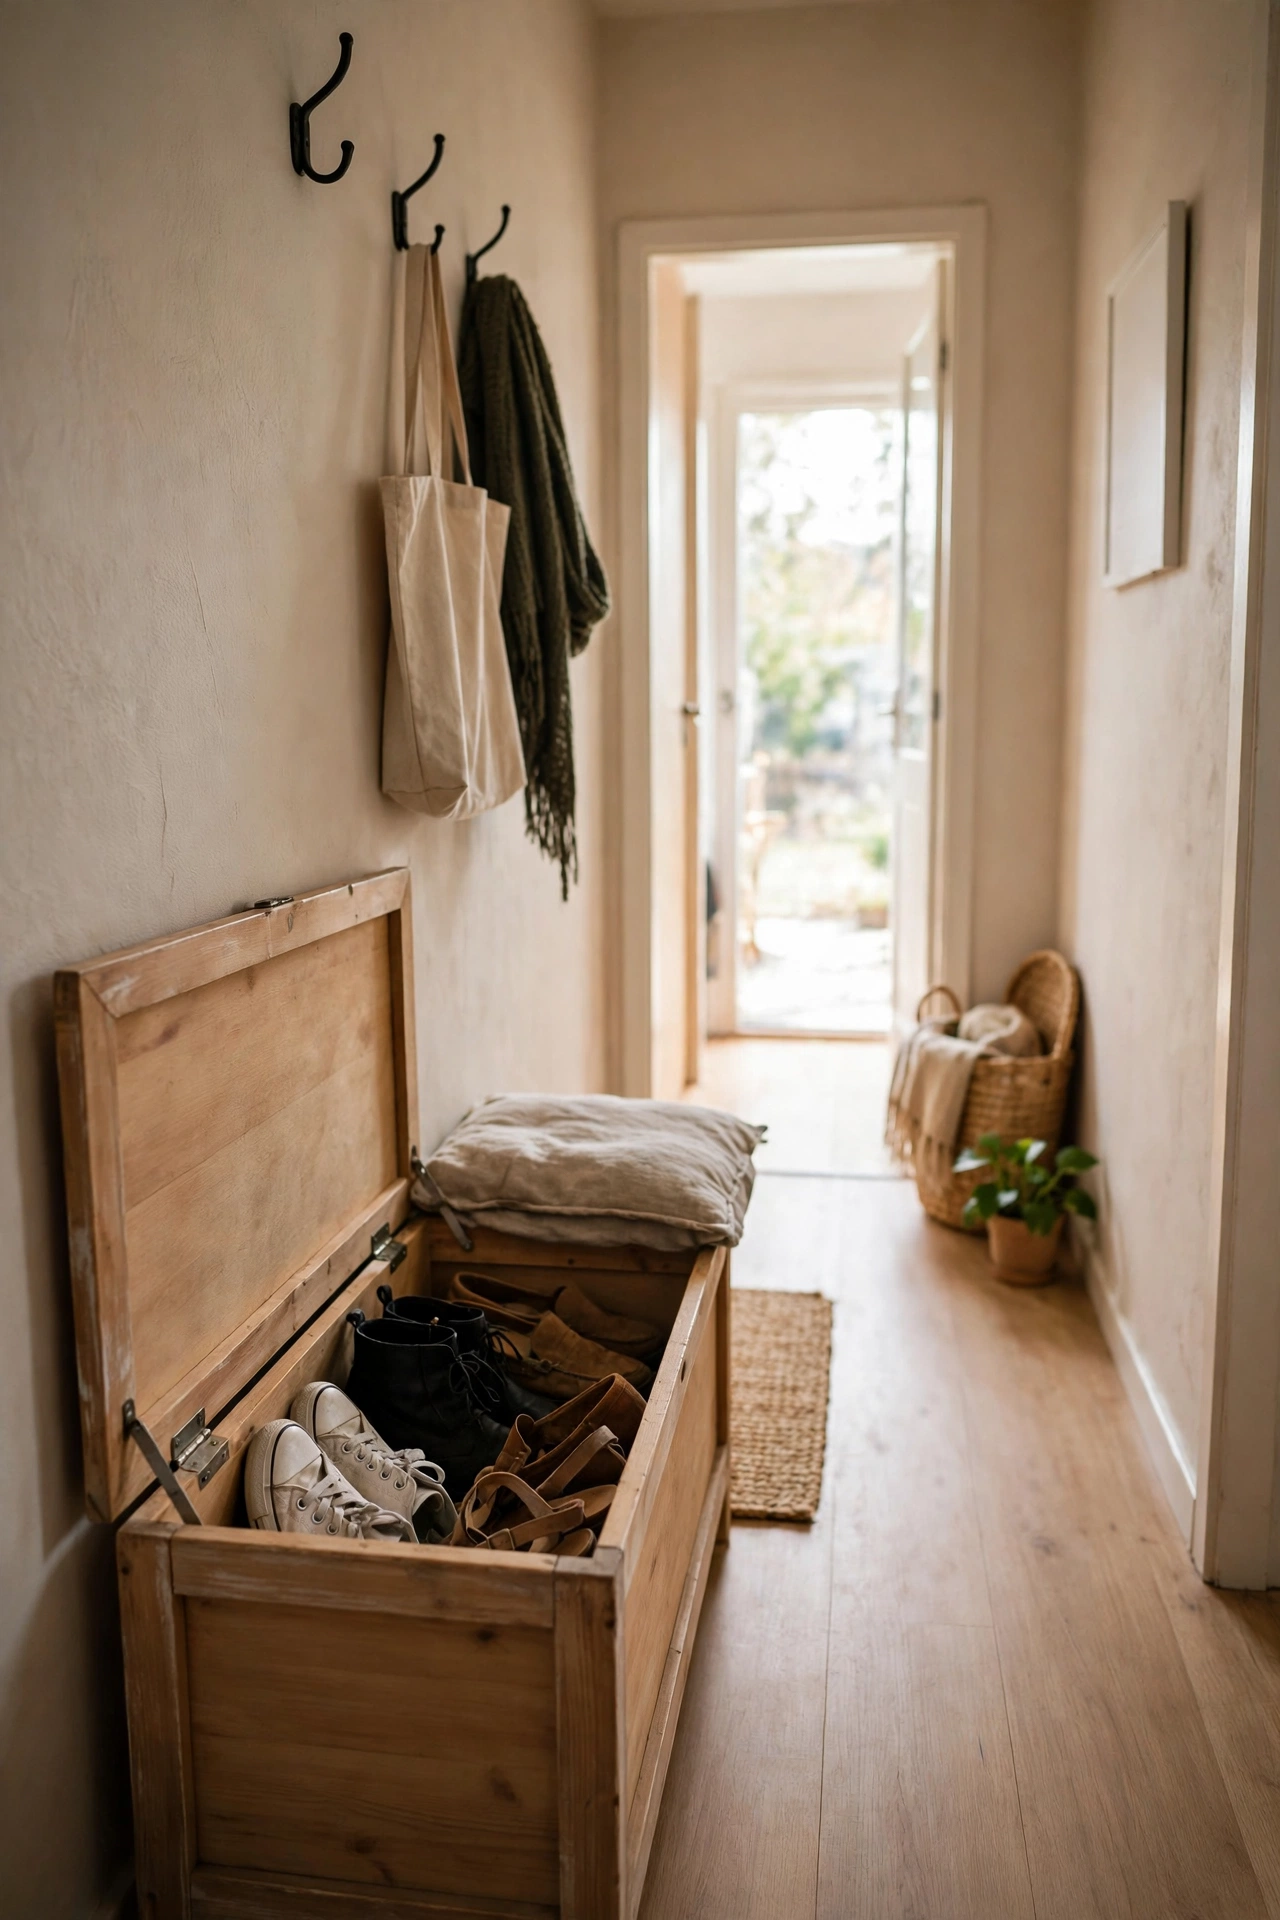
Shoes by the front door are the fastest way to make a small home look messy, and a storage bench solves the mess and the seating problem at once. Lift the lid, drop the shoes in, and sit down to put them on — no more hopping around on one foot. Choose a bench that fits your hallway width and holds at least two pairs per person. I bought a secondhand bench, added a cushion, and suddenly guests had somewhere to sit and the hallway stayed clear. Save this idea for your small-space board — it is the one change visitors notice the moment they walk in.
Cost: ~$45 | Time: 20 minutes
7. Use Tension Rods to Divide Deep Cabinets
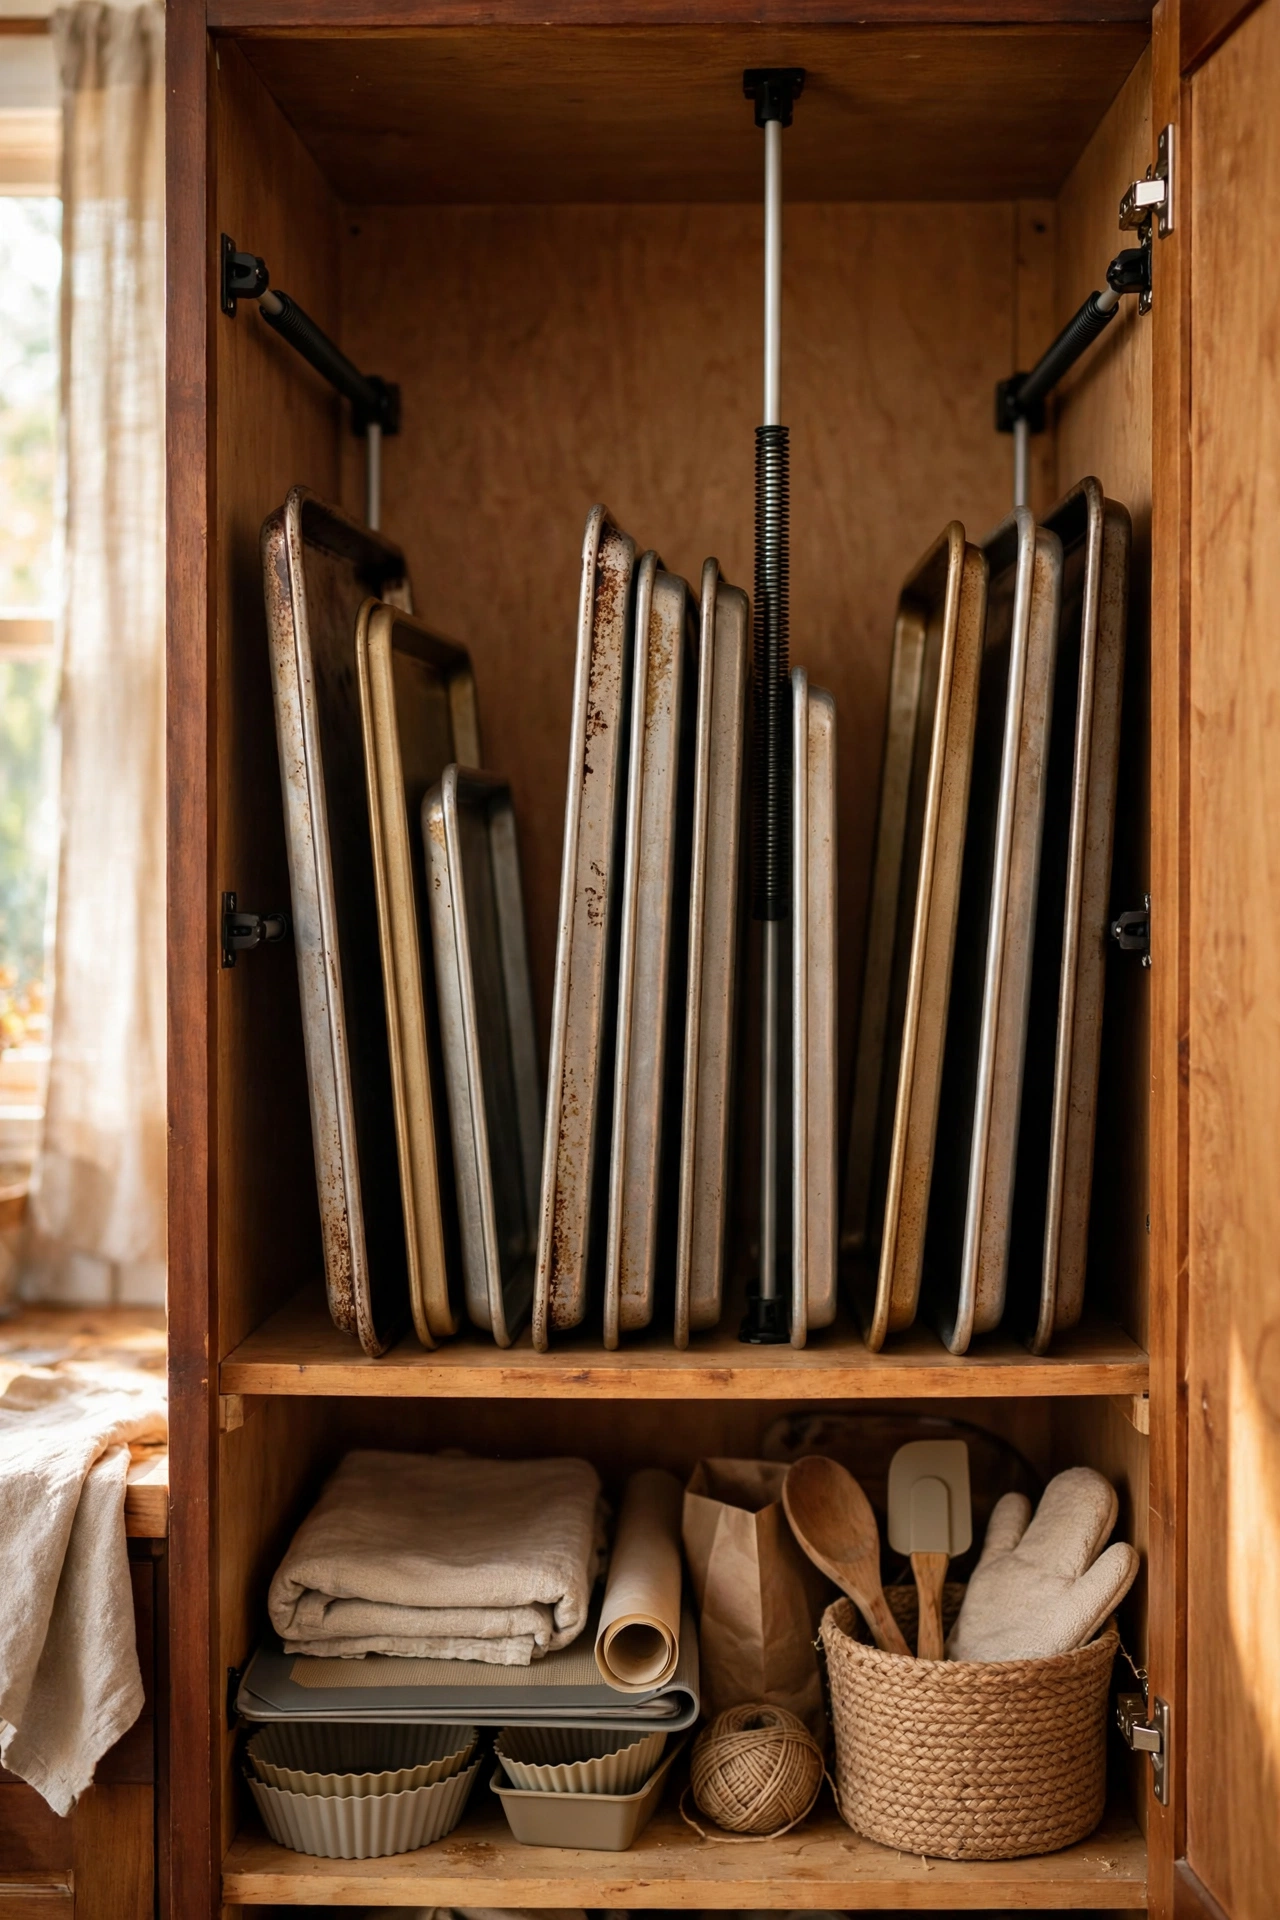
Deep cabinets swallow baking trays and chopping boards, which end up stacked flat and impossible to reach without moving everything. A tension rod wedged vertically inside the cabinet creates a divider that keeps trays upright and easy to grab. Place two or three rods to make slots, and slide trays in like files in a drawer. No drilling, no damage, and the rods cost almost nothing. I divided one chaotic cabinet this way and cooking stopped feeling like an excavation — I could pull out exactly the tray I wanted without a clattering avalanche.
Cost: ~$6 | Time: 15 minutes
Pro tip: Measure the cabinet height before buying rods, since a rod that is too short will slip the first time you pull a tray out.
8. Hang Baskets From the Ceiling in the Kitchen
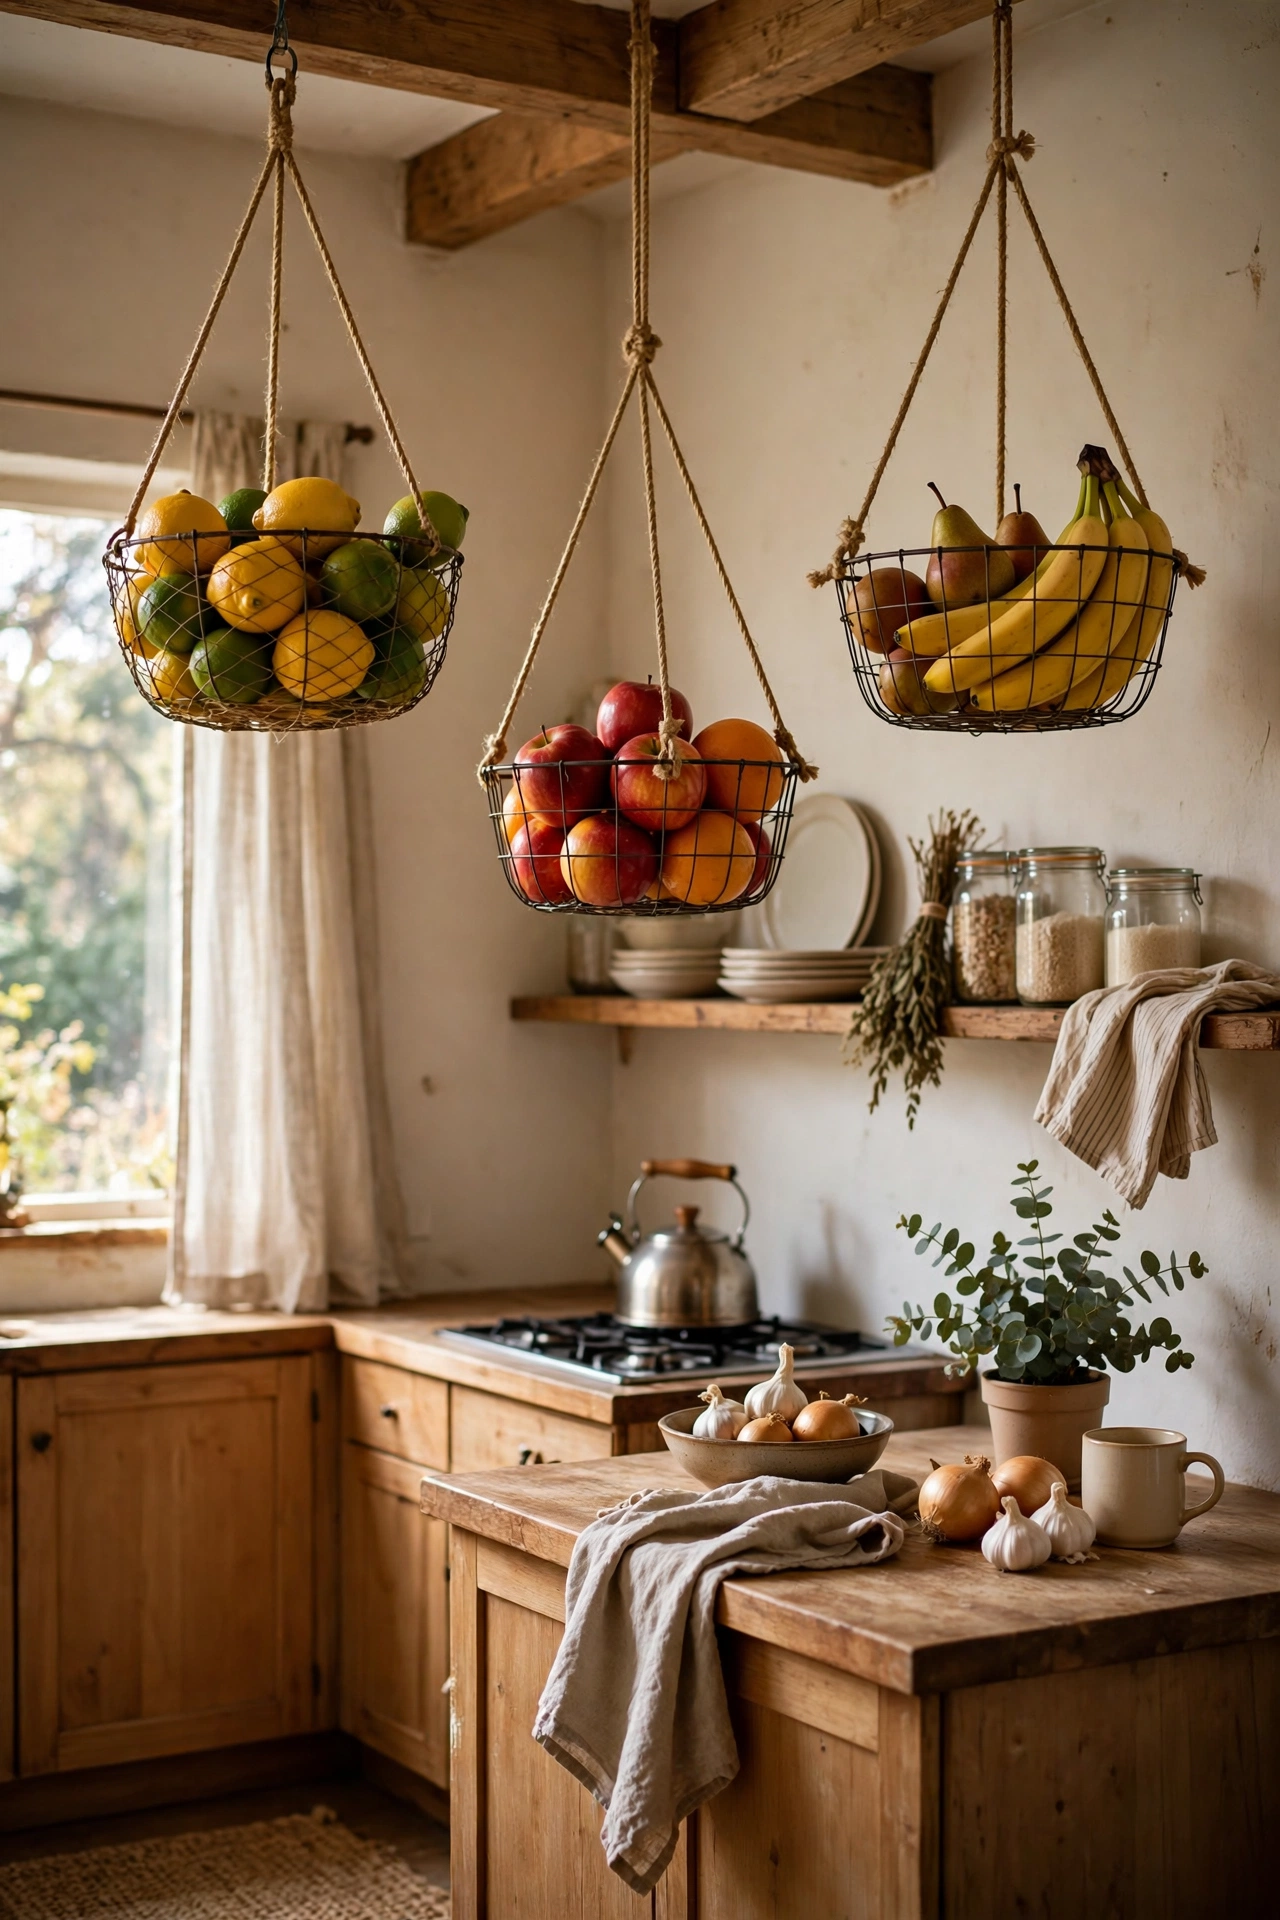
When counter and cupboard space run out, the ceiling is the last frontier, and hanging baskets use it beautifully. A sturdy hook and a wire basket hold fruit, onions, or kitchen cloths above a counter or island, freeing a whole bowl’s worth of surface. Hang them where headroom allows — over a counter, never over a walkway — and keep them light so nothing swings dangerously. I hung two baskets over my prep area, and the fruit bowl finally left the counter for good. It also looks charming, like a market stall in miniature.
Cost: ~$15 | Time: 30 minutes
9. Add a Fold-Down Desk That Hides Clutter
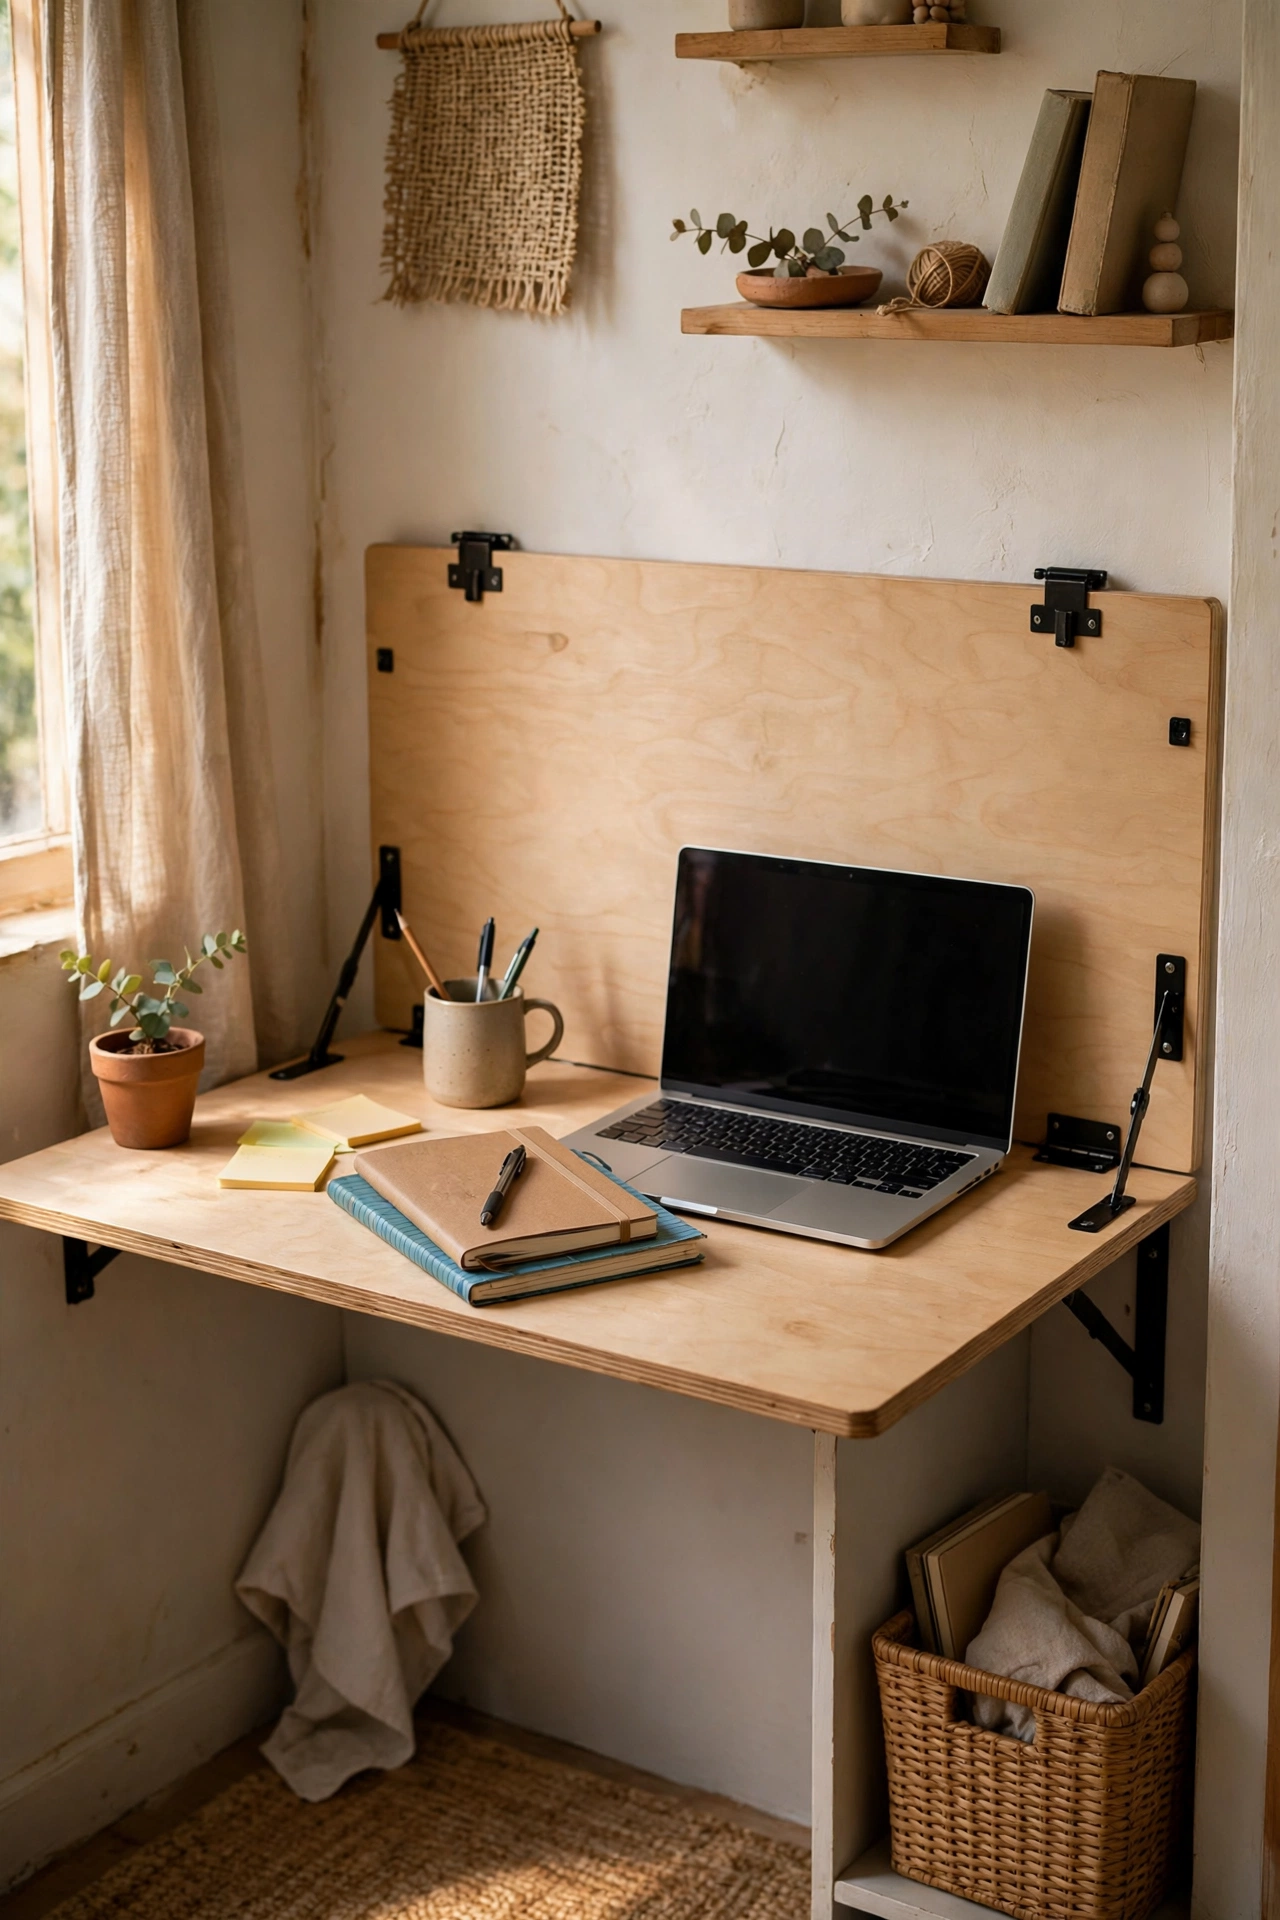
Working from a small home usually means a laptop permanently camped on the dining table, and a fold-down wall desk gives that work a proper home that disappears after hours. Mount it at a comfortable height, add a small shelf above for notebooks, and fold it away when dinner is ready. Keep only the daily essentials inside so closing it stays easy. I fitted one in a hallway nook during a busy work year, and the ritual of folding it away at six o’clock genuinely helped me switch off. For more work-from-home ideas, see my (see also: small-home-office-ideas) post.
Cost: ~$40 | Time: 1 hour
Pro tip: Choose a desk with a lip or rail so pens and chargers do not slide off when you fold it up.
10. Corral Small Items in Drawer Dividers
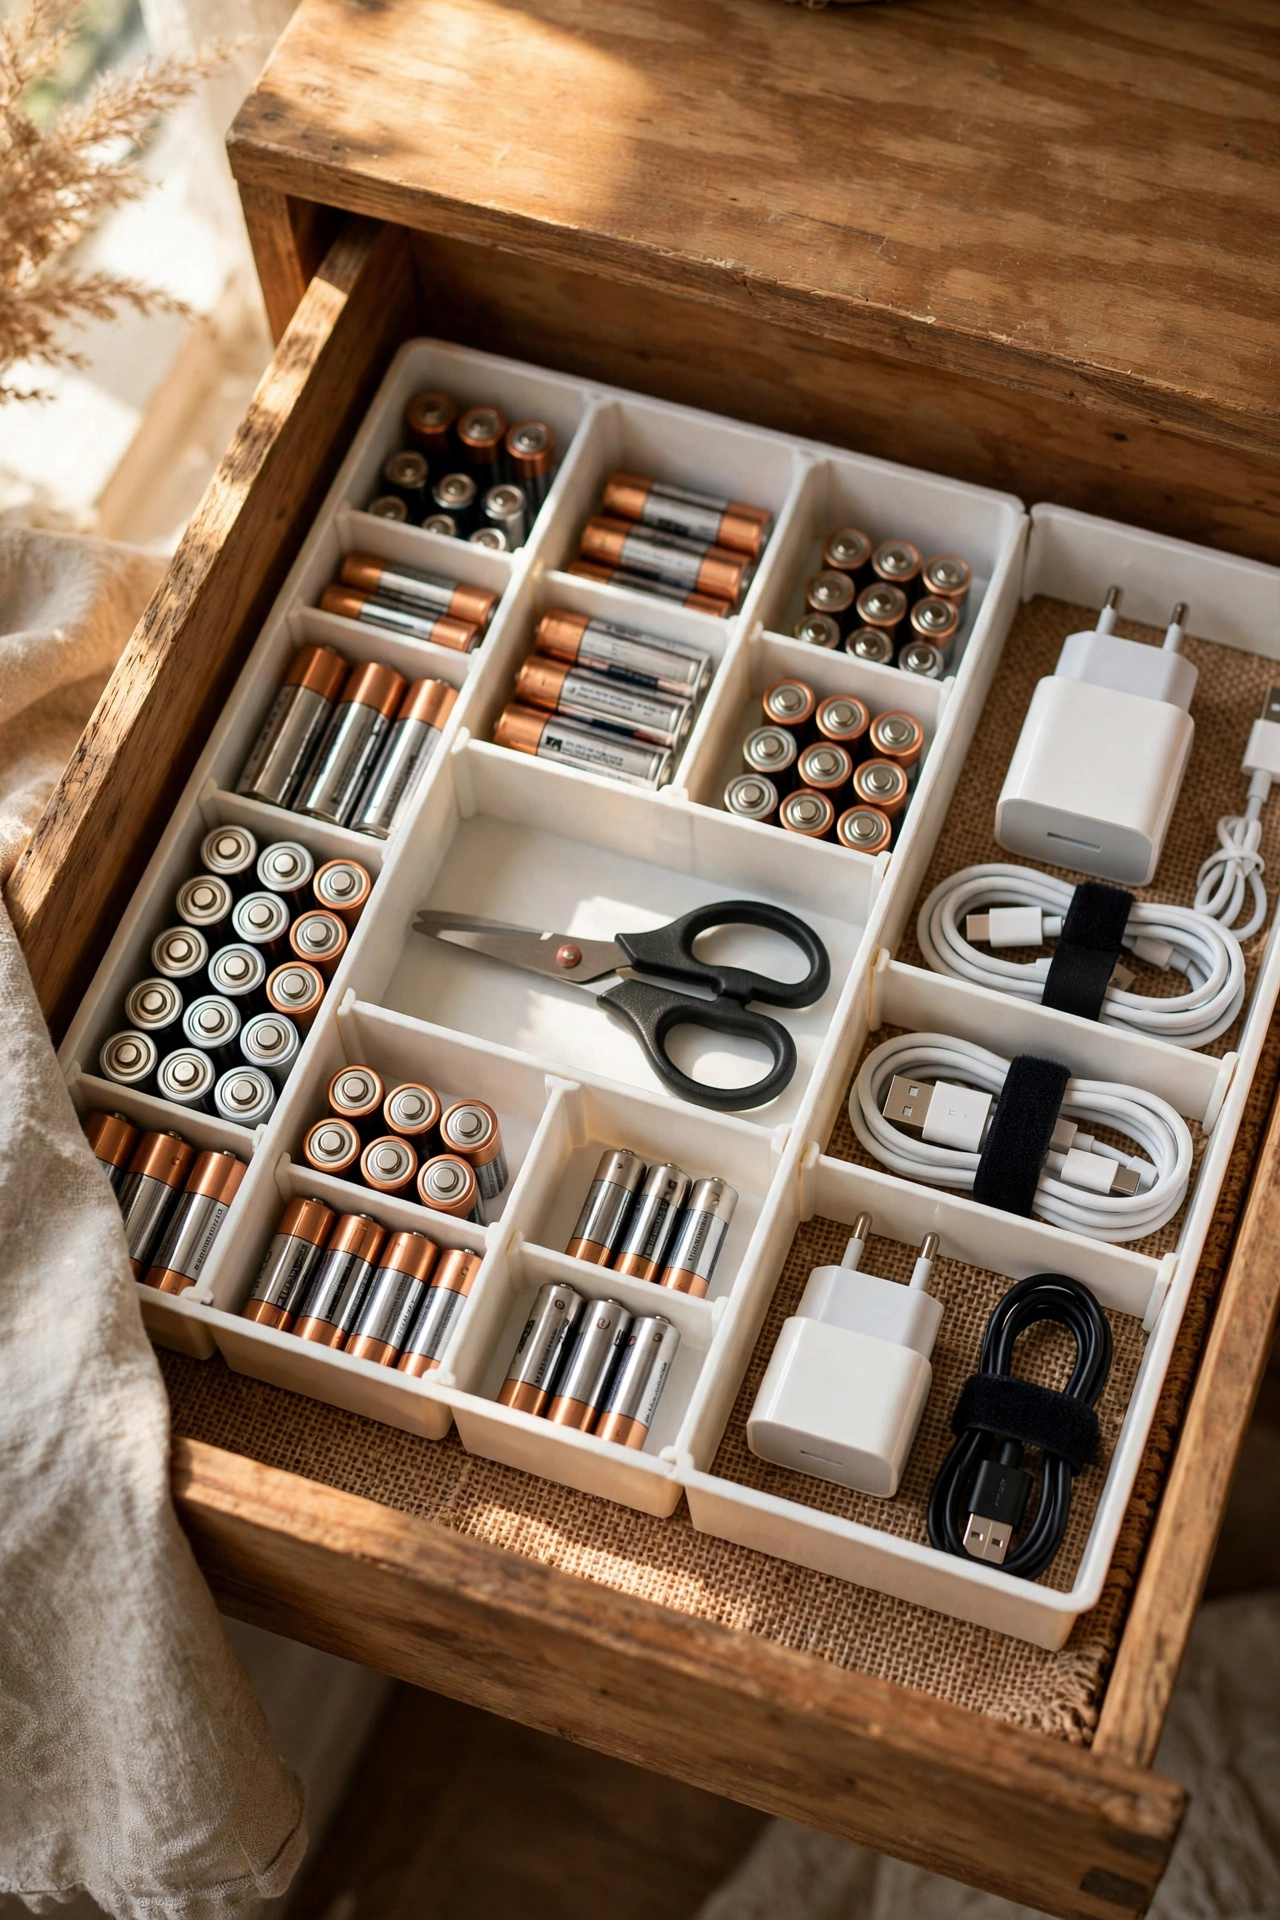
Junk drawers are not inevitable — they are just drawers without a plan. Adjustable dividers turn one messy drawer into neat zones for batteries, scissors, tape, chargers, and keys, so you stop buying duplicates of things you already own. Measure the drawer first, then fit the dividers snugly so they do not slide around. I divided my hallway drawer into five sections, and finding a battery now takes seconds instead of a full rummage. The best part is how calming it feels to open a drawer and see order instead of a tangle.
Cost: ~$10 | Time: 20 minutes
11. Use Magnetic Strips for Small Metal Tools
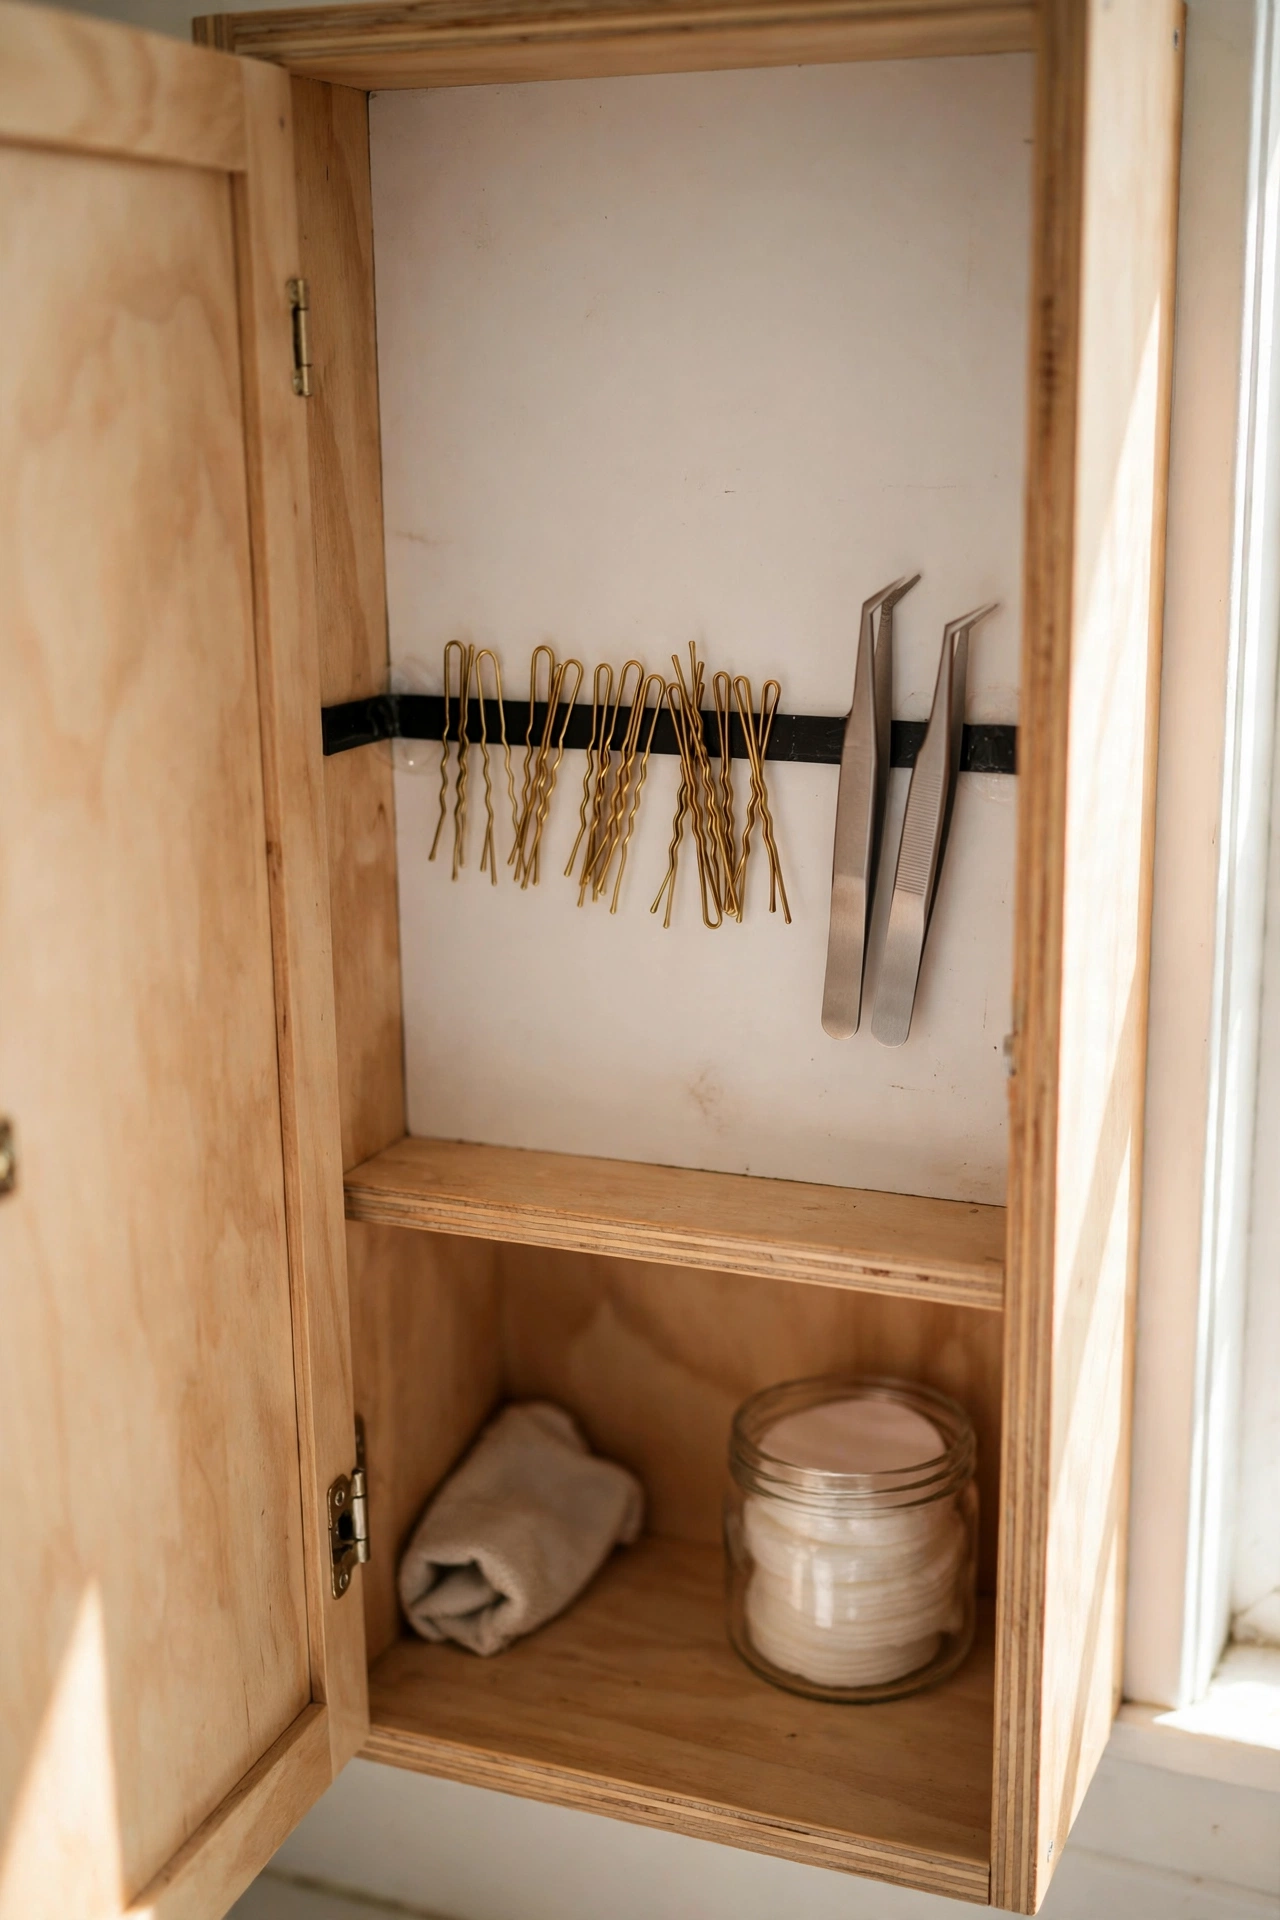
Small metal tools — bobby pins, tweezers, nail clippers, kitchen shears — vanish into drawers and bags, and a magnetic strip keeps them visible and within reach. Stick a strip inside a bathroom cabinet, on a fridge side, or in a craft corner, and the tools snap neatly into place. It takes up no counter space and costs almost nothing. I stuck one inside my bathroom cabinet door for bobby pins, and I have not lost a single one since. Before that, I bought a new pack every month and still never had one when I needed it.
Cost: ~$7 | Time: 10 minutes
Pro tip: Keep magnetic strips away from phones and credit cards if you store them in the same drawer.
12. Stack Pots With a Vertical Lid Organiser
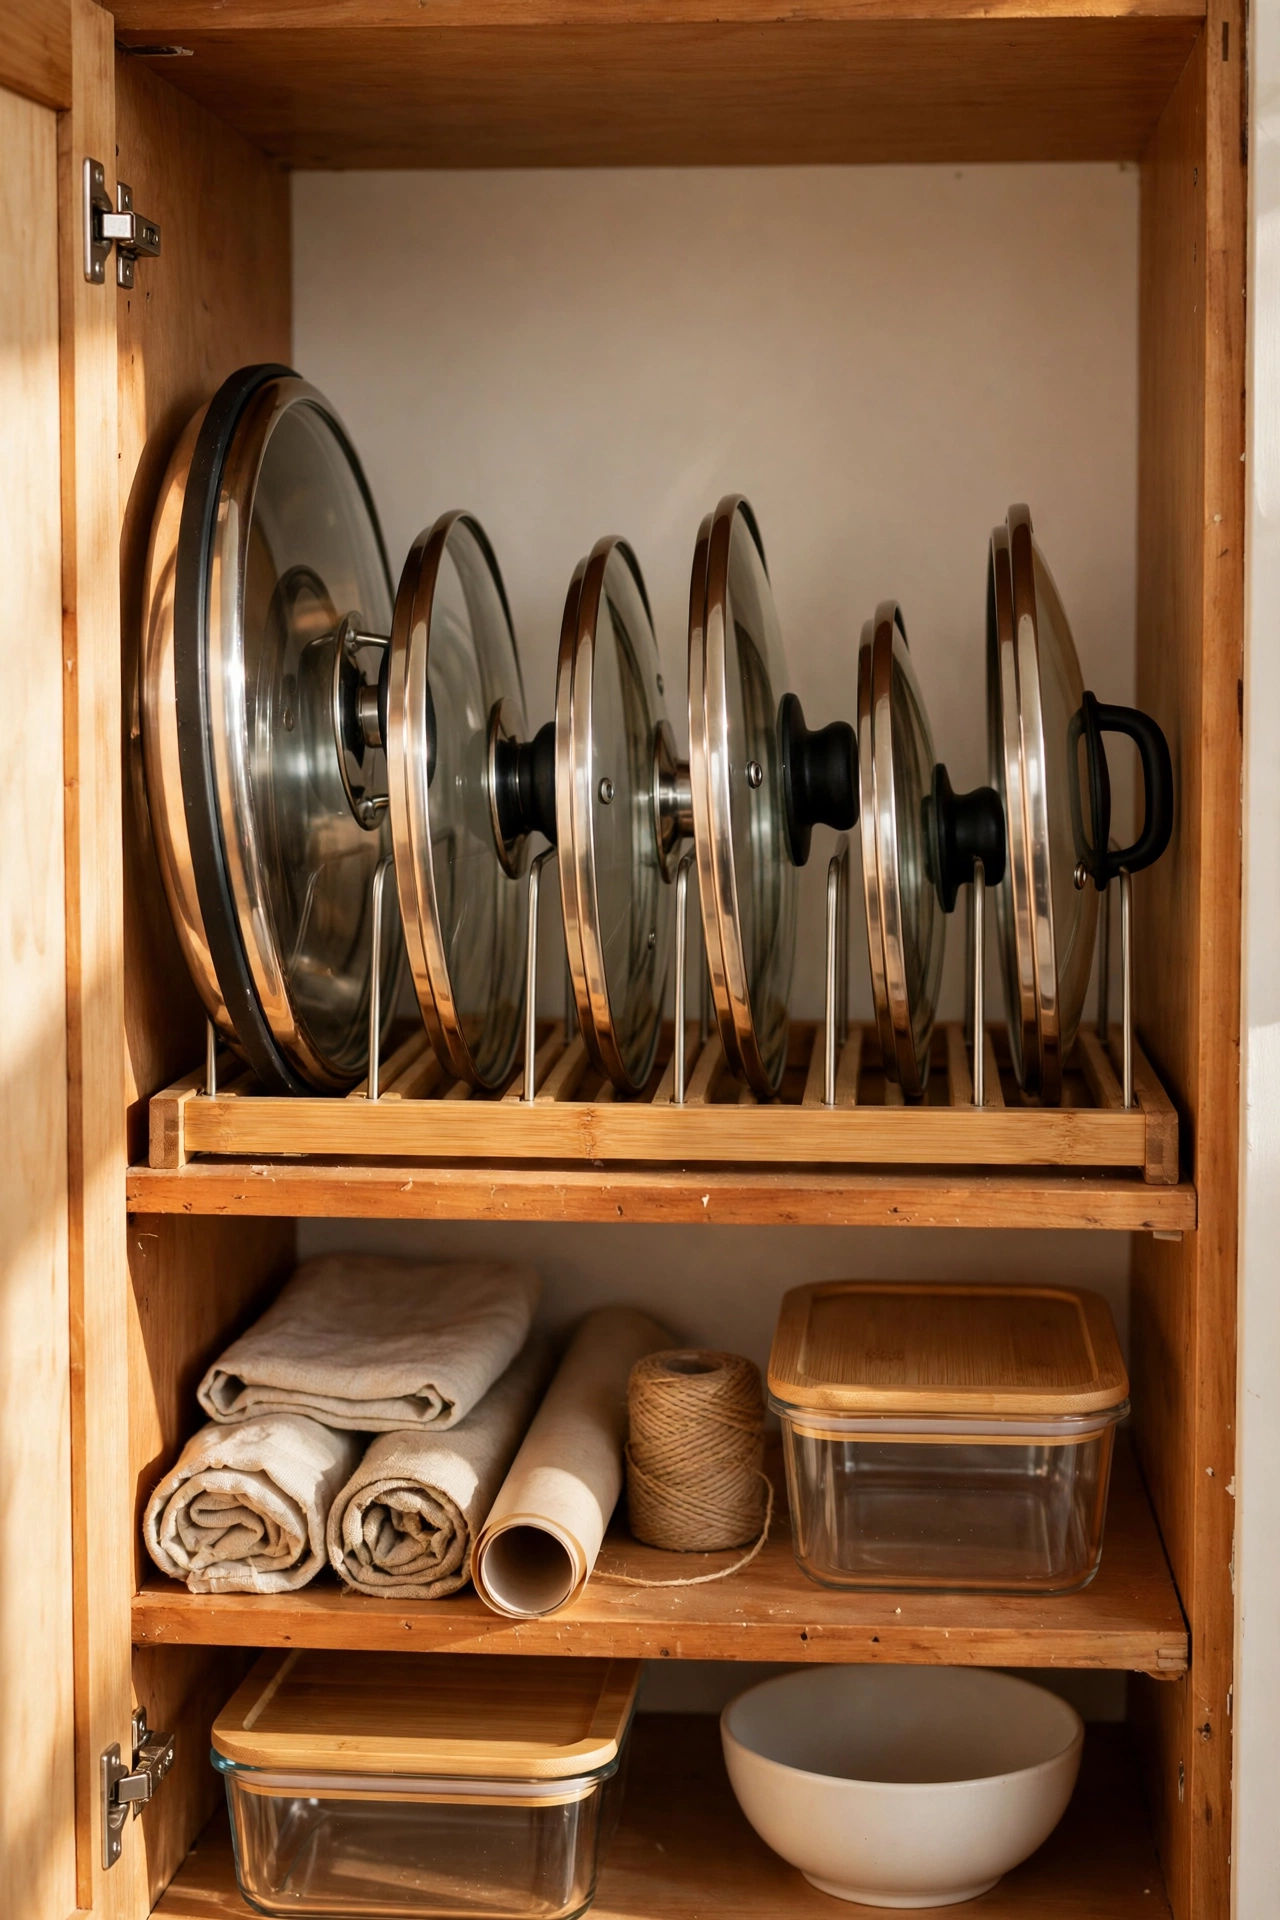
Pot lids are the worst part of kitchen storage: they slide, clatter, and never fit where the pots do. A vertical lid organiser, either freestanding or mounted inside a cupboard door, files lids upright like books so you can grab the right one instantly. Measure your largest lid before buying, and leave a little extra room for the handles. I tried this — the mistake to avoid is buying an organiser sized for your pots rather than your lids, because lids are always wider than you remember. Sized right, it frees a whole shelf for actual cooking gear.
Cost: ~$12 | Time: 15 minutes
13. Turn the Space Above Cabinets Into Sealed Storage
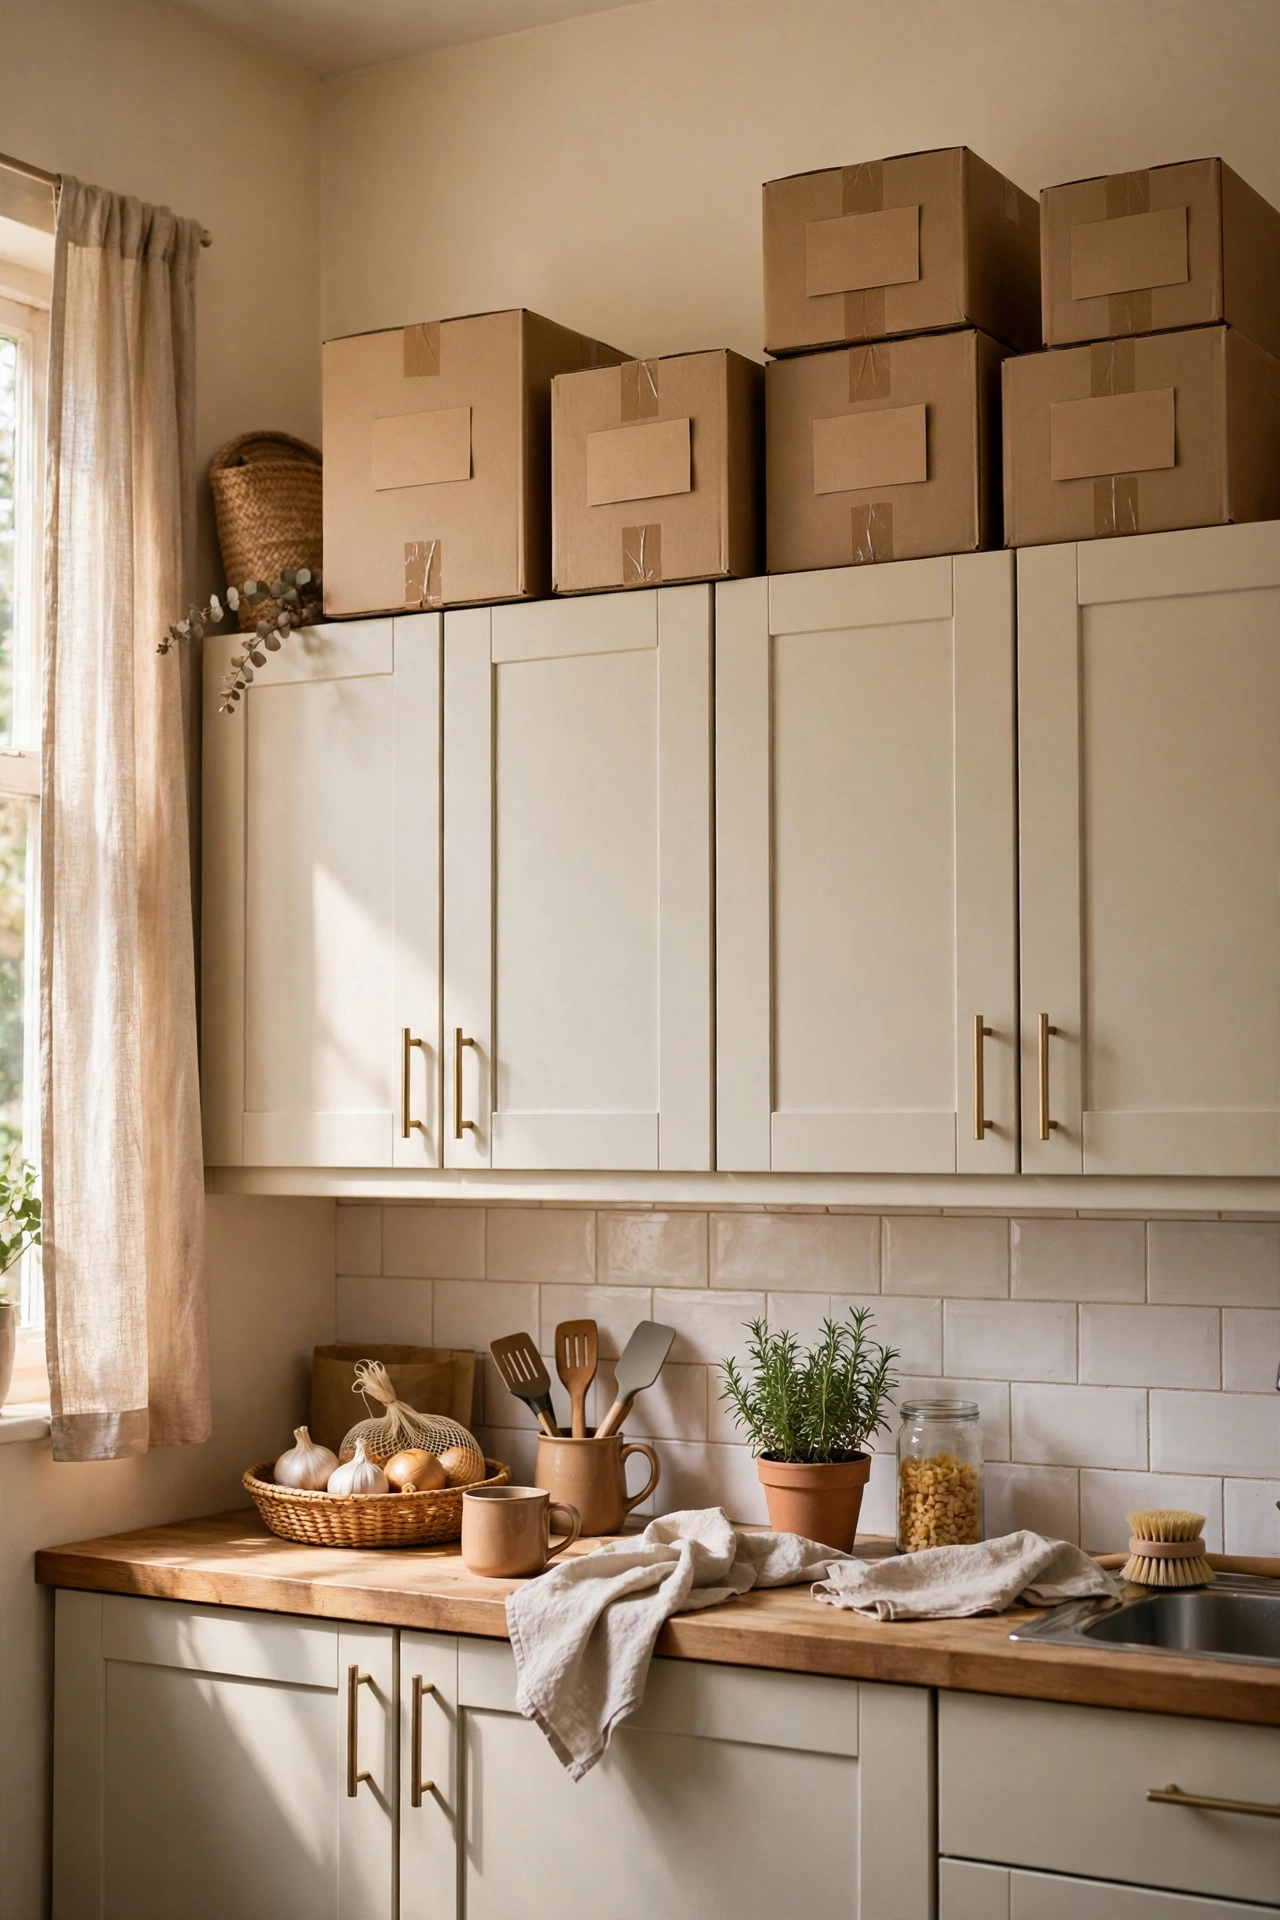
The gap above kitchen cabinets collects dust and little else, but sealed boxes up there hold the things you use a few times a year — the turkey roaster, the picnic set, the holiday baking tins. Use boxes with lids so dust stays out, and label the fronts clearly since you will be reaching up blind. Keep a small step stool nearby so the storage actually gets used. I moved my rarely used appliances up there, and the daily cabinets suddenly had breathing room. It is not glamorous storage, but it is free, and it works.
Cost: ~$18 | Time: 1 hour
Pro tip: Photograph the contents of each high box and stick the photo on the front — no more guessing from the floor.
14. Hang a Shoe Organiser on a Pantry Door for Supplies
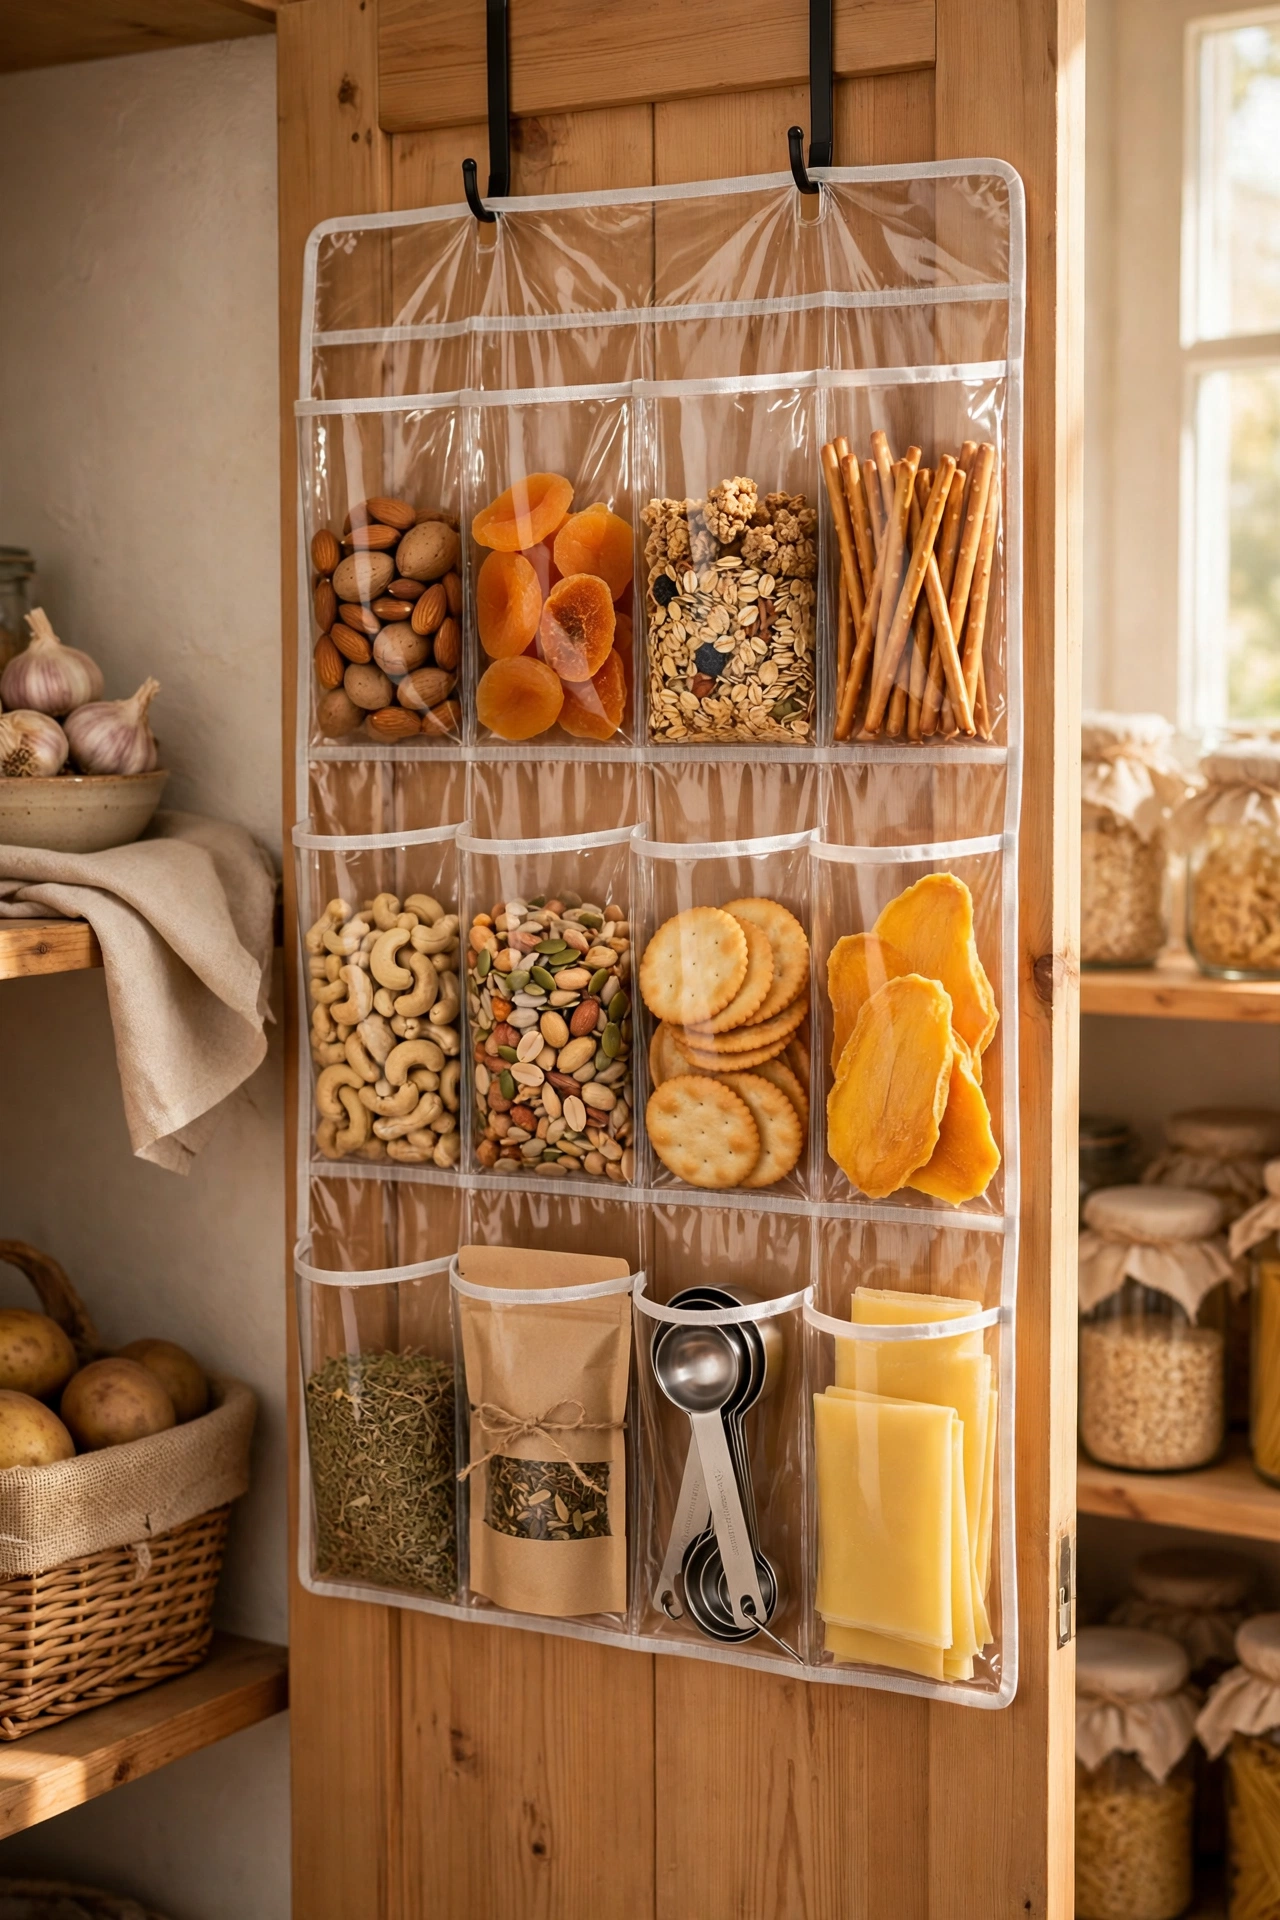
Clear shoe organisers are not just for shoes, and hung on a pantry door they hold snacks, cleaning supplies, craft bits, or first-aid items in see-through pockets. Everything is visible at a glance, nothing gets buried at the back of a shelf, and small items finally have a place that is not a jumbled drawer. Cut the organiser to fit if your door is short, and keep heavier items in the lower pockets so the door swings easily. My pantry door organiser holds everything from spare batteries to dog treats, and grocery shopping got easier because I can see what I actually have.
Cost: ~$9 | Time: 10 minutes
15. Use a Rolling Cart in the Bathroom Gap
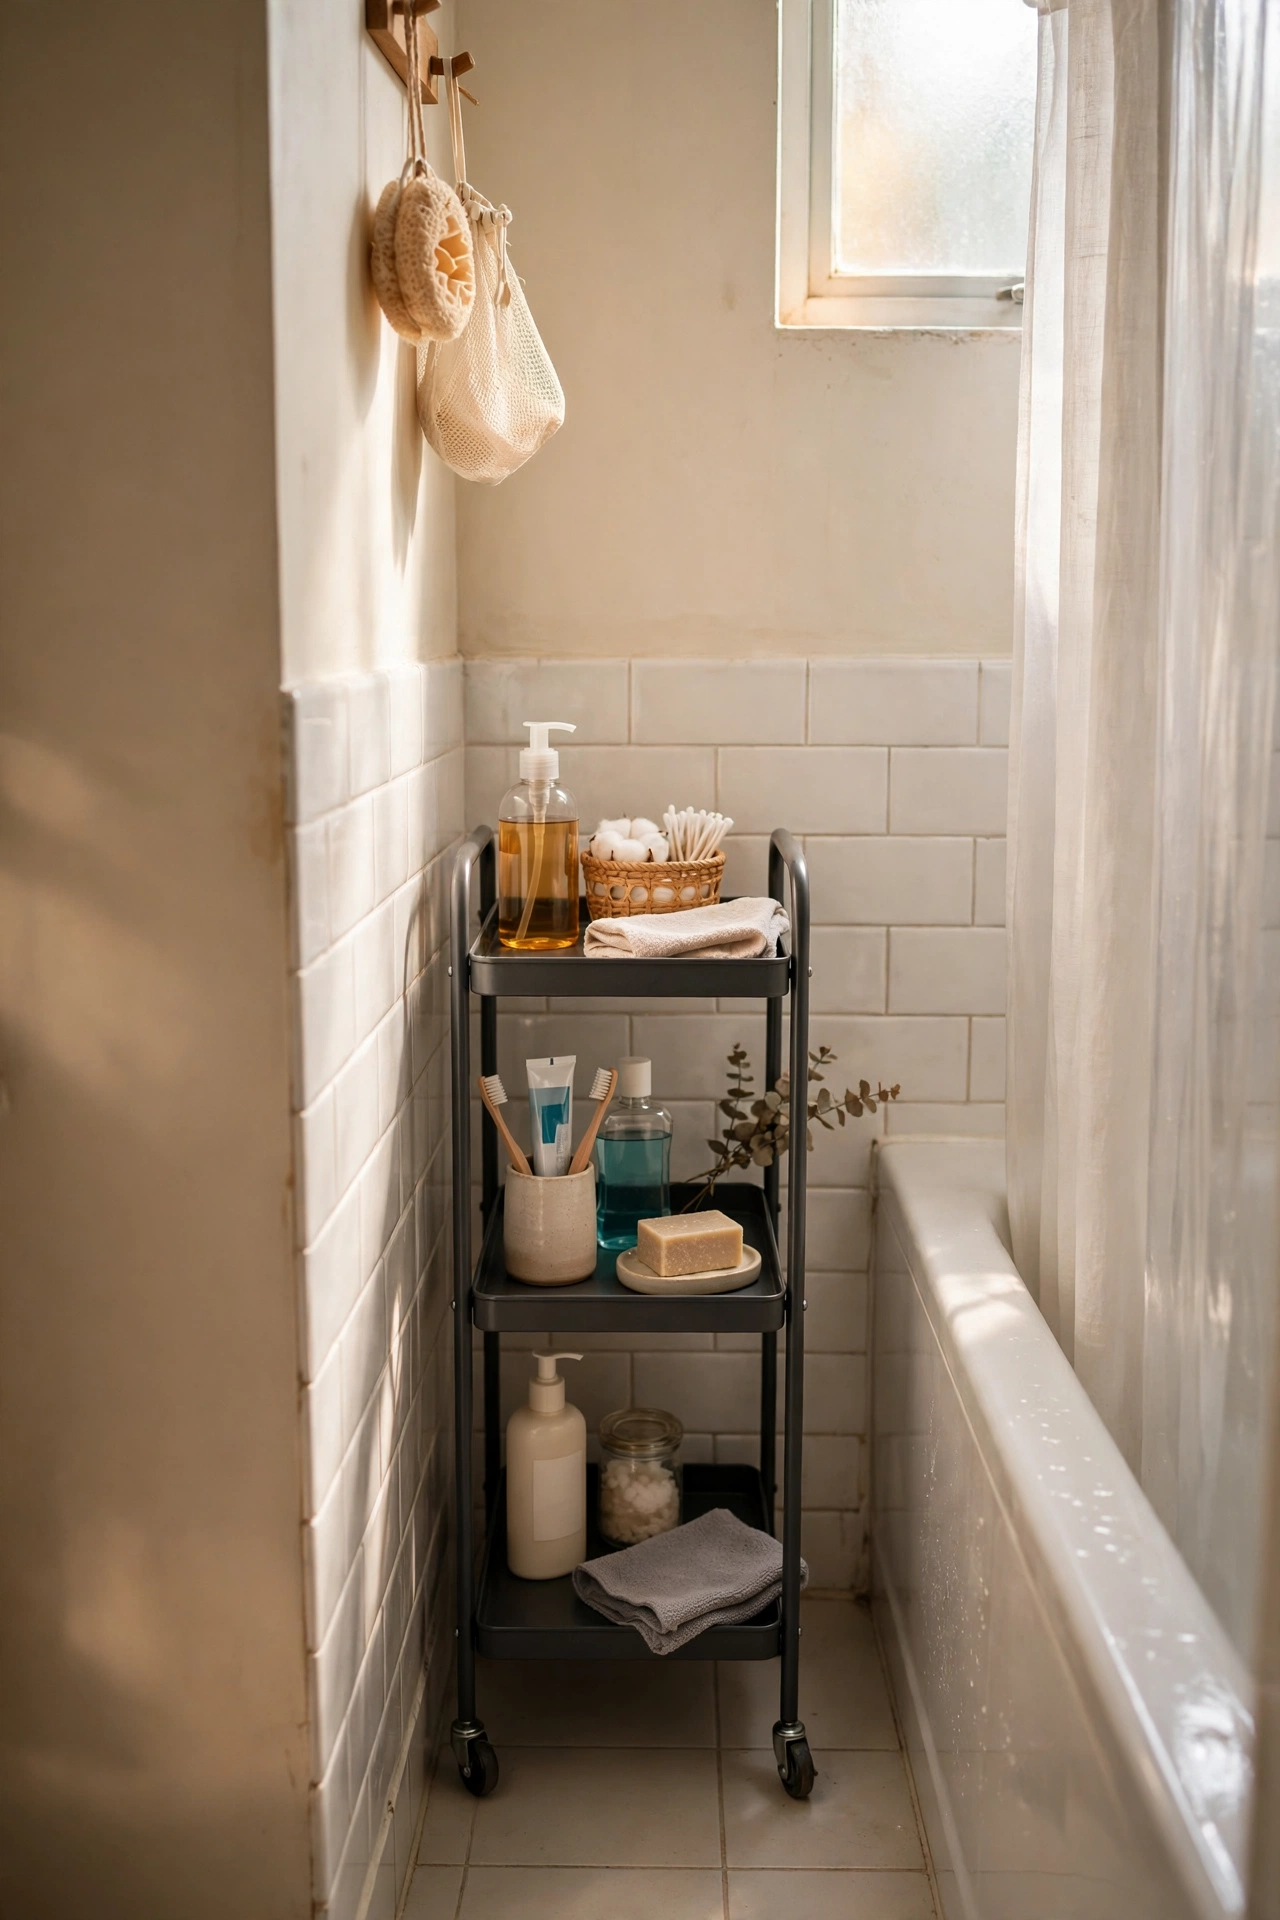
Most bathrooms have a narrow gap between the toilet and the wall or vanity that fits nothing — except a slim rolling cart, which was made for exactly that space. Three or four tiers hold toilet paper, cleaning sprays, and toiletries, and the cart rolls out when you need something and tucks away when you do not. Measure the gap carefully, allowing a little clearance on each side so it rolls smoothly. For more bathroom storage ideas, see my (see also: small-bathroom-storage-ideas) post. I slid one into a gap I had ignored for years, and it now holds an entire shelf’s worth of supplies.
Cost: ~$16 | Time: 15 minutes
Pro tip: Put the heaviest items on the bottom tier so a slim cart stays stable when you roll it out.
16. Add Hooks Under Shelves for Mugs and Tools
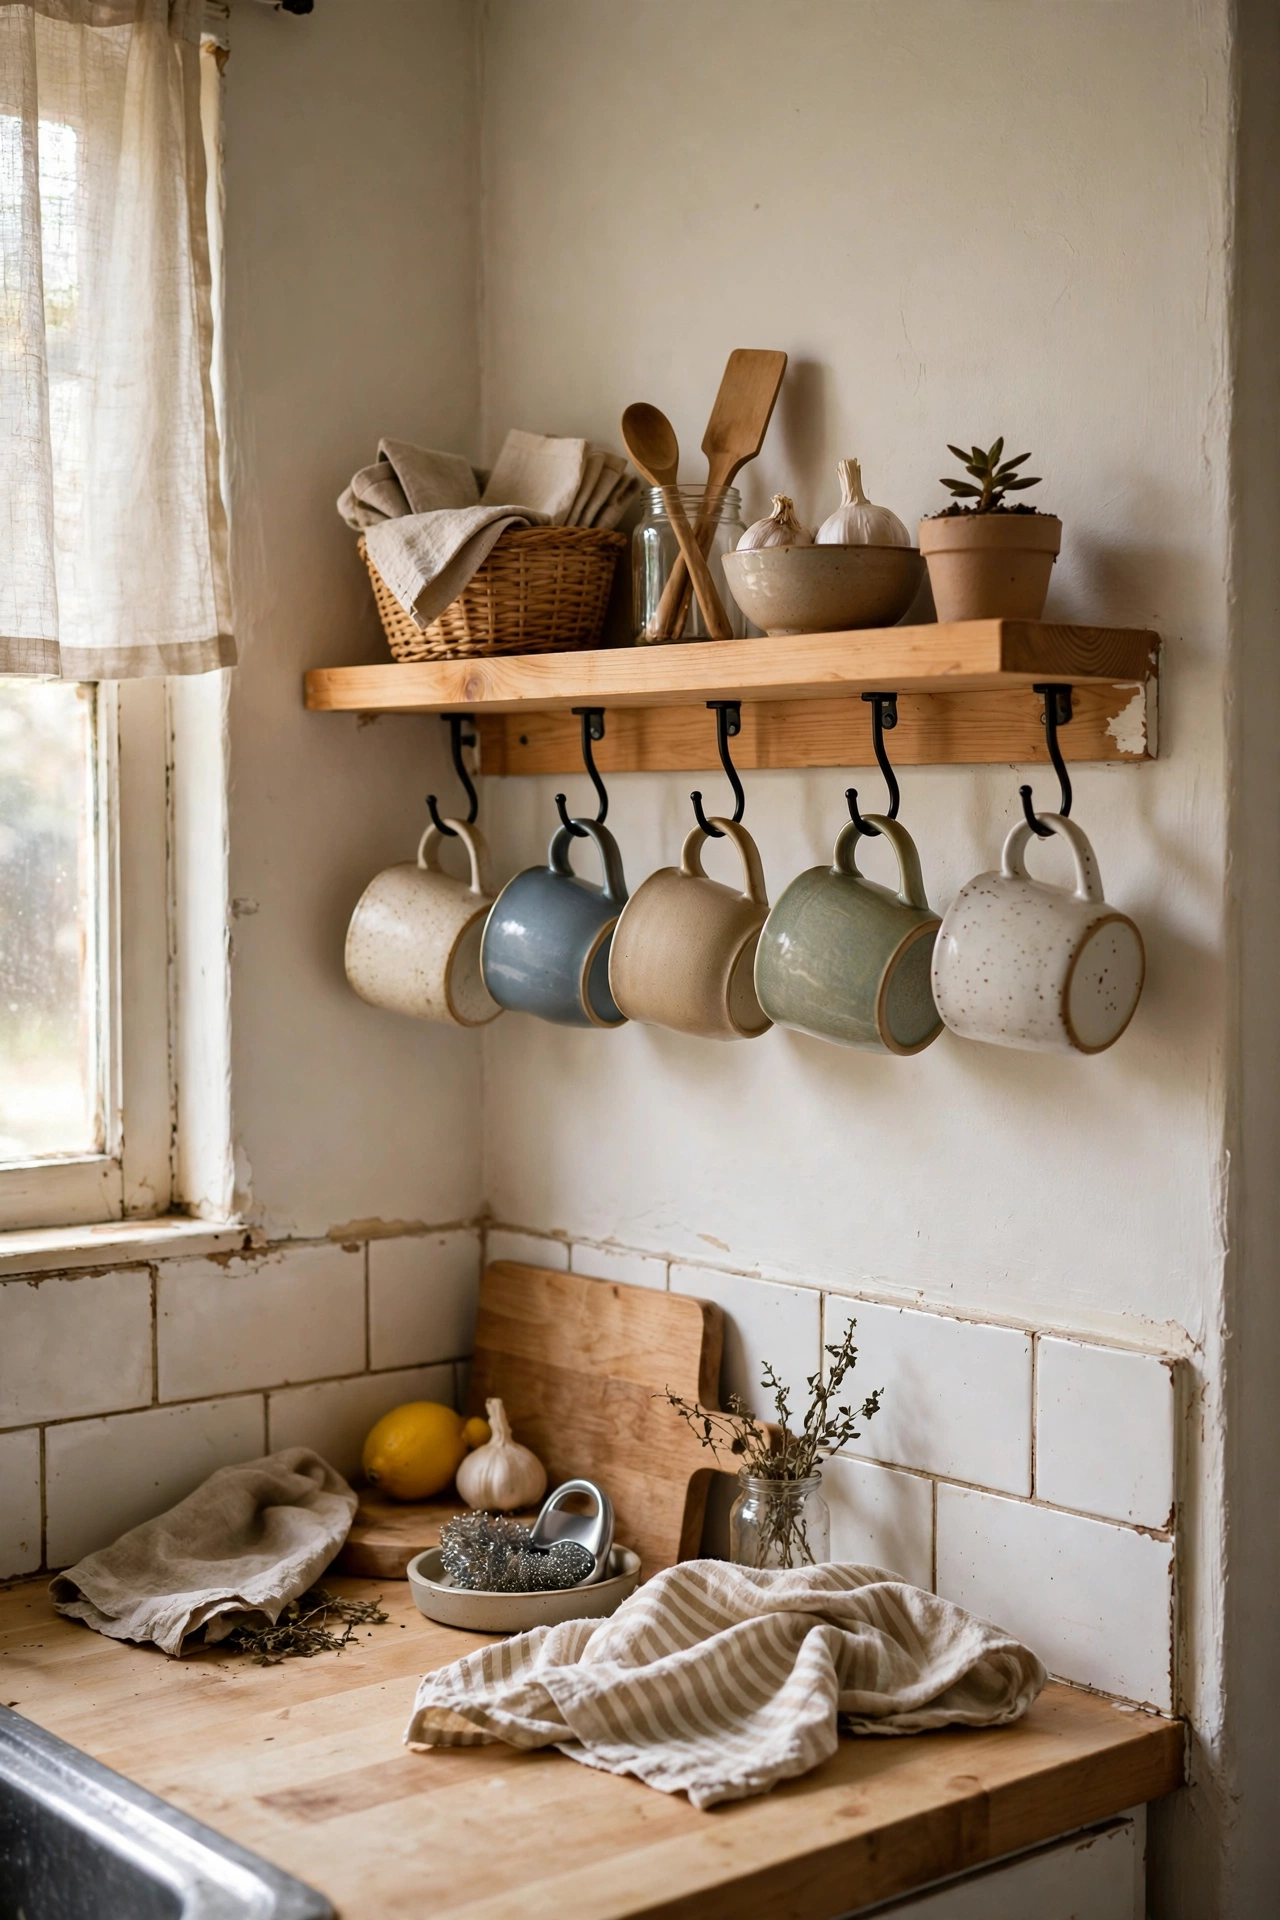
The underside of a shelf is free storage hiding in plain sight, and small screw-in or adhesive hooks turn it into a home for mugs, measuring cups, or hand tools. In the kitchen, mugs hang below a shelf instead of filling a cupboard; in a workshop corner, tools hang where you can see them. Keep the hooks shallow enough that items do not bang into the shelf below. I hung six mugs under one kitchen shelf, and the cupboard they vacated now holds a whole extra set of plates. It is a five-minute job with a payoff you notice every morning.
Cost: ~$5 | Time: 15 minutes
17. Keep One Basket Per Person by the Door
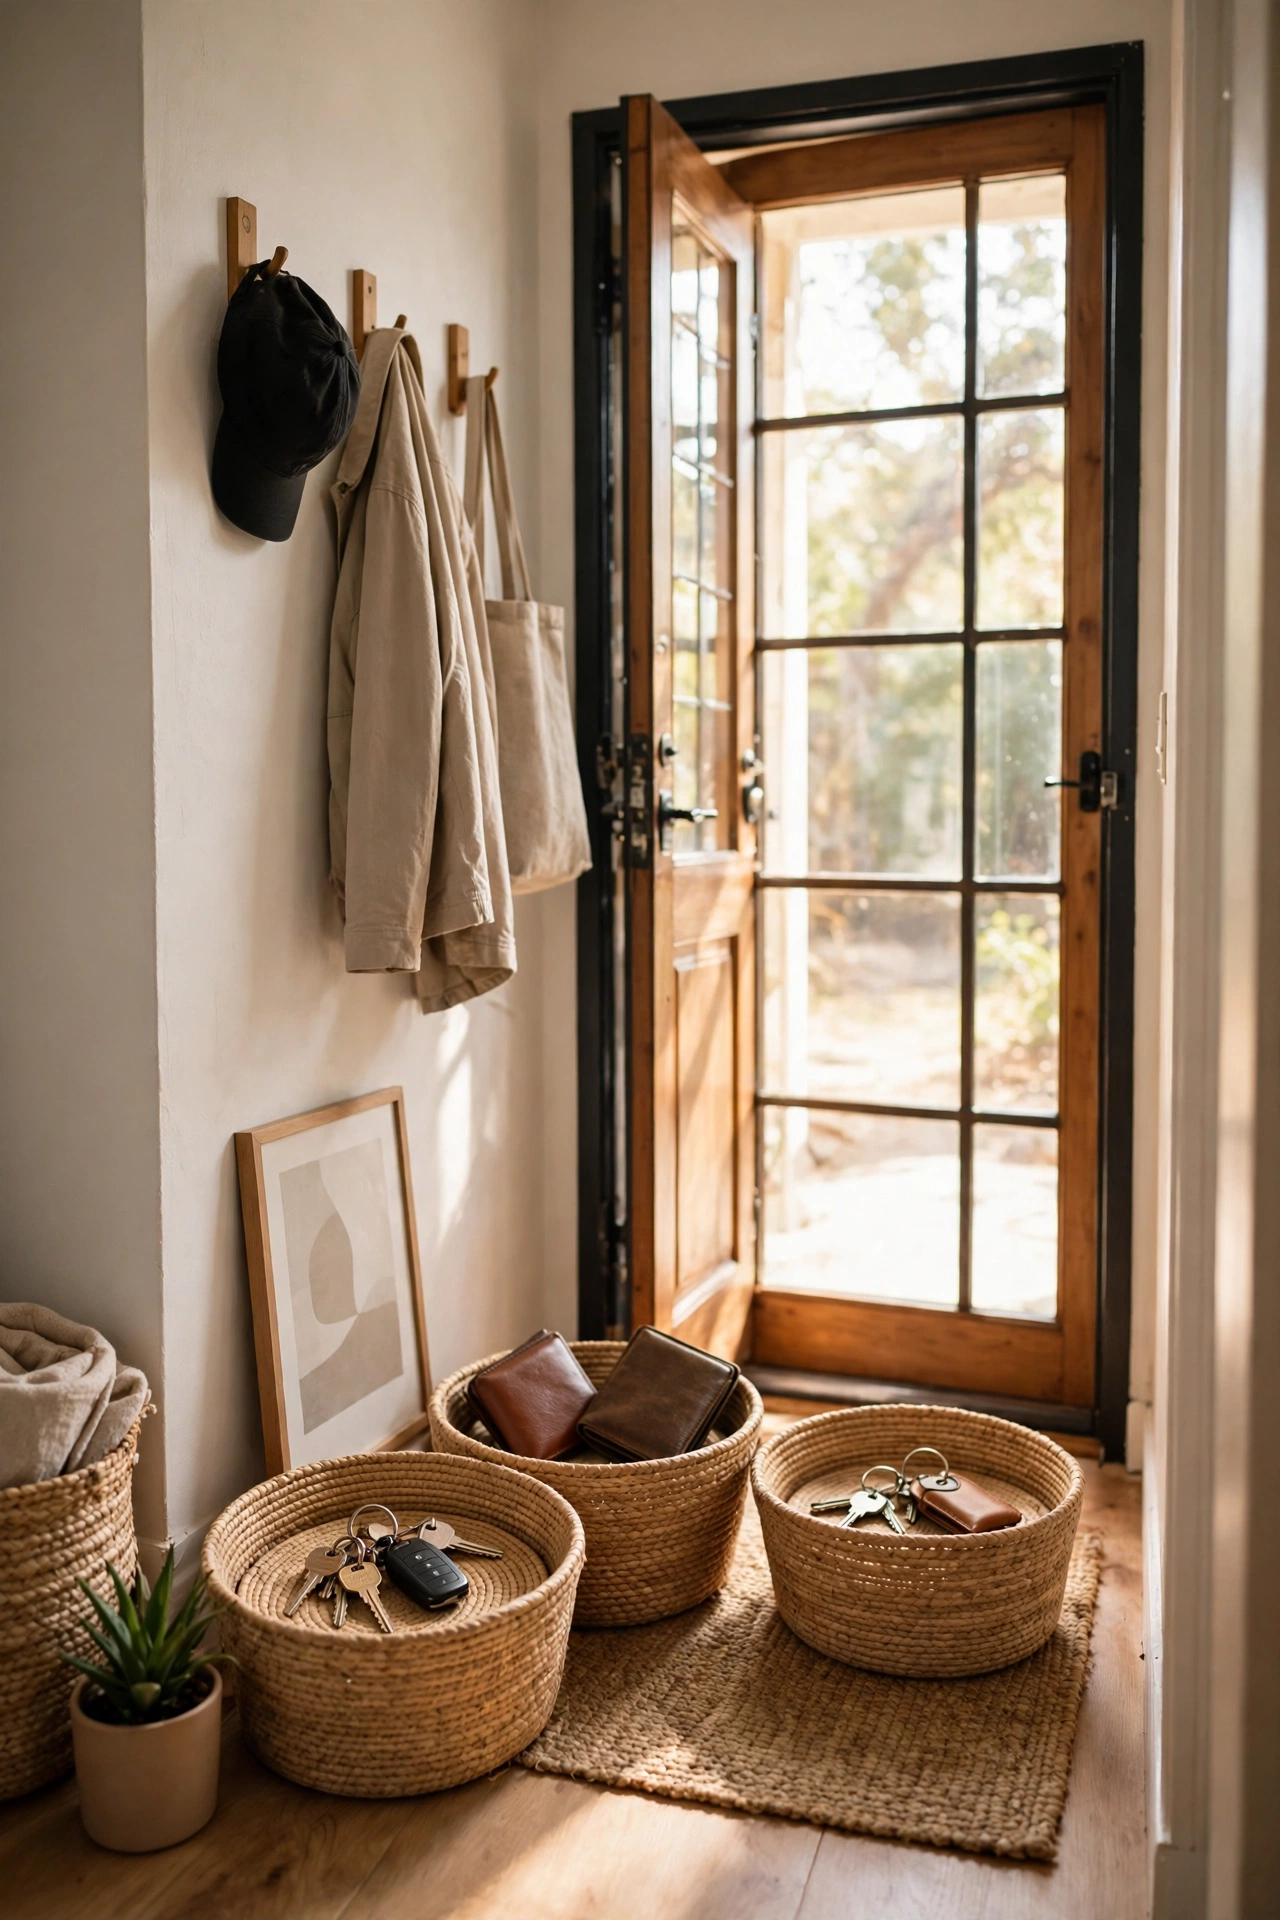
The simplest storage system is often the one that actually lasts, and one basket per person by the door ends the daily hunt for keys, wallets, and sunglasses. Each person gets a basket, and everything they need for leaving the house lives in it — no more searching, no more borrowing someone else’s charger. Label the baskets if you like, or just let habit do the work. I tried this — the mistake to avoid is letting the baskets become junk collectors, so empty them once a week and return anything that does not belong. Kept honest, this one basket beats a whole wall of organisers.
Cost: ~$15 | Time: 10 minutes
Pro tip: Add a tiny tray inside each basket for keys and coins so small items do not sink to the bottom.
Small spaces do not need more stuff to stay tidy — they need better places for the stuff you already own. Start with the door backs and the space under your bed, then add one idea a week until everything has a home. Before long, you will stop losing your keys, stop buying duplicates, and start enjoying a flat that finally feels bigger than it is.
