17 Peel and Stick Ideas That Transform Rentals Instantly
My first rental had beige walls, beige tiles, and a landlord who said no to paint, nails, and pretty much everything else. I lived with it for months before a friend peeled a strip of wallpaper off her own flat wall and stuck it back on without a mark. That was my lightbulb moment. These Peel and Stick Ideas That Transform Rentals Instantly work because nothing here is permanent, nothing needs a drill, and almost everything peels off clean when you move out. You get a home that finally feels like yours, without risking your deposit.
1. Wrap a Rental Kitchen Backsplash in Peel and Stick Tiles
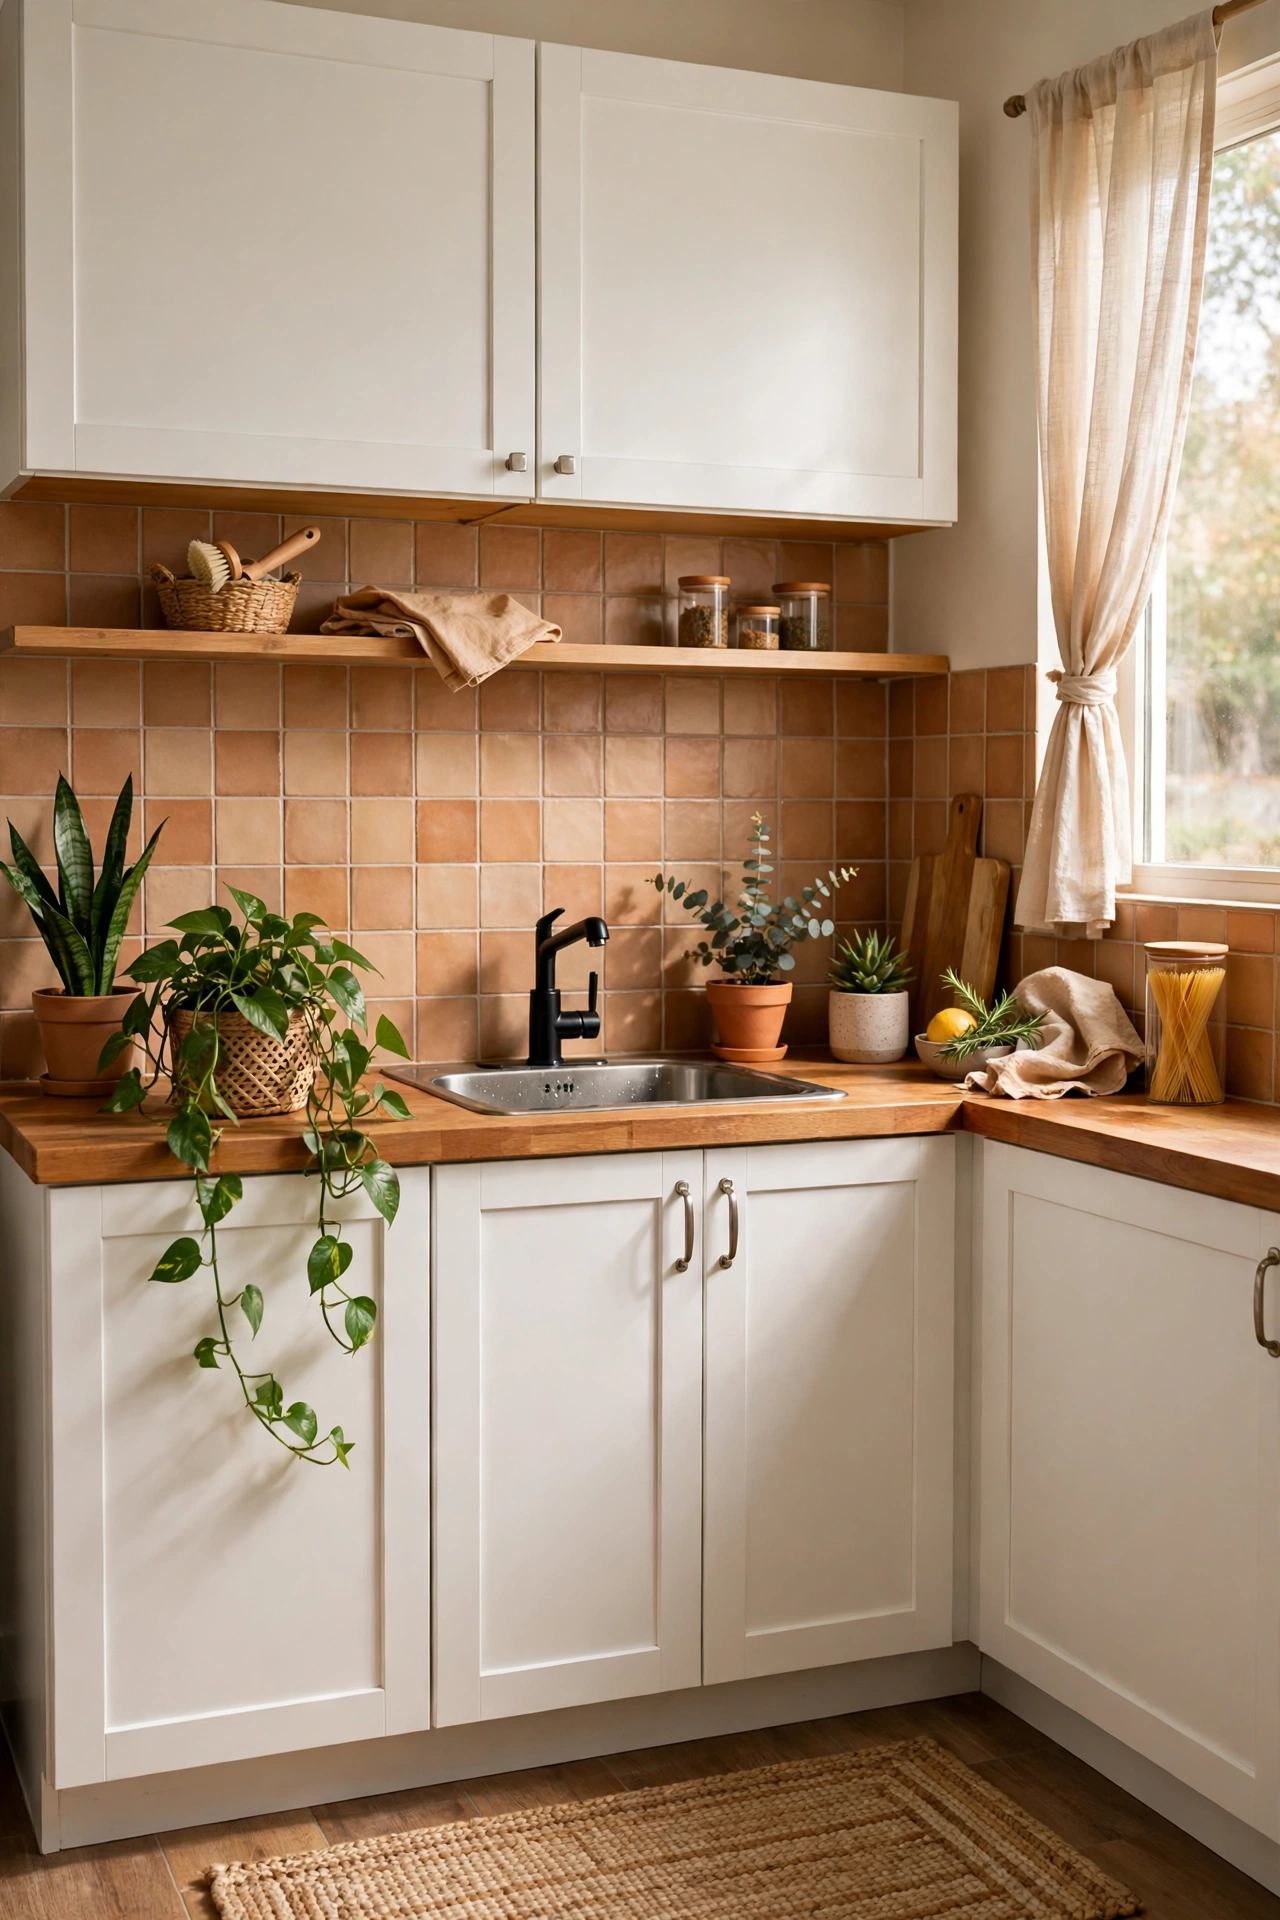
A tired kitchen backsplash drags the whole room down, and peel and stick tiles are the fastest fix a renter can make. Clean the wall well, measure twice, and start from the centre so the pattern stays even at the edges. Press each tile firmly and smooth out air bubbles with a credit card as you go. Cut around sockets with a craft knife, taking your time so the edges stay neat. I did this in my old flat — the mistake to avoid is sticking tiles over a greasy wall, because they will curl within days. A quick wipe with sugar soap first makes all the difference.
Cost: ~$25 | Time: 2 hours
💰 Budget win: One pack usually covers a standard rental backsplash, while real tiling would cost ten times as much plus a landlord argument.
2. Give Plain Walls a Peel and Stick Shiplap Accent
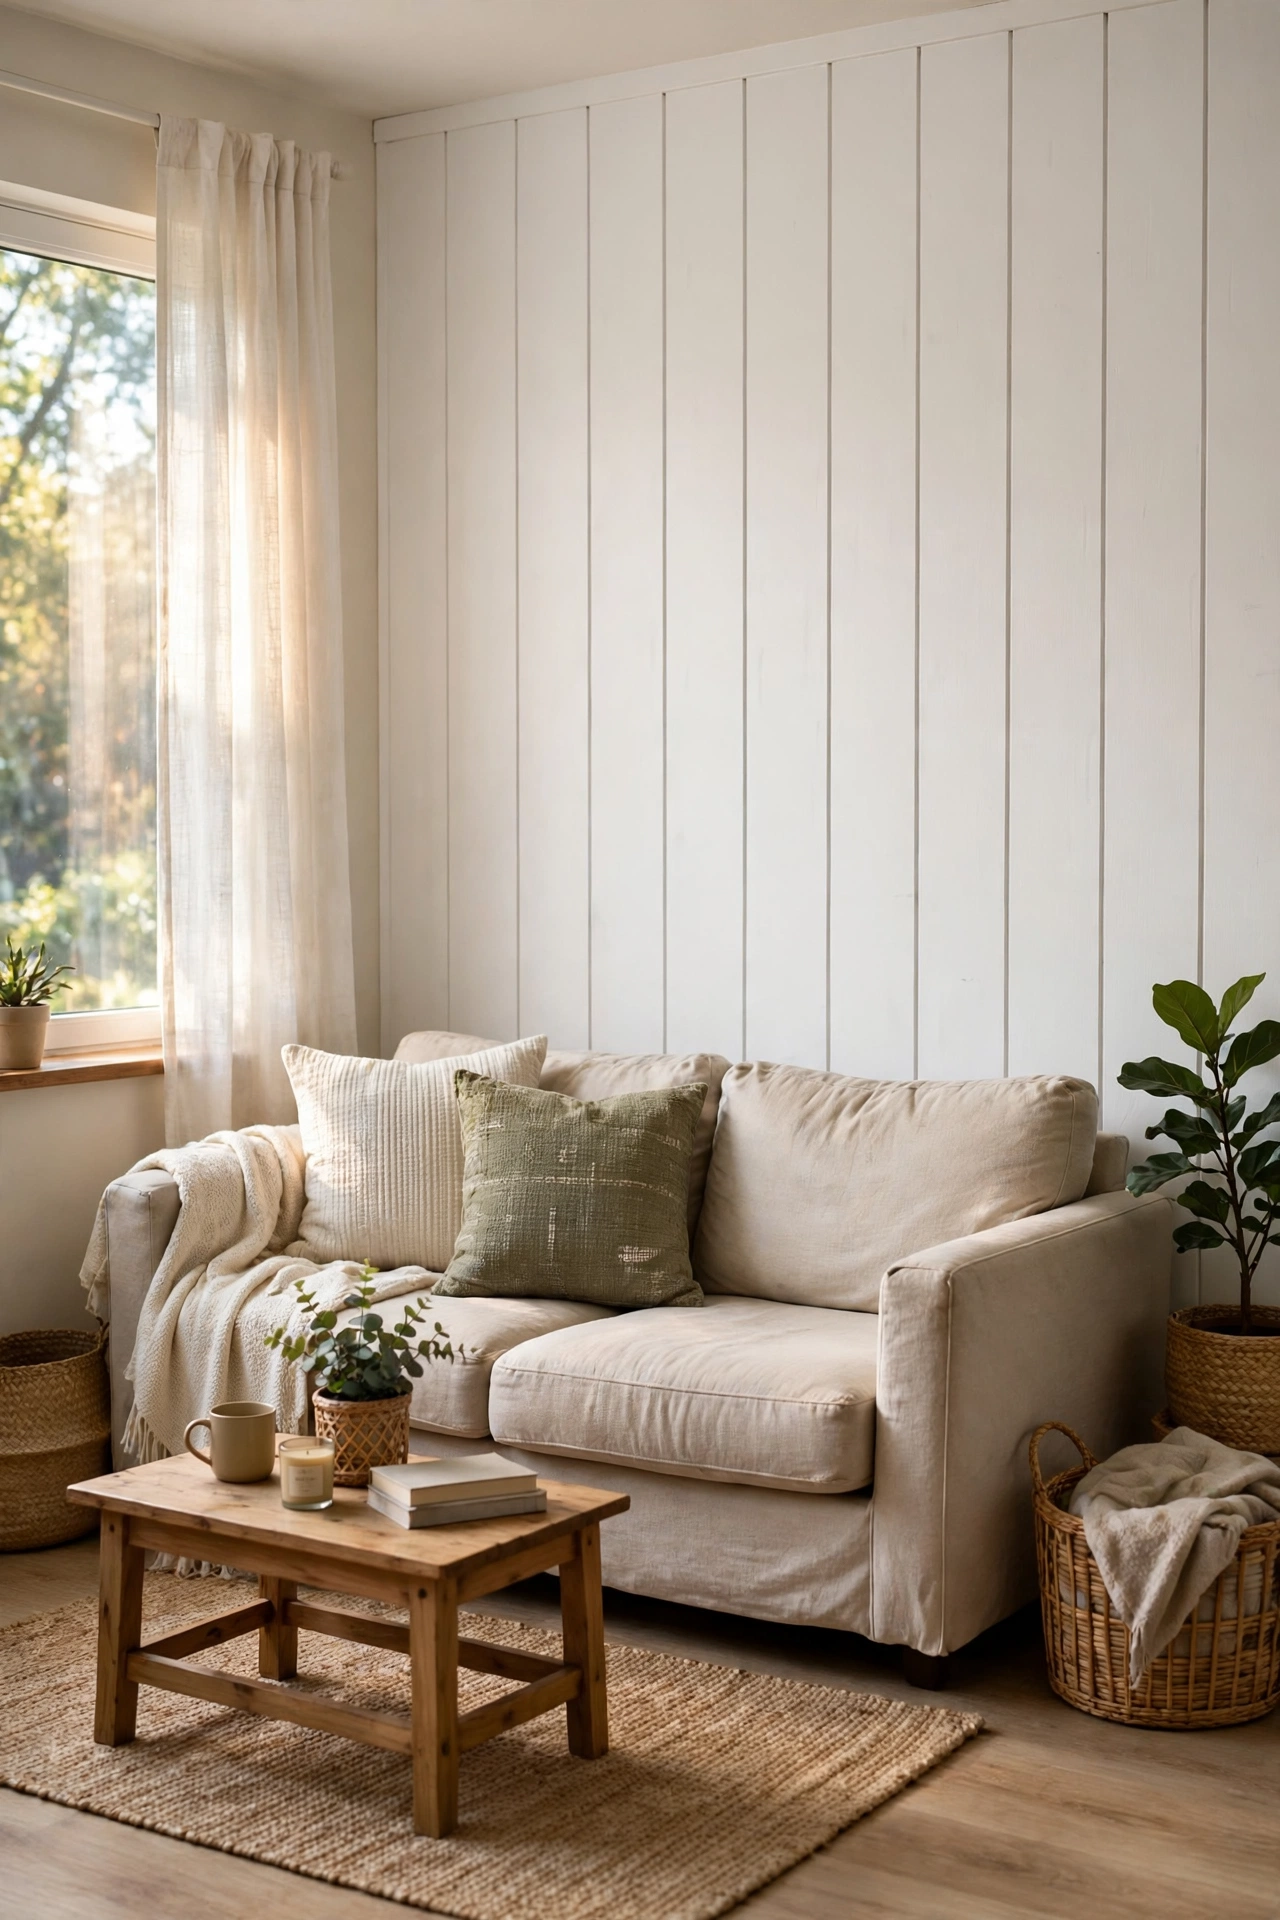
Flat white rental walls can feel cold, and peel and stick shiplap planks add warmth and texture without a single nail. Start at the bottom of the wall and work upward, lining each plank up carefully so the gaps stay even. A spirit level helps, even on a small accent wall, because a crooked first plank throws off every row after it. Paintable versions let you match your furniture later. My living room wall went from blank to cottage-cosy in one afternoon, and visitors kept asking which carpenter I had hired. Save this idea for your rental board — it is the one guests notice first.
Cost: ~$30 | Time: 3 hours
💰 Budget win: Shiplap planks cost a fraction of real timber boards, and you can take them down in minutes when your lease ends.
3. Cover Ugly Counters With Marble-Look Peel and Stick Vinyl
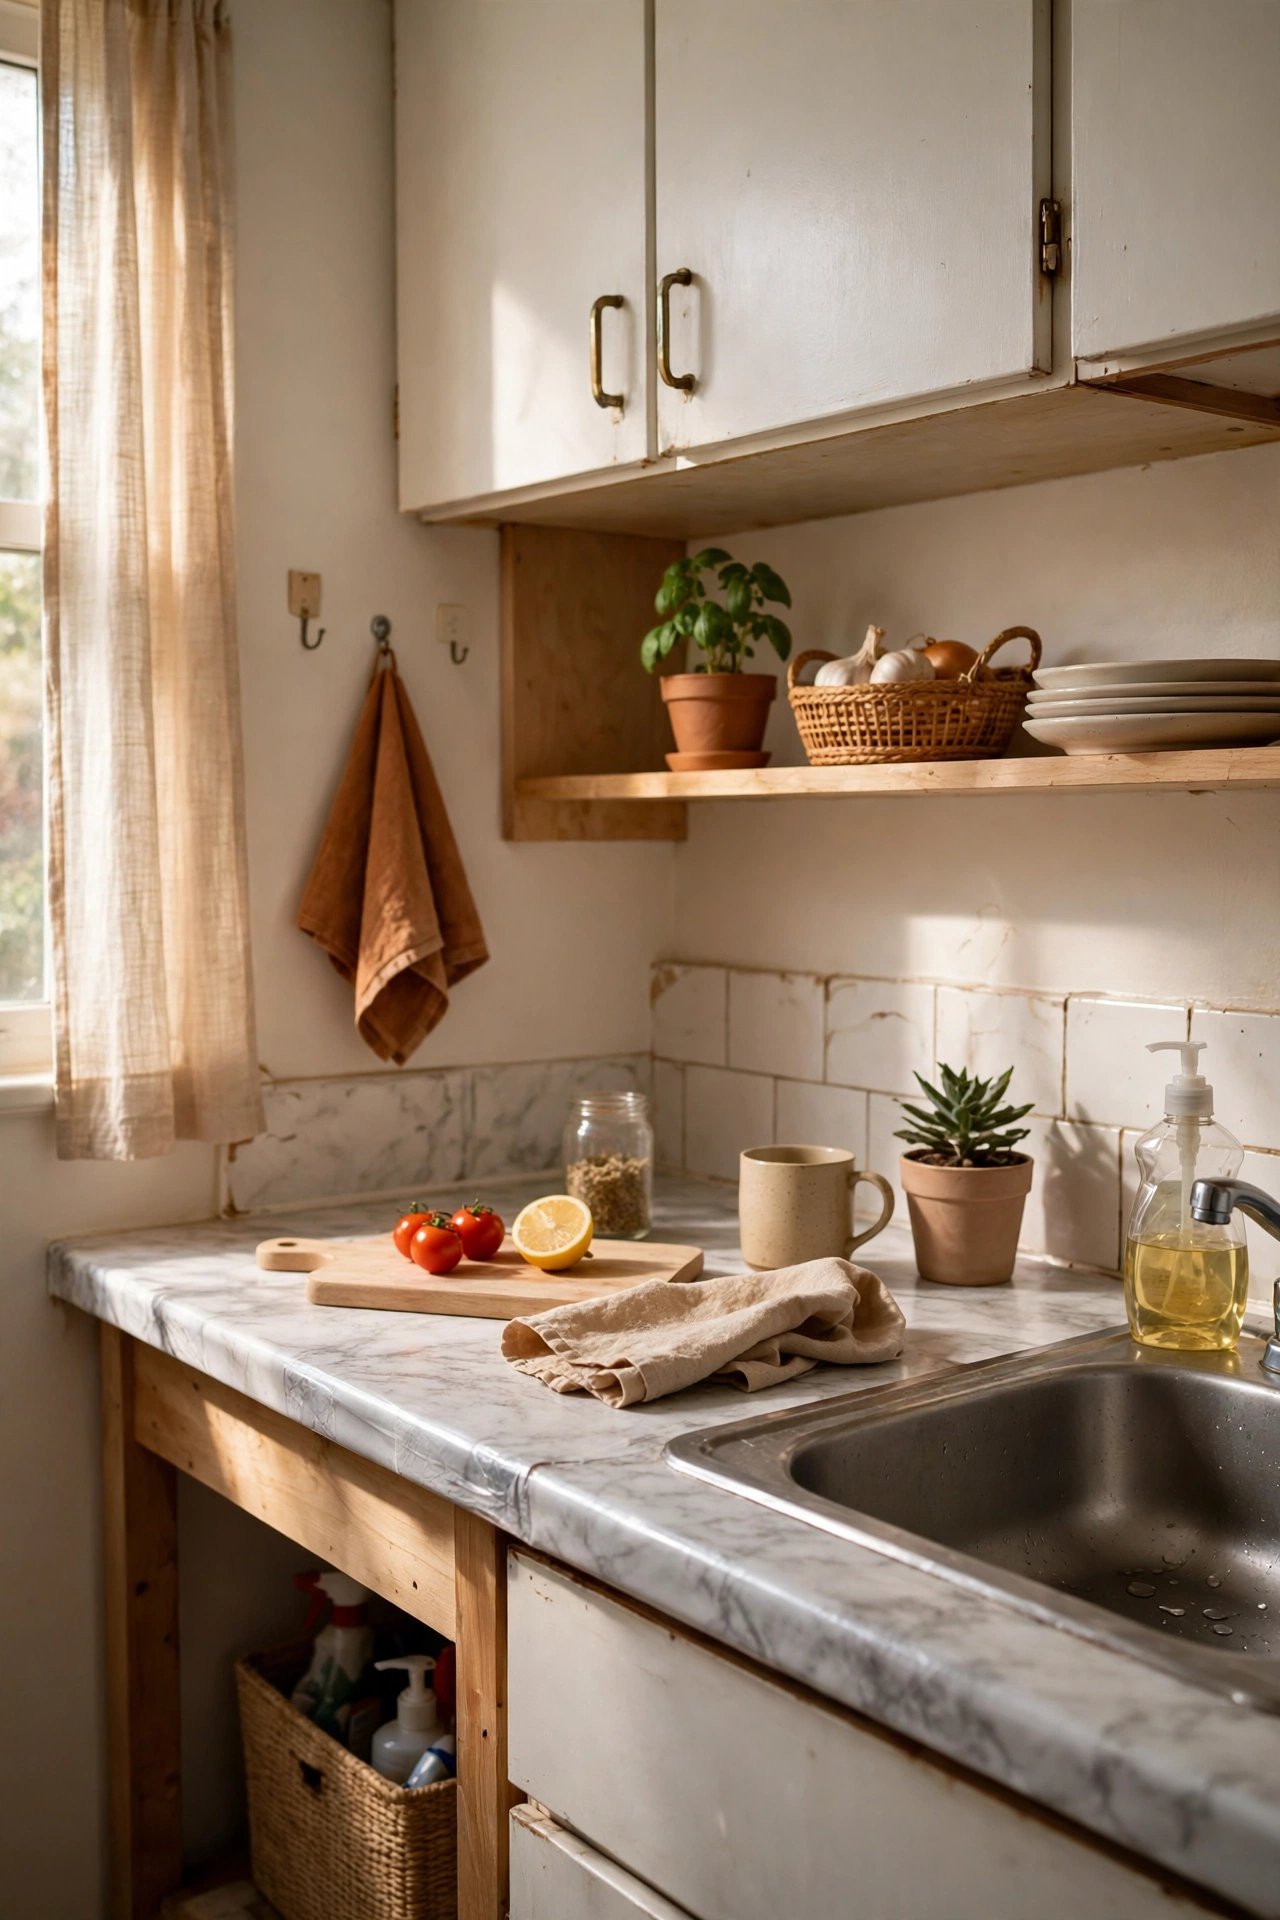
Stained laminate counters make a kitchen feel grubby no matter how clean it is, and marble-look vinyl turns them around in an afternoon. Unroll the vinyl slowly, peel back a little at a time, and smooth it flat with a felt scraper so no bubbles get trapped. Wrap the edges underneath for a finished look, and seal the seams near the sink with clear tape or a thin bead of sealant. I tried this — the mistake to avoid is rushing the corners, because a wrinkled corner lifts and catches crumbs. Go slowly, trim carefully, and the result fools almost everyone.
Cost: ~$20 | Time: 2 hours
💰 Budget win: One roll covers most rental counters, and a real marble worktop would cost thousands and need the landlord’s blessing.
4. Refresh a Boring Floor With Peel and Stick Floor Tiles
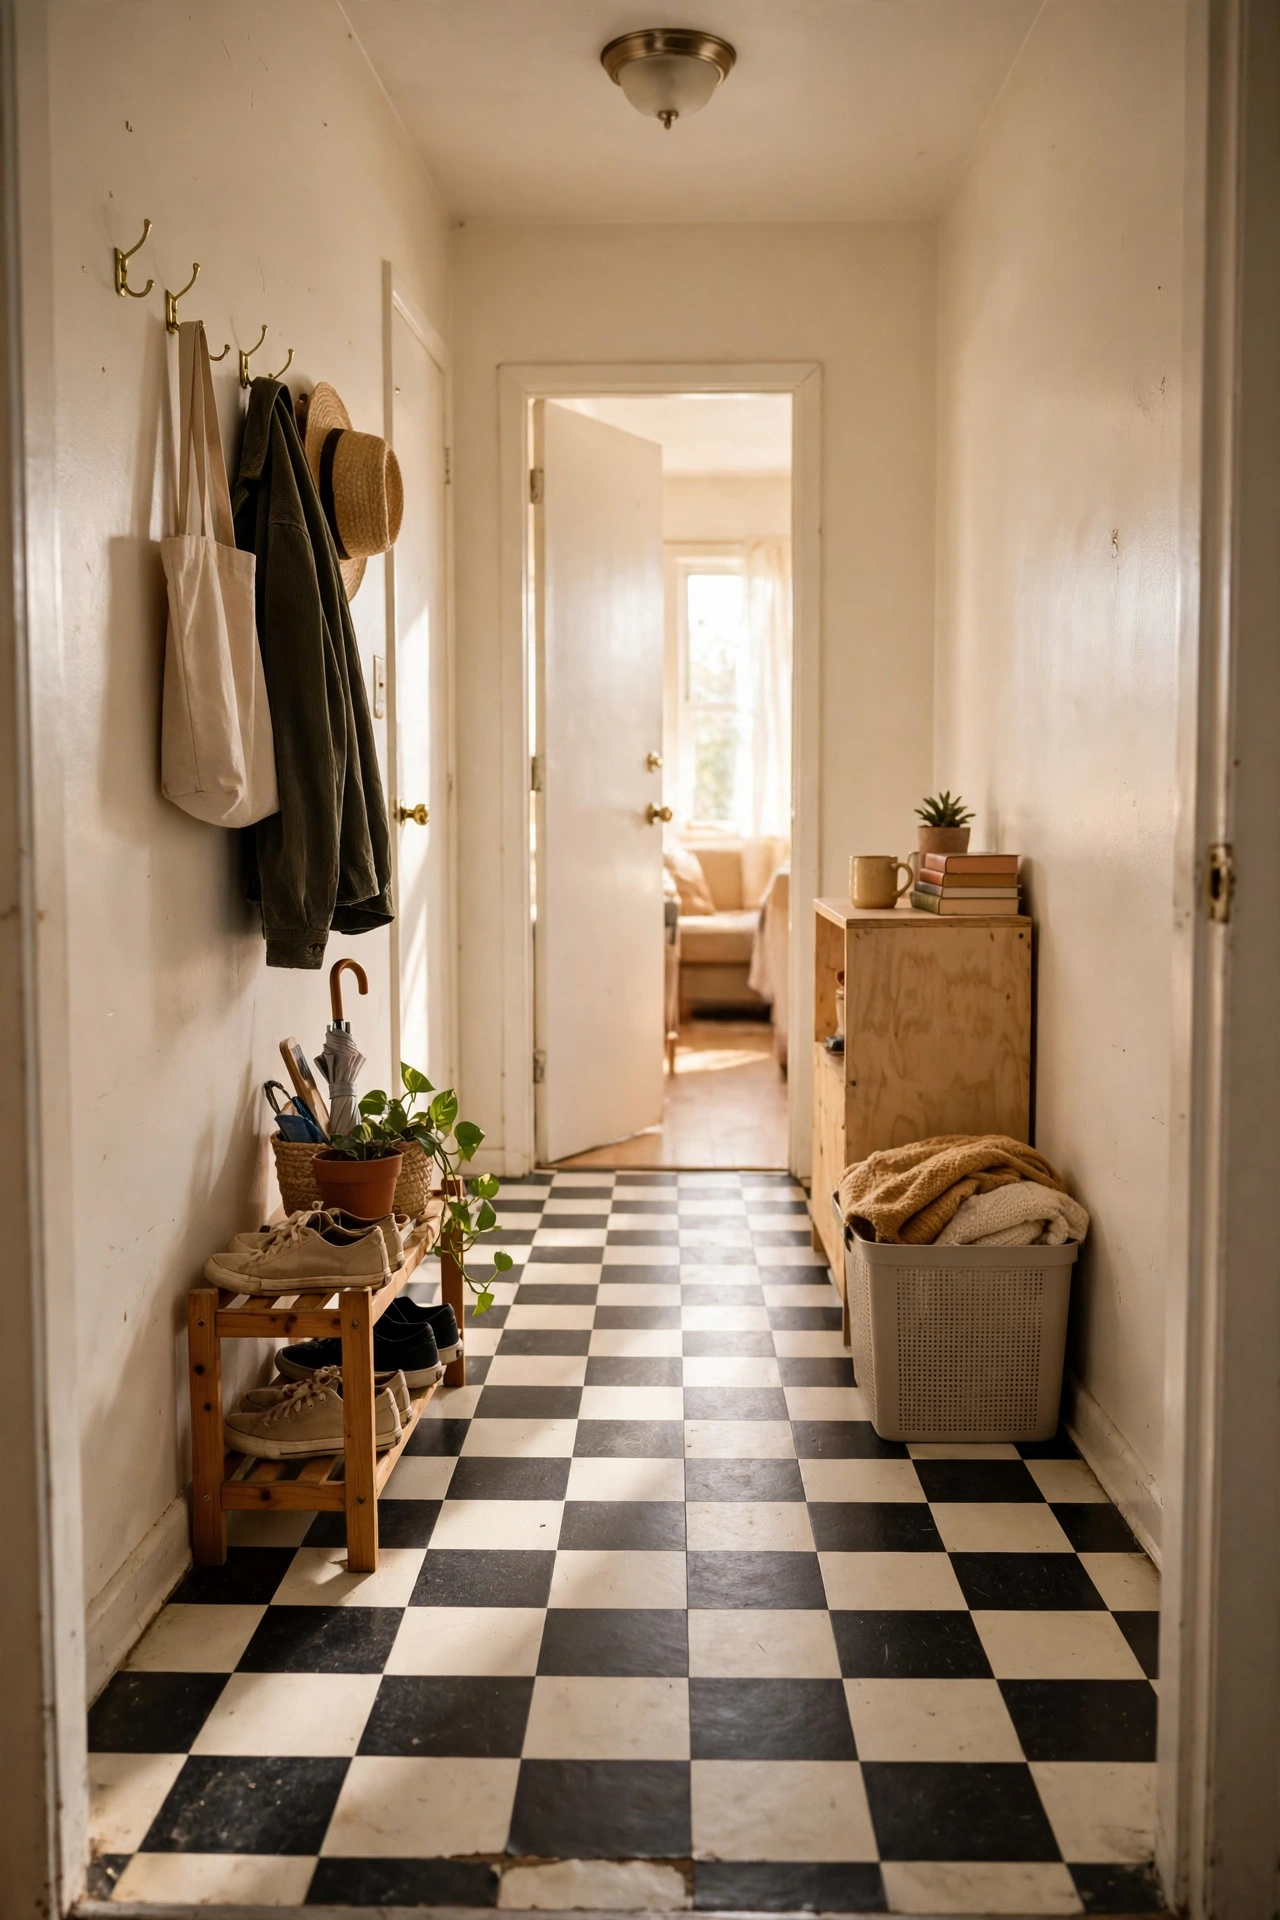
Cracked vinyl or sad beige lino is the hardest thing to ignore in a rental, and peel and stick floor tiles cover it without any glue or grout. Sweep and mop first, then lay the tiles from the centre of the room outward so the cut pieces land at the edges. Press each tile down firmly and roll over it with a rolling pin if you have no floor roller. For more renter-friendly floor tricks, see my (see also: budget-rental-floor-ideas) roundup. I laid a checkerboard pattern in my hallway in a single evening, and it held up to two years of muddy shoes before I peeled it off cleanly at move-out.
Cost: ~$35 | Time: 3 hours
💰 Budget win: Floor tiles work out to a few dollars per square foot, while even budget laminate needs tools, underlay, and permission.
5. Line Open Shelves With Peel and Stick Wallpaper
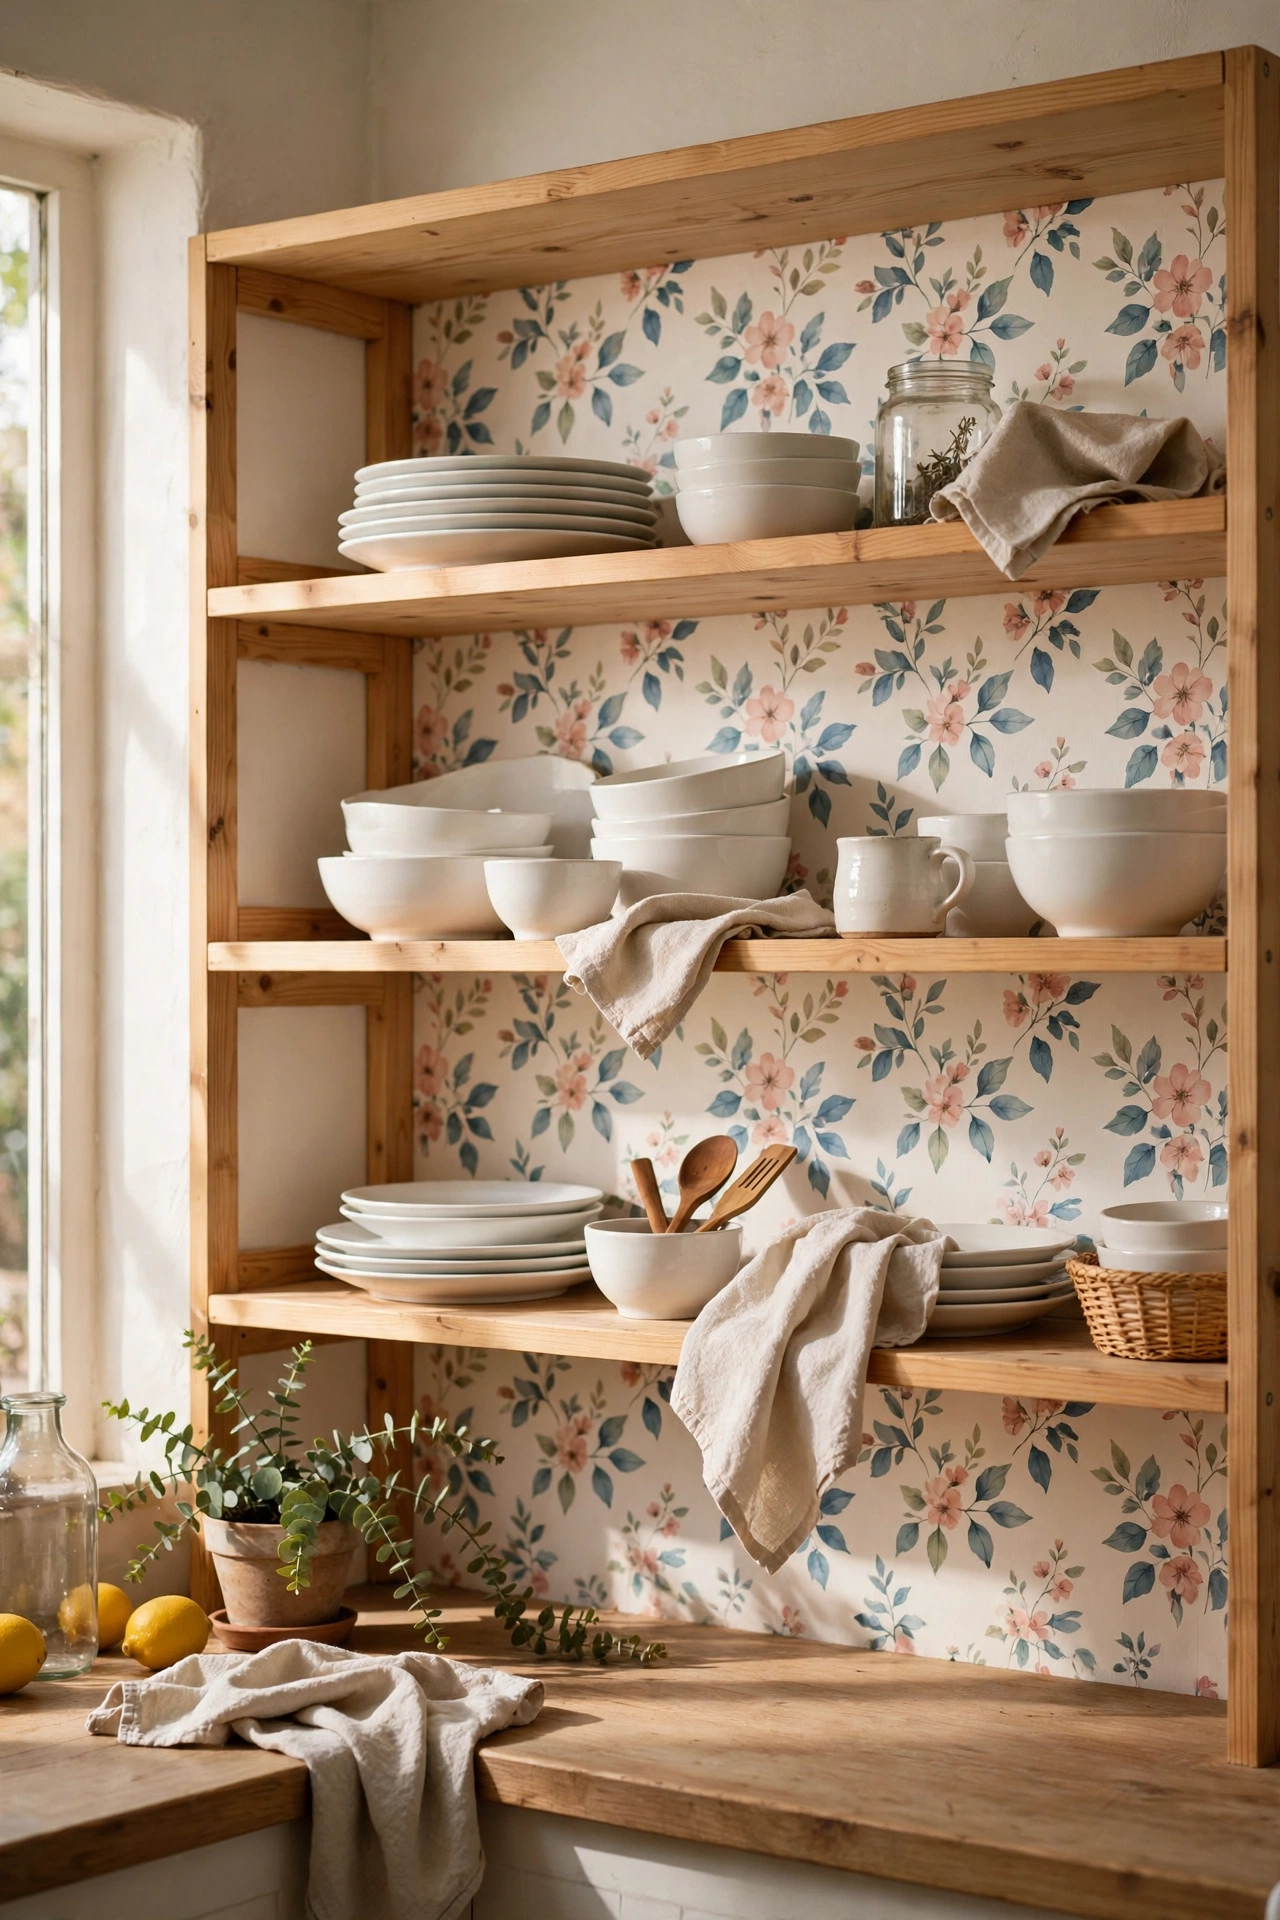
The backs of open shelves and old bookcases are usually the dullest part of the room, and a strip of peel and stick wallpaper turns them into a feature. Measure each shelf back, cut the paper a fraction large, and trim the excess once it is in place. A bold pattern behind white dishes or books makes everything on the shelf pop. I used a soft floral print in my kitchen shelves, and suddenly my plain white plates looked styled rather than stored. The best part is that renters can change it with the seasons, swapping a summer print for something warmer in winter.
Cost: ~$12 | Time: 1 hour
💰 Budget win: One roll lines several shelves, so you can test a bold pattern for the price of a takeaway lunch.
6. Add a Peel and Stick Brick Accent Wall Behind the Bed
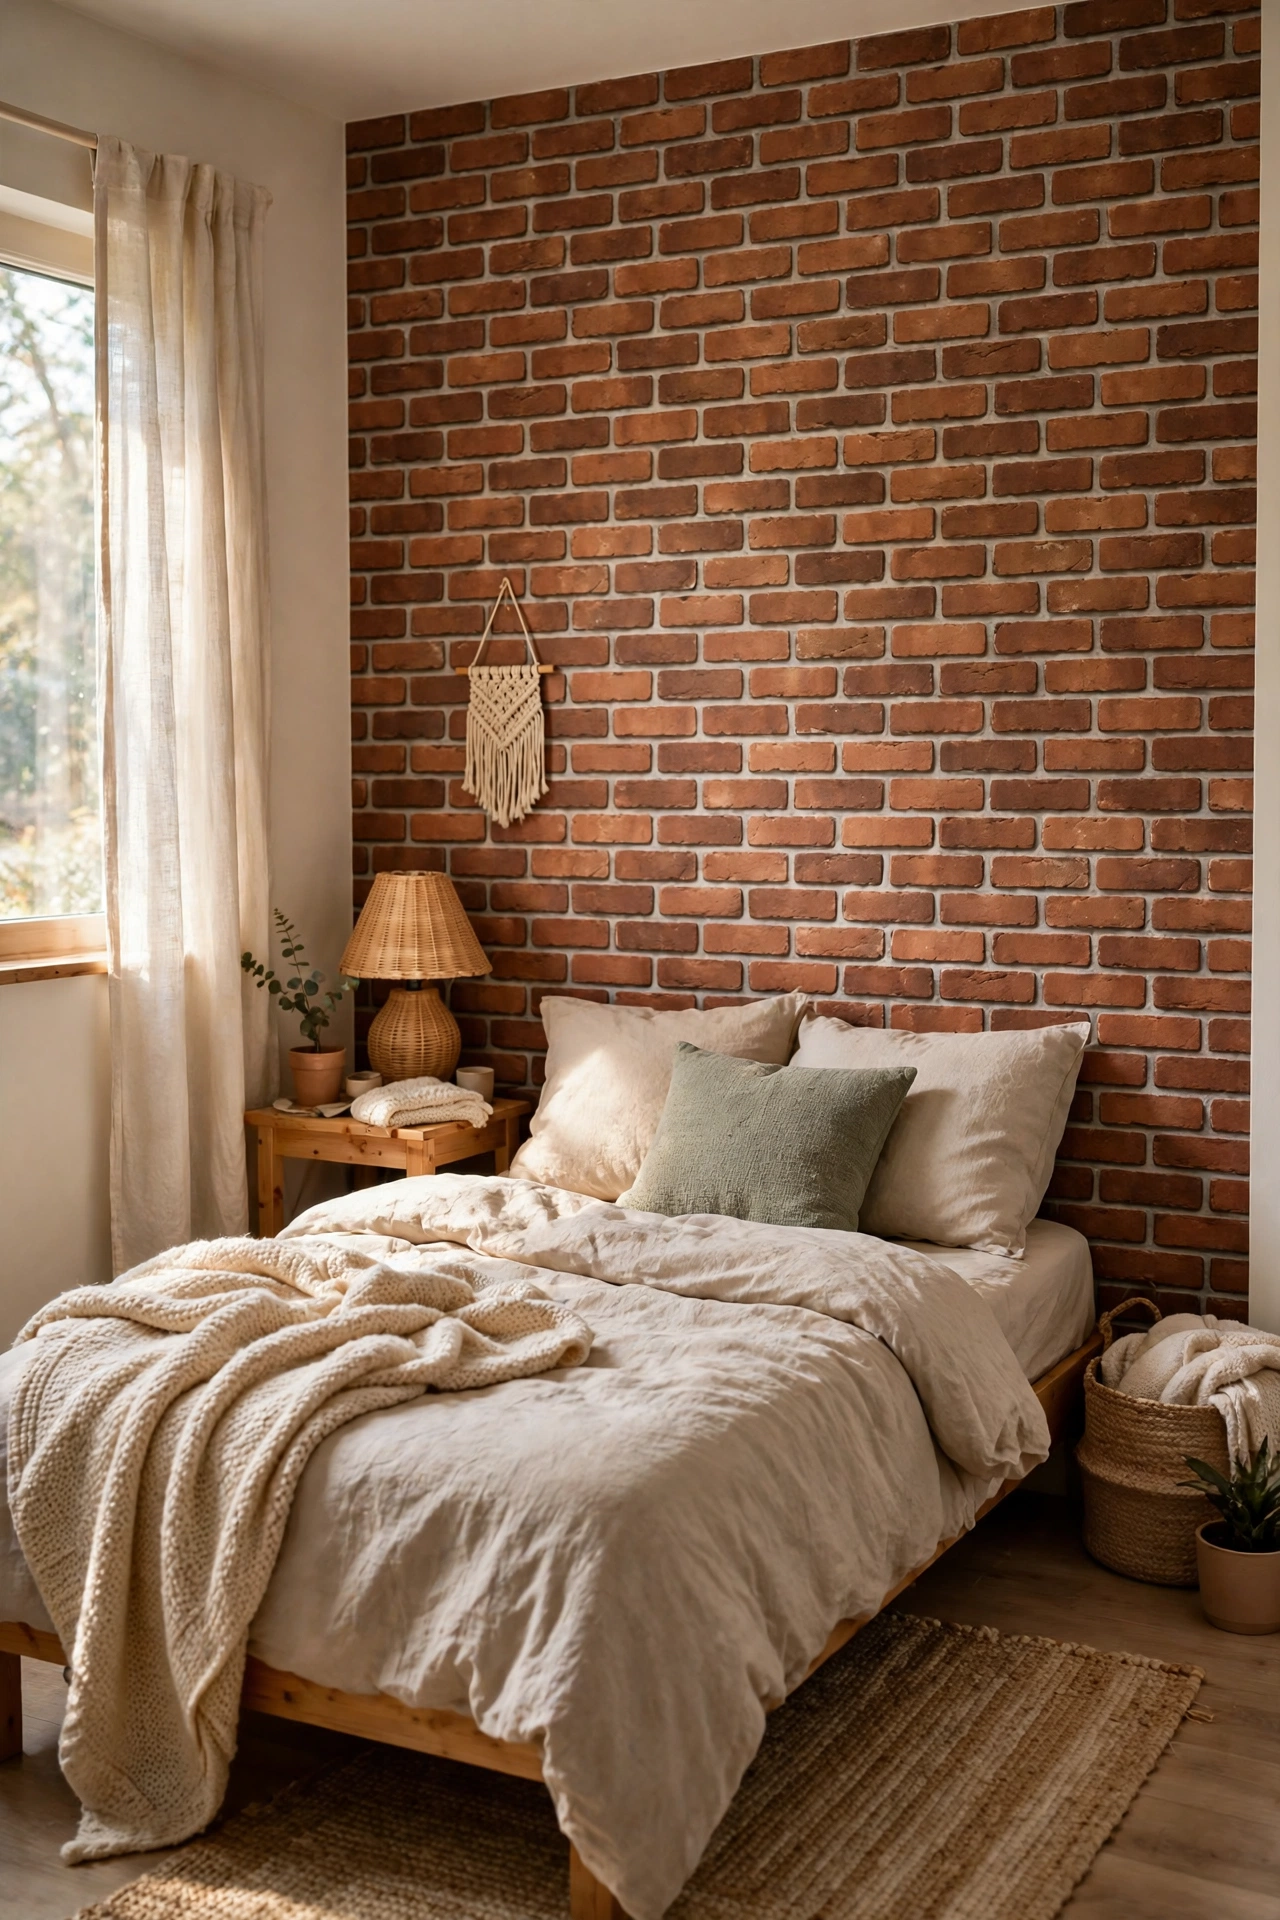
A bedroom with no headboard wall feature can feel unfinished, and peel and stick brick panels give it instant character. Work in rows from the bottom up, staggering the joints like real brickwork so the pattern looks convincing. Step back every few rows to check the lines stay level, because small drifts show up fast on a big wall. Warm lighting makes the texture look even better in the evening. I put brick panels behind my bed in a tiny studio, and the room went from plain box to cosy loft overnight, with no drilling and no landlord phone call needed.
Cost: ~$40 | Time: 3 hours
💰 Budget win: Brick-look panels cost far less than real brick slips, and they peel off without taking the plaster with them.
7. Upgrade Cabinet Doors With Peel and Stick Wood Grain
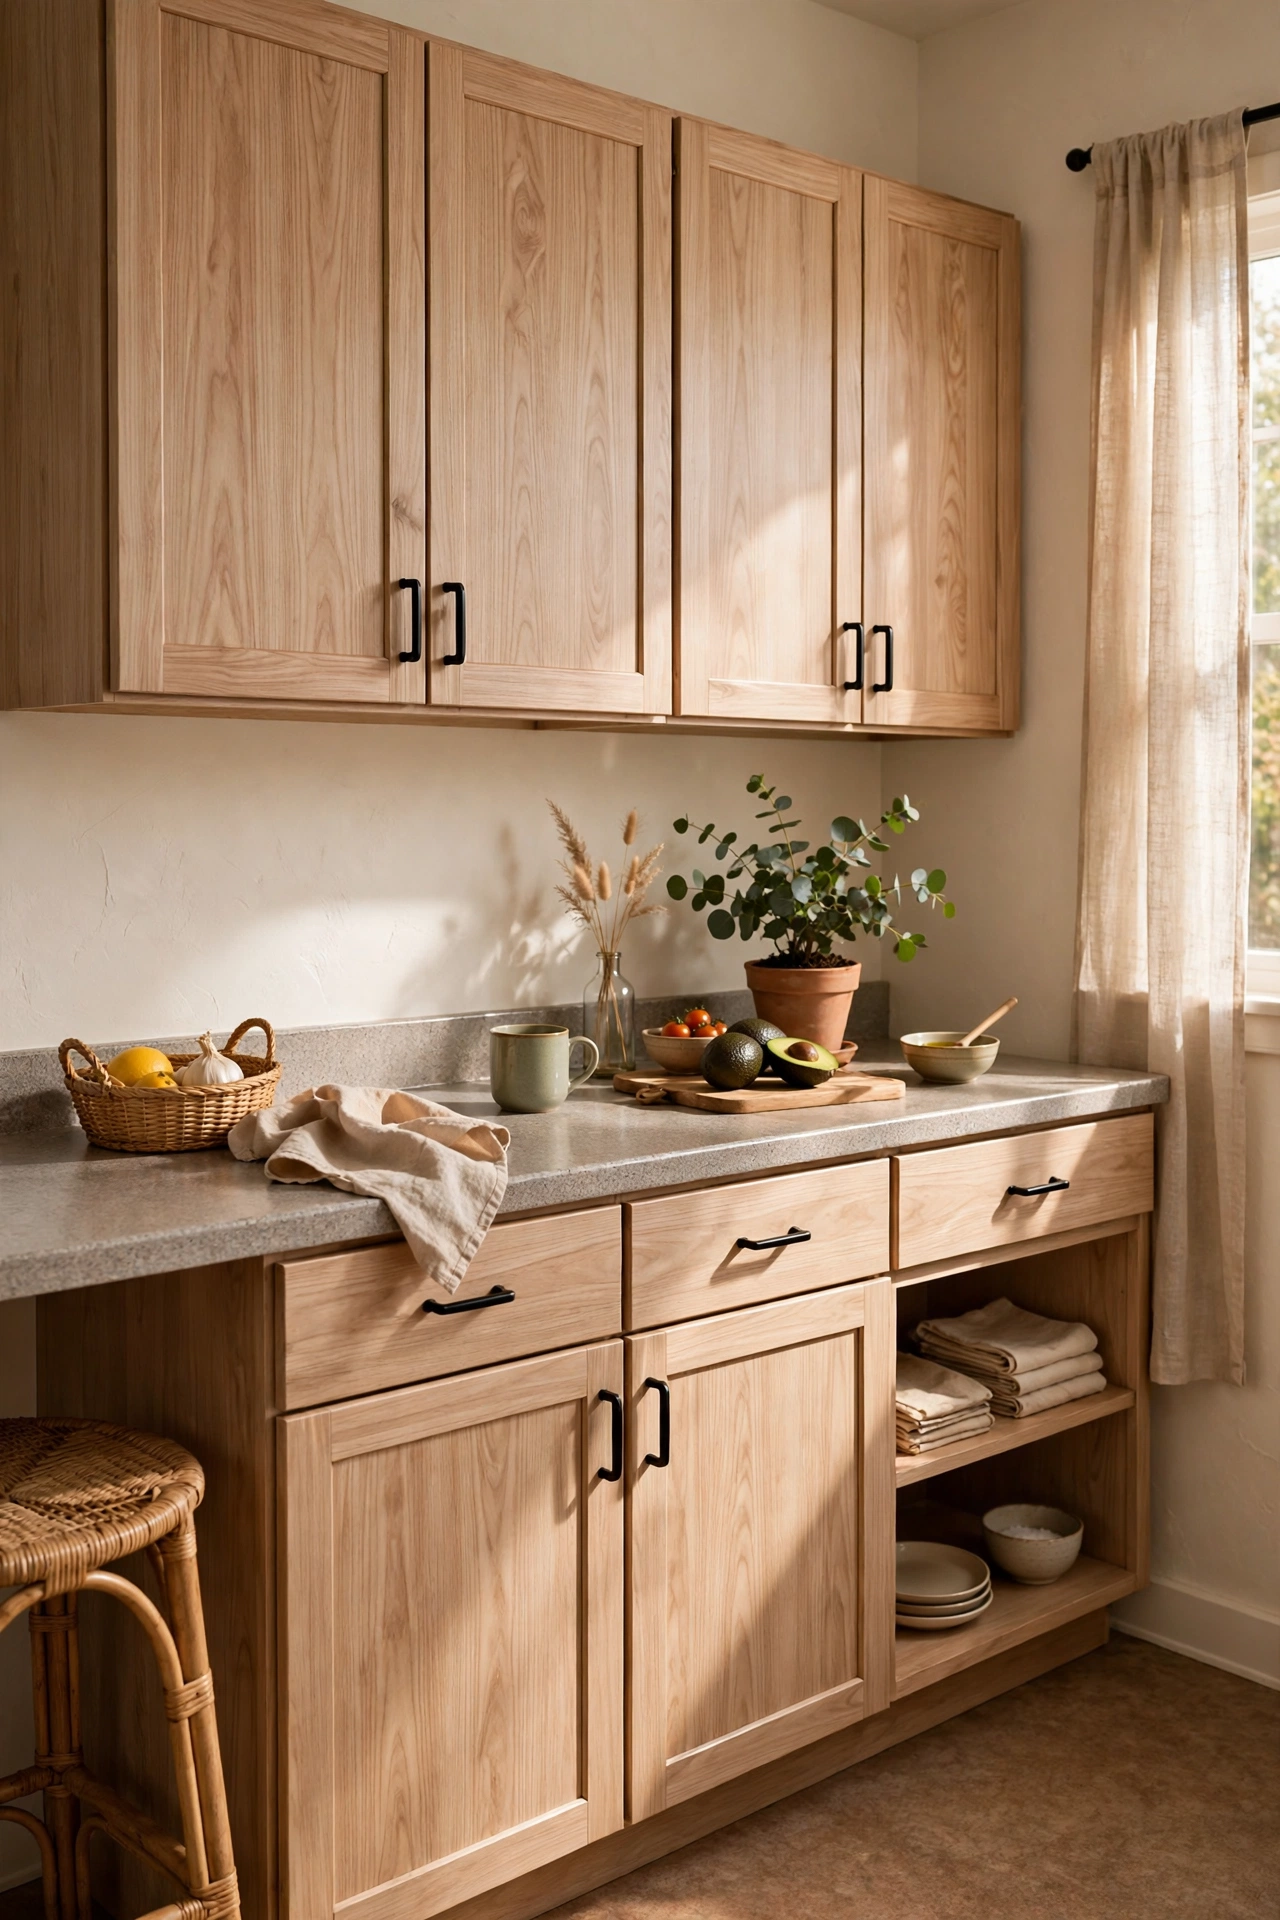
Dated orange-toned cabinets are a rental classic, and wood-grain vinyl wraps them into something calm and modern. Remove the doors if you can, clean them well, and apply the vinyl slowly, smoothing as you go and trimming around the edges. Keep the grain running the same way on every door so the kitchen reads as one set rather than a patchwork. I tried this — the mistake to avoid is leaving the handles on, because vinyl bunched around a handle never sits flat. Take them off, wrap, then refit, and the kitchen looks like it had a proper refit.
Cost: ~$22 | Time: 4 hours
💰 Budget win: Wrapping a full set of doors costs less than replacing a single door, and the landlord gets their old cabinets back untouched.
8. Create a Faux Tile Fireplace Surround With Peel and Stick
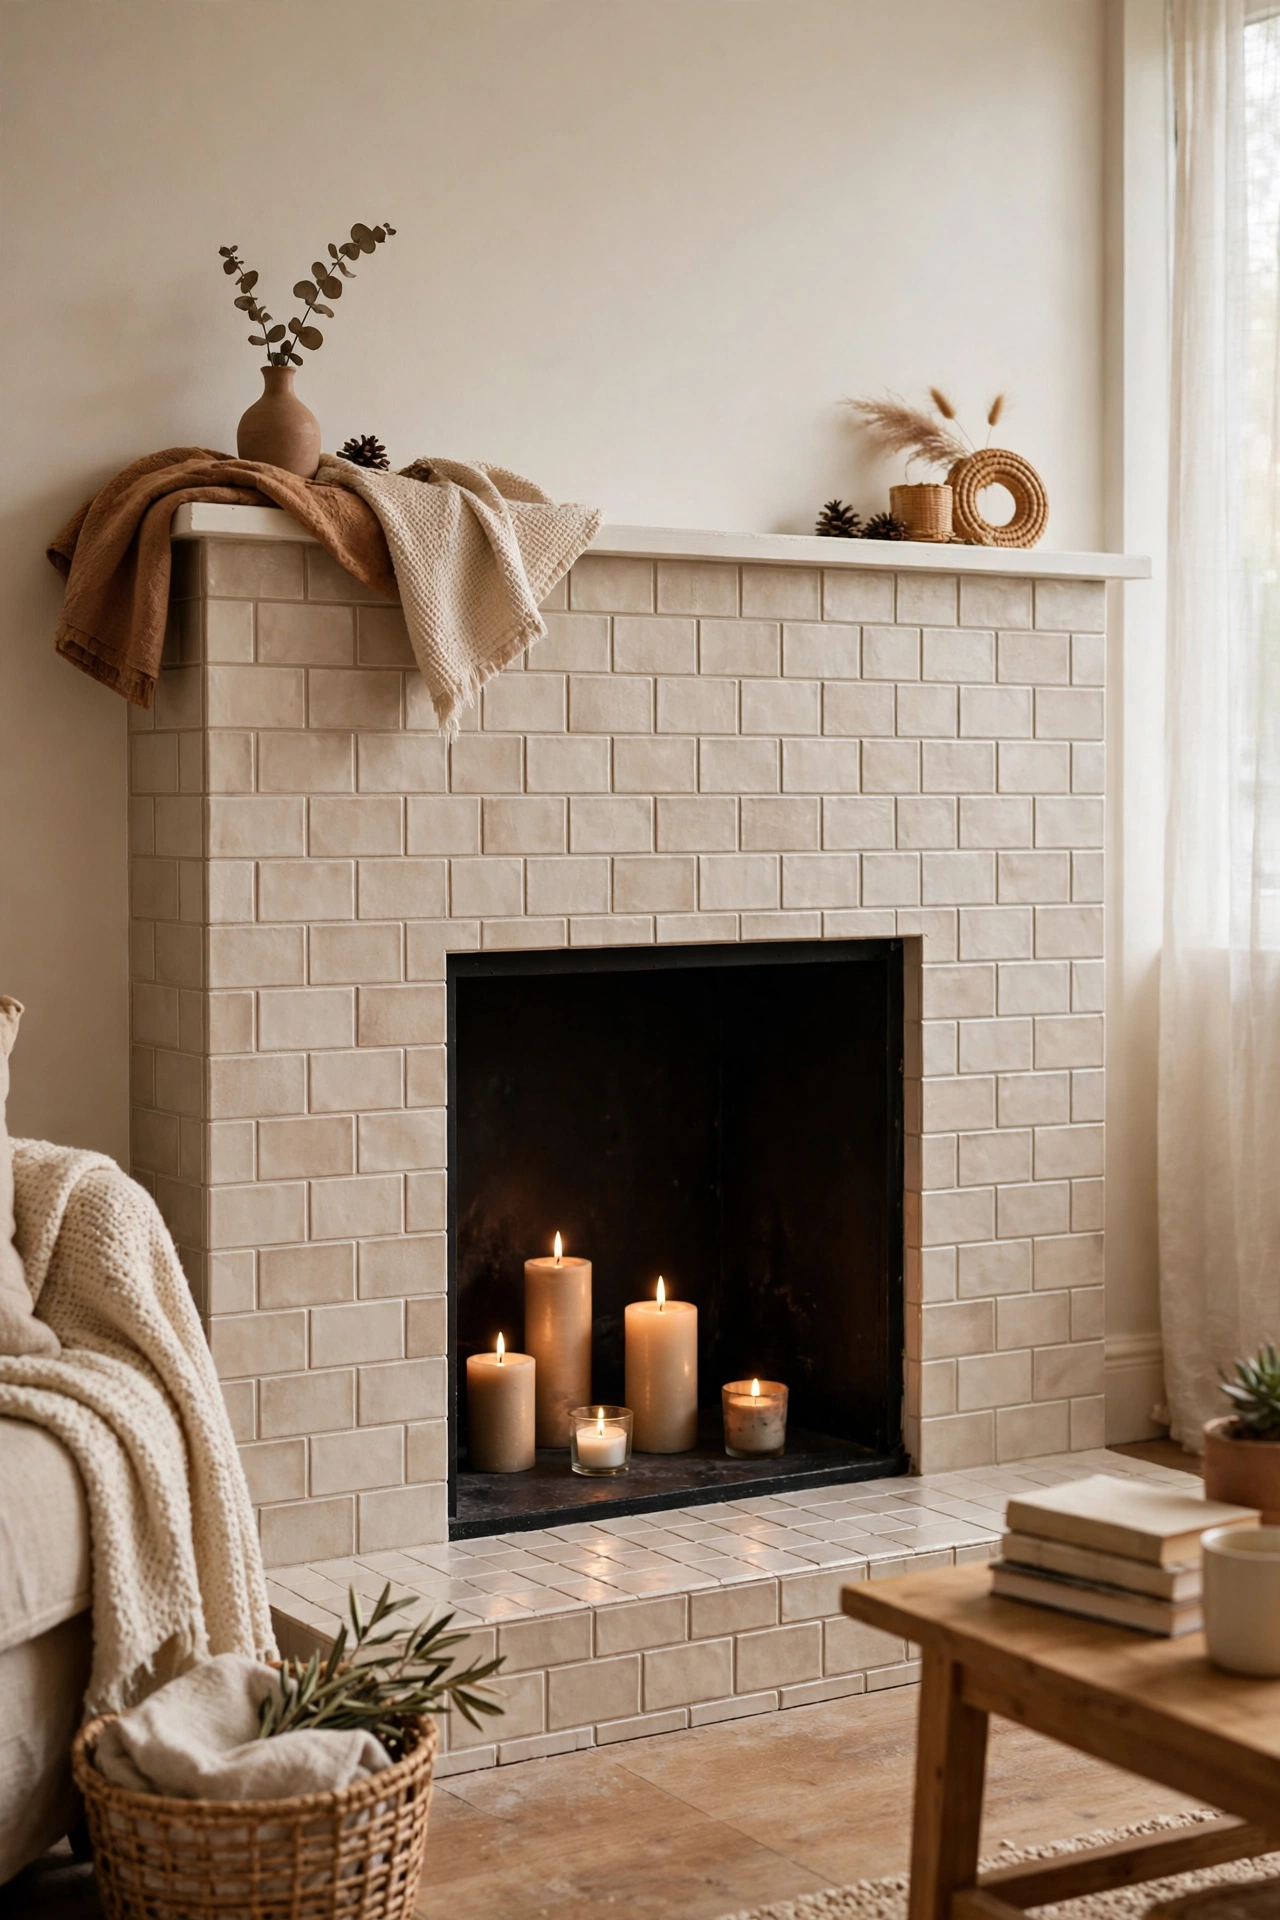
An unused rental fireplace often looks neglected, with soot marks and chipped paint that no amount of cleaning fixes. Peel and stick tiles around the surround give it a fresh, intentional look in under an hour. Choose heat-rated tiles if the fireplace is ever used, and plain decorative ones if it is sealed off. Clean the surface first, cut carefully around the opening, and keep the pattern symmetrical from the centre. I dressed up a dead fireplace this way, added candles inside, and it became the cosiest corner of the flat all winter long.
Cost: ~$18 | Time: 1 hour
💰 Budget win: A few tiles transform a whole fireplace, while retiling properly would need a tradesperson and written permission.
9. Transform Stair Risers With Peel and Stick Patterns
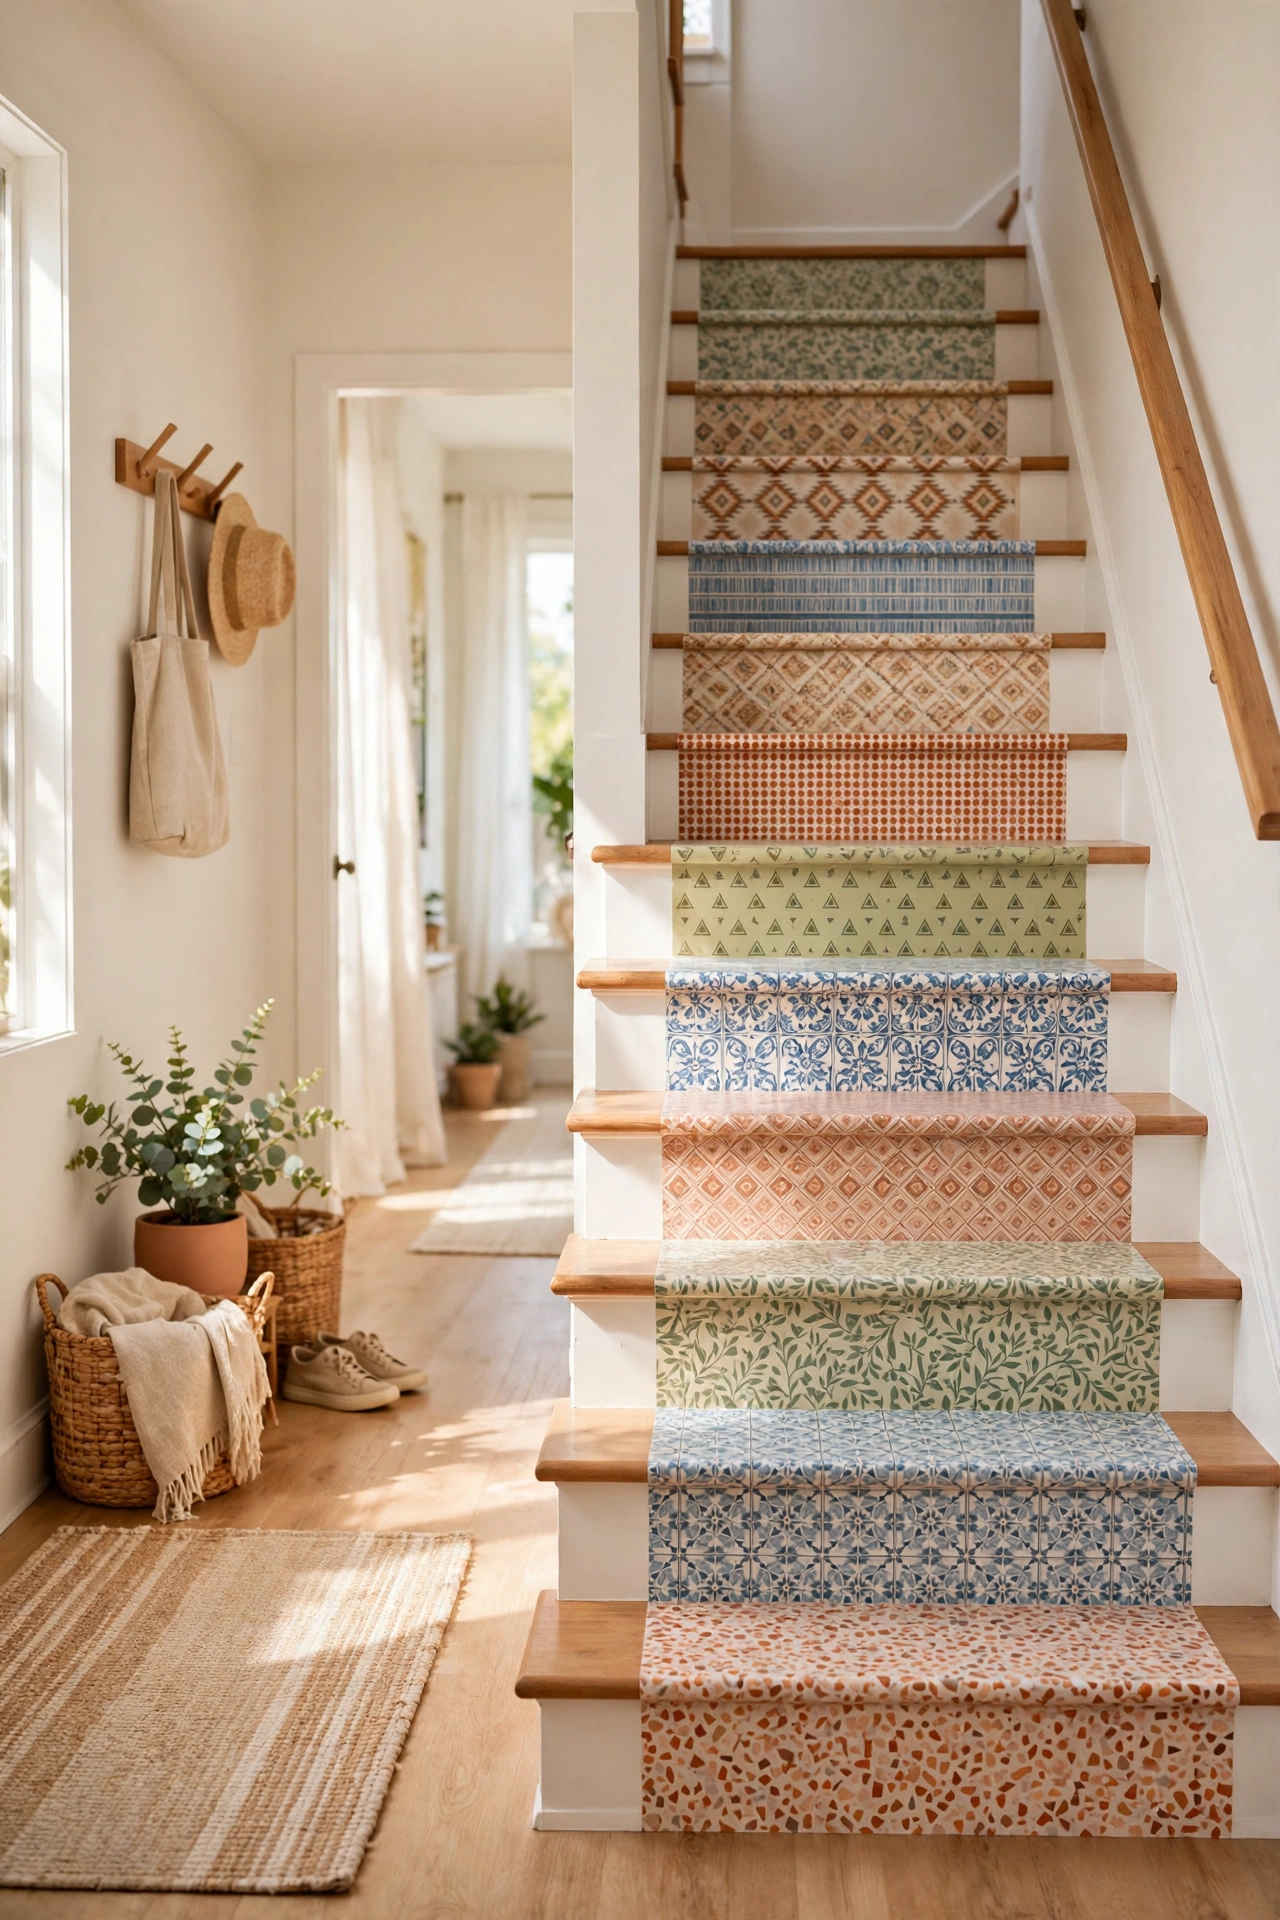
Stair risers are wasted decoration space in most rentals, and peel and stick strips turn a plain staircase into a talking point. Measure one riser, cut all your strips to the same size, and apply them one at a time, smoothing out bubbles as you go. A repeating pattern looks smart, while a mix of tiles from the same colour family feels more playful. Keep the treads clear for safety — only the vertical risers get decorated. My hallway stairs went from scuffed and forgettable to the first thing guests commented on, and the strips peeled off cleanly when I left.
Cost: ~$15 | Time: 90 minutes
💰 Budget win: One roll covers a full flight of stairs, which is cheaper than a single tin of stair paint.
10. Add Peel and Stick Window Film for Privacy and Style
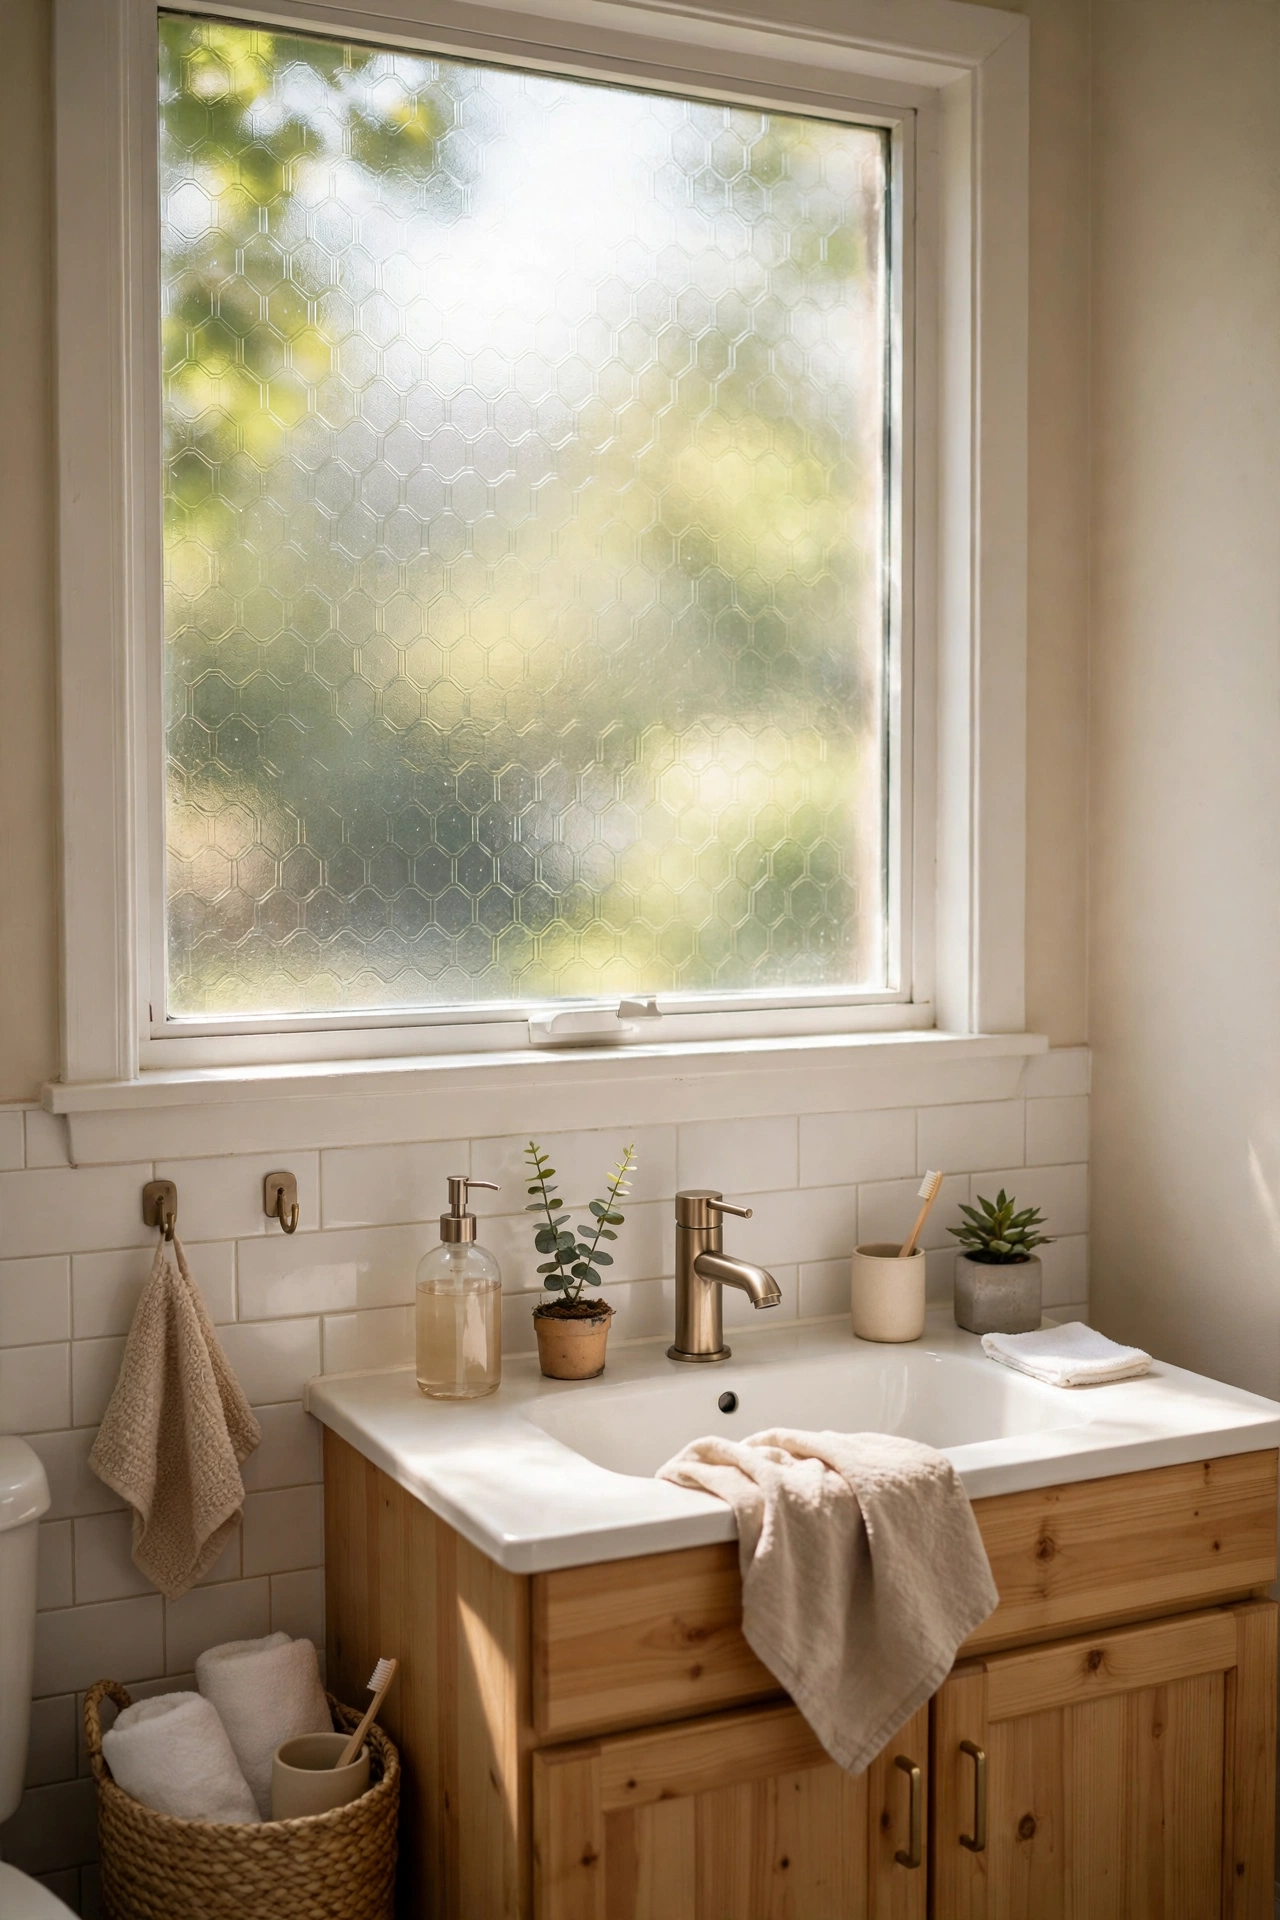
Street-facing rental windows leave you choosing between daylight and privacy, and peel and stick window film solves both at once. Frosted film lets light pour in while blurring the view from outside, and patterned film adds a stained-glass feel to a plain bathroom window. Spray the glass lightly with soapy water, position the film, and squeegee out the water from the centre outward. Trim the edges with a sharp blade. For more window ideas on a budget, see my (see also: budget-window-privacy-ideas) post. I tried this — the mistake to avoid is applying film to dusty glass, because every speck shows.
Cost: ~$10 | Time: 45 minutes
💰 Budget win: One roll covers several windows, while net curtains cost more and block far more light.
11. Revamp a Thrifted Dresser With Peel and Stick Wood
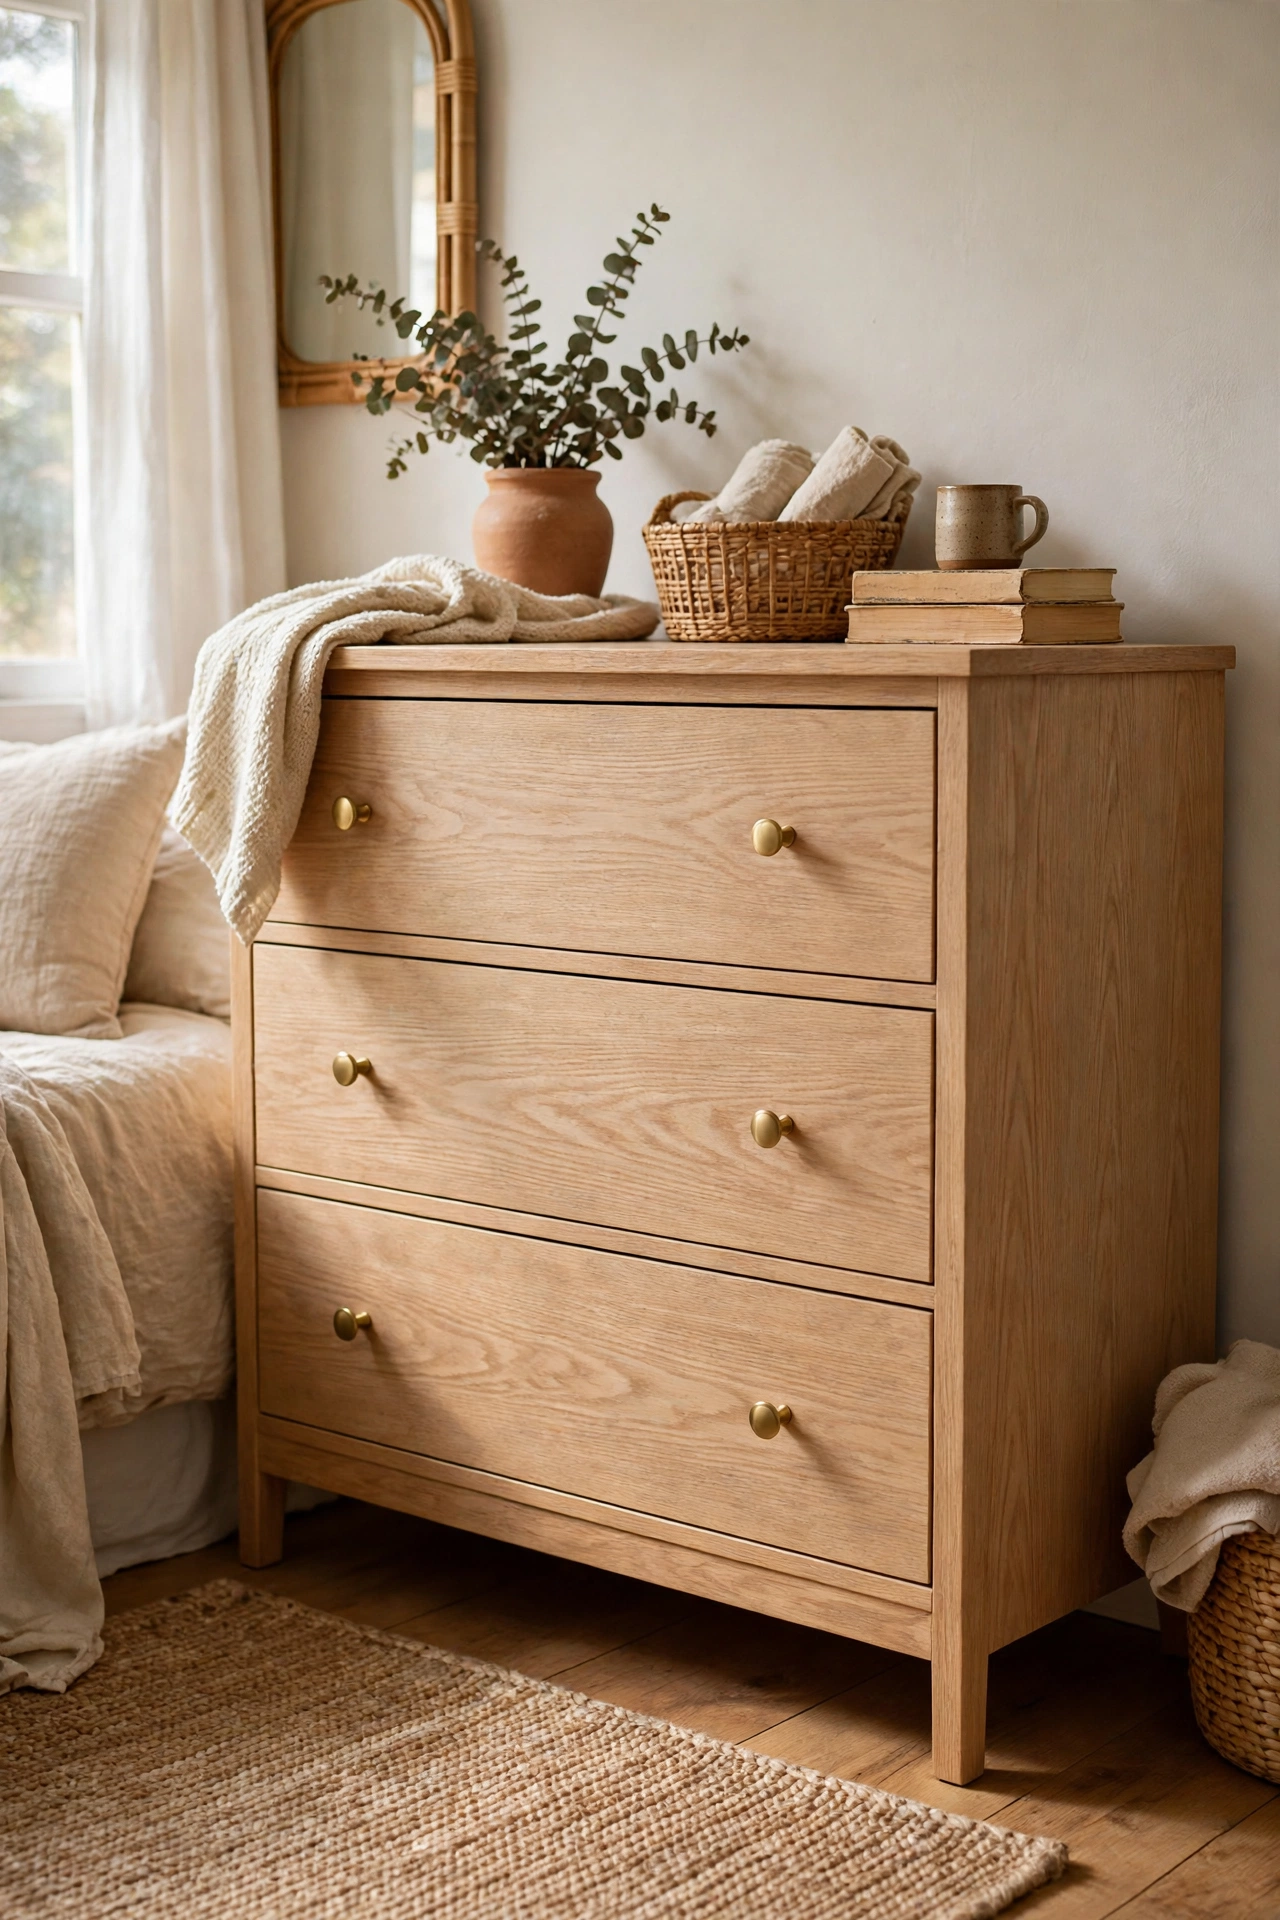
A scratched thrift-shop dresser is a bargain waiting for a second life, and peel and stick wood vinyl gives it one without sanding or paint fumes. Clean the surface, measure each drawer front, and wrap them one by one, keeping the grain direction consistent. New knobs finish the job and make the whole piece look far more expensive than it was. I rescued a wobbly dresser for a few dollars, wrapped the fronts in pale oak vinyl, swapped the knobs, and it now holds pride of place in my bedroom. Guests assume it came from a proper furniture shop.
Cost: ~$16 | Time: 2 hours
💰 Budget win: Vinyl plus new knobs costs less than a tin of decent furniture paint, with no drying time or smell.
12. Make a Renter-Friendly Headboard From Peel and Stick Panels
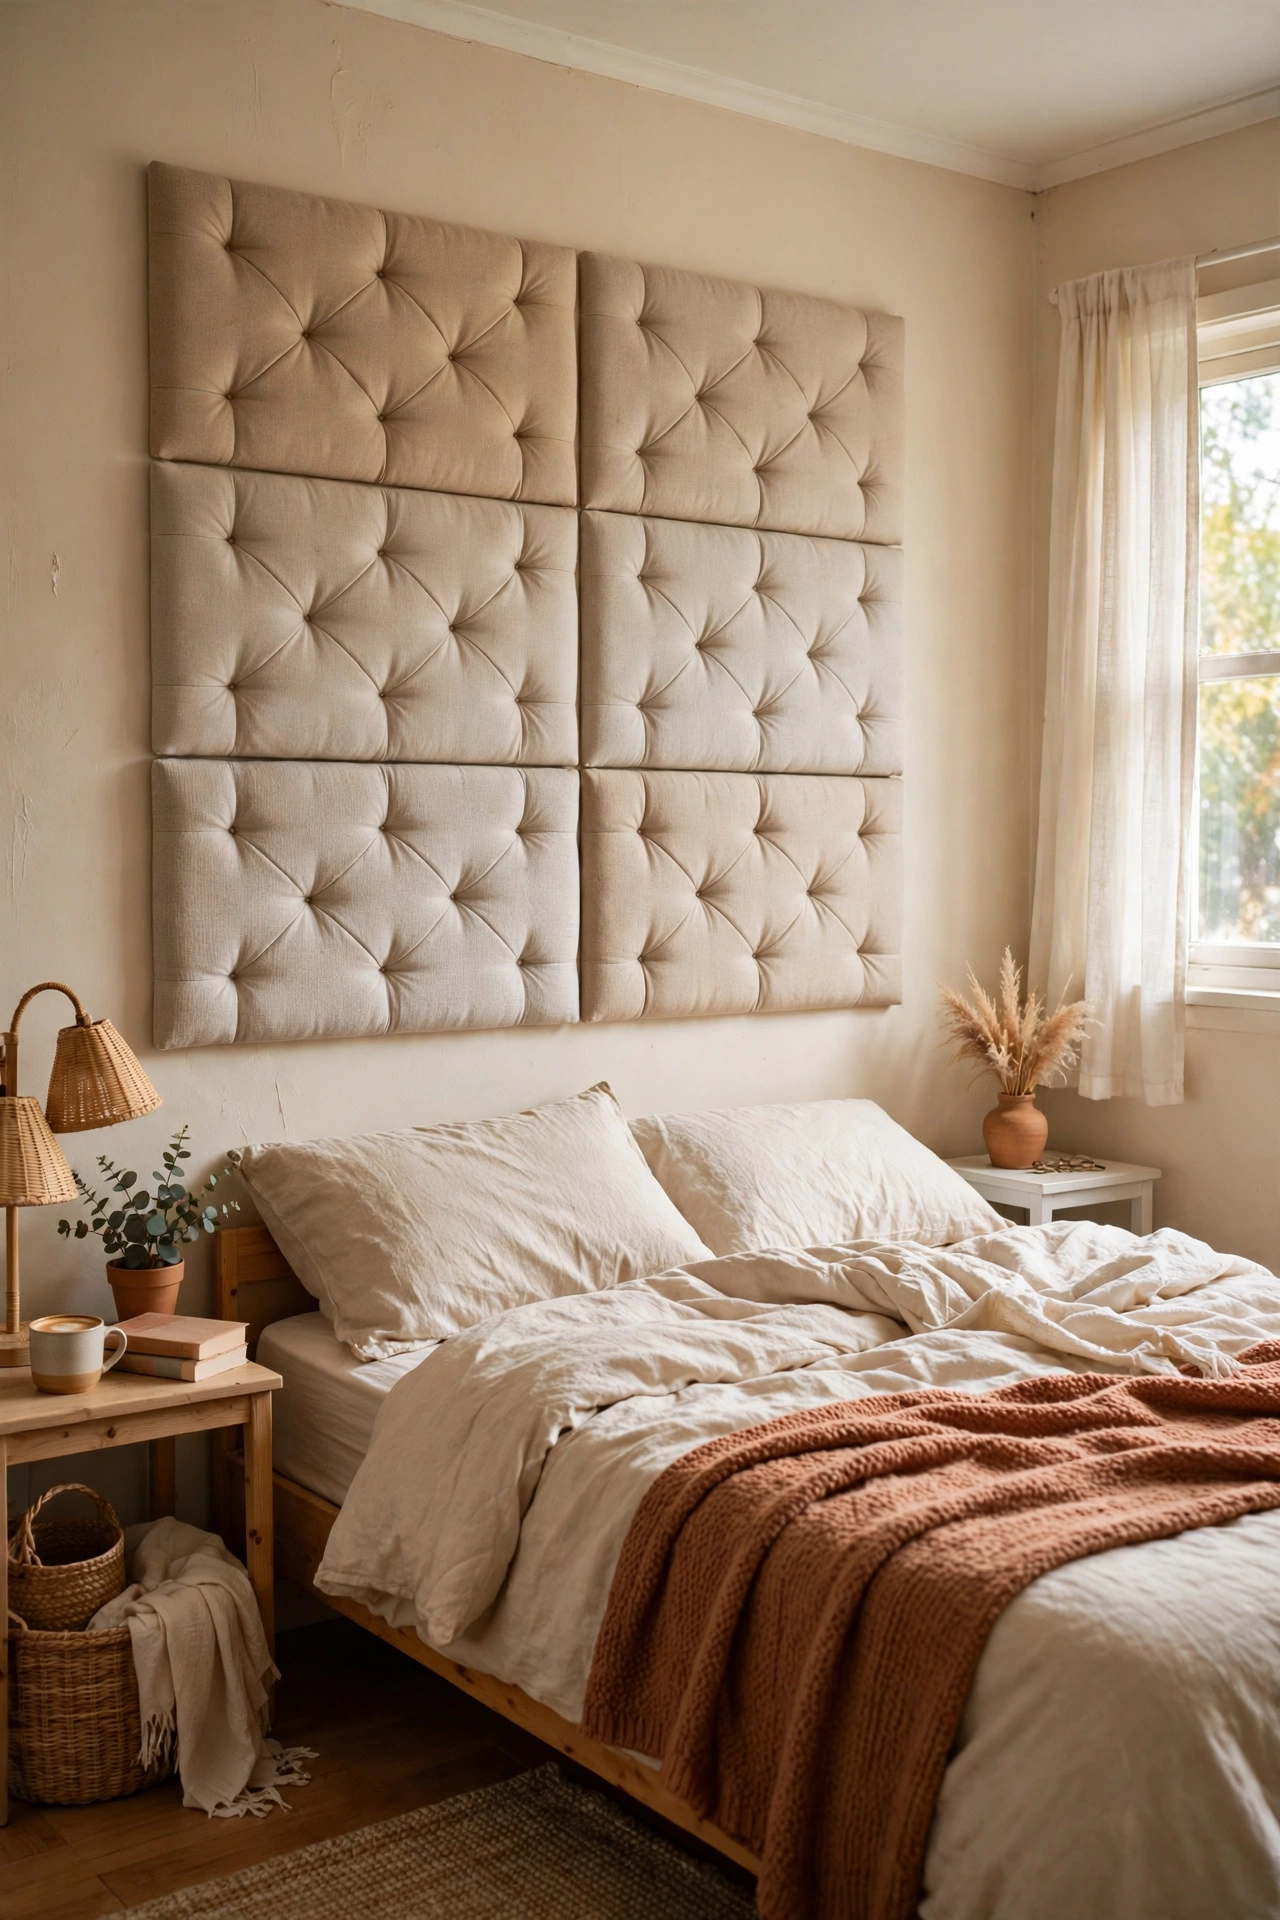
Bedrooms without a headboard feel unfinished, and padded peel and stick panels make one that needs no drilling at all. Stick the panels directly to the wall in a grid, a herringbone, or a simple vertical run, depending on your bed width. Press firmly along every edge so the panels stay put through the night. Choose a fabric-look panel for softness, or a wood-look one for a cleaner style. I built a full headboard wall in my rental in under an hour, and leaning back with a book finally felt comfortable instead of like leaning on cold plaster.
Cost: ~$28 | Time: 1 hour
💰 Budget win: Panel packs cost a fraction of an upholstered headboard, and they move with you to the next bedroom.
13. Cover a Dated Fridge With Peel and Stick Stainless Look
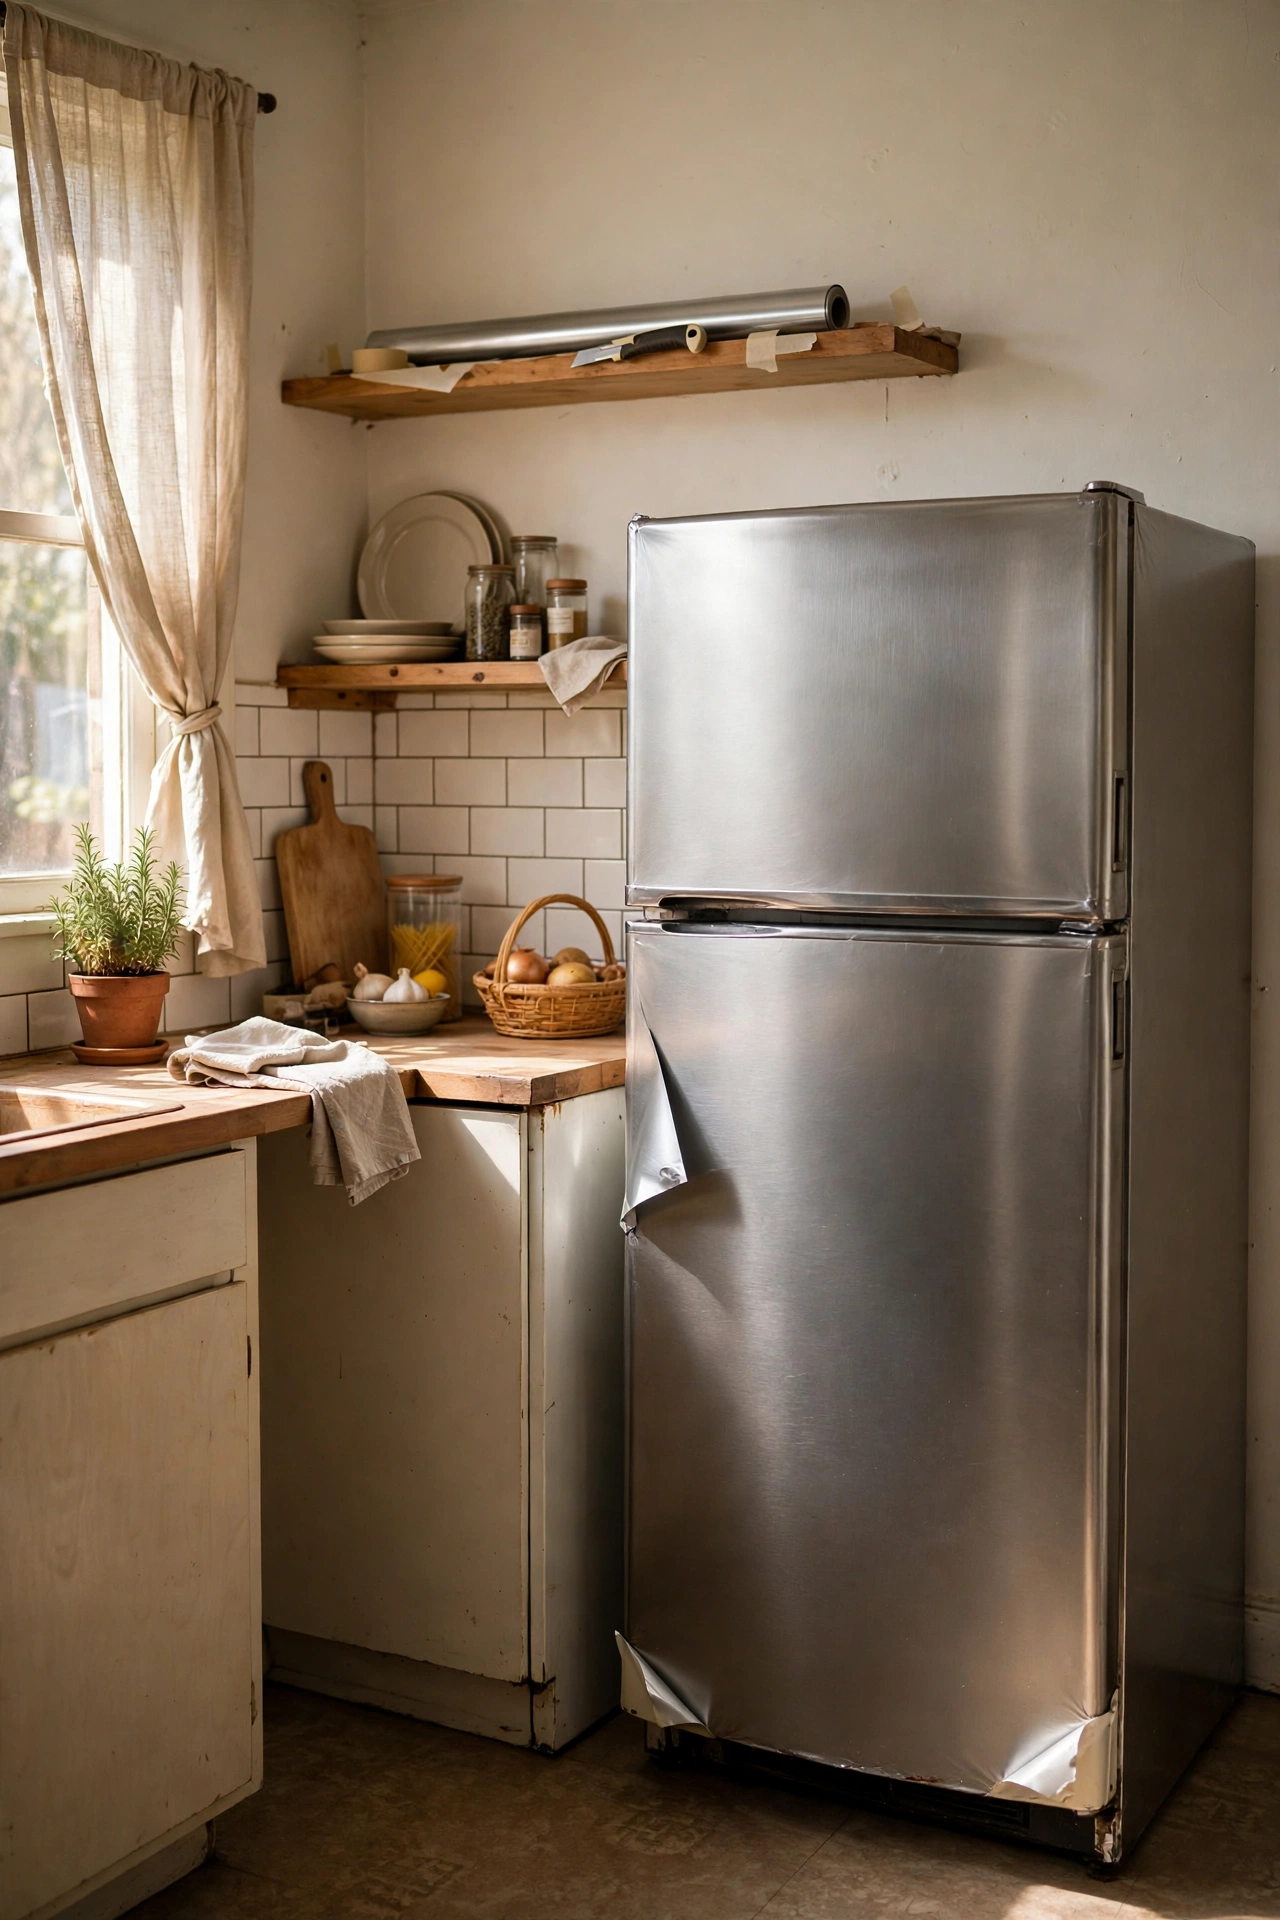
An old avocado or scratched white fridge can ruin an otherwise tidy kitchen, and stainless-look vinyl gives it a modern skin. Wipe the fridge down, remove the handles, and apply the vinyl in long vertical strips, smoothing bubbles as you go. Trim around the handles and seals carefully so the doors still close properly. I tried this — the mistake to avoid is covering the rubber seals, because the doors will not shut and food spoils fast. Keep the vinyl off the seals, refit the handles, and the fridge looks a decade newer.
Cost: ~$18 | Time: 90 minutes
💰 Budget win: One roll wraps a whole fridge, while a replacement fridge costs hundreds and is usually the landlord’s call anyway.
14. Add Peel and Stick Wainscoting to a Plain Hallway
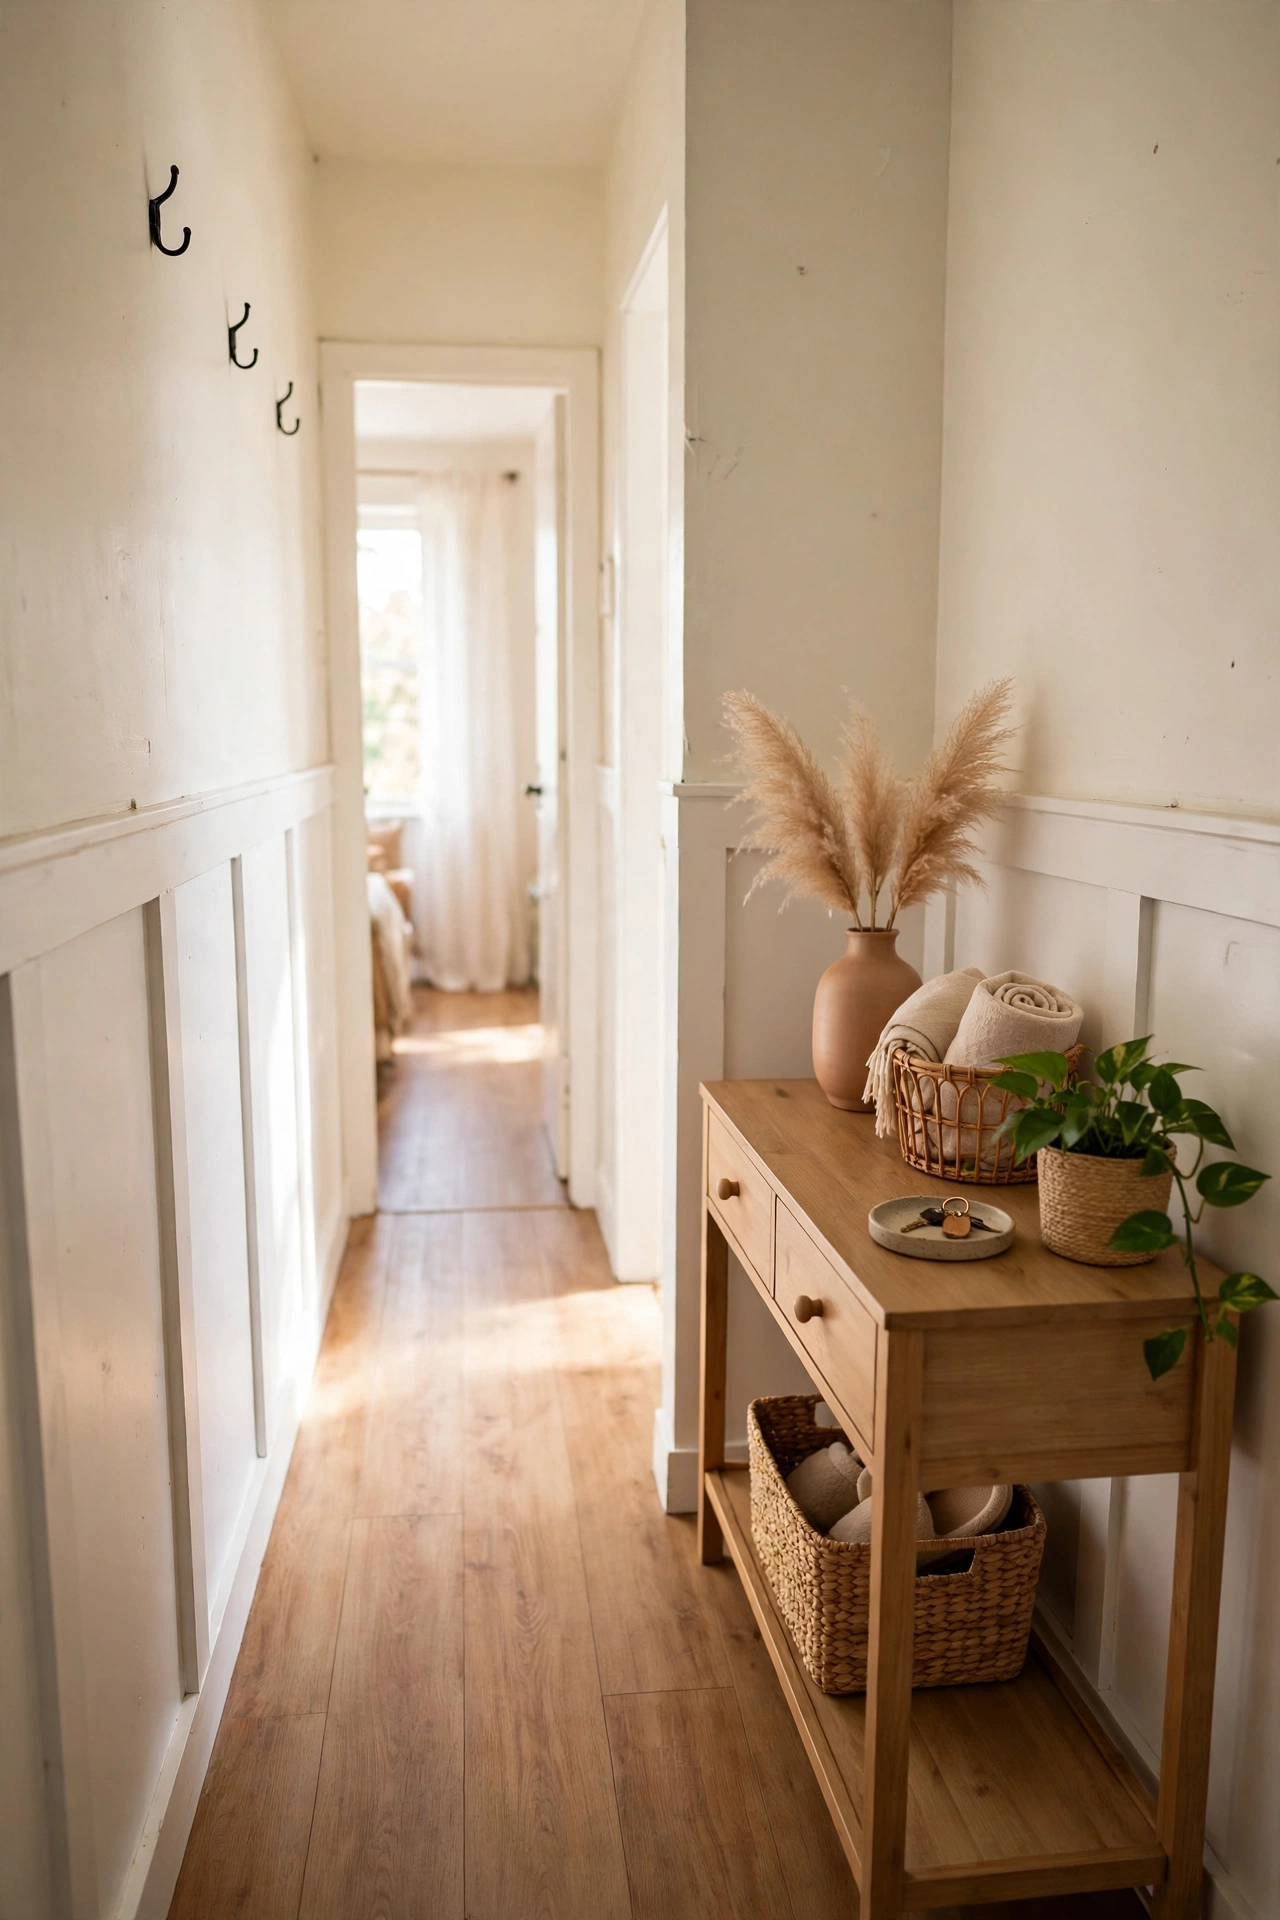
Long rental hallways often feel like empty corridors, and peel and stick wainscoting panels add structure and charm without any woodwork. Mark a level line at chair-rail height, then stick the panels below it in even sections. A coat of matching paint over paintable panels ties everything together, but many panels look finished straight from the pack. Keep the upper wall light so the hallway still feels open. My hallway went from a blank tunnel to a proper entrance in one weekend afternoon, and the panels came down without a trace when I moved.
Cost: ~$32 | Time: 3 hours
💰 Budget win: Stick-on panels beat real wainscoting on price and time, and they need no saw, nails, or landlord approval.
15. Turn a Kitchen Nook Into a Message Wall With Peel and Stick Chalkboard
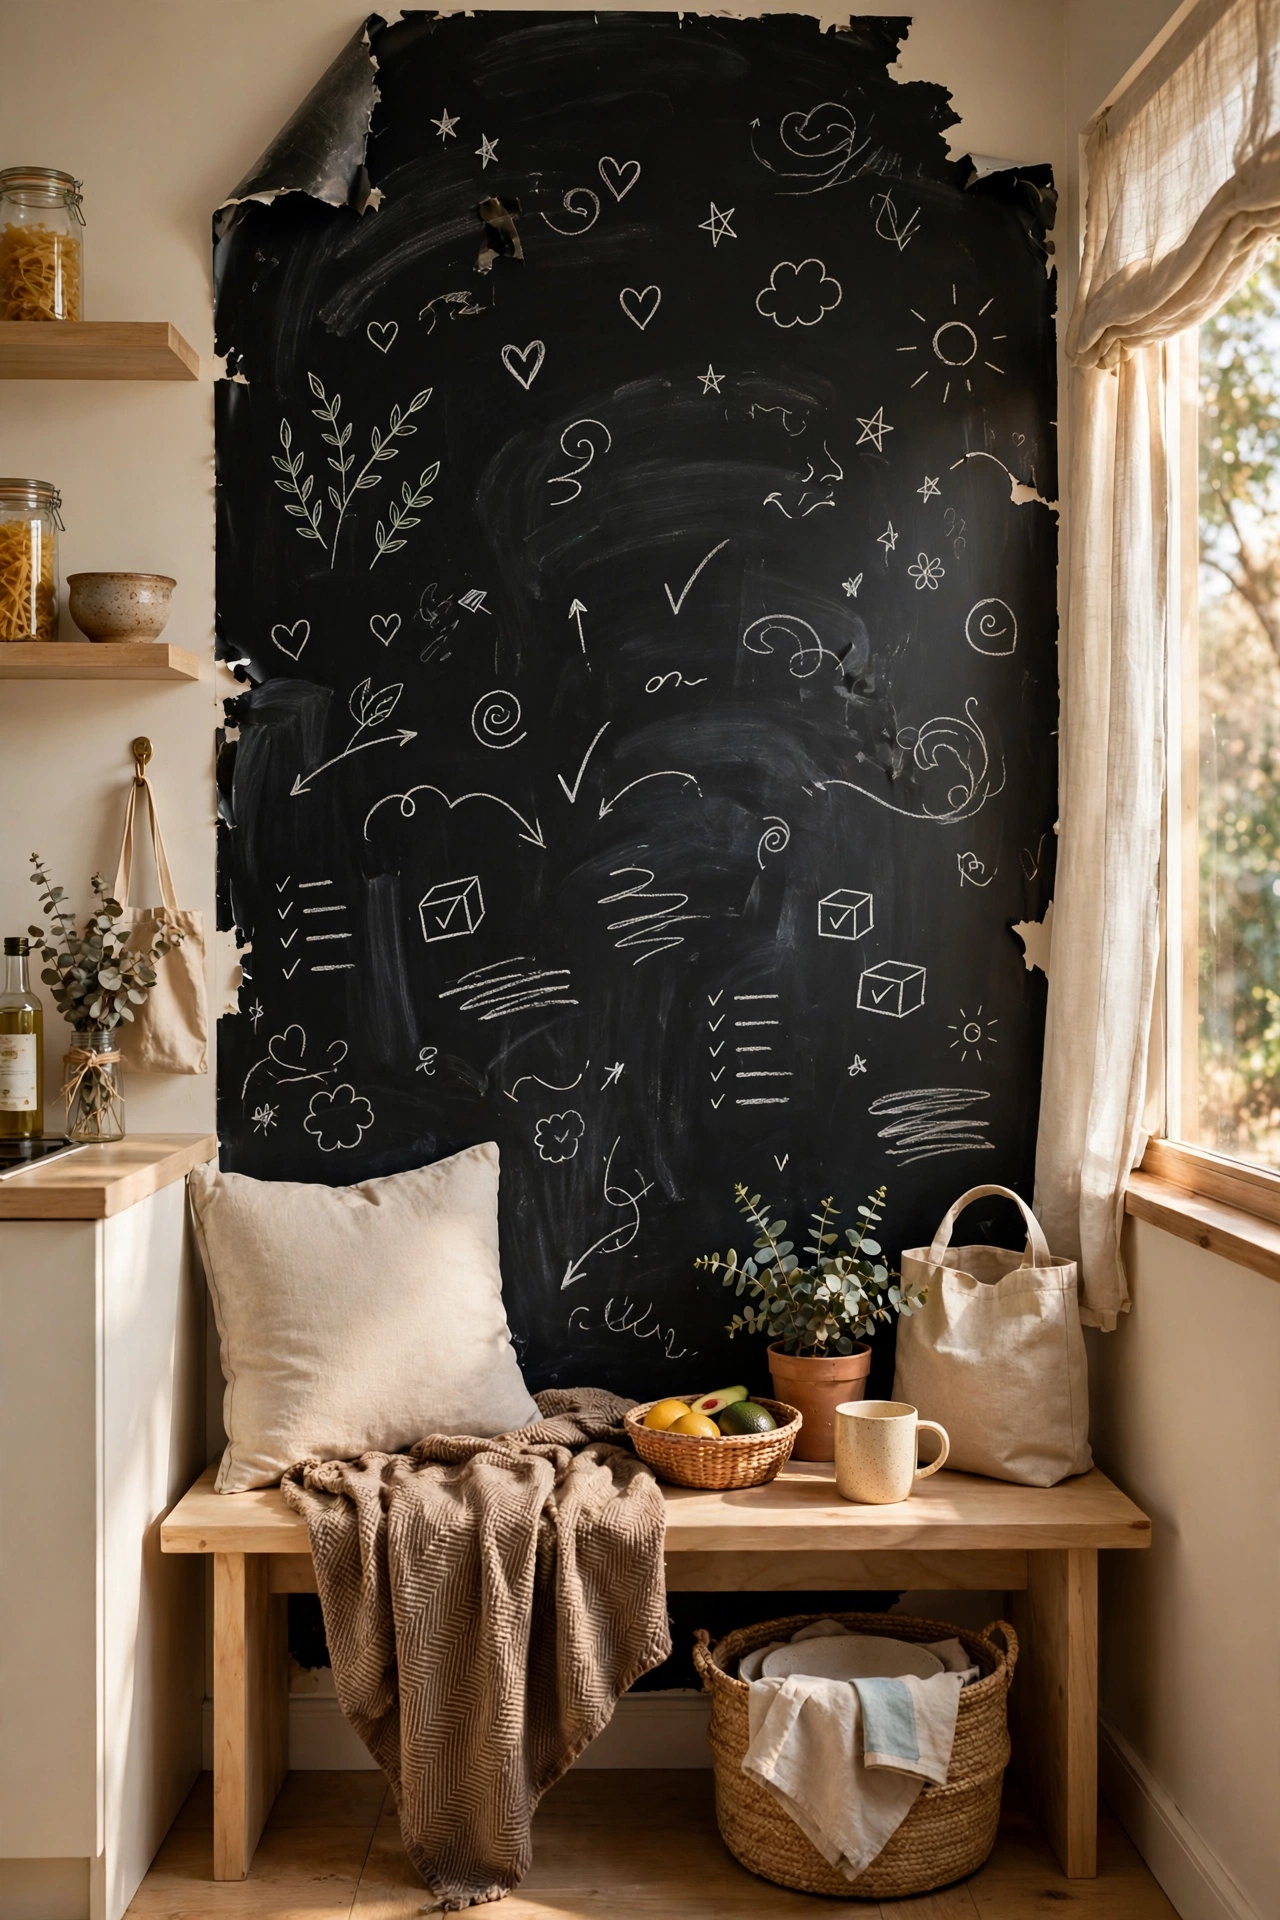
Every home needs a spot for shopping lists, reminders, and little notes, and peel and stick chalkboard vinyl turns a bare kitchen wall into exactly that. Cut it to size, stick it flat, and smooth out bubbles before you write on it. Regular chalk works fine, and chalk pens give cleaner lines for menus or quotes. Keep a small tray or magnetic strip nearby for chalk and pens so the wall stays tidy. My family uses ours for the weekly menu, and it has ended the daily question of what is for dinner more than once.
Cost: ~$9 | Time: 30 minutes
💰 Budget win: Chalkboard vinyl costs less than a framed chalkboard and can be any size you want, from a small square to a full wall.
16. Refresh a Bathroom Vanity With Peel and Stick Stone
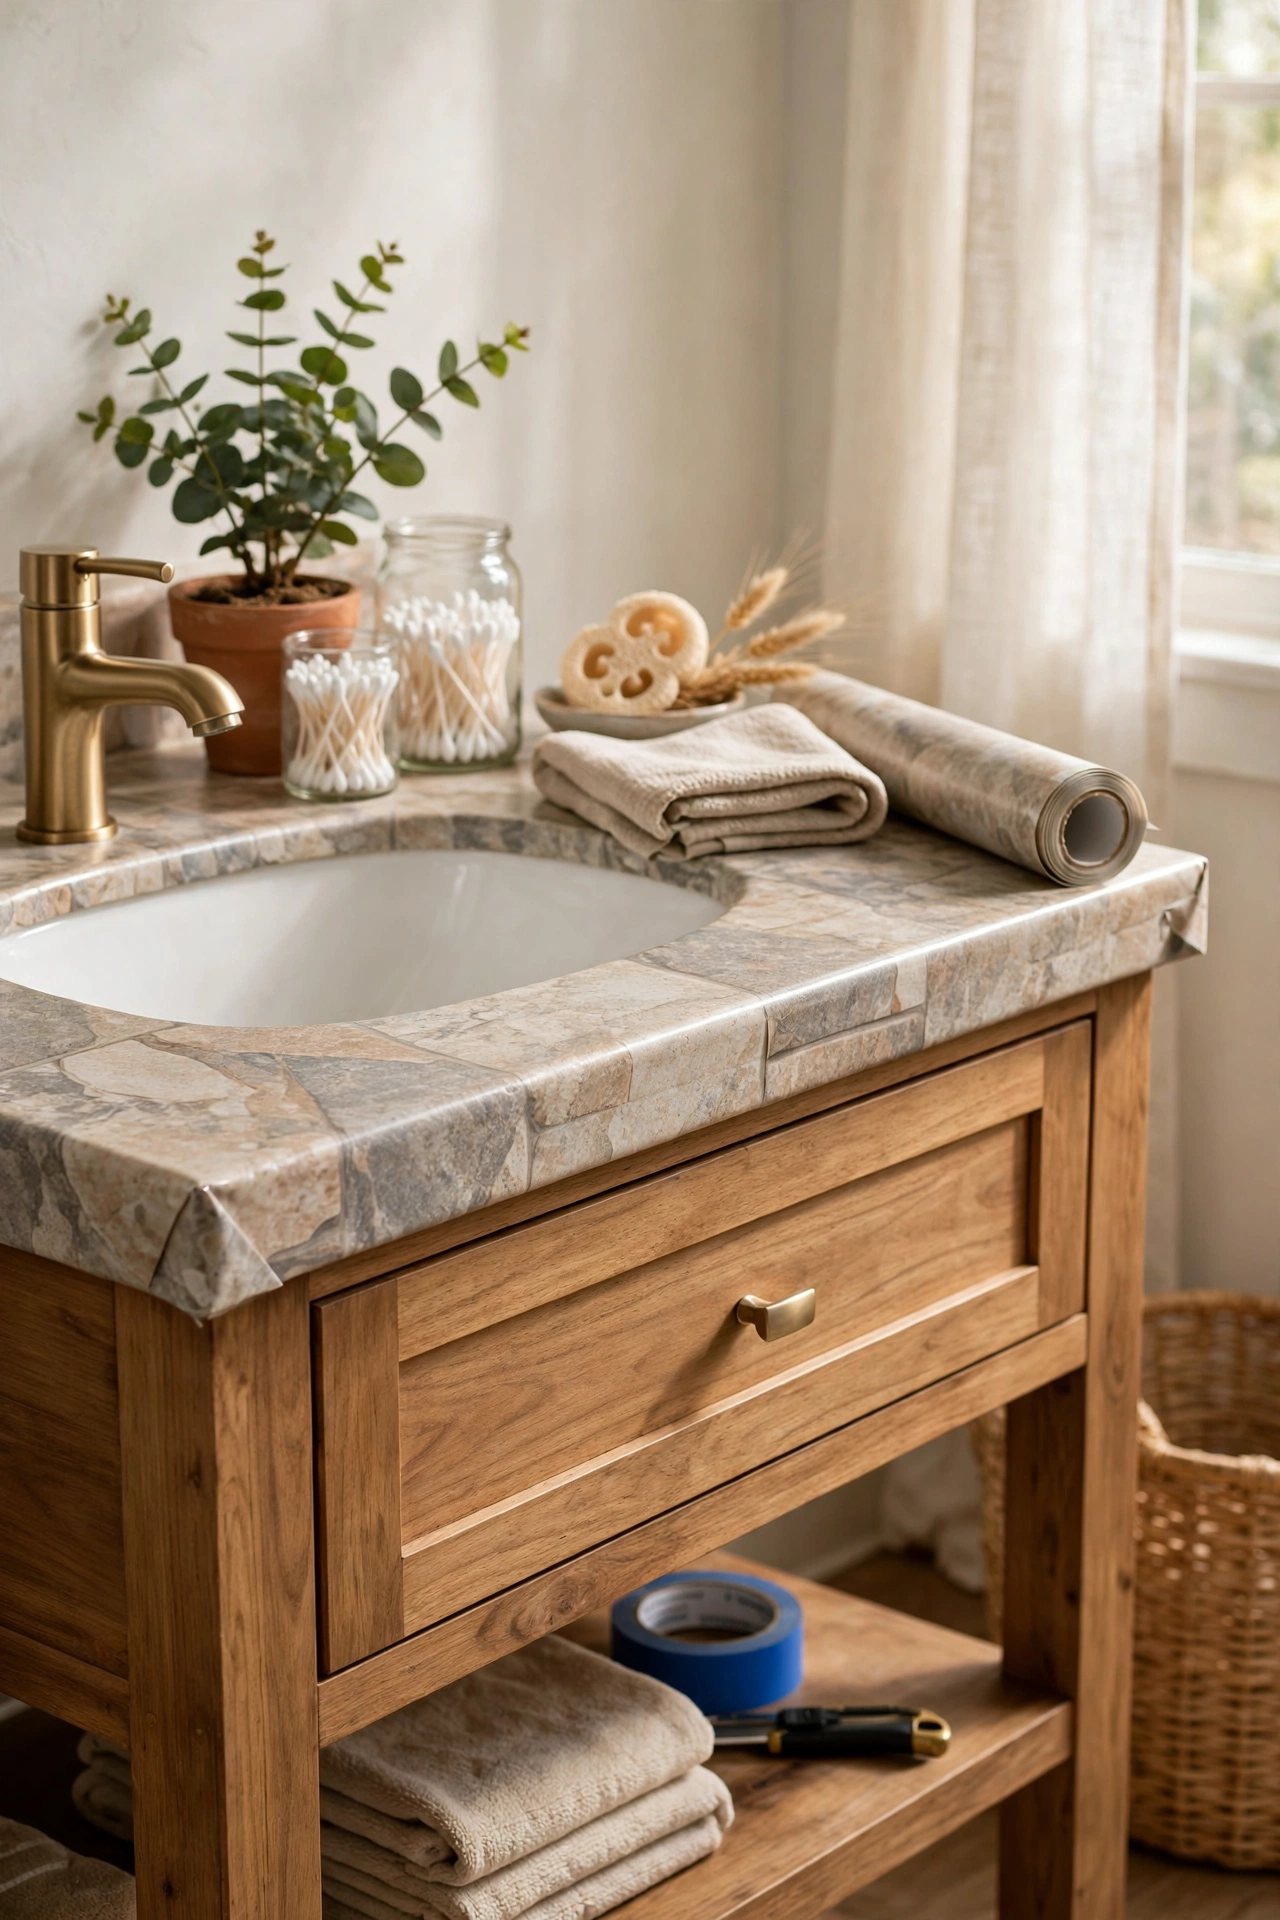
Rental bathroom vanities are often chipped, stained, or stuck in a decade nobody misses, and stone-look vinyl covers the damage in one sitting. Clean the top well, apply the vinyl slowly, and wrap the front edge so water cannot creep underneath. Seal the edges near the tap with a thin line of clear sealant for extra protection. I tried this — the mistake to avoid is leaving standing water on the vinyl, because even good vinyl lifts if puddles sit on it for days. Wipe it dry after use and it lasts the whole tenancy.
Cost: ~$14 | Time: 1 hour
💰 Budget win: Stone-look vinyl costs a tiny fraction of a new vanity top, and the landlord’s original top stays safe underneath.
17. Dress Up a Plain Entry Table With Peel and Stick Terrazzo
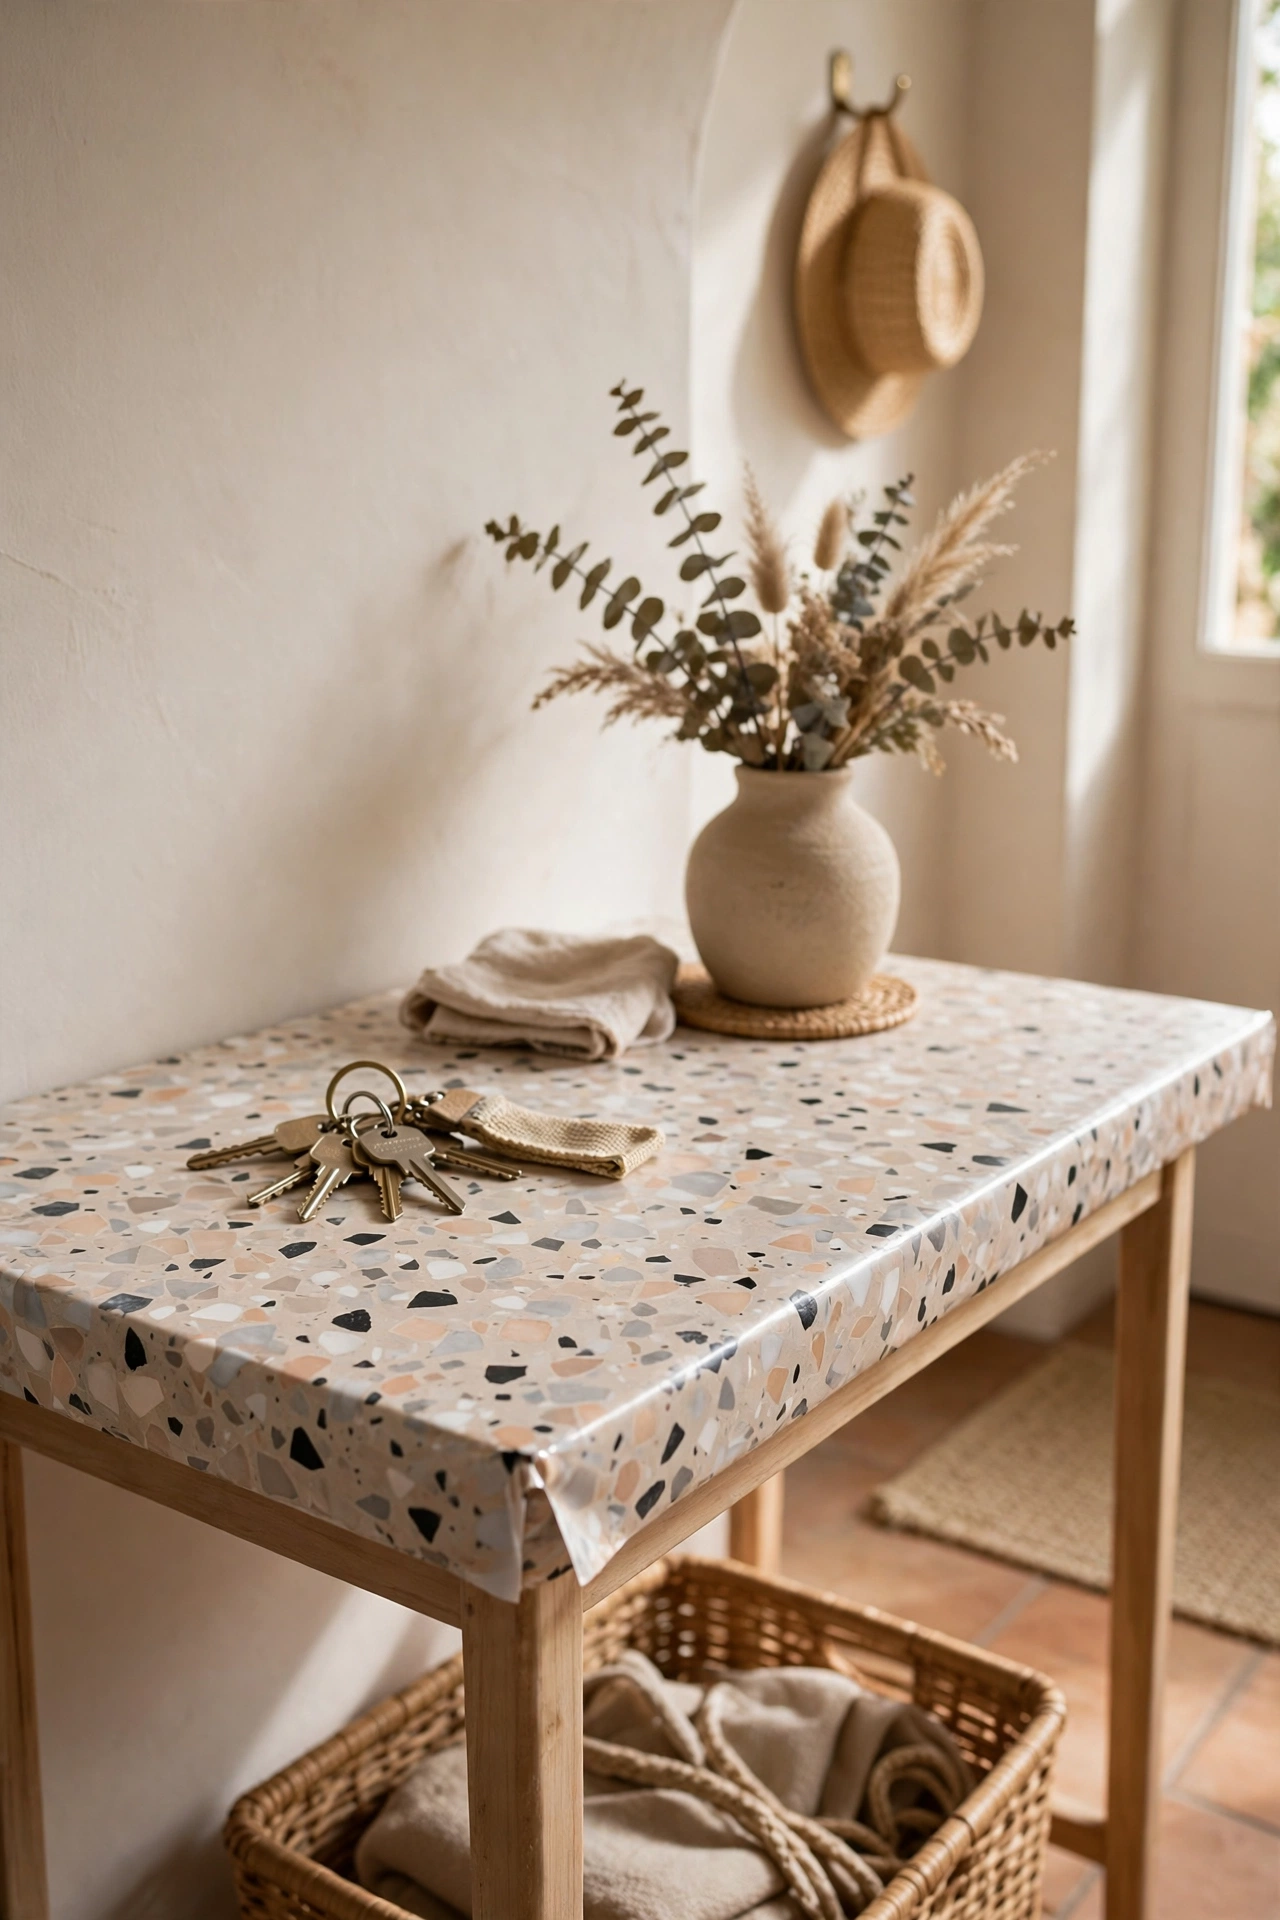
A plain entry table is the first thing you see when you walk in, and terrazzo-look vinyl gives it a designer feel for almost nothing. Measure the top, cut the vinyl slightly large, and trim it flush once it is stuck down. Smooth out every bubble before you trim, because a bubble near the edge is hard to fix later. Style the finished table with a small tray for keys and a vase, and the whole entryway feels considered. For more entryway styling on a budget, see my (see also: budget-entryway-ideas) post. I wrapped a tired folding table this way, and it now looks like a piece I chose on purpose.
Cost: ~$8 | Time: 30 minutes
💰 Budget win: Terrazzo vinyl turns a bargain table into a statement piece for less than the cost of a bunch of flowers.
Renting does not mean living with someone else’s taste. Start with one wall or one counter, get confident with the smoothing and trimming, and then work through the rest of the flat at your own pace. When moving day comes, peel it all off, wipe the walls, and hand back a home that looks just as it did — while you enjoyed a space that finally felt like yours.
