23 Bathroom Vanity Decor Ideas on a Budget
If your vanity counter always looks one bottle away from chaos, you are not alone, and these Bathroom Vanity Decor Ideas on a Budget are built for real mornings, not showroom photos. The flow below starts with trays that corral the mess, moves to mirrors and lighting that flatter the whole corner, then covers storage, greenery, and finishing touches, so each group builds on the last. Most ideas cost under fifty dollars, many cost nothing at all, and none of them need tools you do not already have.
1. Wooden Tray to Corral Everyday Bottles
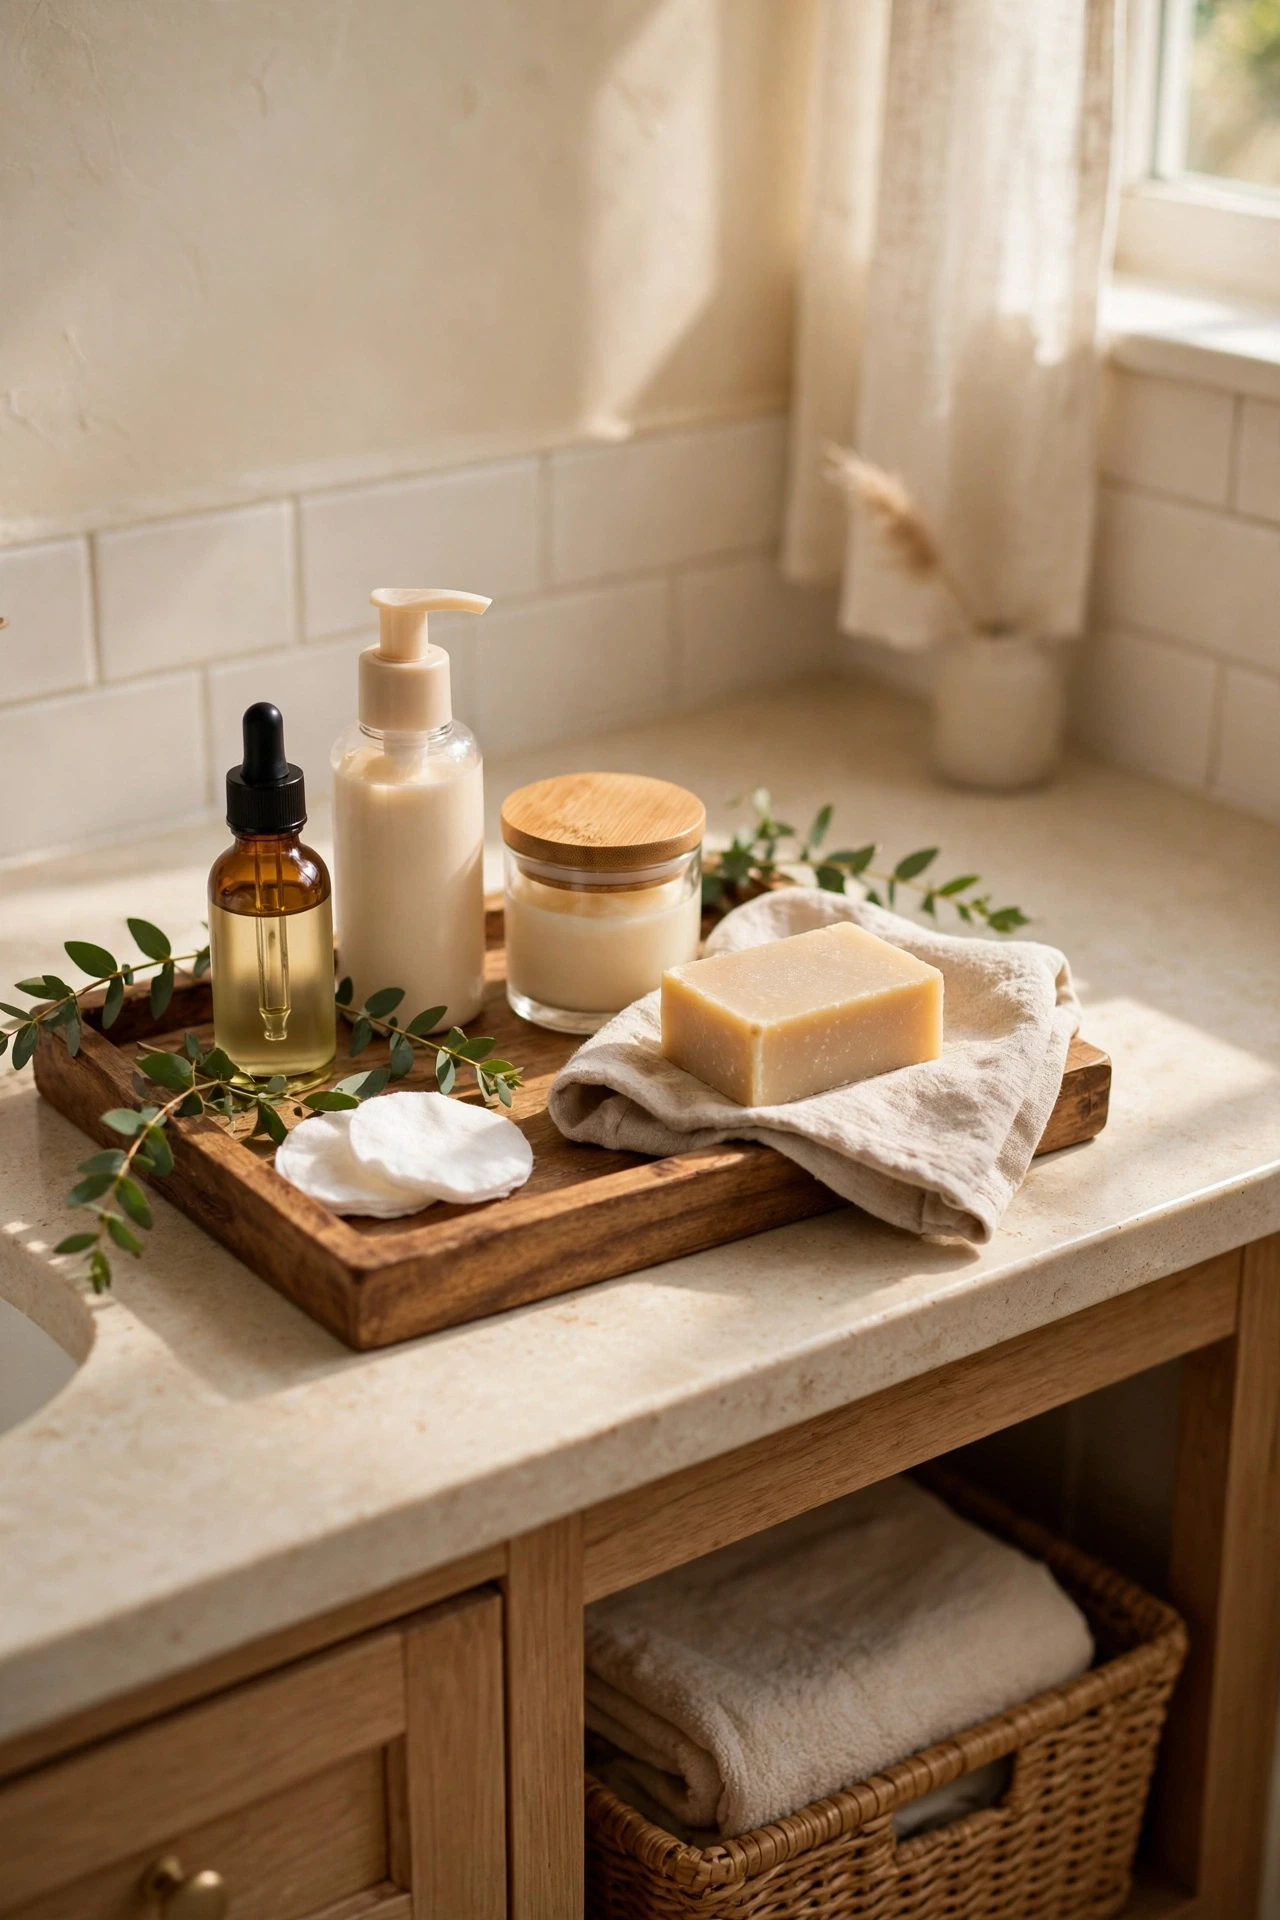
A wooden tray gathers your daily bottles into one neat zone, so the counter stops looking scattered and cleaning takes about thirty seconds. Start by pulling everything off the vanity and keeping only what you reach for daily, then group the rest by use. Place the tray or organiser first, add items back in height order, and leave one clear patch for your hands. I did this on a tight budget last year, and my first mistake was buying five cute containers before measuring, so now I measure first and shop second, every time.
💰 Budget win: Use a kitchen serving tray you already own before buying a vanity tray, because the job is exactly the same.
Cost: ~$$12-$35 | Time: 10 minutes
2. Small Ceramic Dish for Rings and Lip Balm
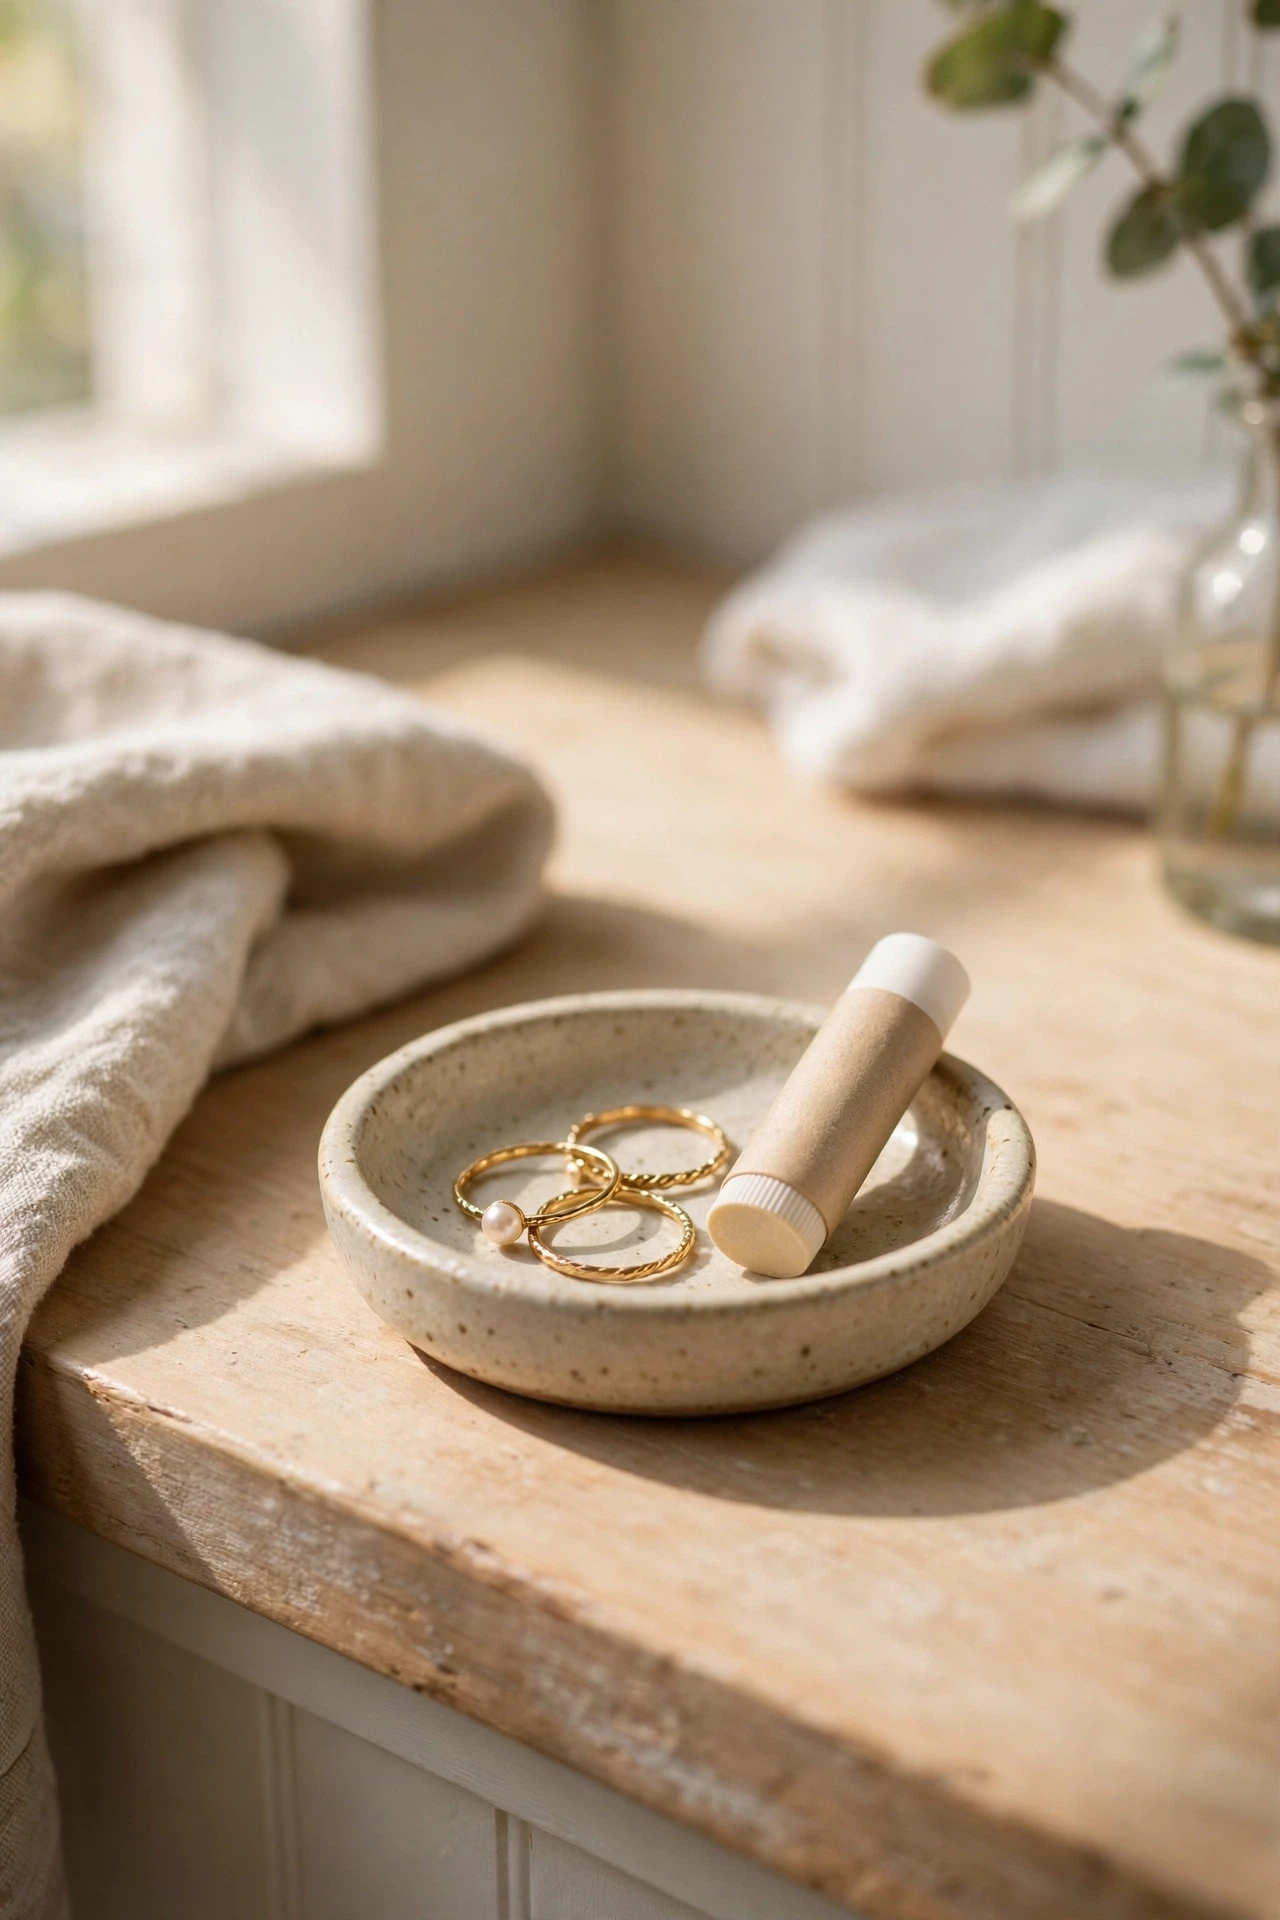
A small ceramic dish by the sink catches rings, lip balm, and hair ties that would otherwise wander across the whole counter. Begin with a quick wipe-down and a measure of the space, so nothing you buy ends up too wide or too tall. Set the main piece in place, test it for a full morning routine, and move anything you bump twice. When I first styled my vanity, I kept every bottle out and it looked like a shop shelf, and hiding half of them in a basket made mornings feel calmer at once.
💰 Budget win: Check charity shops for a ceramic dish first, since pretty saucers and trinket dishes cost very little there.
Cost: ~$$6-$18 | Time: 5 minutes
3. Marble-Look Tray for a Polished Base
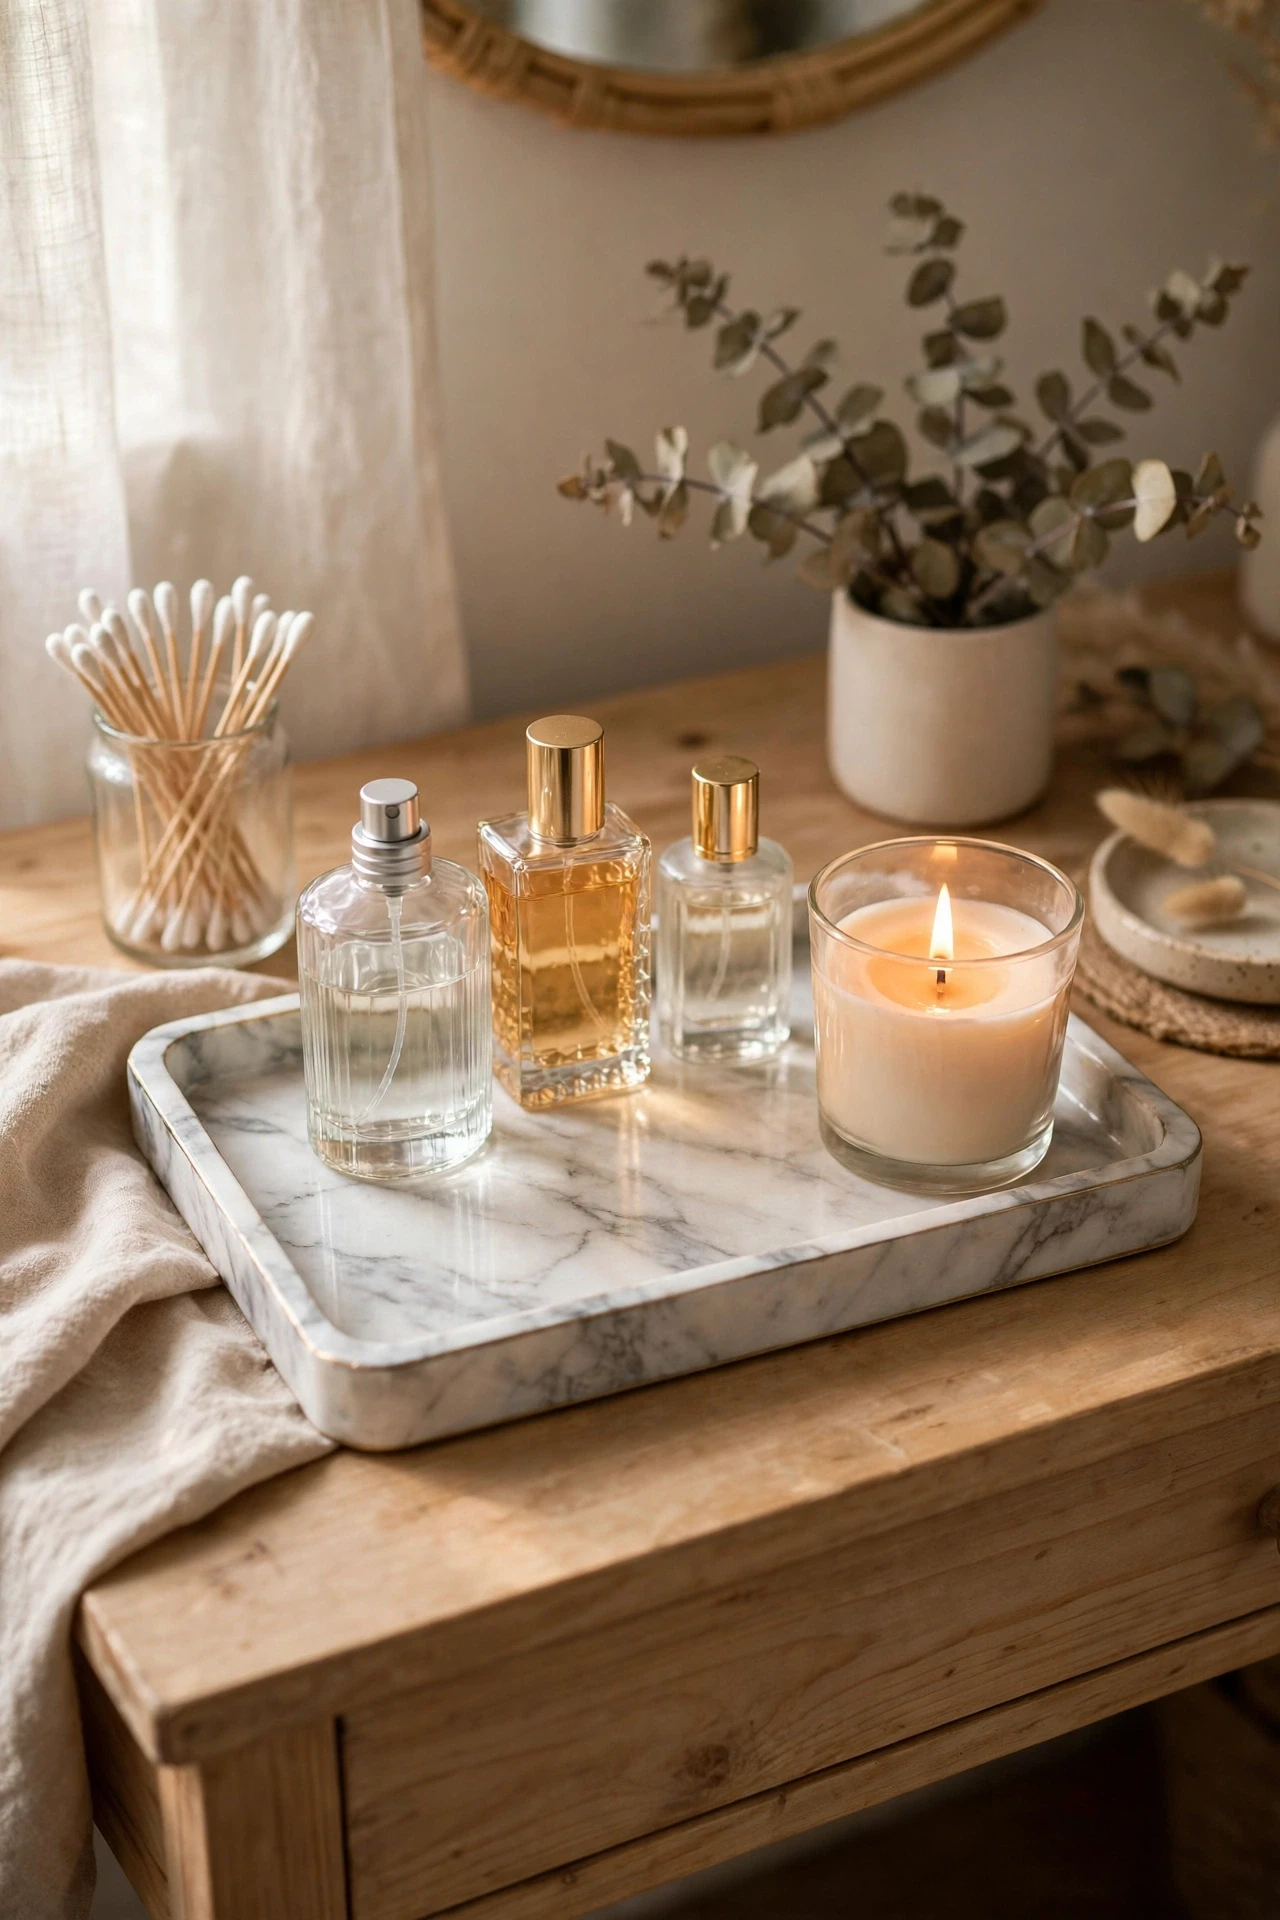
A marble-look tray gives even budget bottles a polished base, and it protects the counter from drips and rings at the same time. Choose one finish to repeat, like wood, brass, or clear glass, and let that tie the small pieces together. Add items slowly, check the look from the doorway, and remove anything that makes the counter feel busy. A friend tried this and went for the cheapest tray she could find, which wobbled and scratched the counter, so a felt pad underneath is now my non-negotiable step.
💰 Budget win: A marble-look contact paper over a plain tray gives the same polished base for a fraction of the price.
Cost: ~$$15-$30 | Time: 10 minutes
4. Round Mirror Swap for Instant Polish
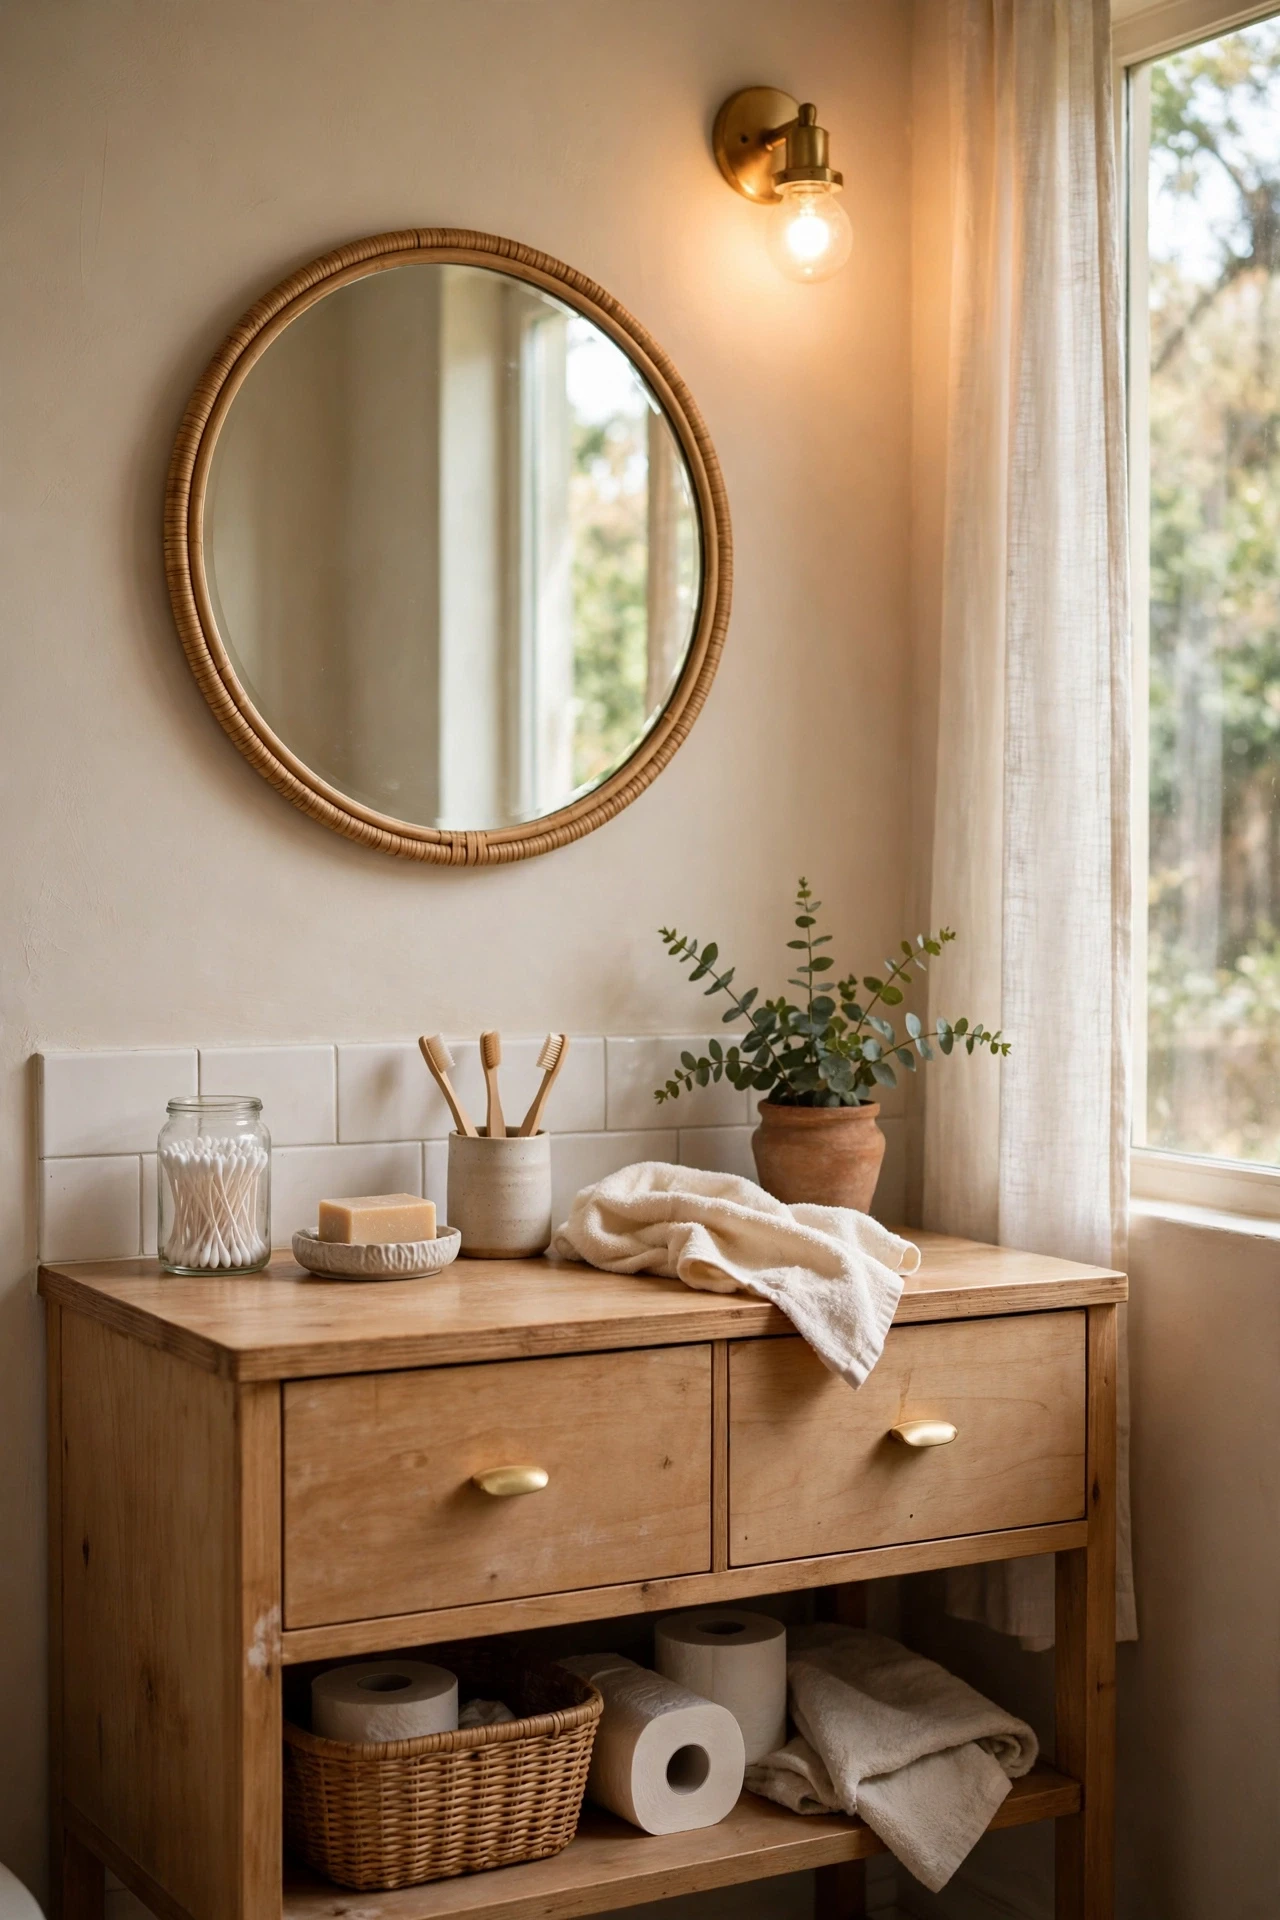
Swapping a plain builder mirror for a round one softens the whole vanity wall and makes the room feel styled in one simple change. Start by pulling everything off the vanity and keeping only what you reach for daily, then group the rest by use. Place the tray or organiser first, add items back in height order, and leave one clear patch for your hands. I learned to keep one empty spot on purpose, because a vanity with no breathing room just invites clutter back within a week. Pair this with (see also: bathroom-organization-ideas-on-a-budget) if the inside of the vanity needs help too.
💰 Budget win: Look for a round mirror with a simple frame and paint it, rather than paying extra for a fancy finish.
Cost: ~$$25-$70 | Time: 30 minutes
5. Warm LED Strip Behind the Mirror
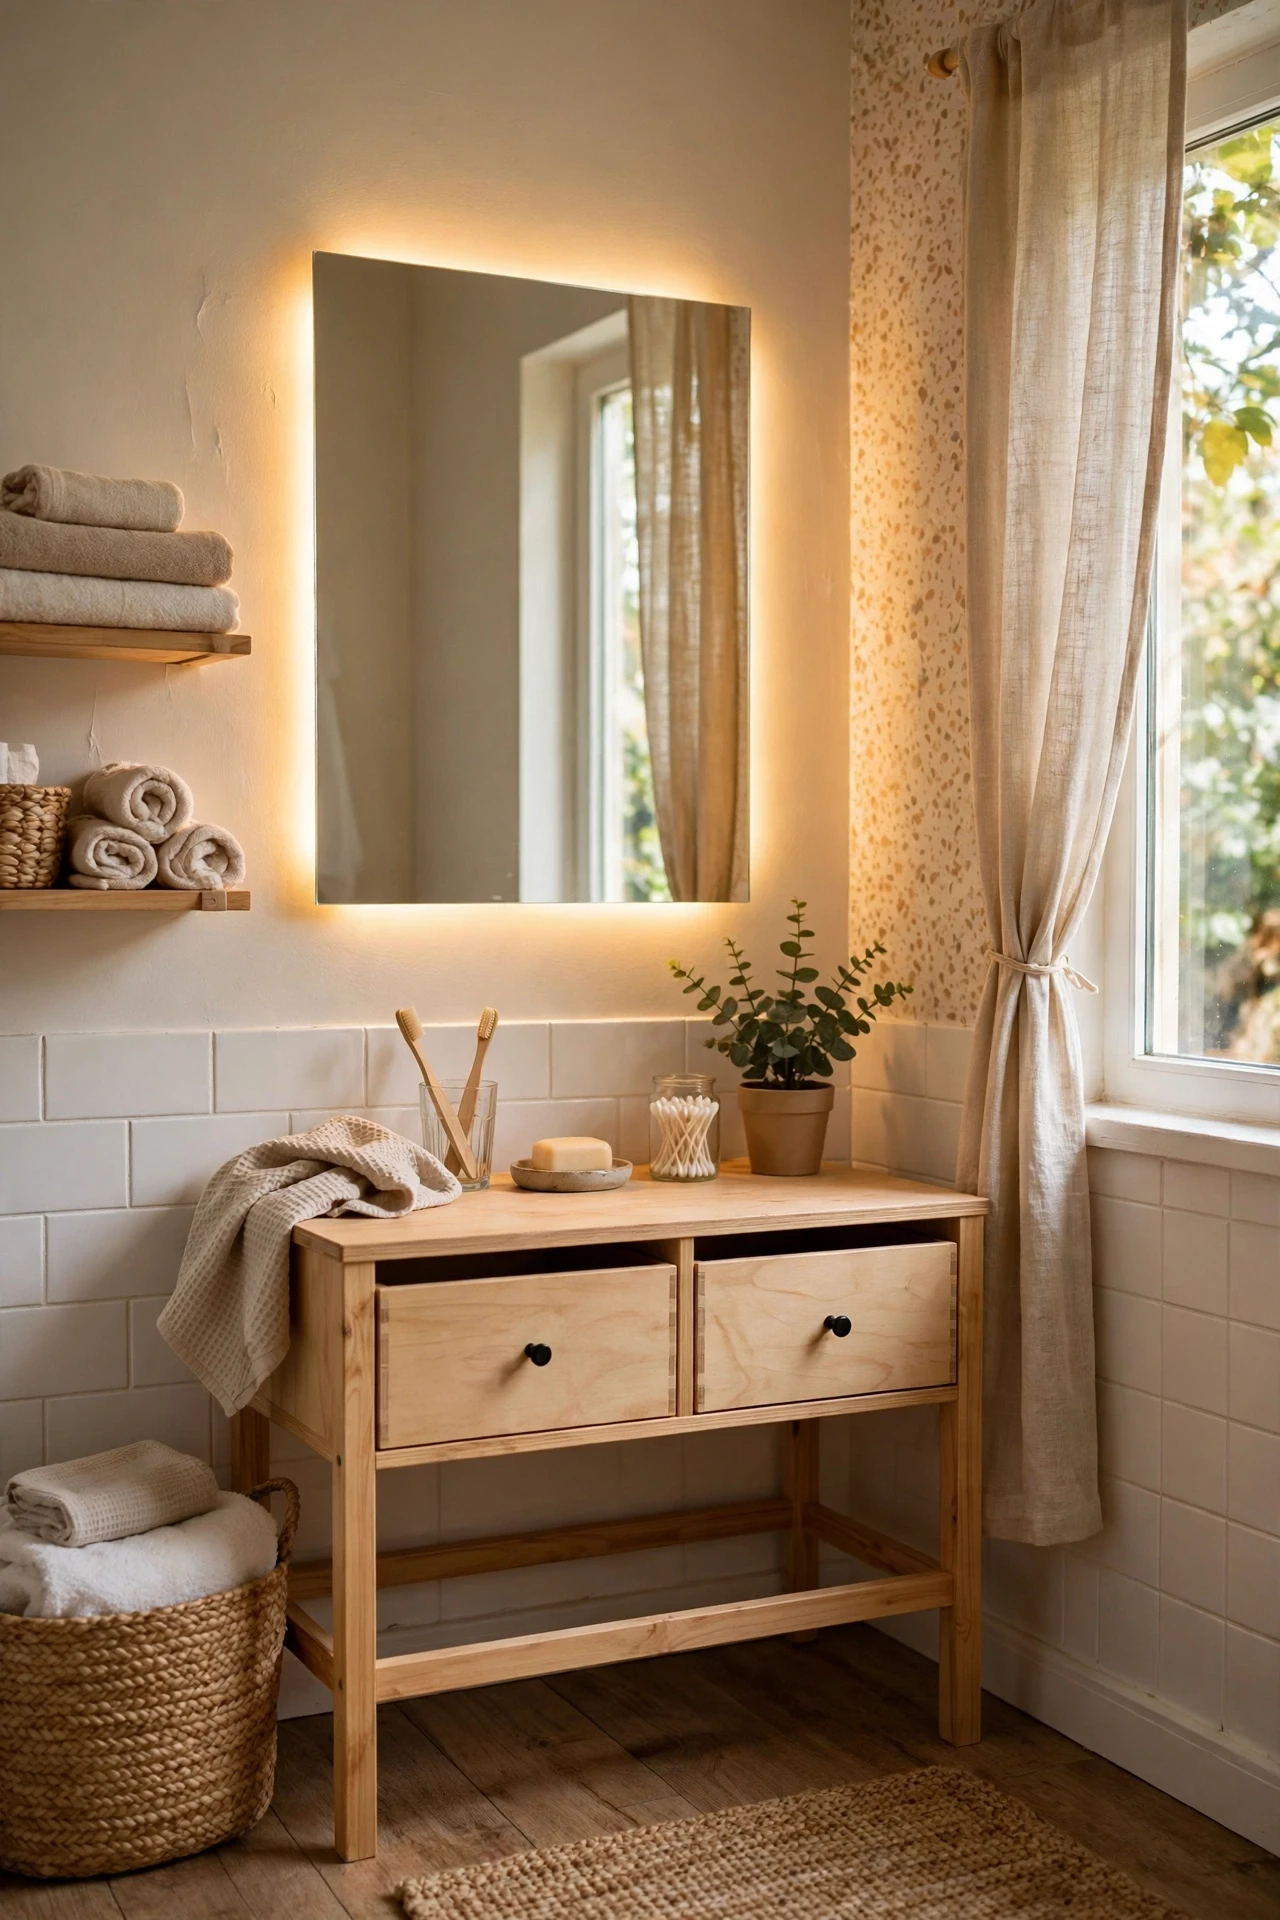
A warm LED strip behind the mirror adds a soft glow for mornings and evenings, and it flatters skin far better than harsh overhead light. Begin with a quick wipe-down and a measure of the space, so nothing you buy ends up too wide or too tall. Set the main piece in place, test it for a full morning routine, and move anything you bump twice. My first version looked great in photos but failed in real life, because I could not reach my daily cream without moving three jars, so function comes first now.
💰 Budget win: Battery LED strips skip the electrician entirely, and one strip usually covers the whole mirror.
Cost: ~$$12-$28 | Time: 20 minutes
6. Clip-On Sconces for Soft Vanity Light
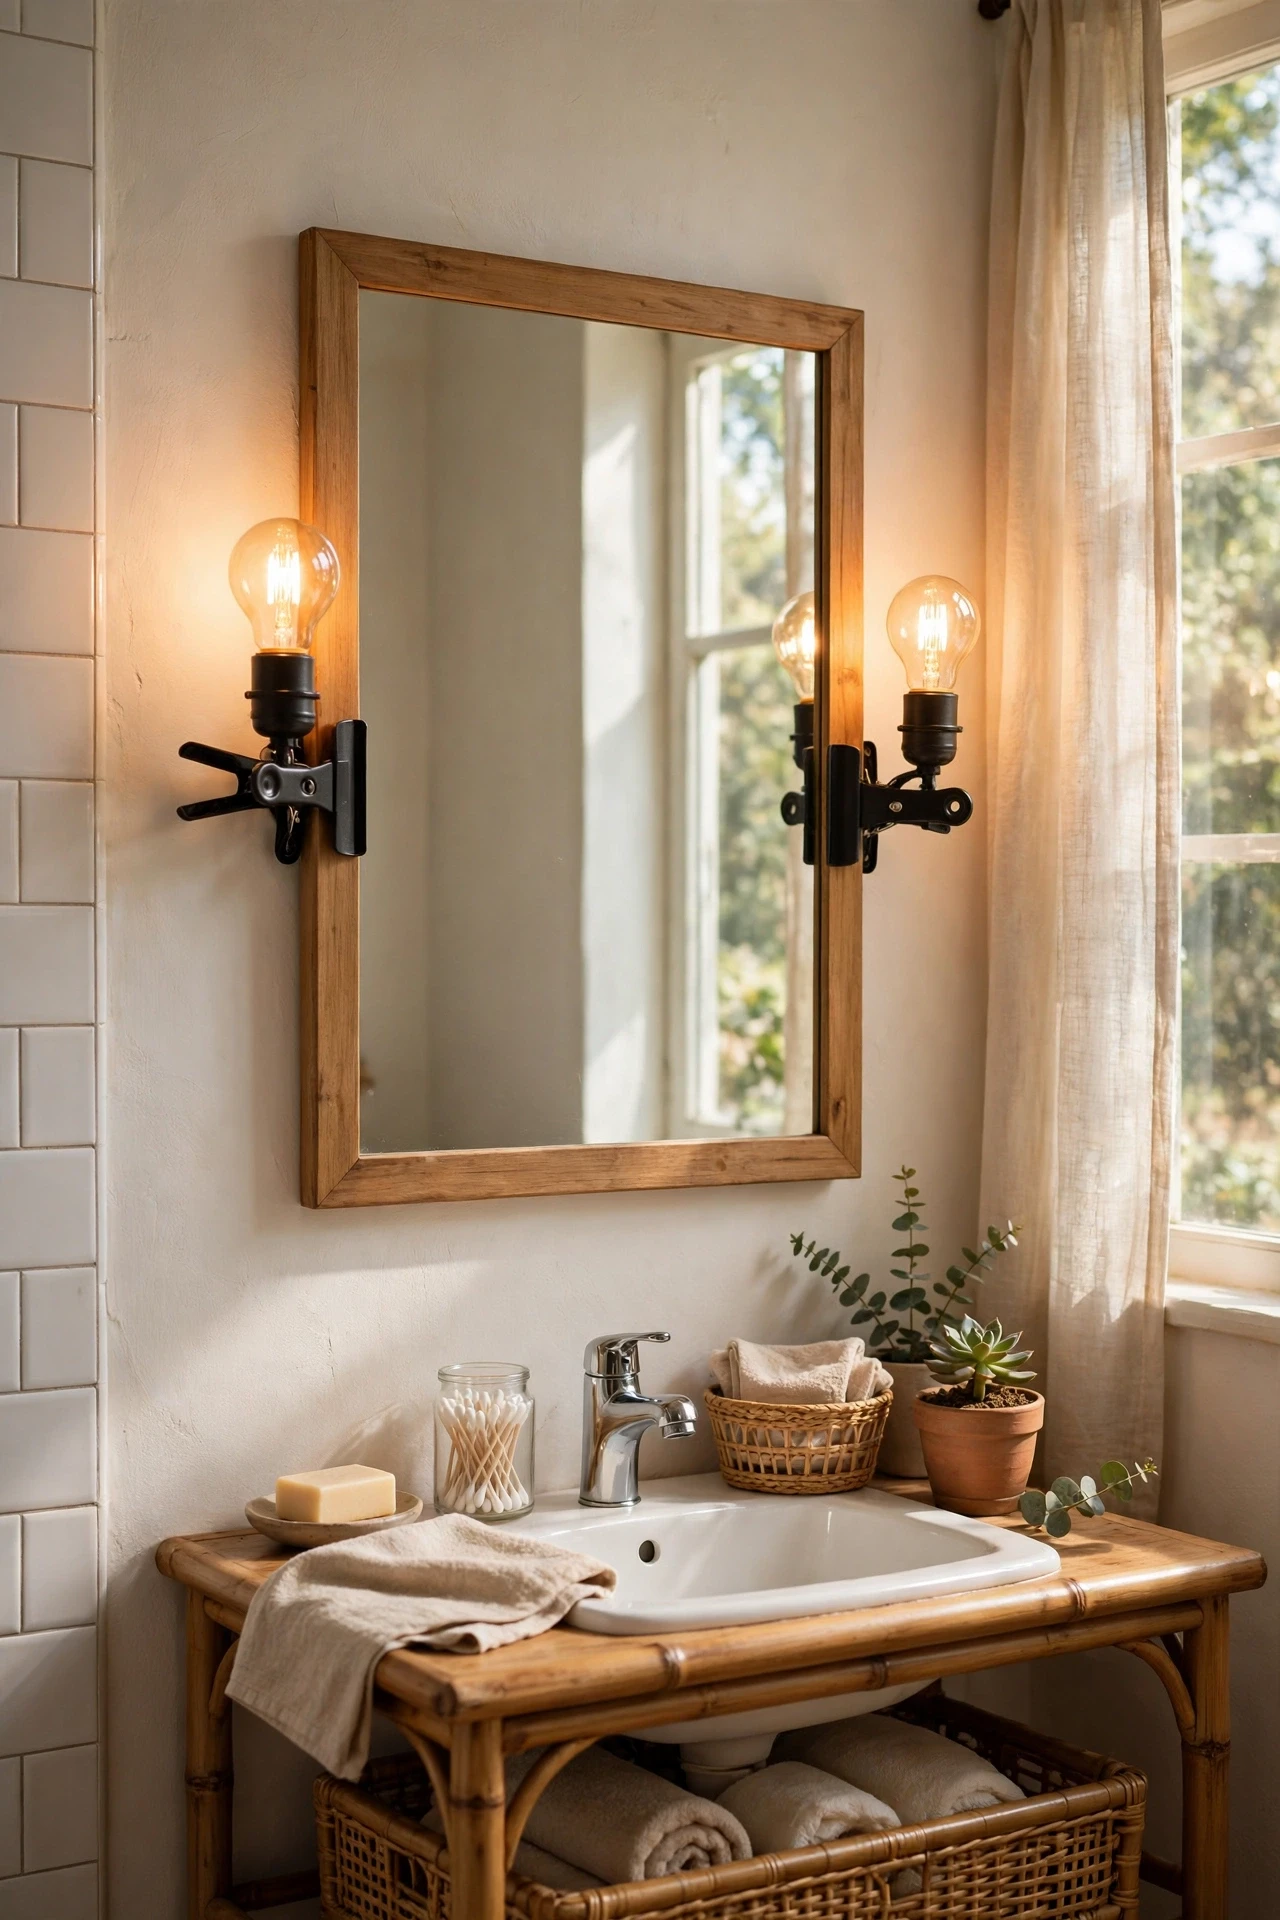
Clip-on sconces beside the mirror bring light to face level, which makes makeup and skincare easier and the whole corner feel warmer. Choose one finish to repeat, like wood, brass, or clear glass, and let that tie the small pieces together. Add items slowly, check the look from the doorway, and remove anything that makes the counter feel busy. I swapped pieces around for days until I put the tallest item at the back and the daily items at the front, and that one change fixed the whole setup.
💰 Budget win: Clip sconces avoid wiring costs, and warm bulbs make even a basic fixture look expensive.
Cost: ~$$20-$55 | Time: 25 minutes
7. Clear Apothecary Jars for Cotton and Swabs
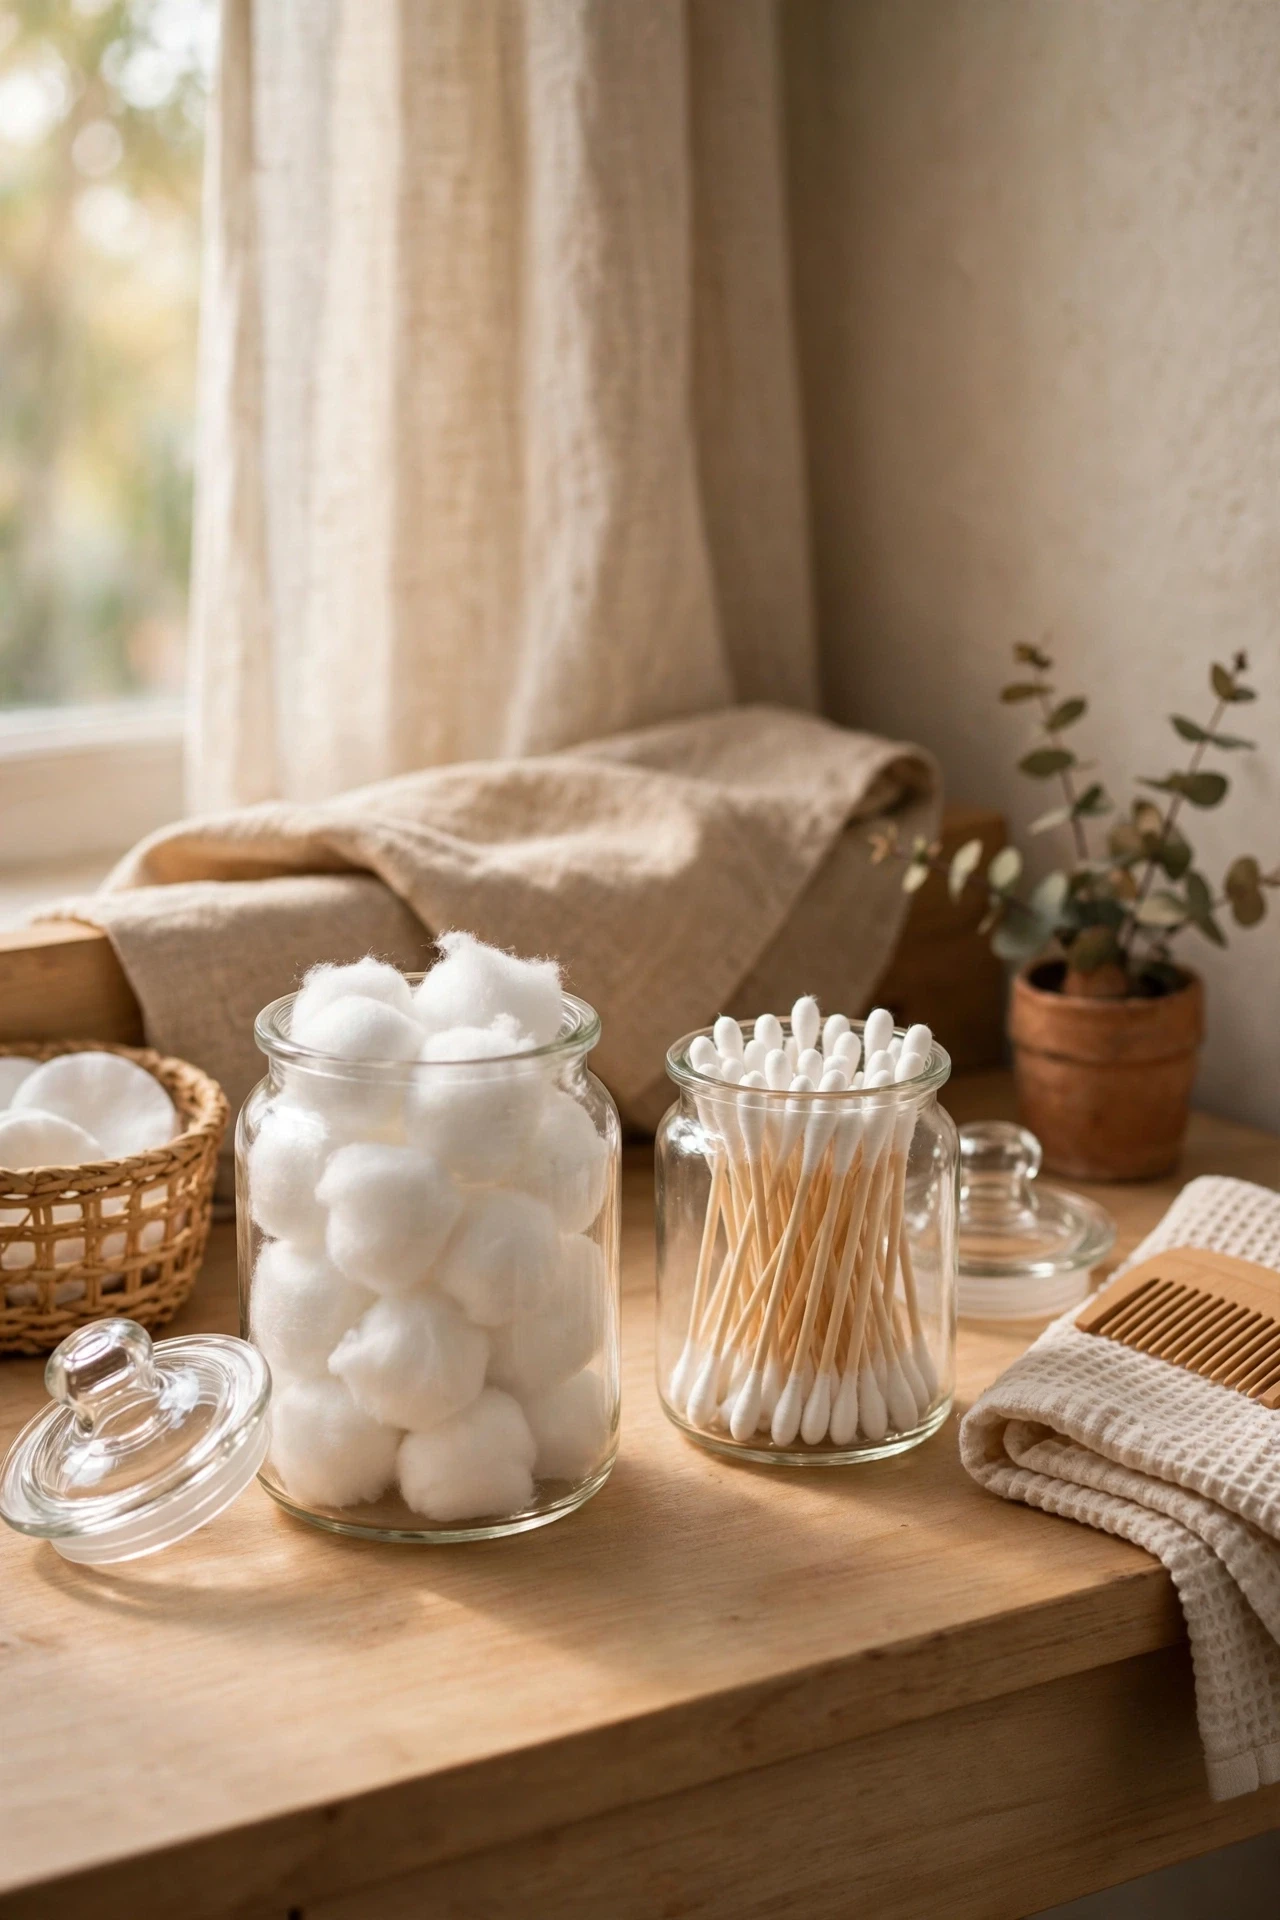
Clear apothecary jars turn cotton balls and swabs into tidy display pieces, and you can see at a glance when it is time to refill them. Start by pulling everything off the vanity and keeping only what you reach for daily, then group the rest by use. Place the tray or organiser first, add items back in height order, and leave one clear patch for your hands. I did this on a tight budget last year, and my first mistake was buying five cute containers before measuring, so now I measure first and shop second, every time.
💰 Budget win: Reuse jam jars with the labels soaked off, because they look just like apothecary jars once filled.
Cost: ~$$10-$25 | Time: 15 minutes
8. Amber Pump Bottles for a Cohesive Look
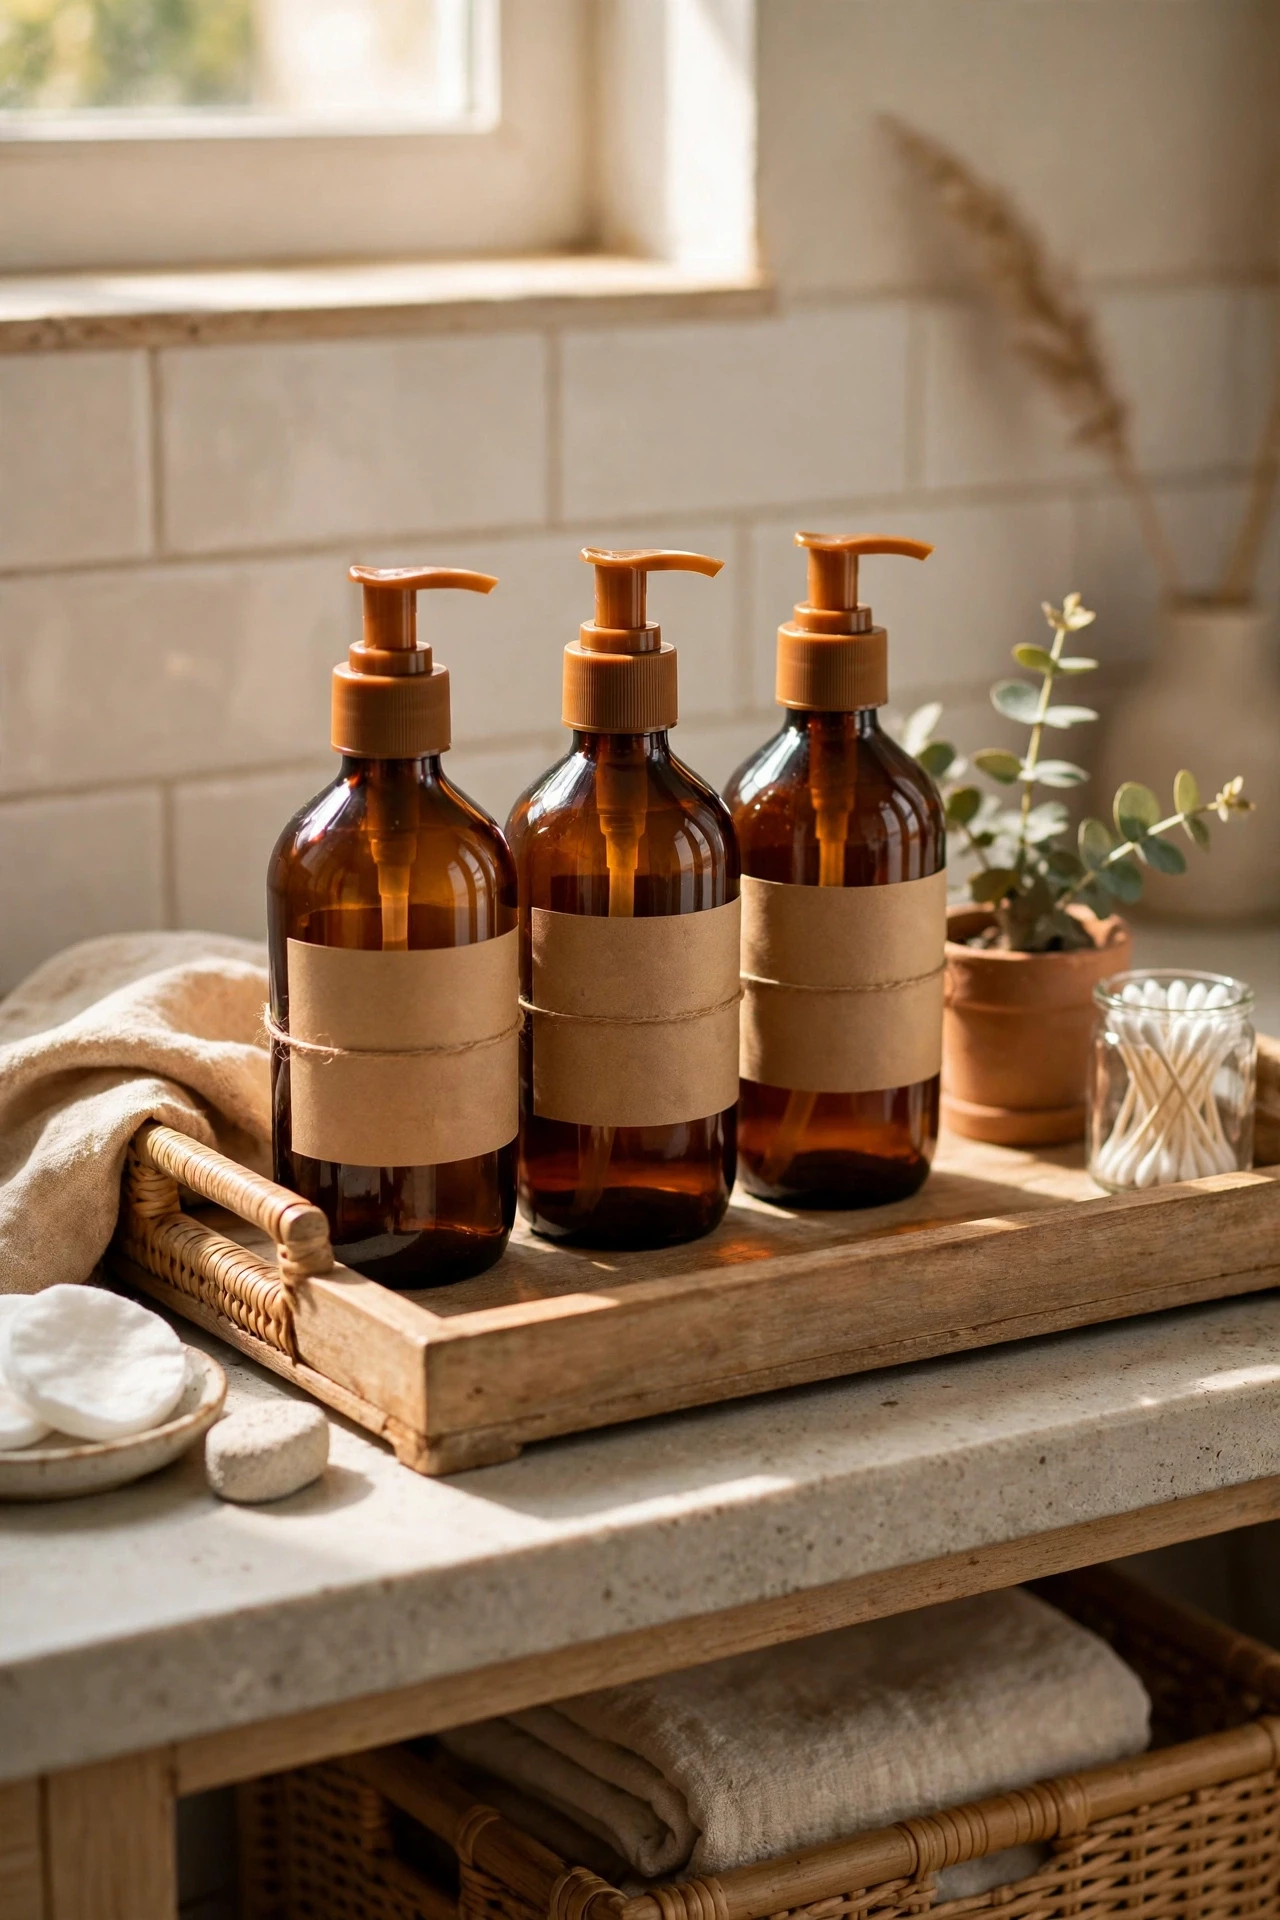
Decanting shampoo, lotion, and soap into matching amber bottles makes mismatched packaging disappear and the vanity look calm and cohesive. Begin with a quick wipe-down and a measure of the space, so nothing you buy ends up too wide or too tall. Set the main piece in place, test it for a full morning routine, and move anything you bump twice. When I first styled my vanity, I kept every bottle out and it looked like a shop shelf, and hiding half of them in a basket made mornings feel calmer at once.
💰 Budget win: Buy one set of amber bottles and refill them, instead of buying new packaging every month.
📌 Save this idea for your next bathroom refresh, because a tidy vanity makes every morning feel a little easier.
Cost: ~$$12-$30 | Time: 20 minutes
9. Wicker Basket Under the Vanity
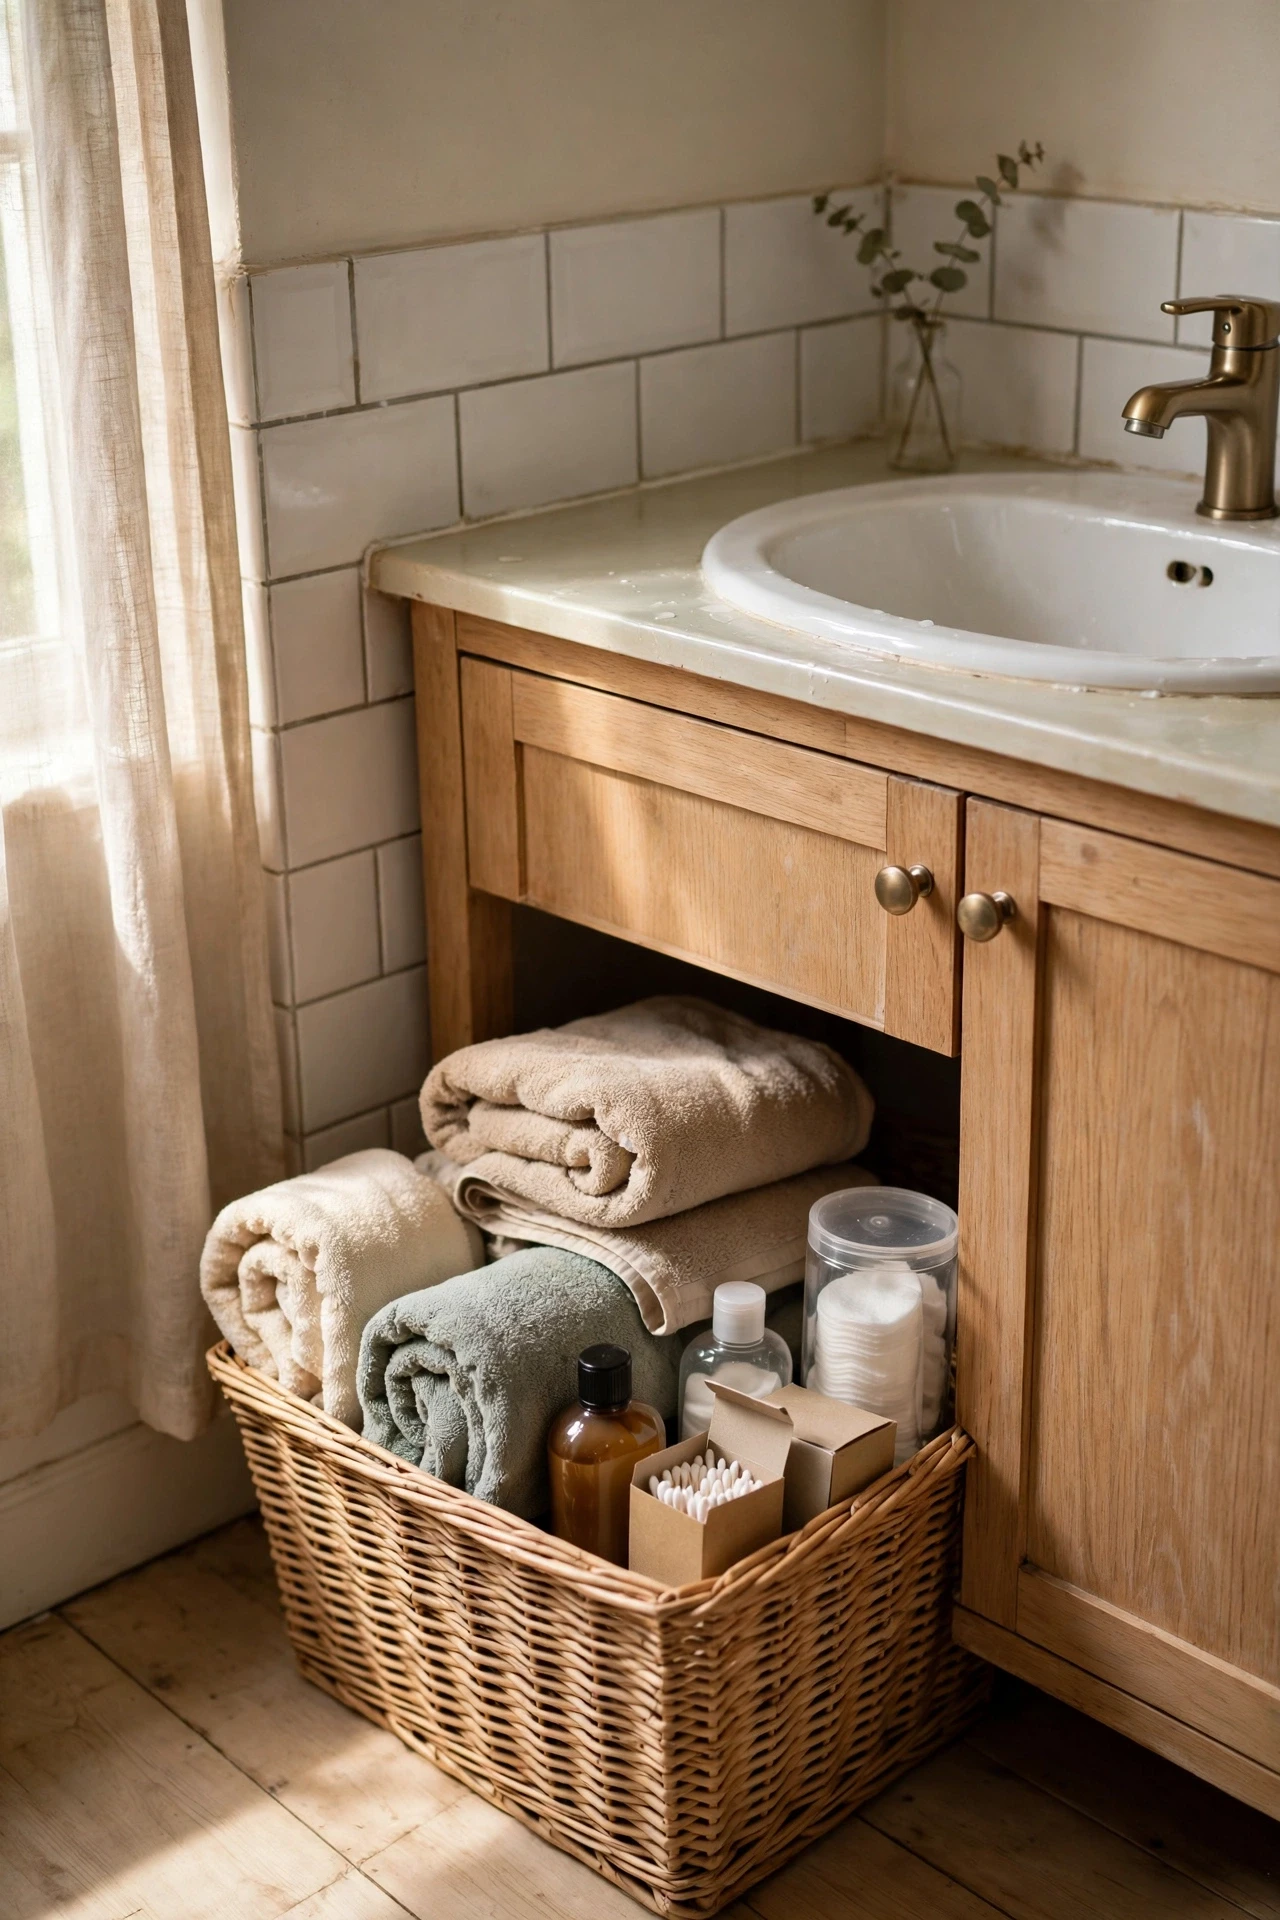
A wicker basket under the vanity hides spare towels and backup bottles, and it uses dead space that usually just collects dust. Choose one finish to repeat, like wood, brass, or clear glass, and let that tie the small pieces together. Add items slowly, check the look from the doorway, and remove anything that makes the counter feel busy. A friend tried this and went for the cheapest tray she could find, which wobbled and scratched the counter, so a felt pad underneath is now my non-negotiable step.
💰 Budget win: A basket from a discount store does the same hiding job as a boutique one, so save the difference for towels.
Cost: ~$$14-$32 | Time: 10 minutes
10. Drawer Organiser for Hidden Clutter
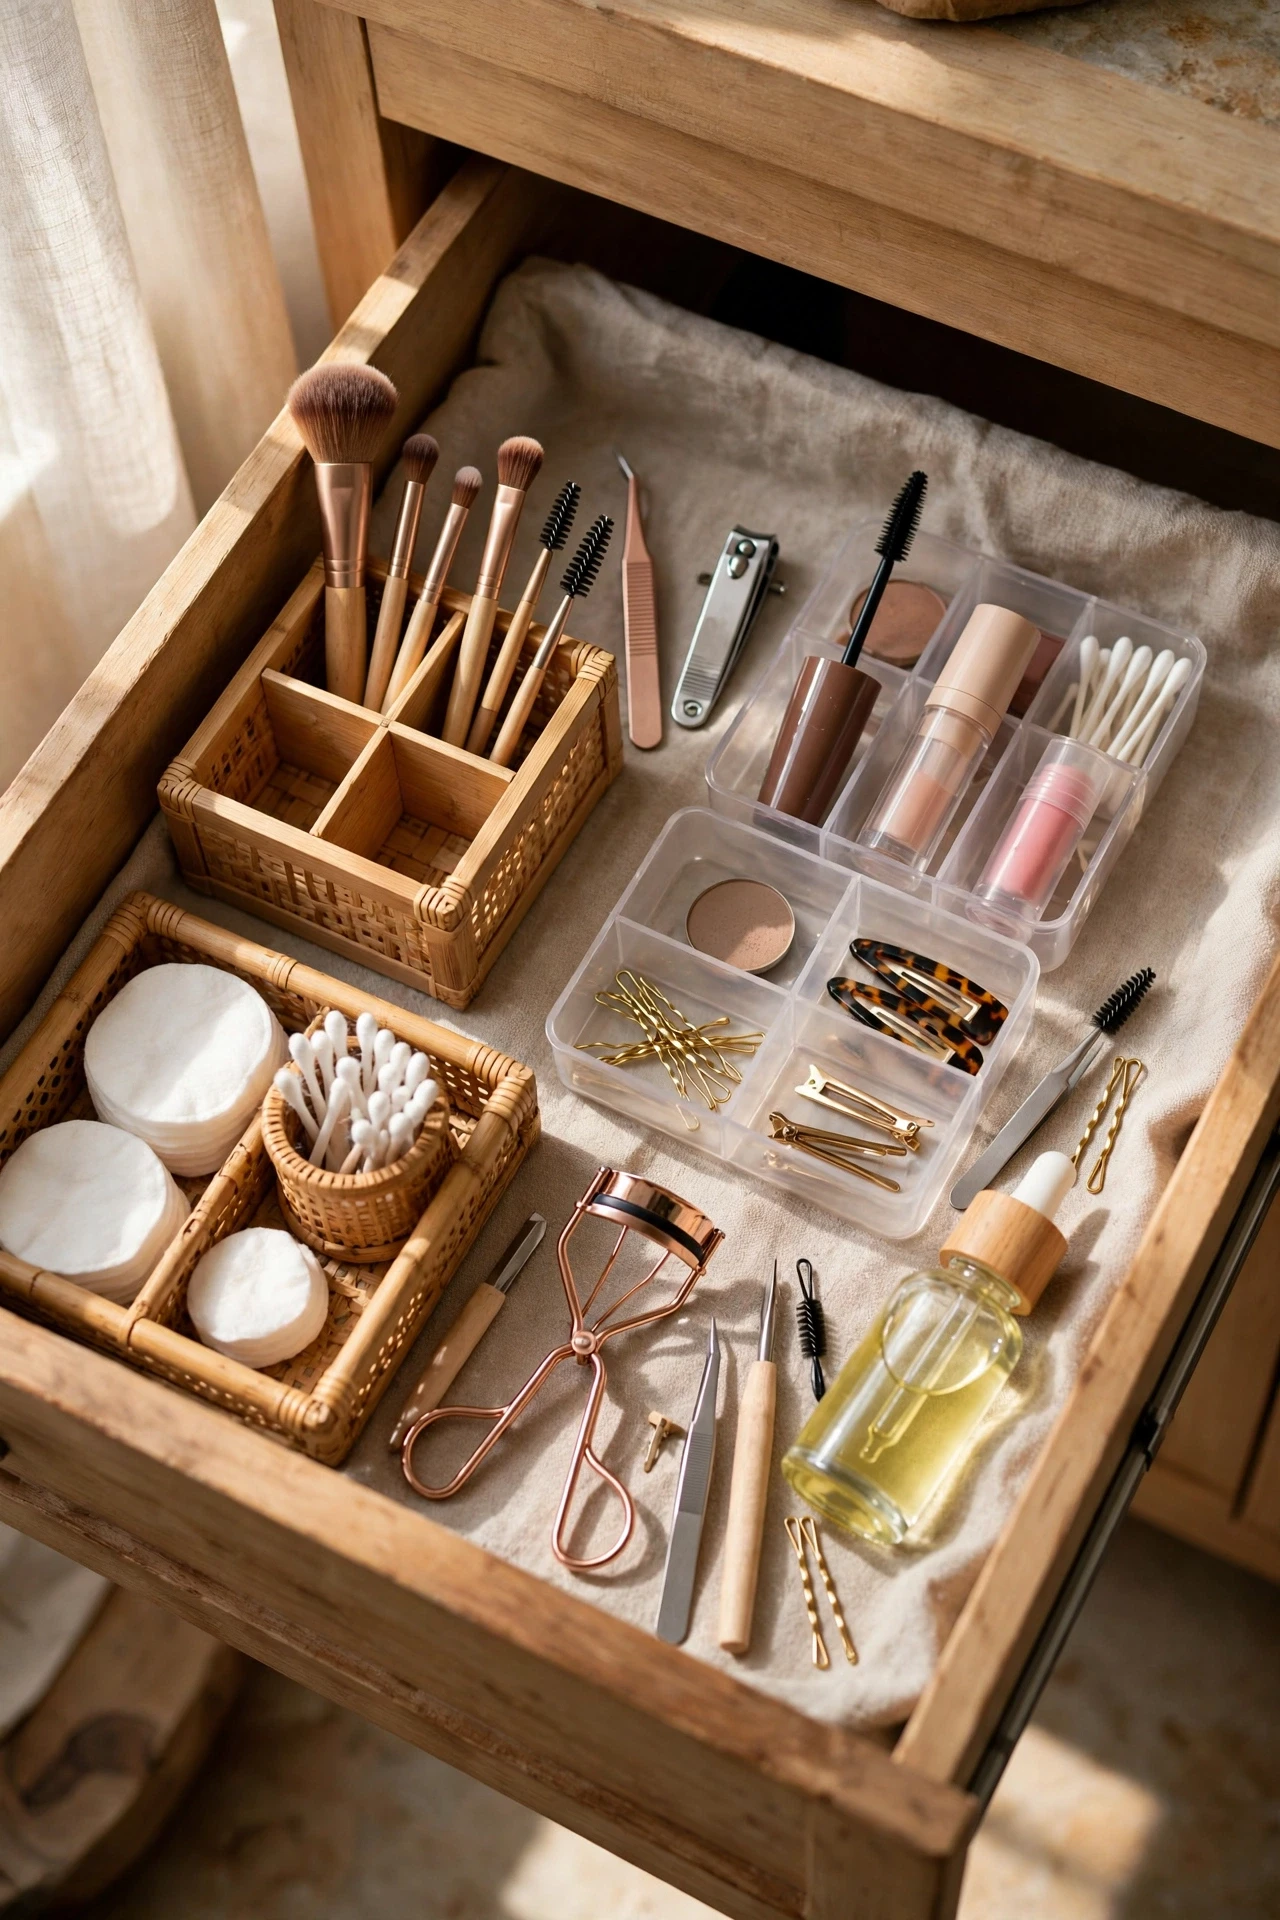
A simple drawer organiser stops small items sliding into one messy pile, and it keeps daily tools exactly where your hand expects them. Start by pulling everything off the vanity and keeping only what you reach for daily, then group the rest by use. Place the tray or organiser first, add items back in height order, and leave one clear patch for your hands. I learned to keep one empty spot on purpose, because a vanity with no breathing room just invites clutter back within a week. For tiny counters, (see also: small-bathroom-decor-ideas-on-a-budget) has more space-saving tricks that pair well here.
💰 Budget win: Cut a cheap drawer organiser to fit, rather than ordering a custom insert for your drawer size.
Cost: ~$$10-$22 | Time: 15 minutes
11. Tiered Tray for Perfume and Skincare
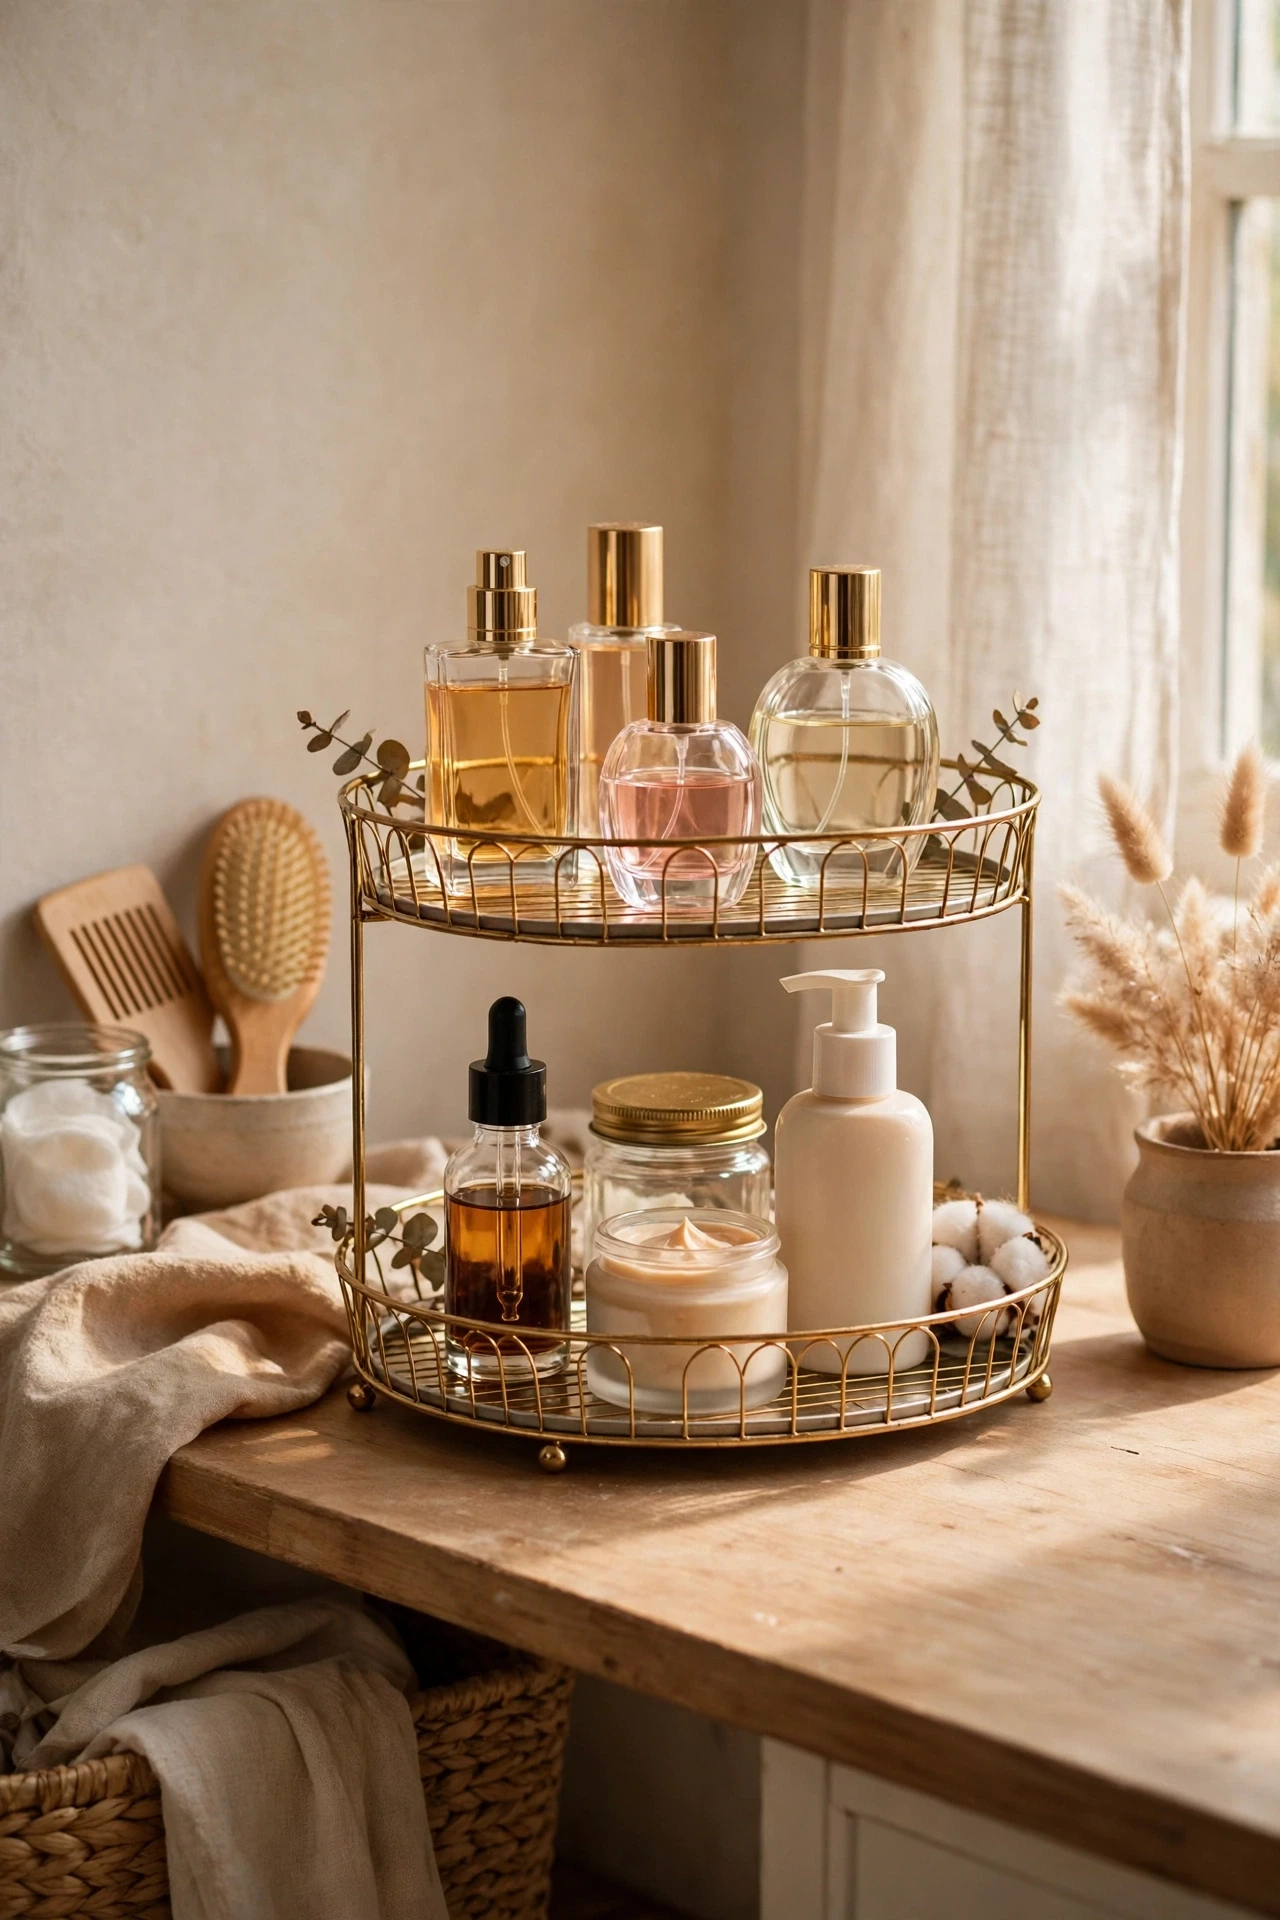
A tiered tray lifts perfume and skincare up a level, so you can see everything at once and stop buying duplicates you already own. Begin with a quick wipe-down and a measure of the space, so nothing you buy ends up too wide or too tall. Set the main piece in place, test it for a full morning routine, and move anything you bump twice. My first version looked great in photos but failed in real life, because I could not reach my daily cream without moving three jars, so function comes first now.
💰 Budget win: A cake stand from a thrift shop works perfectly as a tiered tray, often for under ten dollars.
Cost: ~$$16-$38 | Time: 10 minutes
12. Tiny Eucalyptus Bundle in a Bud Vase
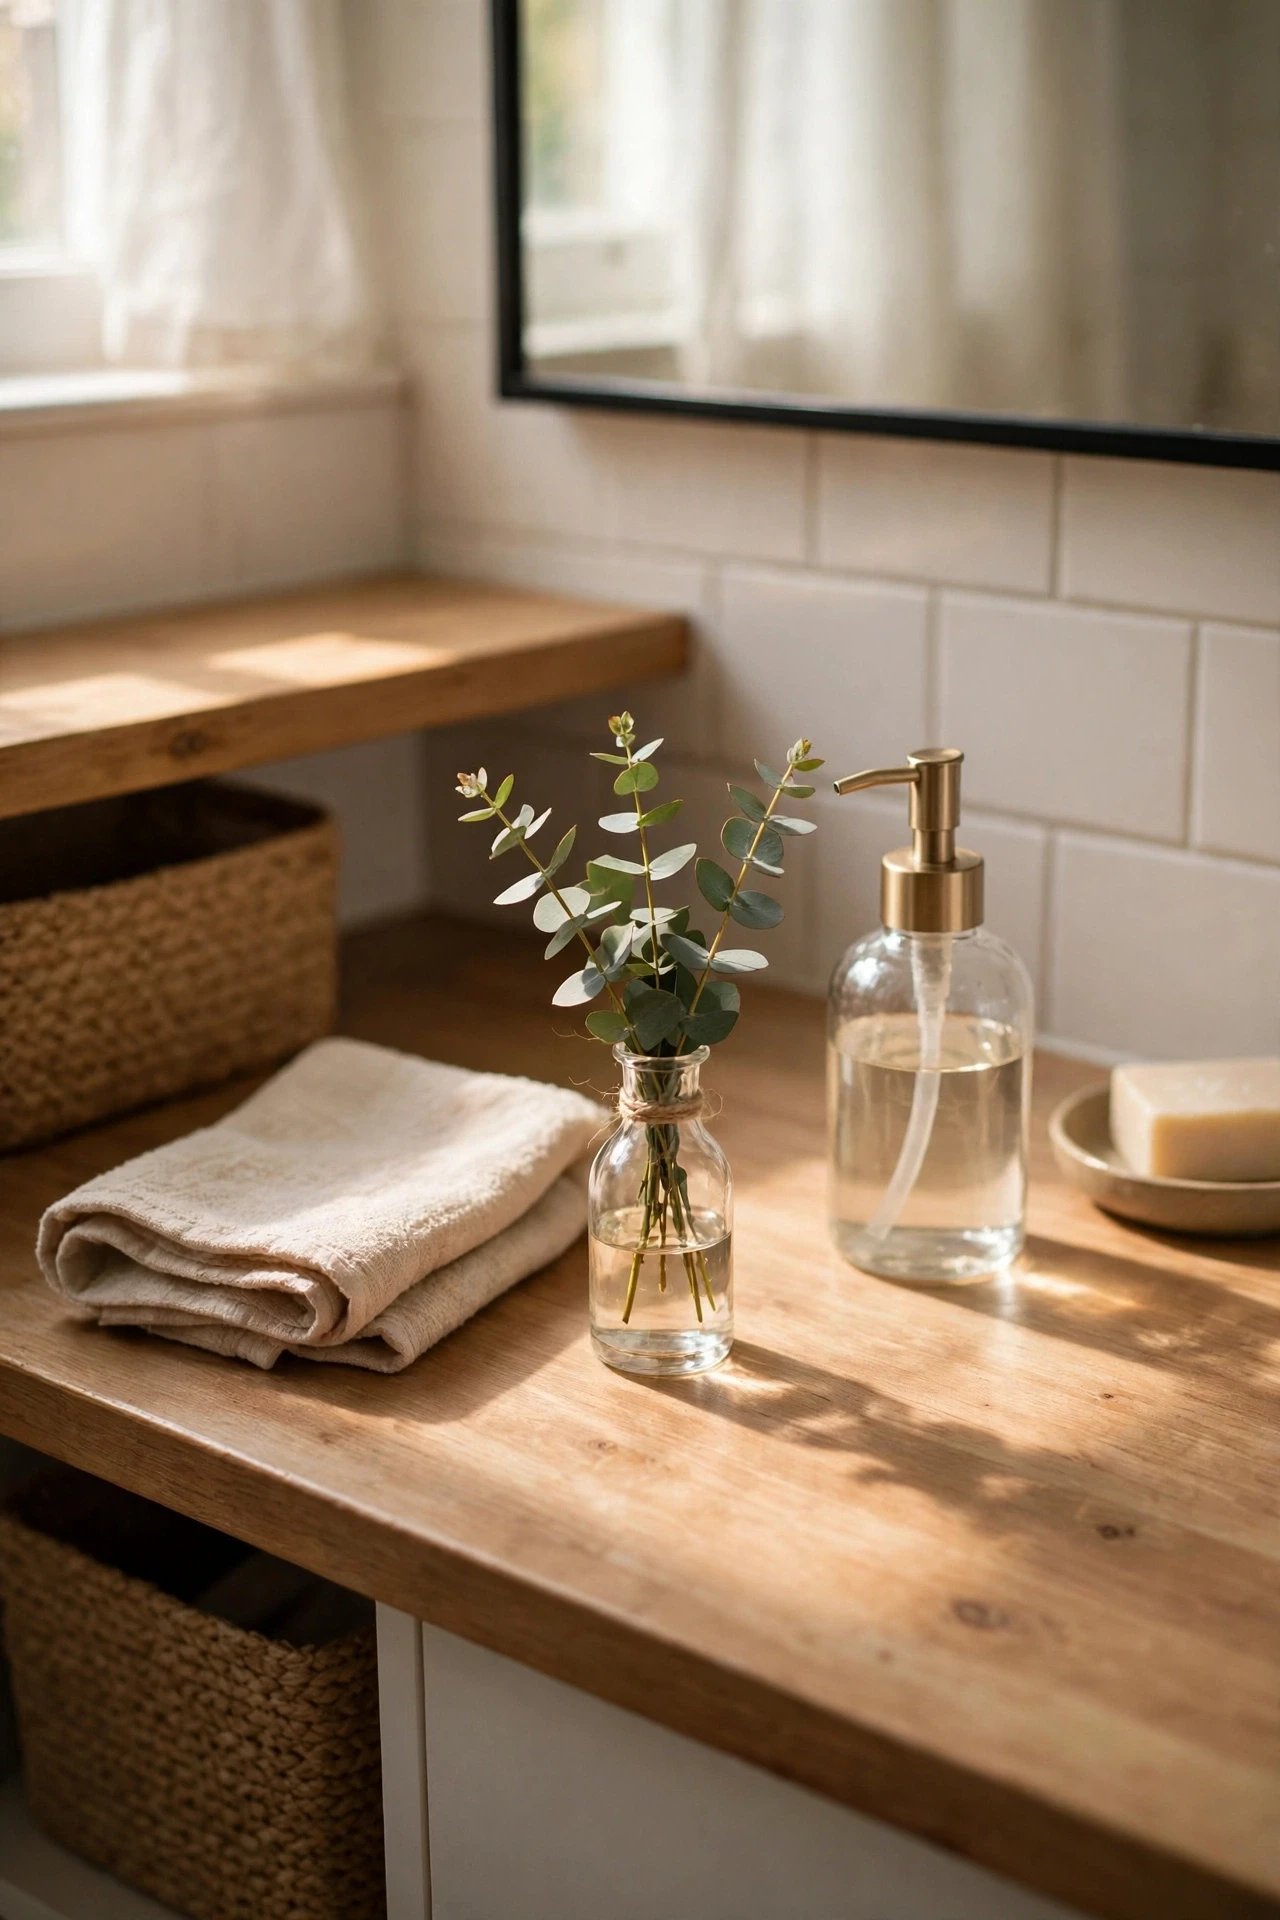
A tiny eucalyptus bundle in a bud vase adds scent and height for very little money, and it fills an awkward empty corner beautifully. Choose one finish to repeat, like wood, brass, or clear glass, and let that tie the small pieces together. Add items slowly, check the look from the doorway, and remove anything that makes the counter feel busy. I swapped pieces around for days until I put the tallest item at the back and the daily items at the front, and that one change fixed the whole setup.
💰 Budget win: One grocery-store eucalyptus bundle can be split across two or three small vases around the house.
Cost: ~$$5-$15 | Time: 5 minutes
13. Potted Succulent for Easy Greenery
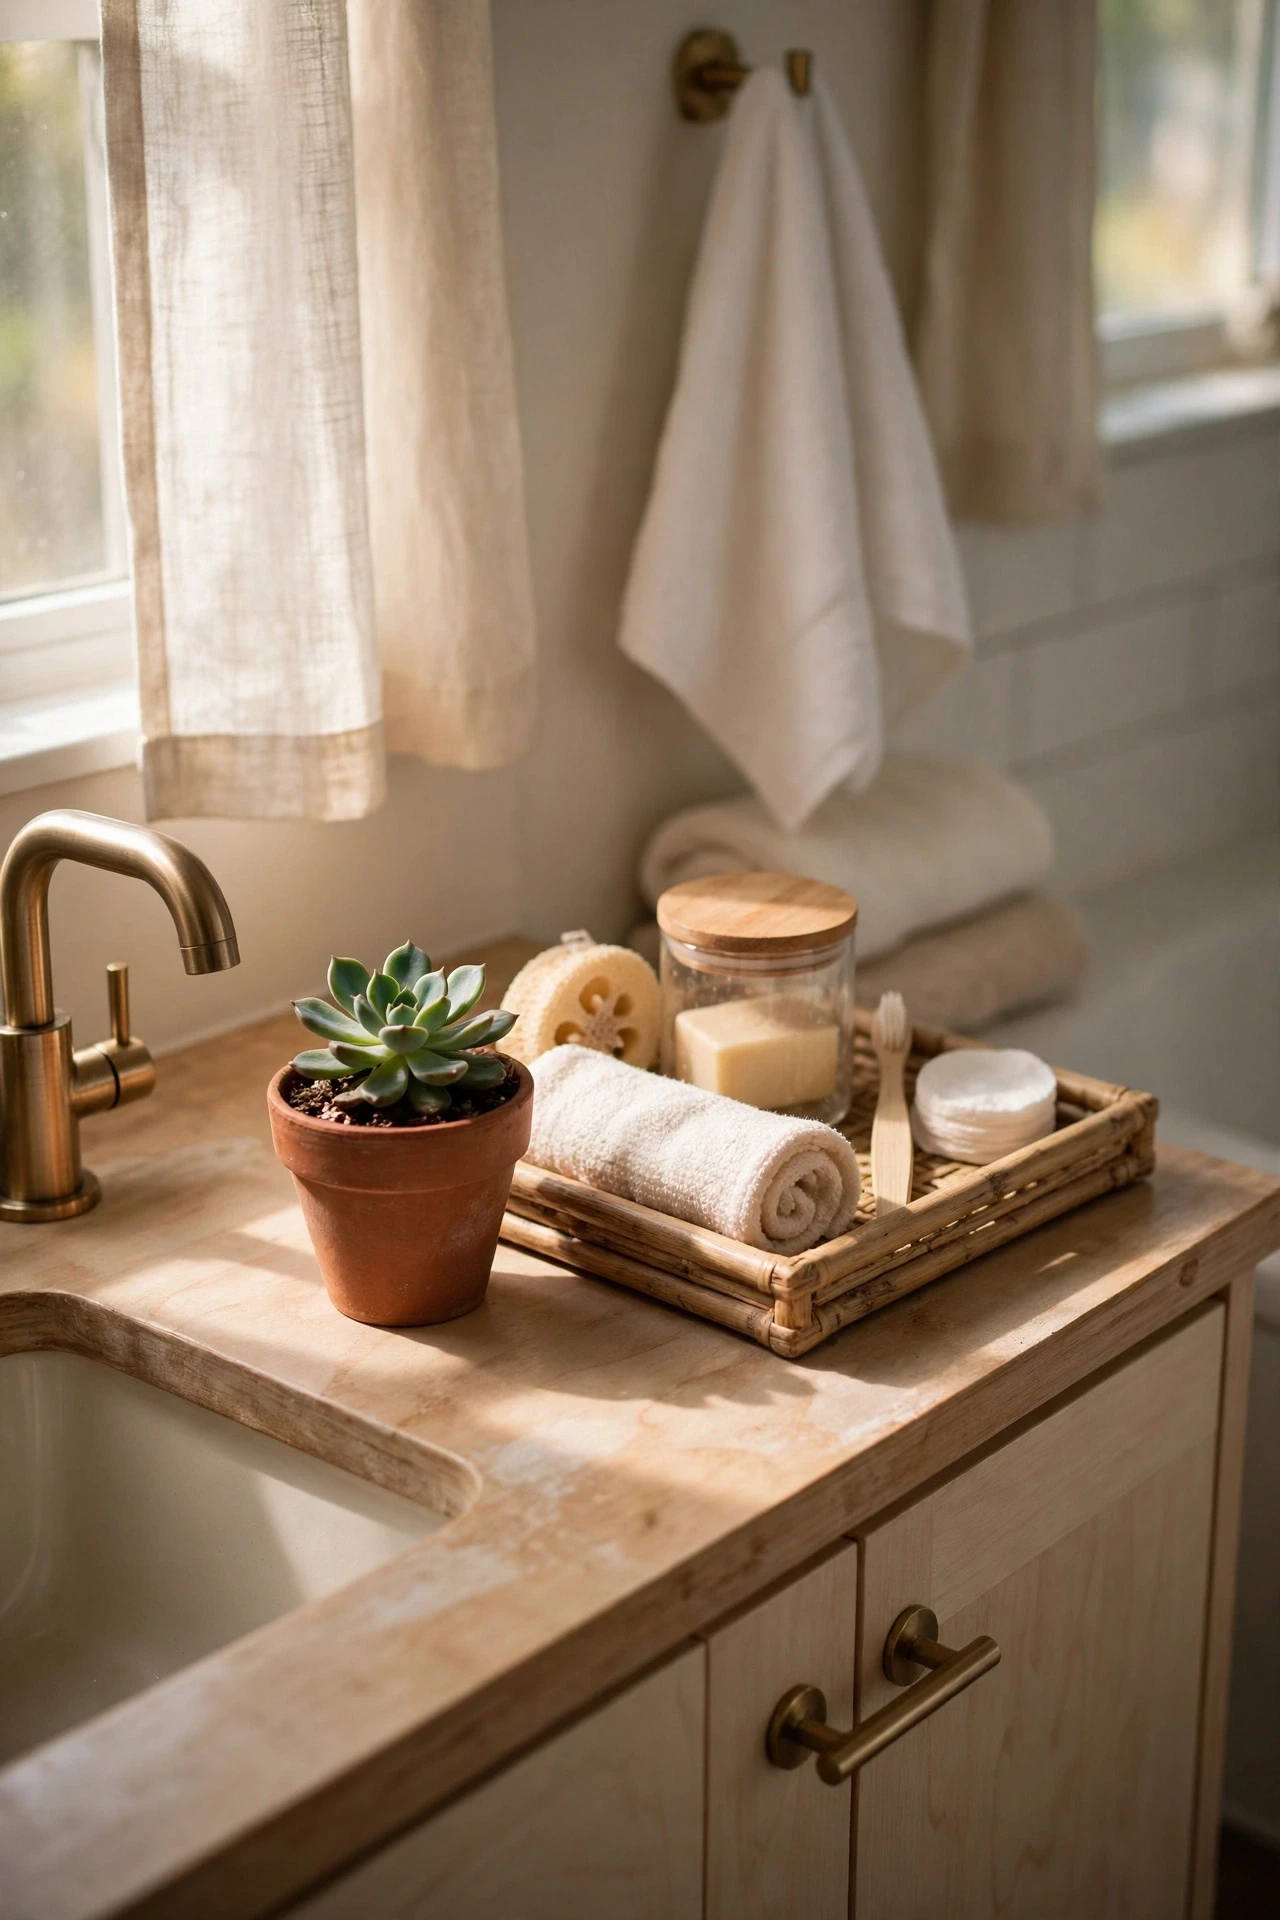
A small potted succulent adds life to the vanity without needing much water or light, and it survives the busy weeks when other plants give up. Start by pulling everything off the vanity and keeping only what you reach for daily, then group the rest by use. Place the tray or organiser first, add items back in height order, and leave one clear patch for your hands. I did this on a tight budget last year, and my first mistake was buying five cute containers before measuring, so now I measure first and shop second, every time.
💰 Budget win: A tiny succulent in a mug you already own costs less than any new planter, and looks just as charming.
Cost: ~$$7-$18 | Time: 10 minutes
14. Rolled Towels in a Small Basket
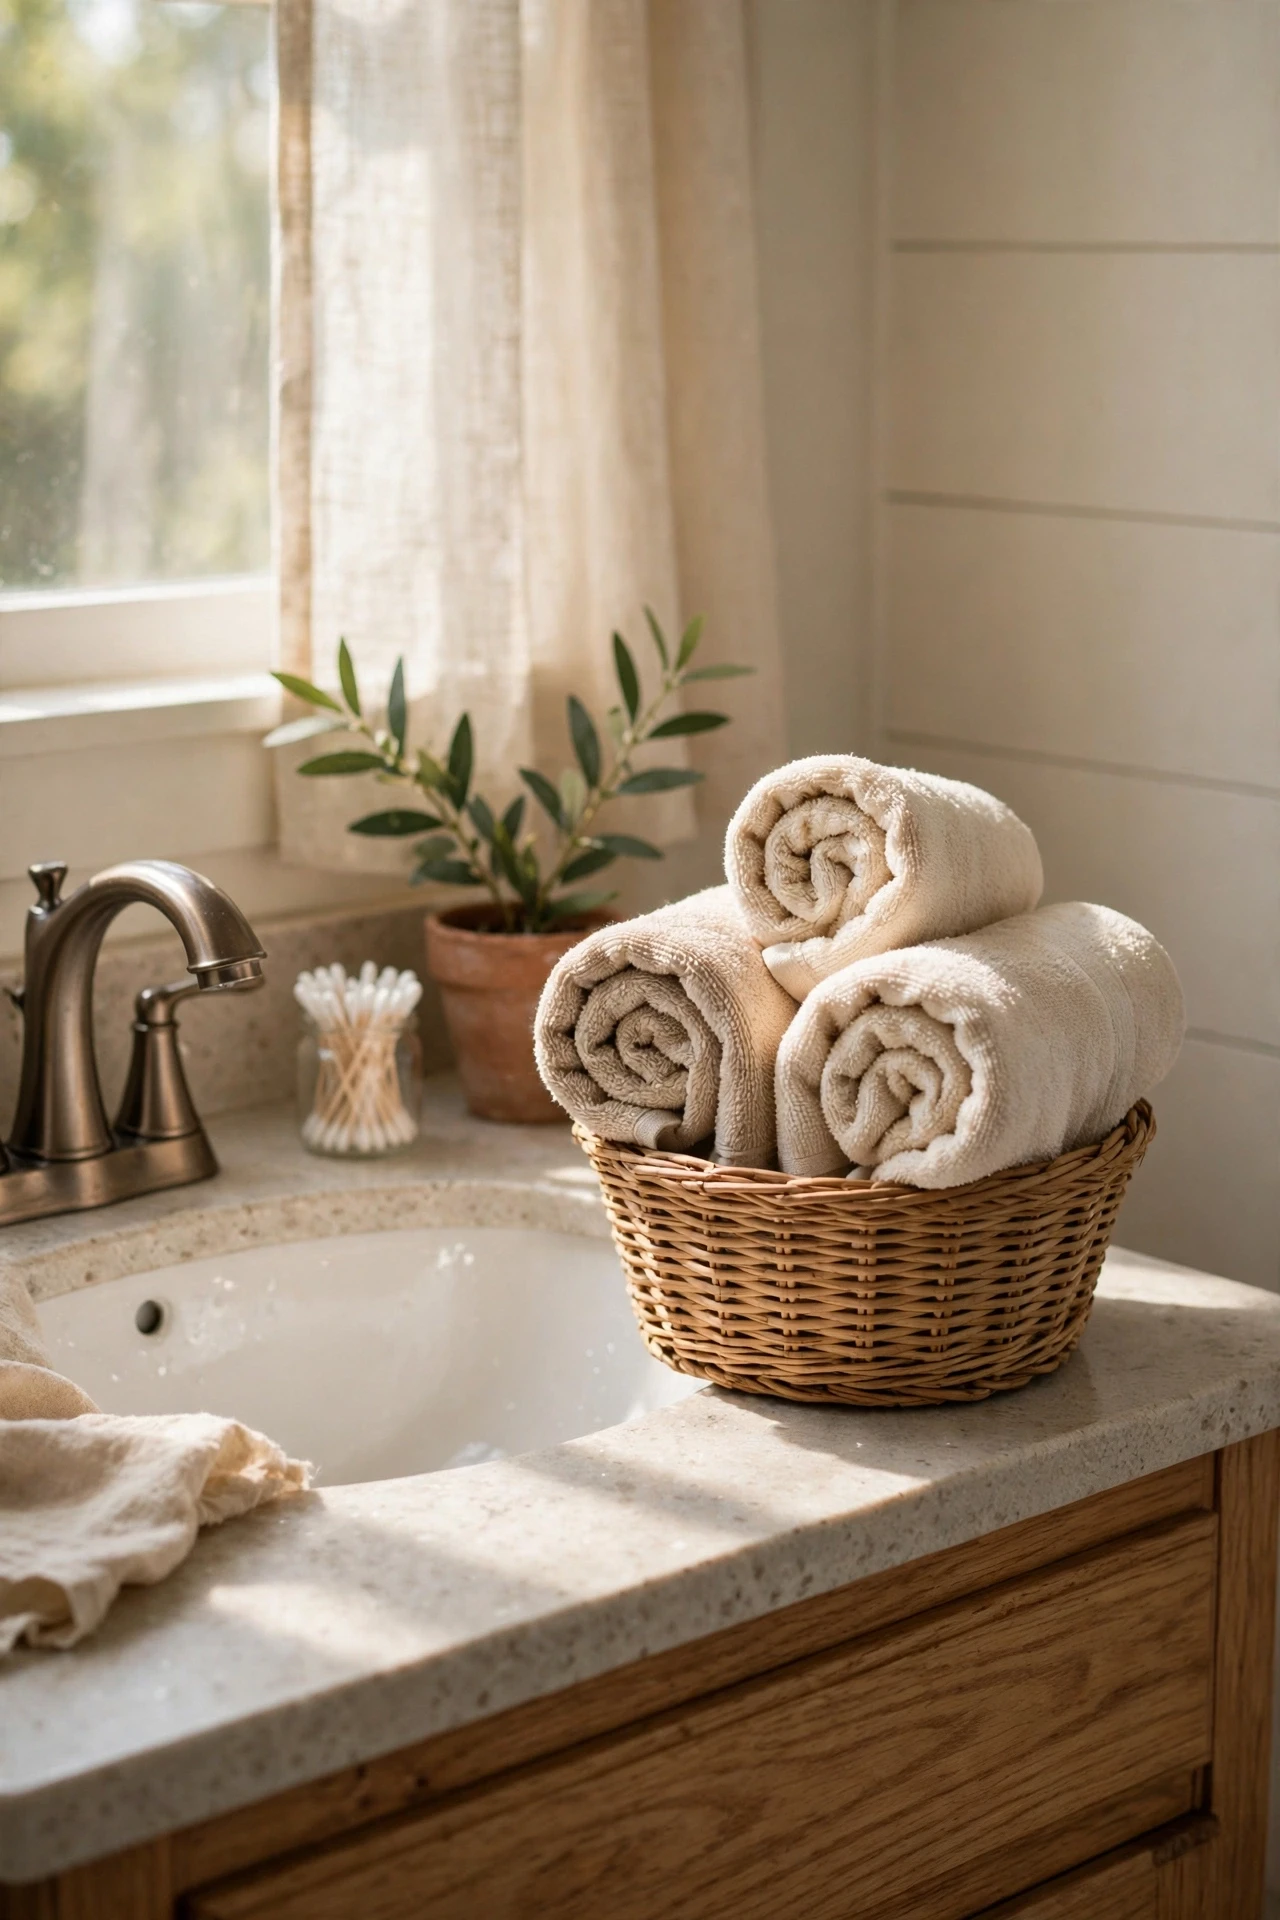
Rolled towels in a small basket look like a hotel display and stay fresher than a damp pile, and guests always notice the extra care. Begin with a quick wipe-down and a measure of the space, so nothing you buy ends up too wide or too tall. Set the main piece in place, test it for a full morning routine, and move anything you bump twice. When I first styled my vanity, I kept every bottle out and it looked like a shop shelf, and hiding half of them in a basket made mornings feel calmer at once.
💰 Budget win: Roll towels you already own instead of buying a new set, because the rolling is what creates the hotel look.
Cost: ~$$10-$28 | Time: 15 minutes
15. Linen Hand Towel with a Simple Hem
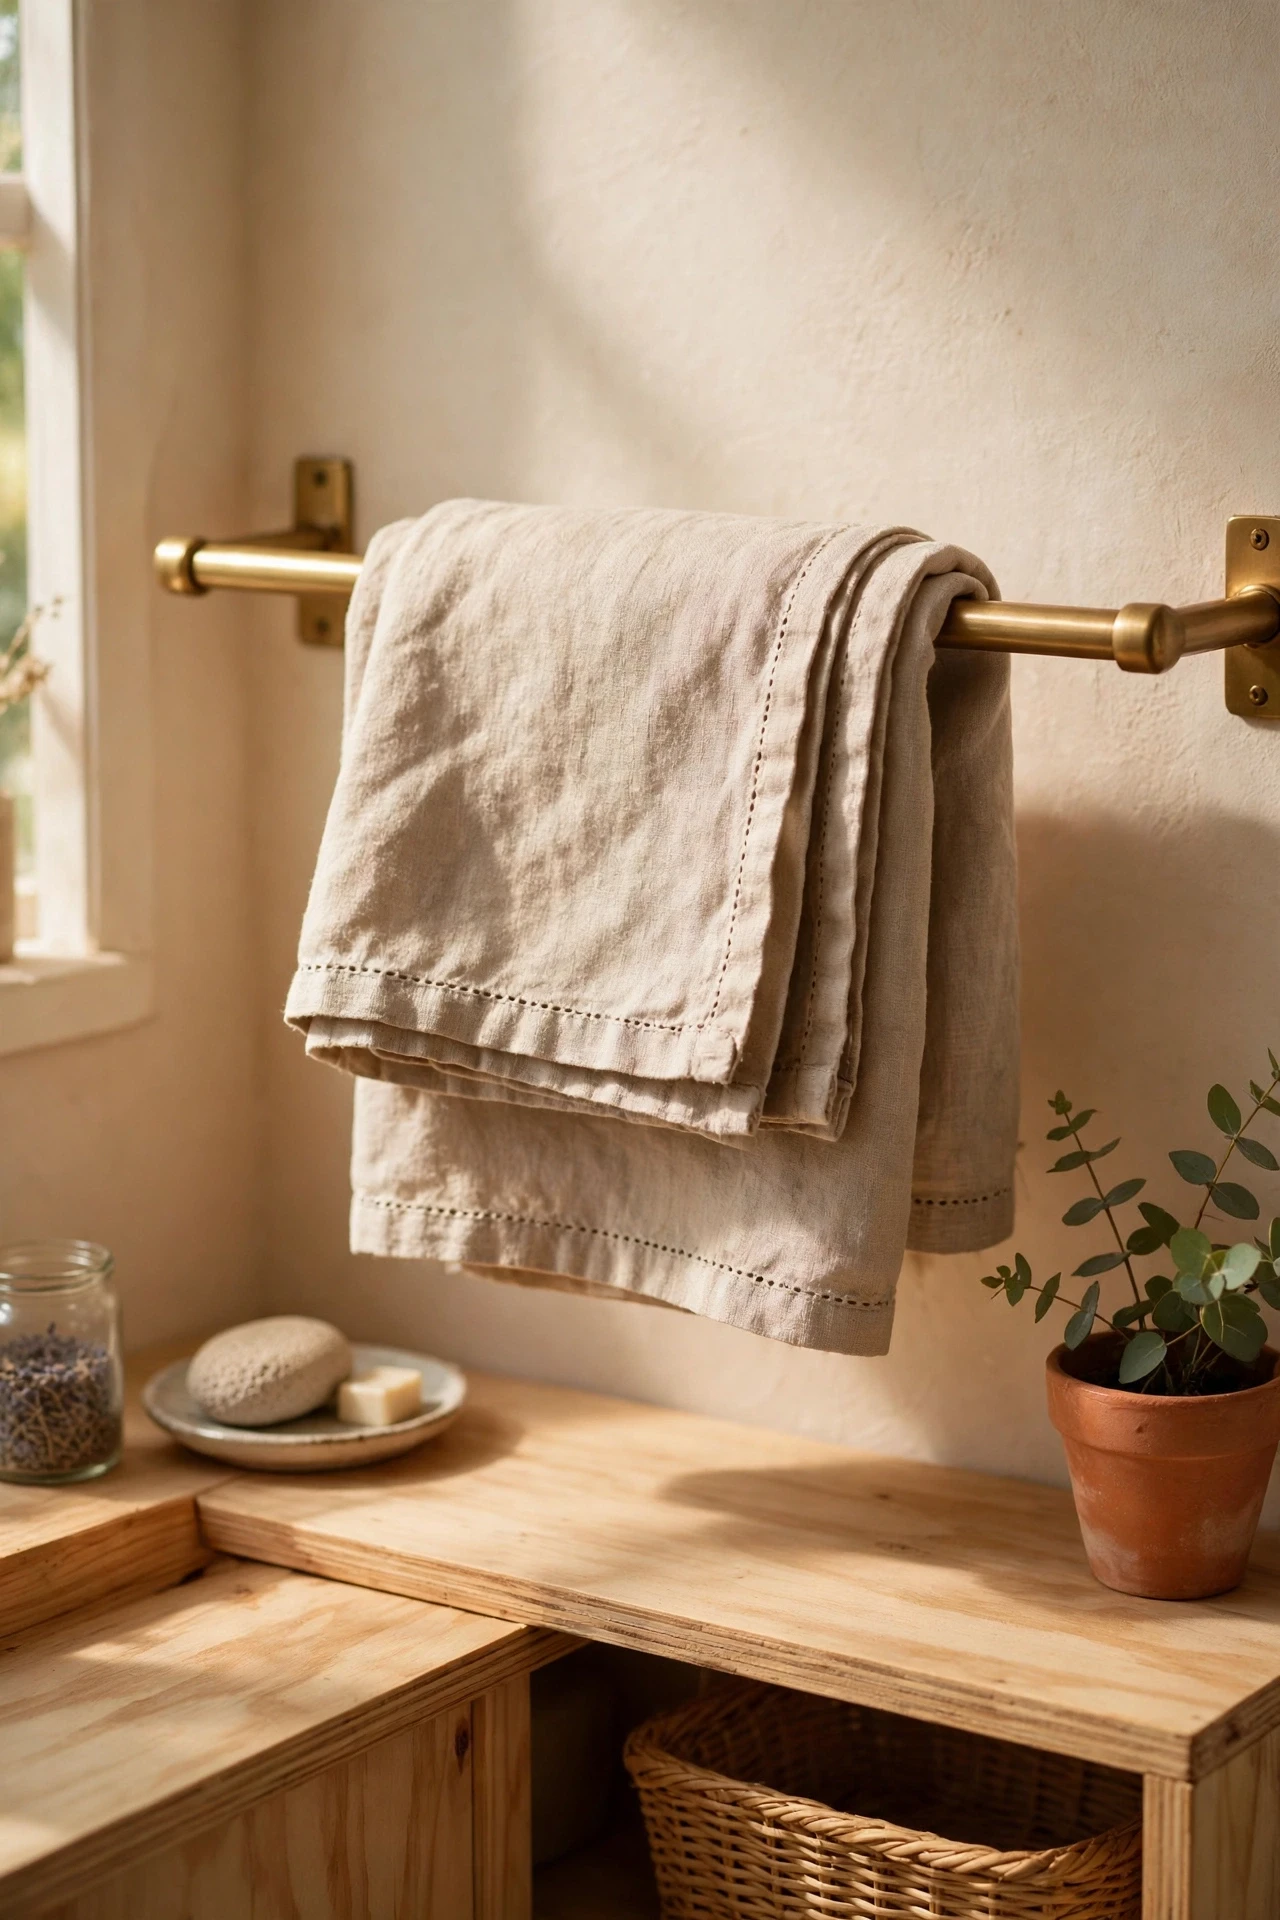
A plain linen hand towel with a simple hem feels far more expensive than a fluffy patterned one, and it dries hands well without shedding. Choose one finish to repeat, like wood, brass, or clear glass, and let that tie the small pieces together. Add items slowly, check the look from the doorway, and remove anything that makes the counter feel busy. A friend tried this and went for the cheapest tray she could find, which wobbled and scratched the counter, so a felt pad underneath is now my non-negotiable step.
Cost: ~$$8-$20 | Time: 5 minutes
16. Budget Art Print in a Thrifted Frame
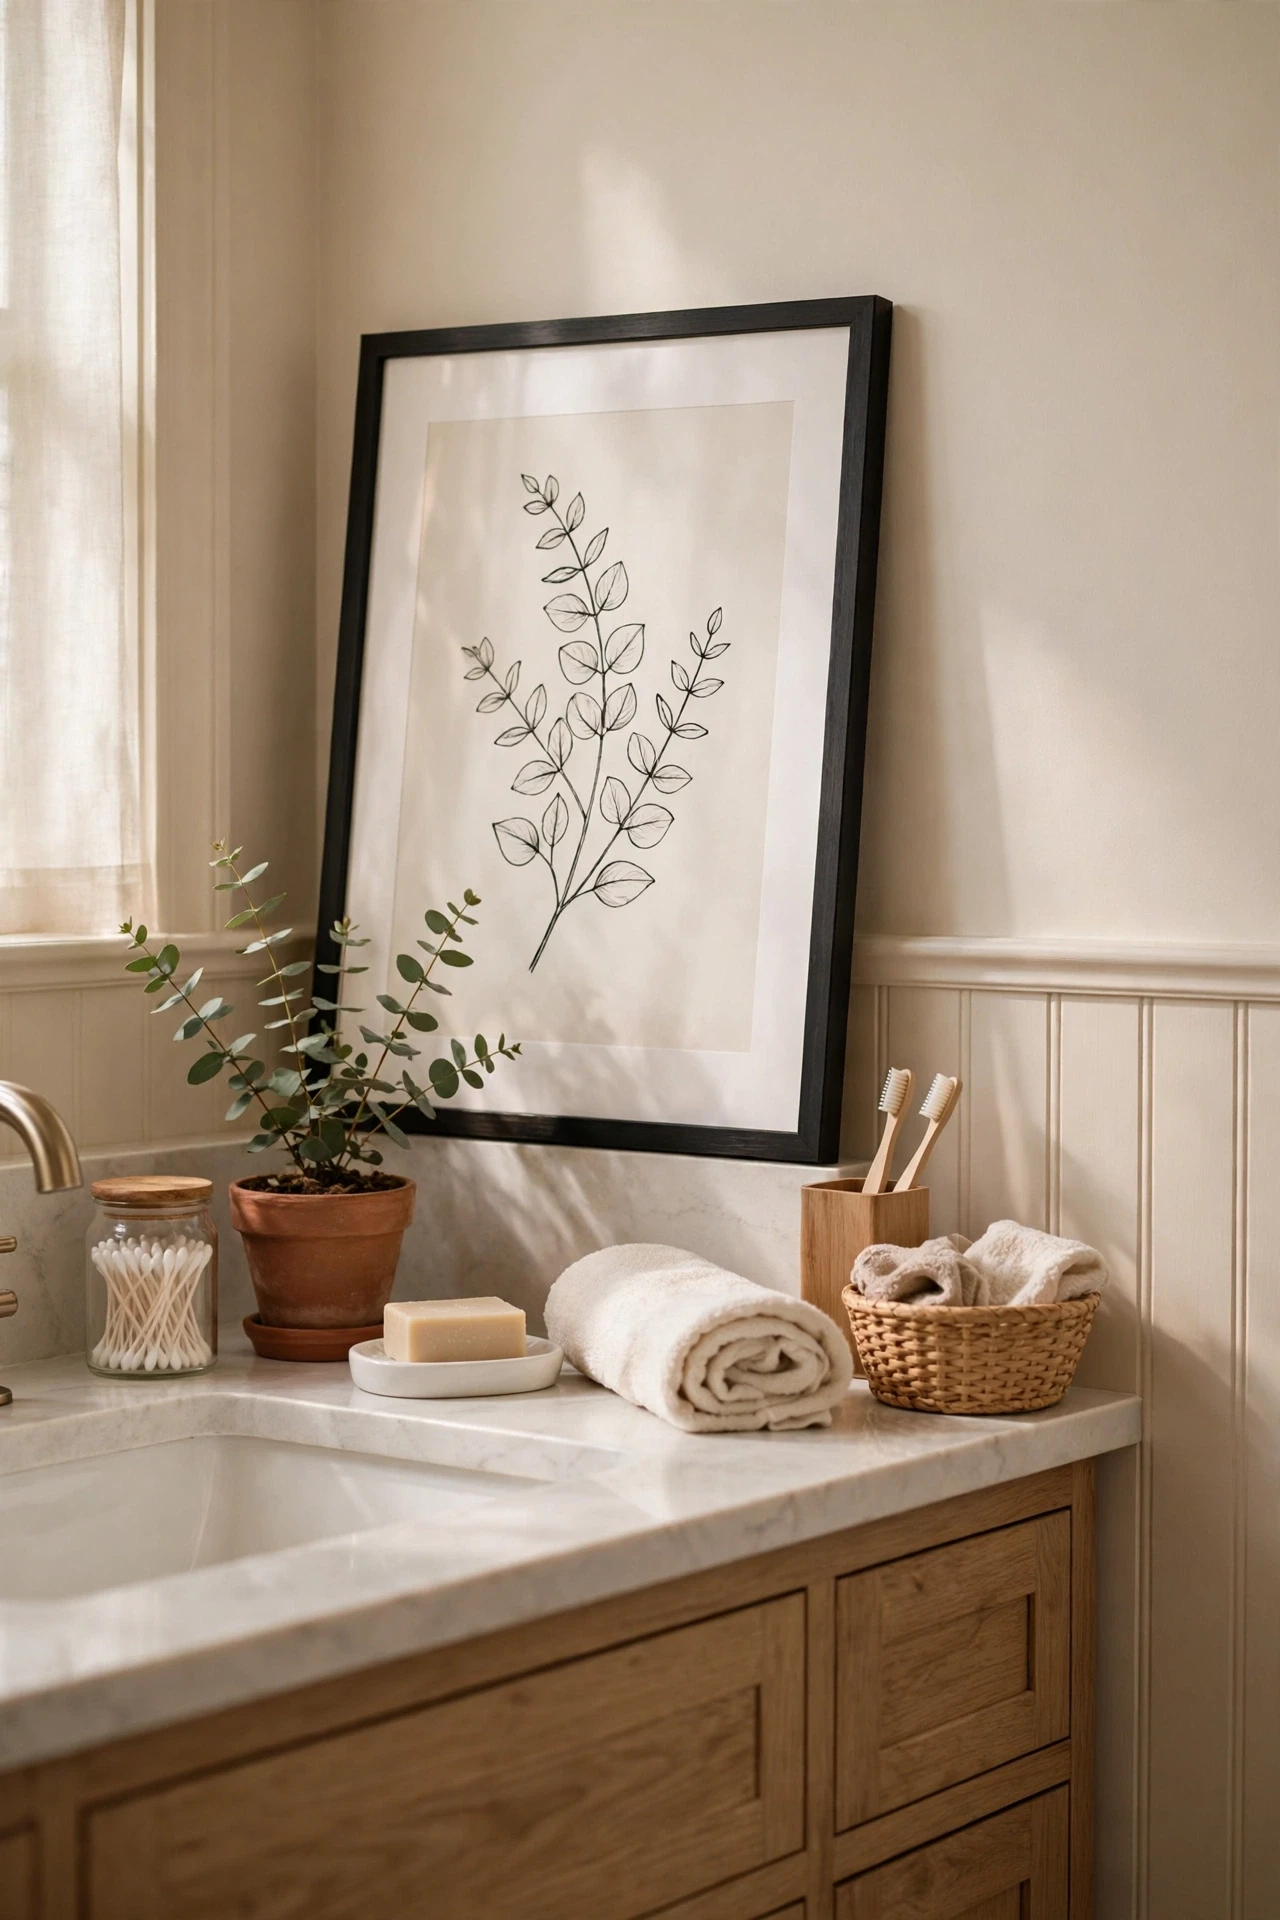
A budget art print in a thrifted frame adds personality above the vanity for a few dollars, and you can swap the print with the seasons. Start by pulling everything off the vanity and keeping only what you reach for daily, then group the rest by use. Place the tray or organiser first, add items back in height order, and leave one clear patch for your hands. I learned to keep one empty spot on purpose, because a vanity with no breathing room just invites clutter back within a week.
💰 Budget win: Print art at home or use a free printable, and spend your budget on the frame instead.
Cost: ~$$8-$25 | Time: 20 minutes
17. Candle Duo on a Small Coaster
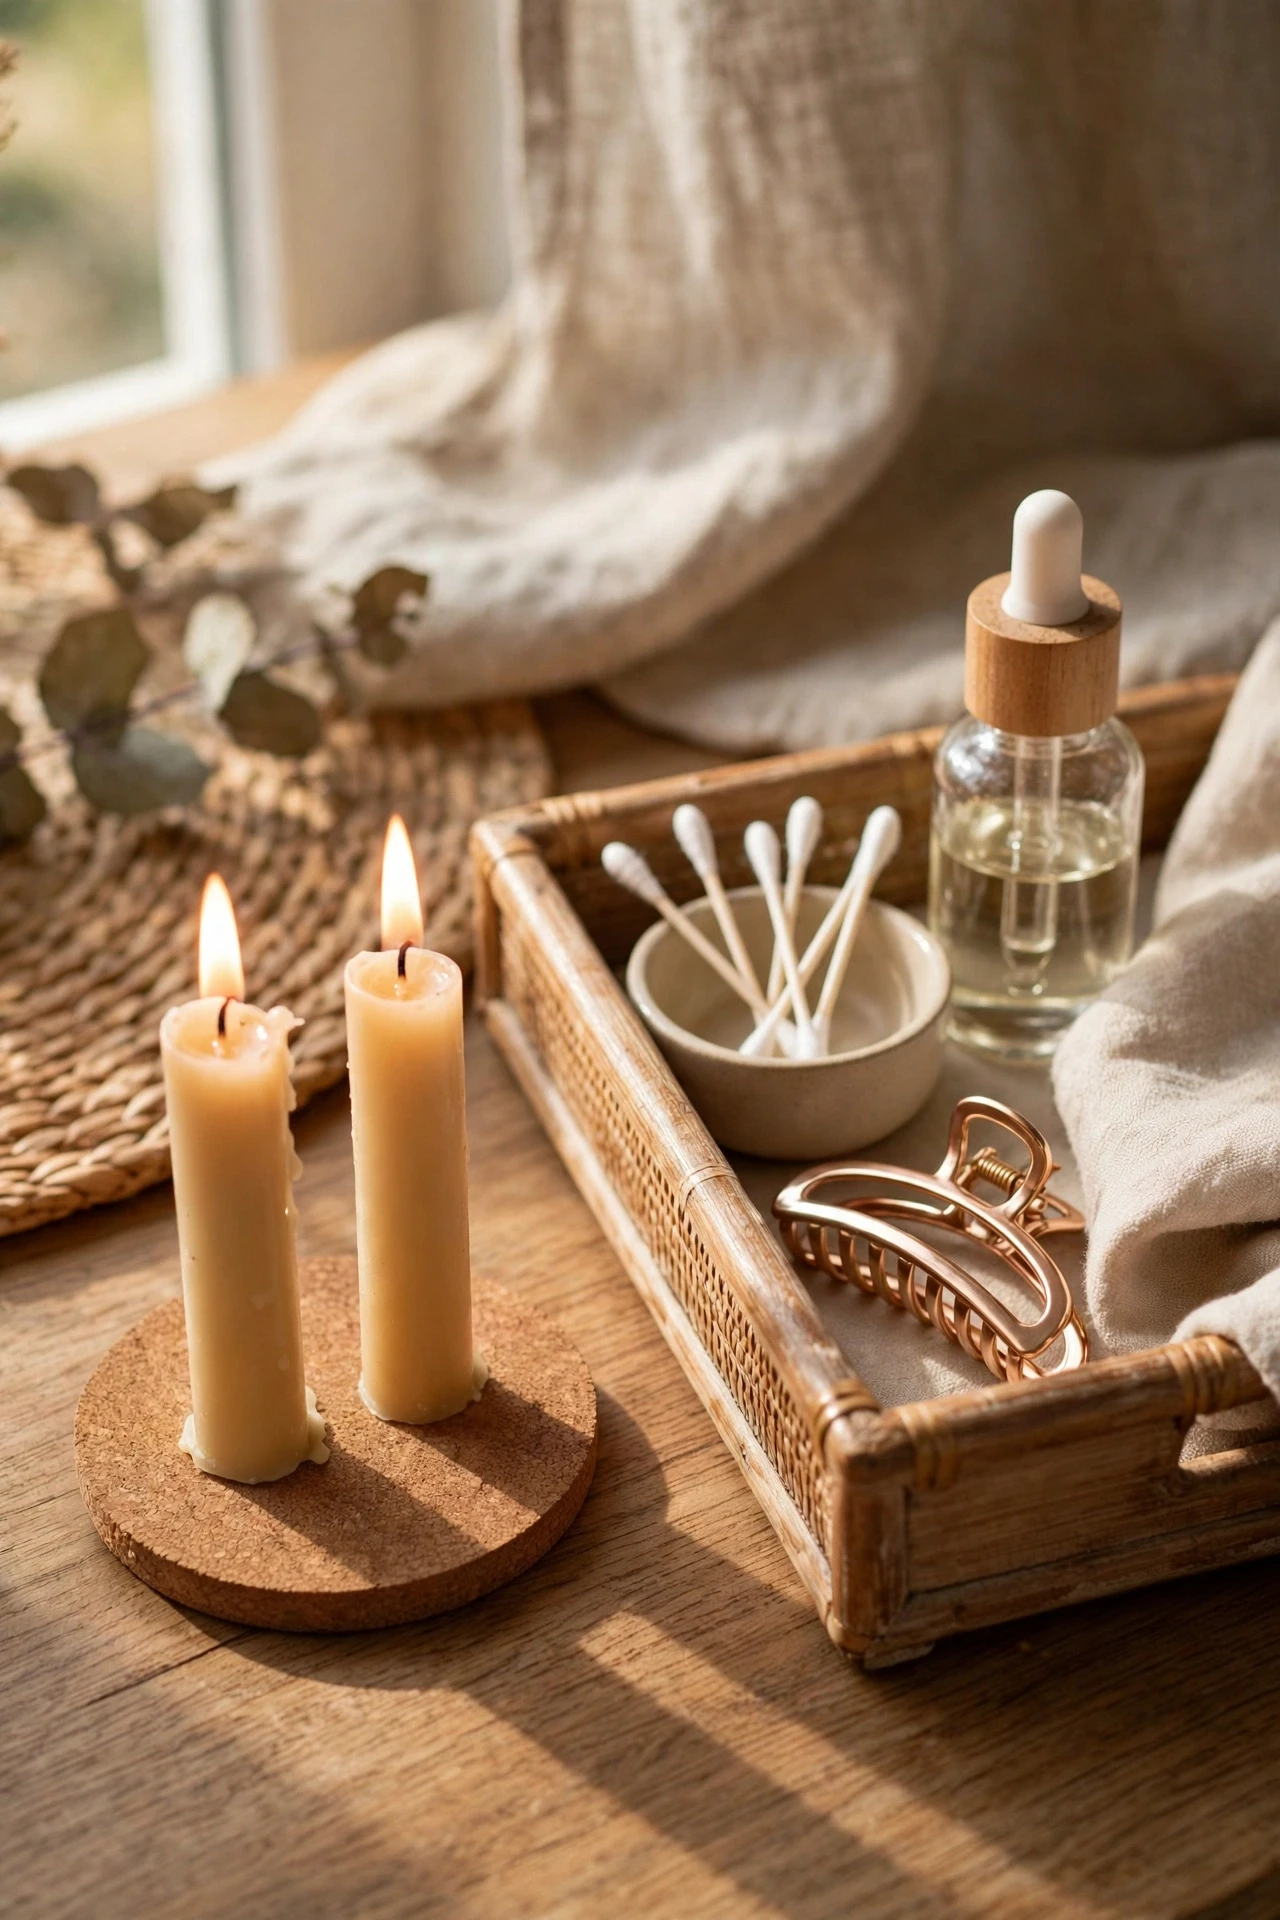
Two small candles on one coaster add warmth and scent without taking over the counter, and lighting one marks the end of a long day. Begin with a quick wipe-down and a measure of the space, so nothing you buy ends up too wide or too tall. Set the main piece in place, test it for a full morning routine, and move anything you bump twice. My first version looked great in photos but failed in real life, because I could not reach my daily cream without moving three jars, so function comes first now.
💰 Budget win: Two small candles beat one large luxury candle on price, and you can mix scents to suit your mood.
Cost: ~$$10-$24 | Time: 5 minutes
18. Matching Soap Dispenser and Dish Set
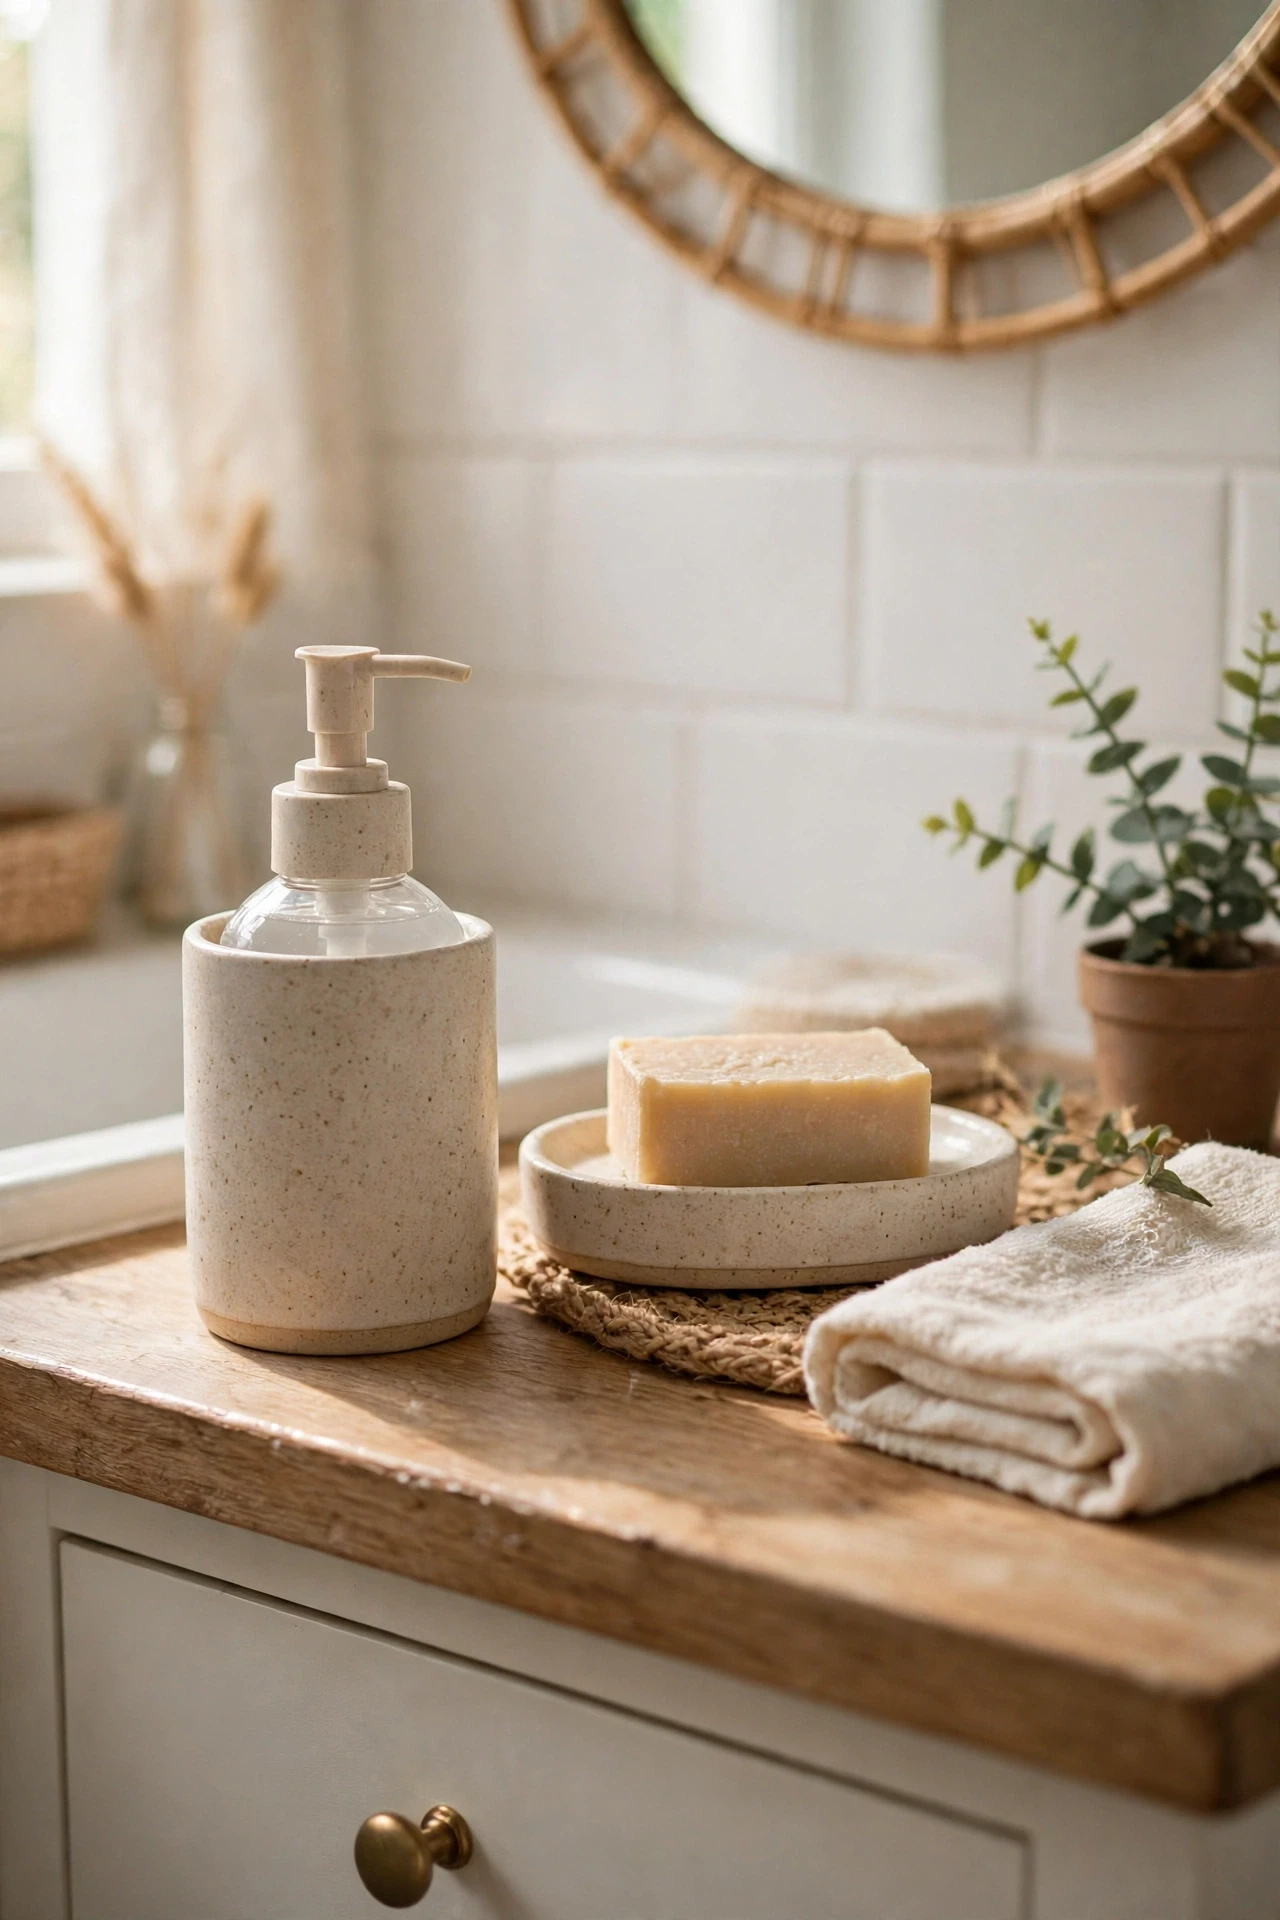
A matching soap dispenser and dish set makes the sink area look planned rather than accidental, even if both pieces came from a discount store. Choose one finish to repeat, like wood, brass, or clear glass, and let that tie the small pieces together. Add items slowly, check the look from the doorway, and remove anything that makes the counter feel busy. I swapped pieces around for days until I put the tallest item at the back and the daily items at the front, and that one change fixed the whole setup.
💰 Budget win: Buy the dispenser and dish as a set, because sets usually cost less than the two pieces bought separately.
Cost: ~$$12-$28 | Time: 10 minutes
19. Small Stool or Step for Extra Surface
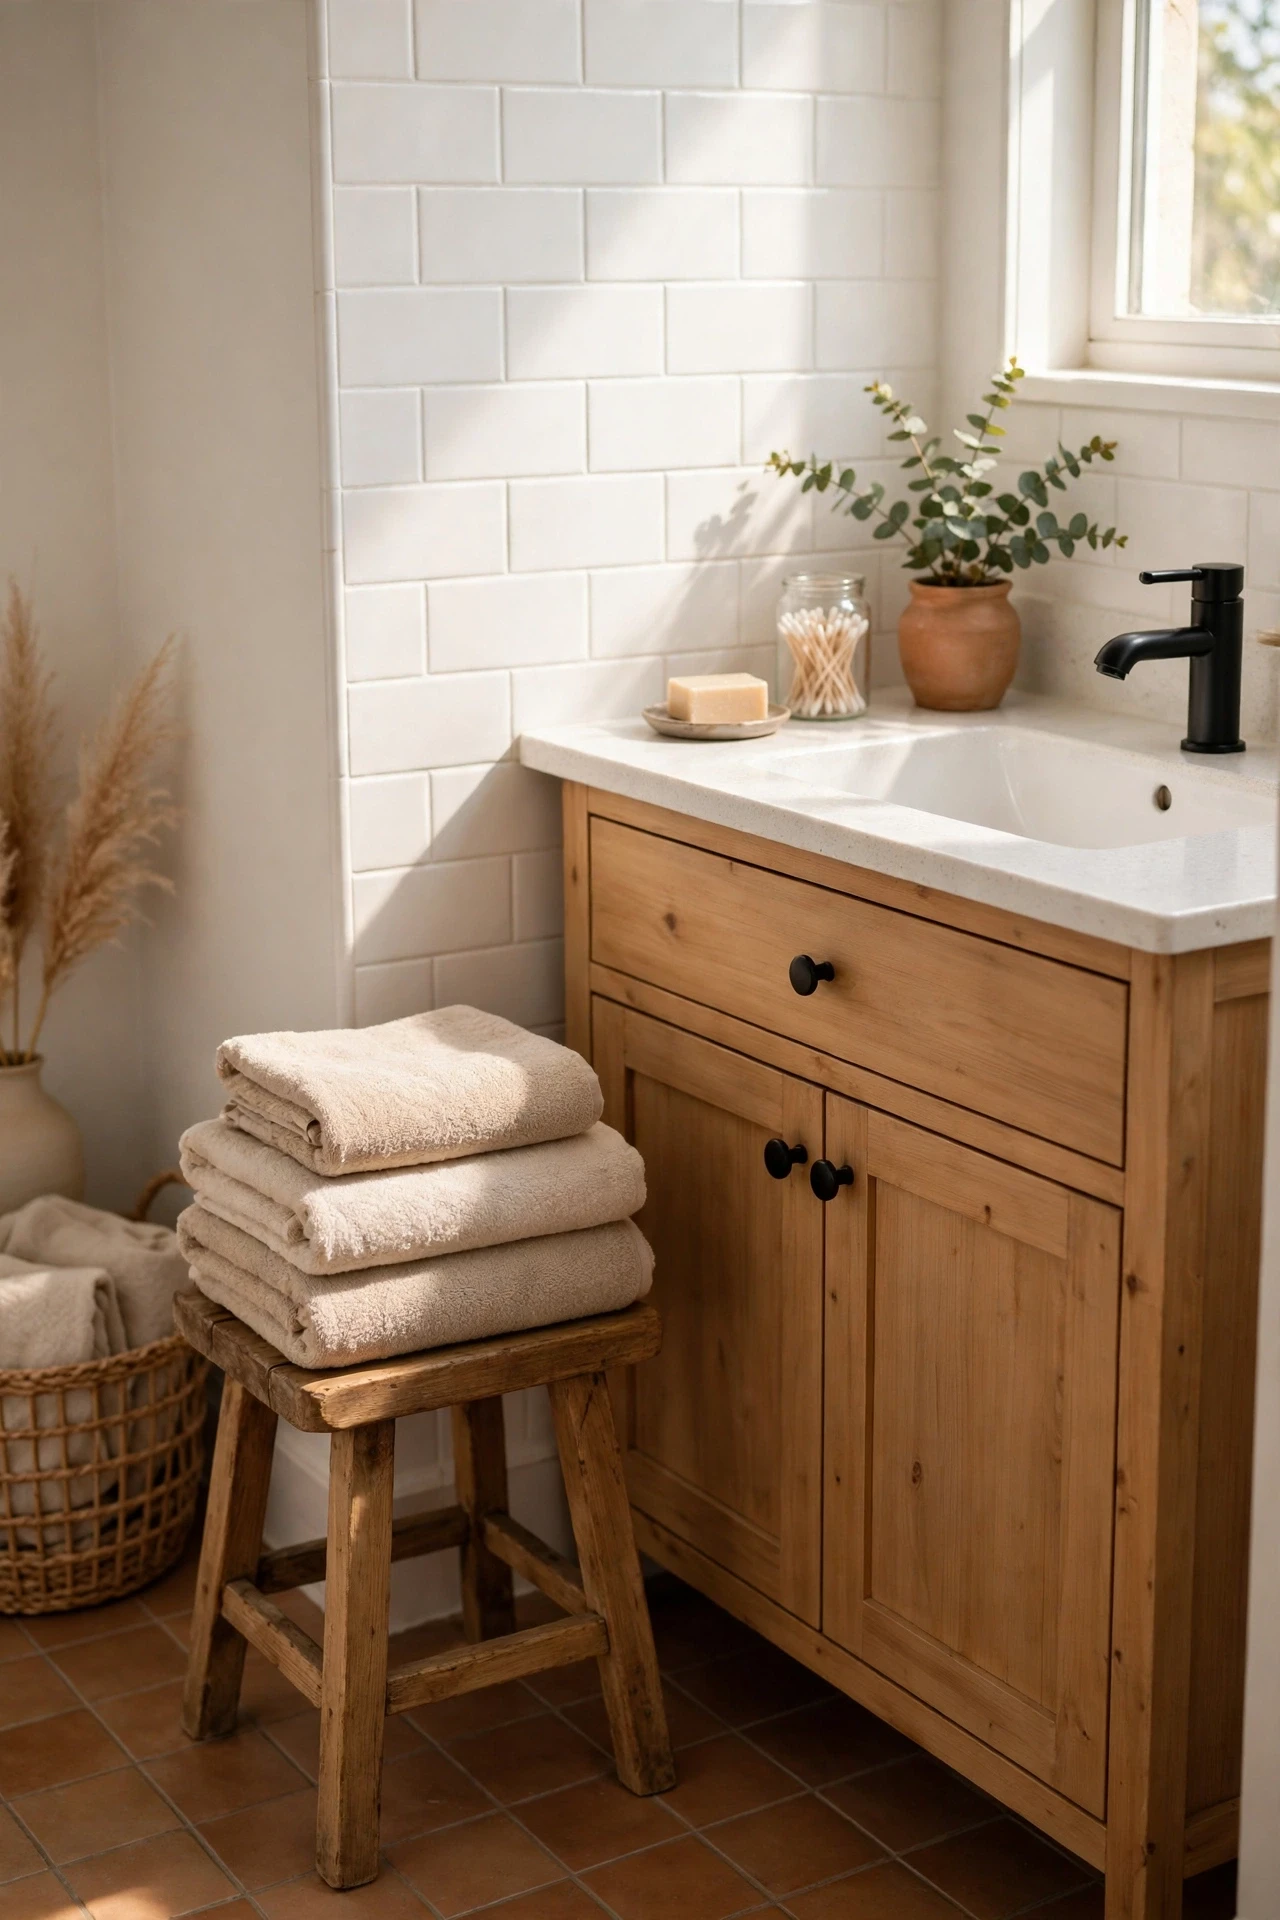
A small stool beside the vanity gives you an extra surface for a towel or book, and it doubles as a step for hard-to-reach shelves. Start by pulling everything off the vanity and keeping only what you reach for daily, then group the rest by use. Place the tray or organiser first, add items back in height order, and leave one clear patch for your hands. I did this on a tight budget last year, and my first mistake was buying five cute containers before measuring, so now I measure first and shop second, every time. If you enjoy hands-on updates, (see also: diy-bathroom-decor-ideas-on-a-budget) is a good next read.
Cost: ~$$18-$45 | Time: 10 minutes
20. Peel-and-Stick Backsplash Behind the Vanity
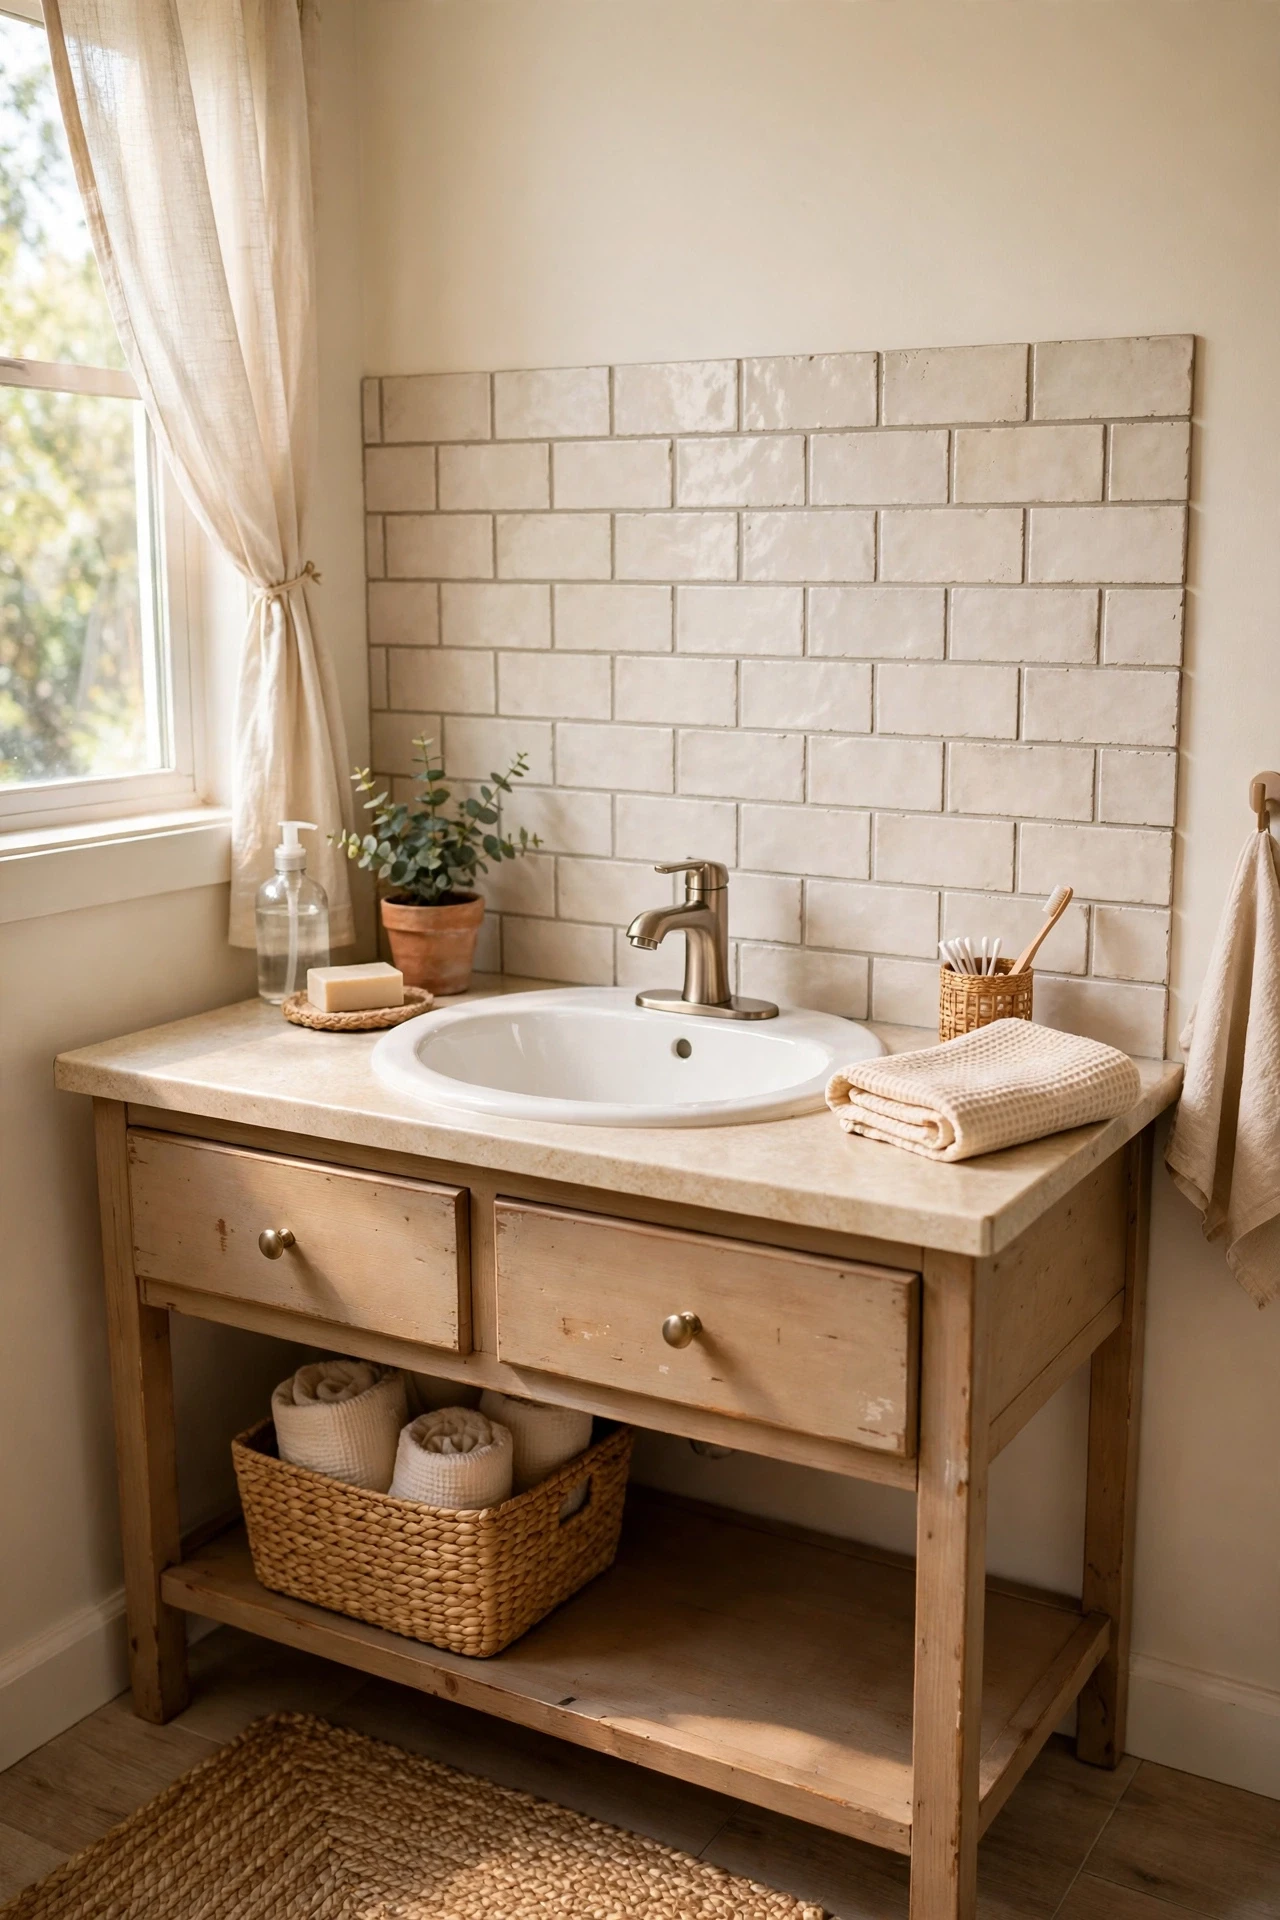
Peel-and-stick tiles behind the vanity add pattern and wipe-clean protection, and they come off cleanly if you change your mind later. Begin with a quick wipe-down and a measure of the space, so nothing you buy ends up too wide or too tall. Set the main piece in place, test it for a full morning routine, and move anything you bump twice. When I first styled my vanity, I kept every bottle out and it looked like a shop shelf, and hiding half of them in a basket made mornings feel calmer at once.
💰 Budget win: One box of peel-and-stick tiles usually covers a vanity backsplash with spares left for mistakes.
Cost: ~$$20-$50 | Time: 1 hour
21. Vanity Stool Cushion Cover Swap
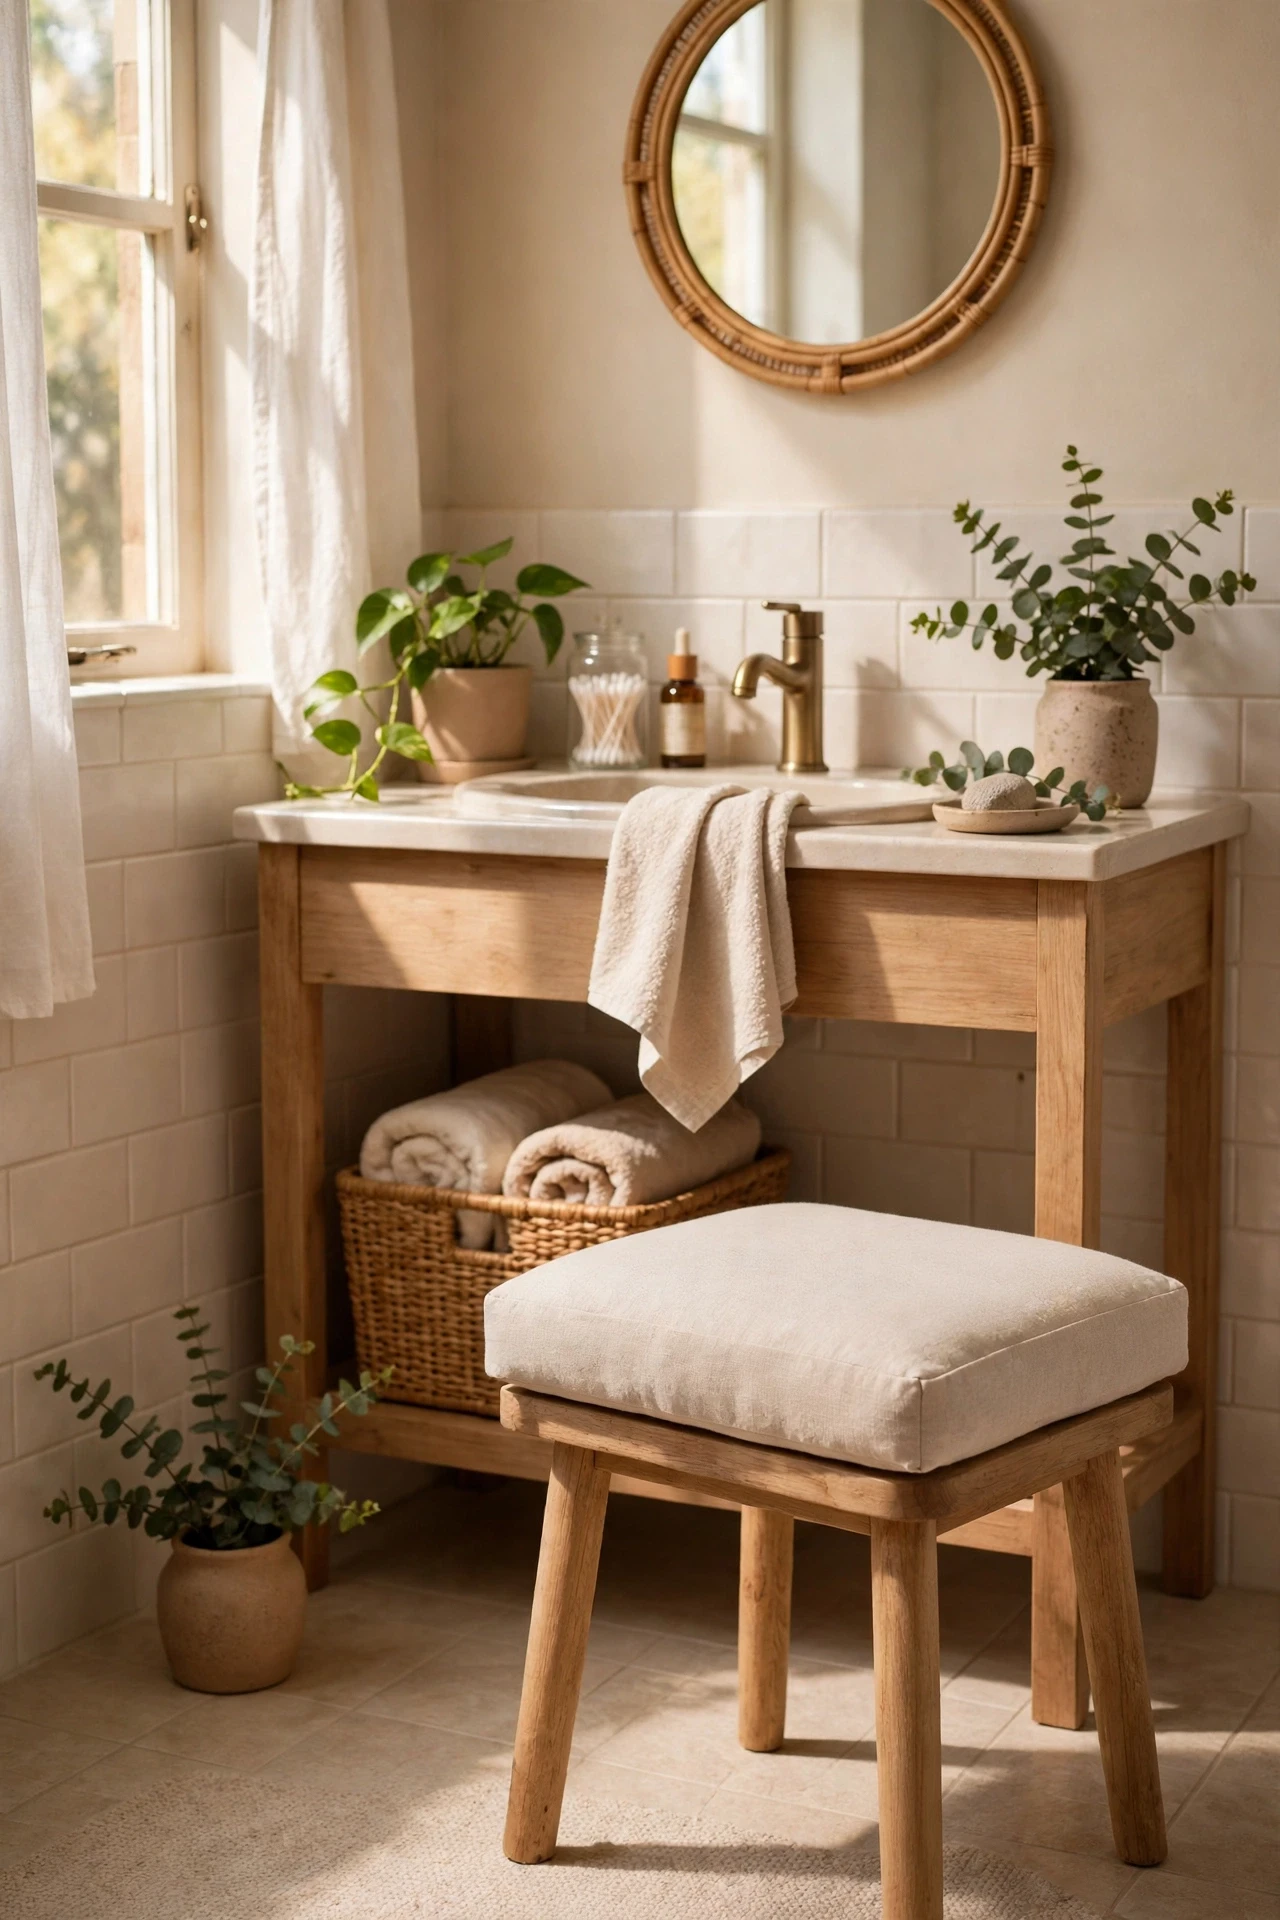
Swapping a tired stool cushion cover for a fresh neutral one updates the whole vanity corner without buying any new furniture at all. Choose one finish to repeat, like wood, brass, or clear glass, and let that tie the small pieces together. Add items slowly, check the look from the doorway, and remove anything that makes the counter feel busy. A friend tried this and went for the cheapest tray she could find, which wobbled and scratched the counter, so a felt pad underneath is now my non-negotiable step.
Cost: ~$$10-$22 | Time: 15 minutes
22. Perfume Tray Display by Height
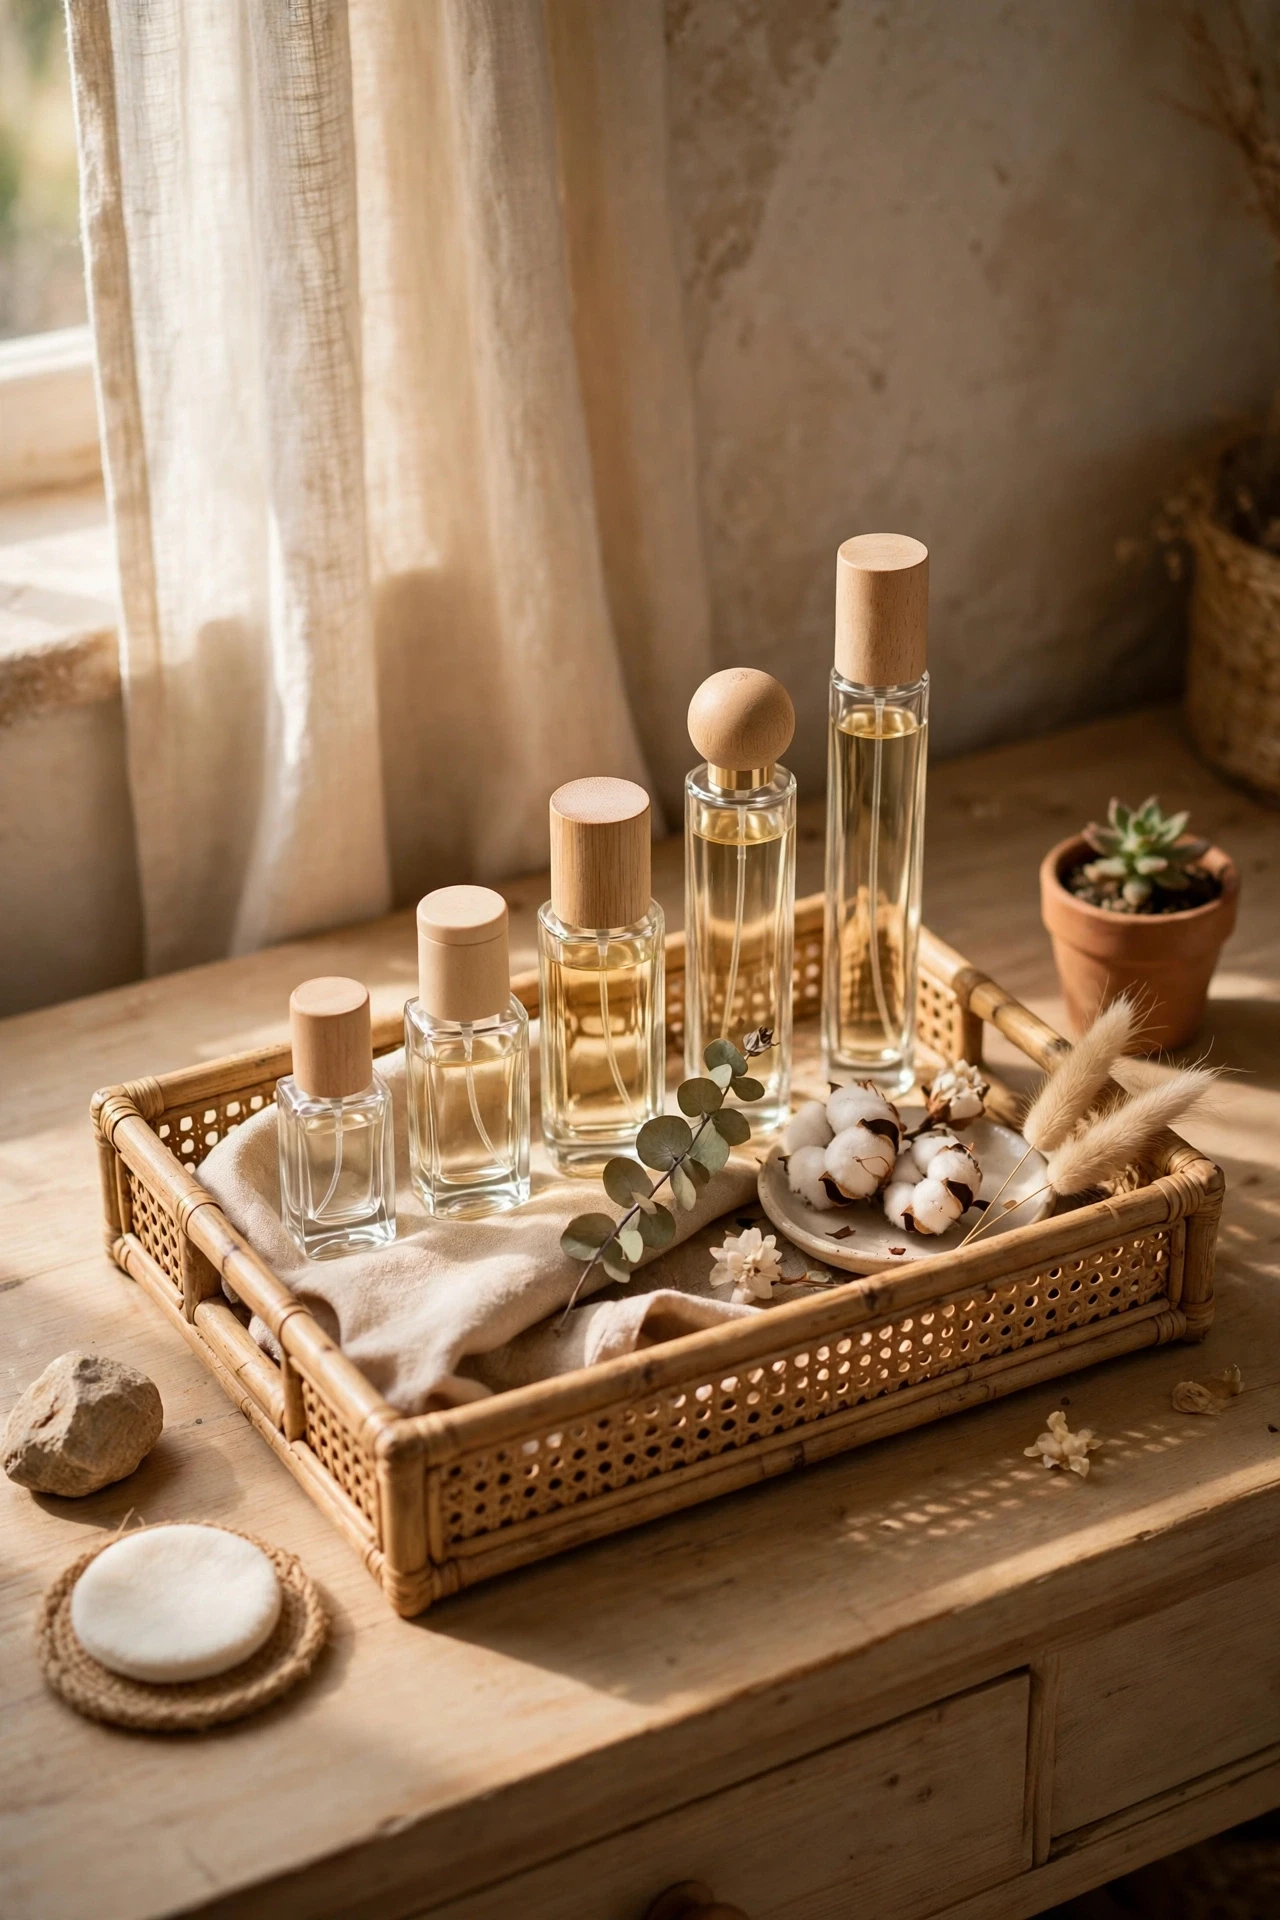
Arranging perfume by height on a small tray turns a random row into a display, and it stops bottles tipping over when you reach past them. Start by pulling everything off the vanity and keeping only what you reach for daily, then group the rest by use. Place the tray or organiser first, add items back in height order, and leave one clear patch for your hands. I learned to keep one empty spot on purpose, because a vanity with no breathing room just invites clutter back within a week.
💰 Budget win: Use a tray you already have and just rearrange by height, because this idea costs nothing at all.
Cost: ~$$0-$20 | Time: 10 minutes
23. Leave Breathing Room on Purpose
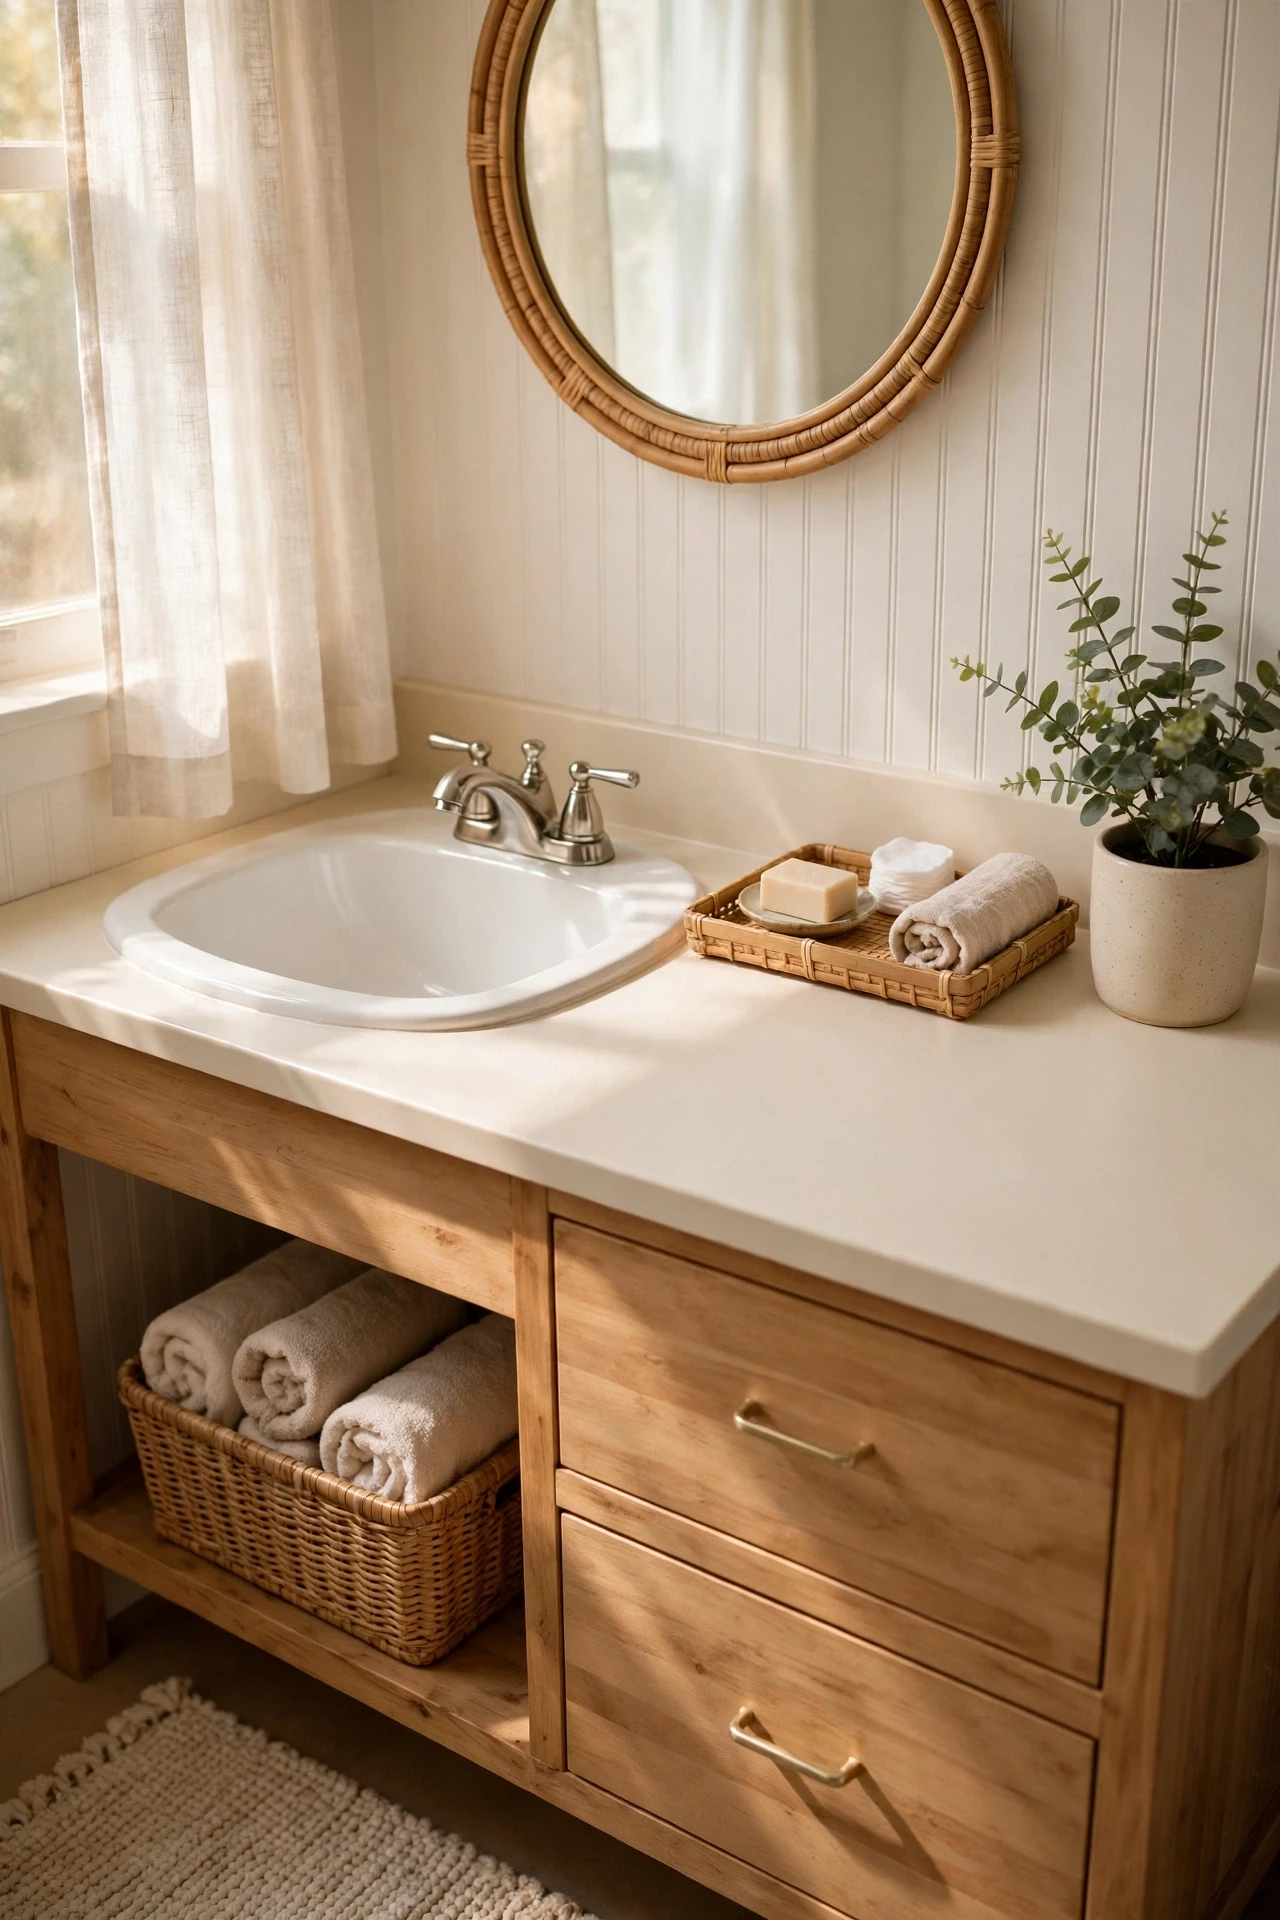
Leaving one clear patch on the vanity on purpose keeps the whole setup feeling calm, and it gives you room to actually use the space. Begin with a quick wipe-down and a measure of the space, so nothing you buy ends up too wide or too tall. Set the main piece in place, test it for a full morning routine, and move anything you bump twice. My first version looked great in photos but failed in real life, because I could not reach my daily cream without moving three jars, so function comes first now.
Cost: ~$$0 | Time: 10 minutes
Pick one tray, one light change, and one storage fix to start, then live with that trio for a week before adding more. A vanity that works for your real routine will always look better than one styled for a photo and impossible to use.
