23 Bathroom Storage Ideas for Tiny Bathrooms on a Budget
My plan for this list is simple: I split our tiny bathroom into four zones — walls, shower, sink, and toilet — because tackling one zone at a time finally stopped the clutter from winning. Last winter our bathroom was so crowded that the door barely closed and shampoo bottles lived on the floor. These small bathroom storage ideas are the exact fixes that gave everything a home without a remodel or a big spend. Work through one zone per weekend and the room starts to feel twice its size.
First up, the walls and door — the storage space you already own but never use.
1. Add Shelves Above the Toilet
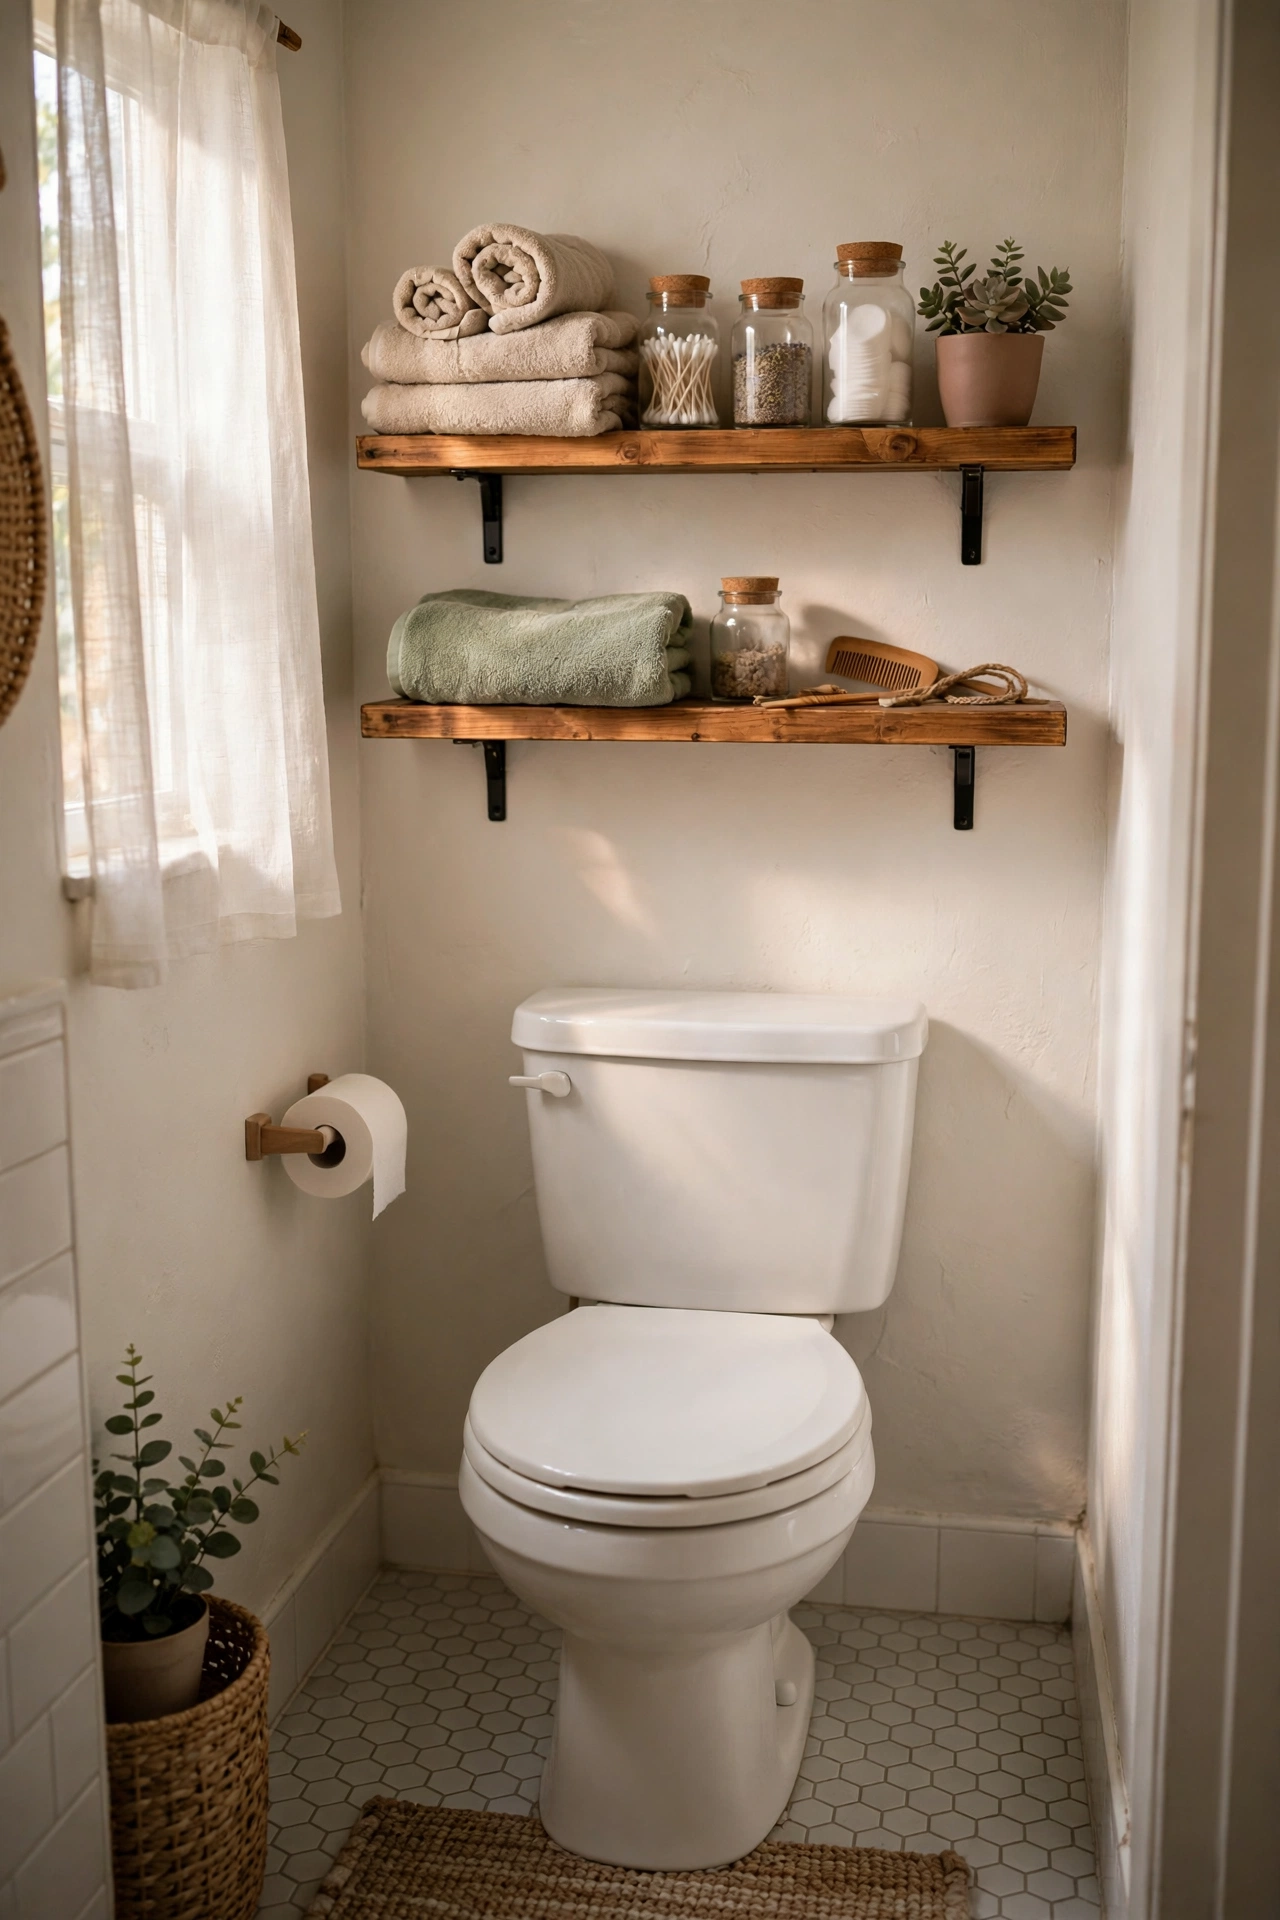
The wall above the toilet is wasted space in almost every tiny bathroom, and two shelves turn it into real storage. Fix two sturdy boards or a small shelf unit above the tank, high enough that nobody bumps their head. Store spare toilet rolls, a small plant, and a jar of cotton pads up there, keeping daily items within reach. Use brackets rated for the weight, because shampoo bottles get heavy fast. Paint the shelves to match the walls so they blend in. I tried this — the mistake to avoid is hanging them too low, because you will hit your head every single morning until you move them.
Cost: ~$18 | Time: 45 minutes
💰 Budget win: Pine boards on basic brackets cost a fraction of a ready-made over-toilet unit and hold more weight.
2. Hang an Over-Door Organizer
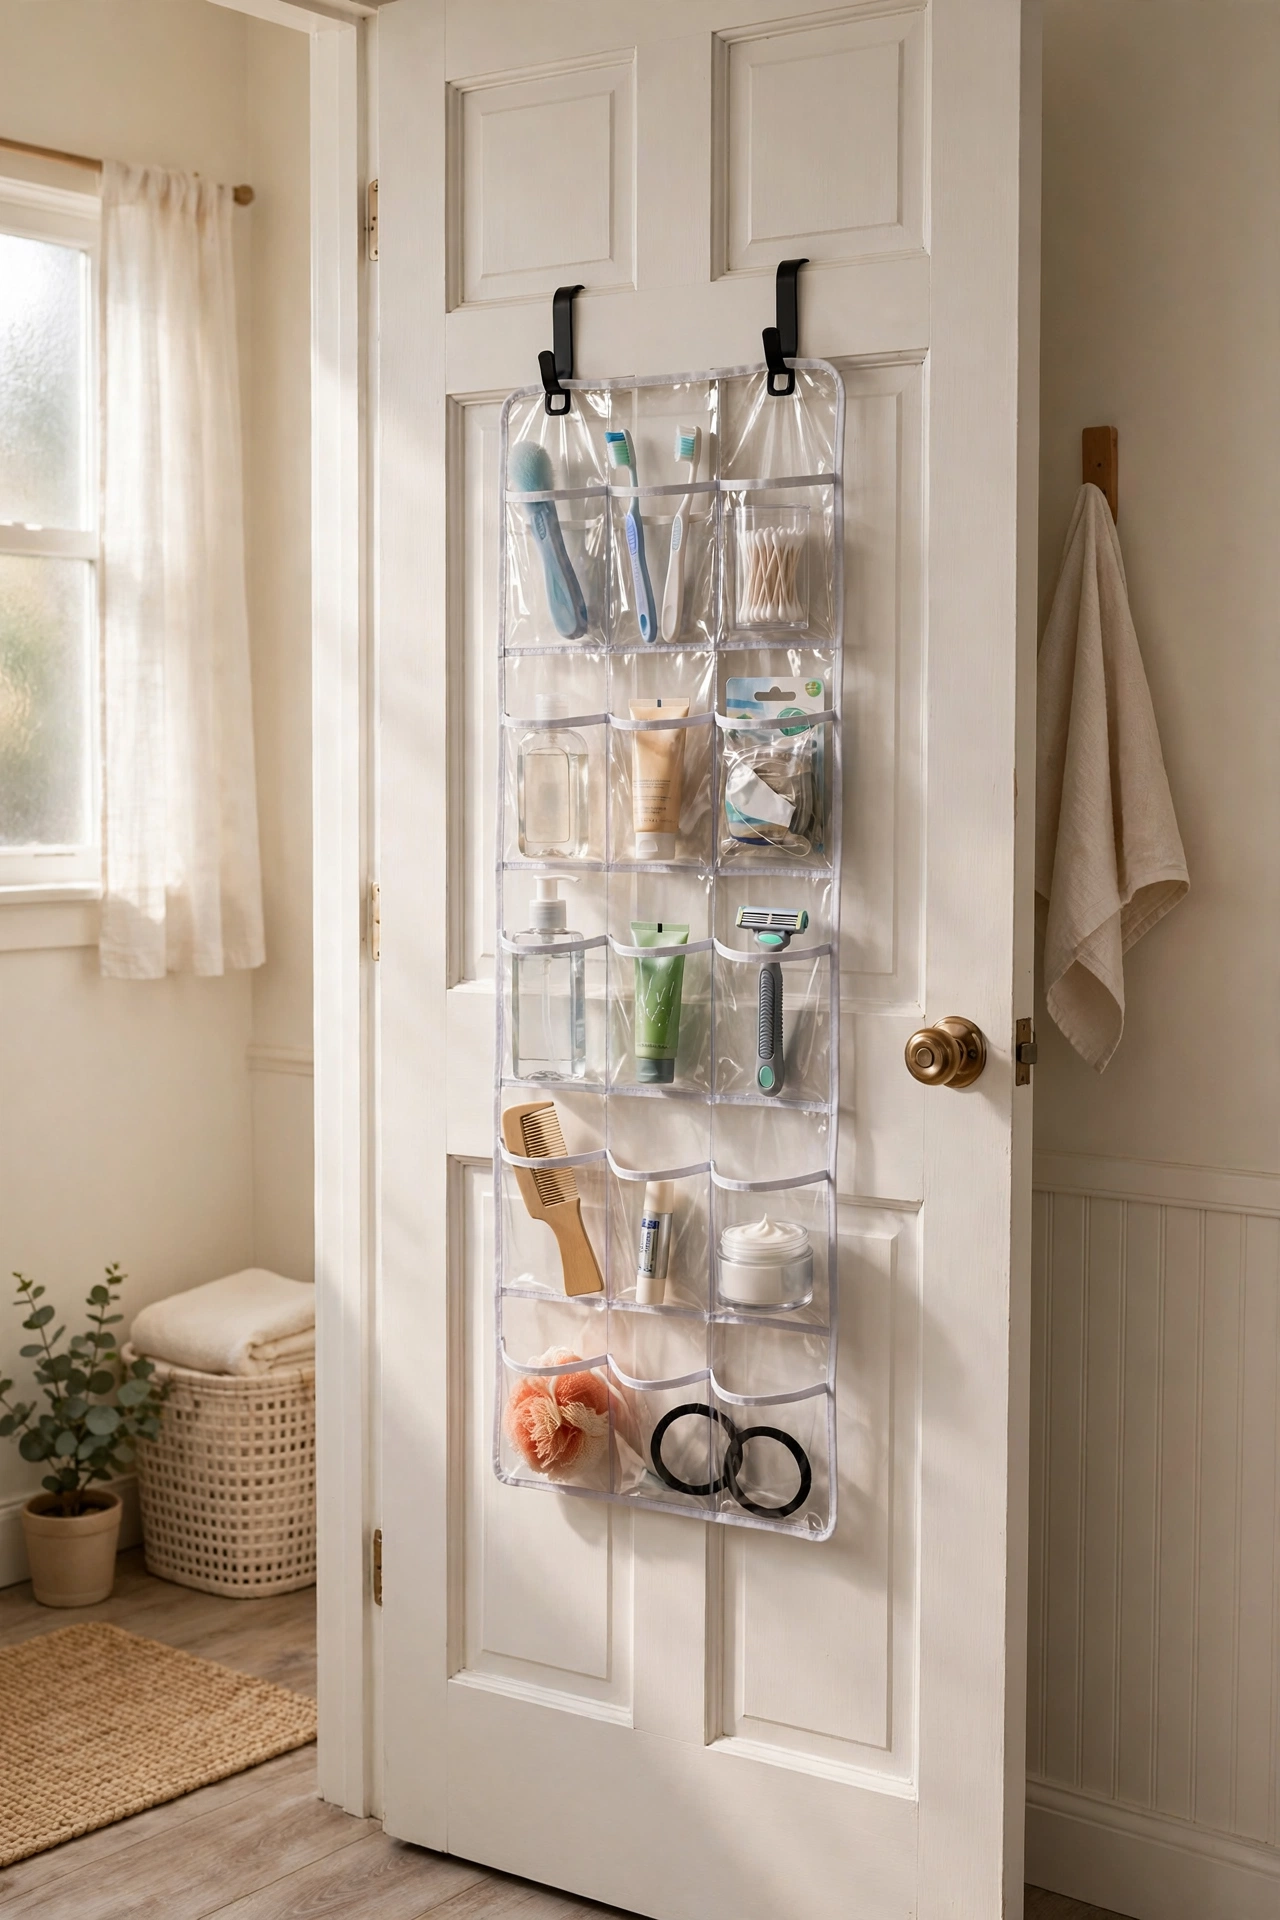
An over-door organizer uses the back of the bathroom door, which otherwise holds nothing at all. Hang a clear-pocket organizer or a fabric one with deep pockets, and sort hair tools, cleaning sprays, and spare toiletries into separate pockets. Keep heavy items low so the door still closes smoothly. The clear pockets matter, because you can see what you own instead of buying duplicates. Trim the hooks with felt pads if the door rattles. In our flat this one organizer swallowed a whole drawer of clutter, and the door still closes with one finger.
Cost: ~$12 | Time: 10 minutes
💰 Budget win: A shoe organizer works exactly like a bathroom one for half the price — same pockets, different label.
3. Mount a Magnetic Strip for Bobby Pins
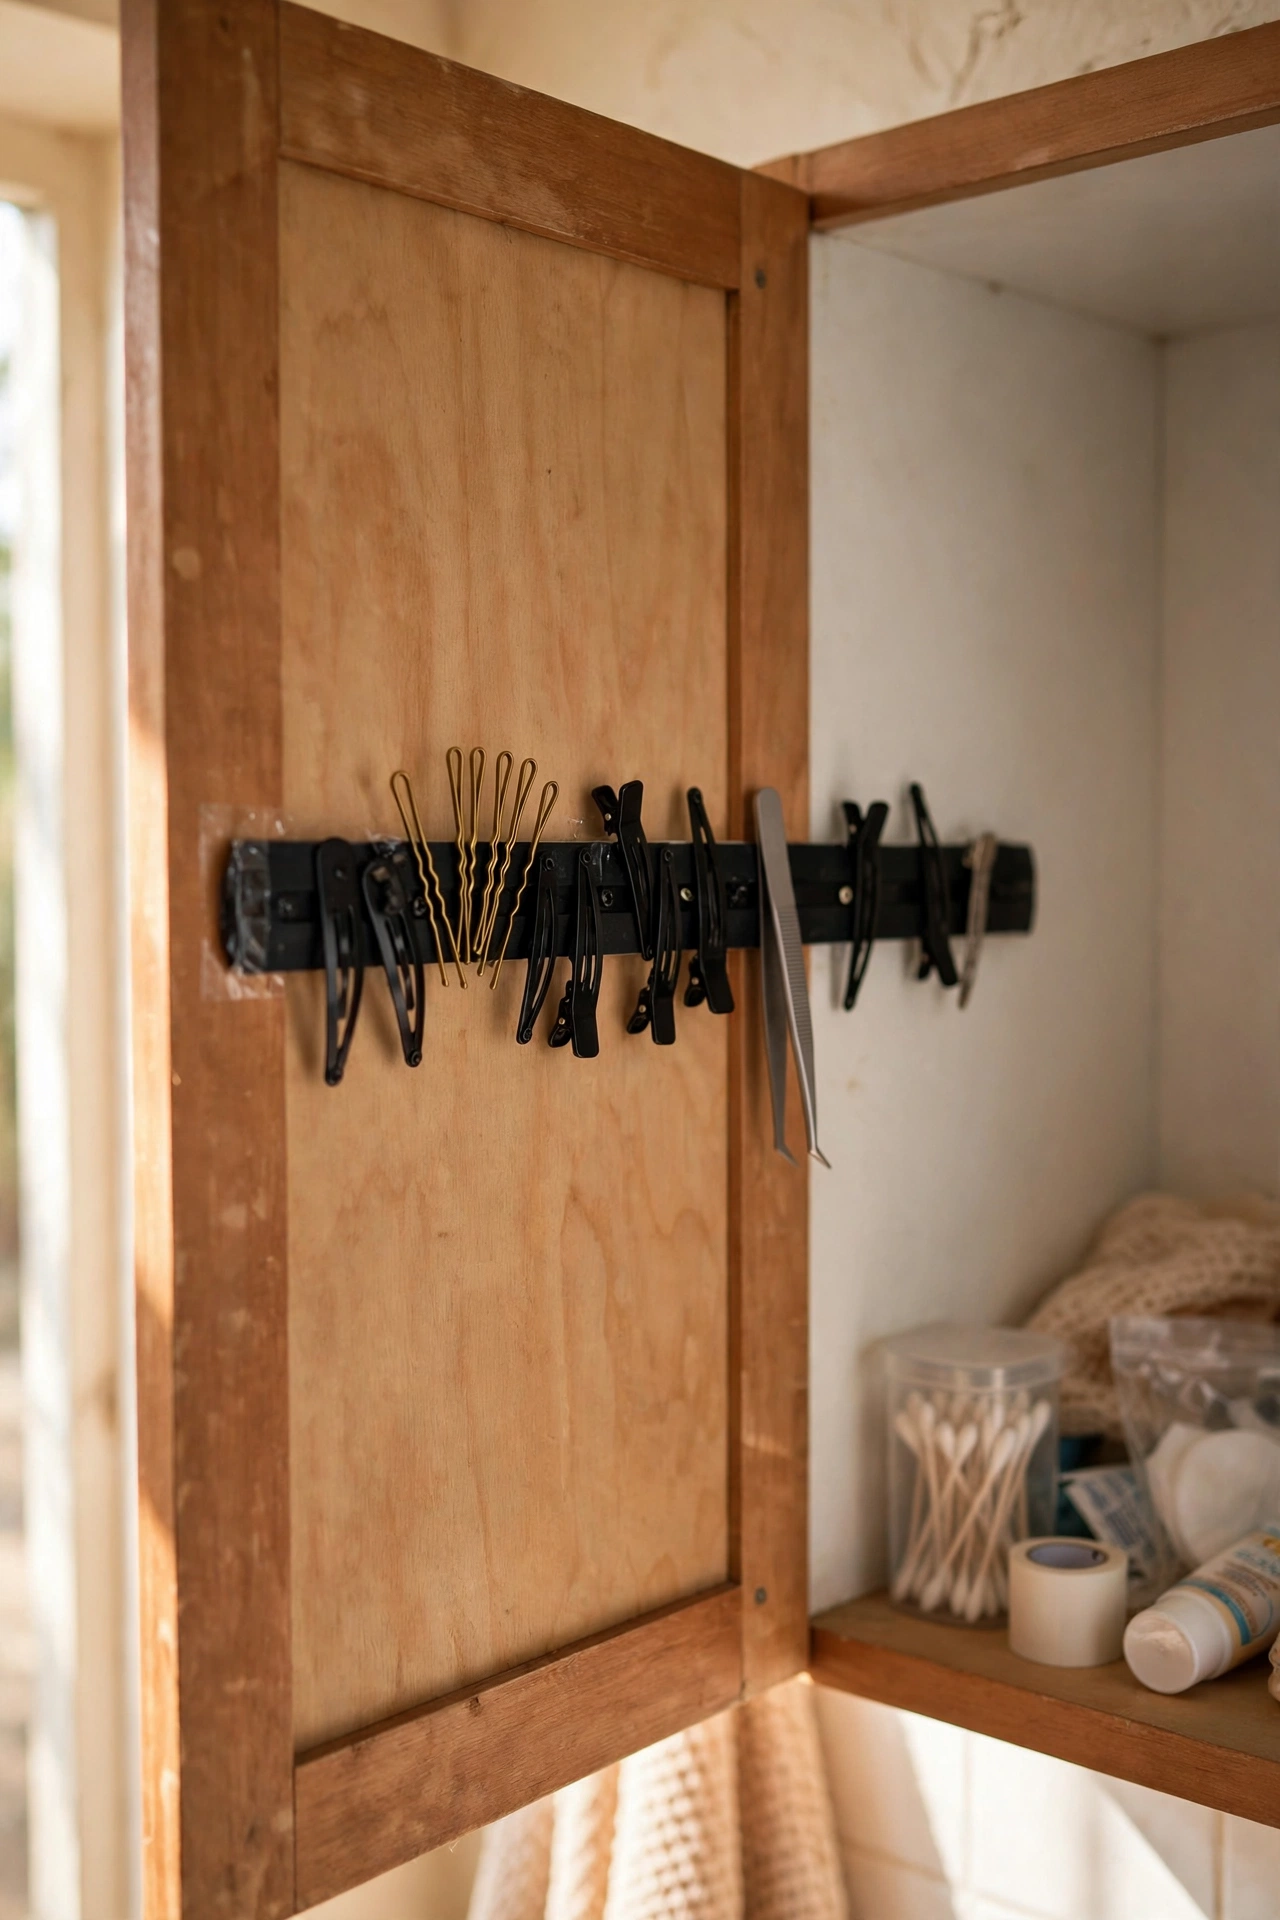
Bobby pins, clips, and small metal tools vanish in a tiny bathroom, but a magnetic strip on the inside of a cabinet door keeps them visible. Stick a self-adhesive magnetic strip inside the medicine cabinet or on the side of the vanity, and press pins straight onto it. The strip costs almost nothing and ends the daily hunt through drawers. Add a second strip for tweezers and nail clippers if the household shares the space. Wipe the strip monthly, because hairspray dust dulls the grip over time. This is a five-minute fix that genuinely changed my morning routine.
Cost: ~$4 | Time: 5 minutes
💰 Budget win: A strip of adhesive magnet tape from a craft store does the same job as a branded bathroom magnet bar.
4. Use Tension Rods Under the Sink
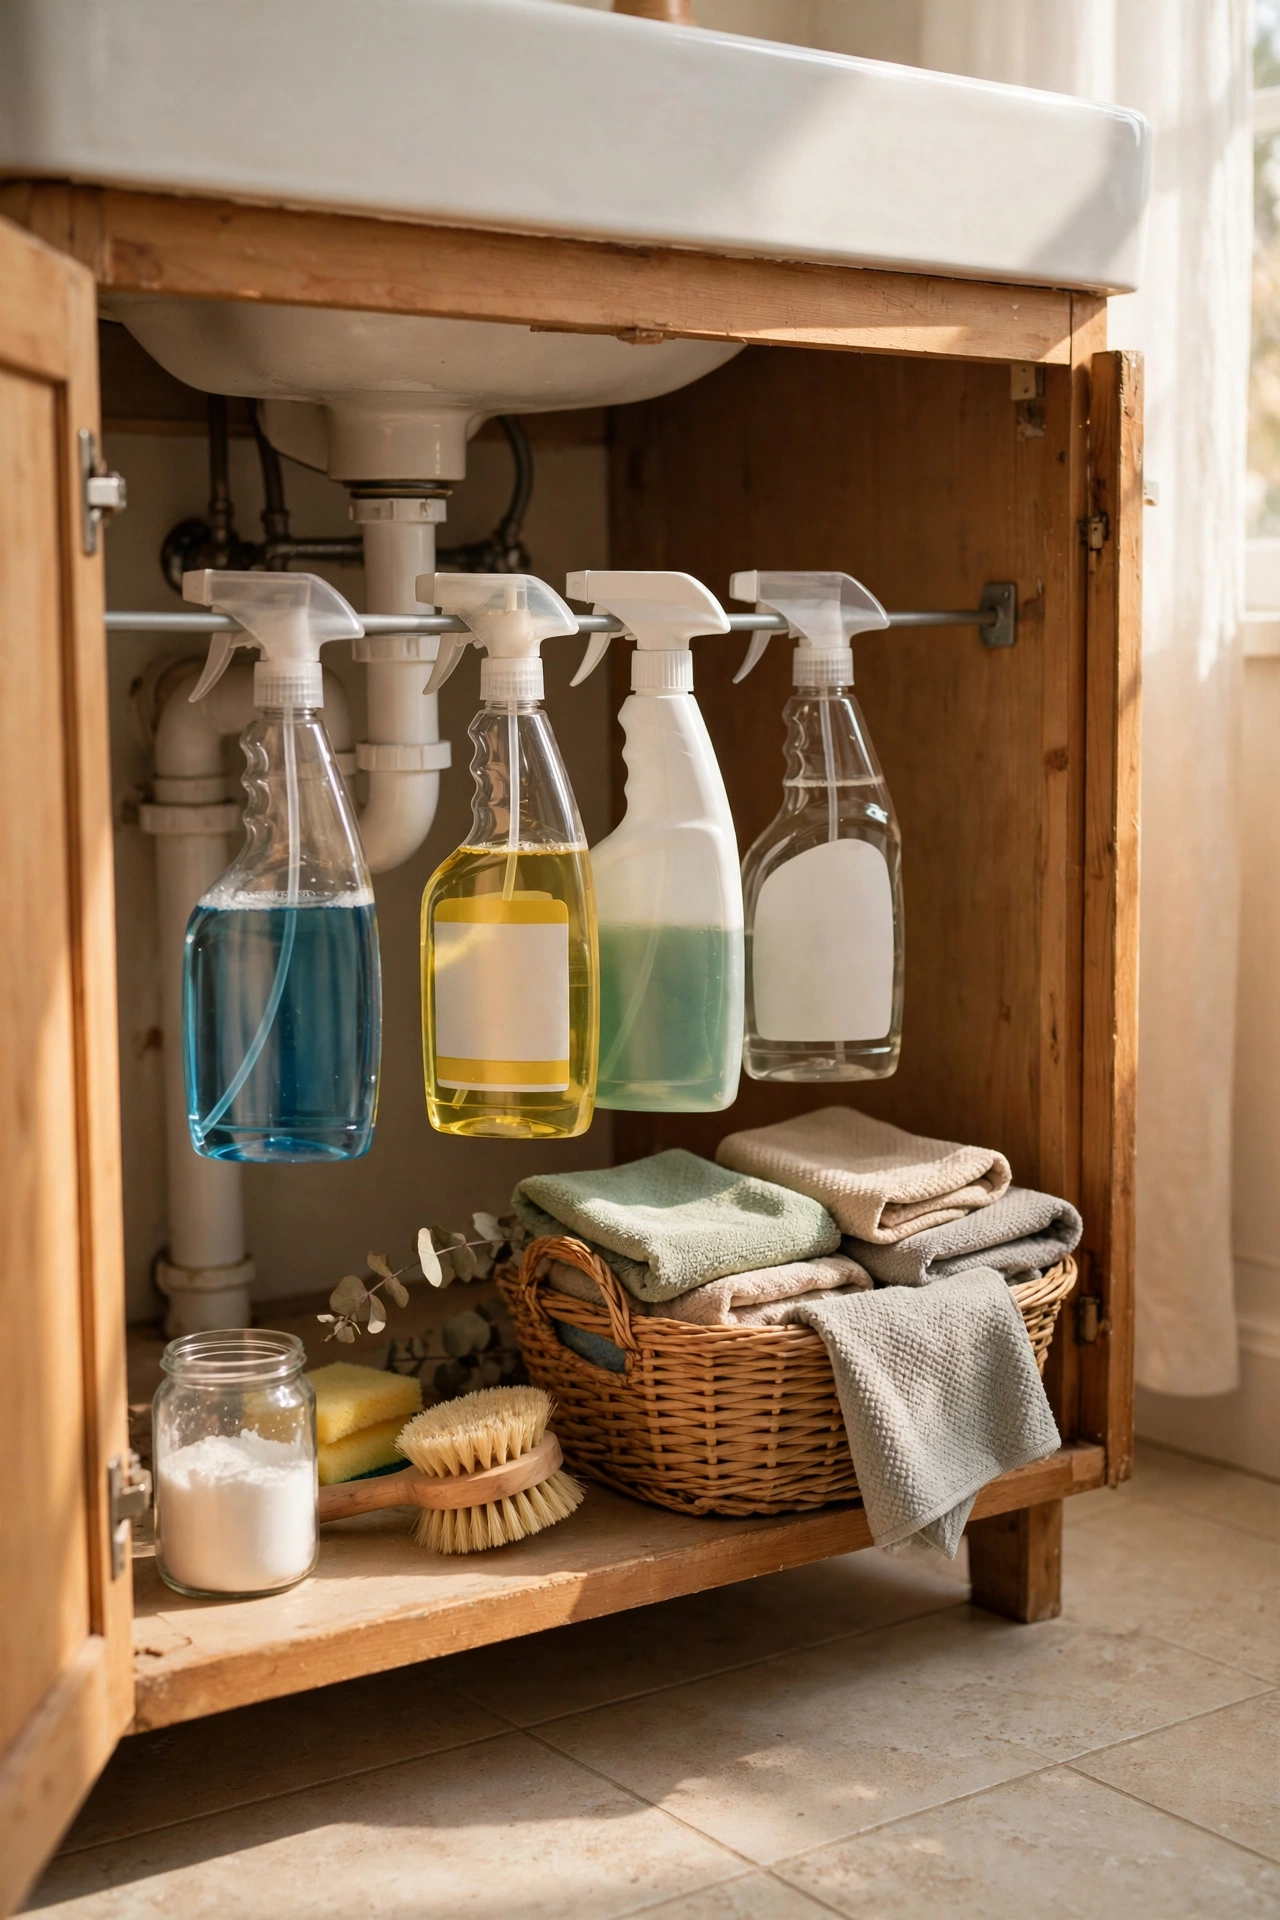
The cabinet under the sink is usually a dark hole where bottles fall over, but a tension rod changes that completely. Wedge one rod across the cabinet to hang spray bottles by their triggers, and add a second lower rod for cleaning cloths. Suddenly every bottle hangs visible and reachable instead of buried. Measure the cabinet width before buying, because rods come in short and long sizes. Keep the drain pipes clear and leave space at the back. For more under-sink tricks, see my (see also: small-bathroom-ideas-under-100) post, which goes deeper on tiny-space cabinets.
Cost: ~$8 | Time: 15 minutes
💰 Budget win: Two cheap tension rods beat a pricey pull-out organizer and need no drilling or landlord permission.
5. Hang Hooks on Every Free Inch
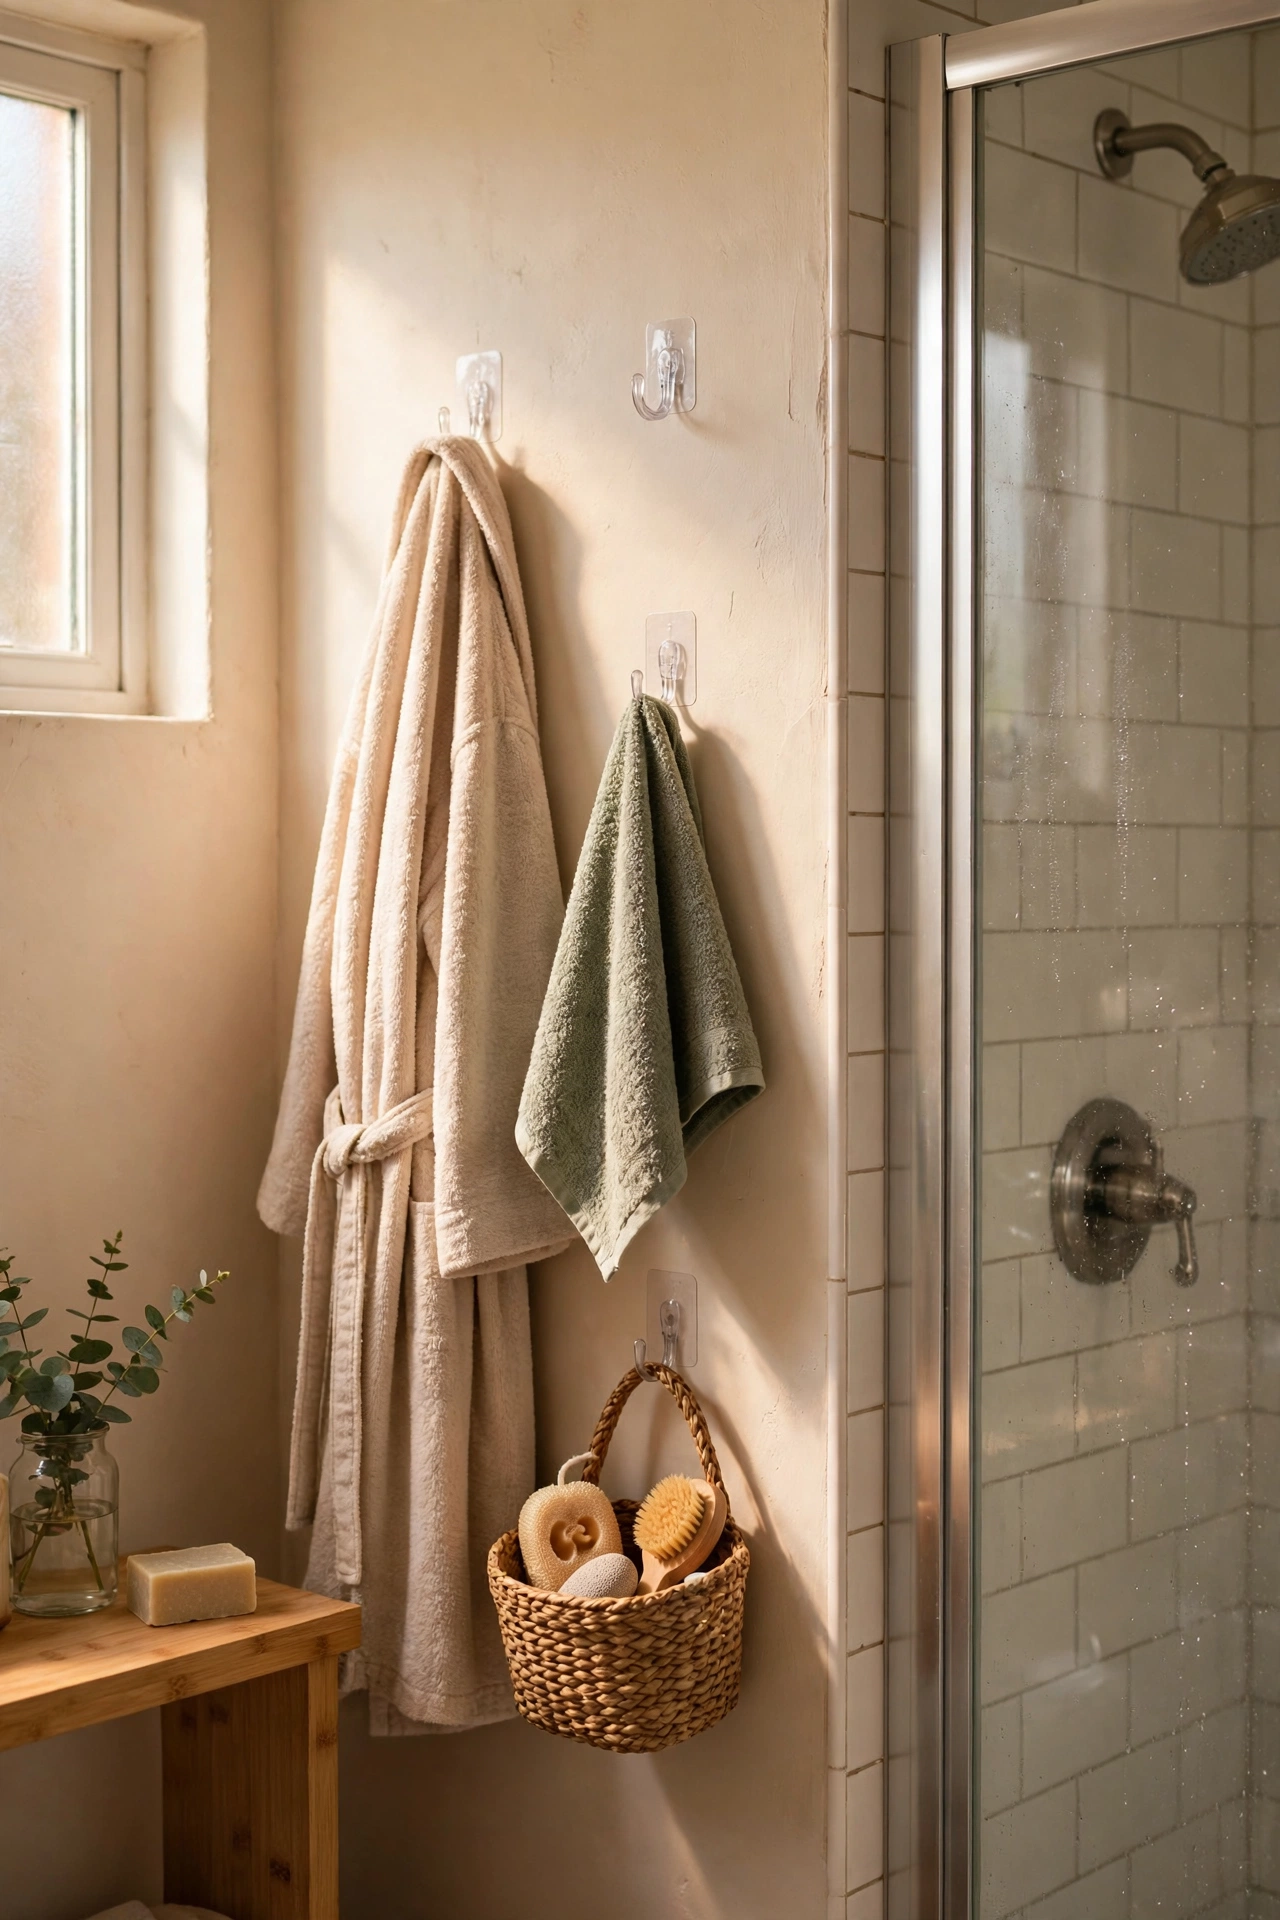
Hooks are the cheapest storage in a tiny bathroom, and most bathrooms have far fewer than they need. Stick strong adhesive hooks on the back of the door, on the side of the vanity, and on any blank wall near the shower. Hang a robe on one, a hand towel on another, and a small basket on a third for hair tools. Use hooks rated for damp rooms so they do not slide off in steam. Space them so towels dry instead of bunching together. I tried this — the mistake to avoid is hanging everything on the towel rail, because wet towels then never dry properly.
Cost: ~$9 | Time: 15 minutes
💰 Budget win: A multipack of adhesive hooks costs a few dollars and removes the need for any drilled towel rails.
6. Stack Baskets on Top of Cabinets
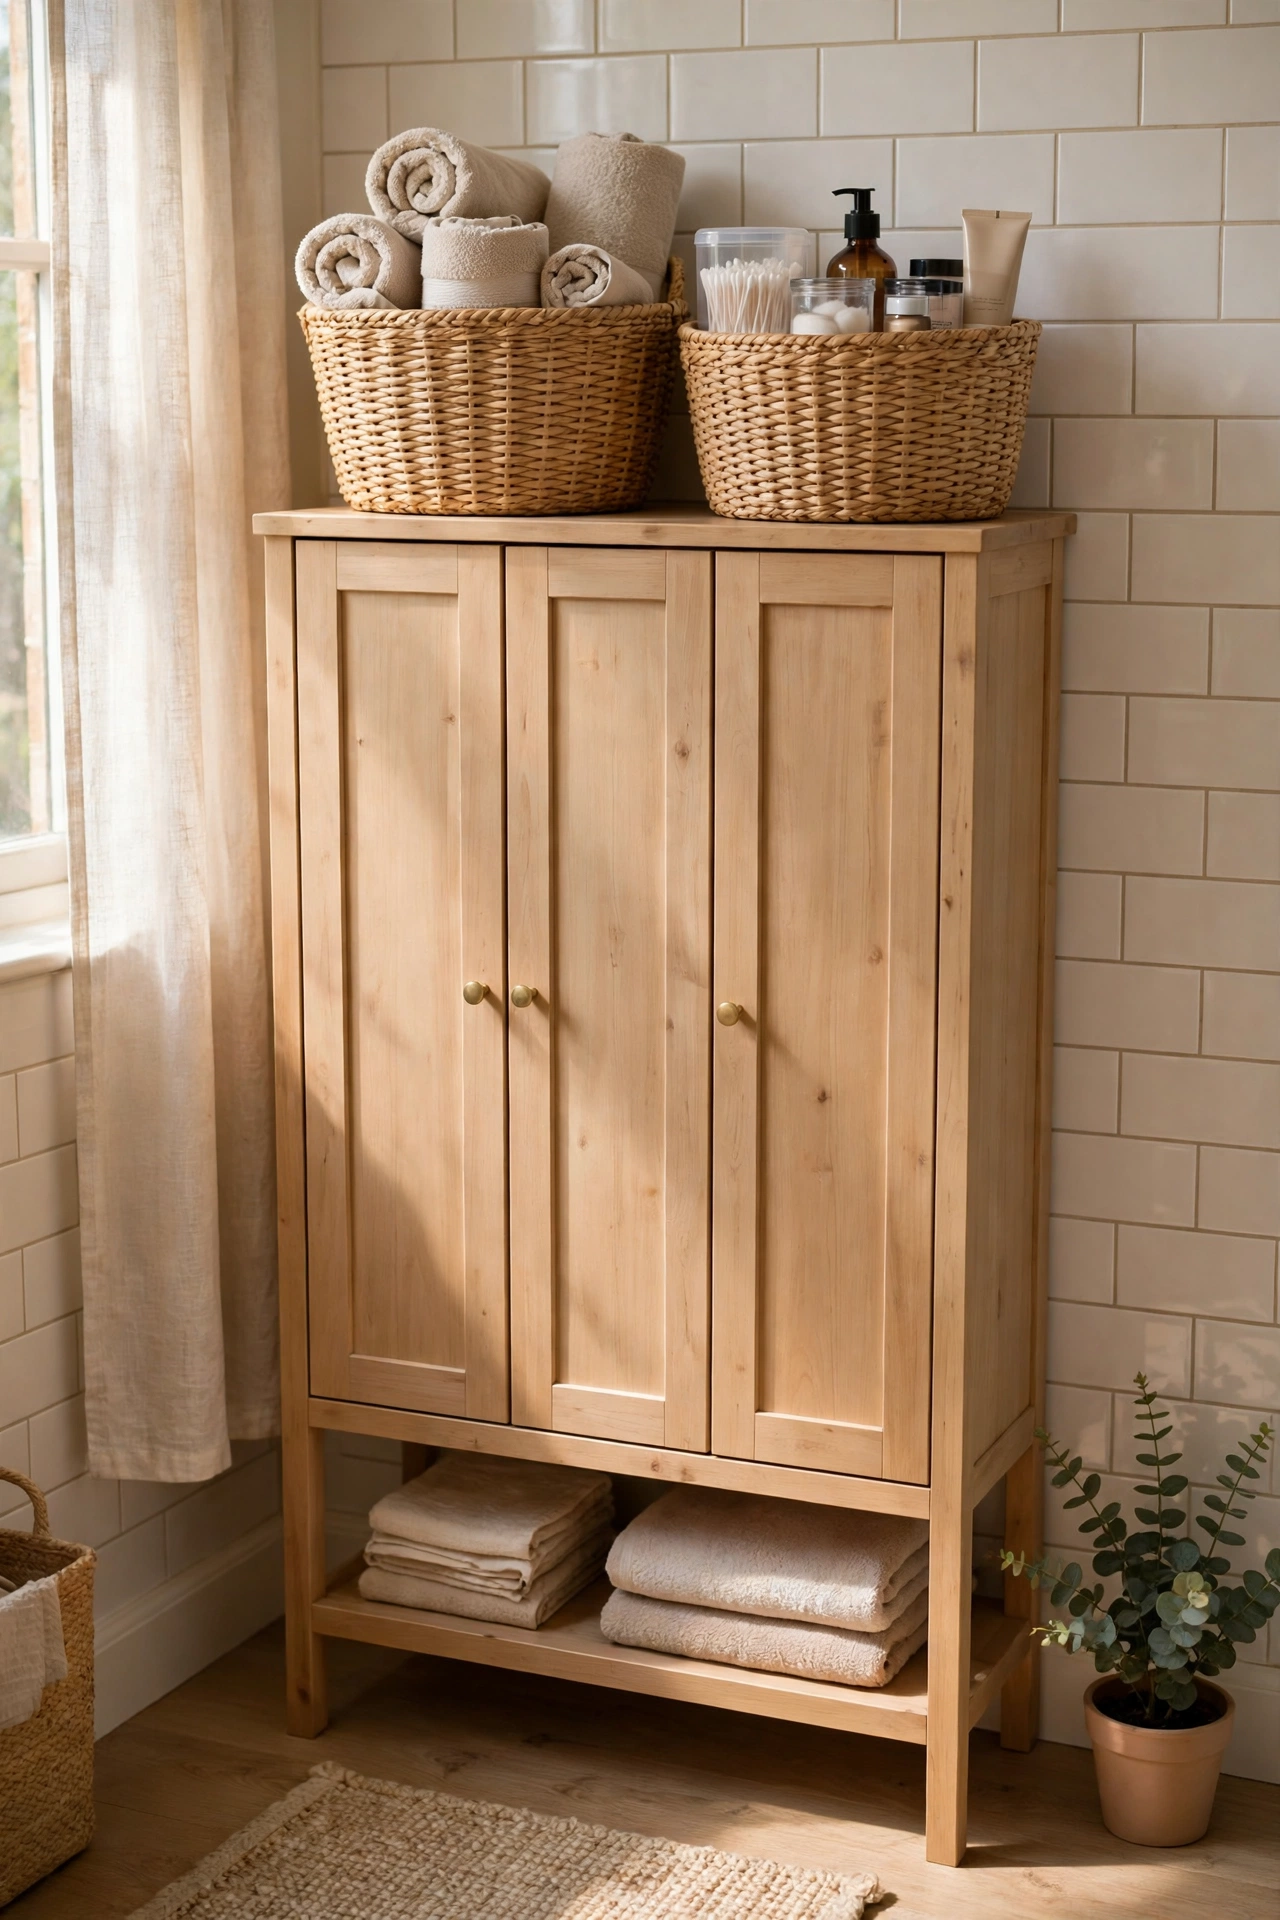
The top of a tall cabinet or the medicine cabinet is prime storage for things you use weekly, not daily. Place two matching baskets up there for spare towels, first-aid supplies, and bulk toiletries, and label the front edge so you grab the right one. The baskets hide the mess while keeping everything reachable with a short step stool. Dust them monthly, because bathroom tops collect dust fast. Keep nothing heavy up high, for obvious safety reasons. In our bathroom this freed a whole shelf for daily items, which made mornings noticeably calmer.
Cost: ~$14 | Time: 10 minutes
💰 Budget win: Matching baskets from a discount store look intentional together, even when the contents are completely random.
Next, the shower and tub — where bottles multiply fastest and floor space matters most.
7. Hang a Shower Caddy Over the Head
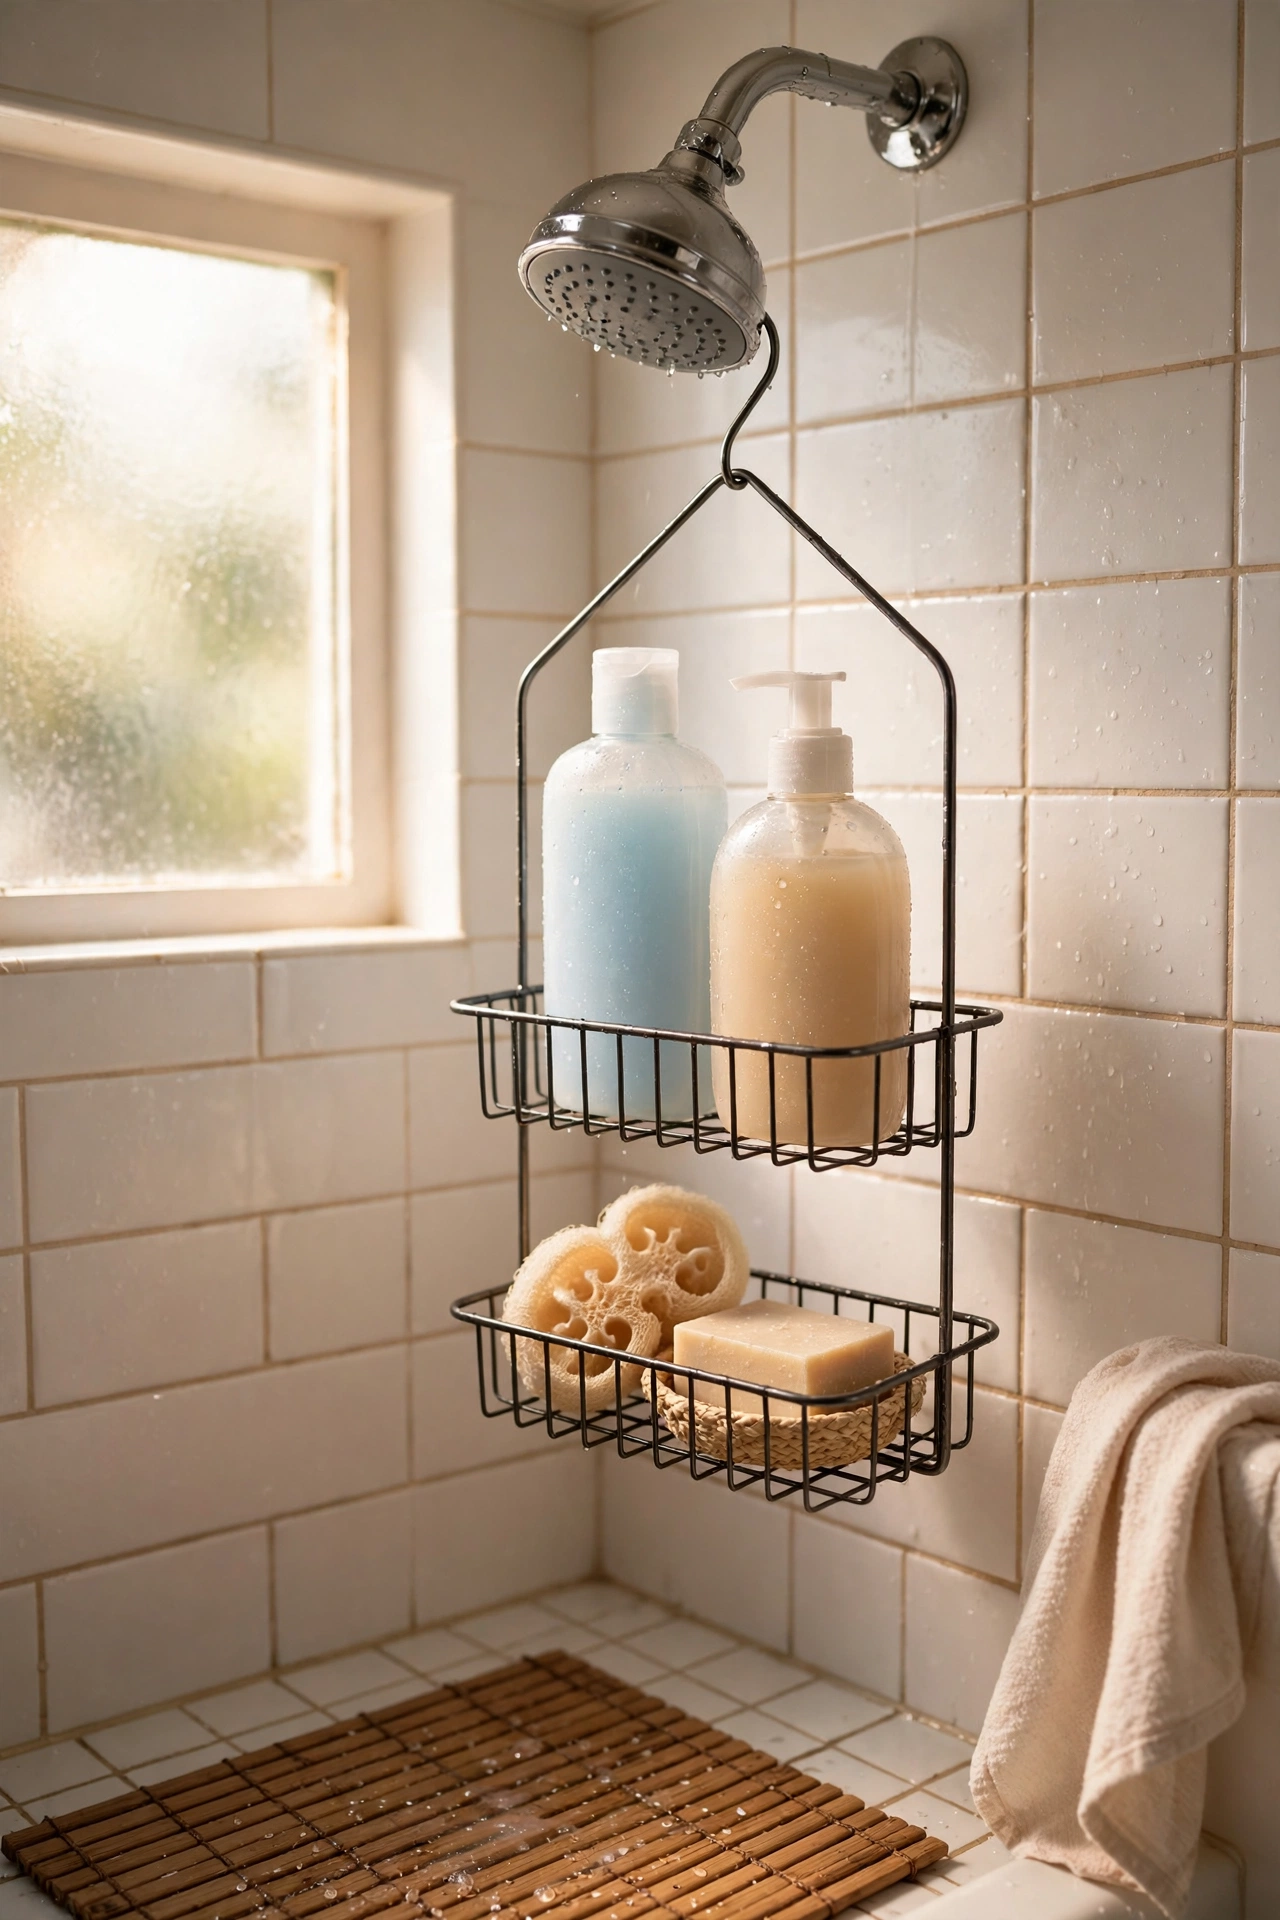
An over-the-showerhead caddy keeps shampoo and soap off the tub edge, where bottles always topple into the bath. Hang a rust-proof caddy with deep baskets over the showerhead or the bath tap, and sort bottles by person or by use. Choose one with suction cups as well as a hook so it does not swing. Rinse it weekly to stop soap scum building up in the corners. Keep only what you use that week in the caddy, and store backups elsewhere. My shower went from five bottles on the tub edge to a tidy row in one afternoon.
Cost: ~$15 | Time: 10 minutes
💰 Budget win: A stainless-look caddy from a discount store lasts as long as a branded one if you rinse it after steamy showers.
8. Add a Tension Corner Shelf in the Shower
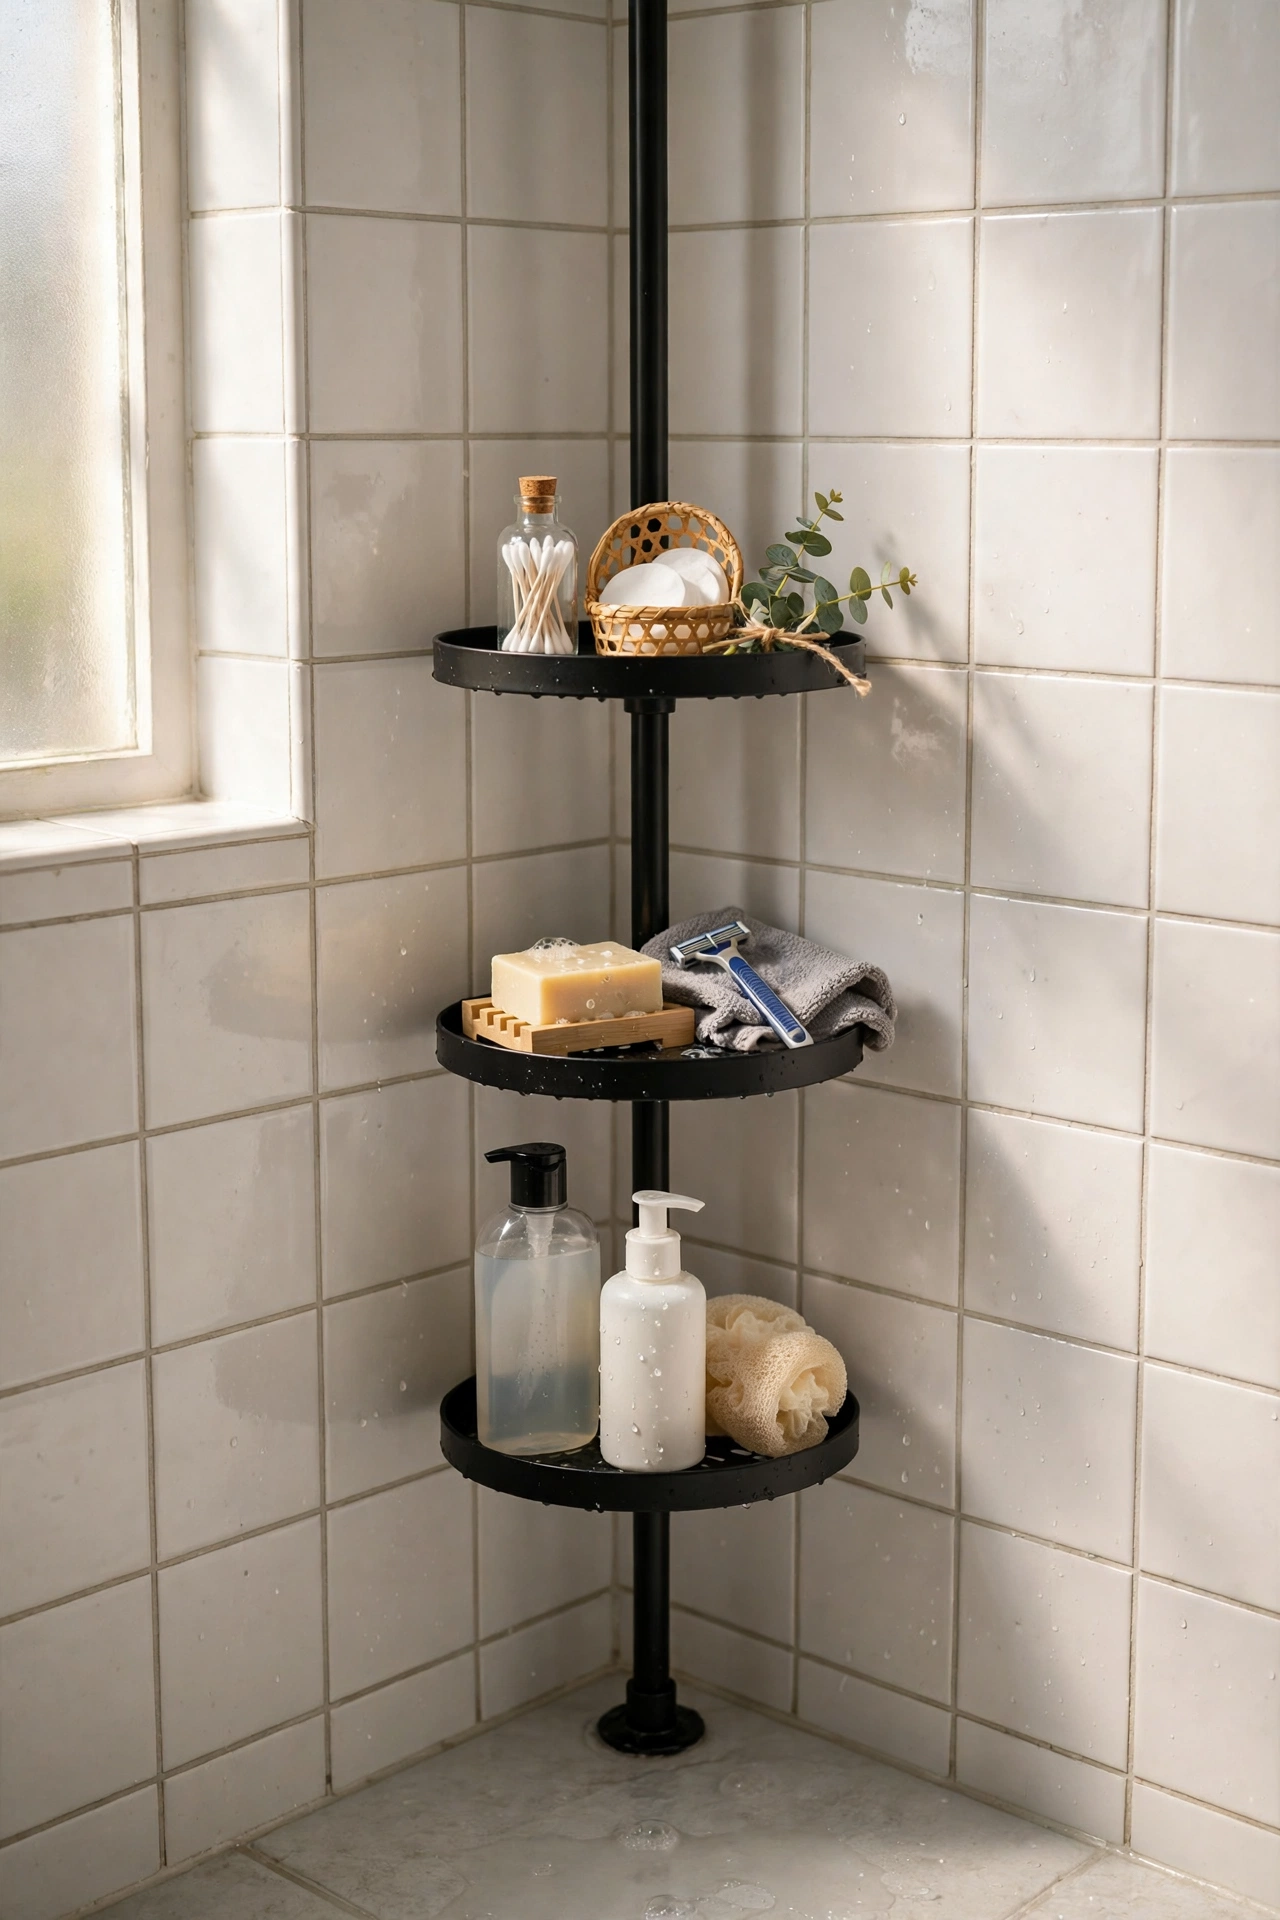
A tension pole shelf wedged into the shower corner uses vertical space that bottles on the floor never could. Twist the pole to fit floor to ceiling, adjust the four shelves to your bottle heights, and load the heaviest items at the bottom for stability. The open shelves drain and dry between showers, which stops mildew. Wipe the pole monthly so soap film does not make it slip. This works in rentals because nothing is drilled. I tried this — the mistake to avoid is overloading the top shelf, because a top-heavy pole leans and eventually slides down the wall.
Cost: ~$20 | Time: 20 minutes
💰 Budget win: One tension pole with four shelves replaces two suction shelves that keep falling off the tiles.
9. Stick Suction Baskets Inside the Tub
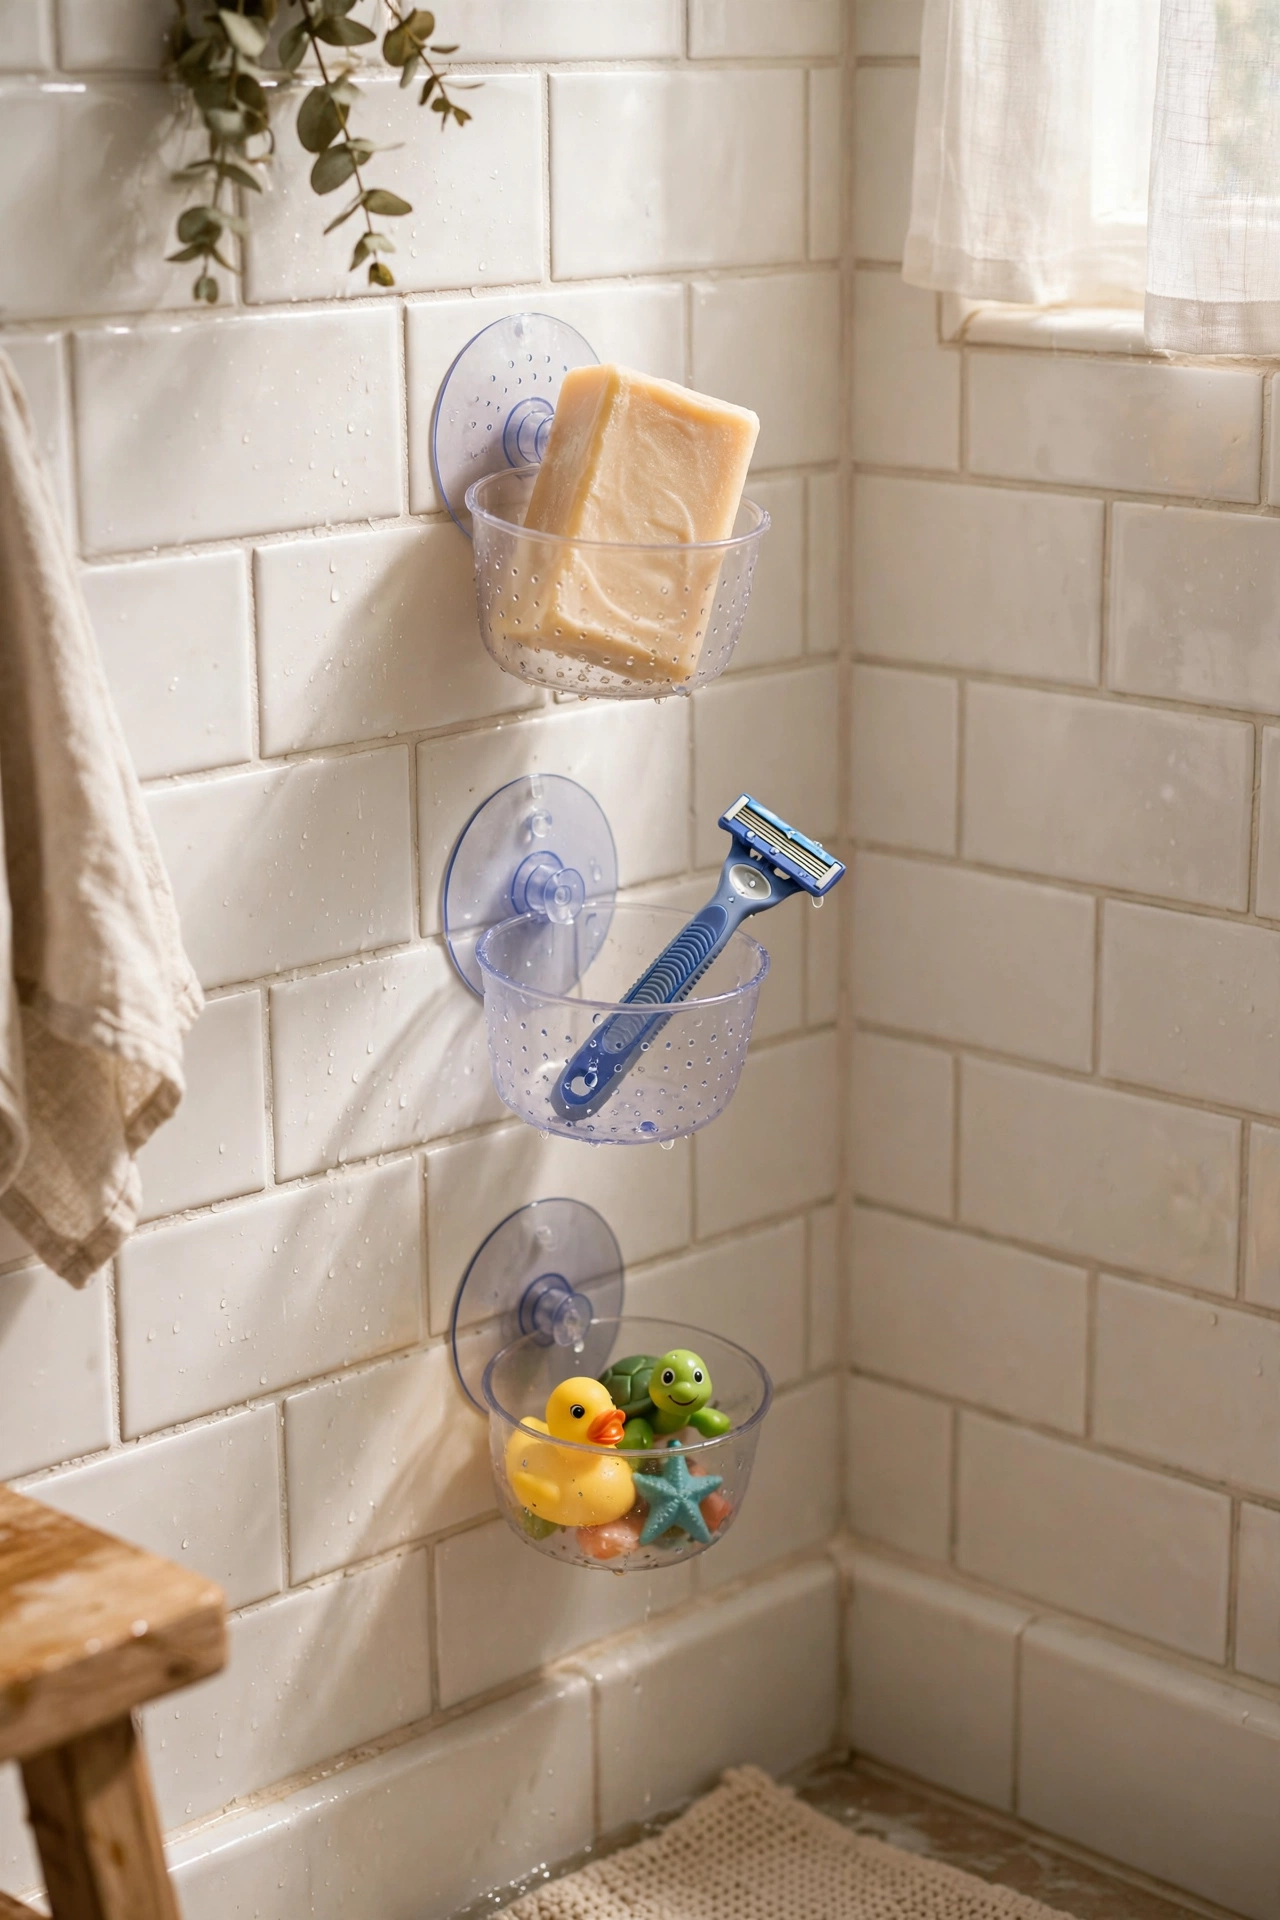
Suction baskets stick to smooth tiles inside the shower and hold kids’ toys, razors, and soap where you actually use them. Press each suction cup firmly onto a clean, dry tile, wait a day before loading it, and keep the weight light. Two small baskets beat one big one, because heavy baskets peel off in steam. Clean the tile behind them monthly or mildew grows unseen. Use them for bath toys especially, because toys in a net bag drip-dry instead of sitting in a puddle. For more rental-friendly fixes, my (see also: 15-renter-friendly-bathroom-upgrades-youll-love) list has plenty of no-drill ideas.
Cost: ~$10 | Time: 10 minutes
💰 Budget win: Suction baskets from a pound shop grip just as well as branded ones when the tile is properly cleaned first.
10. Hang a Mesh Bag for Bath Toys
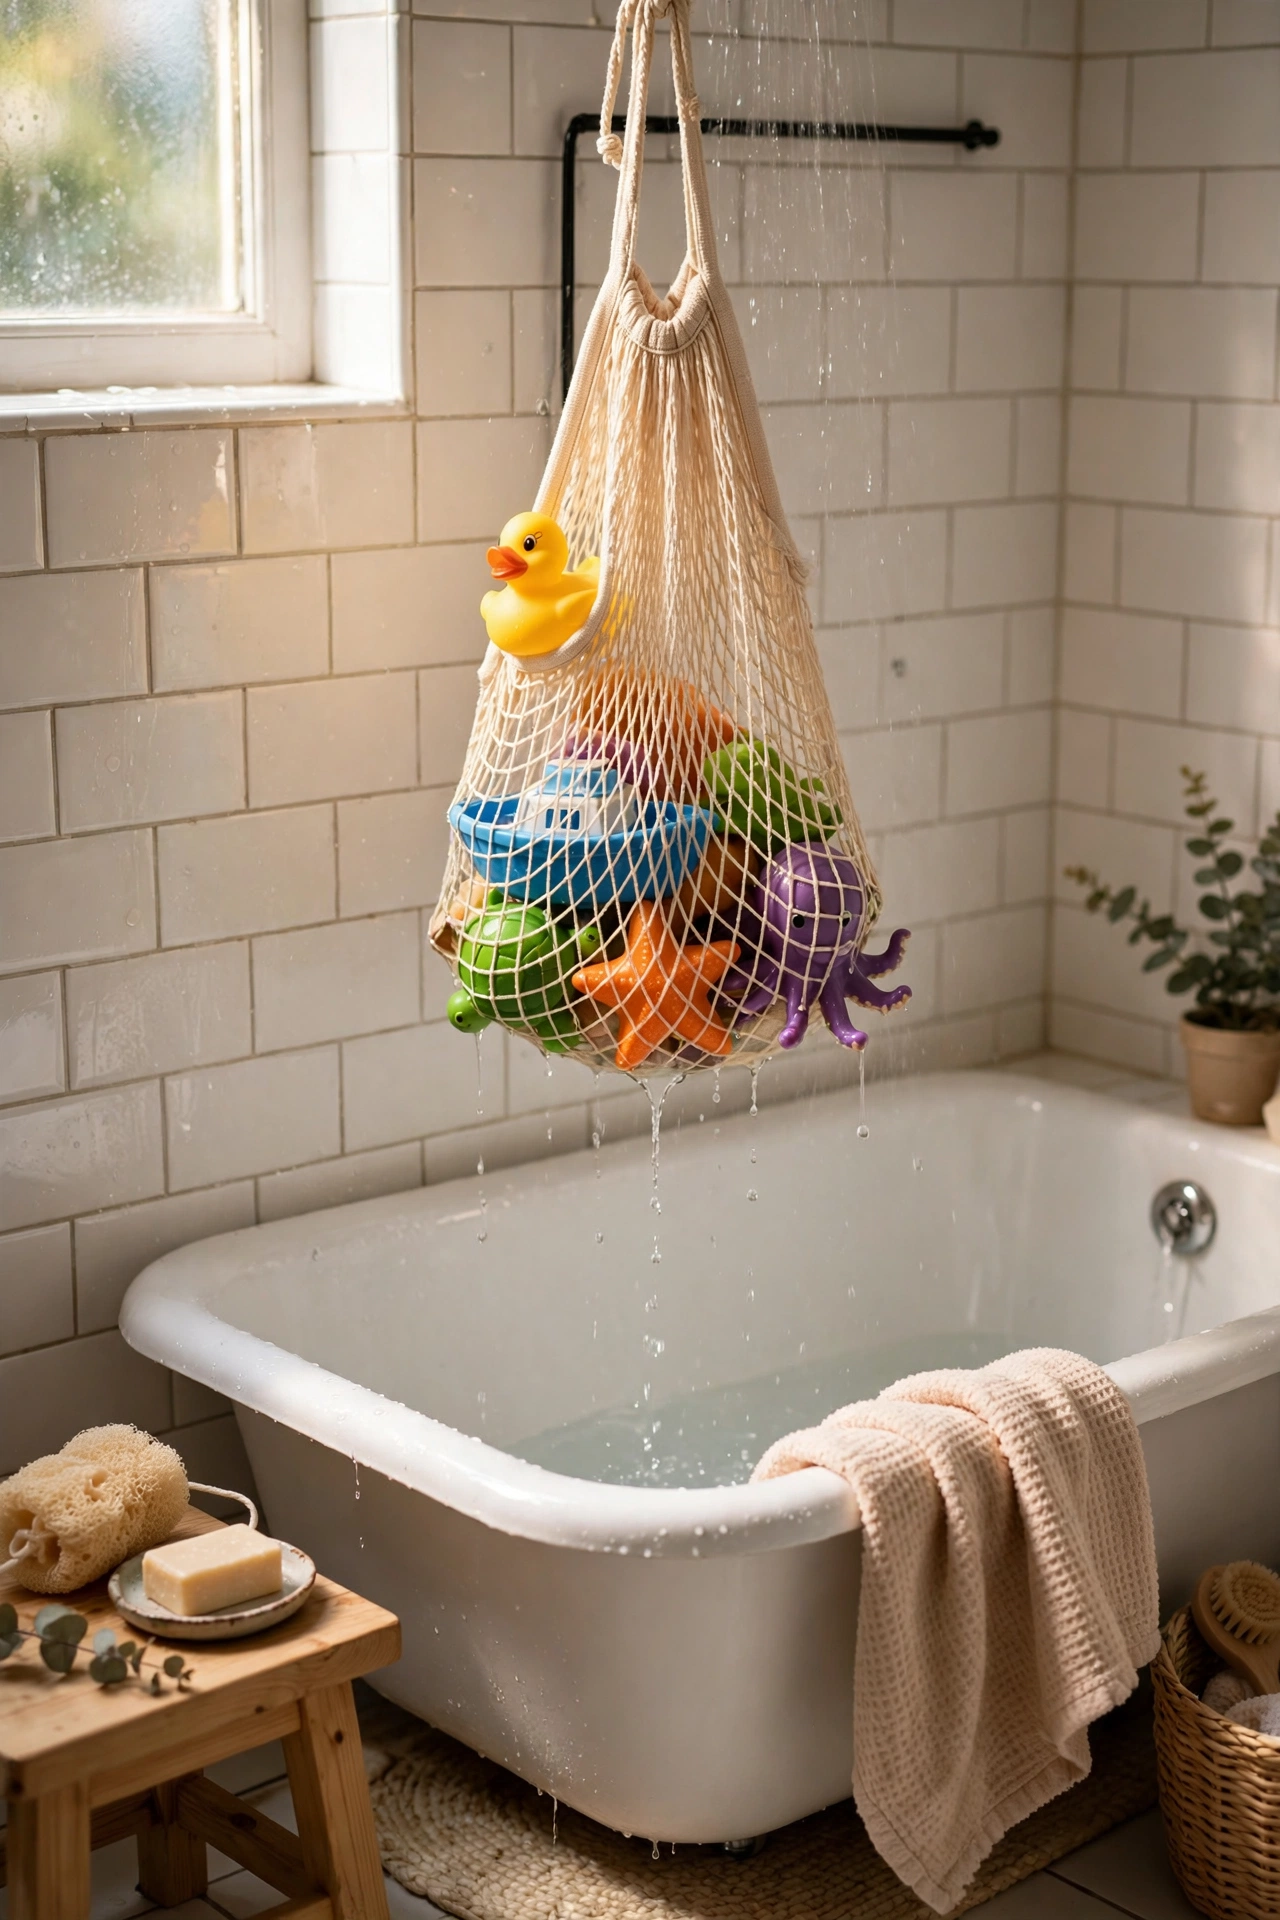
Bath toys scattered around the tub look messy and grow slimy fast, but a mesh bag hung from a suction hook solves both problems. Toss toys into the bag after each bath, hang it on the shower wall, and let water drip straight into the tub. The mesh dries quickly and the toys stay visible, so kids actually play with them again. Wash the bag in the machine monthly. Hang it low enough for little hands to reach. Our bath toy chaos went from a tub full of ducks to one neat bag in a single evening, and bath time got easier too.
Cost: ~$6 | Time: 5 minutes
💰 Budget win: A mesh laundry bag with a suction hook costs under five dollars and replaces a pricey toy organizer.
11. Store Razors in a Suction Cup Holder
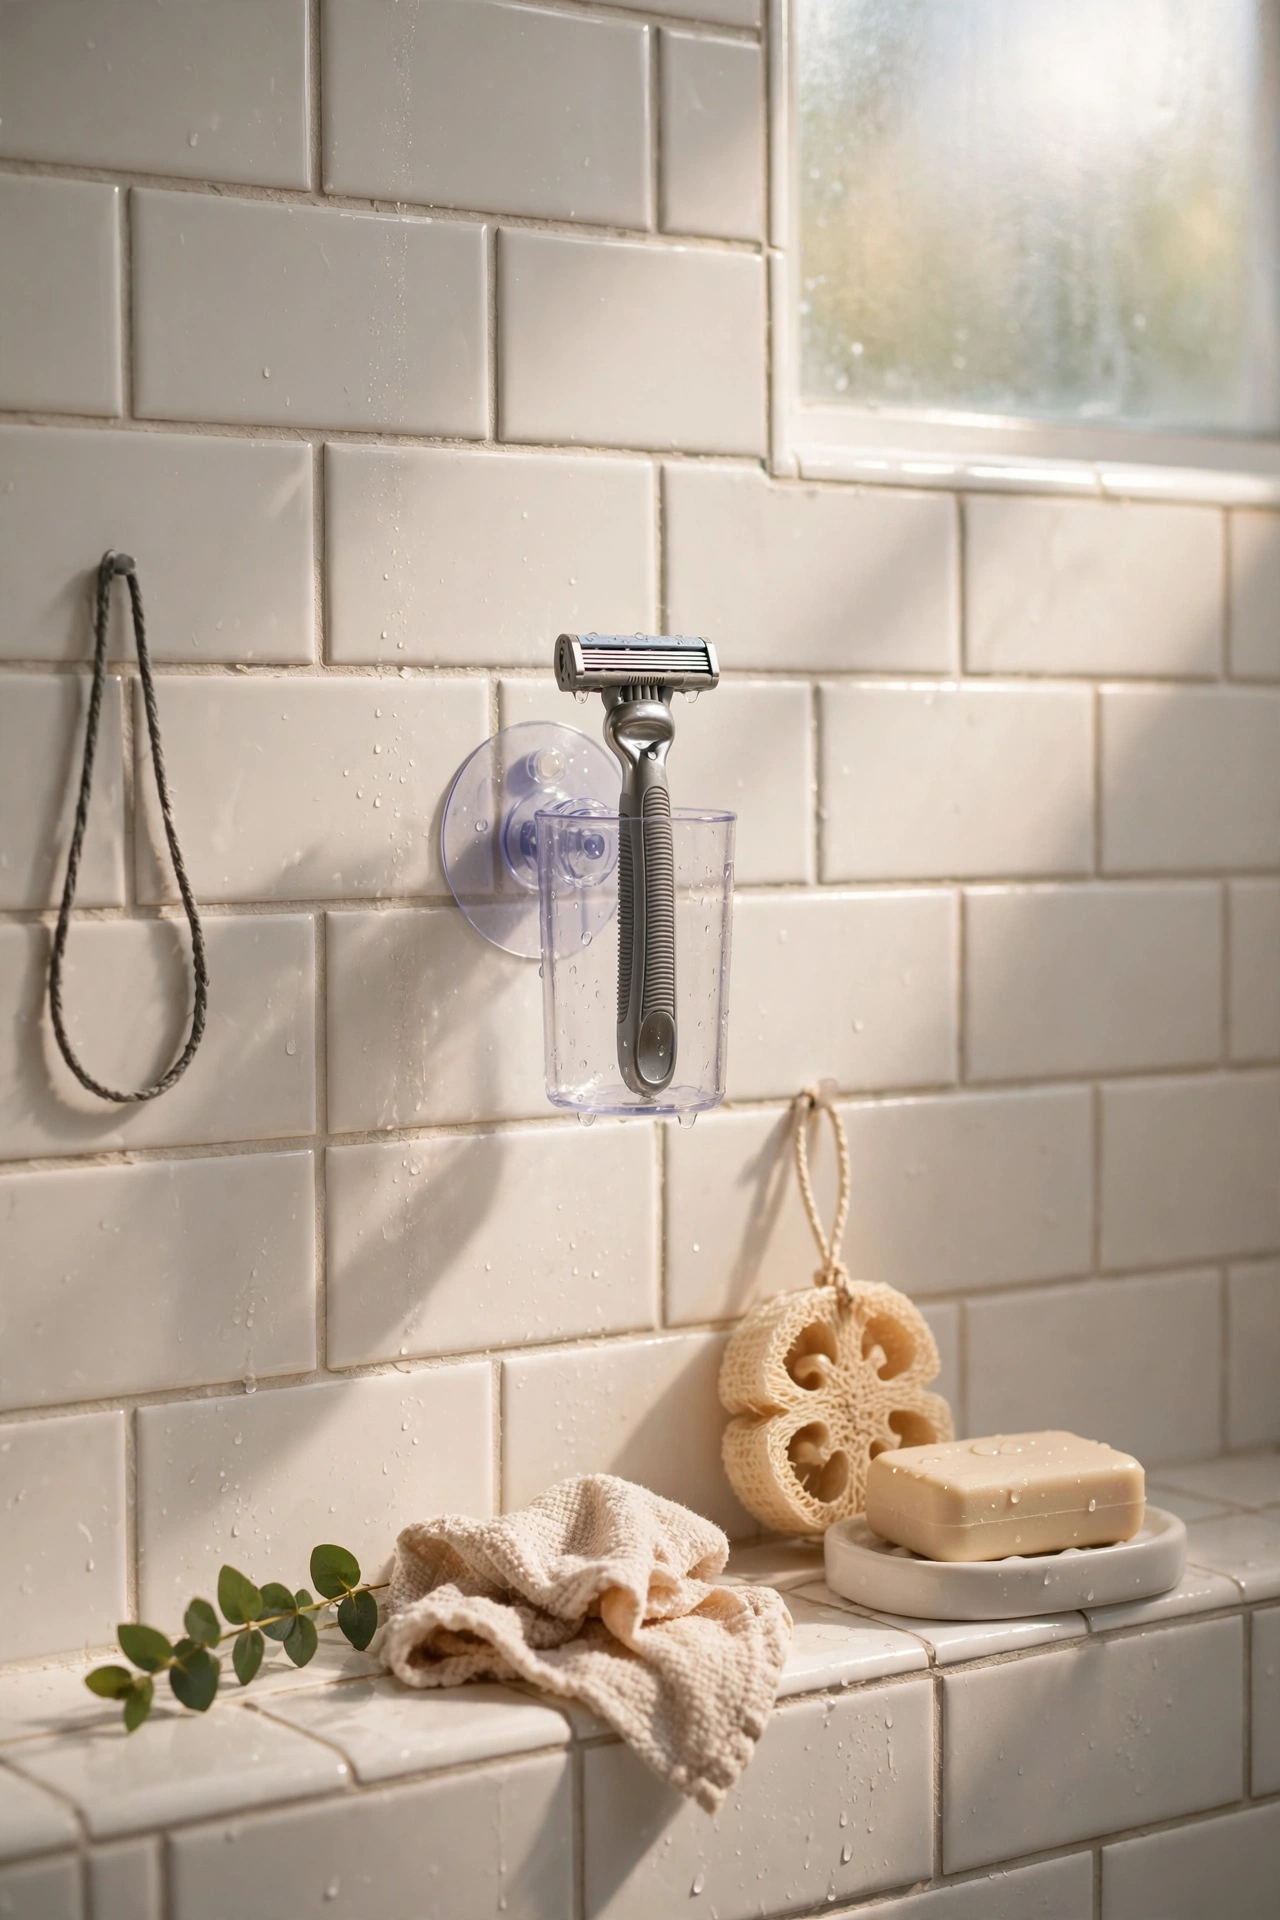
Razors left on the tub edge rust, dull, and cut curious fingers, but a small suction holder keeps them safe and dry. Stick the holder to the shower wall above splash height, slot the razor in handle-down so water drains away, and let it air-dry between uses. A dry razor lasts weeks longer than one sitting in a puddle. Keep one holder per person if the household shares a shower. Rinse the holder weekly. This tiny fix costs almost nothing, yet it is the one my husband mentions most, because his razors finally last past a fortnight.
Cost: ~$5 | Time: 5 minutes
💰 Budget win: A single suction razor holder saves money on blades alone, since dry blades stay sharp far longer.
12. Add a Bath Tray with Storage Pockets
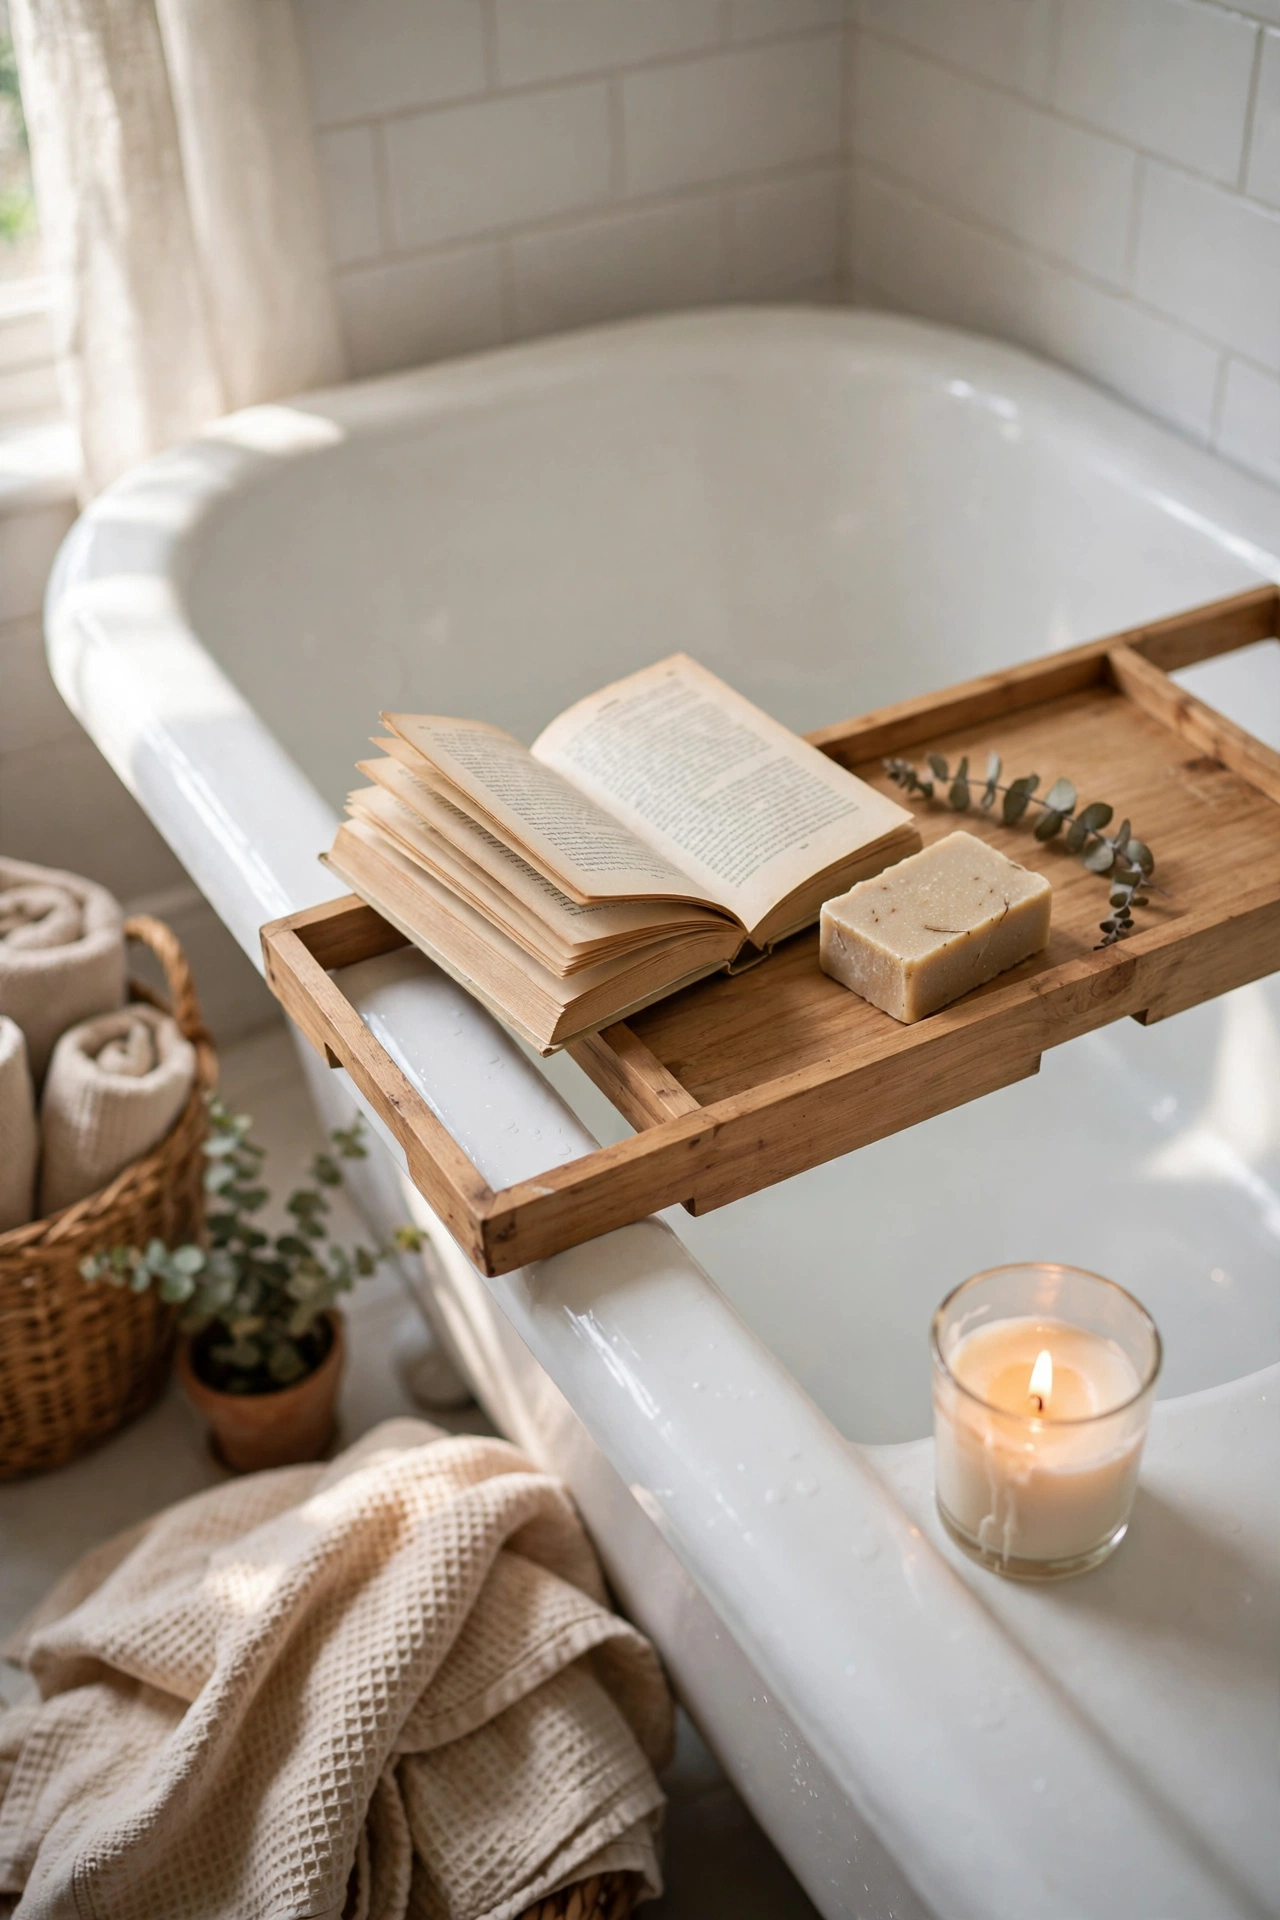
A bath tray with side pockets or a small shelf keeps your book, soap, and phone off the wet tub edge. Choose a tray that spans the tub width and has a raised lip so bottles do not slide off. Load it only before the bath, and clear it straight after, or the tray becomes another clutter surface. Wipe it dry after use so wood trays do not warp. The tray doubles as a reading ledge, which makes long baths genuinely relaxing instead of a balancing act. I tried this — the mistake to avoid is a tray wider than your tub, because it wobbles dangerously mid-bath.
Cost: ~$19 | Time: 5 minutes
💰 Budget win: A bamboo tray with a book ledge costs half a fancy spa tray and does the same job better.
Now the sink and vanity — the zone where mornings either work or fall apart.
13. Decant into Matching Pump Bottles
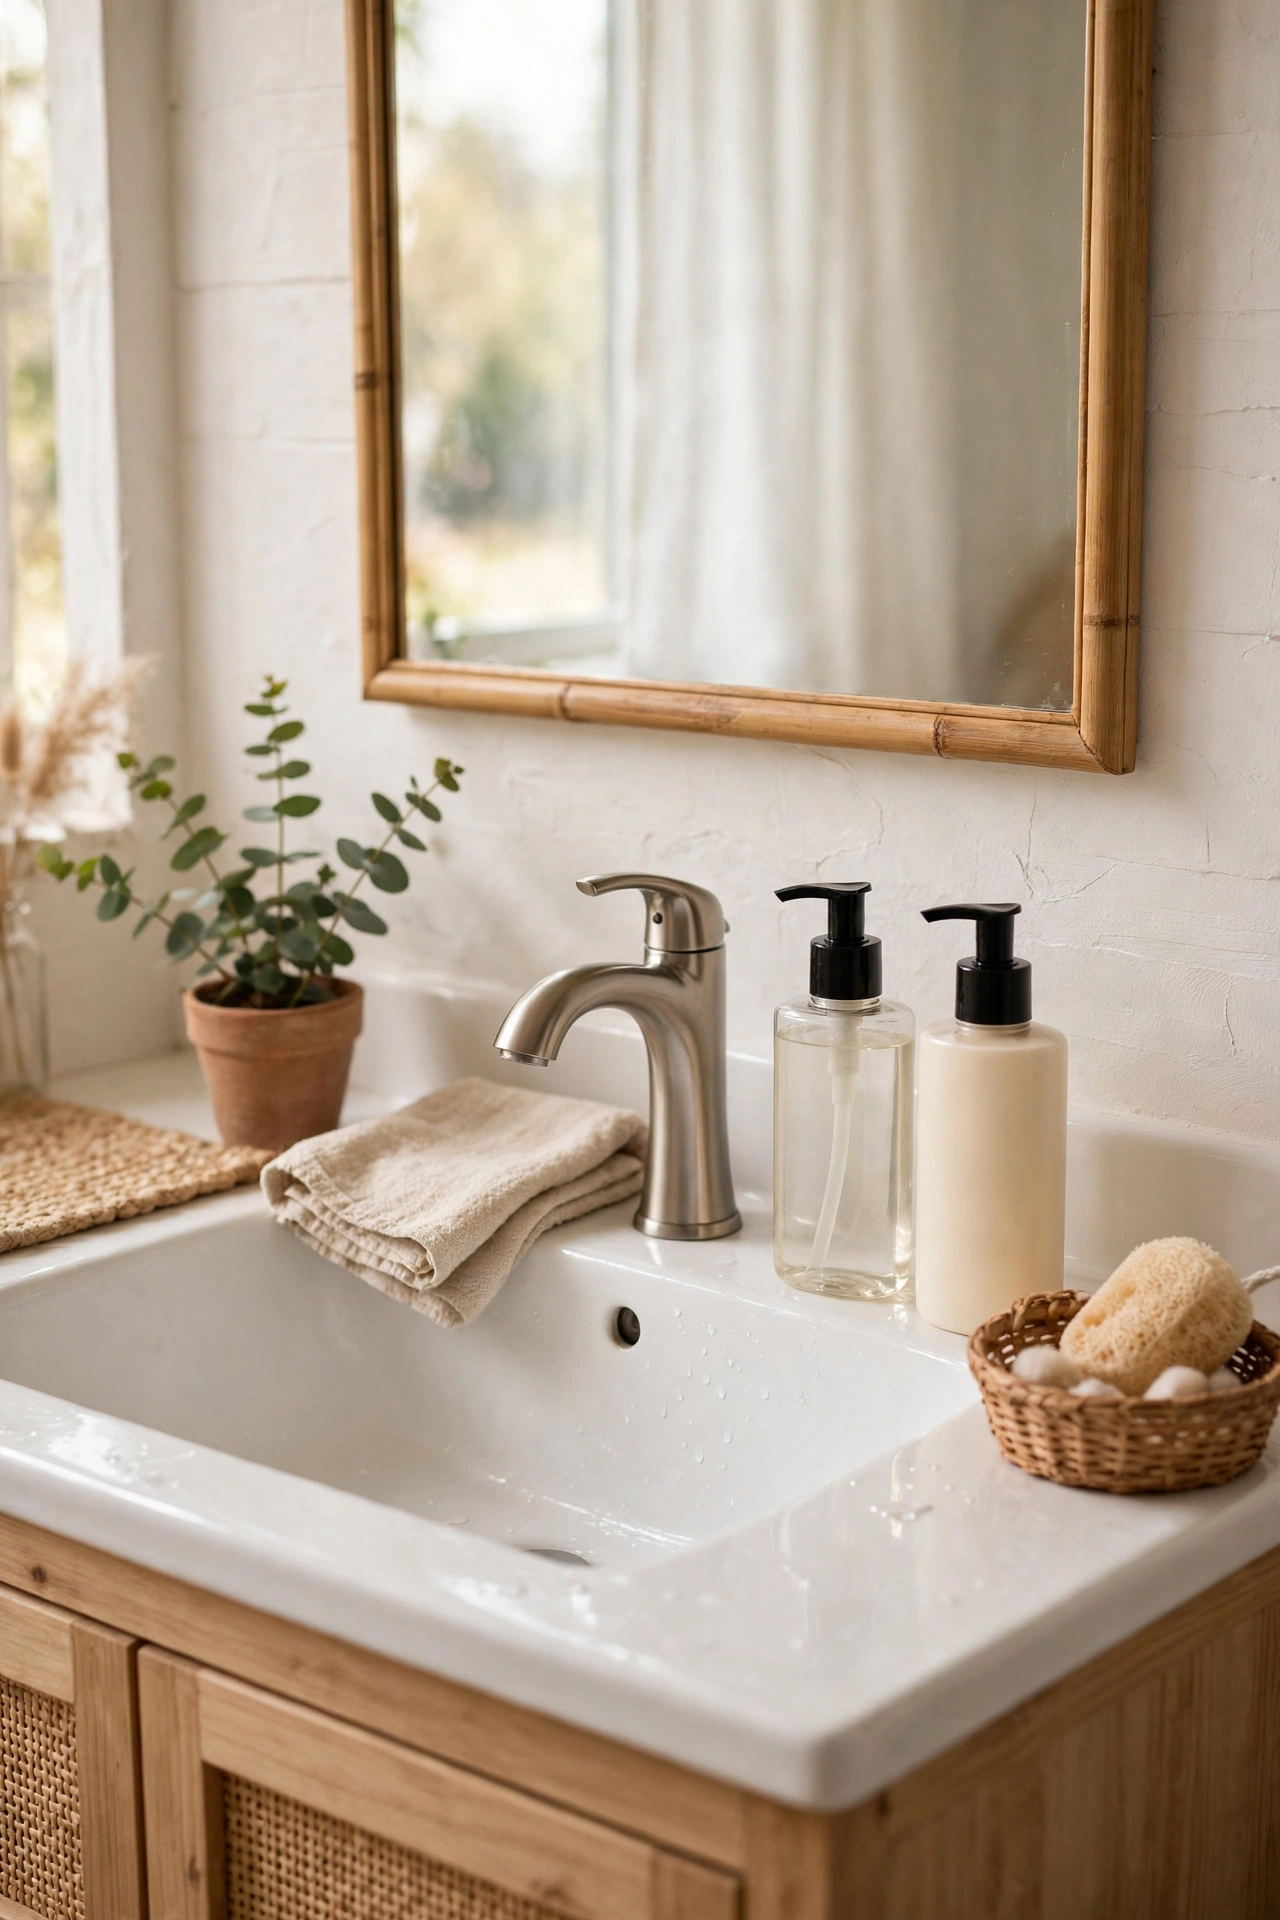
Matching pump bottles on the sink look tidy and free a surprising amount of space, because uniform bottles stack and line up neatly. Decant shampoo, soap, and lotion into slim pumps that fit the vanity edge, and store the bulky original bottles under the sink. Label the backs so nobody washes their hair with body lotion. Refill from economy bottles, which cost less per wash anyway. The sink instantly looks calmer, and cleaning around slim bottles takes seconds instead of shifting a crowd of odd shapes. Keep one spare pump handy, because pumps always break at the worst moment.
Cost: ~$14 | Time: 20 minutes
💰 Budget win: Slim pump bottles plus economy refills undercut pretty branded bottles within a couple of months.
14. Add a Tiered Tray on the Vanity
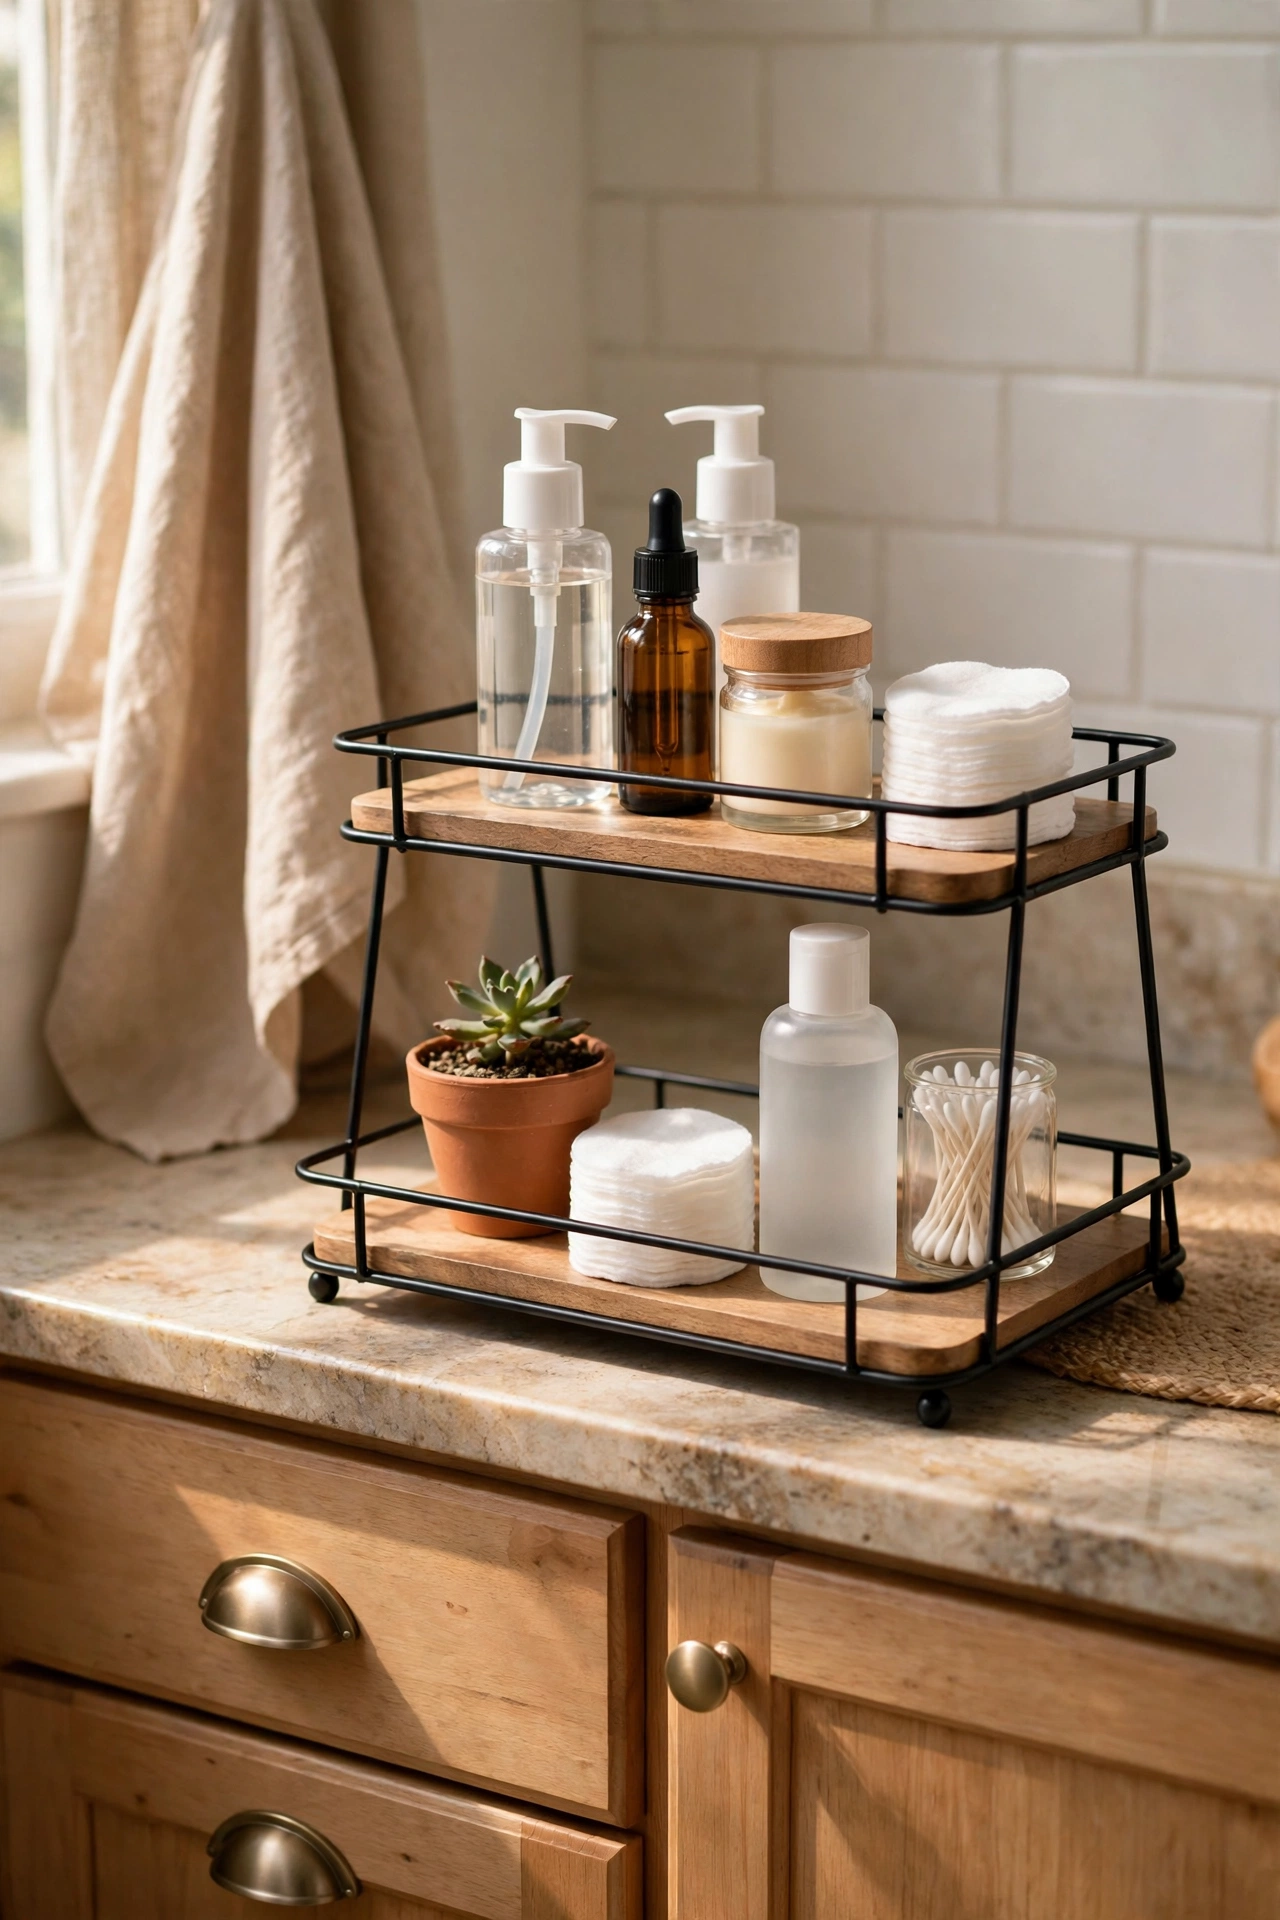
A two-tier tray on the vanity holds daily items upright without spreading them across the whole counter. Place perfumes and skincare on the top tier, and cotton pads and hair ties below, keeping the tray near the mirror but clear of the tap splash zone. The tiers use vertical space, so the counter still looks mostly empty. Choose a tray with a lip so small bottles do not slide off when you grab one quickly. Wipe it weekly, because toothpaste splatter finds every surface. In our bathroom this tray ended the daily hunt for bobby pins and lip balm in one move.
Cost: ~$13 | Time: 10 minutes
💰 Budget win: A kitchen tiered tray works perfectly in a bathroom and often costs less than a bathroom-labelled one.
15. Mount a Toothbrush Holder on the Wall
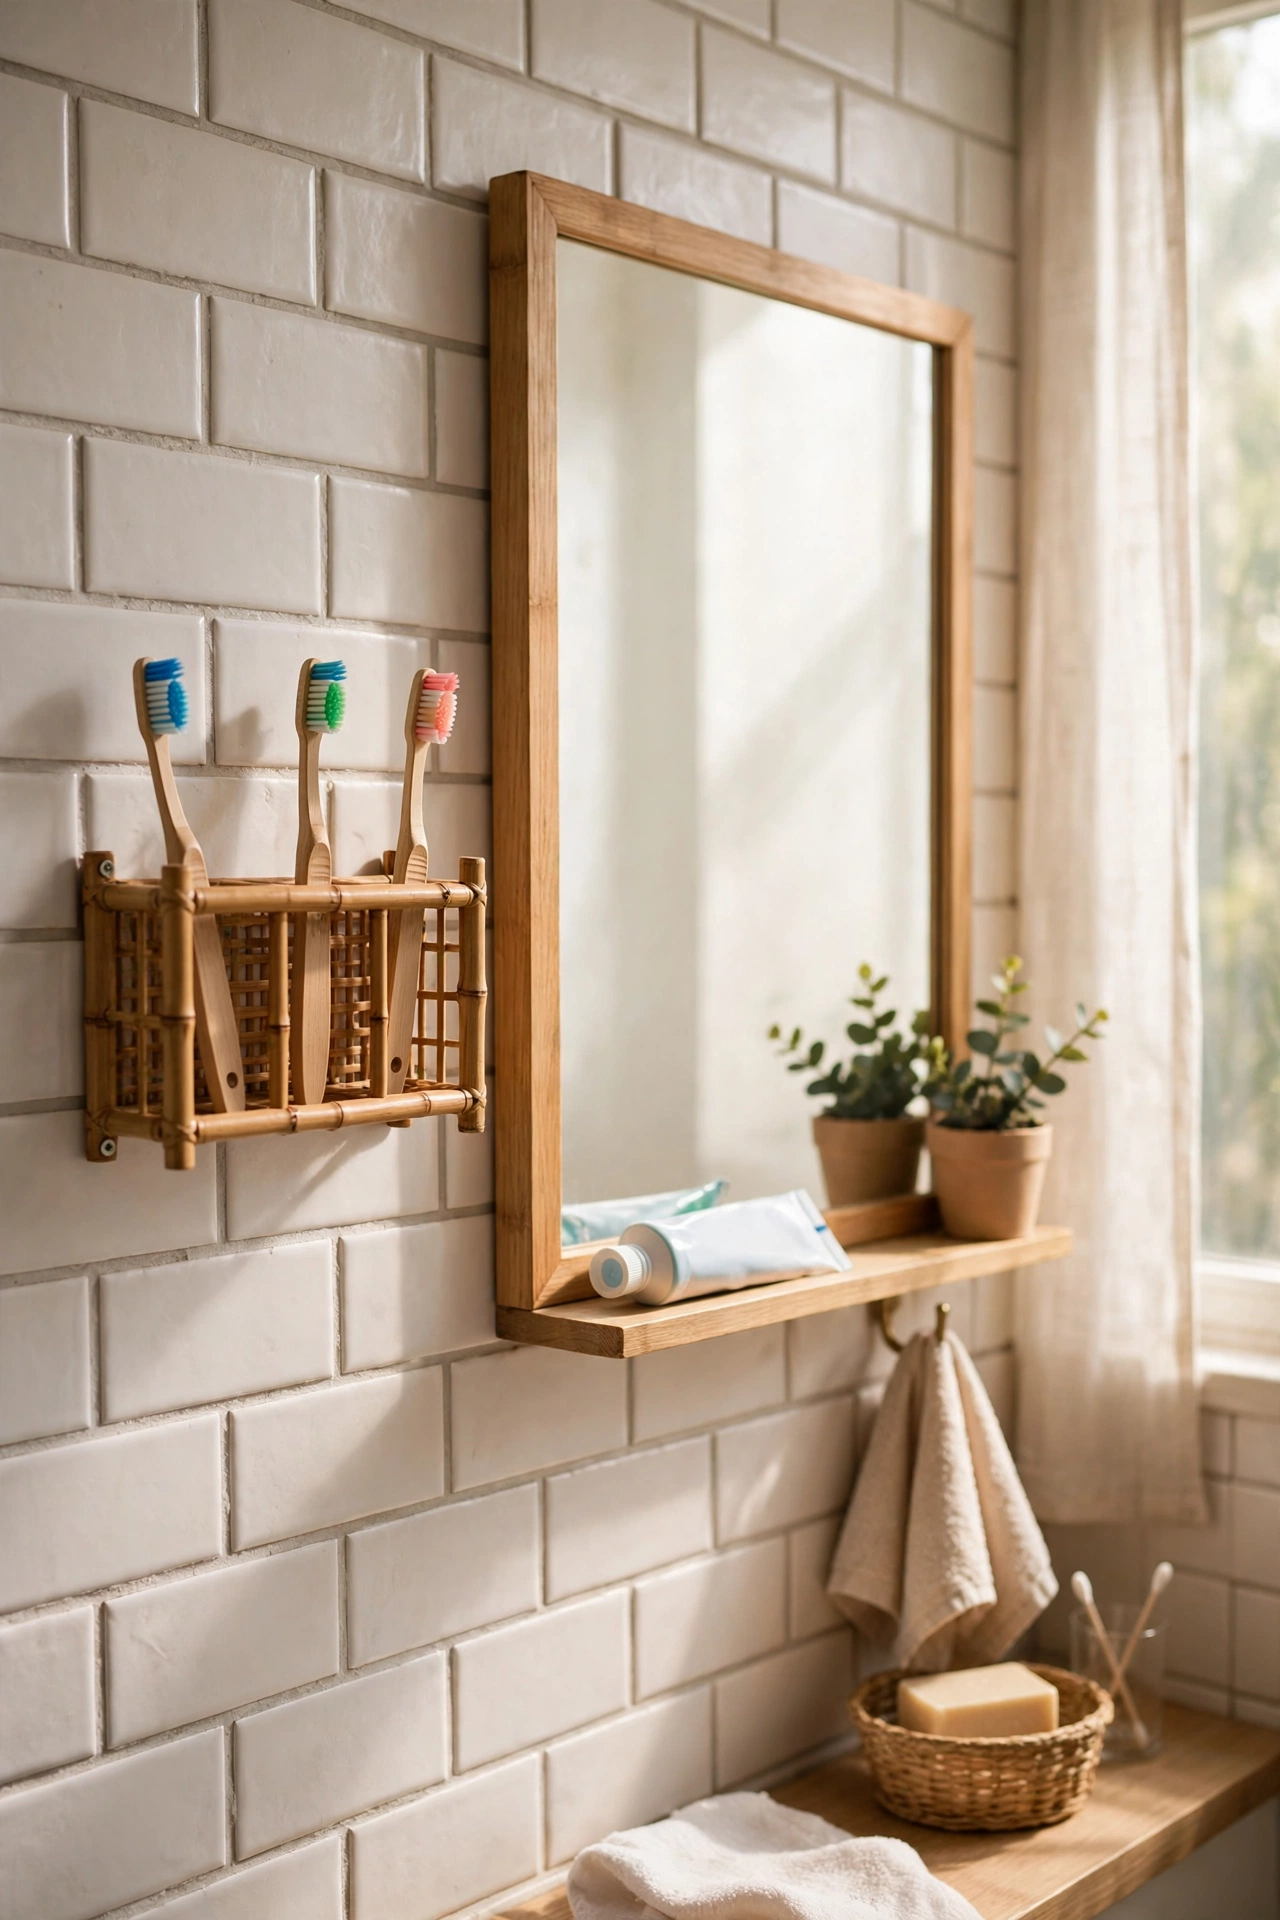
A wall-mounted toothbrush holder frees the whole patch of counter that a cup used to occupy. Stick or screw a small holder near the mirror, with separate slots per person and a small cup for toothpaste. Wall holders drain better than cups, so brushes dry faster and stay cleaner. Keep the holder within easy reach of kids, or they will simply leave brushes on the counter anyway. Clean the holder weekly, because toothpaste builds up fast. Pin this idea before your next pound-shop run — it is the smallest change here and one of the most satisfying.
Cost: ~$8 | Time: 10 minutes
💰 Budget win: An adhesive toothbrush holder costs a few dollars and needs no drilling, perfect for rented bathrooms.
16. Use Drawer Dividers in the Vanity
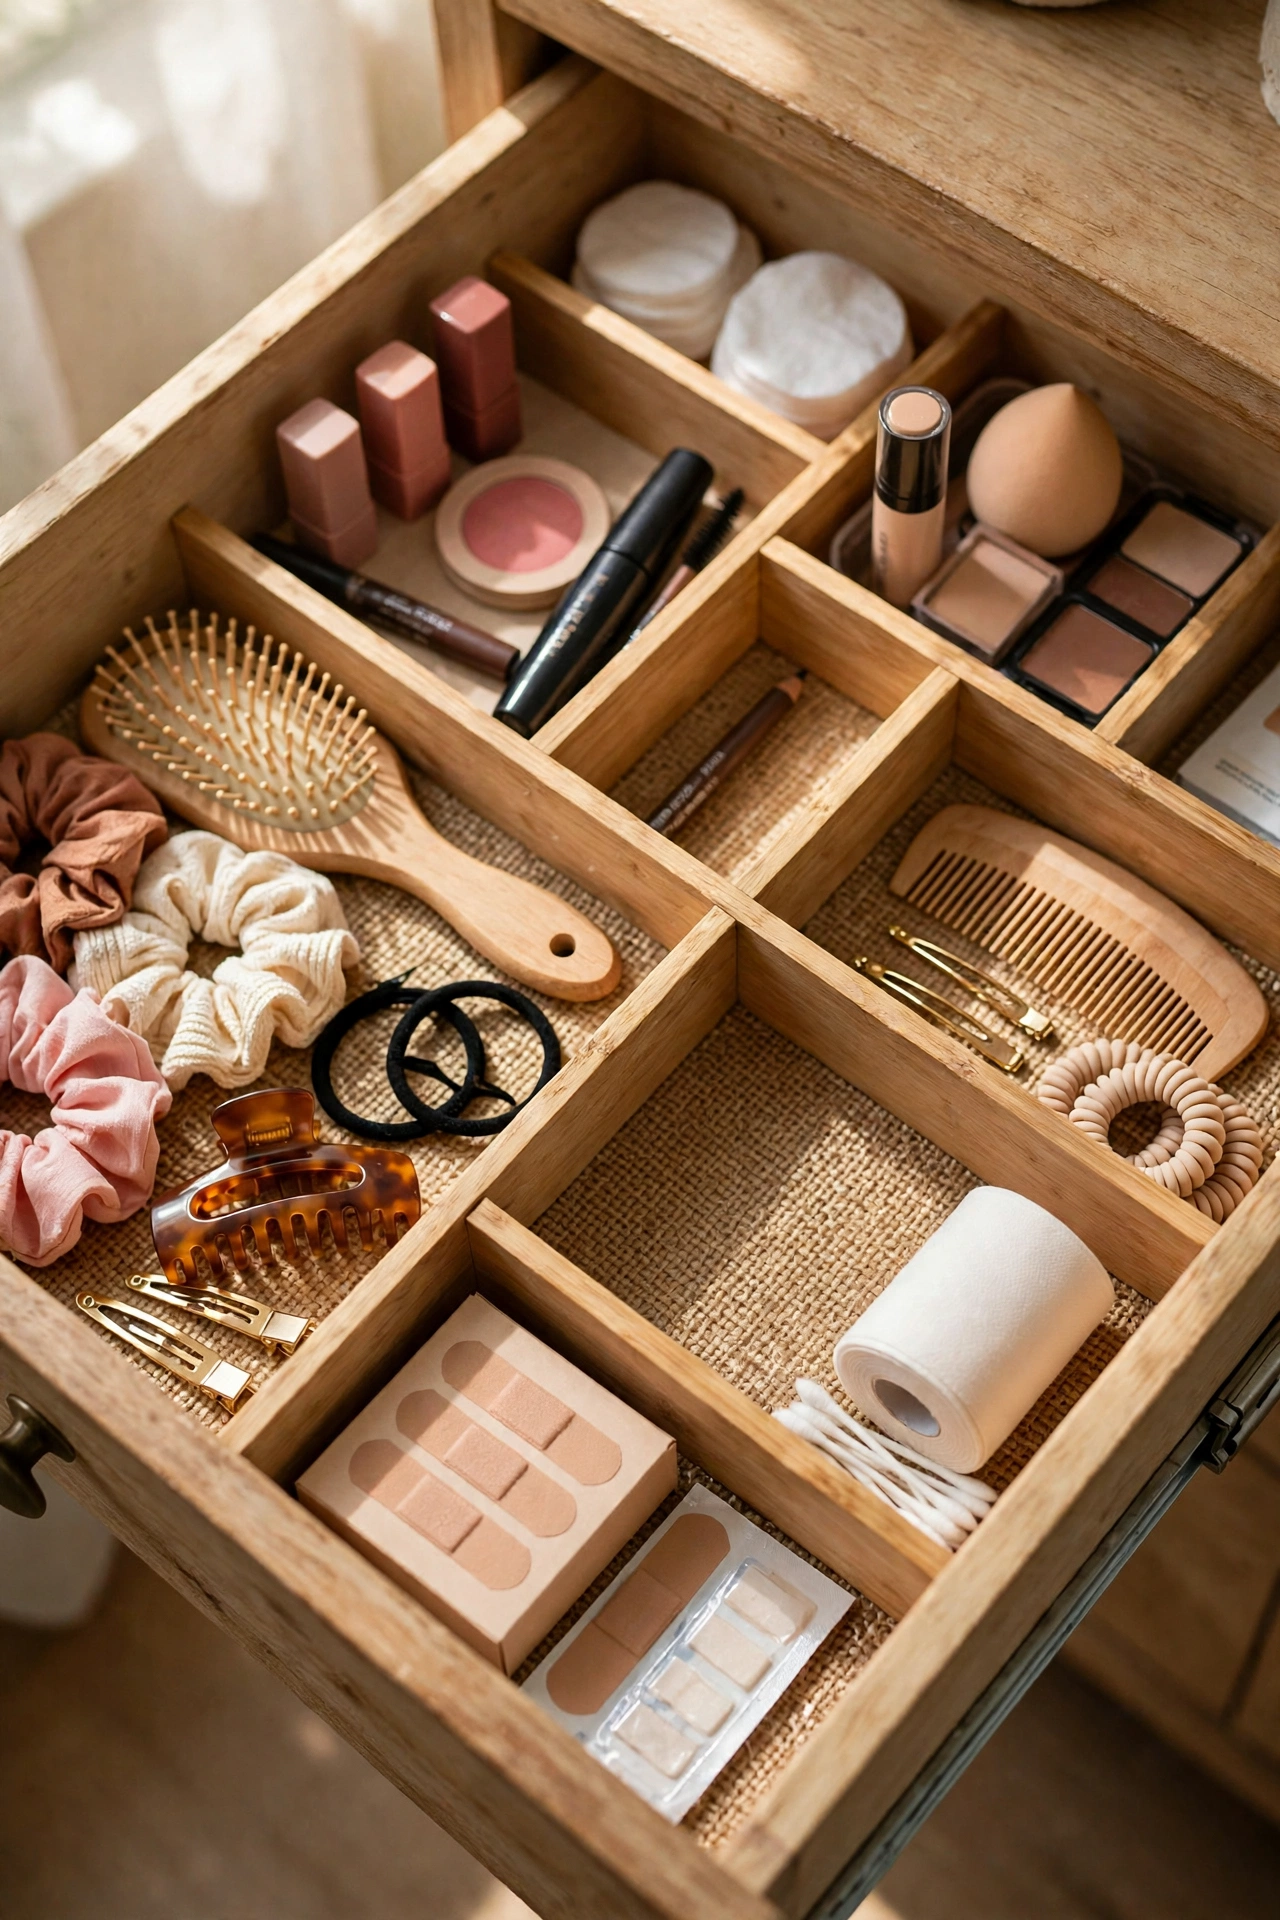
A vanity drawer without dividers becomes a junk drawer within a week, but simple dividers keep every item in its own lane. Measure the drawer, cut adjustable dividers or small boxes to fit, and assign zones: makeup, hair tools, first aid, and spares. The dividers stop items sliding when the drawer opens. Re-sort monthly, because new purchases creep in quietly. I tried this — the mistake to avoid is buying dividers before measuring, because a divider half a centimetre too long simply will not fit and ends up in the drawer anyway.
Cost: ~$11 | Time: 20 minutes
💰 Budget win: Small cardboard boxes wrapped in contact paper work as dividers for free and can be replaced anytime.
17. Hang a Small Basket for Hair Tools
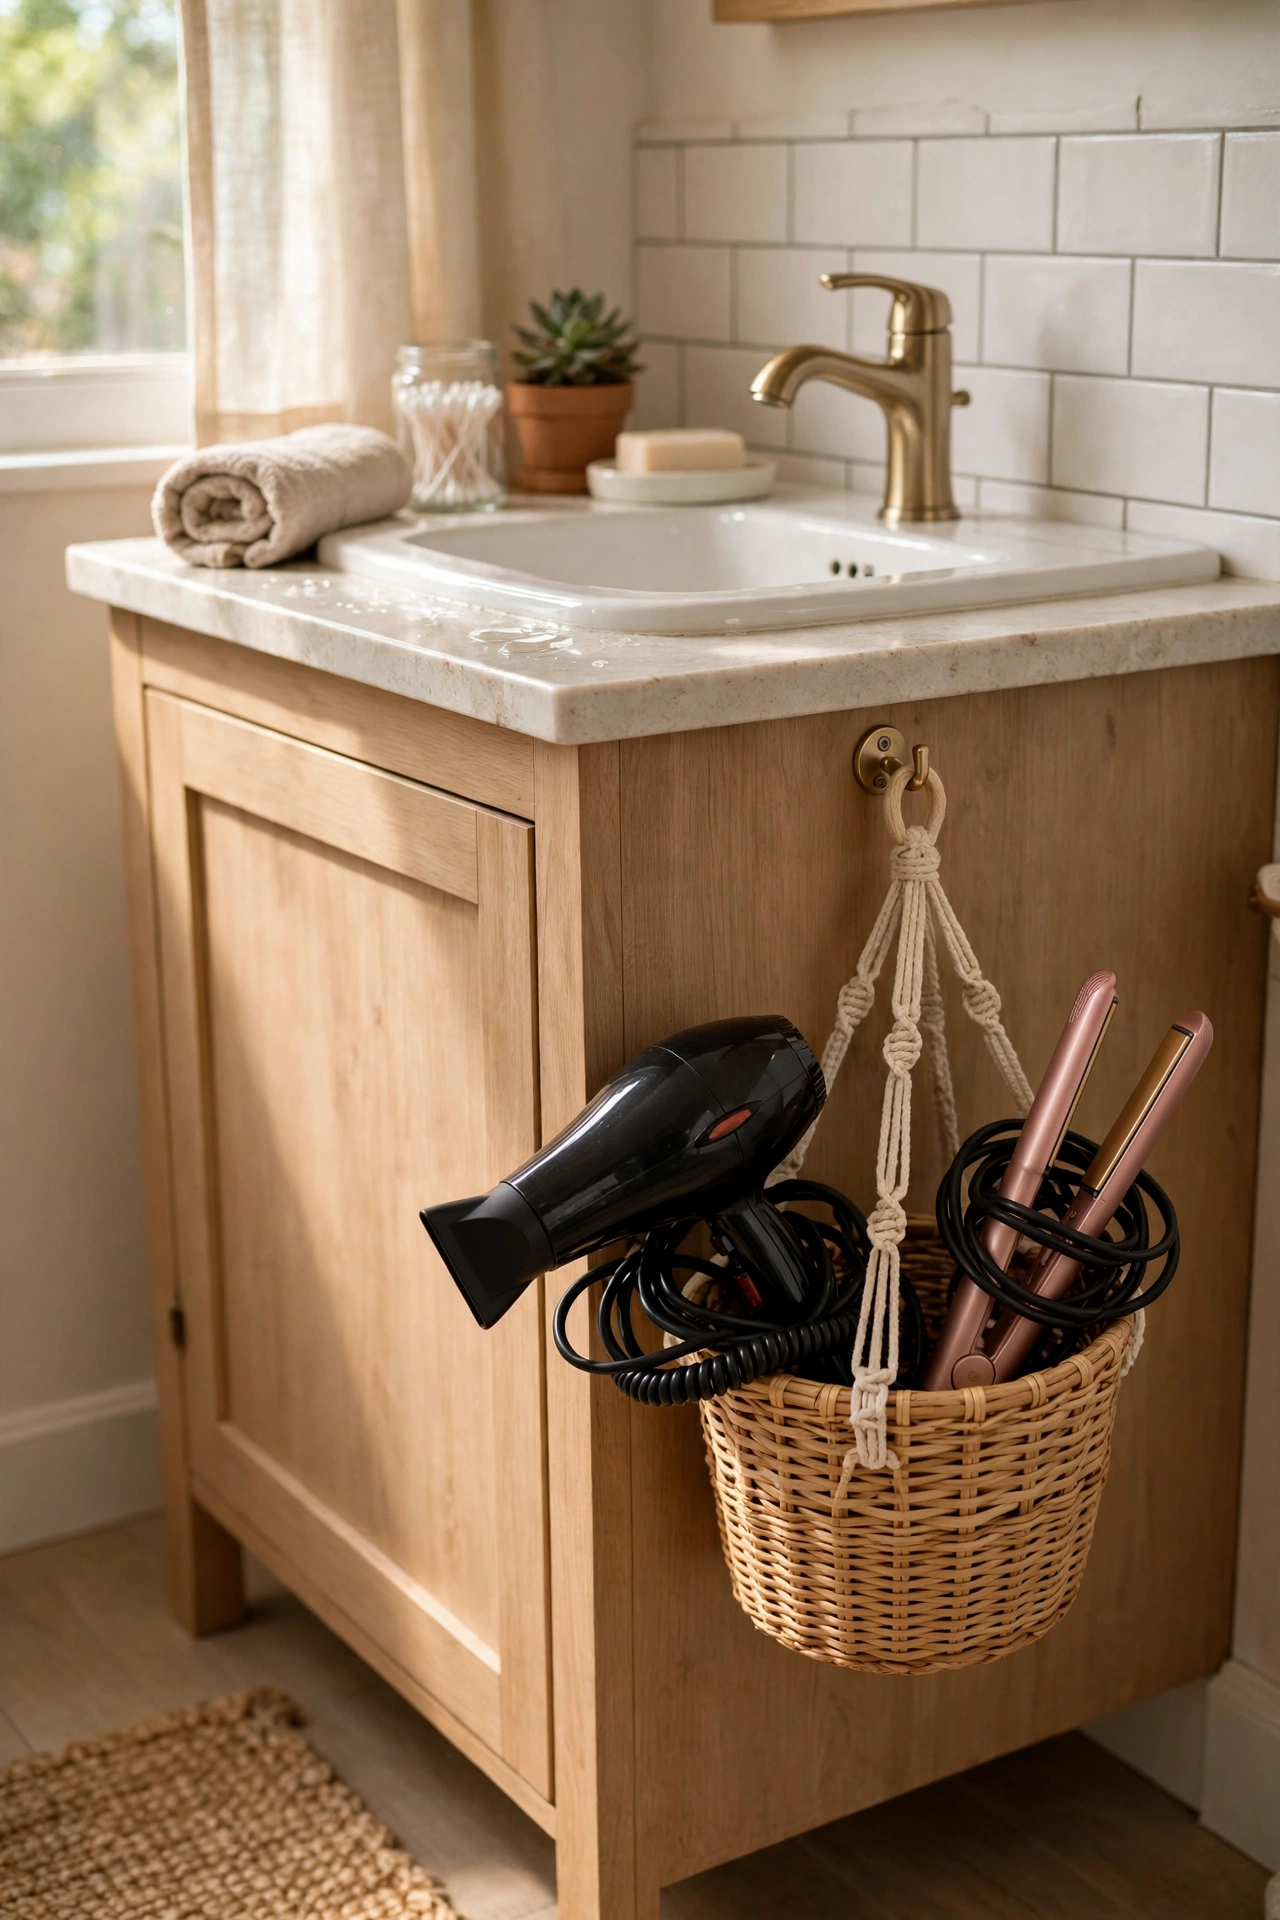
Hair dryers and straighteners need a home that handles heat, and a hanging basket on the vanity side does exactly that. Hang a heat-safe basket or a fabric holder on the inside of a cabinet door or on the vanity side, coil cords loosely, and slot tools in handle-first. The tools cool safely, cords stop tangling, and the counter stays clear. Never store a hot tool straight into a fabric pocket — wait five minutes first. This basket ended years of my straightener living on the bathroom floor, which was neither safe nor tidy.
Cost: ~$10 | Time: 10 minutes
💰 Budget win: A metal file holder from a discount store makes a perfect heat-safe hair tool basket for a few dollars.
18. Add a Rolling Cart Beside the Vanity
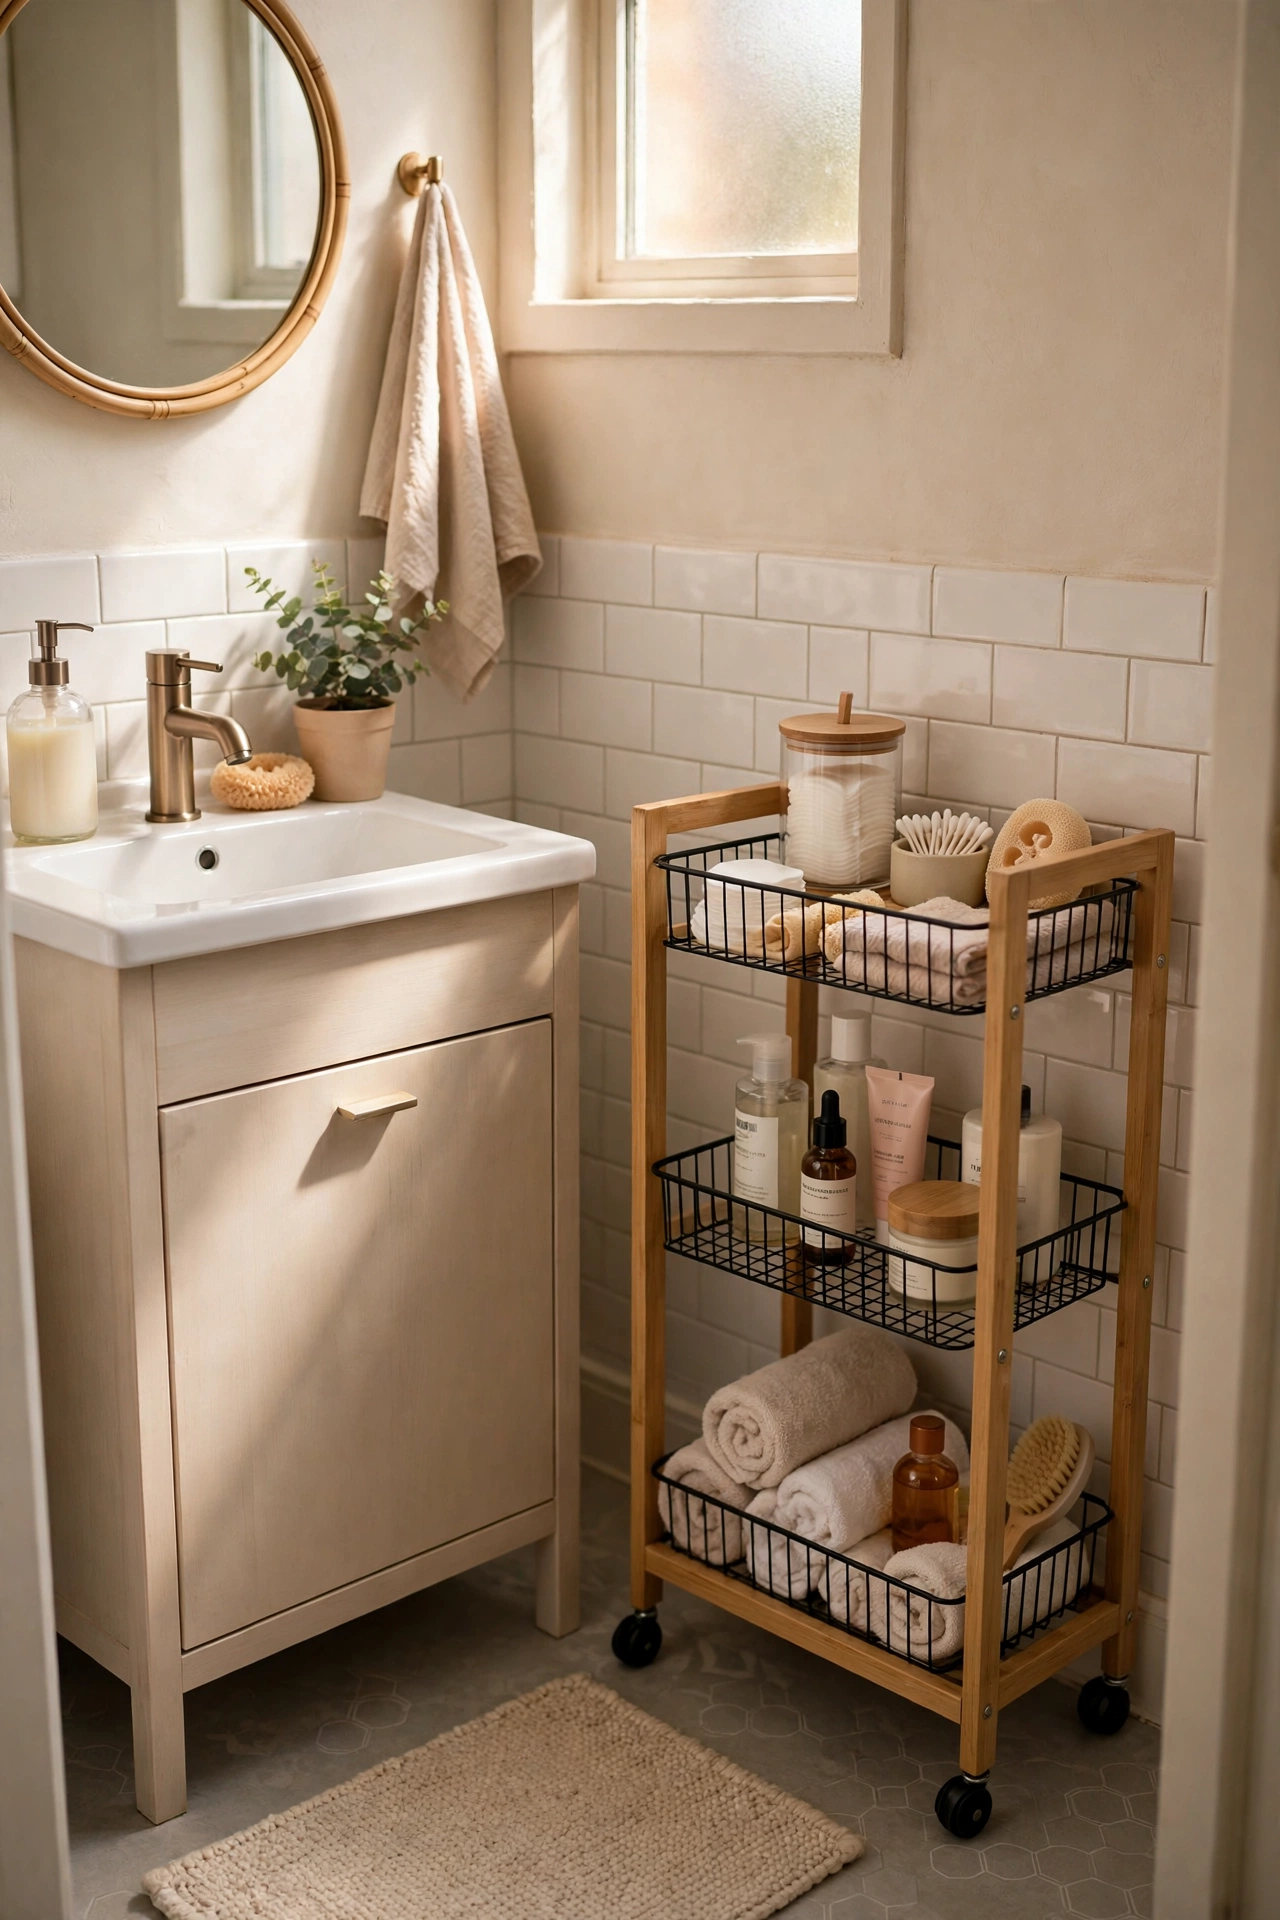
A slim rolling cart slides into the gap beside the vanity or toilet and holds everything a tiny bathroom cannot fit elsewhere. Choose a cart narrower than the gap, with three or four tiers, and load heavy items at the bottom so it rolls smoothly. The cart pulls out when you need it and hides when you do not. Label tiers loosely: daily, weekly, and spares. Wipe the tiers weekly, because bathroom carts collect dust and hairspray. For more narrow-gap ideas, see my (see also: 21-guest-bathroom-ideas-on-a-budget) post, which covers slim storage for shared bathrooms too.
Cost: ~$25 | Time: 20 minutes
💰 Budget win: A three-tier kitchen cart costs the same as a bathroom one and rolls just as well on tile floors.
Last zone: the toilet area and the little extras that finish the job.
19. Use a Toilet Paper Basket
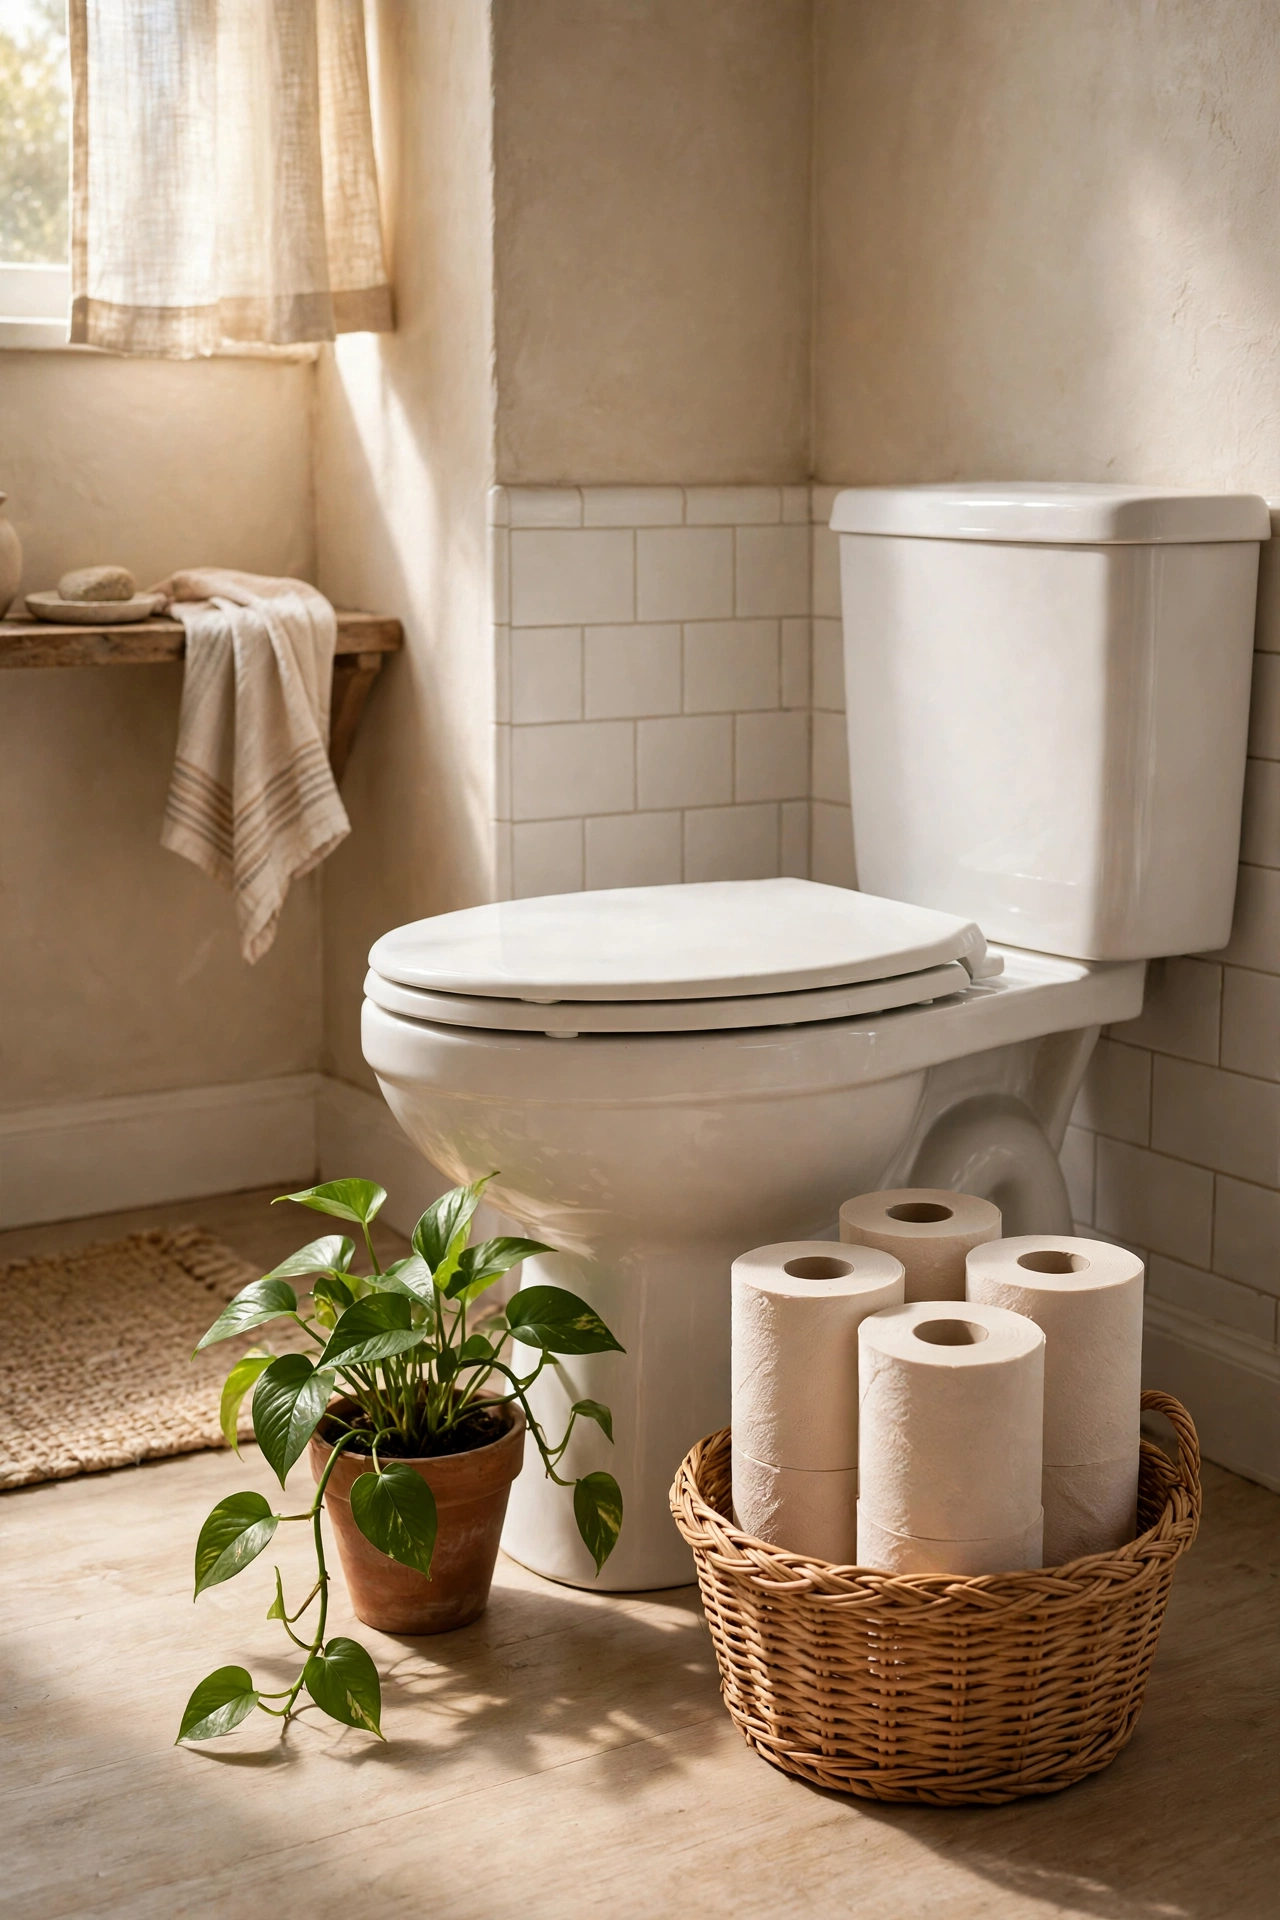
A small basket beside the toilet holds spare rolls neatly and looks far better than a plastic pack on the floor. Choose a basket tall enough for rolls to stand upright, and keep three or four rolls in it at all times. The basket also hides the rolls from splashes near the shower. Refill it during the weekly clean so nobody gets caught out. Match the basket to the bathroom baskets elsewhere for a pulled-together look. This is a tiny change, but guests notice it, because a tidy roll basket signals a bathroom that is actually looked after.
Cost: ~$9 | Time: 5 minutes
💰 Budget win: A basket from a thrift shop plus a wash in hot water costs a couple of dollars and lasts for years.
20. Hang a Toilet Tank Shelf
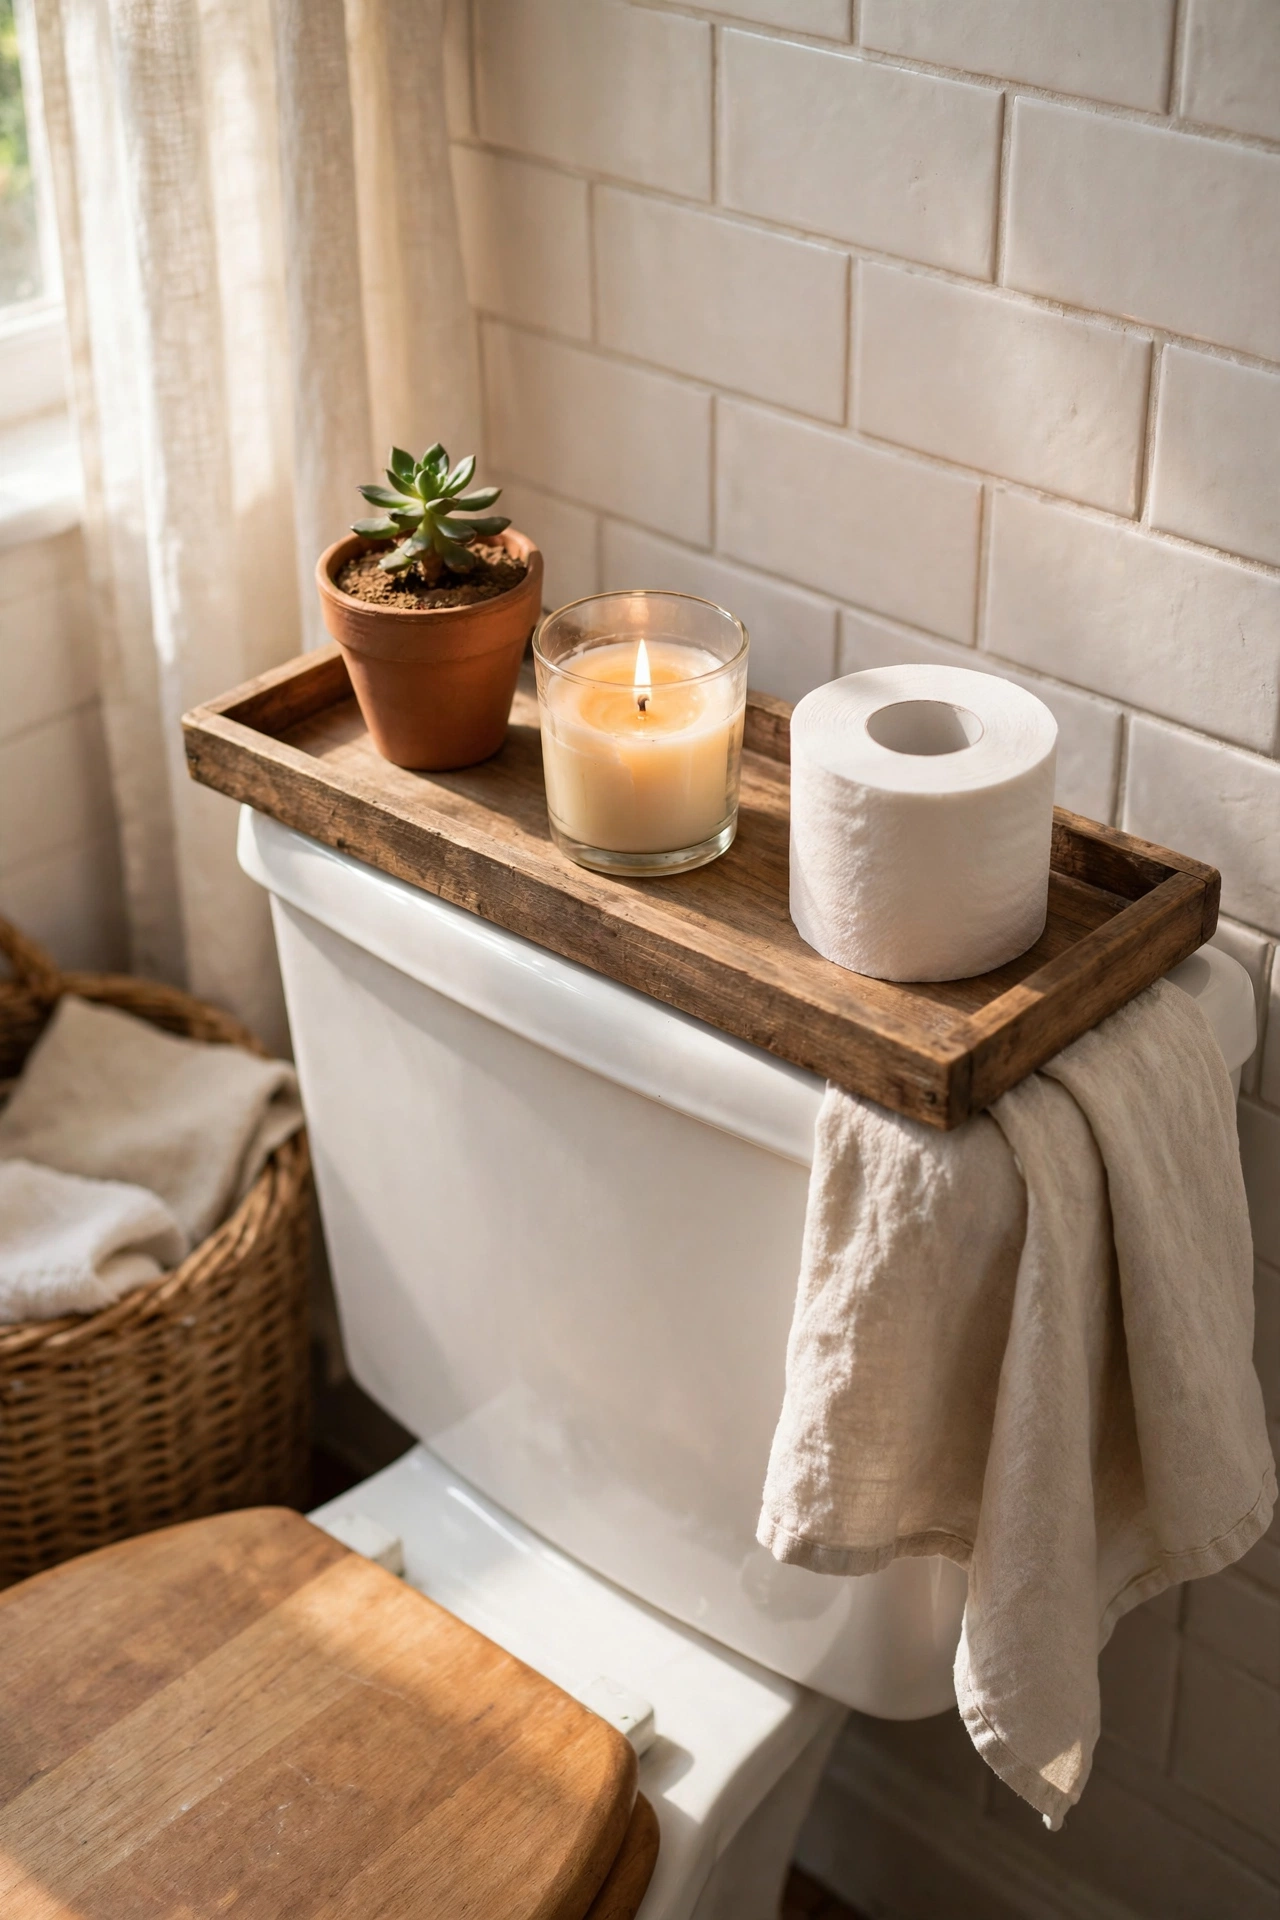
A narrow shelf or tray across the toilet tank holds a small plant, a candle, and a spare roll without drilling a single hole. Choose a tray that sits flat and stable, and keep items light so nothing topples into the tank. The tray turns dead space into a display spot and a practical shelf at once. Keep the plant in a pot with a saucer, because water drips stain the tank lid. I tried this — the mistake to avoid is a tray that overhangs the tank edges, because elbows catch it every time someone reaches for the flush.
Cost: ~$12 | Time: 5 minutes
💰 Budget win: A small wooden serving tray from a thrift shop works as a tank shelf for a fraction of a purpose-made one.
21. Store Cleaning Supplies in a Caddy
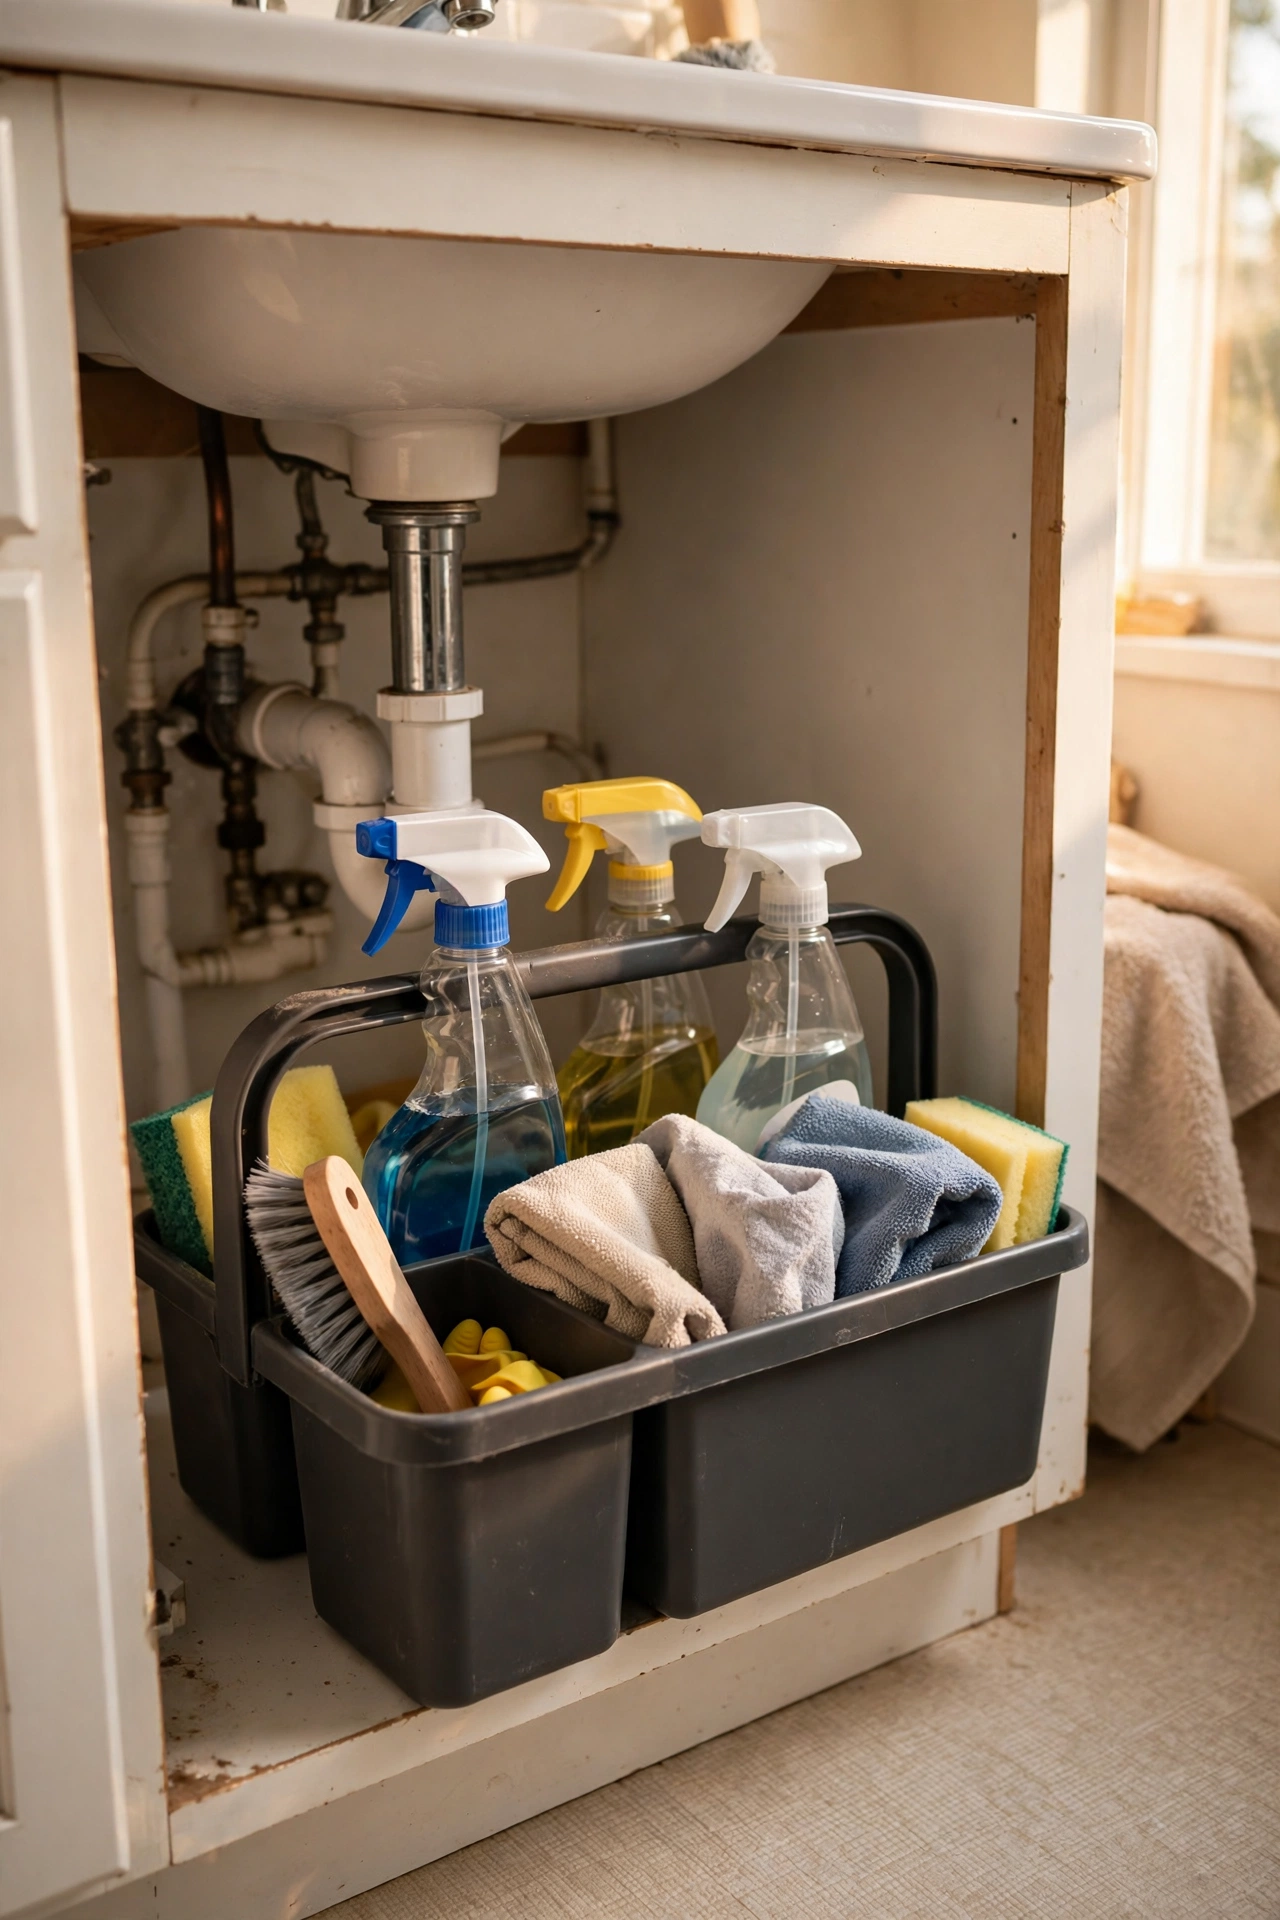
Cleaning supplies scattered under the sink get forgotten, but one caddy keeps them together and portable. Load a small handled caddy with spray, cloths, and a scrub brush, and store it under the sink or on a high shelf. When cleaning day comes, you grab one handle instead of hunting through bottles. Keep bleach separate from other sprays and never mix products. The caddy also stops leaks from spreading across the cabinet floor. Our weekly clean got ten minutes shorter the week I made this caddy, because everything was finally in one place.
Cost: ~$7 | Time: 10 minutes
💰 Budget win: A plastic shower caddy doubles as a cleaning caddy and costs a few dollars at any discount store.
22. Add a Laundry Hamper That Fits the Gap
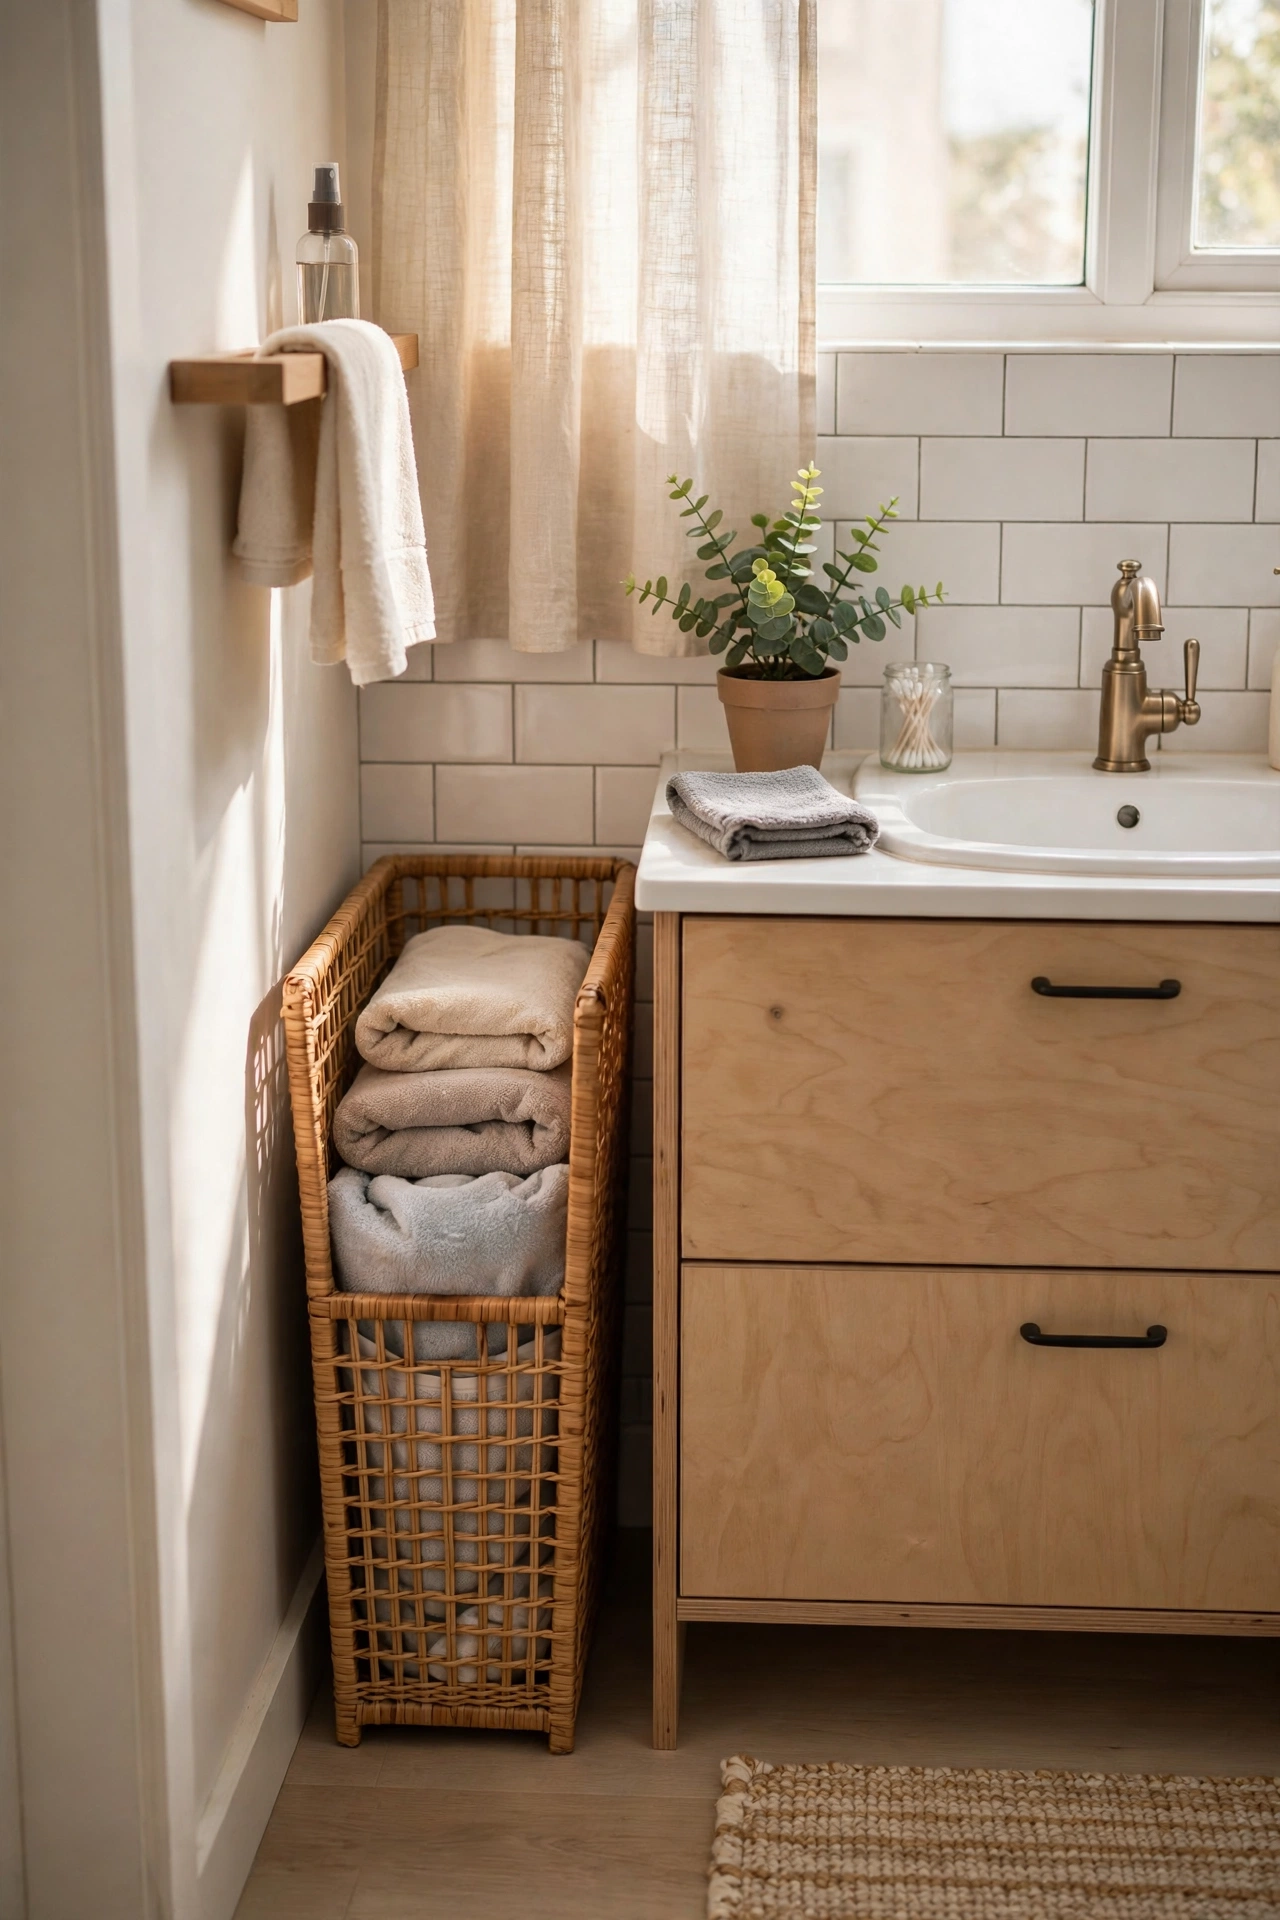
A slim laundry hamper in the gap between the vanity and the wall stops wet towels from piling on the floor. Measure the gap first, then buy a narrow hamper or a tall basket that slides in exactly. The hamper keeps dirty laundry contained, which makes the whole bathroom look cleaner even before you tidy anything else. Empty it twice a week so damp towels do not smell. Choose a hamper with air holes, because sealed bins trap moisture. This one purchase ended the towel-on-the-floor era in our house for good.
Cost: ~$16 | Time: 5 minutes
💰 Budget win: A tall slim waste basket works as a hamper in the tightest gaps and costs less than a laundry-labelled bin.
23. Do a Weekly Five-Minute Reset
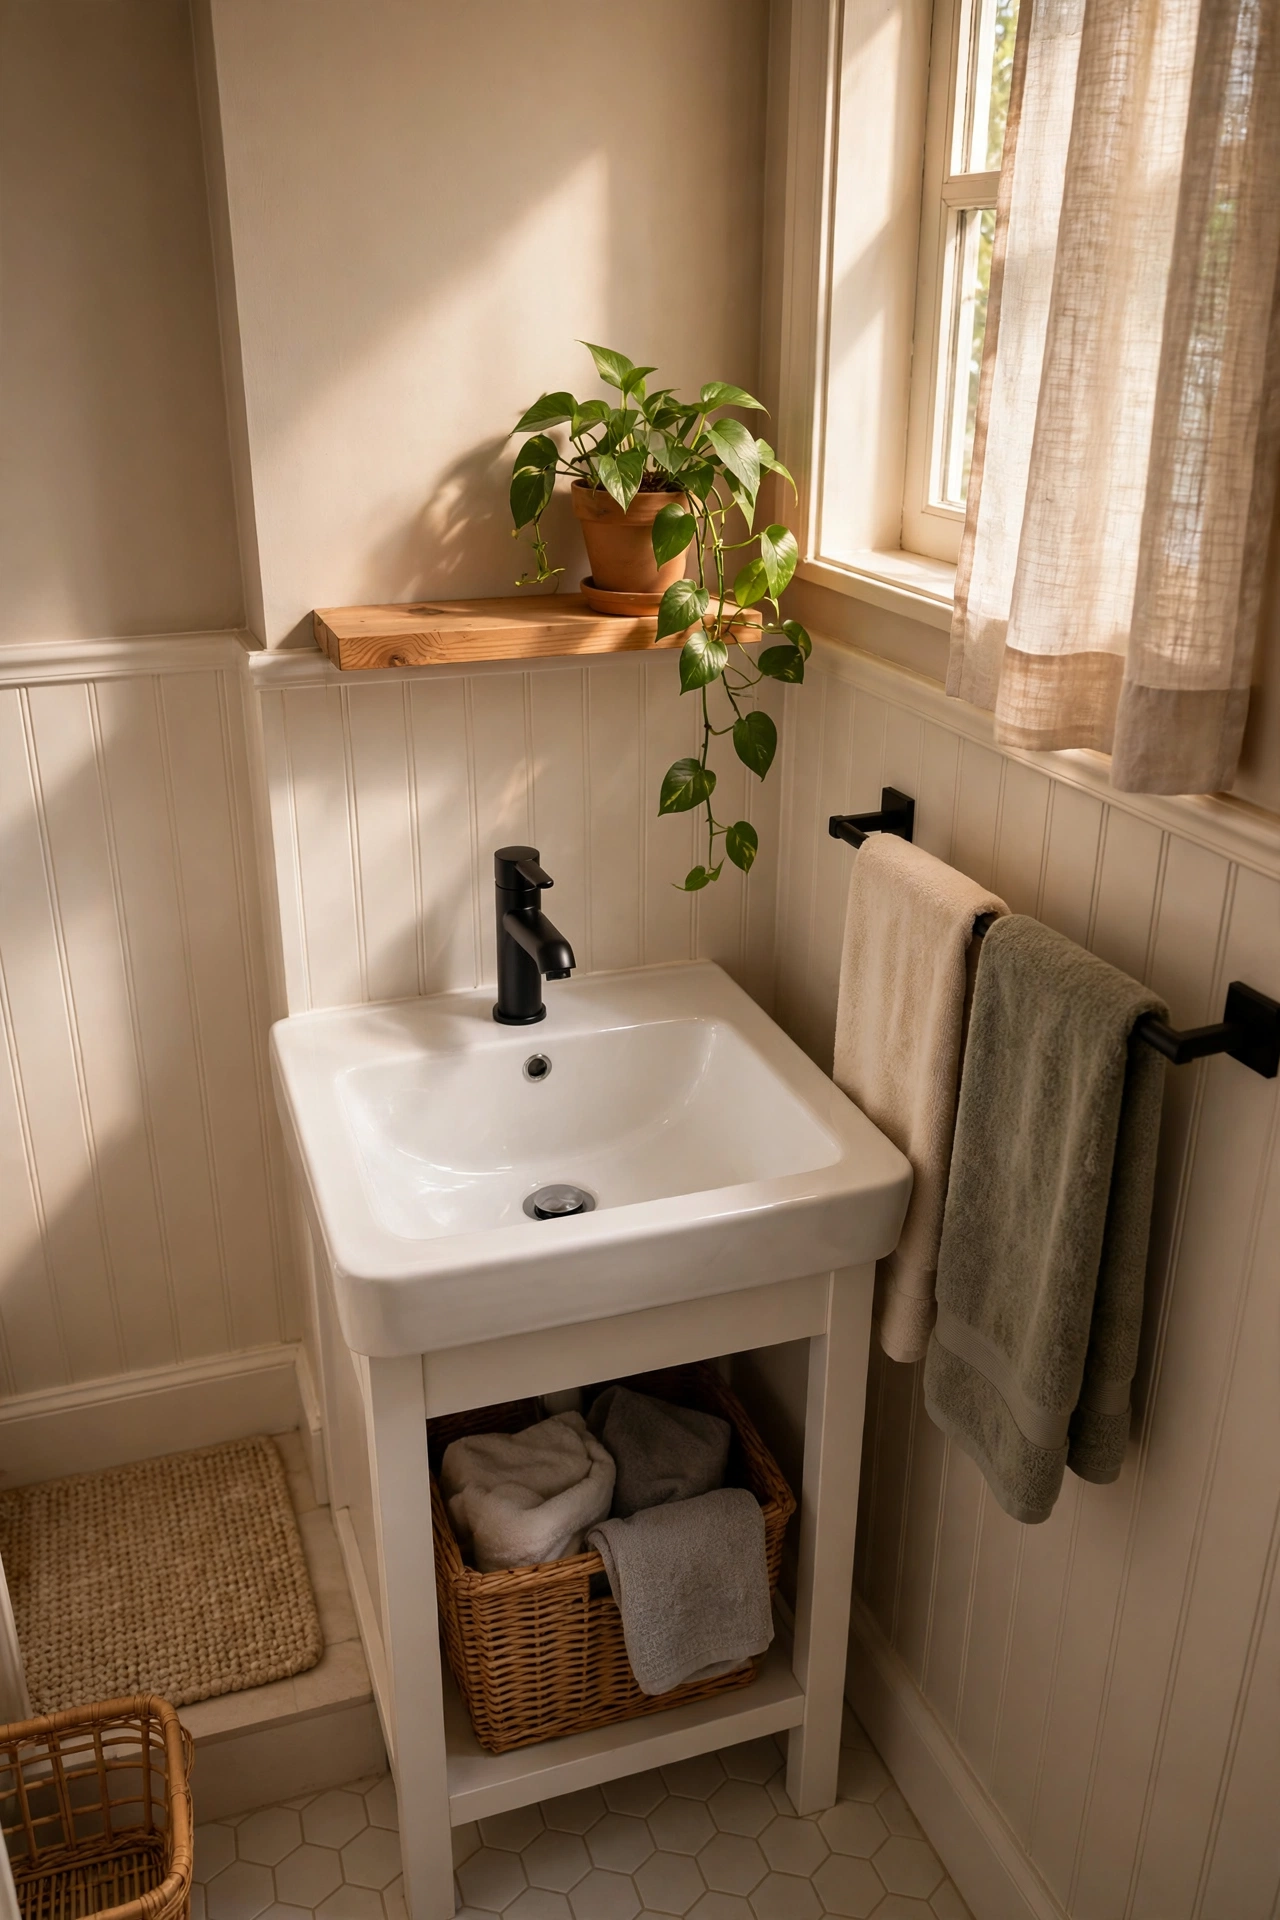
The best storage system still needs a weekly reset, and five minutes is genuinely enough. Once a week, return every item to its home, toss empty bottles, wipe the sink, and hang towels straight. The reset stops small drift from becoming full clutter again, and it takes less time than scrolling your phone. Set a phone reminder for the same evening each week so it becomes habit. Involve the household, because one person resetting while others scatter undoes the work fast. This habit is free, and it is the reason every other idea in this list keeps working month after month.
Cost: ~$0 | Time: 5 minutes weekly
💰 Budget win: A free weekly habit protects every dollar you spent on storage, because systems only work when they are maintained.
Tiny bathrooms do not need bigger rooms — they need better homes for the things already in them. Pick one zone this weekend, walls first if you are stuck, and add the next zone when the first one sticks. Within a month the door will close properly, the floor will stay clear, and mornings will feel calmer. That is the real win: not a prettier bathroom, but a bathroom that finally works for the people using it.
