15 Renter-Friendly Bathroom Upgrades With Zero Damage
Here’s my deposit-back rule for rented bathrooms: if I can’t undo it in under an hour, it doesn’t happen. That rule has survived three flats, three landlords, and three full deposit returns — and it’s why these renter friendly bathroom ideas are all reversible. No drilling, no permanent paint, no explaining anything at move-out. Everything here peels off, unscrews, or simply lifts away. Your landlord will never know, and your bathroom will look like you actually own it.
1. Lay Peel-and-Stick Floor Tiles
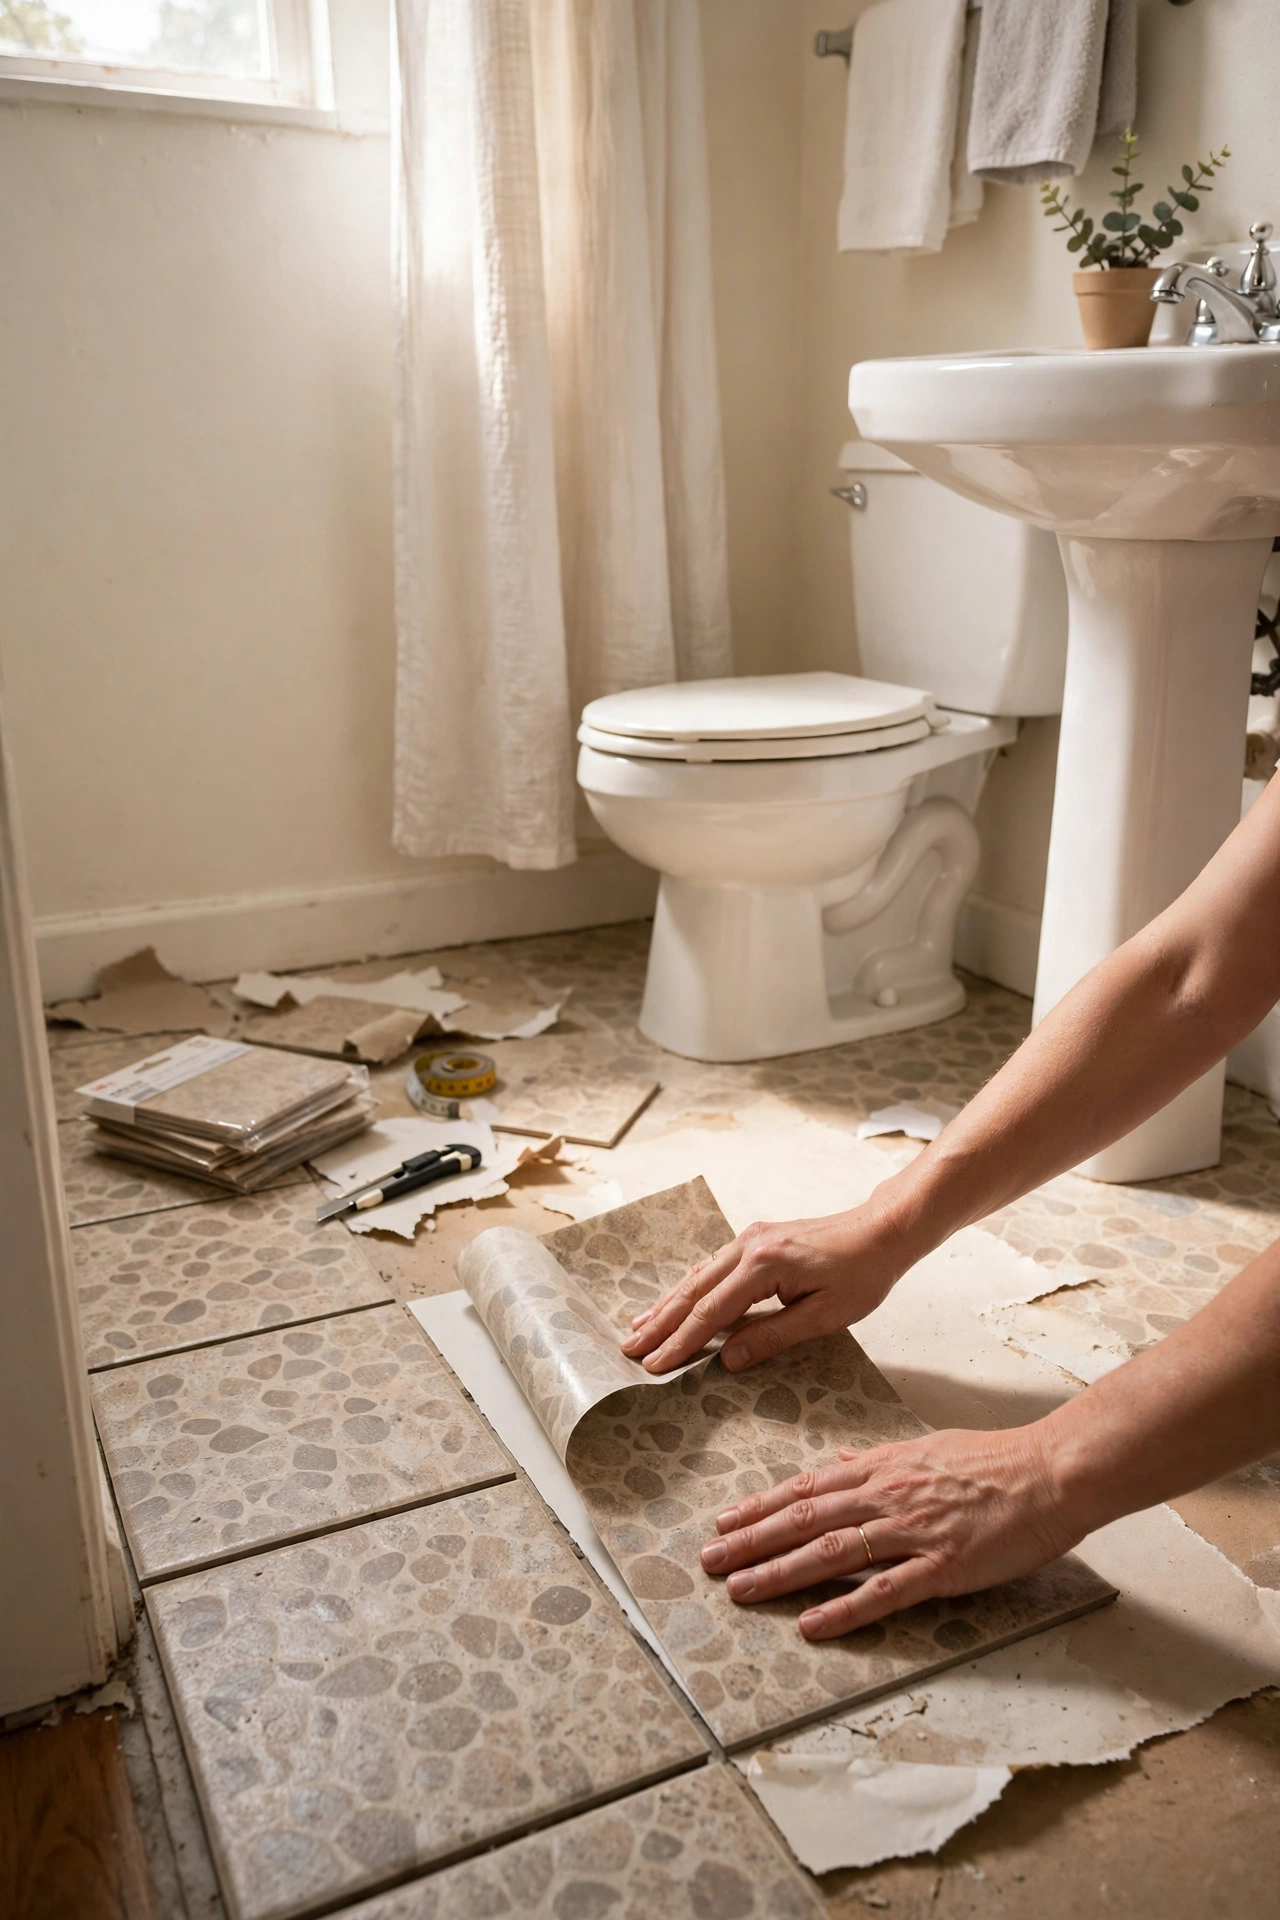
Peel-and-stick floor tiles are the renter’s best friend for a bathroom floor that’s seen better decades. Measure the room, order ten percent extra for cuts, and lay from the centre outward so the pattern stays even at the edges. Clean the old floor thoroughly first — dust and soap film stop the adhesive gripping properly. A utility knife and a straight edge handle the cuts around the toilet base. When you move out, a hairdryer softens the adhesive and the tiles lift off without a mark. The transformation takes one afternoon and makes the whole bathroom look renovated, which is exactly the point.
Cost: ~$40 | Time: 2 hours
💰 Budget win: Skip tiling under the vanity and bath — nobody sees those patches, and you save a whole box.
2. Hang Removable Wallpaper on One Wall
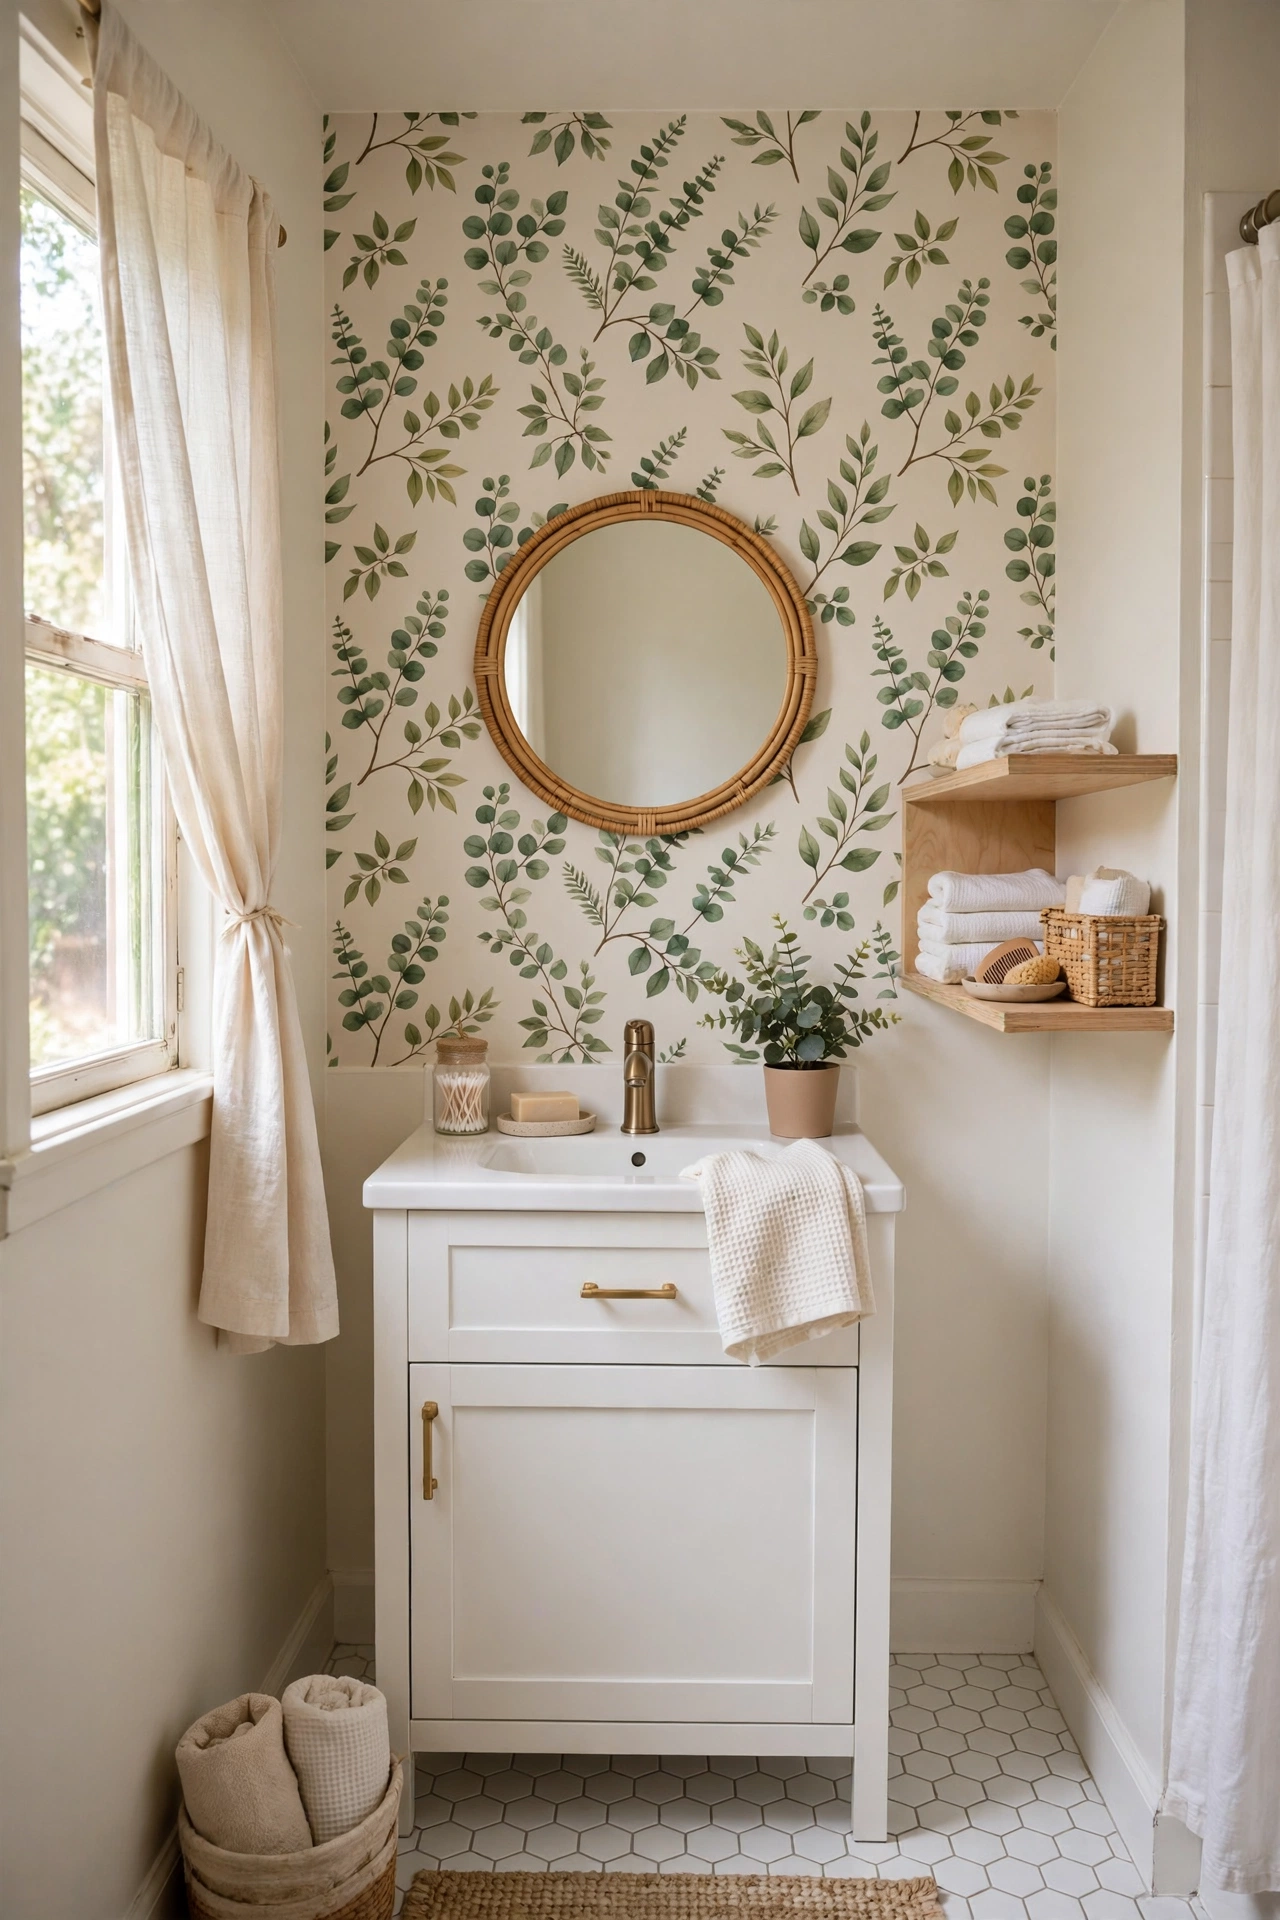
Removable wallpaper gives a rental bathroom a feature wall without a single argument with the landlord. Choose a small-scale pattern — tiny botanicals or subtle geometrics work best in tight spaces — and hang it on the wall you see first when you walk in. Smooth it on panel by panel with a plastic smoother, pushing air bubbles to the edges as you go. The adhesive is designed to peel off cleanly, even after years, as long as the wall underneath was painted and not bare plaster. If a panel goes up crooked, peel it off and re-stick it — that’s the whole beauty of the stuff.
Cost: ~$30 | Time: 2 hours
💰 Budget win: One accent wall needs just two rolls — papering the whole bathroom triples the cost for half the impact.
3. Build a Gallery Wall With Command Strips
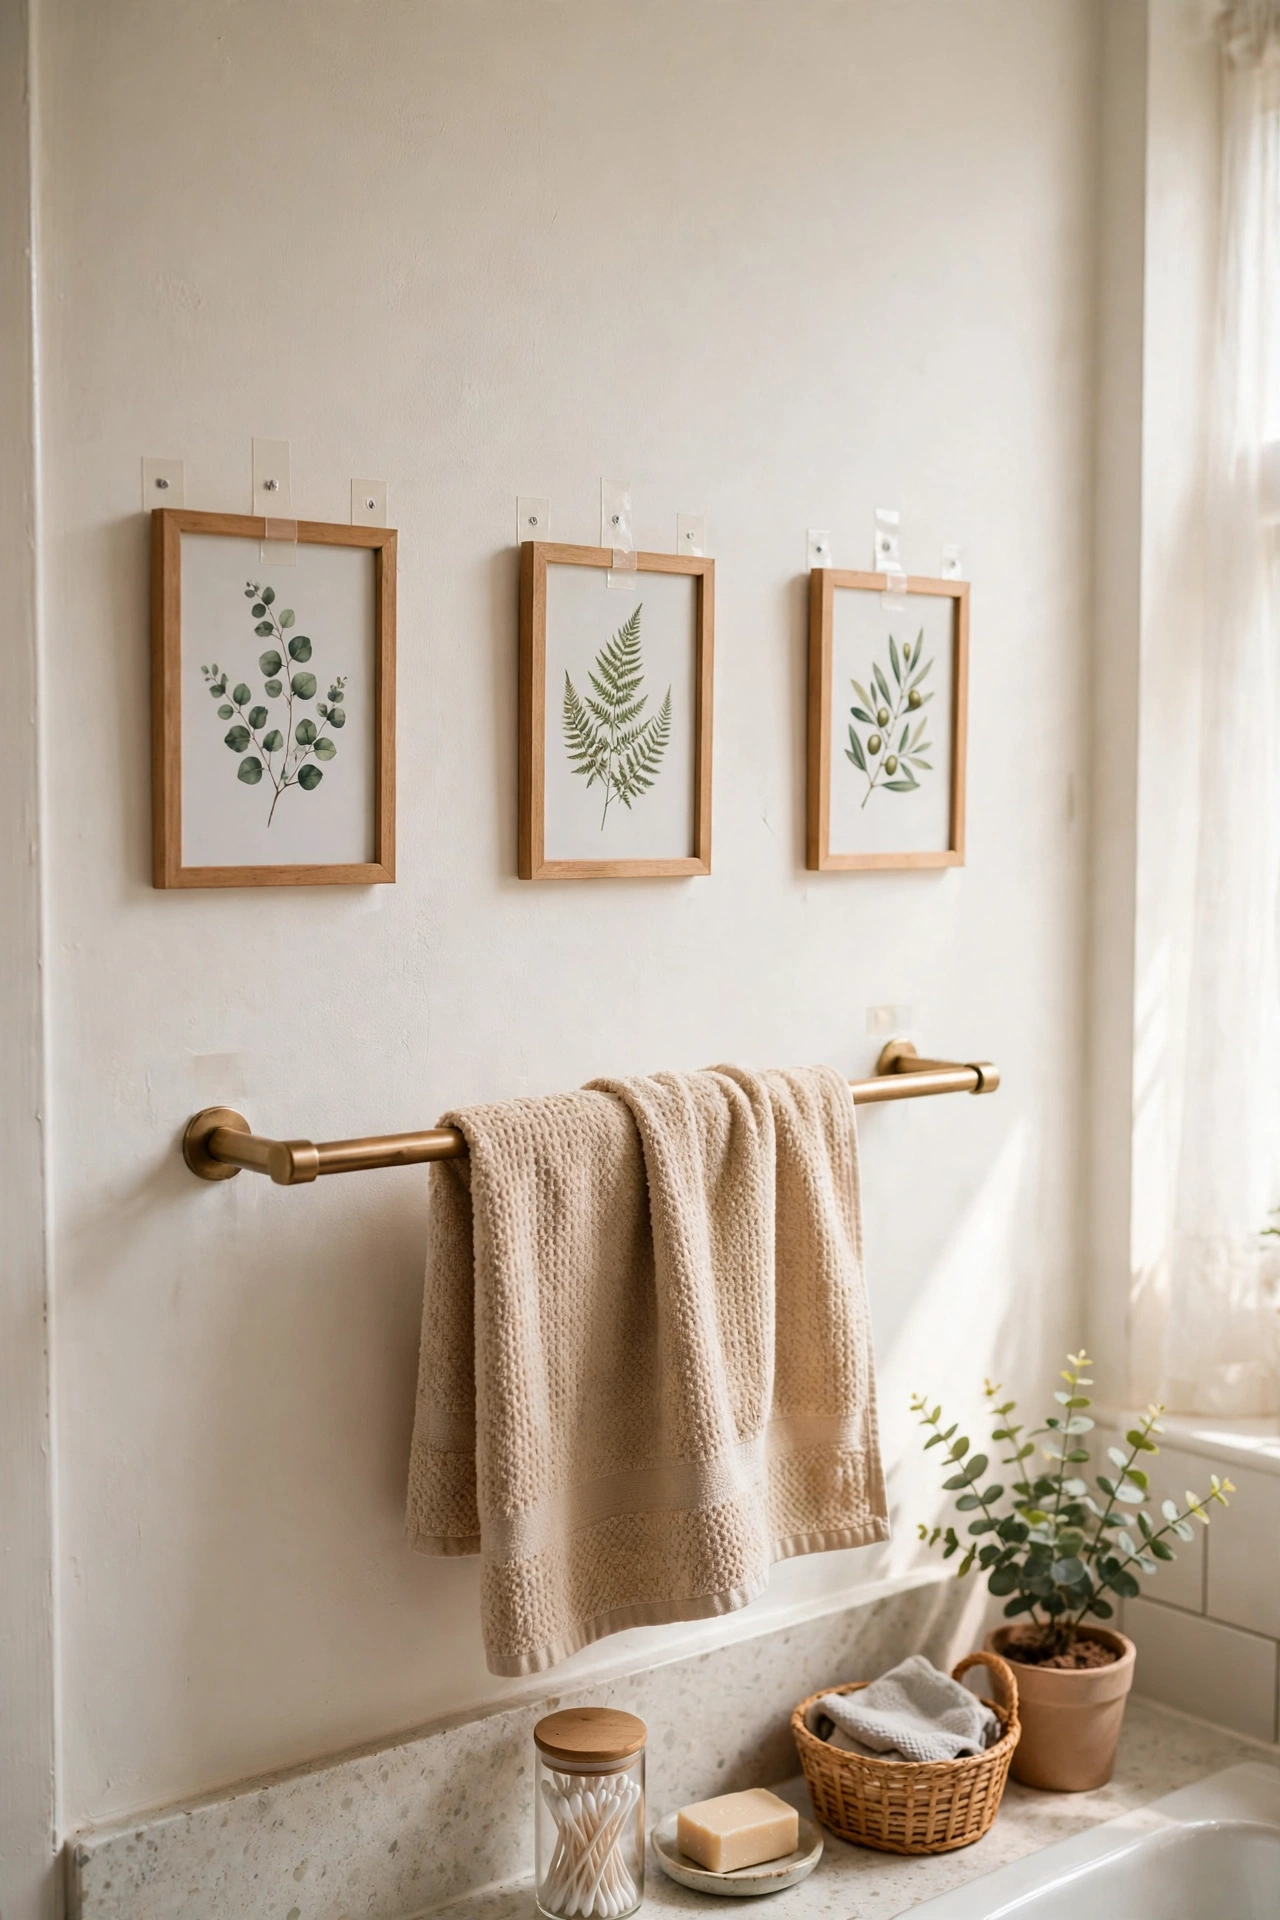
Bare rental walls make a bathroom feel temporary, and Command strips fix that without a single nail hole. Hang three or four small framed prints above the towel rail or beside the mirror, using strips rated for the frame’s weight. Choose bathroom-safe frames — humidity warps cheap wood — and keep the art simple: botanical prints or line drawings suit the space. Space the frames evenly and step back after each one, because a crooked gallery wall looks worse than a bare wall. At move-out, pull the tabs slowly and the wall is untouched. I tried this — the mistake to avoid is hanging heavy frames on small strips, which end in a midnight crash.
Cost: ~$20 | Time: 30 minutes
💰 Budget win: Print your own art at a copy shop for a few pounds — framed prints don’t need to come from a gallery.
4. Add a Tension-Rod Shower Caddy
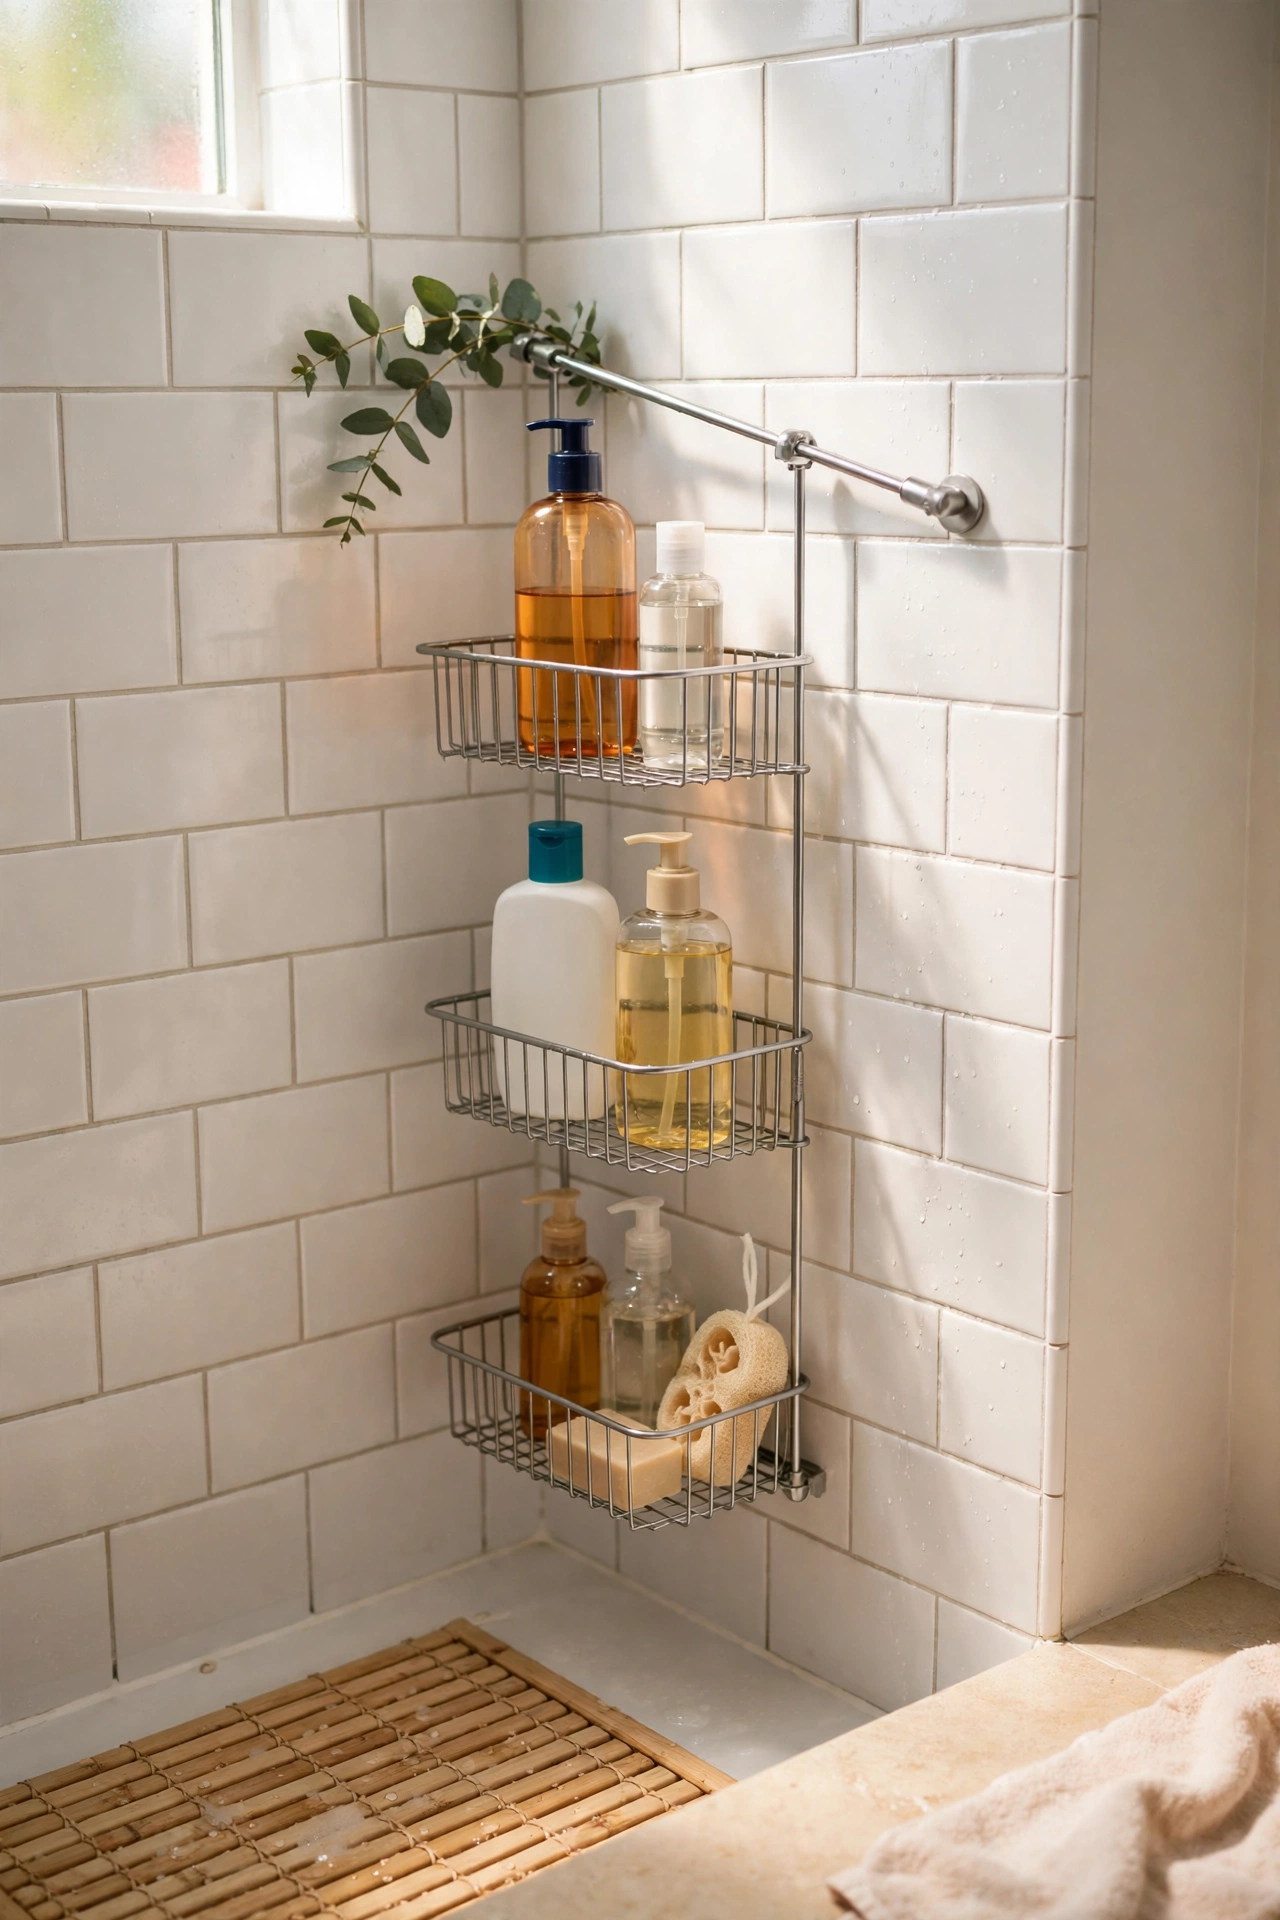
A tension-rod caddy turns the dead corner of the shower into storage without drilling a single hole. Twist the rod to fit floor-to-ceiling in the corner, slide the baskets to the heights you need, and load it with bottles. The tension holds it firmly in place, and rubber feet on both ends protect the ceiling and floor. Keep heavier bottles on the lower baskets so the rod stays stable. When you move, the whole thing collapses flat and fits in a box. It’s the rare storage idea that costs little, holds a lot, and leaves absolutely zero evidence behind.
Cost: ~$18 | Time: 10 minutes
💰 Budget win: A tension caddy replaces two suction baskets that keep falling down — one purchase, no repeat buys.
5. Stick Suction Shelves in the Shower
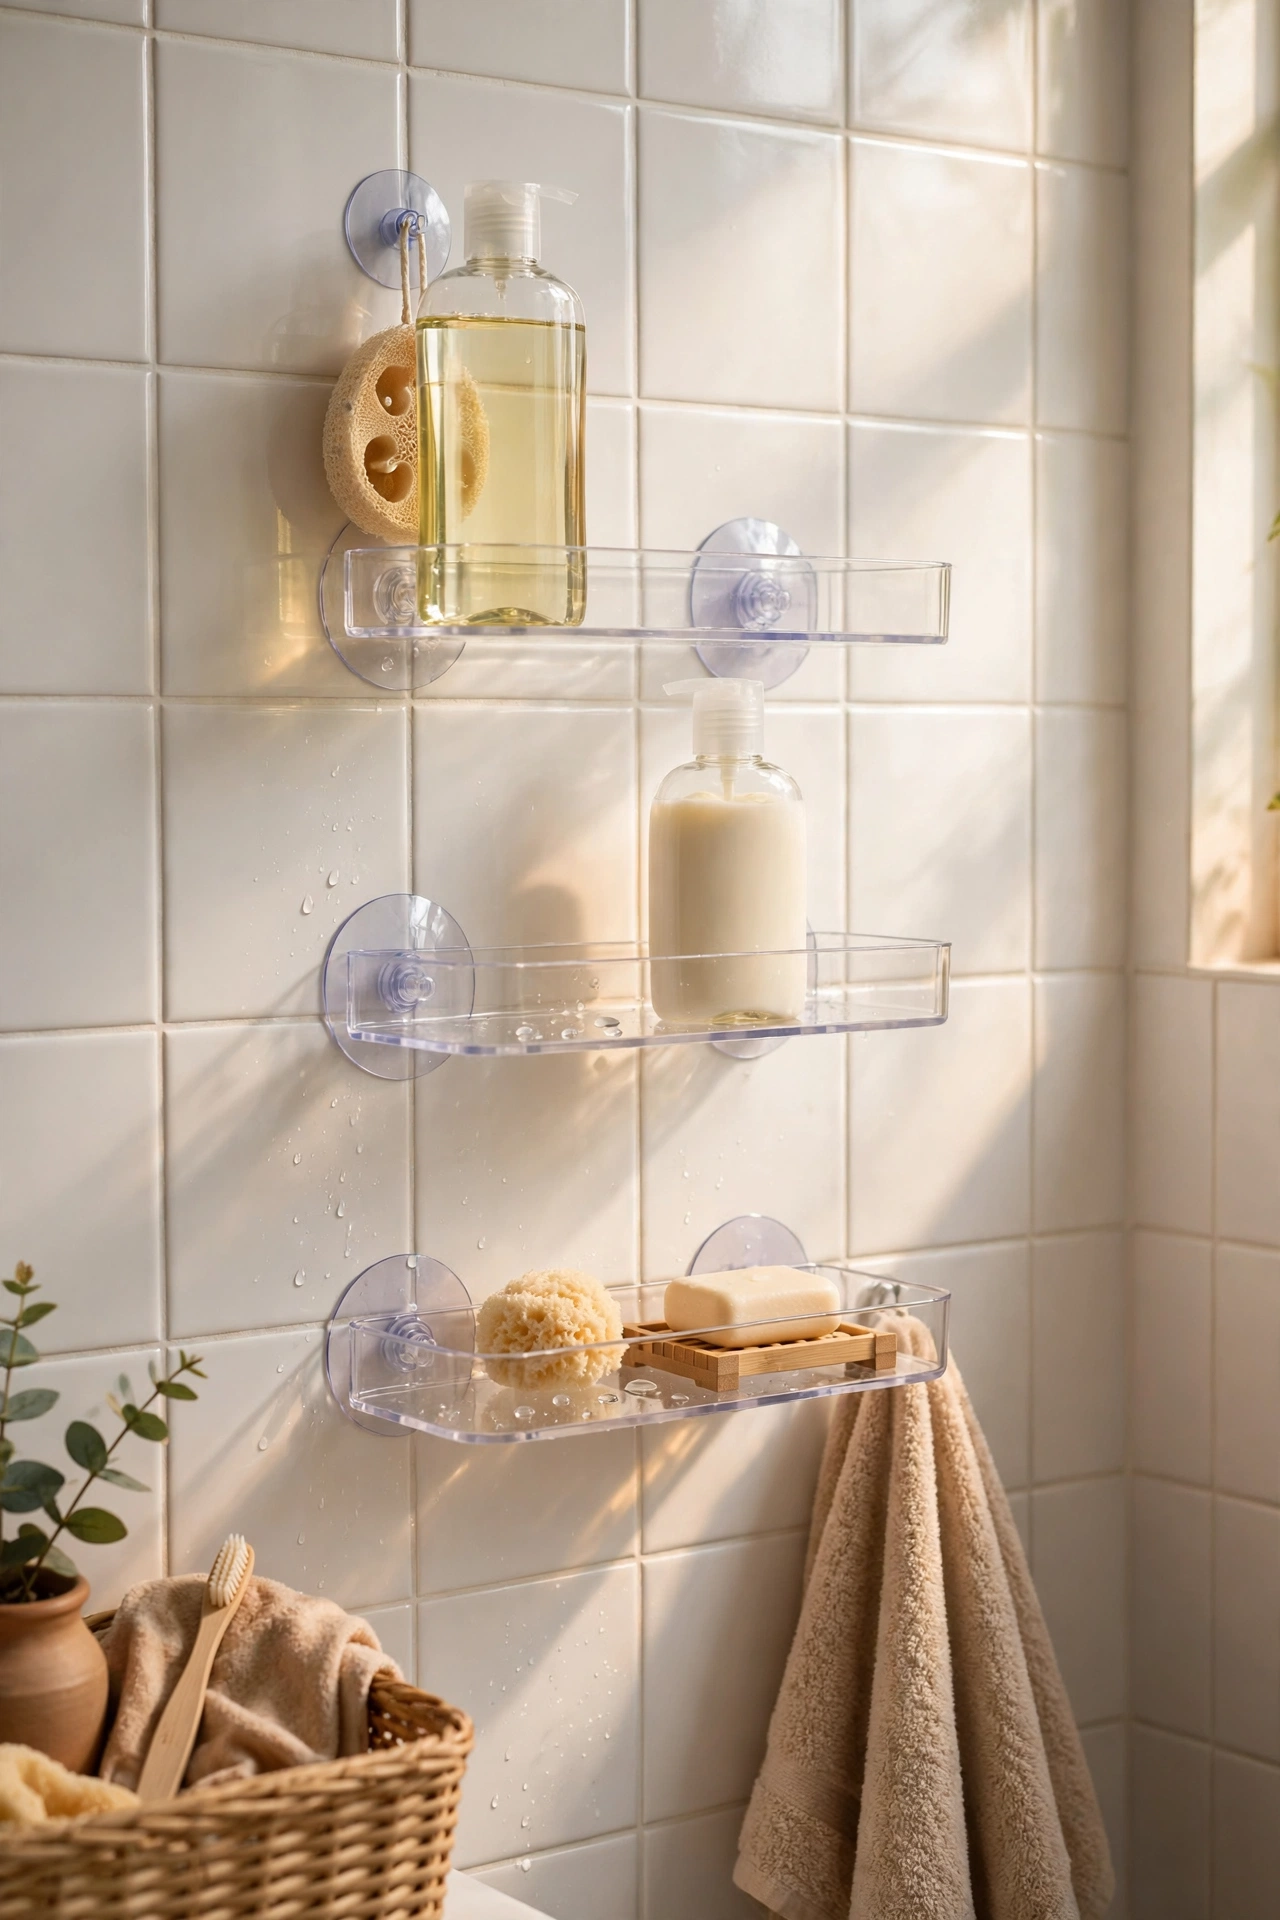
Suction shelves are the zero-commitment answer to shower storage, as long as your tiles are smooth. Press the suction cups firmly onto clean, dry tile, lock the levers, and the shelf holds shampoo, conditioner, and a razor without a single screw. The trick is surface prep: wipe the tile with rubbing alcohol first, and never stick them over grout lines, where air leaks in and the shelf slides off by morning. Choose shelves with a drainage gap so bottles don’t sit in puddles. Re-stick them every few months before they fail, and they’ll never drop a bottle on your foot at 6am.
Cost: ~$12 | Time: 5 minutes
💰 Budget win: Suction shelves cost a third of a fitted shower niche — and you take them with you when you leave.
Next, the swap-outs — things you unscrew, replace, and swap back on moving day.
6. Swap the Showerhead for a Rainfall One
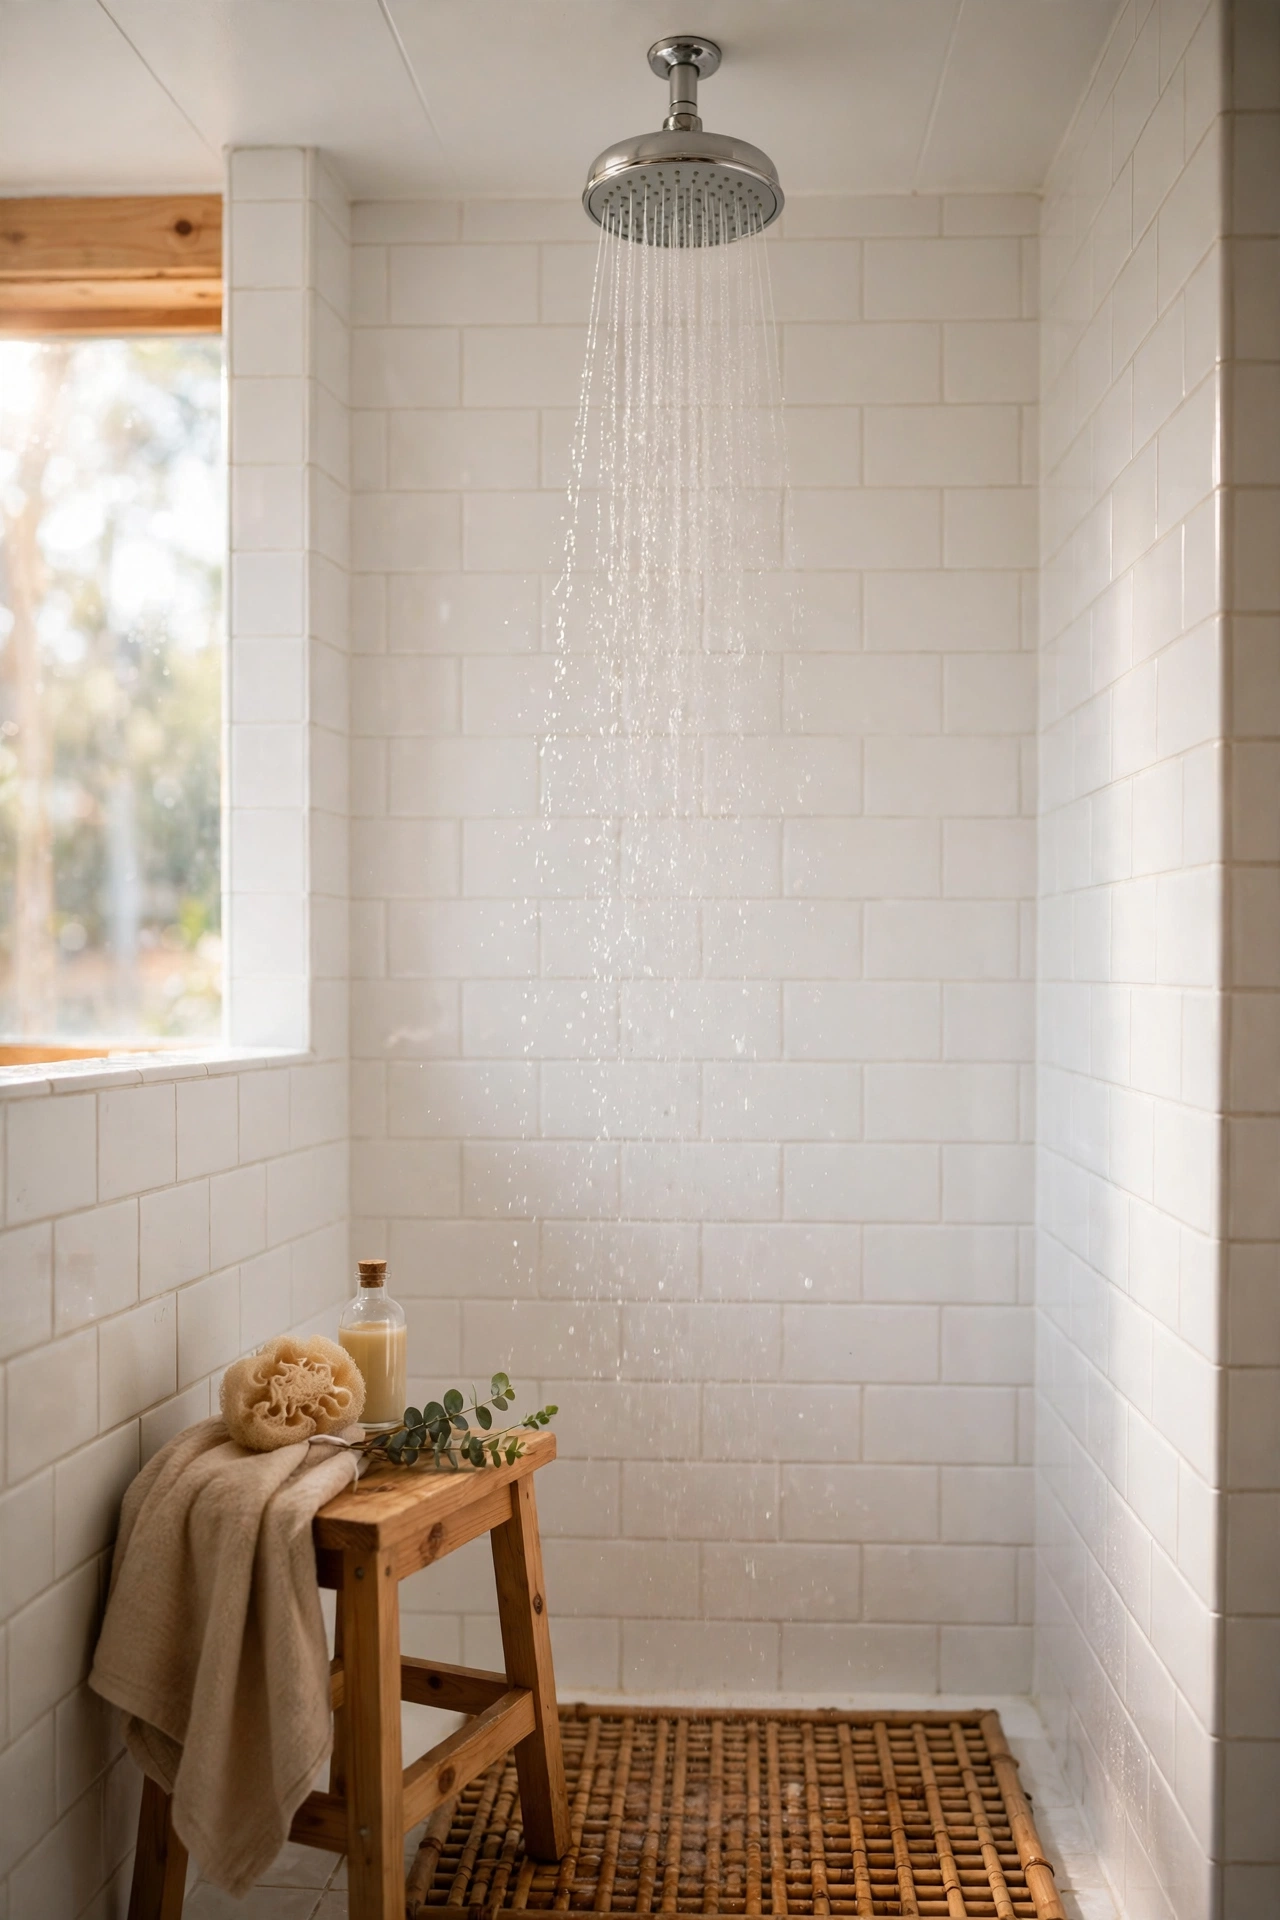
A rainfall showerhead screws on by hand and transforms a rental shower more than any other single swap. Unscrew the old head, wrap the thread with plumber’s tape, and twist the new one on — ten minutes, no tools, no plumber. The wider spray feels like a hotel shower instead of a garden hose. Bag the original head and store it under the sink, because swapping it back on move-out day takes another ten minutes and your landlord gets their bathroom back exactly as it was. Choose a low-pressure-friendly head if your building’s water pressure is weak, or the rainfall effect turns into a drizzle.
Cost: ~$22 | Time: 10 minutes
💰 Budget win: A rainfall head plus tape costs less than one month of gym showers — and you use it every single day.
7. Change the Cabinet Knobs
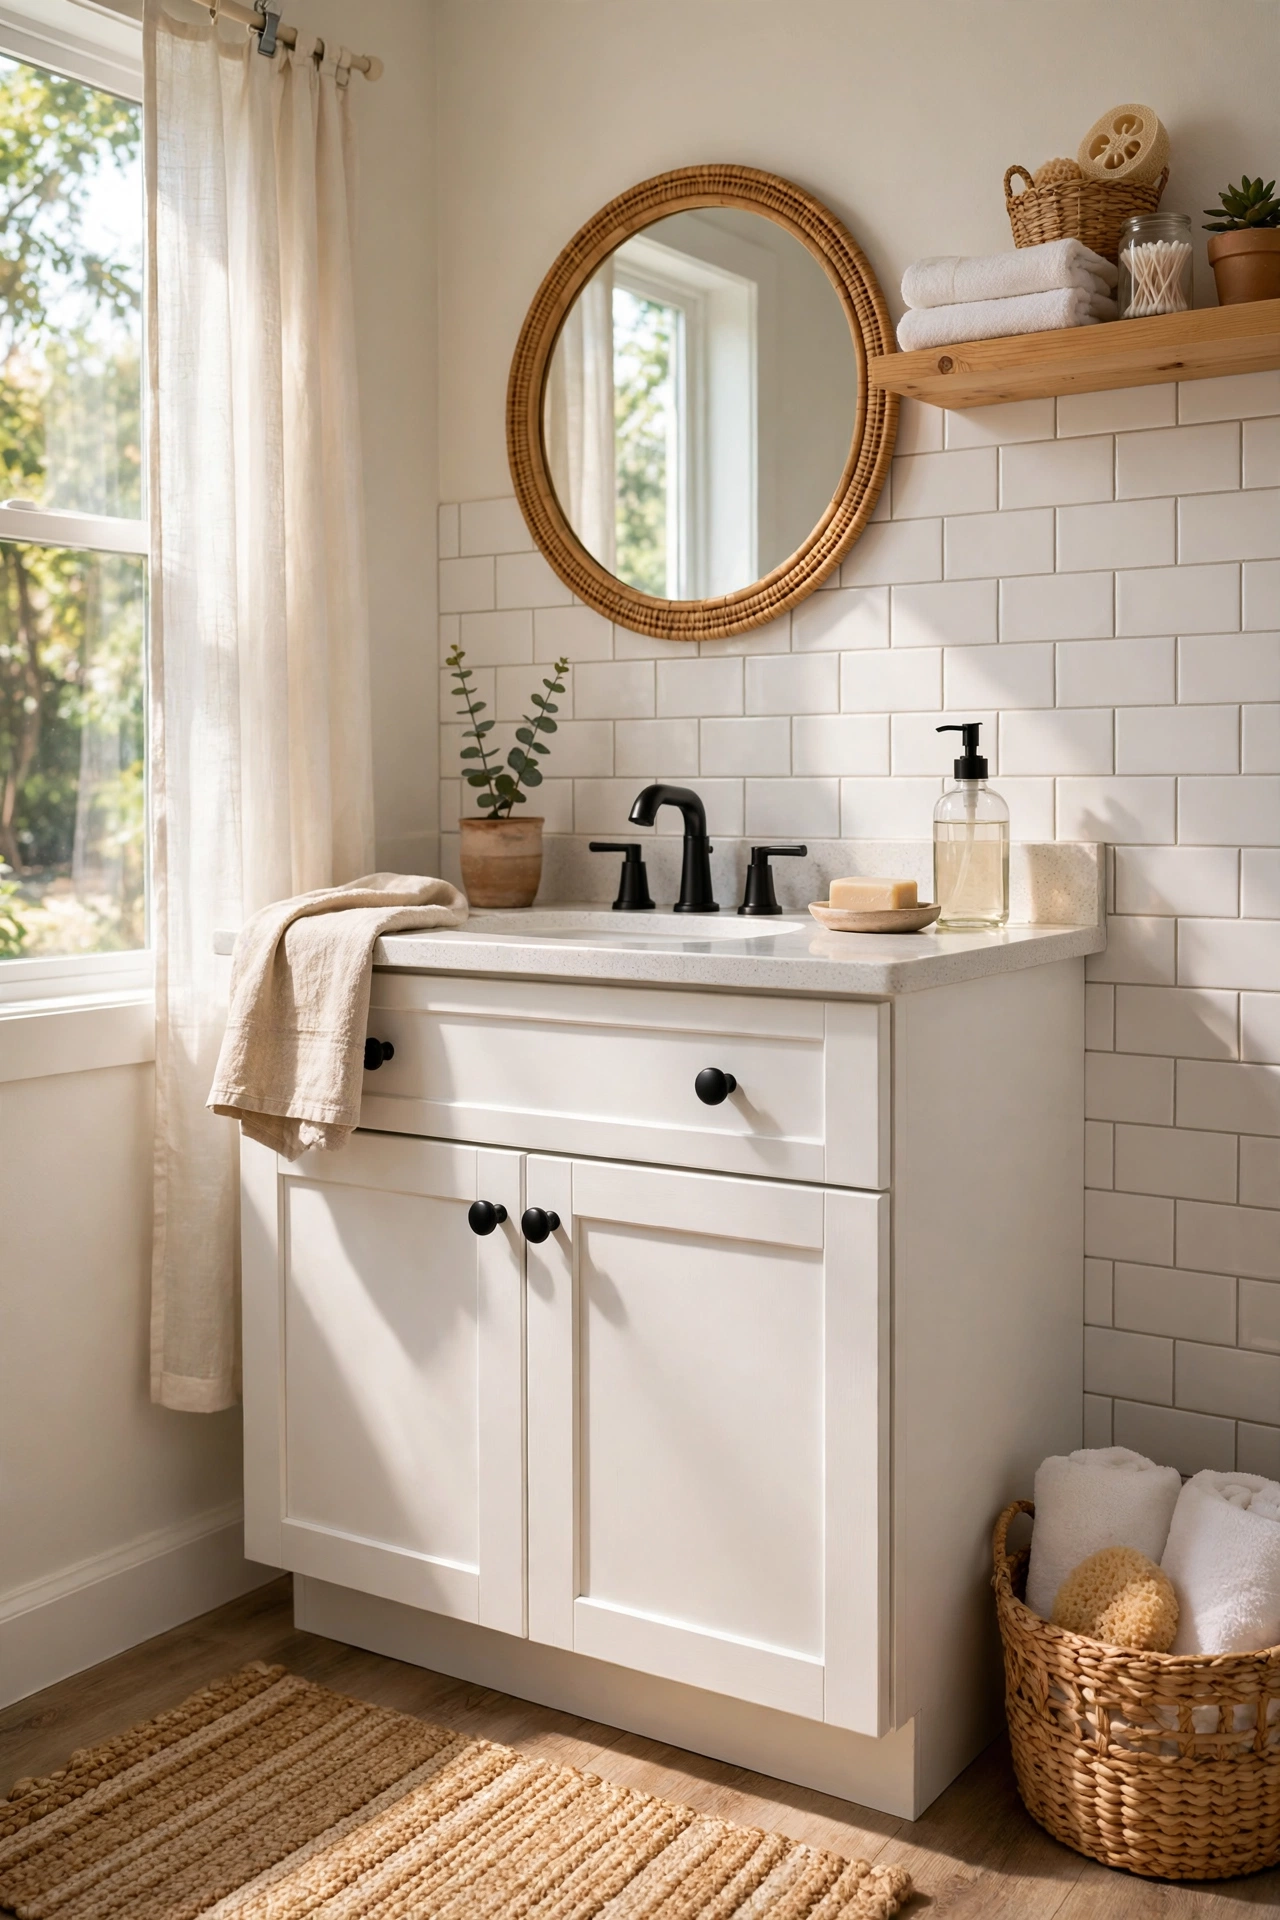
Dated cabinet knobs are the fastest giveaway of a rental bathroom, and swapping them takes a screwdriver and twenty minutes. Remove one knob, measure the screw size, and order matching replacements in matte black or brushed brass. Keep the originals in a labelled bag taped inside the cabinet, so move-out day is just a reverse of the same job. New knobs change how the whole vanity reads — suddenly it looks chosen, not inherited. The holes are already there, so there’s nothing to drill and nothing to explain. This is the upgrade I do first in every new flat, before I even unpack properly.
Cost: ~$12 | Time: 20 minutes
💰 Budget win: Multipacks of knobs online run under $1 each — a whole vanity for less than a takeaway coffee run.
8. Lean a Full-Length Mirror Against the Wall
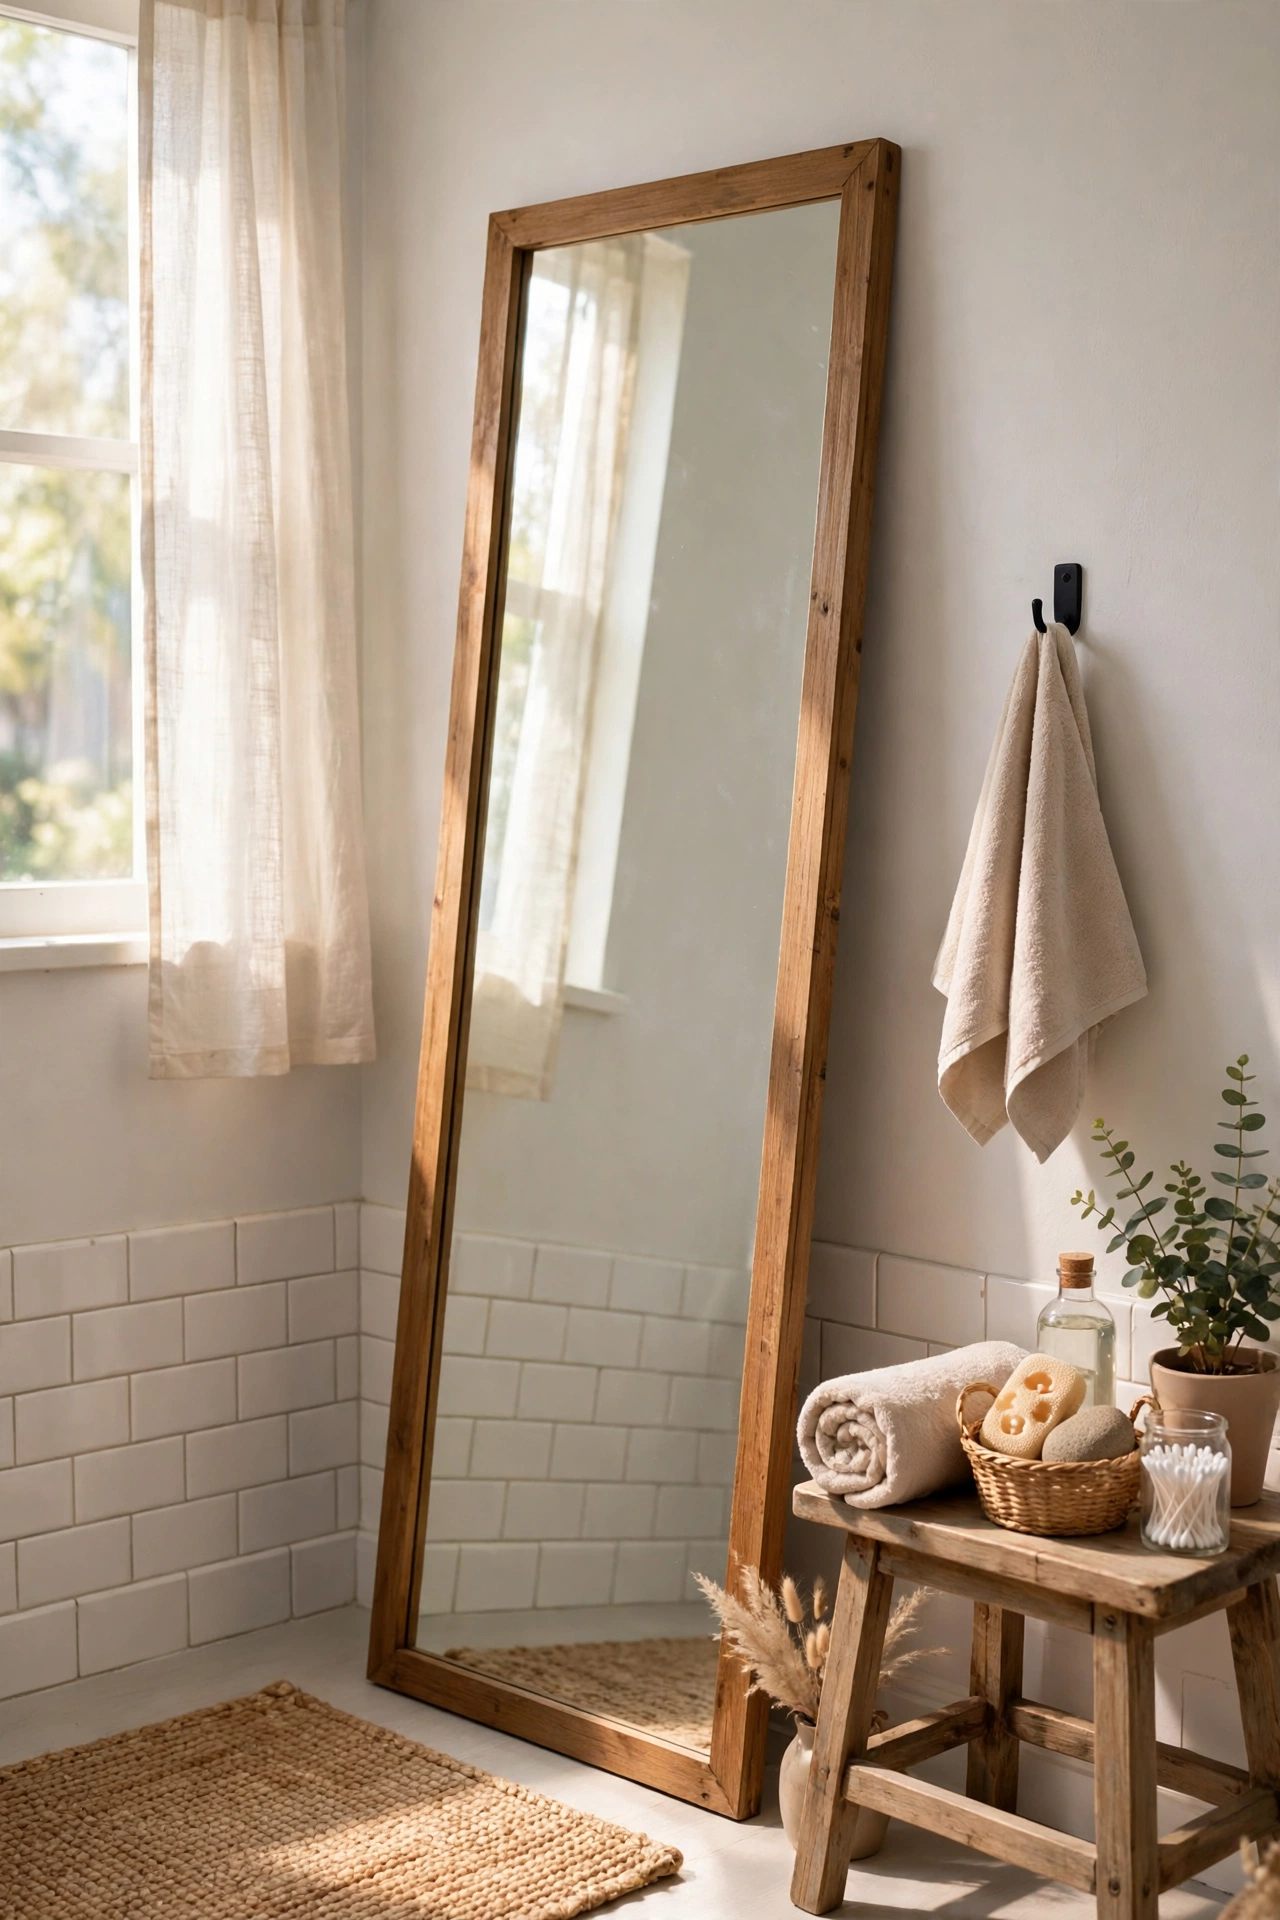
A leaning full-length mirror makes a small rental bathroom feel twice as big, and it needs no mounting at all. Choose a lightweight mirror with a sturdy frame, lean it at a slight angle against the largest wall, and secure the top with a small adhesive pad if you’re worried about slips. The reflection doubles the light and the sense of space, which is exactly what a cramped rental bathroom needs. It also gives you a proper outfit check that a tiny medicine-cabinet mirror never will. When you move, it walks out the door with you — no holes, no patches, no deposit deductions.
Cost: ~$25 | Time: 5 minutes
💰 Budget win: Thrift stores are full of leaning mirrors for under $15 — a quick clean and they look brand new.
9. Make a Statement With the Shower Curtain
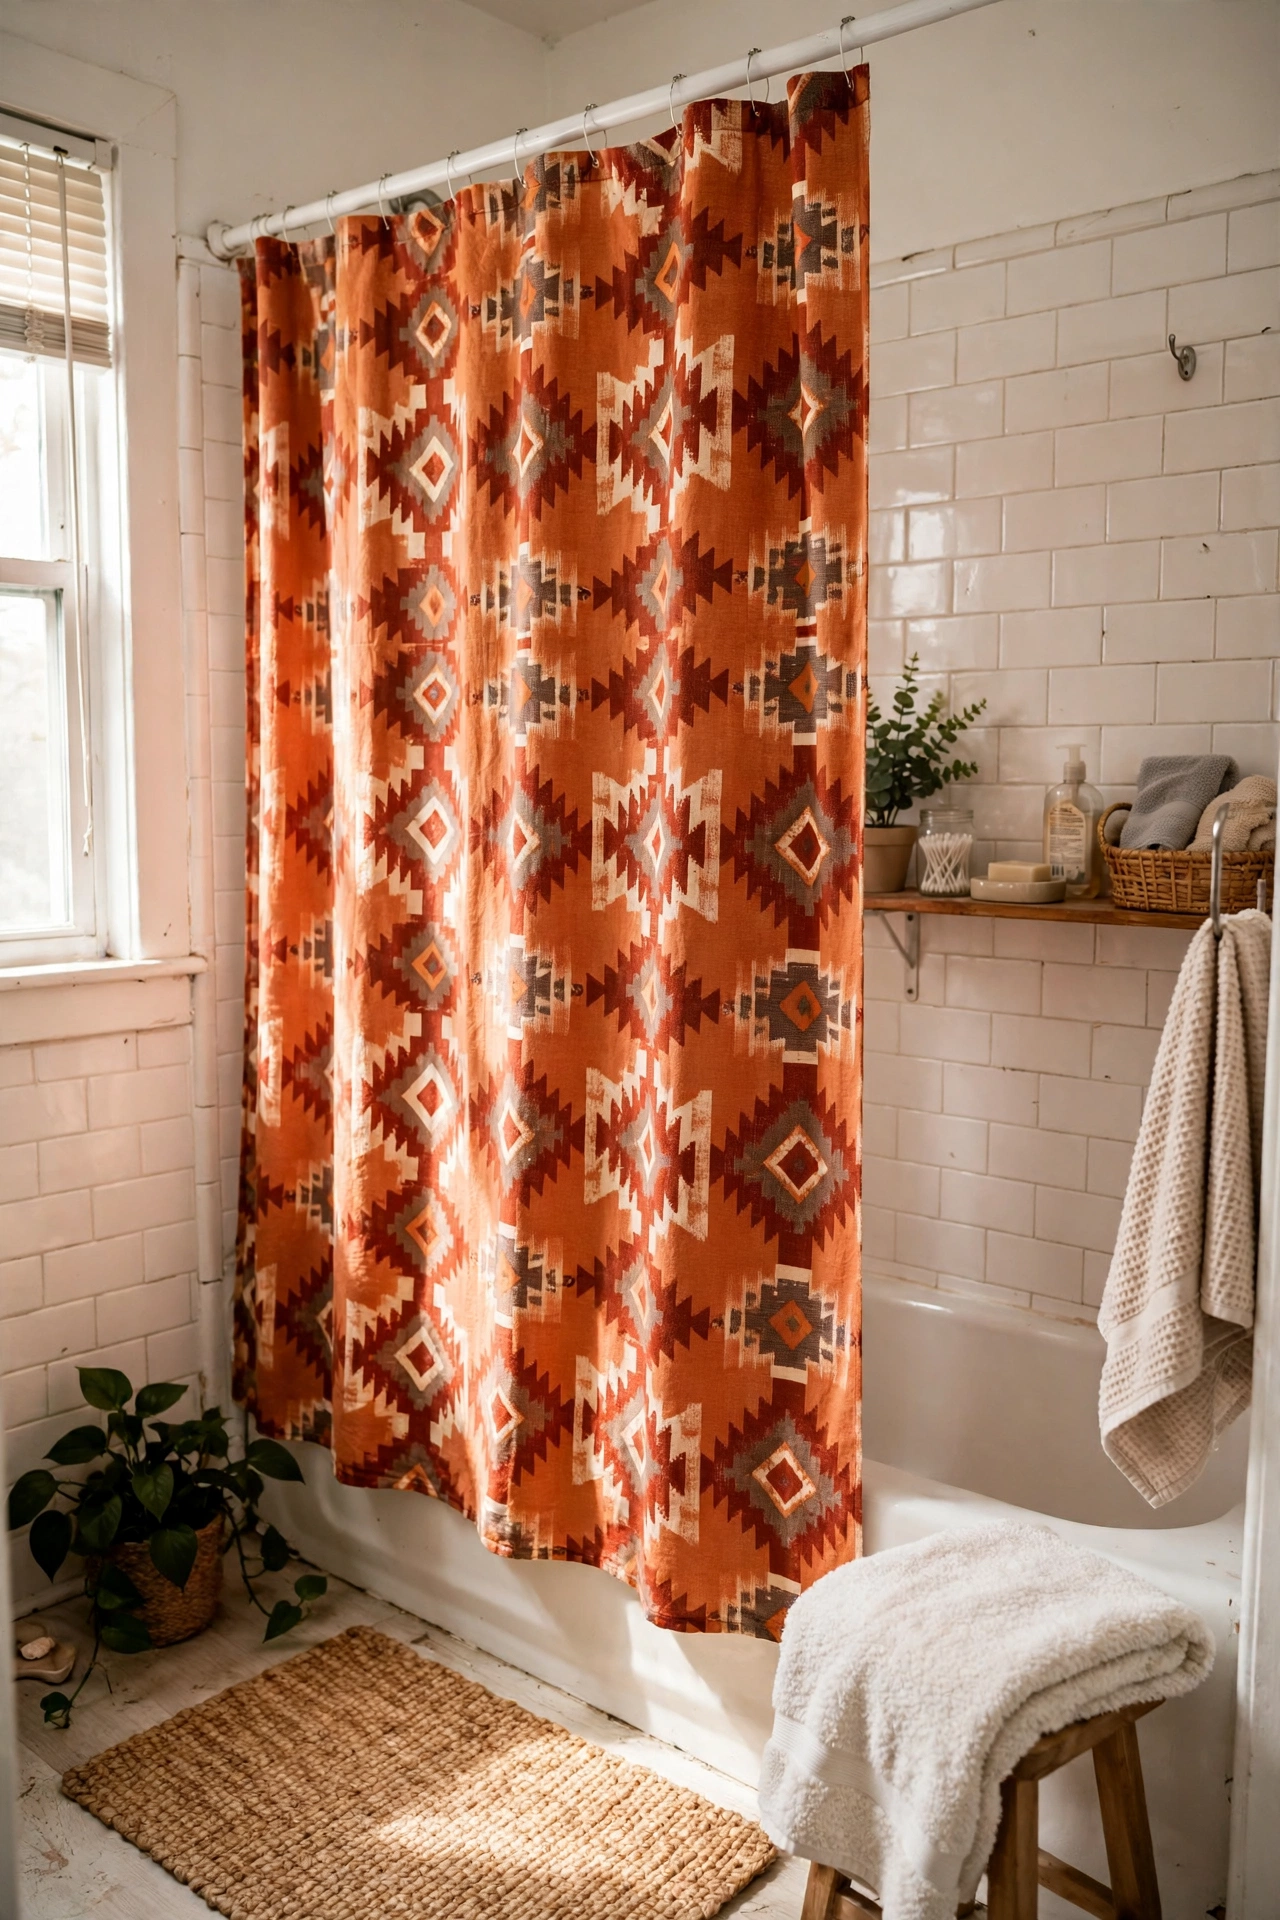
The shower curtain is the largest block of color in a rental bathroom, so treat it like a feature wall you can take down. A bold pattern or rich solid color — deep green, terracotta, or classic stripes — hides a dated tub and sets the whole room’s palette. Hang it on a tension rod so there’s nothing to screw in, and choose a fabric outer curtain with a plain liner inside for longevity. The curtain swaps in minutes, costs little, and completely changes the room’s mood. Save this one for your next flat refresh — it’s the fastest transformation on this list, and the easiest to reverse.
Cost: ~$20 | Time: 10 minutes
💰 Budget win: A fabric curtain lasts years where a plastic one yellows in months — cheaper per year, and far prettier.
10. Upgrade the Faucet Aerator
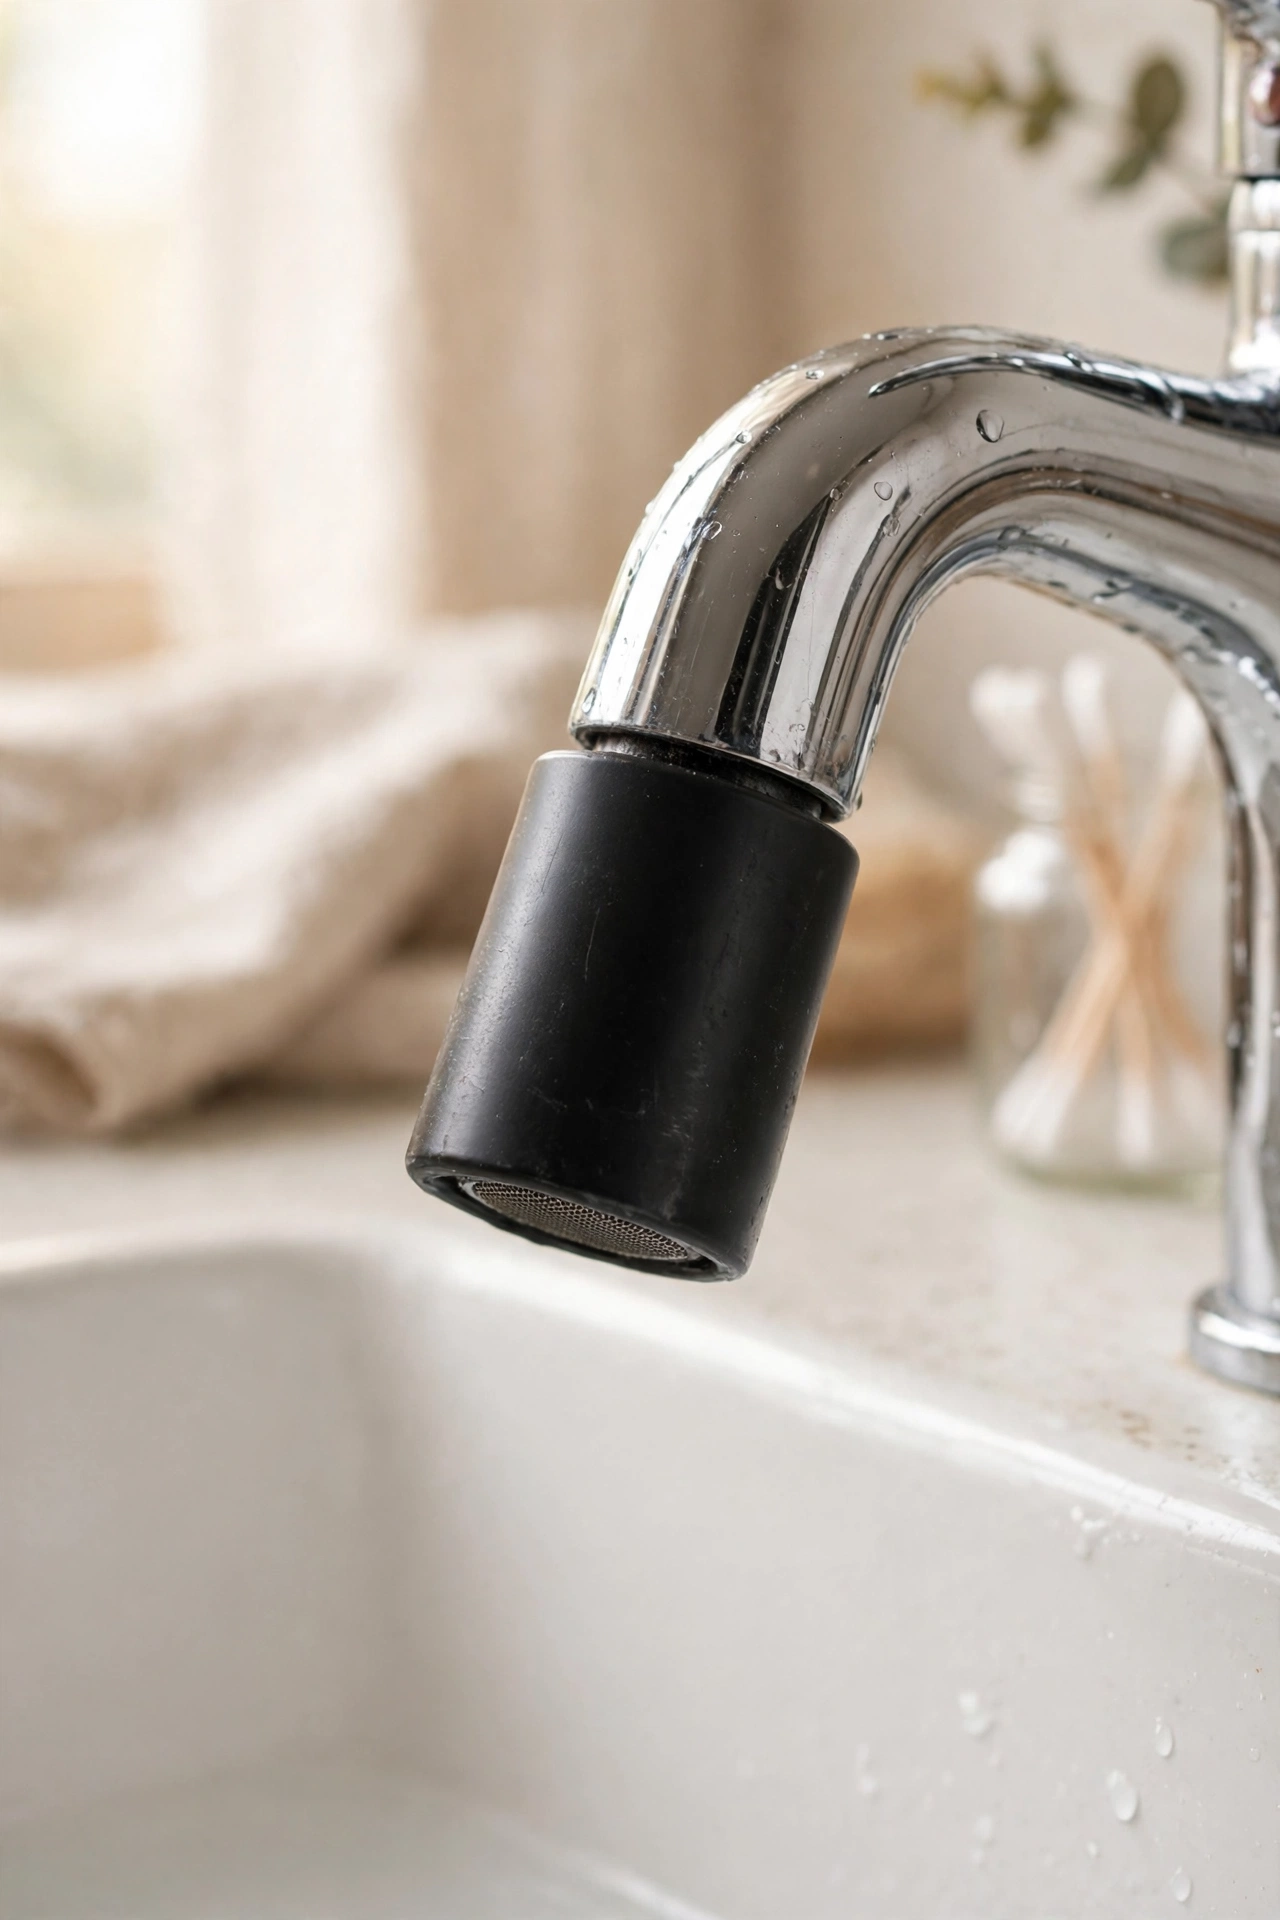
A faucet aerator is a tiny screw-on part that changes how your tap feels and looks — and it costs less than a sandwich. Unscrew the old aerator from the tap spout, take it to the shop to match the thread, and screw the new one on by hand. A matte black or brushed nickel aerator makes a chrome tap look deliberate instead of default, and a water-saving aerator cuts your bill without changing the pressure you feel. Keep the original in a bag under the sink for move-out day. For more renter-safe swaps, my (see also: 15-renter-friendly-bathroom-upgrades-youll-love) roundup has the full collection.
Cost: ~$5 | Time: 5 minutes
💰 Budget win: A $5 aerator fakes a $50 faucet swap — same visual upgrade, ten percent of the price.
Last, the reversible styling — pieces that lift away the day you move out.
11. Stack Over-Toilet Tension Shelves
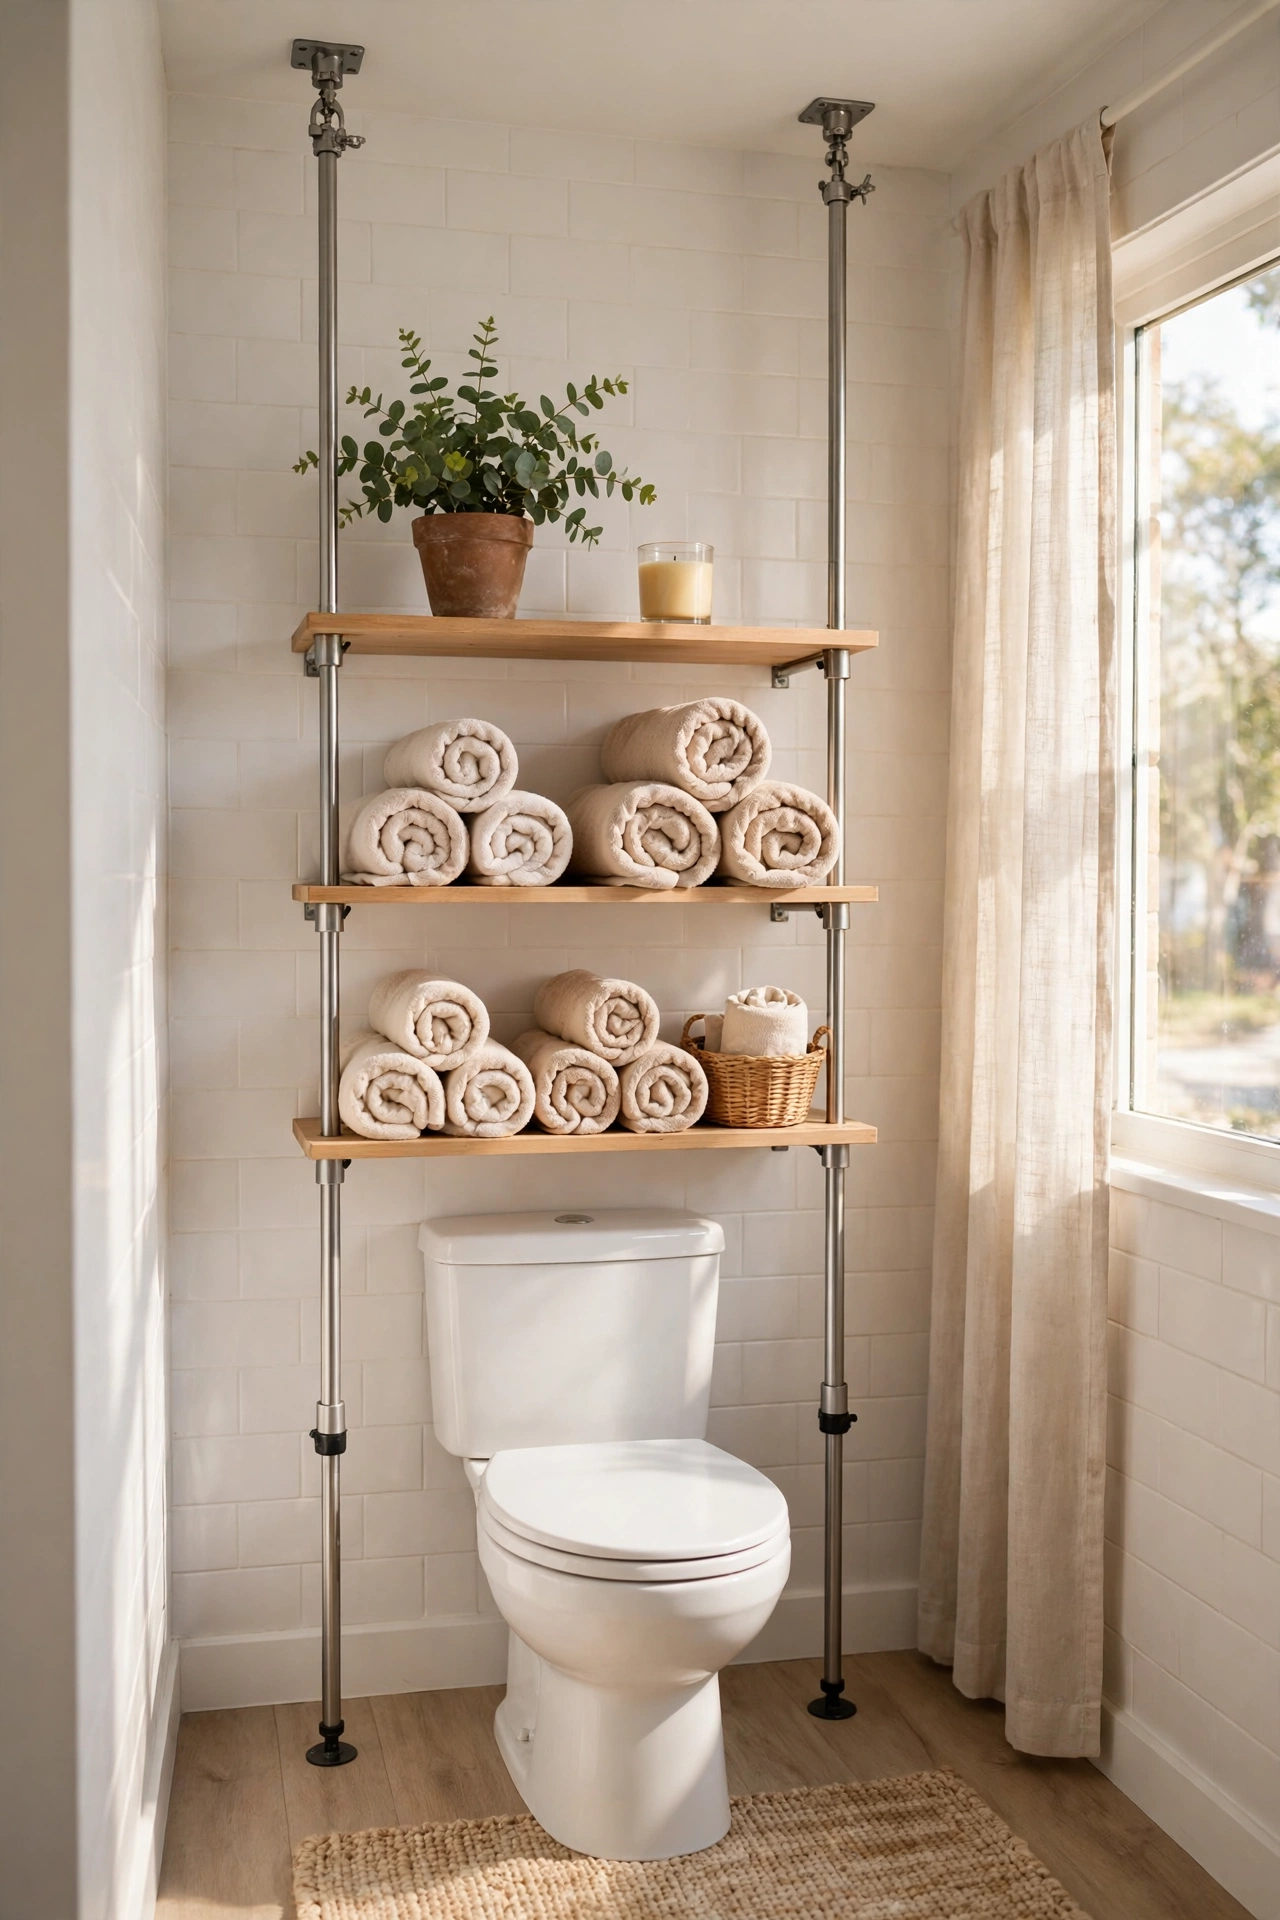
Over-toilet shelving usually means drilling, but a tension-pole unit grips floor to ceiling with no holes at all. Set the poles either side of the toilet, adjust the shelves to your heights, and load them with rolled towels, a plant, and a candle. The unit uses dead vertical space that a cabinet never would, and it comes down in minutes when you move. Check the ceiling height before buying — most units adjust, but very tall ceilings need an extension pole. Keep heavier items low so the unit stays stable, and the top shelf becomes your prettiest display spot in the whole bathroom.
Cost: ~$28 | Time: 20 minutes
💰 Budget win: A tension unit costs half a fitted cabinet and moves house with you — buy once, use in every flat.
12. Layer Rugs Instead of Replacing Floors
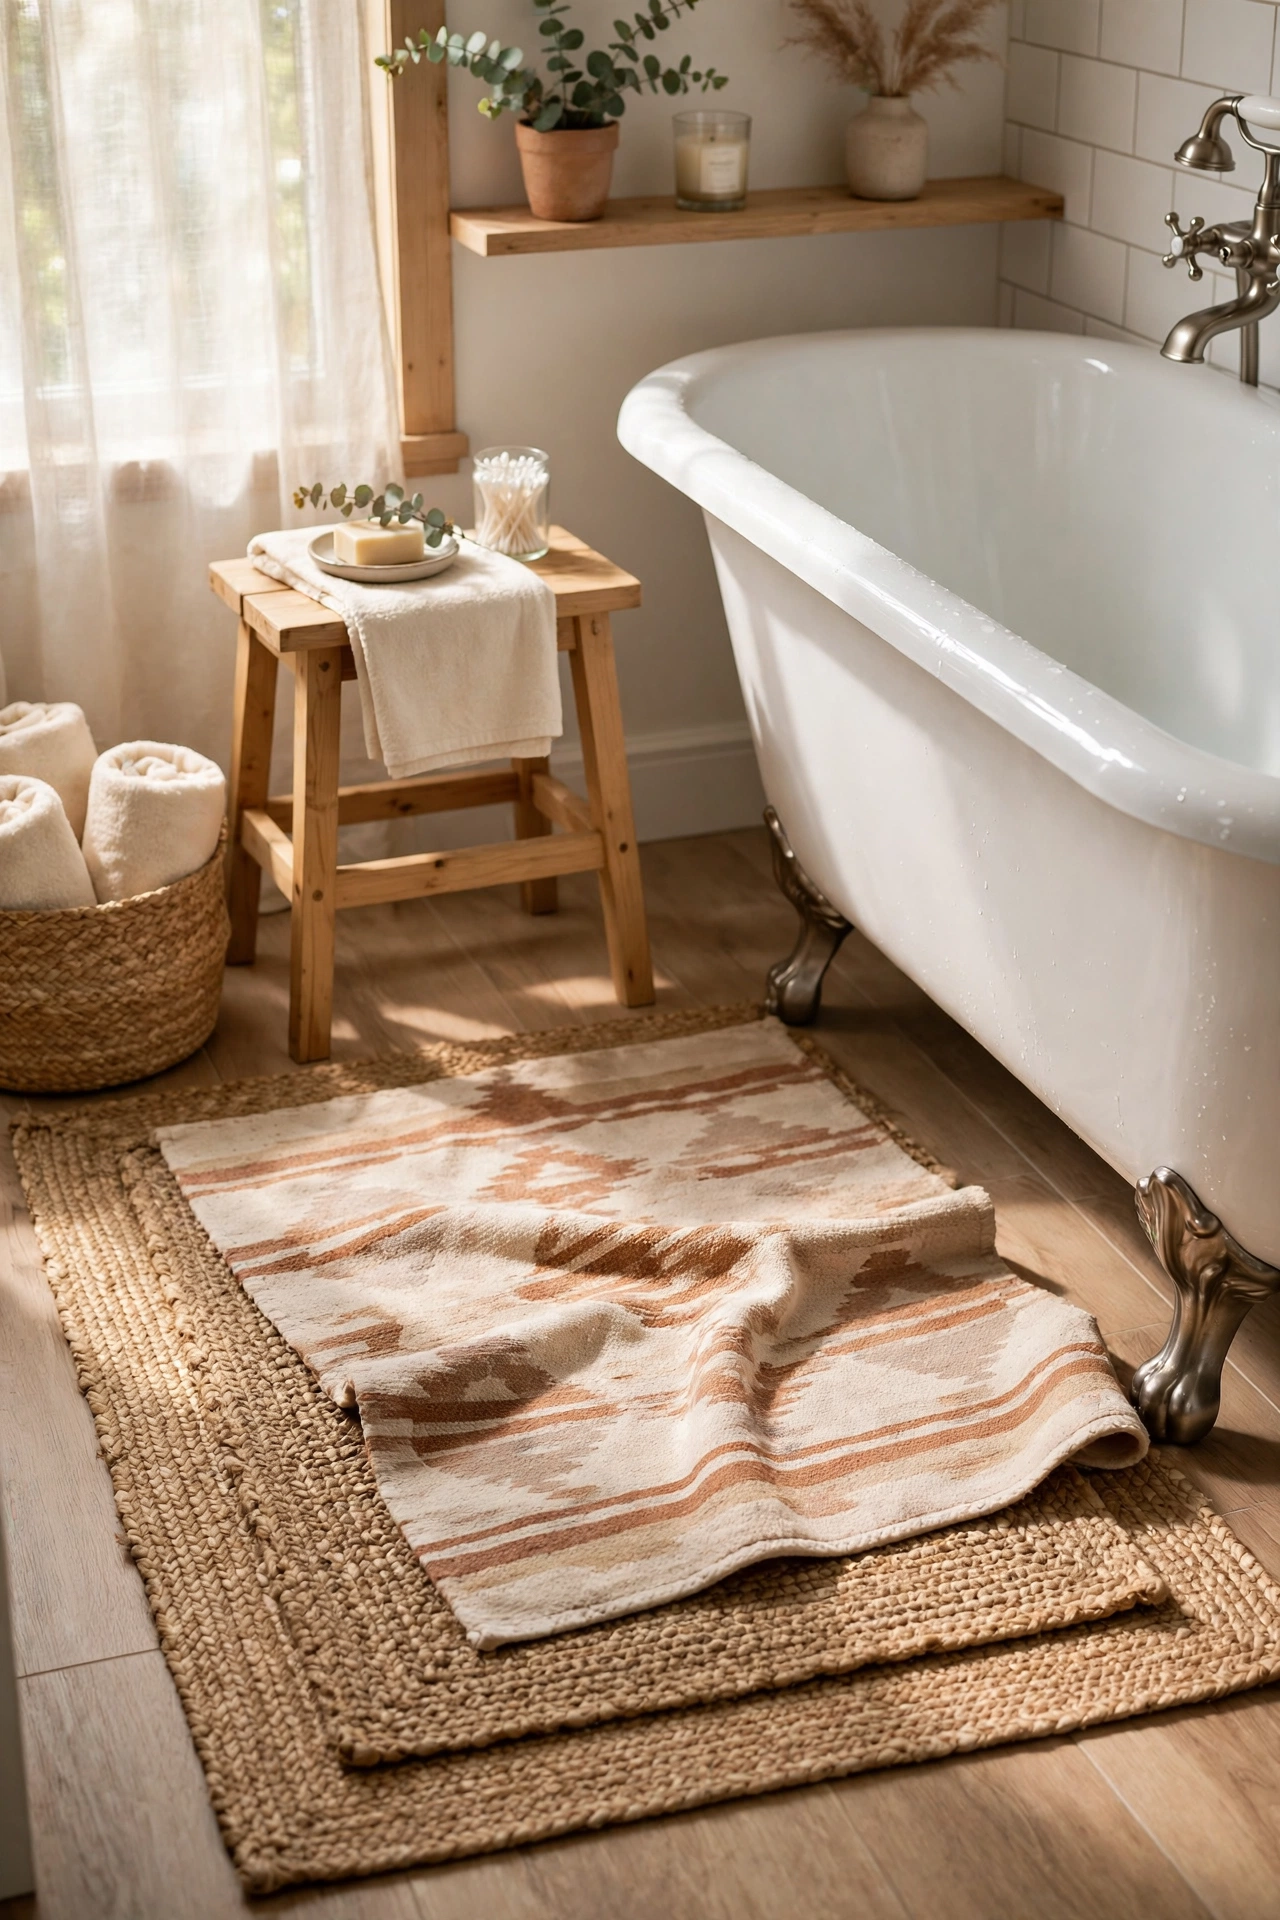
If the rental floor is beyond even peel-and-stick tiles, layer rugs over it instead. A large flat-weave rug underfoot plus a smaller plush mat by the tub covers most of the floor and adds warmth no tile ever will. Choose machine-washable rugs so the bathroom stays hygienic, and use a non-slip pad underneath so nothing slides on wet tile. The layers add pattern and color exactly where your feet land, which is where the eye goes anyway. When you move, roll them up and take them with you — the landlord’s floor stays exactly as it was, and your feet never knew the difference.
Cost: ~$24 | Time: 10 minutes
💰 Budget win: Washable rugs from discount stores cost a fraction of fitted bathroom carpet — and you own them forever.
13. Stand a Freestanding Towel Rack in the Corner
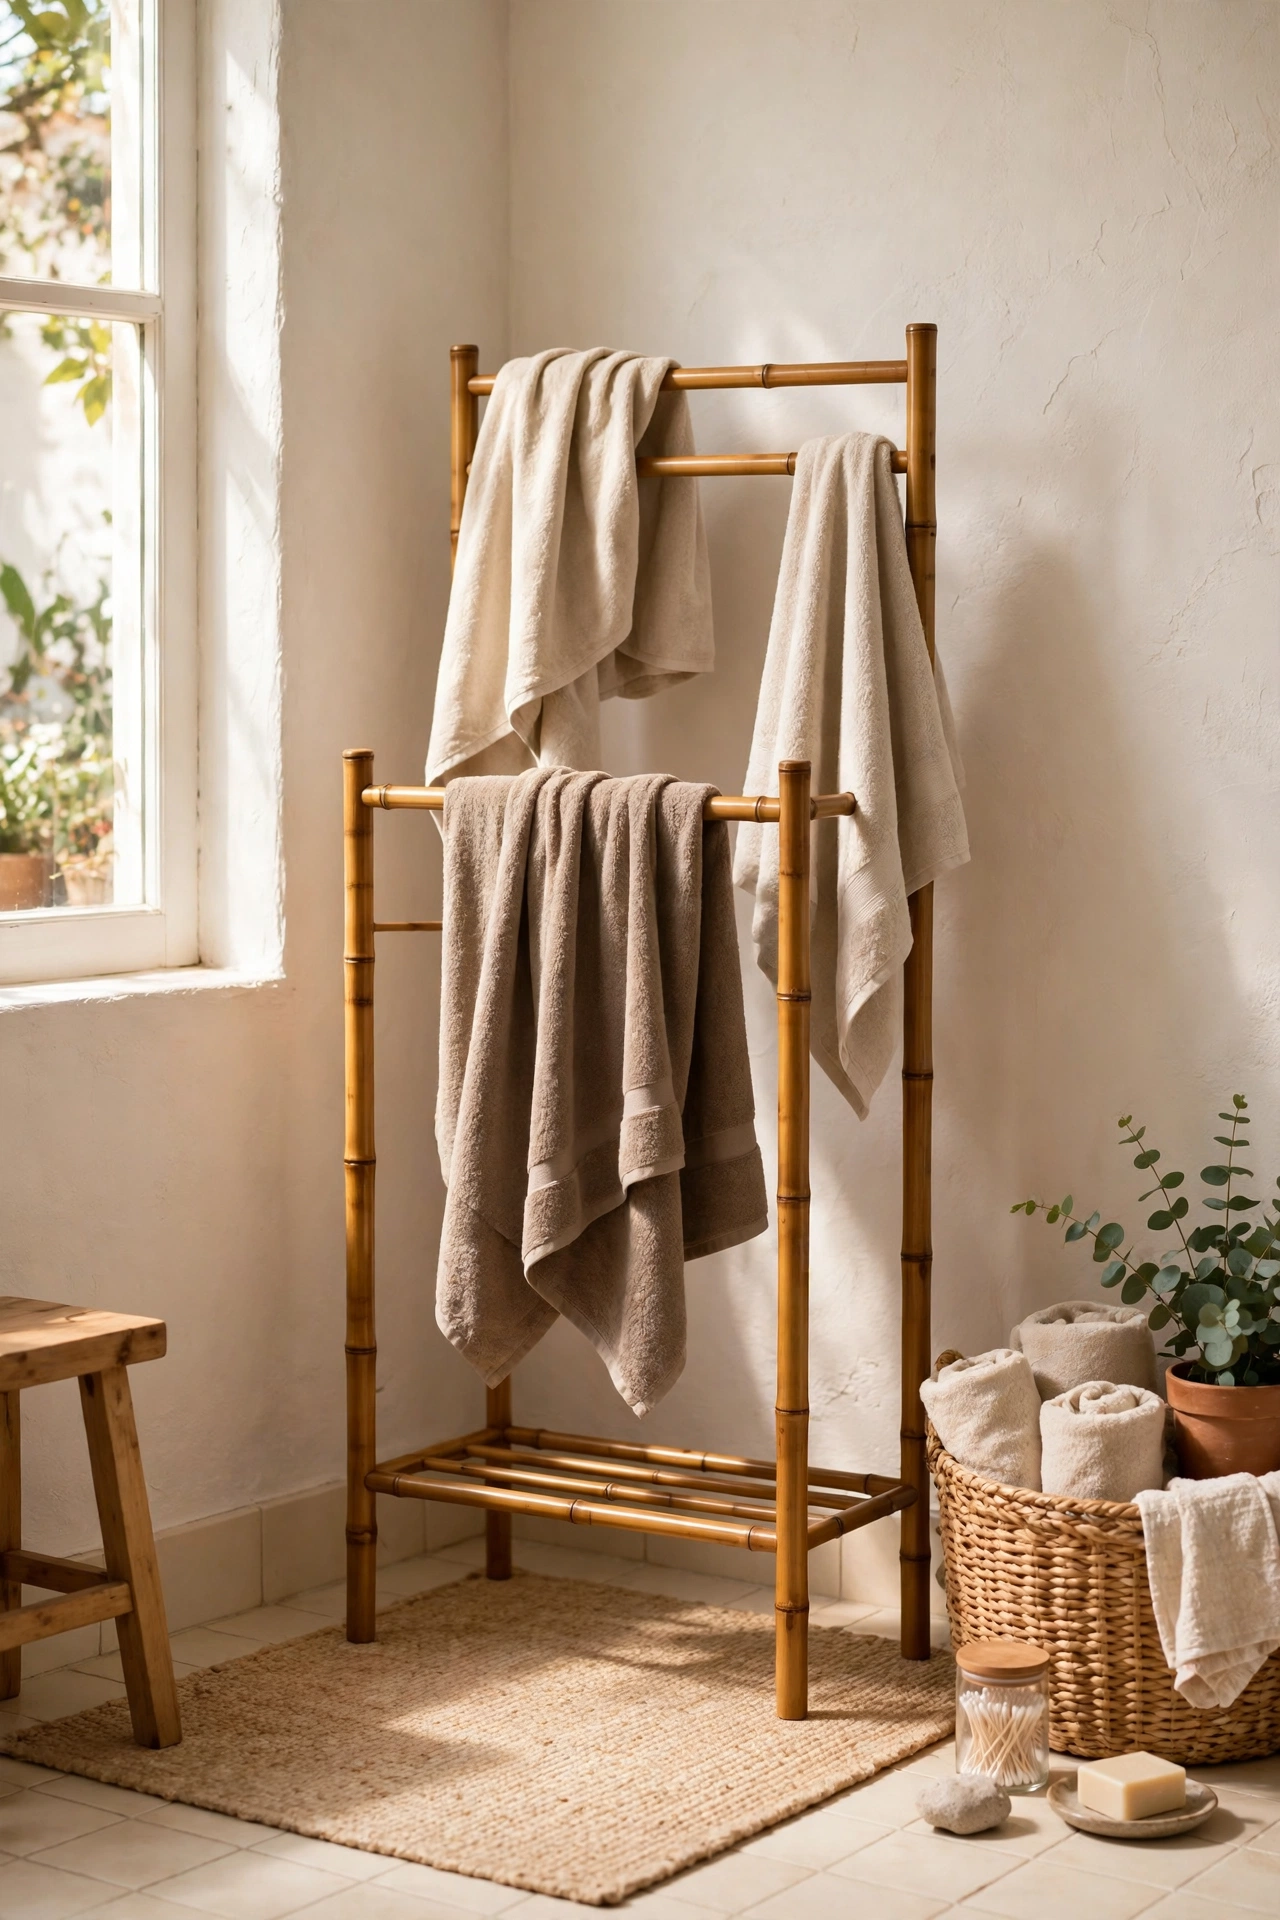
A freestanding towel rack needs no wall, no screws, and no permission — it just stands in the corner and works. Choose a tiered stand with two or three bars, drape one towel per bar, and the towels dry faster than folded in a cupboard because air reaches both sides. The stand also gives guests an obvious place to hang their towel, which ends the “where do I put this” dance. Bamboo stands suit warm bathrooms; matte black metal suits modern ones. It assembles in minutes, flat-packs for moving day, and costs less than a single wall-mounted rail installed by a handyman.
Cost: ~$22 | Time: 15 minutes
💰 Budget win: A freestanding rack replaces a towel rail, a hook, and a stool — three purchases for the price of one.
14. Style the Countertop With a Tray
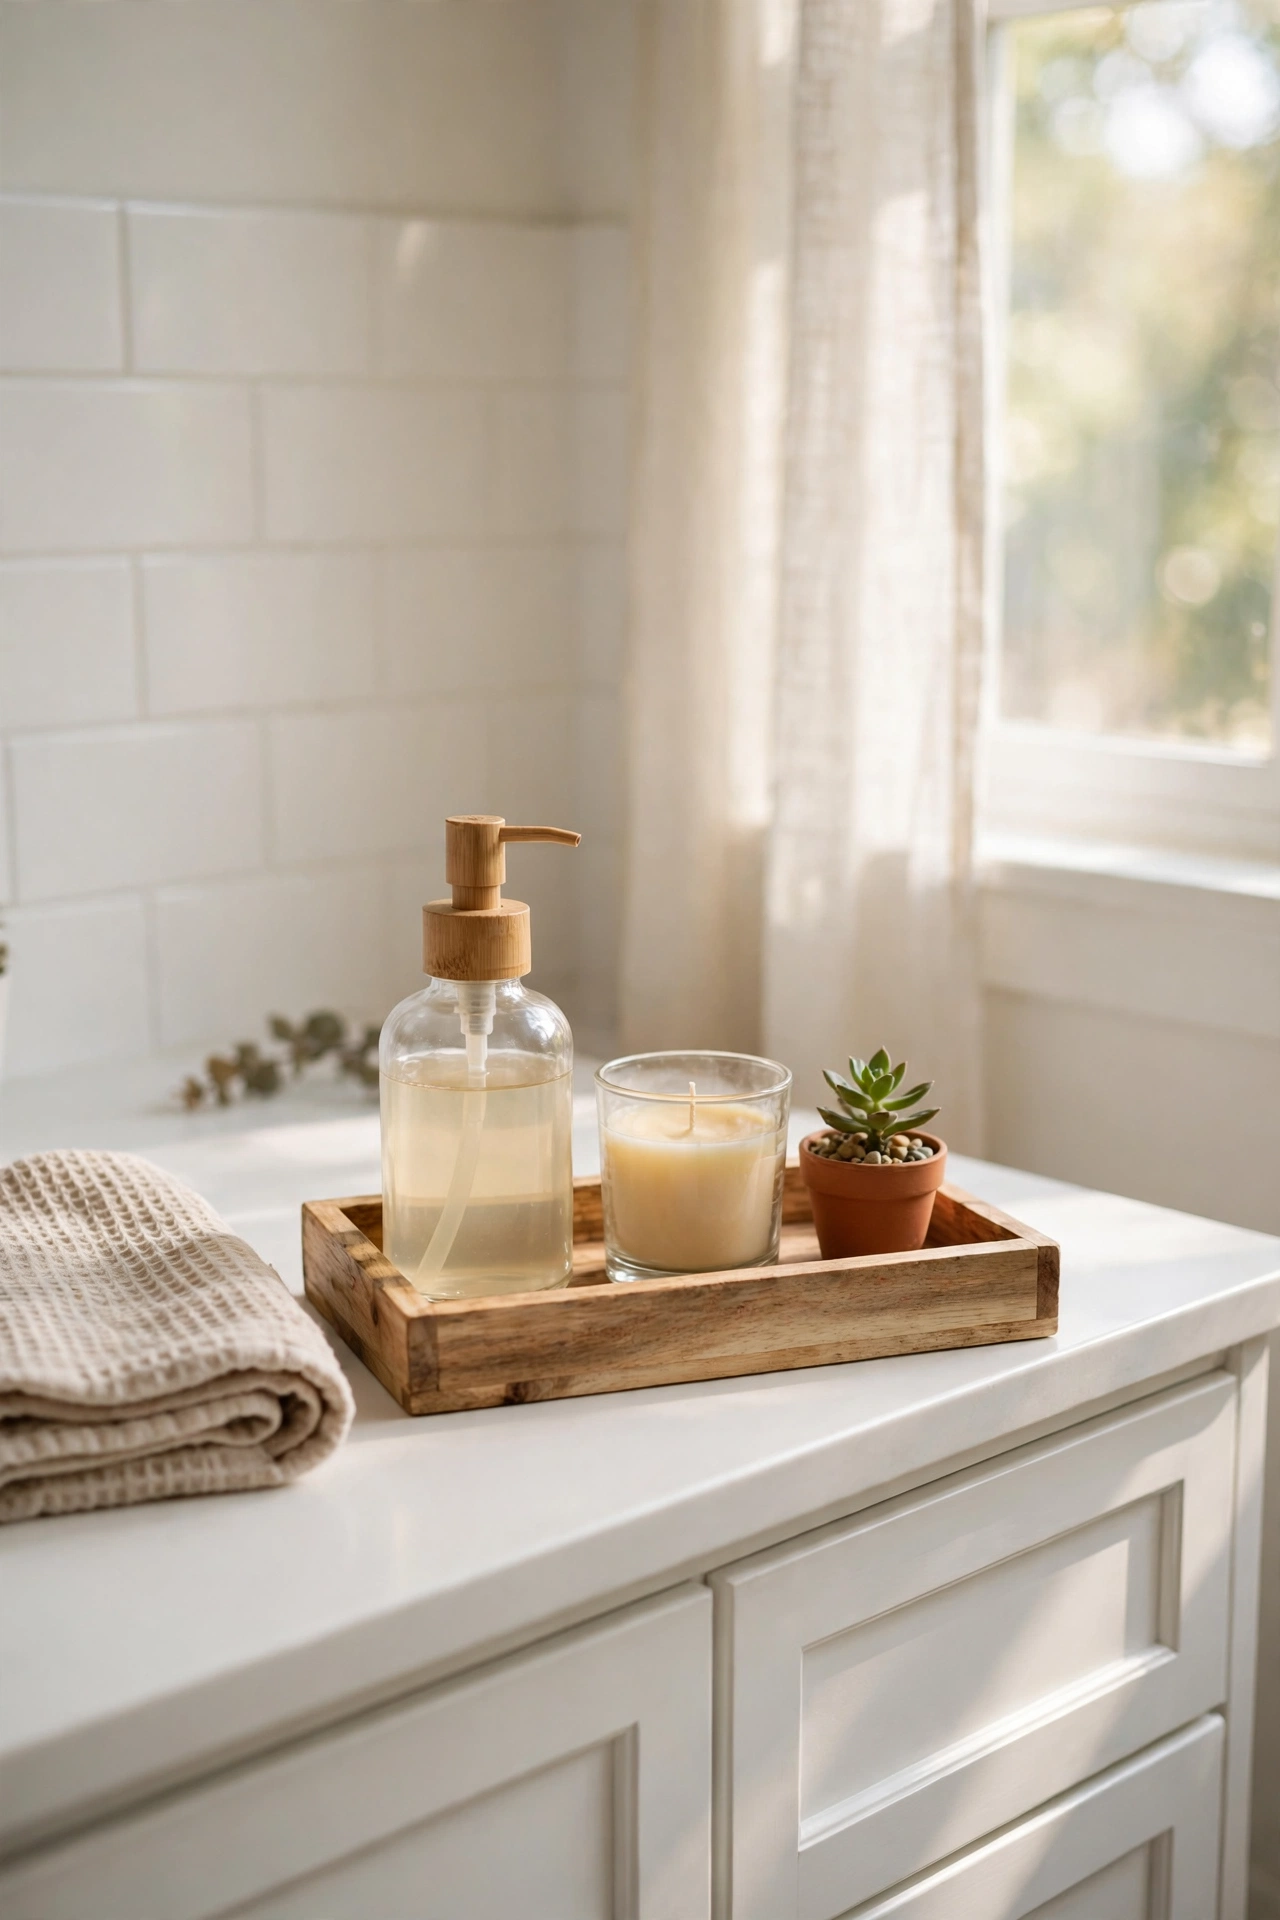
A tray on the vanity countertop is the renter’s instant organization system: everything you use daily lives on it, and the rest of the counter stays clear. Choose a small wooden or bamboo tray, arrange your soap dispenser, a candle, and a tiny plant on it, and the counter suddenly looks styled instead of cluttered. When it’s time to clean, lift the whole tray, wipe underneath, and put it back — thirty seconds instead of moving ten bottles individually. The tray also protects the countertop from soap rings and water marks, which keeps the landlord happy. Simple, cheap, and it moves with you.
Cost: ~$10 | Time: 5 minutes
💰 Budget win: A bamboo tray from a discount store is the same wood as a boutique “vanity tray” at a quarter of the price.
15. Cluster Faux Plants Where Real Ones Die
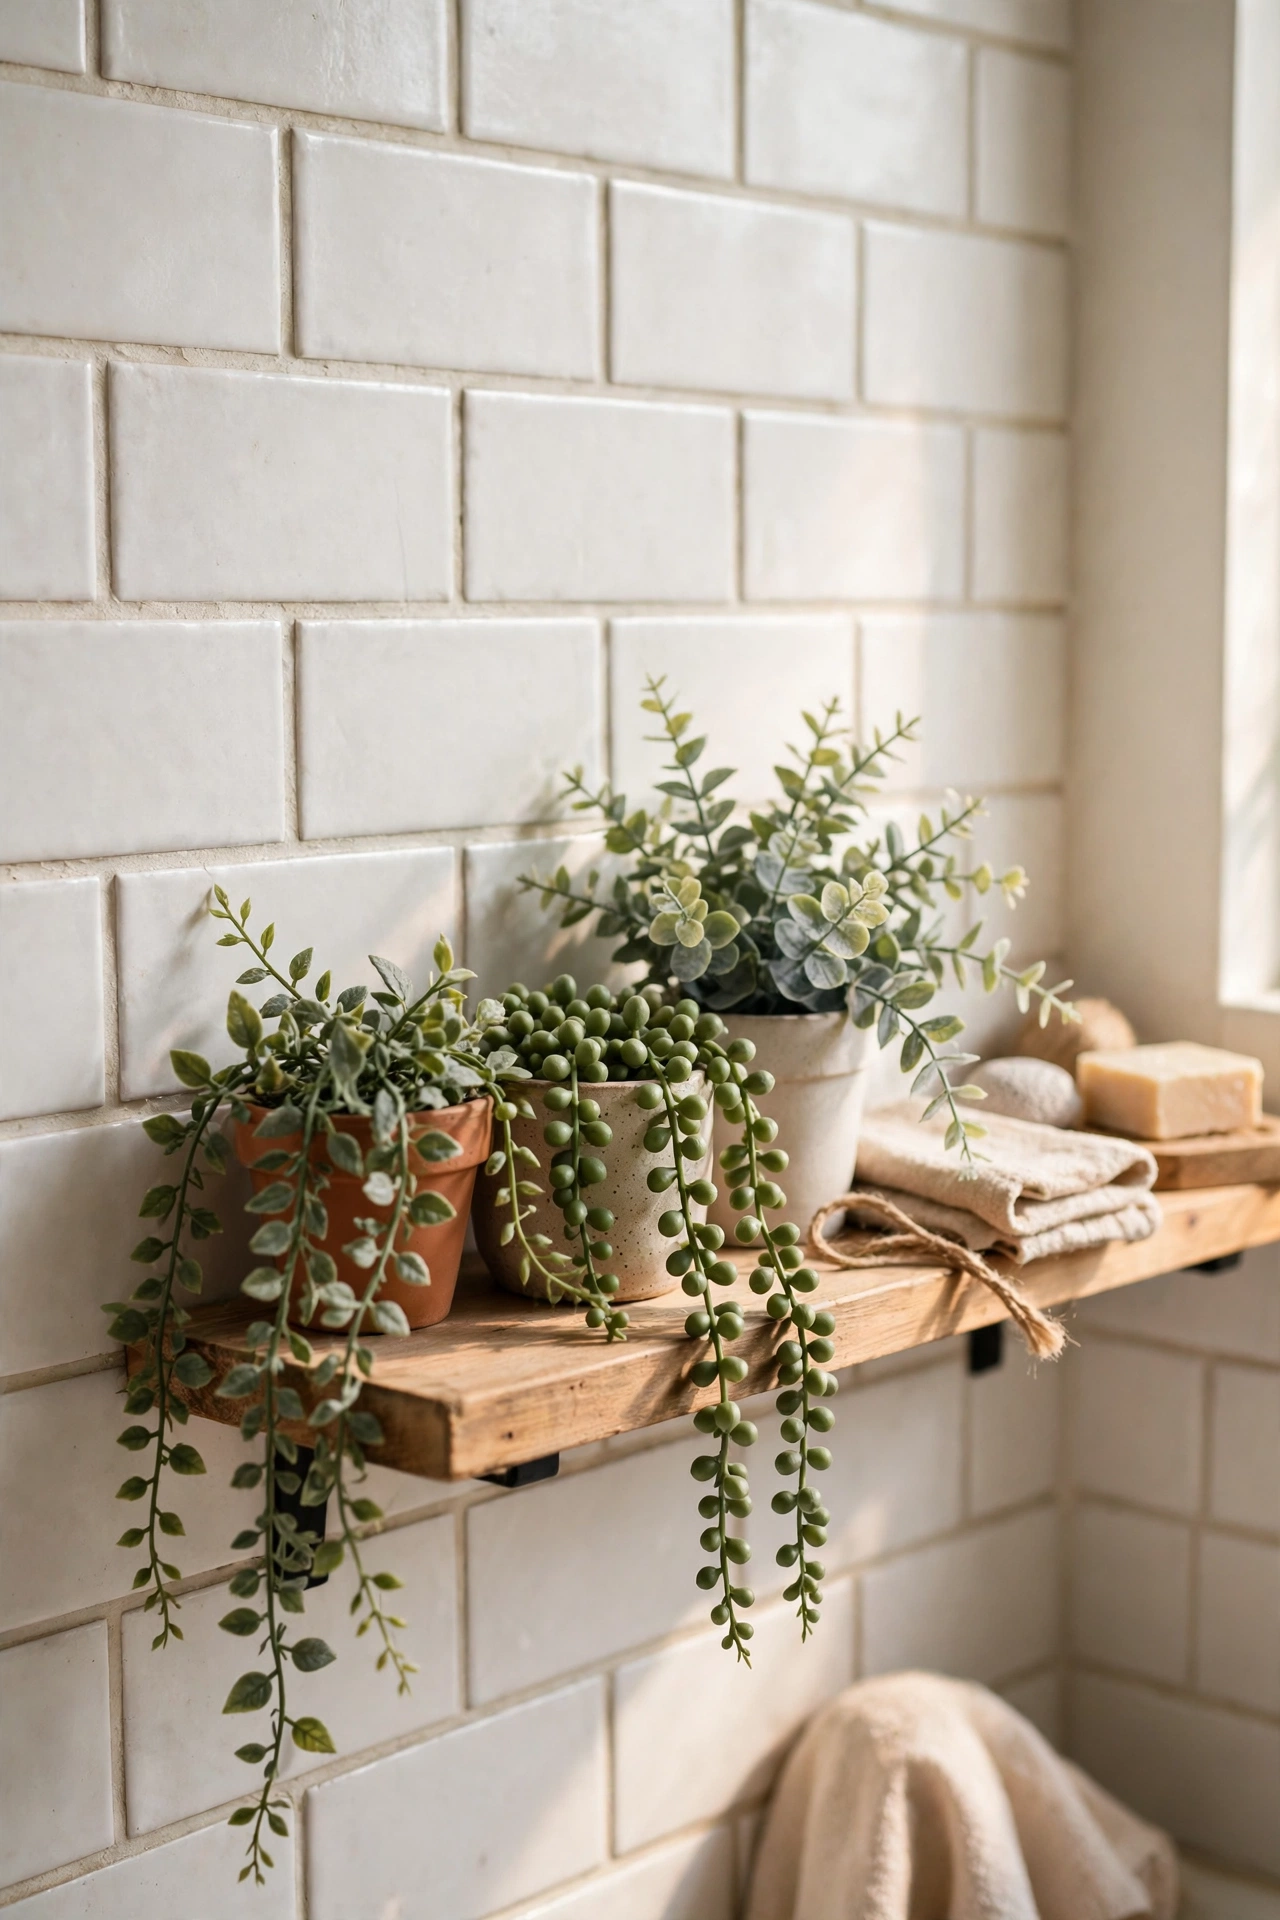
Some rental bathrooms have no window, and real plants give up within weeks — that’s where good faux plants earn their keep. Cluster two or three small faux plants on a shelf, the windowsill, or the back of the toilet, and the room gains life without a single watering can. Choose realistic varieties — trailing pothos and small ferns fool most people — and dust them monthly so they don’t give themselves away. Mix one faux plant with one real low-light plant if you have even a little daylight, and nobody will know which is which. For more no-window bathroom ideas, see my (see also: small-bathroom-ideas-under-100) post.
Cost: ~$14 | Time: 10 minutes
💰 Budget win: Faux plants cost less than replacing dead real ones every month — and they look perfect all year round.
That’s the deposit-back system: stick it, lean it, swap it, or stand it — never drill it. Do the showerhead and the knobs this weekend, add the curtain when you fancy a change, and when move-out day comes, an hour of reversing leaves the bathroom exactly as you found it. Except now you know how good it can look.
