17 Black and White Bathroom Ideas on a Dime
Black and white bathrooms look expensive because the contrast does the decorating for you — no fancy tile, no designer fixtures, just two colours used with confidence. My own bathroom went from beige and boring to sharp and graphic for under a hundred dollars, mostly with paint, fabric and a few swaps. These Black and White bathroom ideas are all renter-friendly and budget-first, so you can get the high-contrast look without touching the plumbing or calling a contractor.
1. Paint Walls Crisp White and Let Black Accents Pop
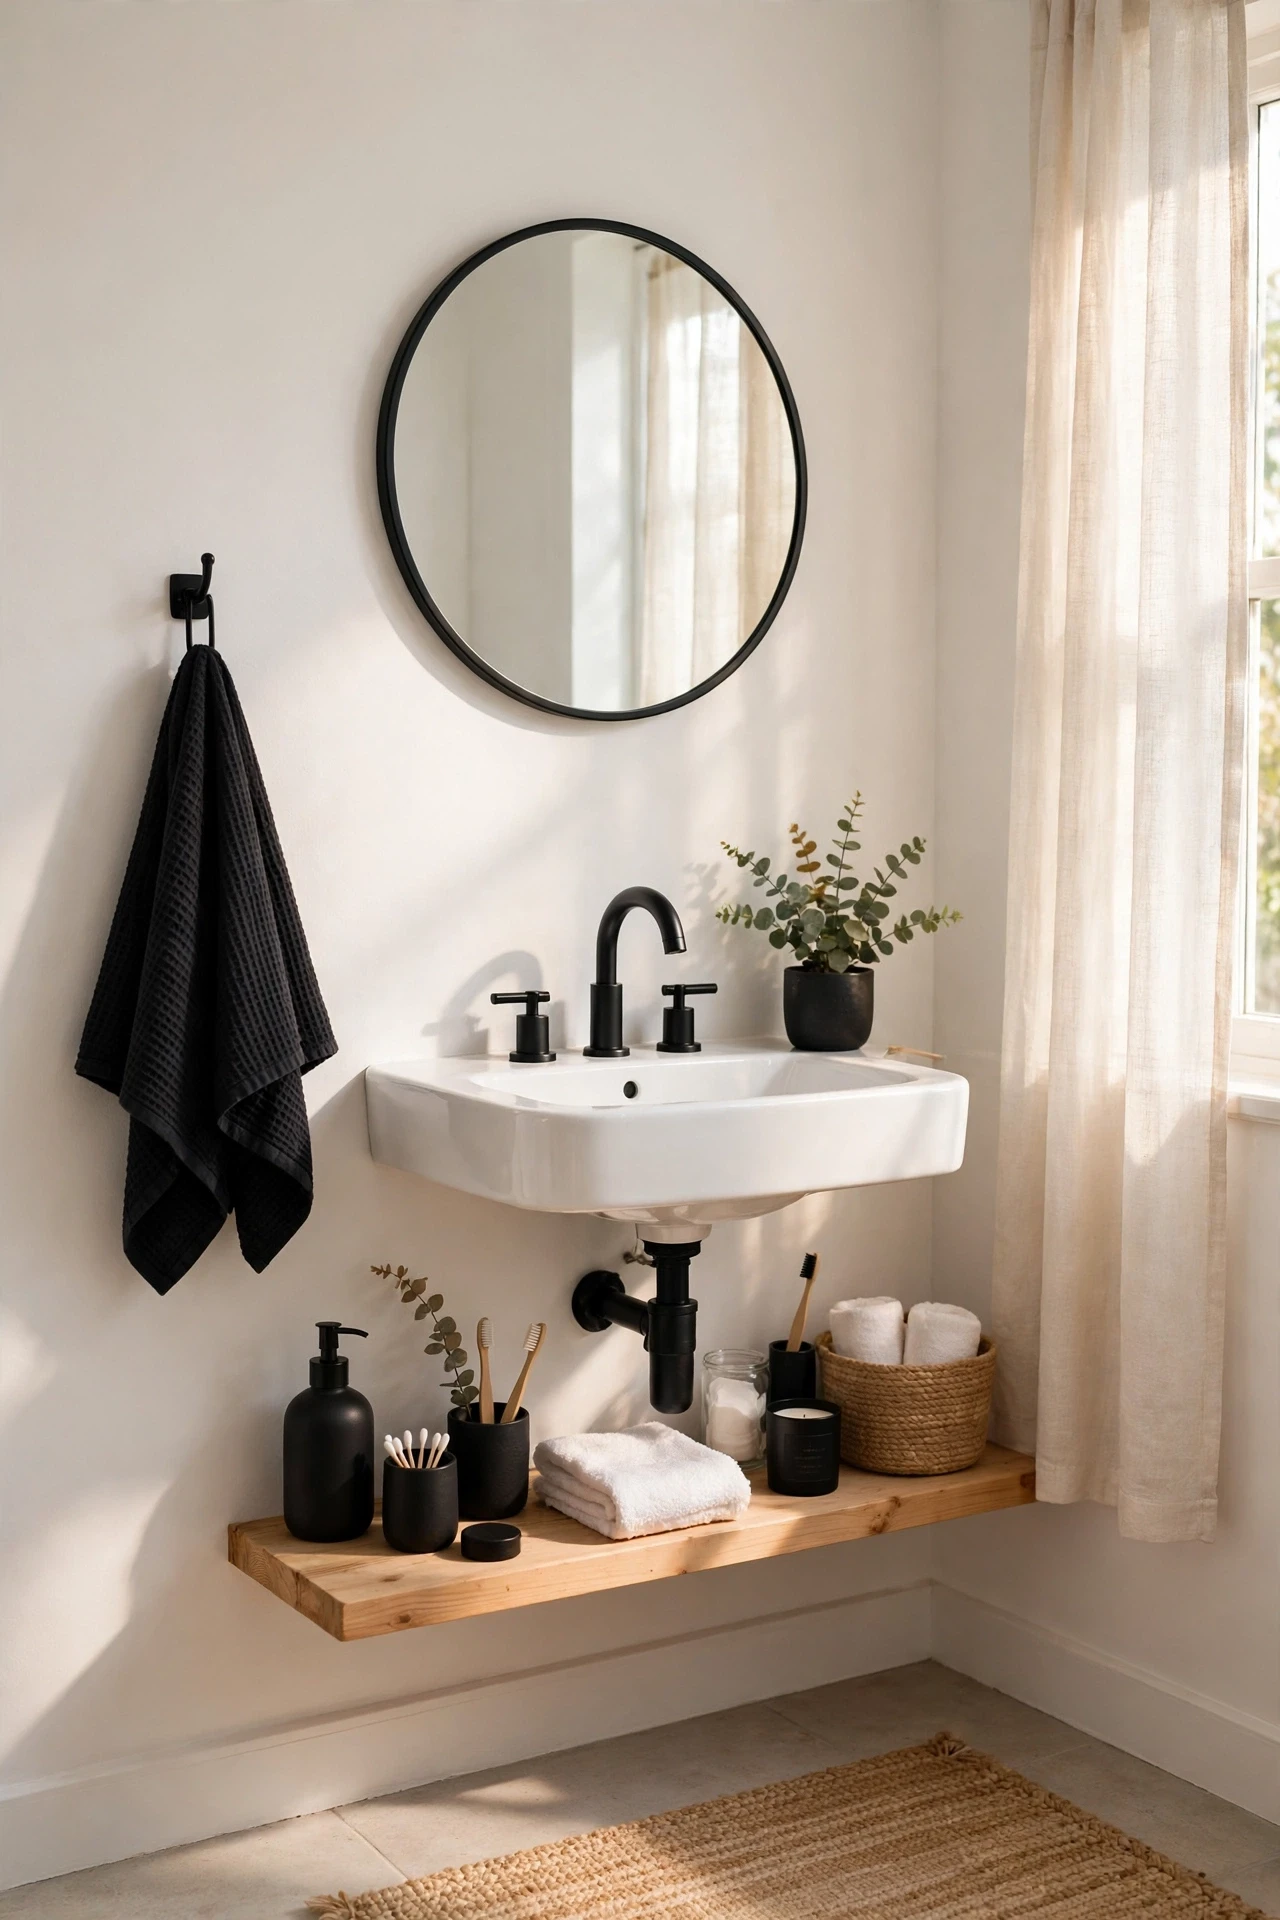
A crisp white wall is the foundation of every great black and white bathroom, because it gives the black accents something clean to stand against. Choose a bright white with no yellow undertone, and paint the walls and ceiling the same shade so the room feels taller. The white also bounces light around, which matters in a small bathroom with one window. Once the walls are white, even a black soap dish looks deliberate. I tried this — the mistake to avoid is a dingy off-white that reads as grey next to true black. Test a swatch beside something black first.
Cost: ~$25 | Time: 4 hours
💰 Budget win: One tin of bright white paint covers most bathrooms, and the transformation beats any single accessory you could buy.
2. Add a Black-and-White Striped Shower Curtain
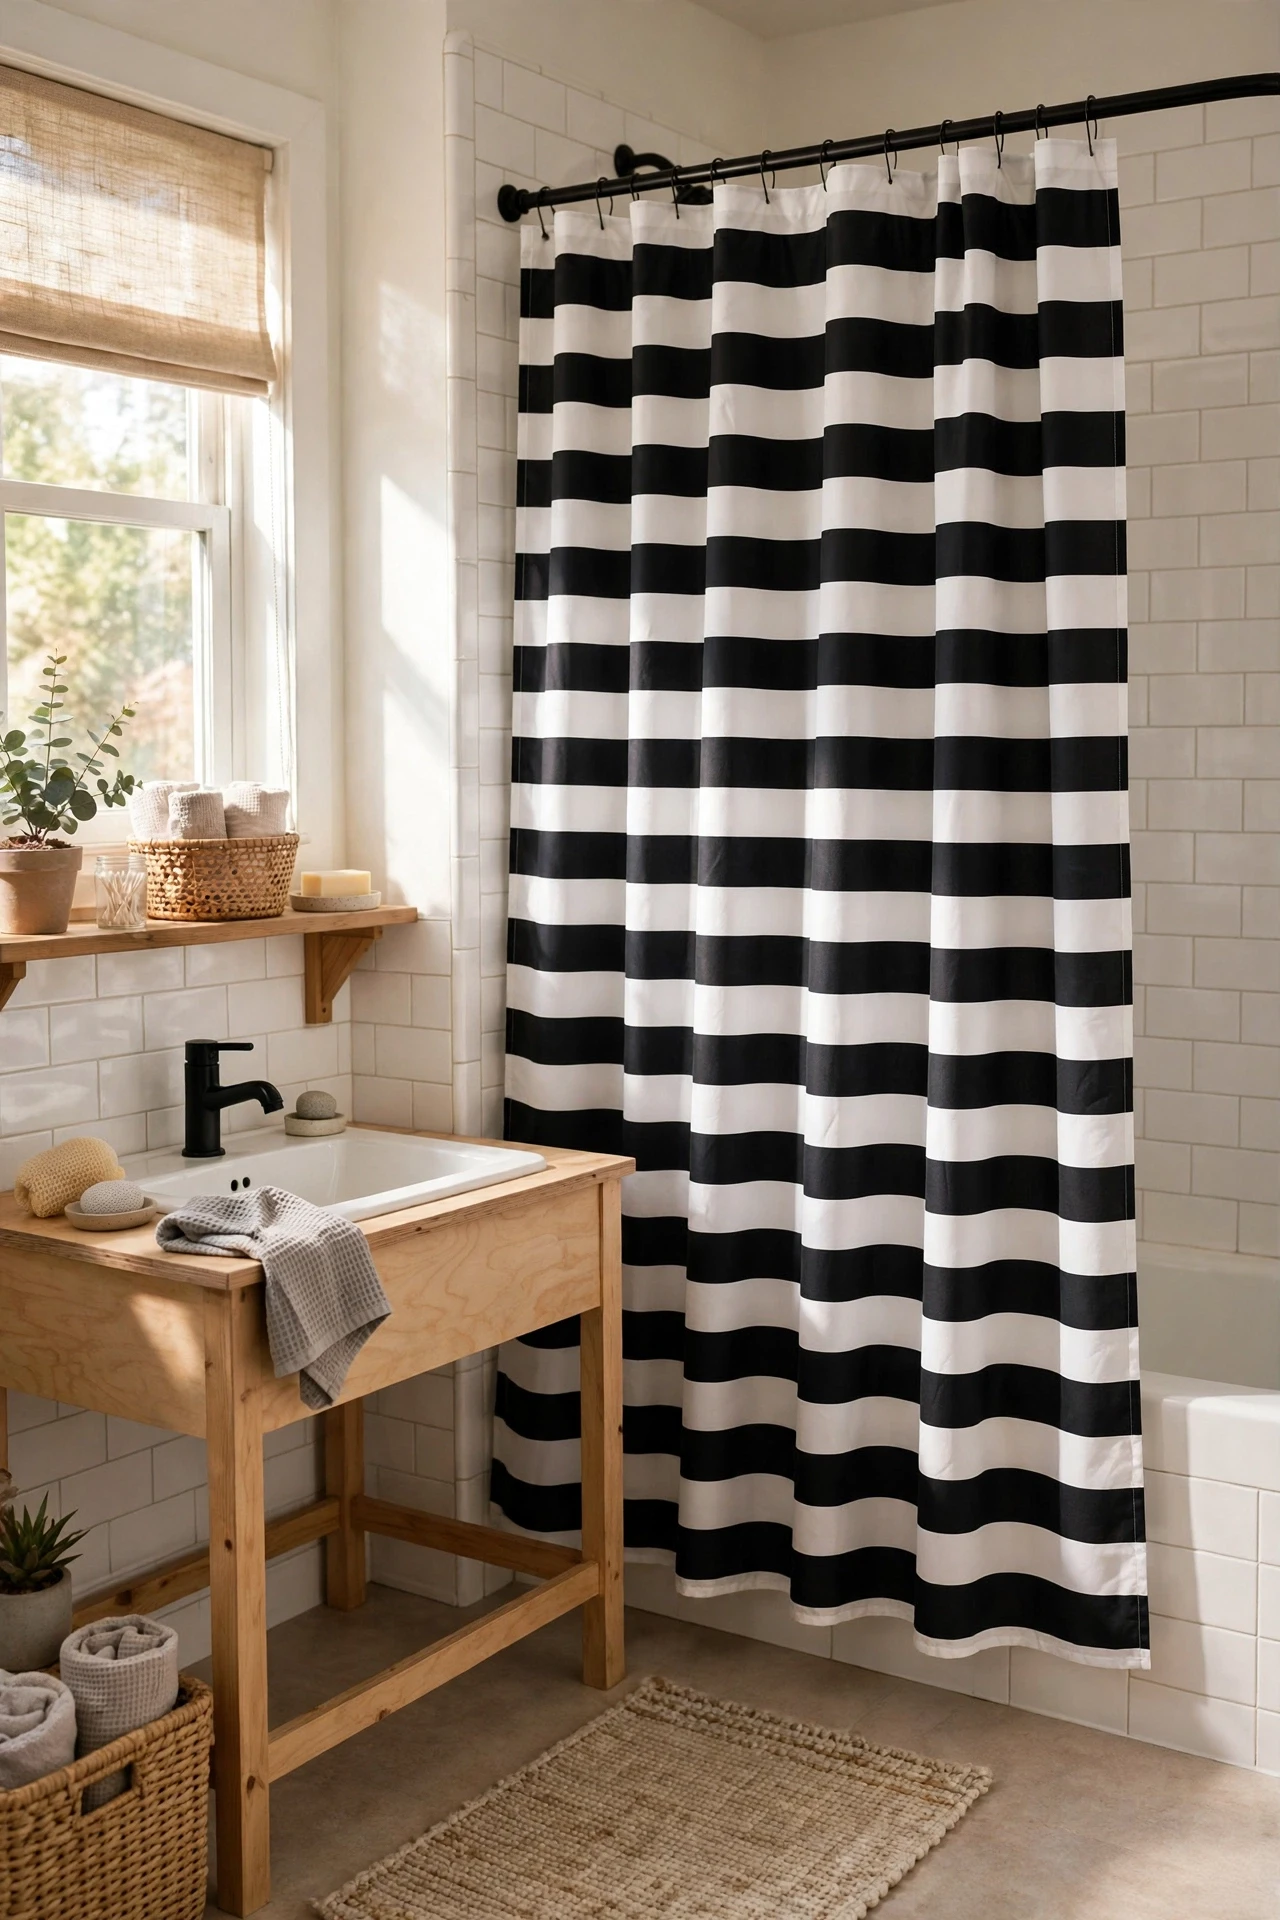
A striped shower curtain is the fastest black and white statement you can make, because it covers a huge area of the room for the price of a pizza. Bold vertical stripes make the ceiling feel higher, while horizontal stripes widen the shower wall — pick the direction that fixes your room’s proportions. Keep the rest of the bathroom quiet so the curtain stays the star, and pair it with a plain liner to protect it. I hung mine in ten minutes and the bathroom went from forgettable to photographed, which is a lot of impact for one piece of fabric.
Cost: ~$14 | Time: 10 minutes
💰 Budget win: A striped curtain costs the same as a plain one, so the drama is essentially free.
3. Frame the Mirror in Matte Black
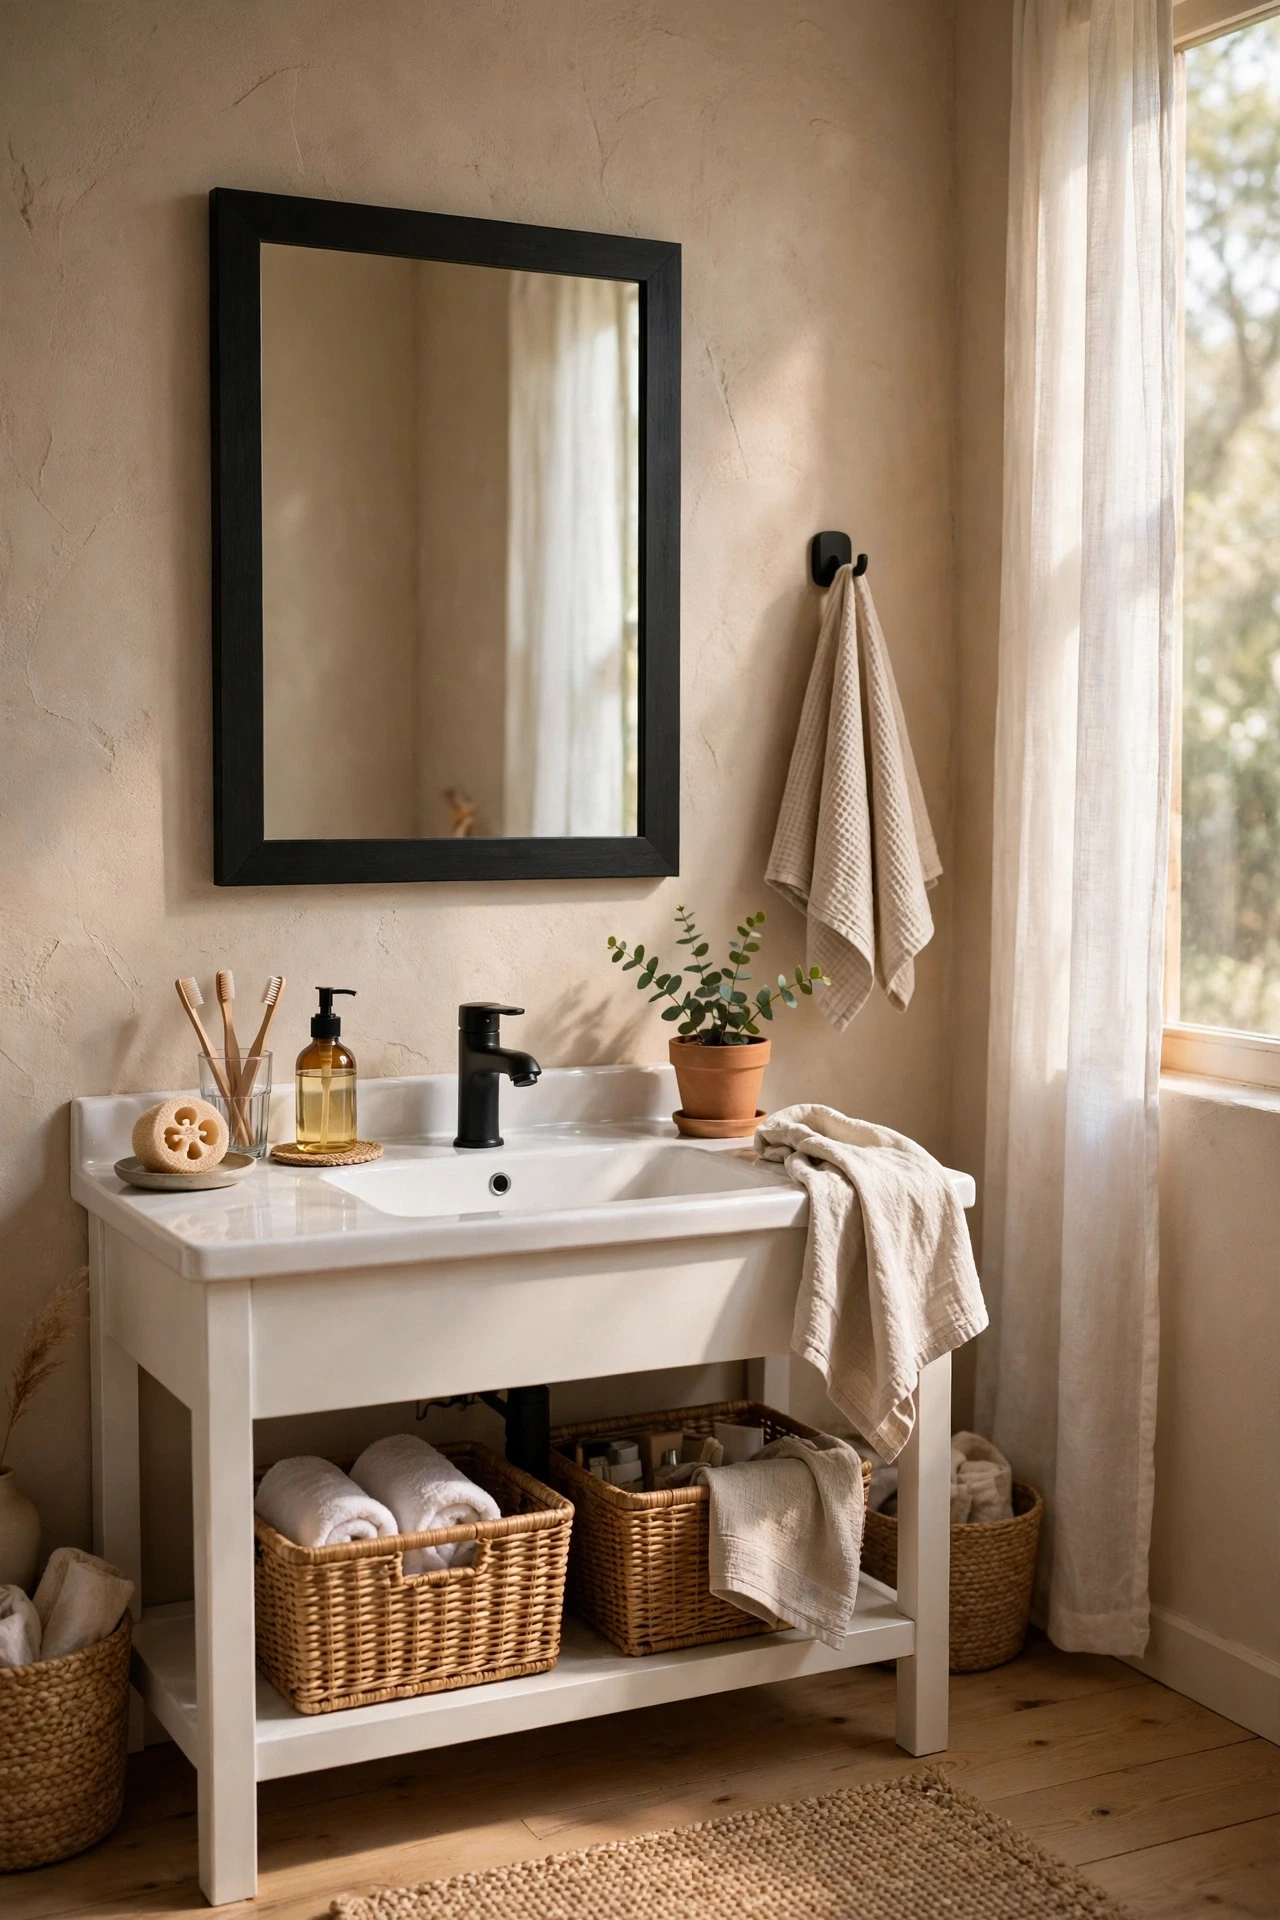
A plain mirror with a matte black frame looks instantly custom, and you can get there with trim, paint and adhesive rather than a new mirror. Cut thin wood strips to fit the mirror edges, paint them matte black, and stick them on with construction adhesive. The black border anchors the whole vanity wall and ties together every other black accent in the room. Measure twice, paint before sticking, and use painter’s tape to hold the trim while the adhesive sets. My framed mirror took one afternoon and looks like it came from a showroom.
Cost: ~$12 | Time: 2 hours
💰 Budget win: Paint and trim cost a fraction of a new framed mirror, and the black frame makes the vanity look designed.
4. Lay a Bold Geometric Bath Mat
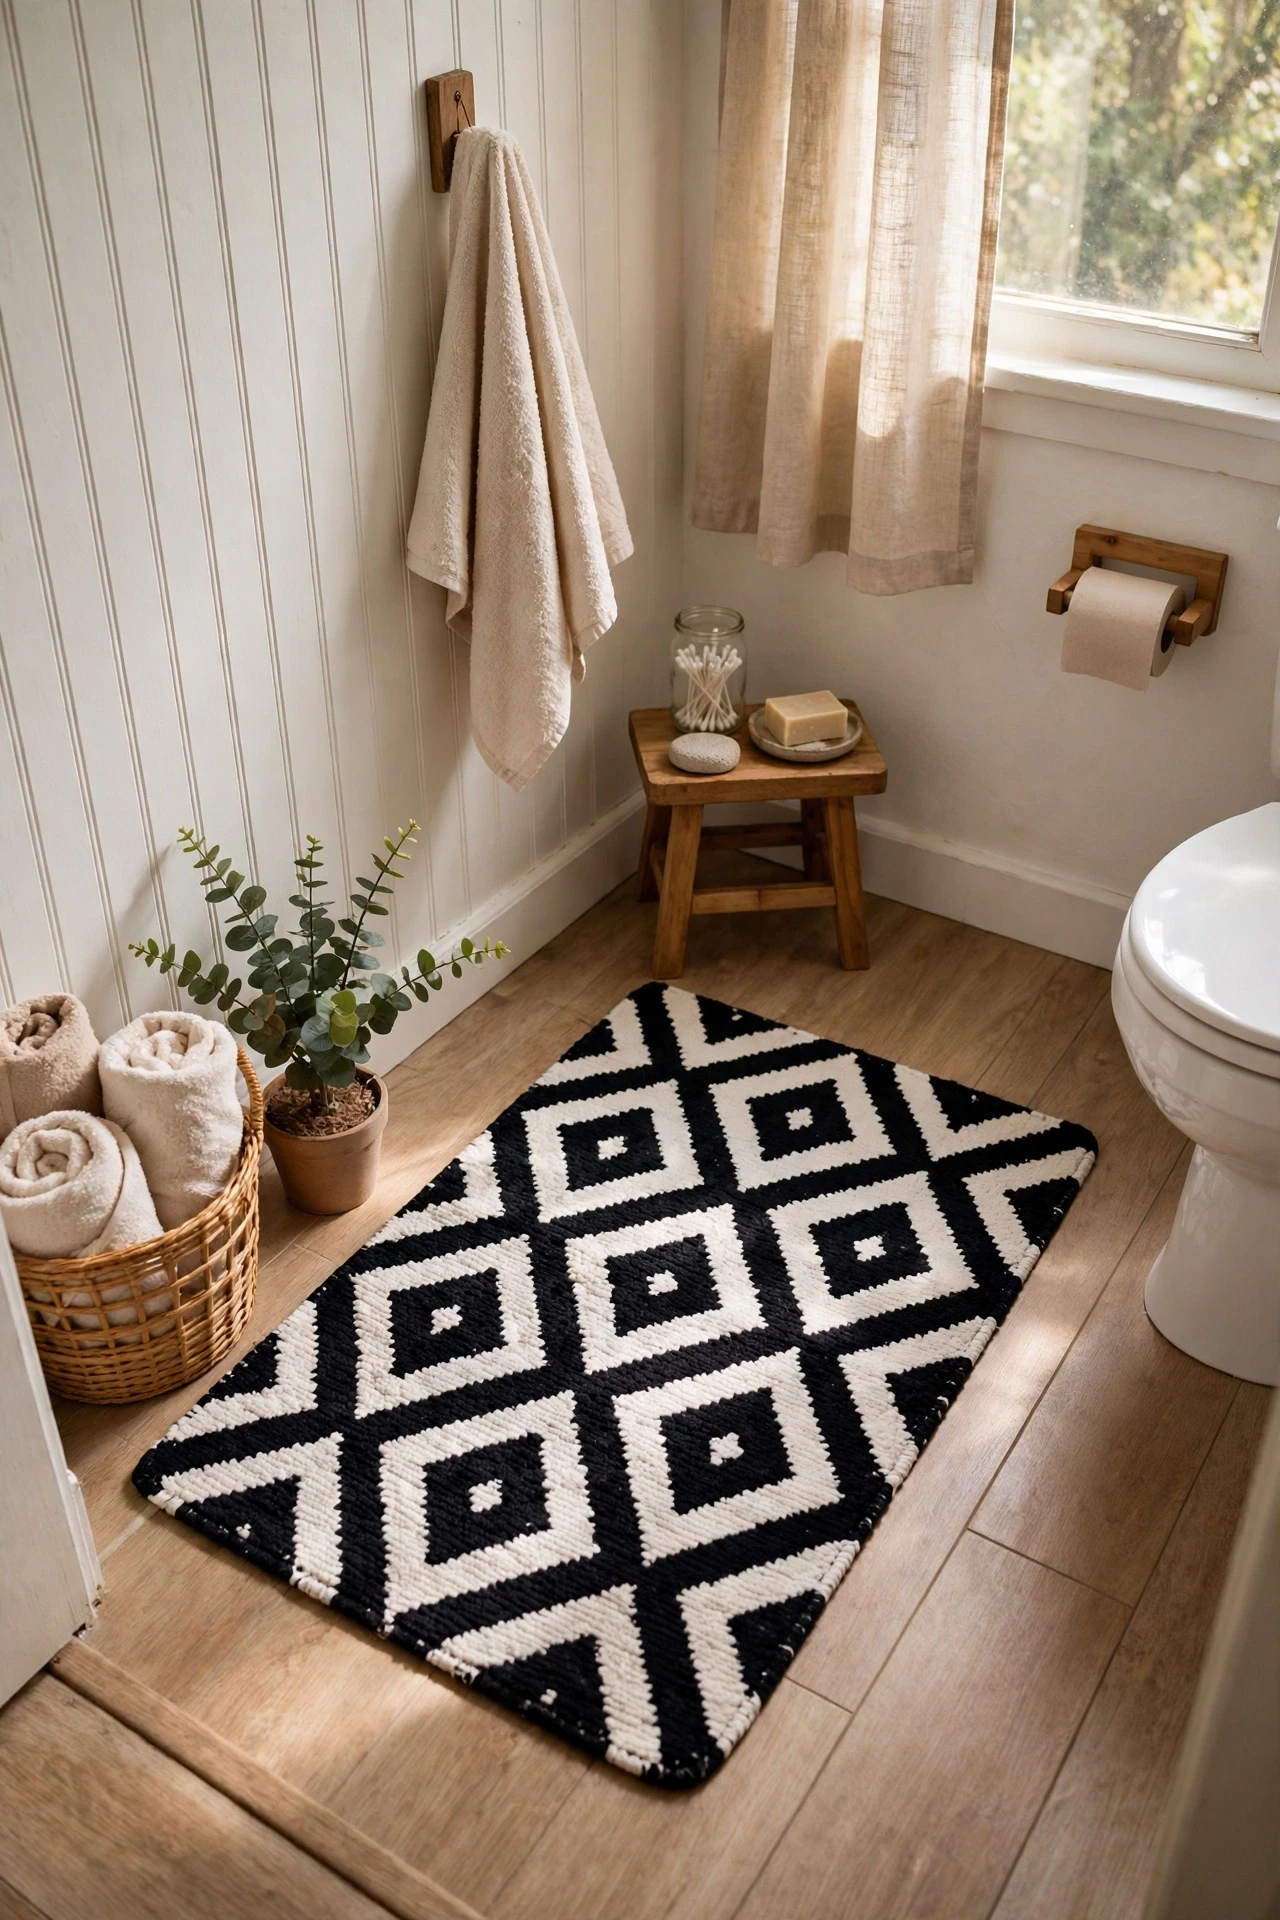
A geometric bath mat in black and white adds pattern at floor level, which grounds the whole high-contrast scheme without overwhelming it. Choose a bold diamond, chevron or checker pattern in a washable cotton or flat-weave, and make sure it has a non-slip backing for safety. The mat pulls the eye down and makes the floor part of the design, not just a surface you stand on. Keep the towels plain so the pattern has room to breathe. I swapped a boring beige mat for a black diamond one and the bathroom suddenly looked intentional, like someone had actually planned it.
Cost: ~$15 | Time: 5 minutes
💰 Budget win: Washable patterned mats cost the same as plain ones, so the graphic punch comes at no extra charge.
5. Swap Faucet Handles for Matte Black Fixtures
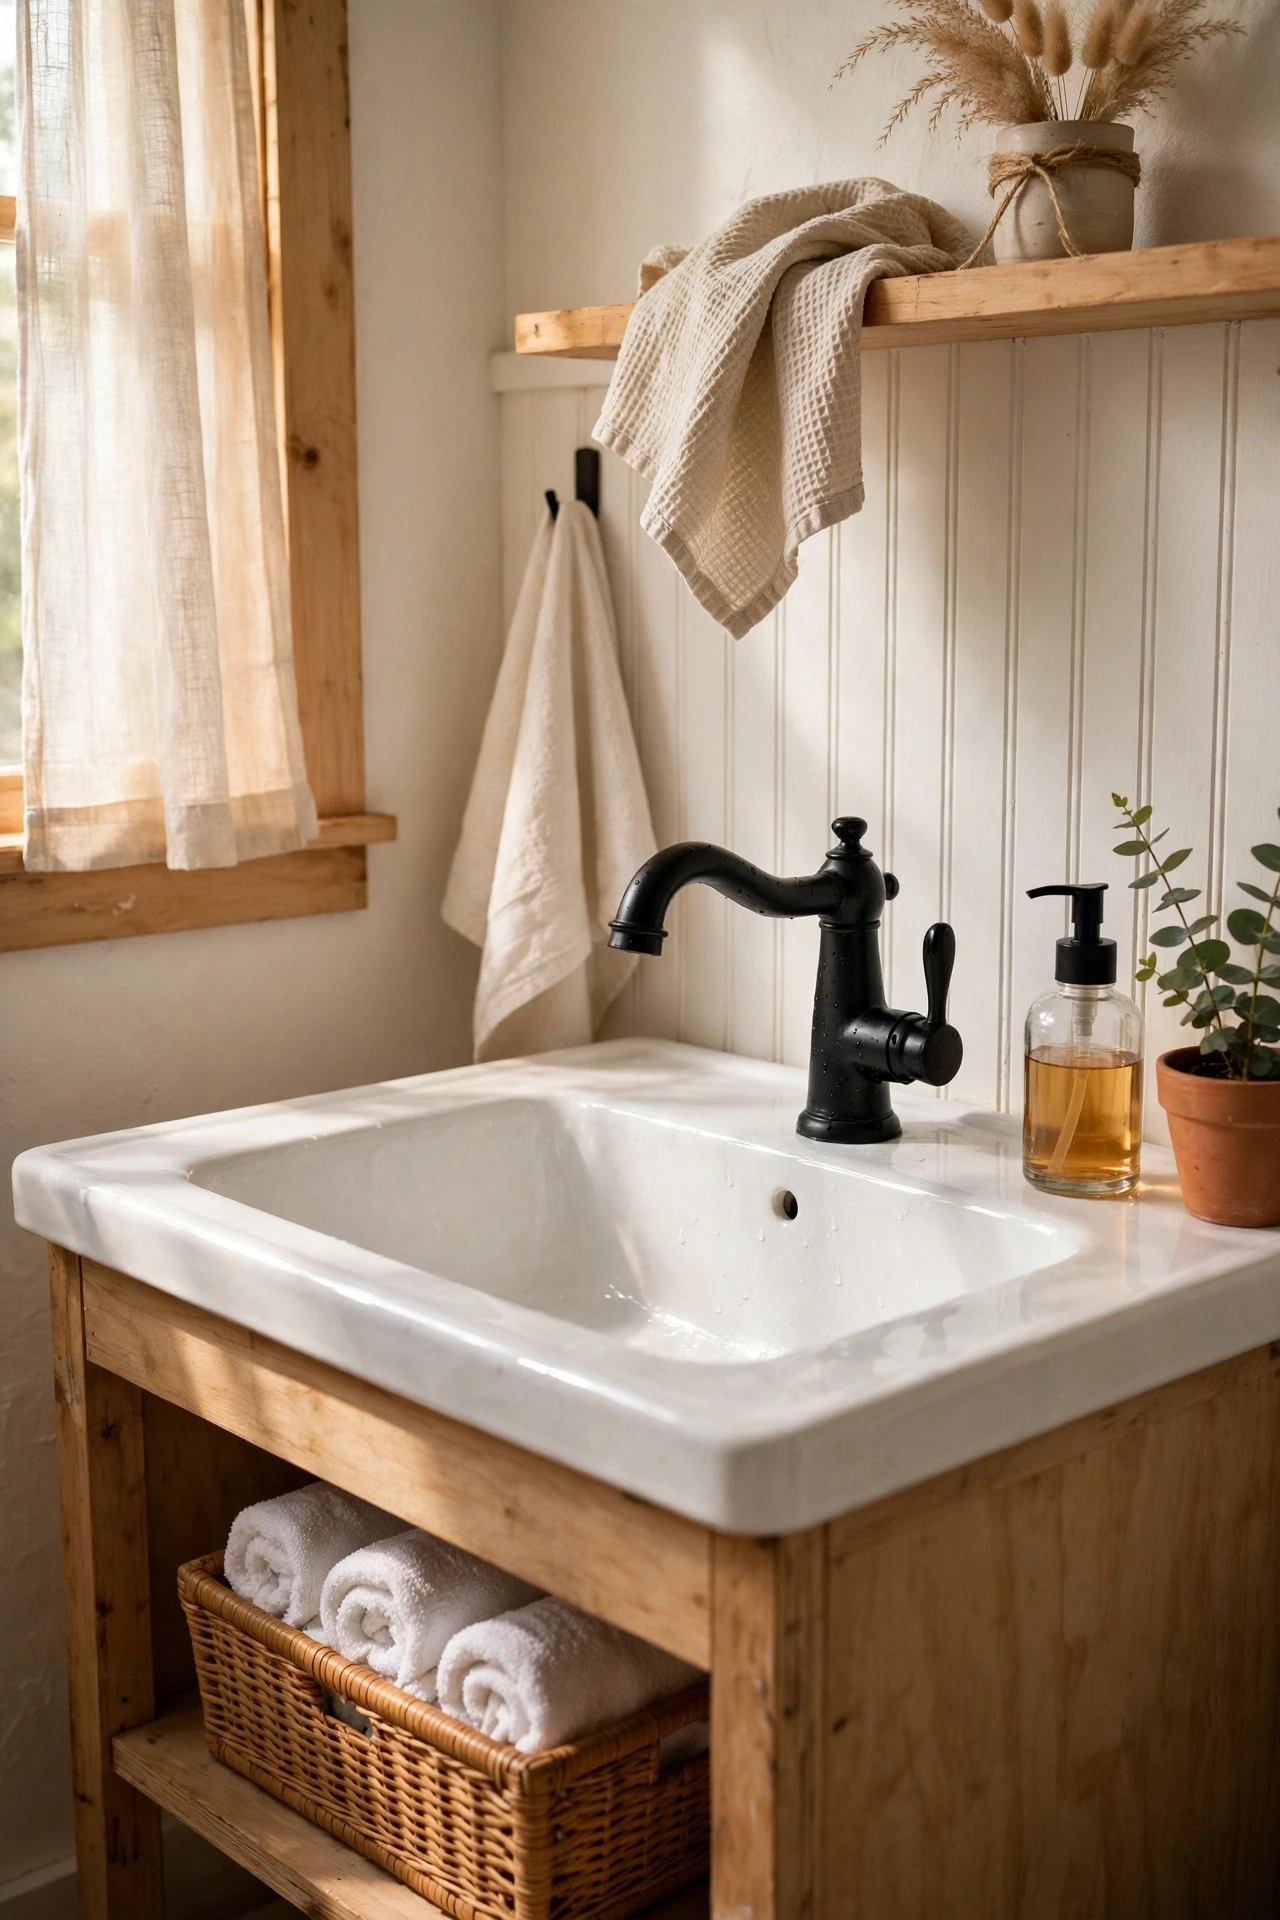
Chrome faucets disappear in a black and white bathroom, while matte black fixtures become jewellery for the sink. Swapping just the faucet — or even just the handles — is a straightforward job with a wrench and a YouTube video, and it changes the vanity completely. Turn the water off first, keep a towel under the sink for drips, and photograph the old setup before you disconnect anything. I tried this — the mistake to avoid is mixing black finishes, because a glossy black faucet beside matte black handles looks off. Match the finish across the room.
Cost: ~$35 | Time: 1 hour
💰 Budget win: A matte black faucet from a budget brand costs a third of a designer one and looks identical once installed.
6. Hang Black-and-White Botanical Prints
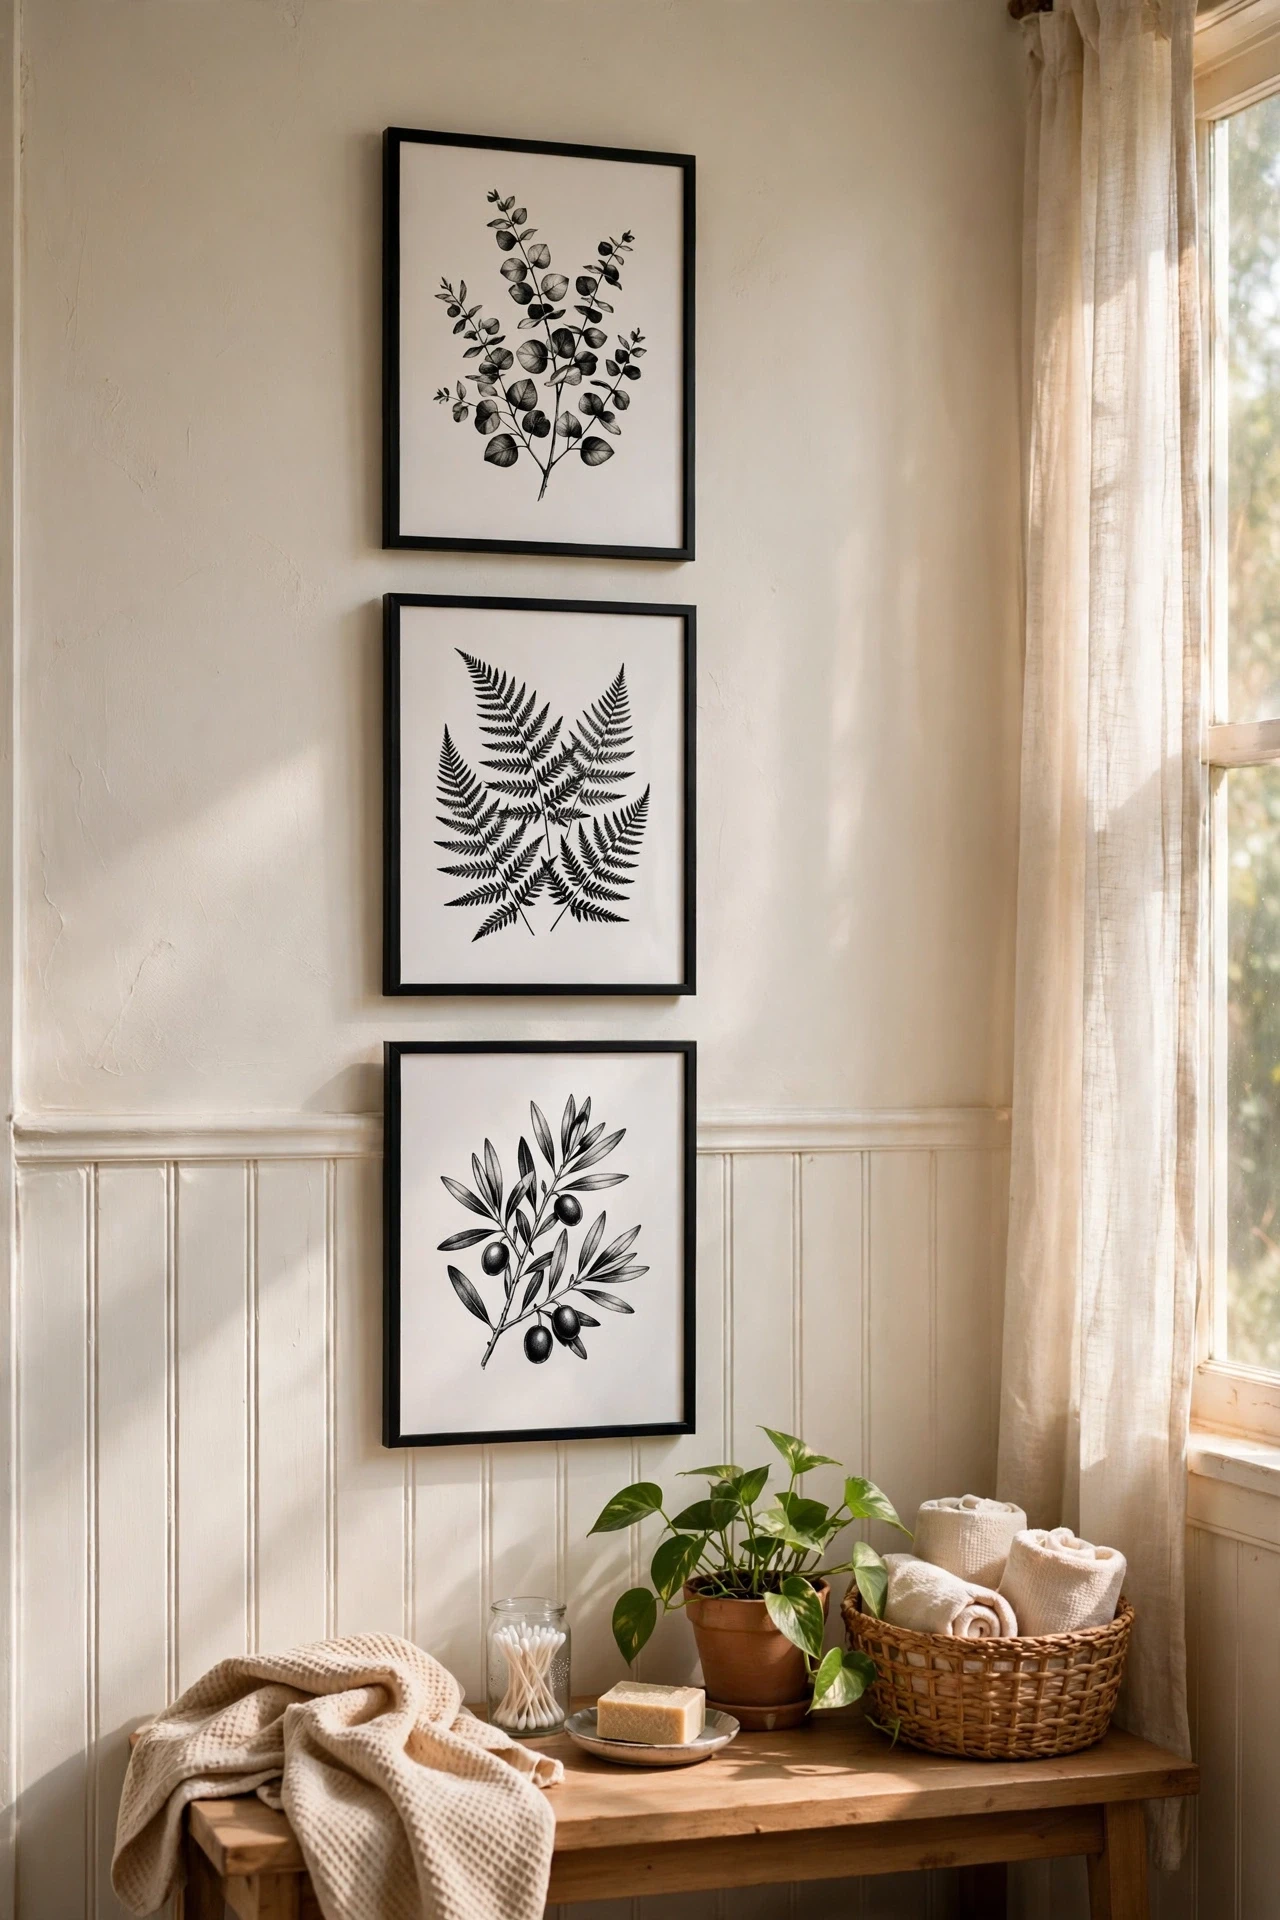
Botanical prints in black ink on white paper are made for this colour scheme, and they add softness to a room that could otherwise feel stark. Print two or three free botanical illustrations online, frame them in thin black frames, and hang them as a group above the toilet or beside the mirror. The organic shapes balance all the straight lines and hard surfaces, and the grouping looks far more expensive than a single print. Keep the frames identical so the set reads as one deliberate piece. For more printable art ideas, my (see also: black-and-white-bathroom-decor) guide has sources worth bookmarking.
Cost: ~$10 | Time: 30 minutes
💰 Budget win: Free printables plus thrifted black frames give you gallery-wall impact for the price of a coffee.
7. Paint the Vanity a Deep Glossy Black
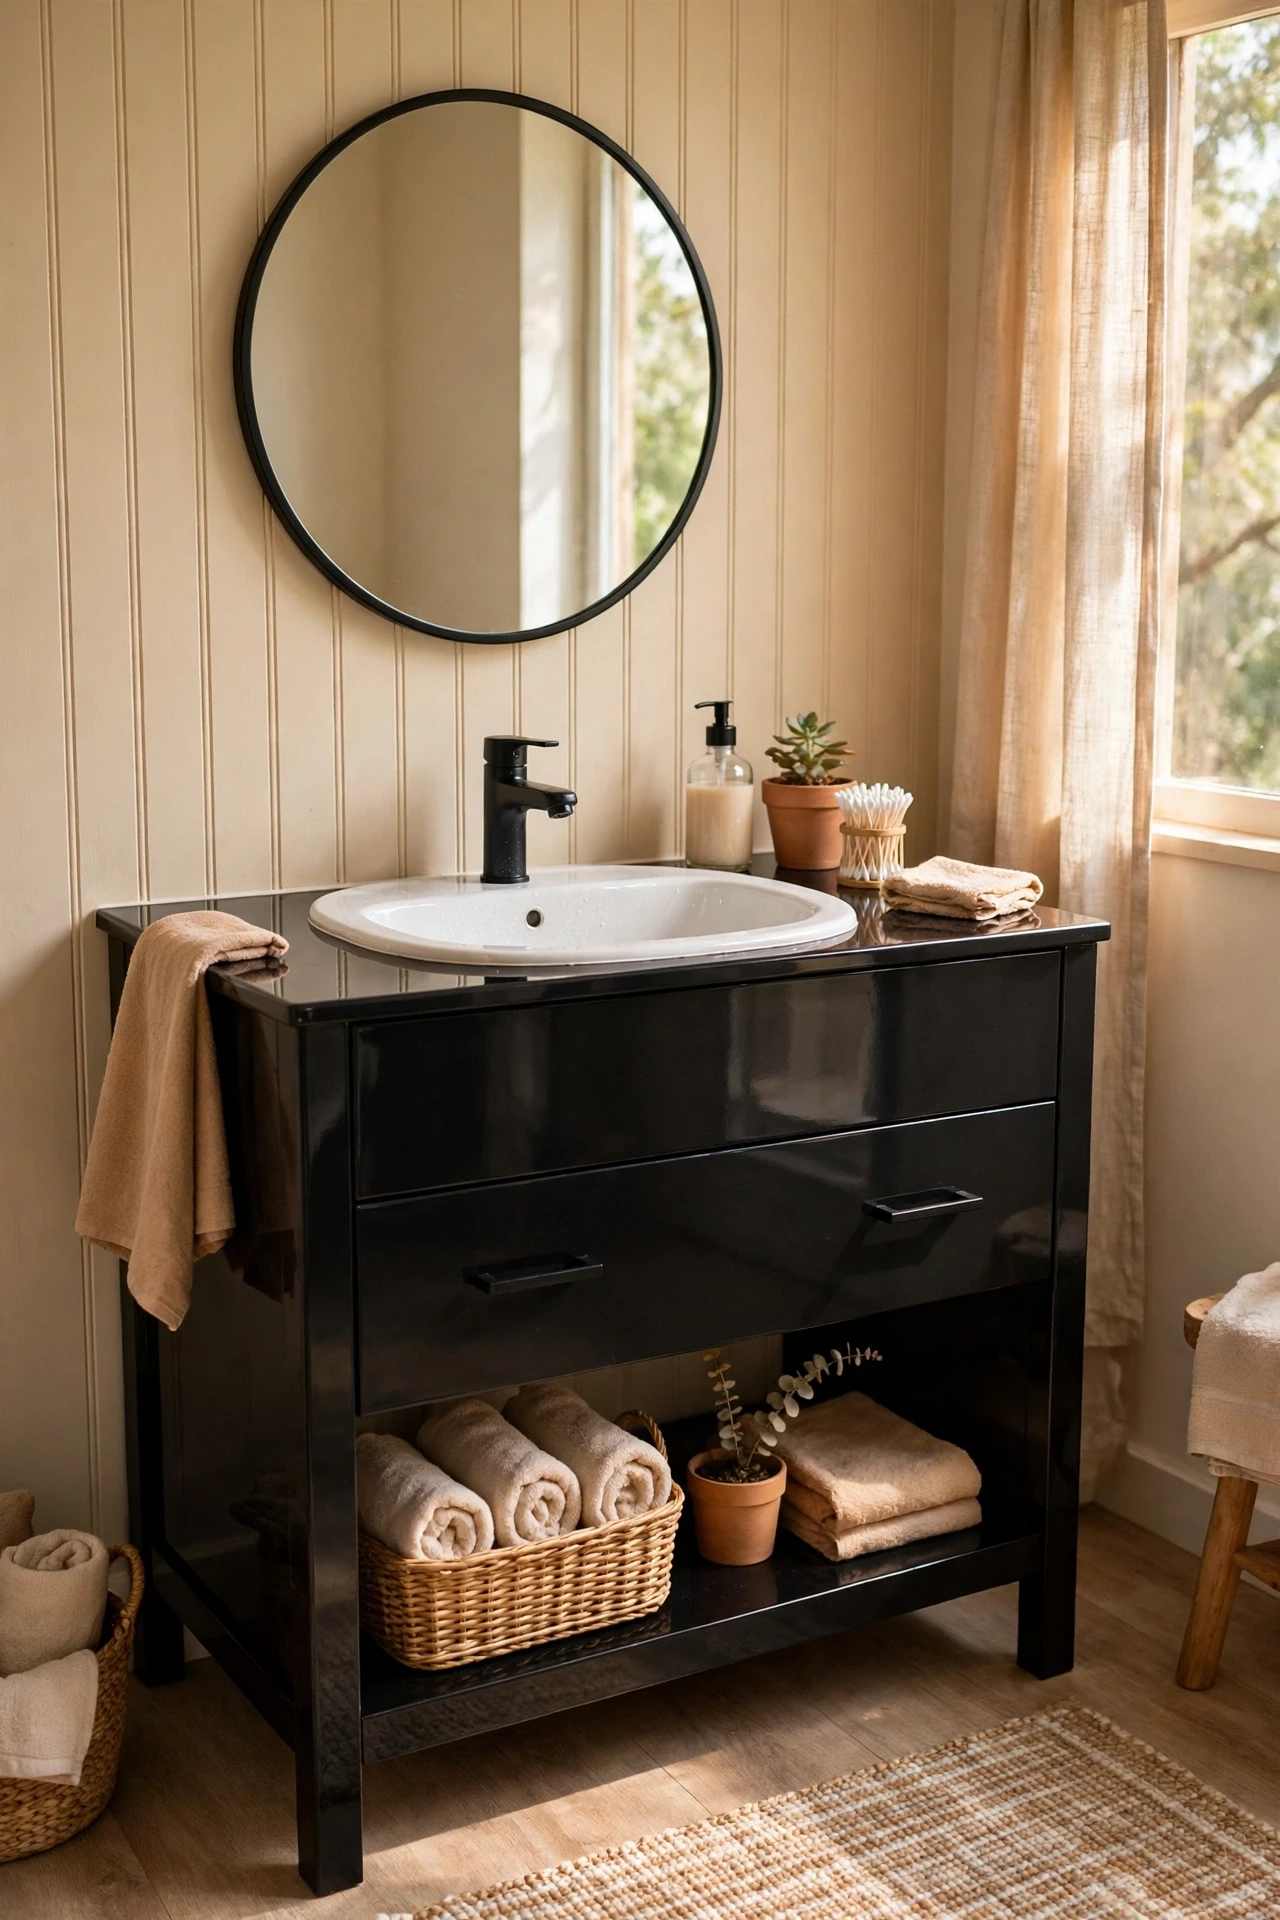
A glossy black vanity is the centrepiece of a black and white bathroom, and painting your existing vanity gets you there without replacing a thing. Sand lightly, prime with a bonding primer, and apply two coats of glossy black cabinet paint, letting each coat cure fully. Remove the doors and drawers to paint them flat, which avoids drips and gives a factory-smooth finish. Pair the black vanity with white walls and a white basin for maximum contrast. I painted mine over a weekend and guests assumed it was new — the paint cost less than a single dinner out.
Cost: ~$28 | Time: 6 hours
💰 Budget win: Cabinet paint and primer cost under $30, while a new vanity starts at ten times that price.
8. Add a Black Ladder Towel Rack
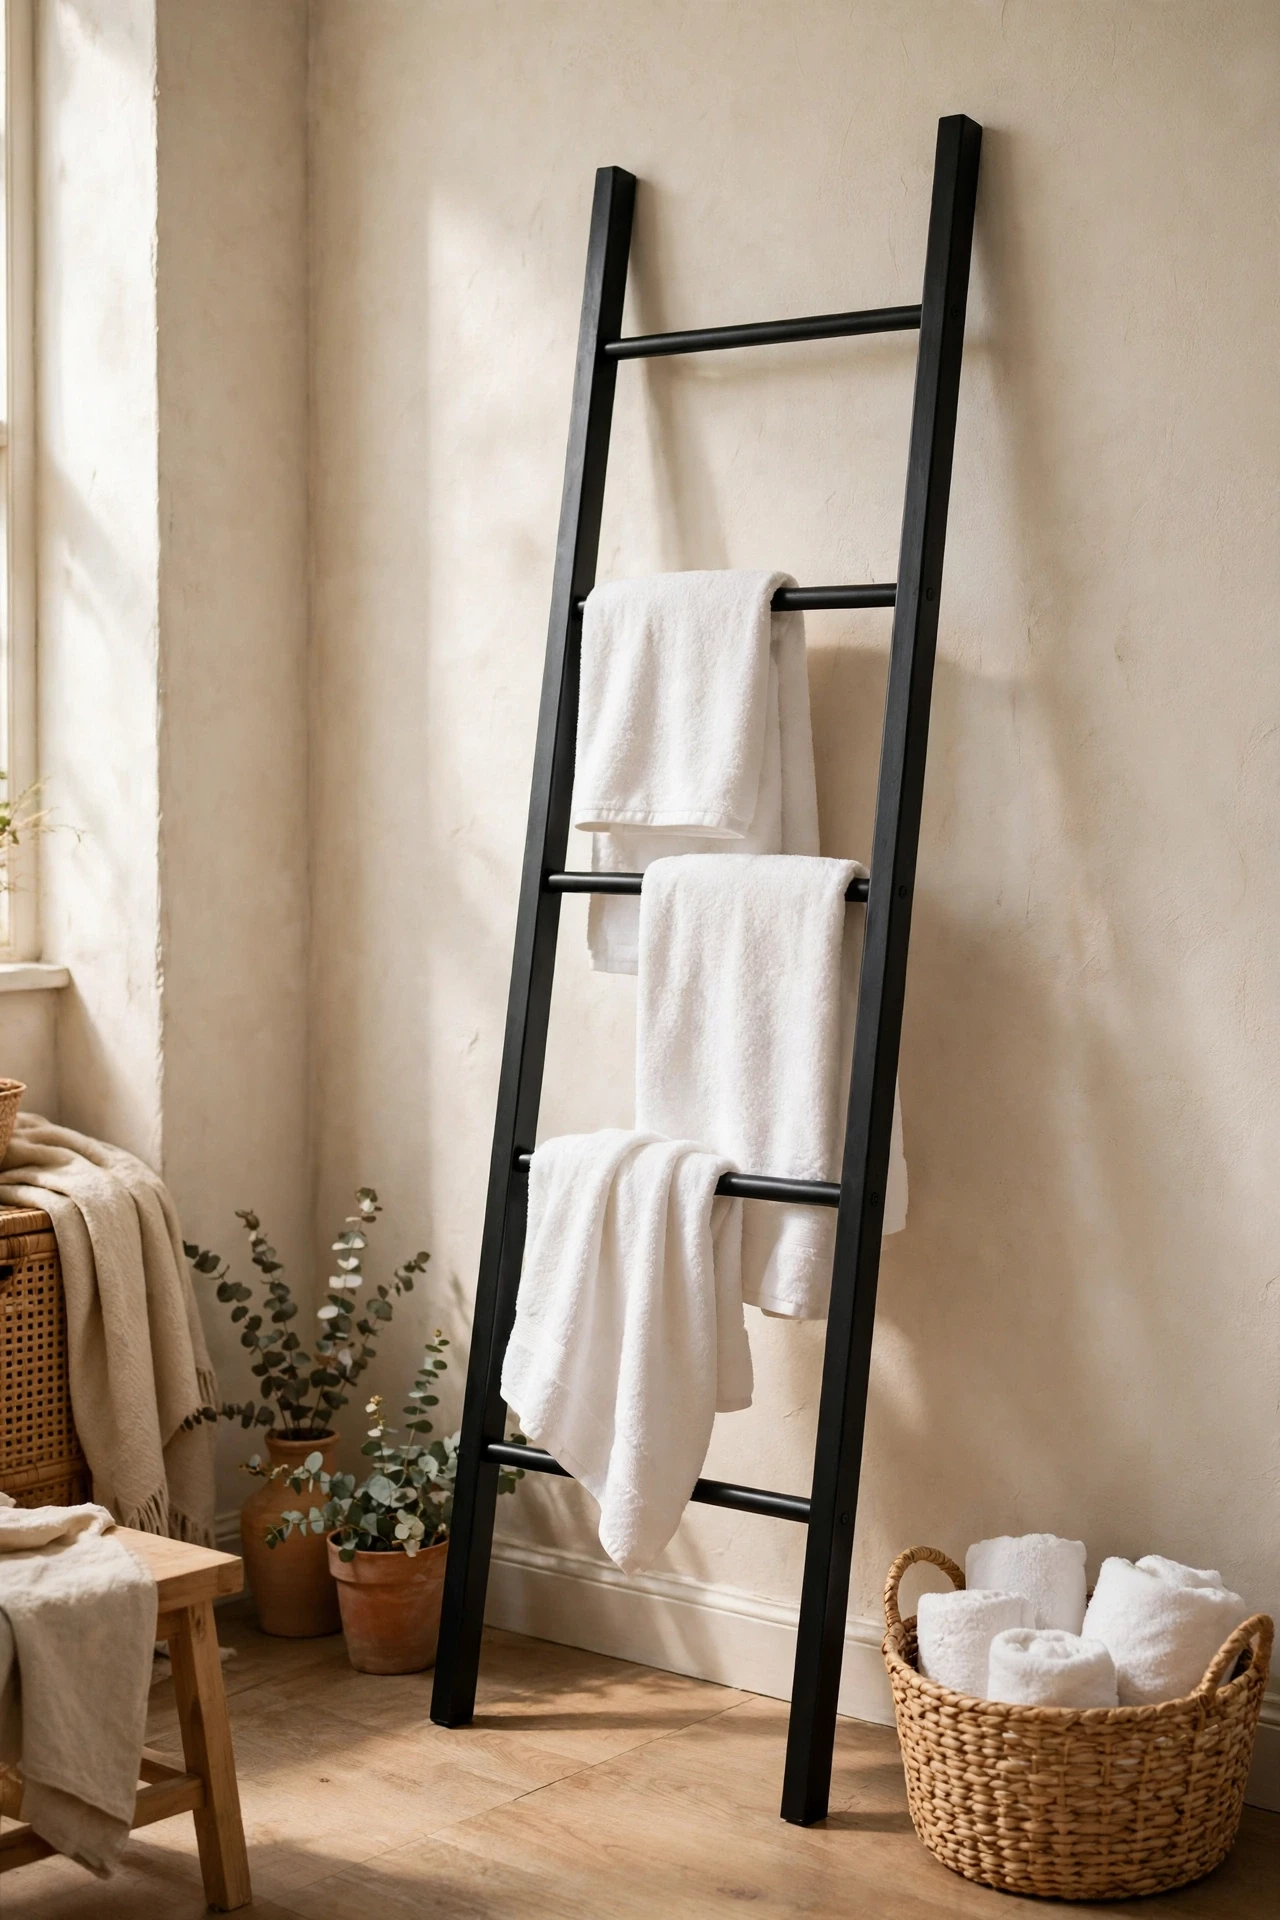
A black ladder towel rack leans against the wall, holds three or four towels without a single screw, and adds a strong vertical line to the room. It suits renters perfectly, since it leaves no holes, and it moves to your next home in seconds. Drape white towels on it for the sharpest contrast, and hang the ladder where it will not block the door swing. I tried this — the mistake to avoid is a ladder that is too wide for the wall space, because it crowds the room instead of styling it. Measure the gap first, then buy the ladder.
Cost: ~$25 | Time: 10 minutes
💰 Budget win: A leaning ladder rack costs less than a wall-mounted heated rail and needs no installation at all.
9. Use Black-and-White Patterned Floor Tiles (Peel-and-Stick)
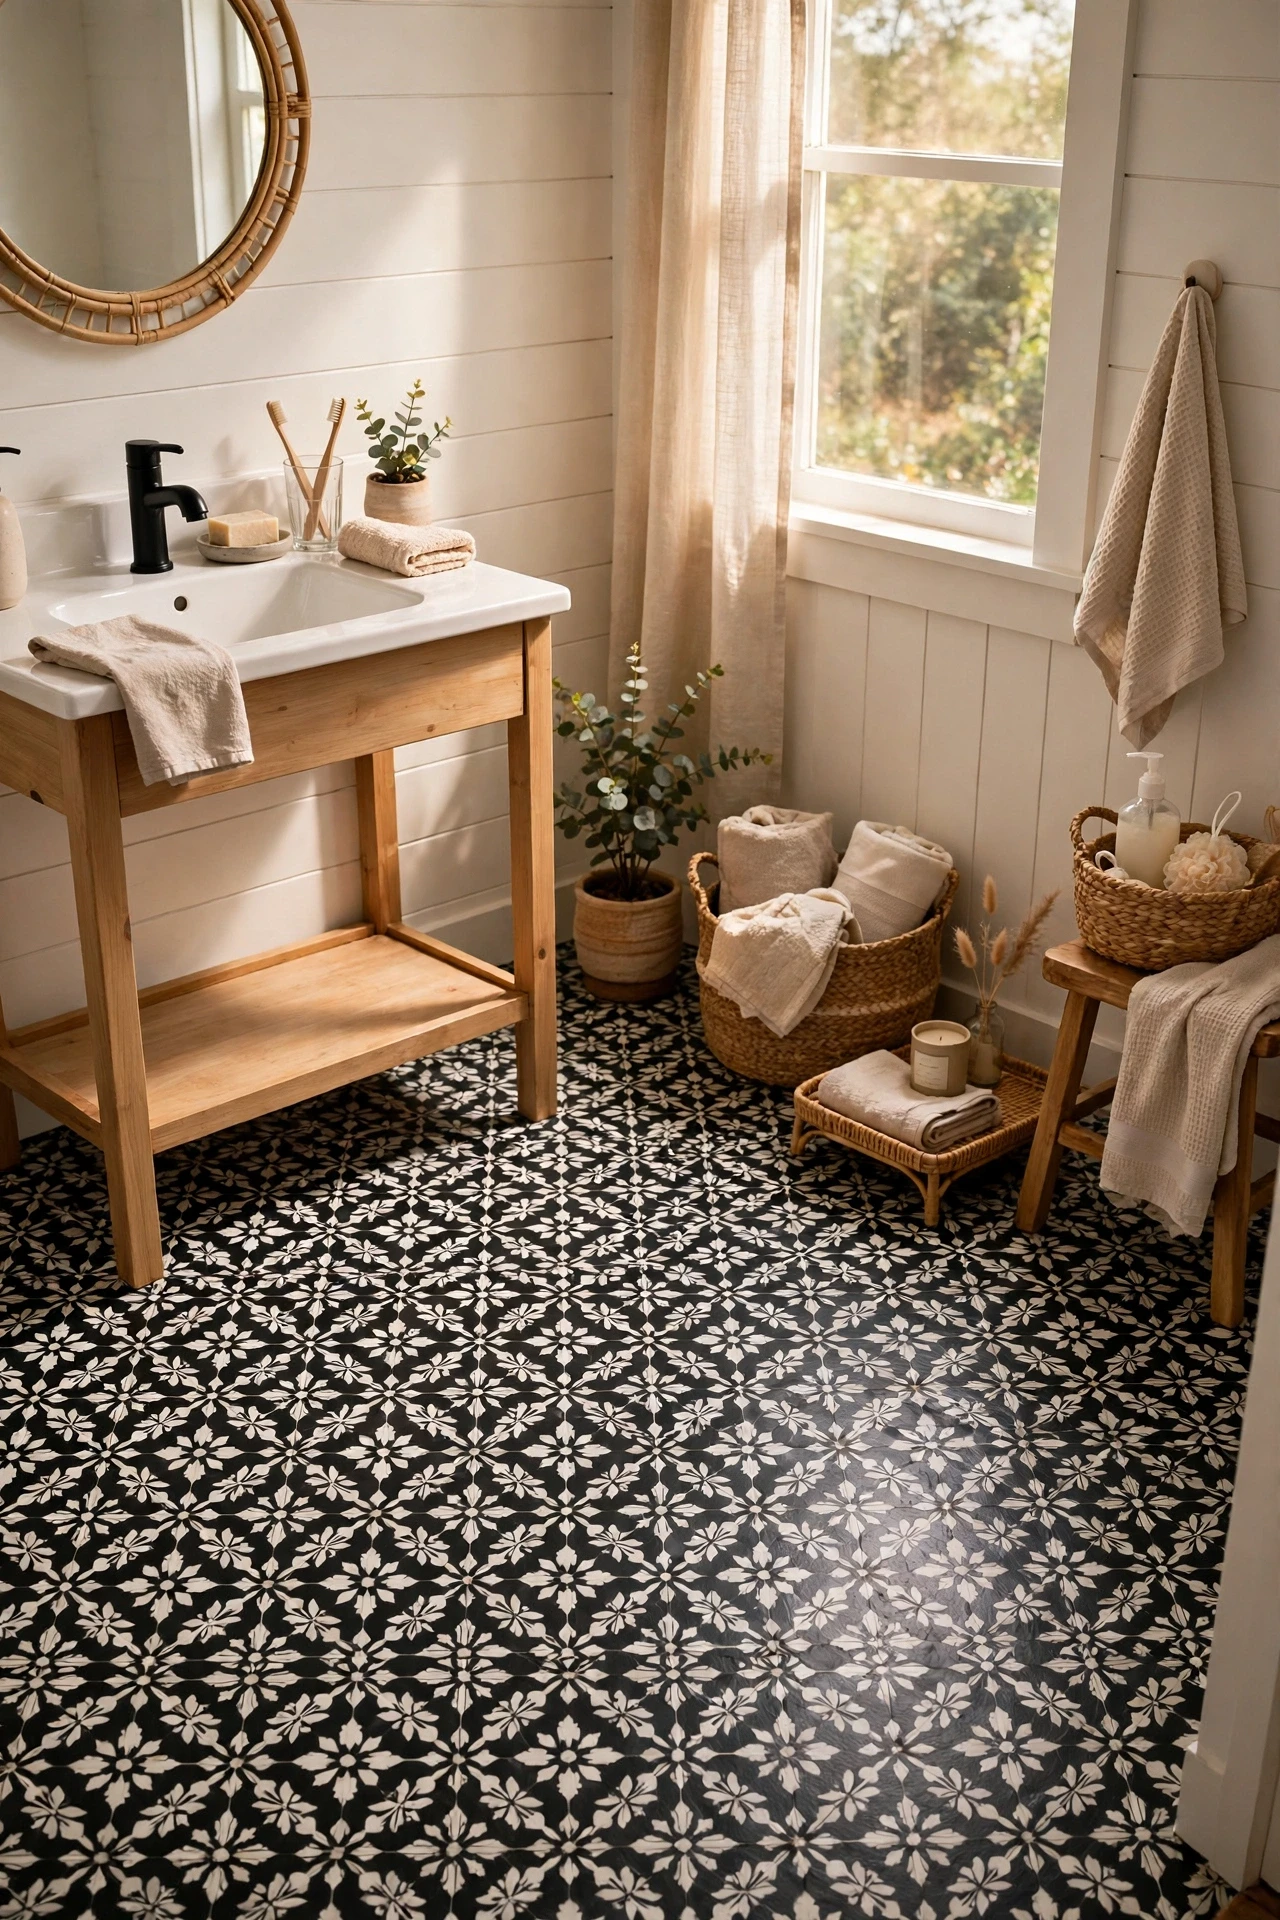
Peel-and-stick floor tiles in a black and white pattern give you a checkerboard or geometric floor for the price of a few takeaways, with no demolition. Clean the existing floor thoroughly, lay the tiles from the centre outwards, and press firmly along the edges. The pattern transforms the room from the ground up, and most tiles handle bathroom moisture well if you seal the edges. I laid mine in an afternoon and the floor went from dated beige vinyl to a graphic statement. Save this idea for your bathroom board — it is the biggest transformation per dollar on this list.
Cost: ~$30 | Time: 3 hours
💰 Budget win: Peel-and-stick tiles cost a fraction of real ceramic, and they peel off cleanly when you move out.
Pro tip: Lay the peel-and-stick tiles from the centre of the room outward, not from a corner — the pattern stays symmetrical and the cut tiles end up hidden under the vanity and tub.
10. Style a Monochrome Tray on the Vanity
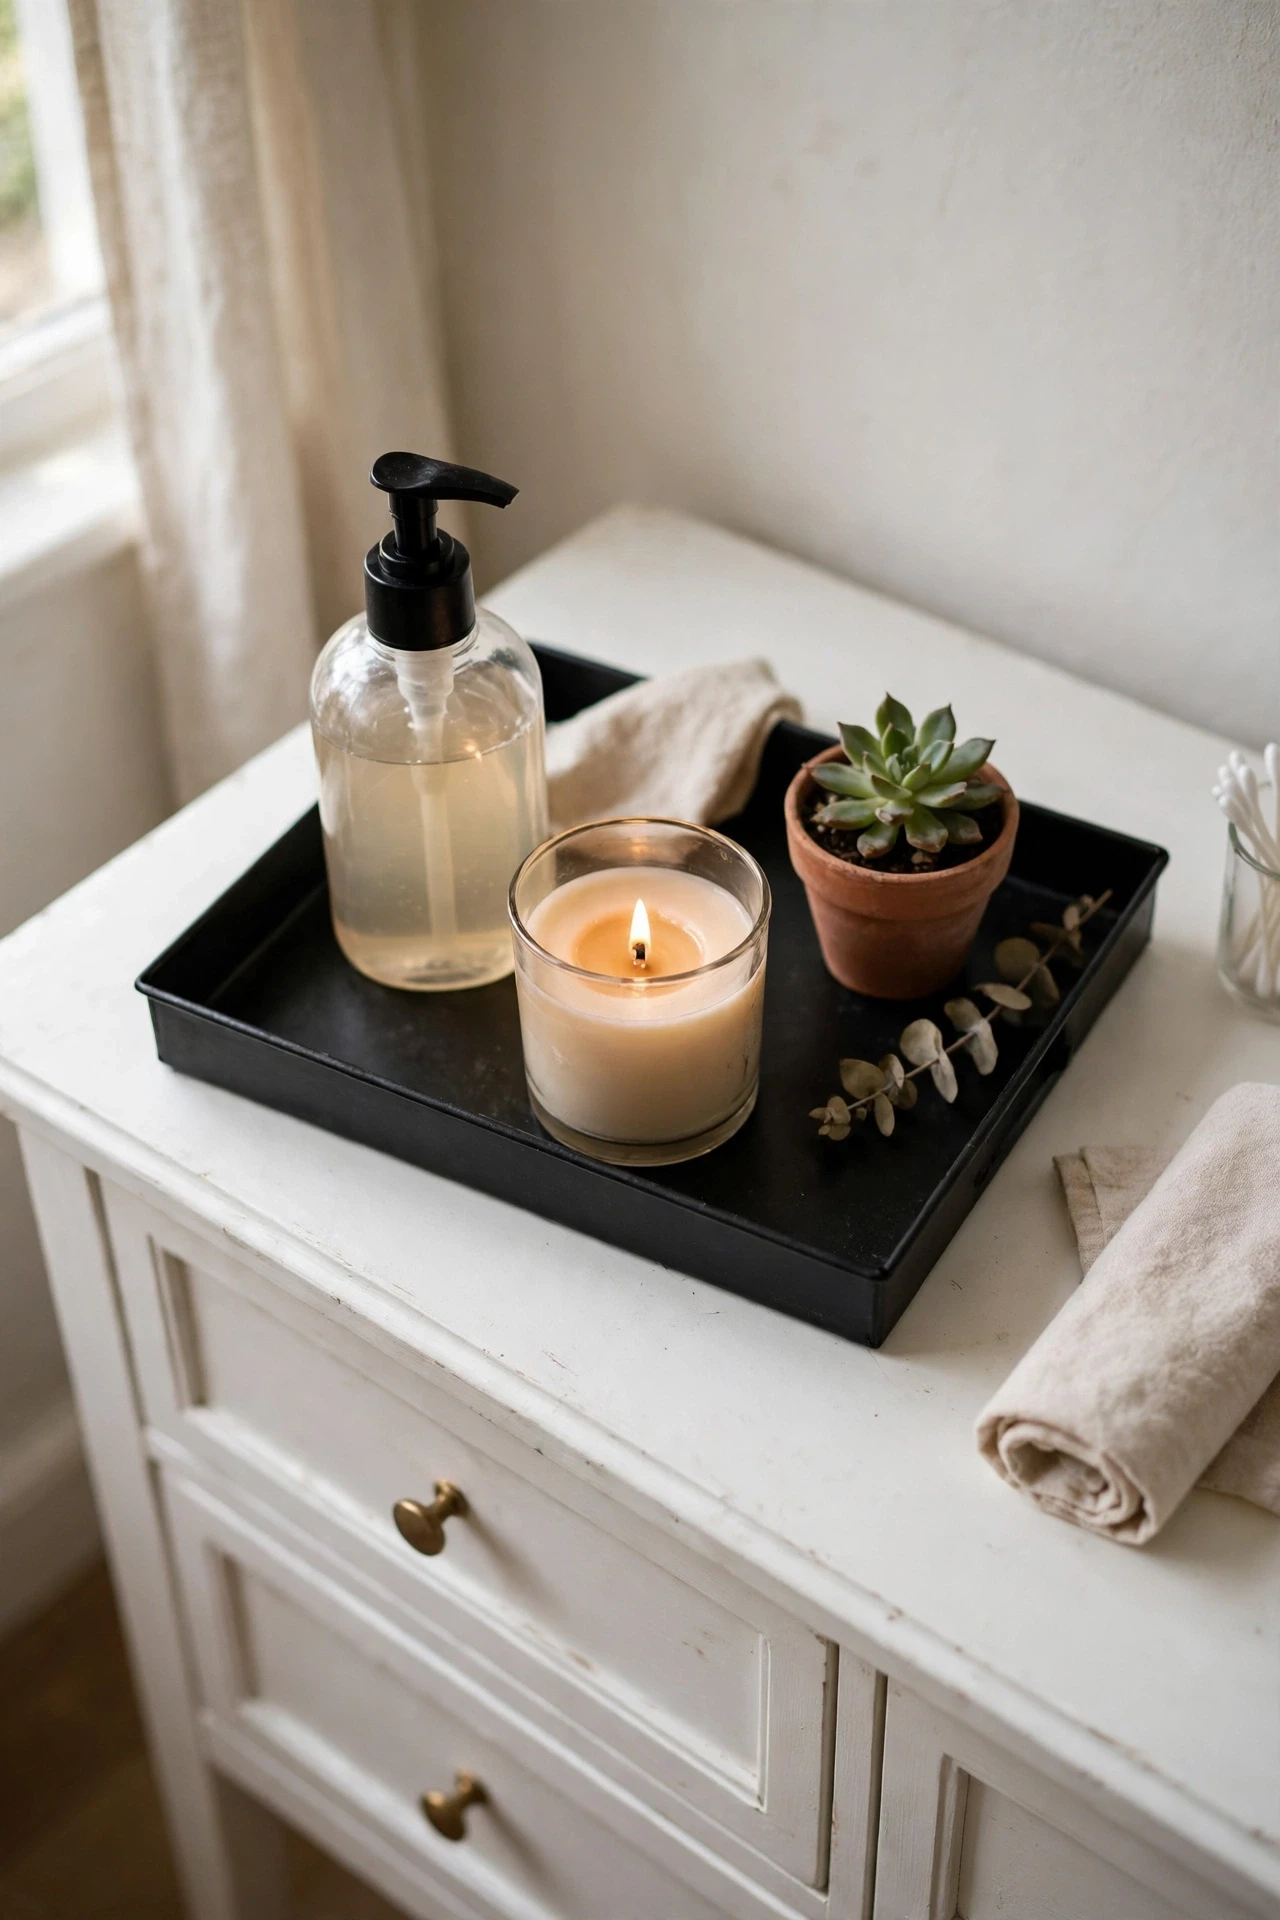
A black or white tray on the vanity corrals the daily clutter — soap, lotion, a candle — into one tidy composition, which is exactly what a high-contrast bathroom needs. Without a tray, small items scatter and the contrast scheme looks messy; with one, the same items look curated. Choose a tray in the opposite colour to your vanity top so it stands out, and limit it to three or four items. I keep a black tray on my white vanity with a soap pump, a small plant and a candle, and the counter looks tidy even on chaotic mornings.
Cost: ~$10 | Time: 5 minutes
💰 Budget win: A simple tray from a discount shop does the same job as a designer one at a tenth of the price.
11. Hang White Towels on Black Hooks
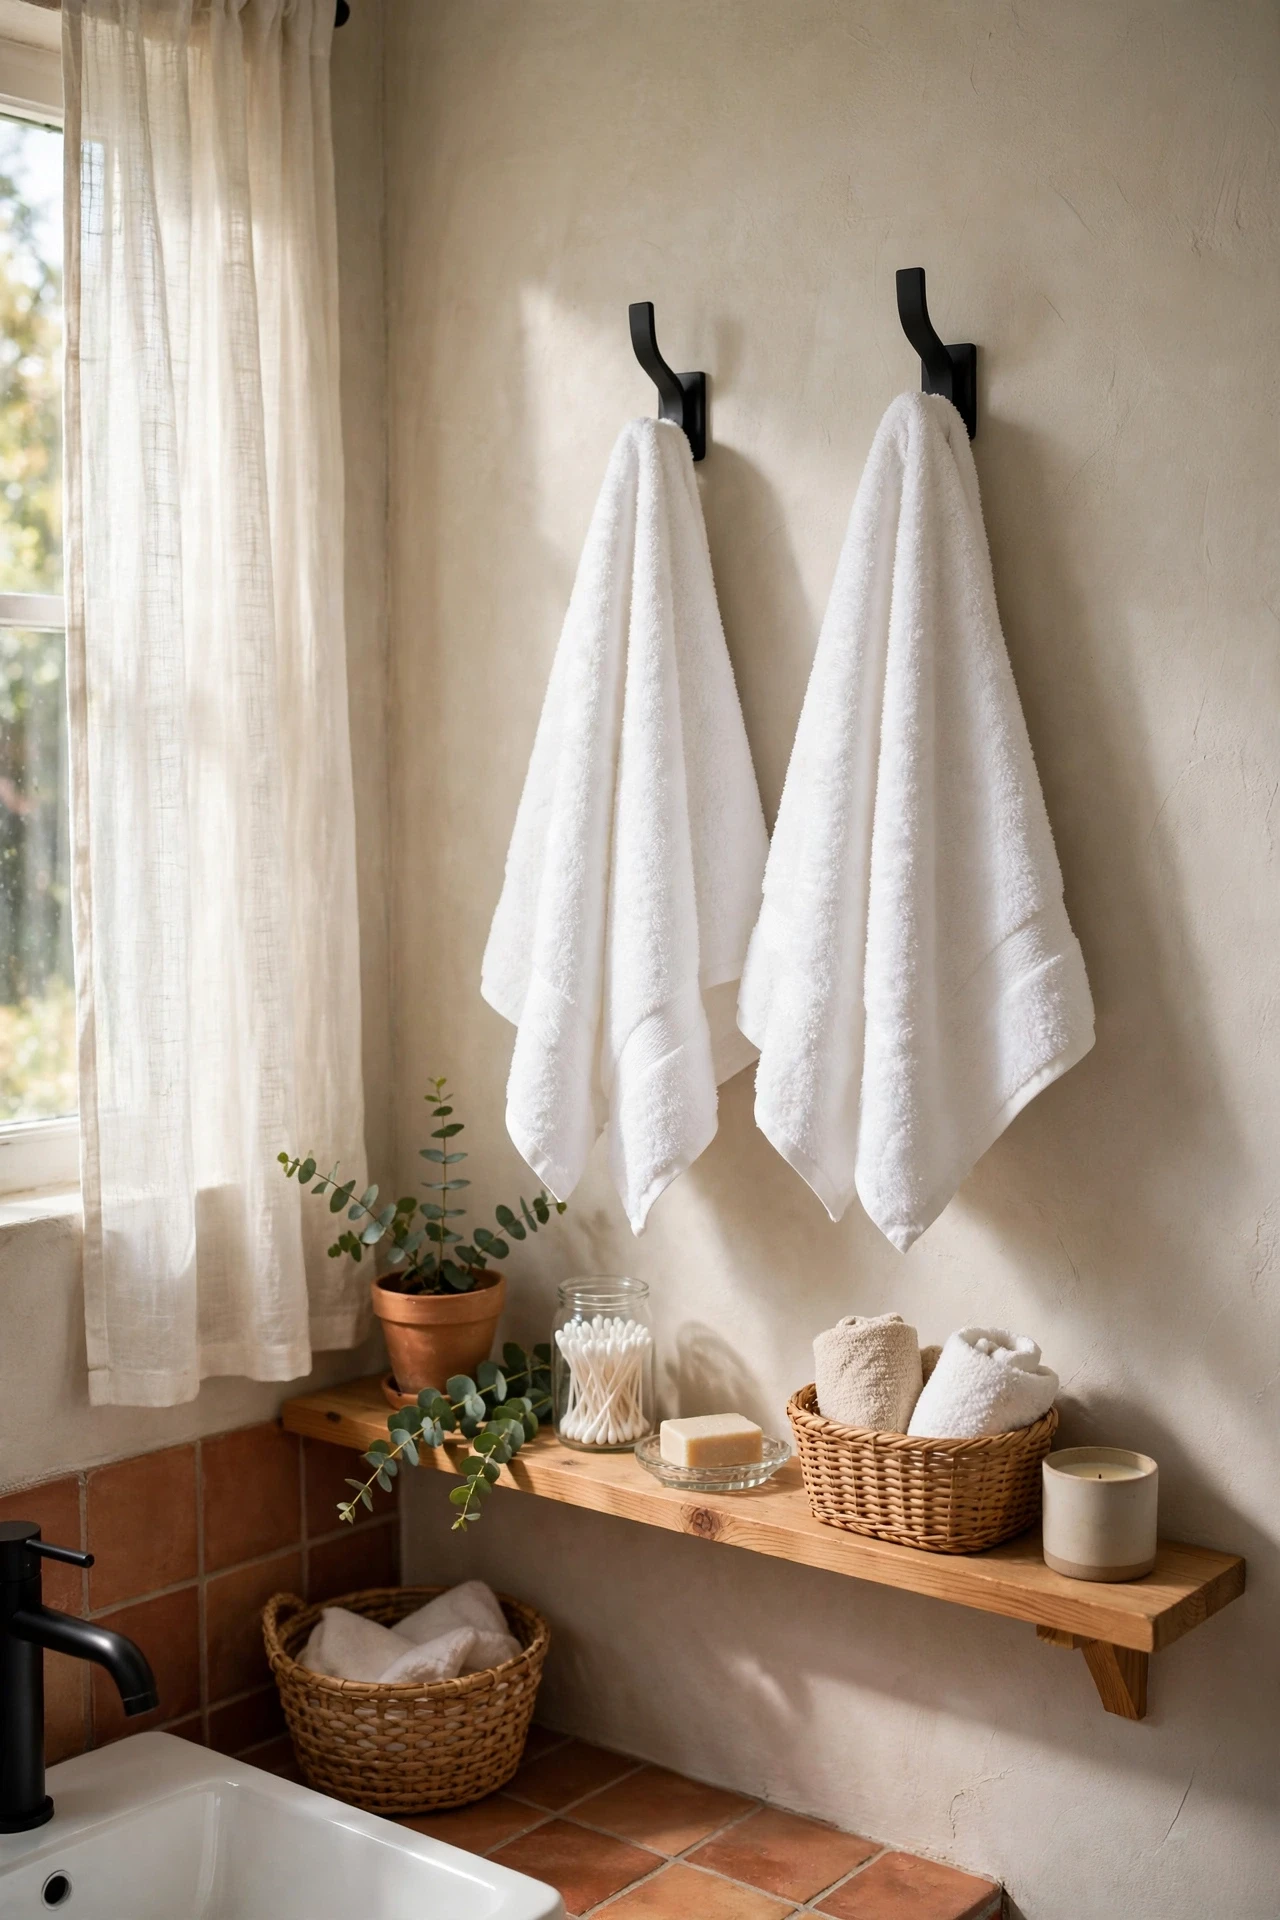
White towels on matte black hooks are the simplest black and white vignette there is, and they work on any wall. The hooks cost very little, install with two screws or adhesive, and turn a plain towel into part of the design. Hang them at staggered heights if you have a long wall, or in a neat row behind the door. Keep the towels white and fluffy so the contrast stays crisp, and replace them when they go grey — dingy towels ruin the effect faster than anything. My black hooks and white towels get more compliments than the vanity I painted.
Cost: ~$8 | Time: 20 minutes
💰 Budget win: A pack of black hooks costs a few dollars and makes ordinary white towels look like a design choice.
12. Add a Black Shower Caddy for Storage
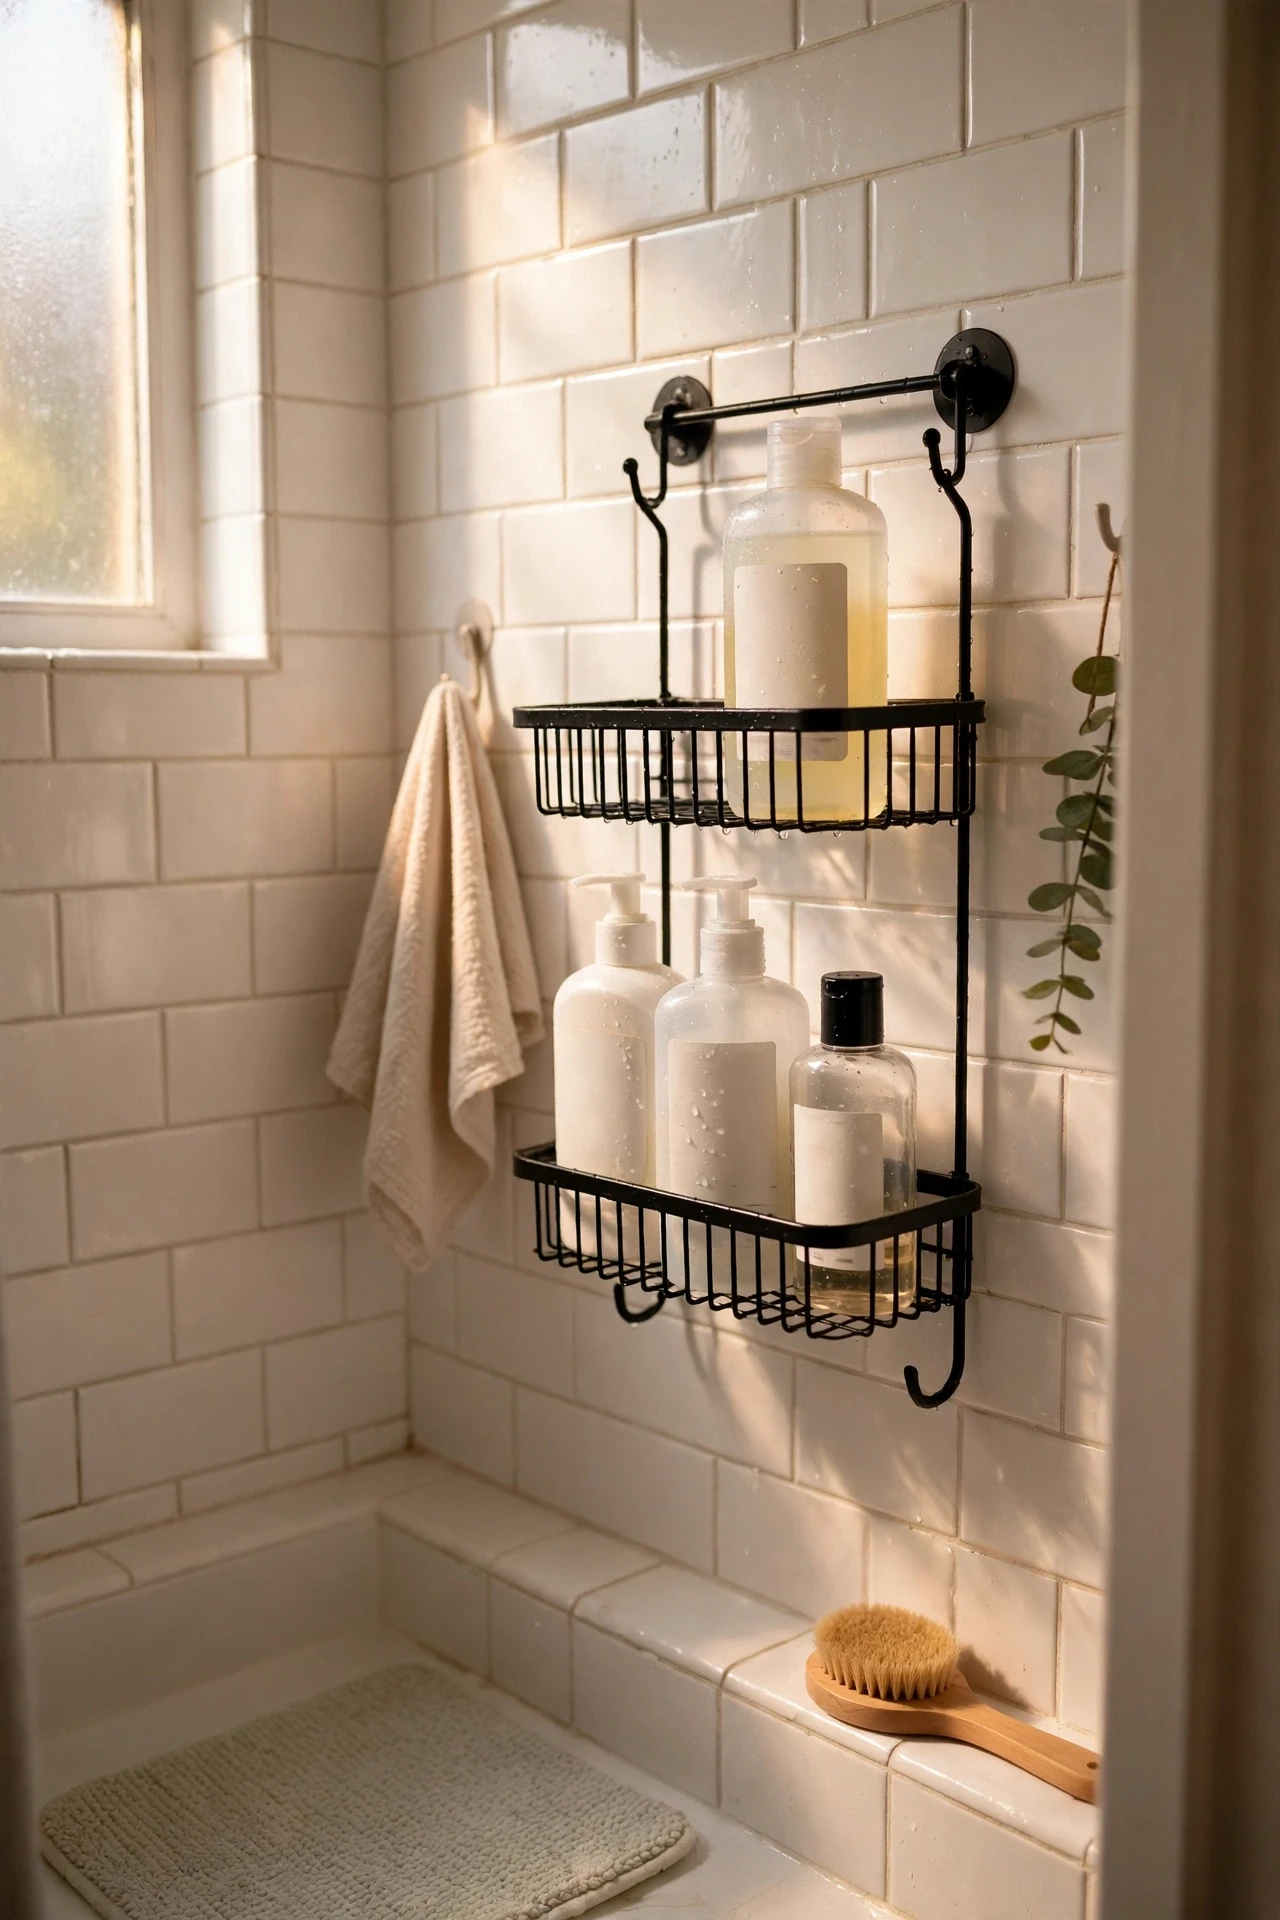
A black shower caddy keeps bottles off the tub edge and adds a dark accent exactly where the room needs one. Choose a rust-resistant caddy that hangs over the showerhead or suctions to the tile, and keep only the bottles you use daily in it. The black finish ties in with the faucet and mirror frame, so the shower corner stops looking like an afterthought. I tried this — the mistake to avoid is an overloaded caddy that sags and dumps shampoo everywhere. Five bottles maximum, and the caddy stays put.
Cost: ~$12 | Time: 10 minutes
💰 Budget win: A simple black caddy costs less than a built-in niche and needs no drilling into tile.
13. Paint a Checkerboard Border Around the Mirror
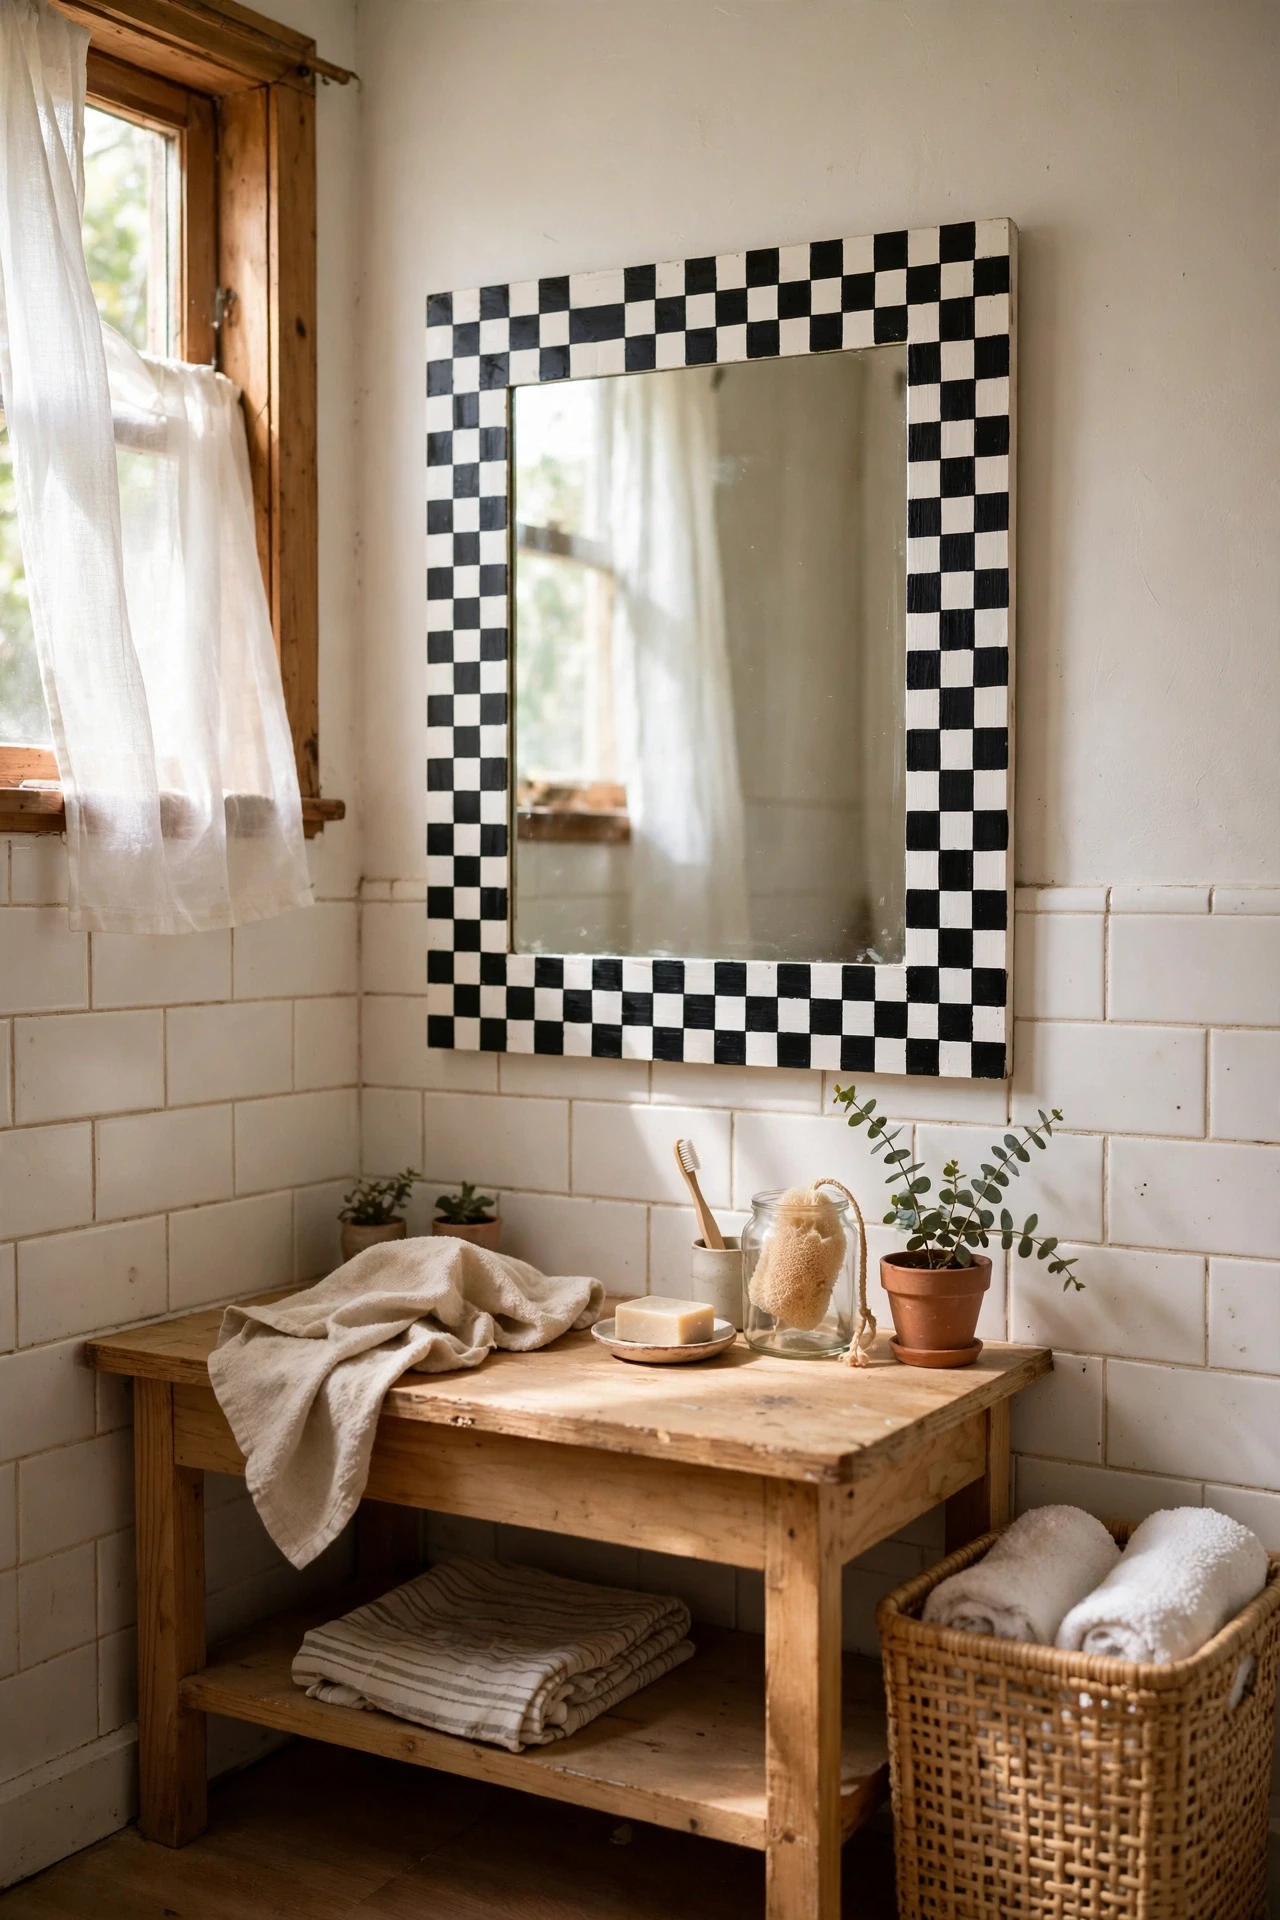
If a full checkerboard floor feels like too much, a painted checkerboard border around the mirror gives you the same graphic punch in miniature. Use painter’s tape to mark small squares around the mirror frame, paint alternating squares black, and peel the tape while the paint is still slightly tacky for crisp lines. The border frames your reflection like a piece of art and ties the whole room together. It takes patience more than skill, and the result looks far more ambitious than the effort involved. For more graphic paint tricks, my (see also: bathroom-paint-ideas) post has borders, stripes and stencils.
Cost: ~$8 | Time: 2 hours
💰 Budget win: A small tin of black paint and a roll of tape are all it takes — the border costs less than a takeaway.
14. Use a Black Soap Dispenser Set
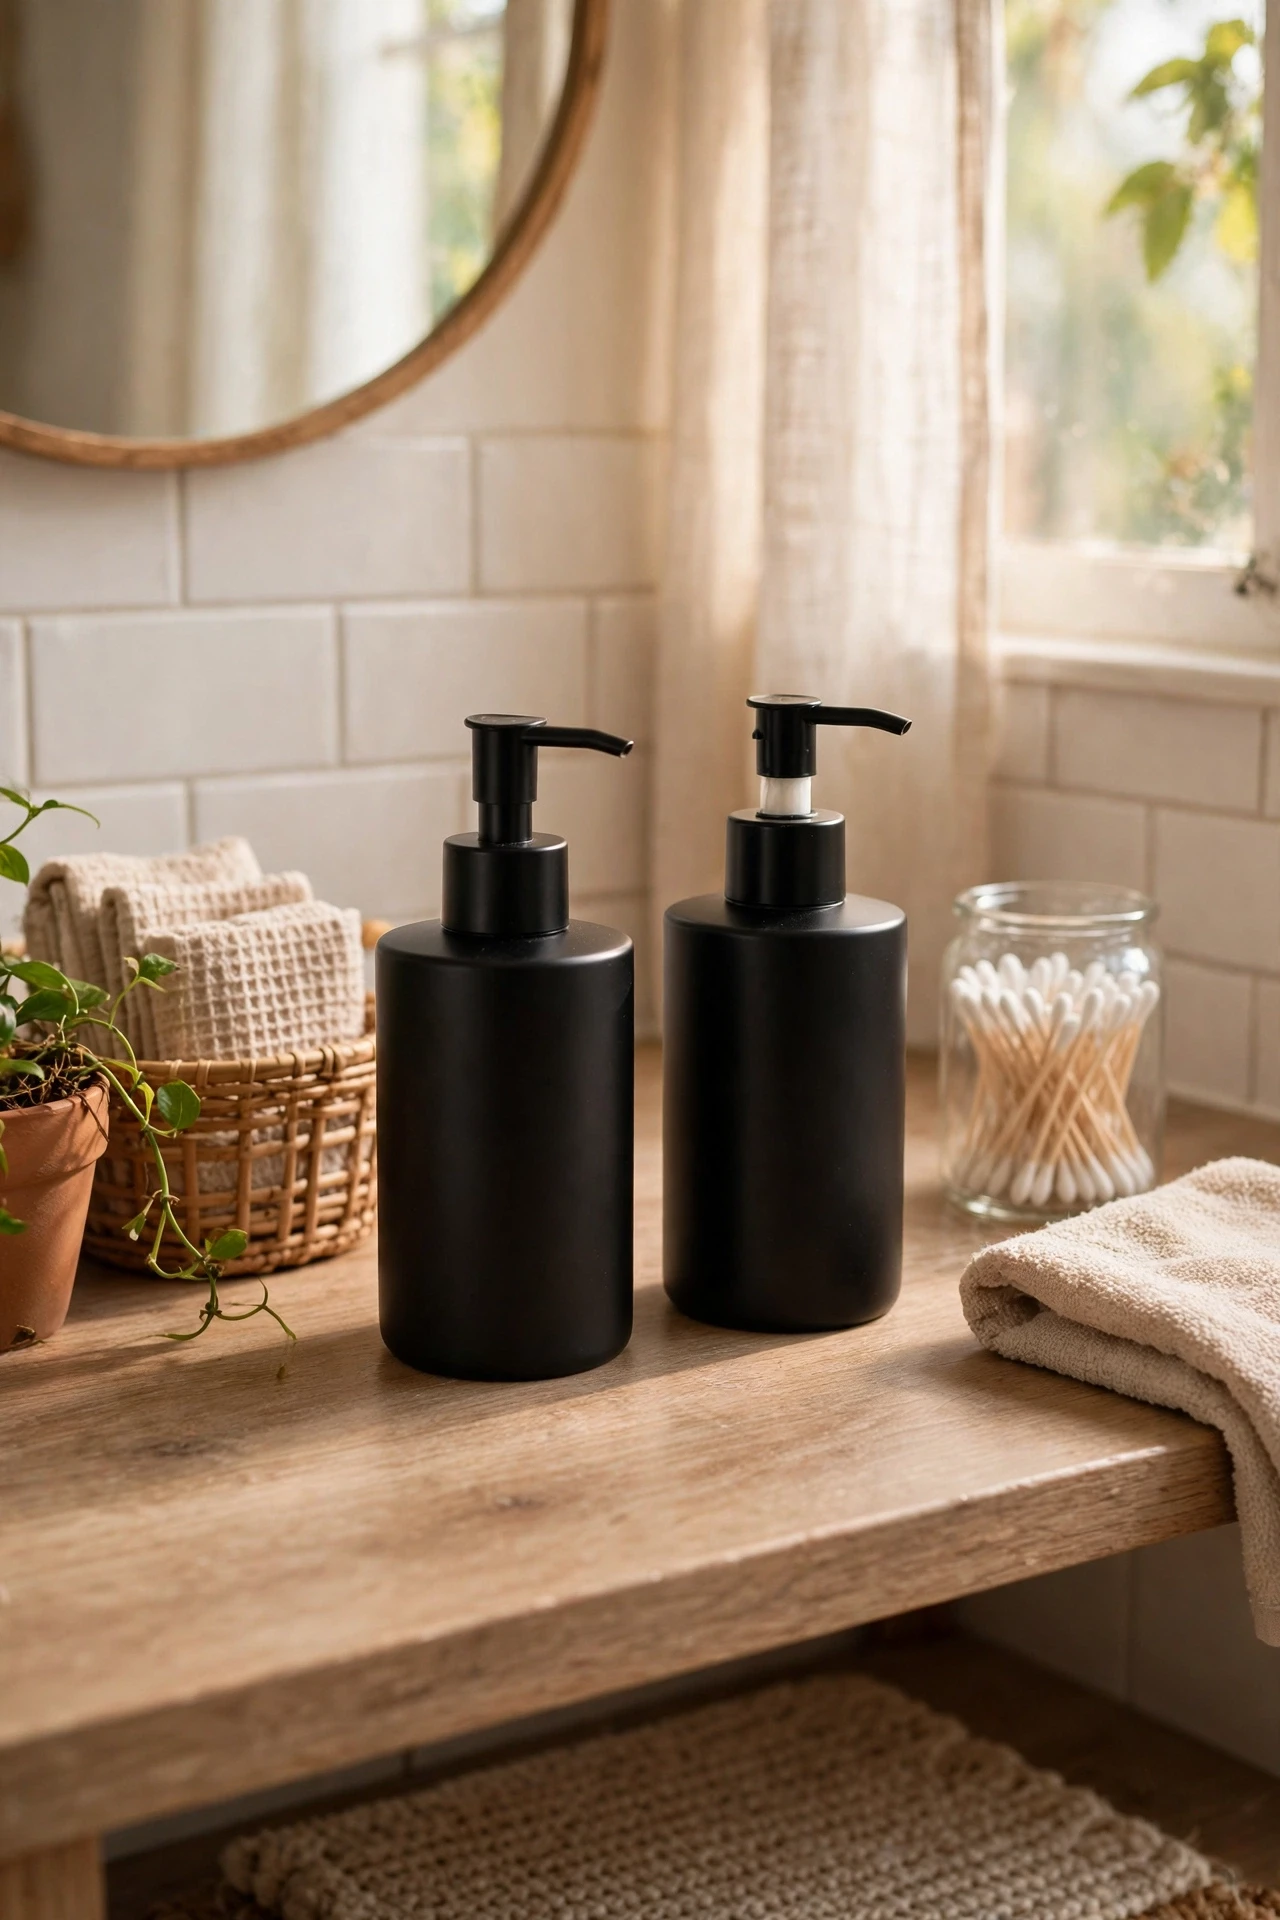
Matching black soap and lotion dispensers are a tiny detail with a big payoff in a black and white bathroom, because they replace the visual noise of branded bottles. Decant from economy refills kept under the sink, and choose matte black pumps that match your faucet finish. The set sits neatly on the vanity tray and makes the sink area look considered rather than accidental. Two dispensers, five minutes, and the counter is transformed. I refilled mine from a bulk bottle that cost less than two fancy hand soaps, and the savings keep adding up.
Cost: ~$9 | Time: 10 minutes
💰 Budget win: Black dispensers plus bulk refills undercut pretty branded soap within a month or two.
15. Add a White Stool With a Black Cushion
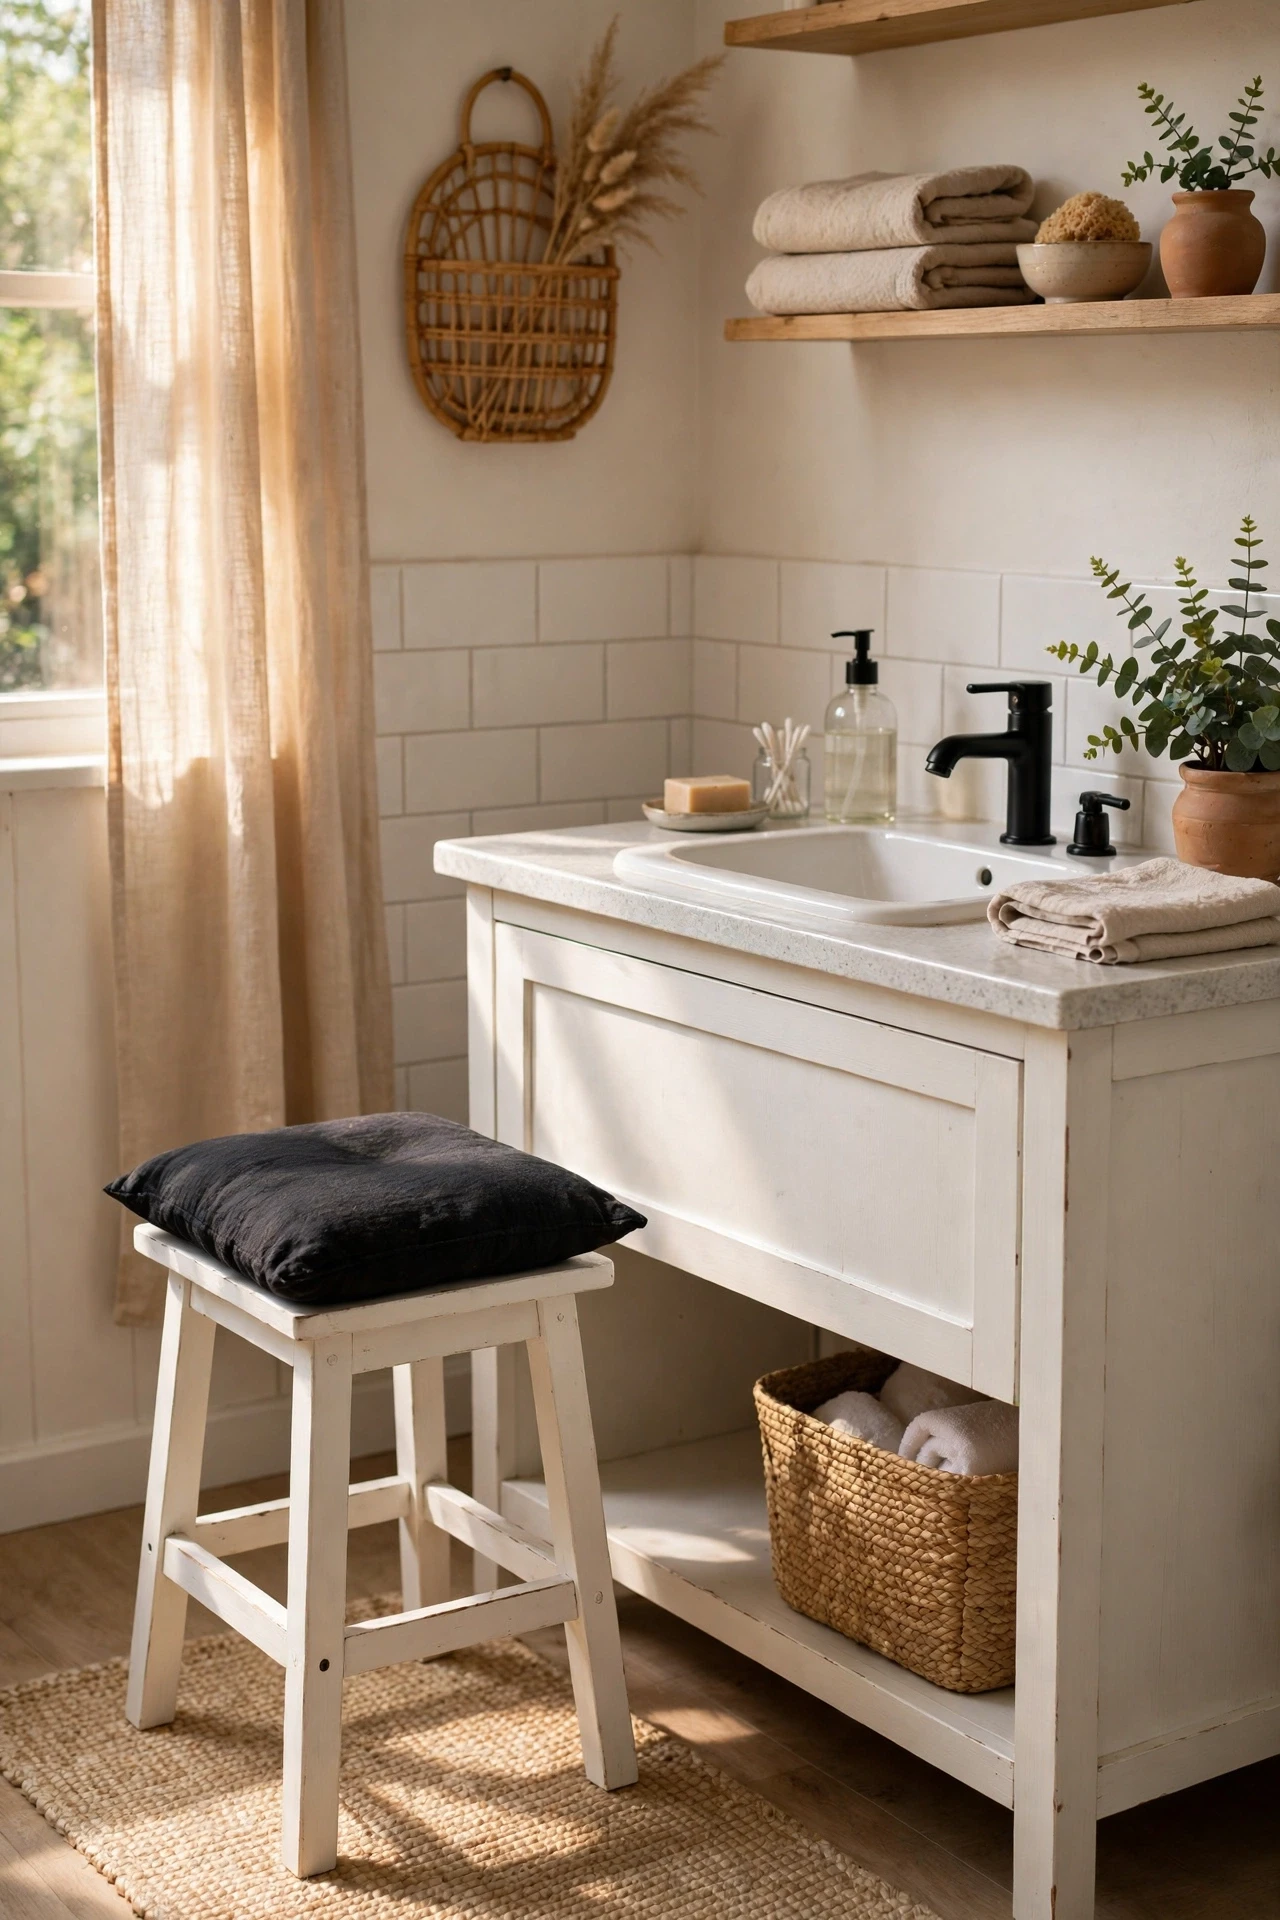
A small white stool with a black cushion gives the bathroom a seat for dressing, a perch for a towel, and another black and white moment all at once. Tuck it beside the vanity or under a wall shelf where it does not block the walkway. The stool also helps guests and older family members sit while they dry their feet or put on shoes. I found a plain white stool at a thrift shop and sewed a simple black cushion cover from scrap fabric — total cost under ten dollars, and it looks like it was bought as a set.
Cost: ~$10 | Time: 20 minutes
💰 Budget win: A thrifted stool plus a homemade cushion cover beats a bathroom bench at a fraction of the price.
16. Hang a Black-and-White Typographic Print
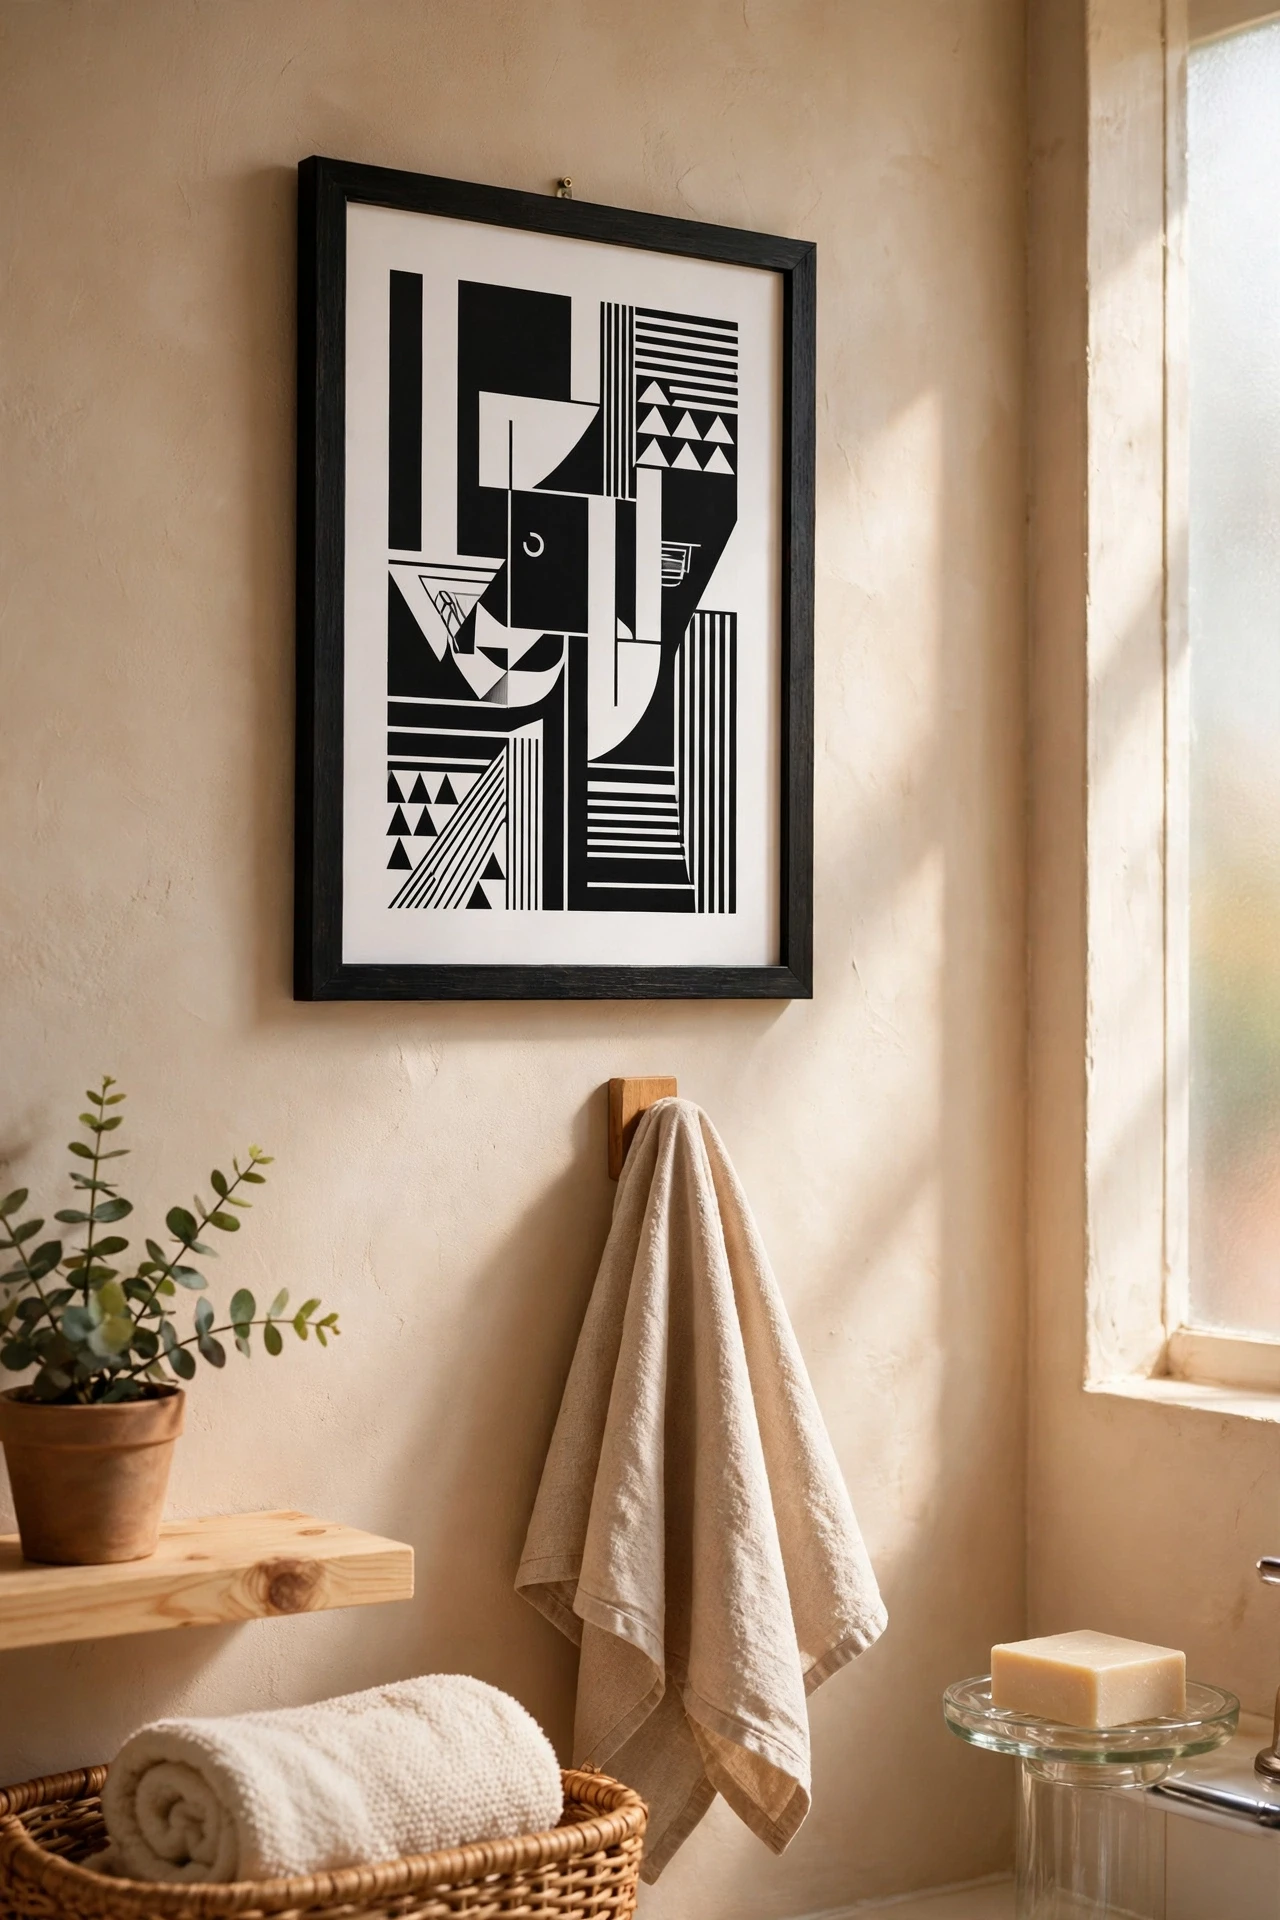
A typographic print — a single word or short phrase in bold black type on white — adds personality to a black and white bathroom without introducing a third colour. Choose a word that makes you smile, like “breathe” or “wash,” and frame it simply in black. Hang it where you see it while brushing your teeth, because that is when you will actually enjoy it. Free printable designs are everywhere online, so the art costs nothing and the frame is the only expense. My typographic print is the first thing guests comment on, which is remarkable for a piece of paper.
Cost: ~$7 | Time: 15 minutes
💰 Budget win: A free printable in a thrifted frame is the cheapest art in this entire list.
17. Keep the Counter Clutter-Free for Contrast
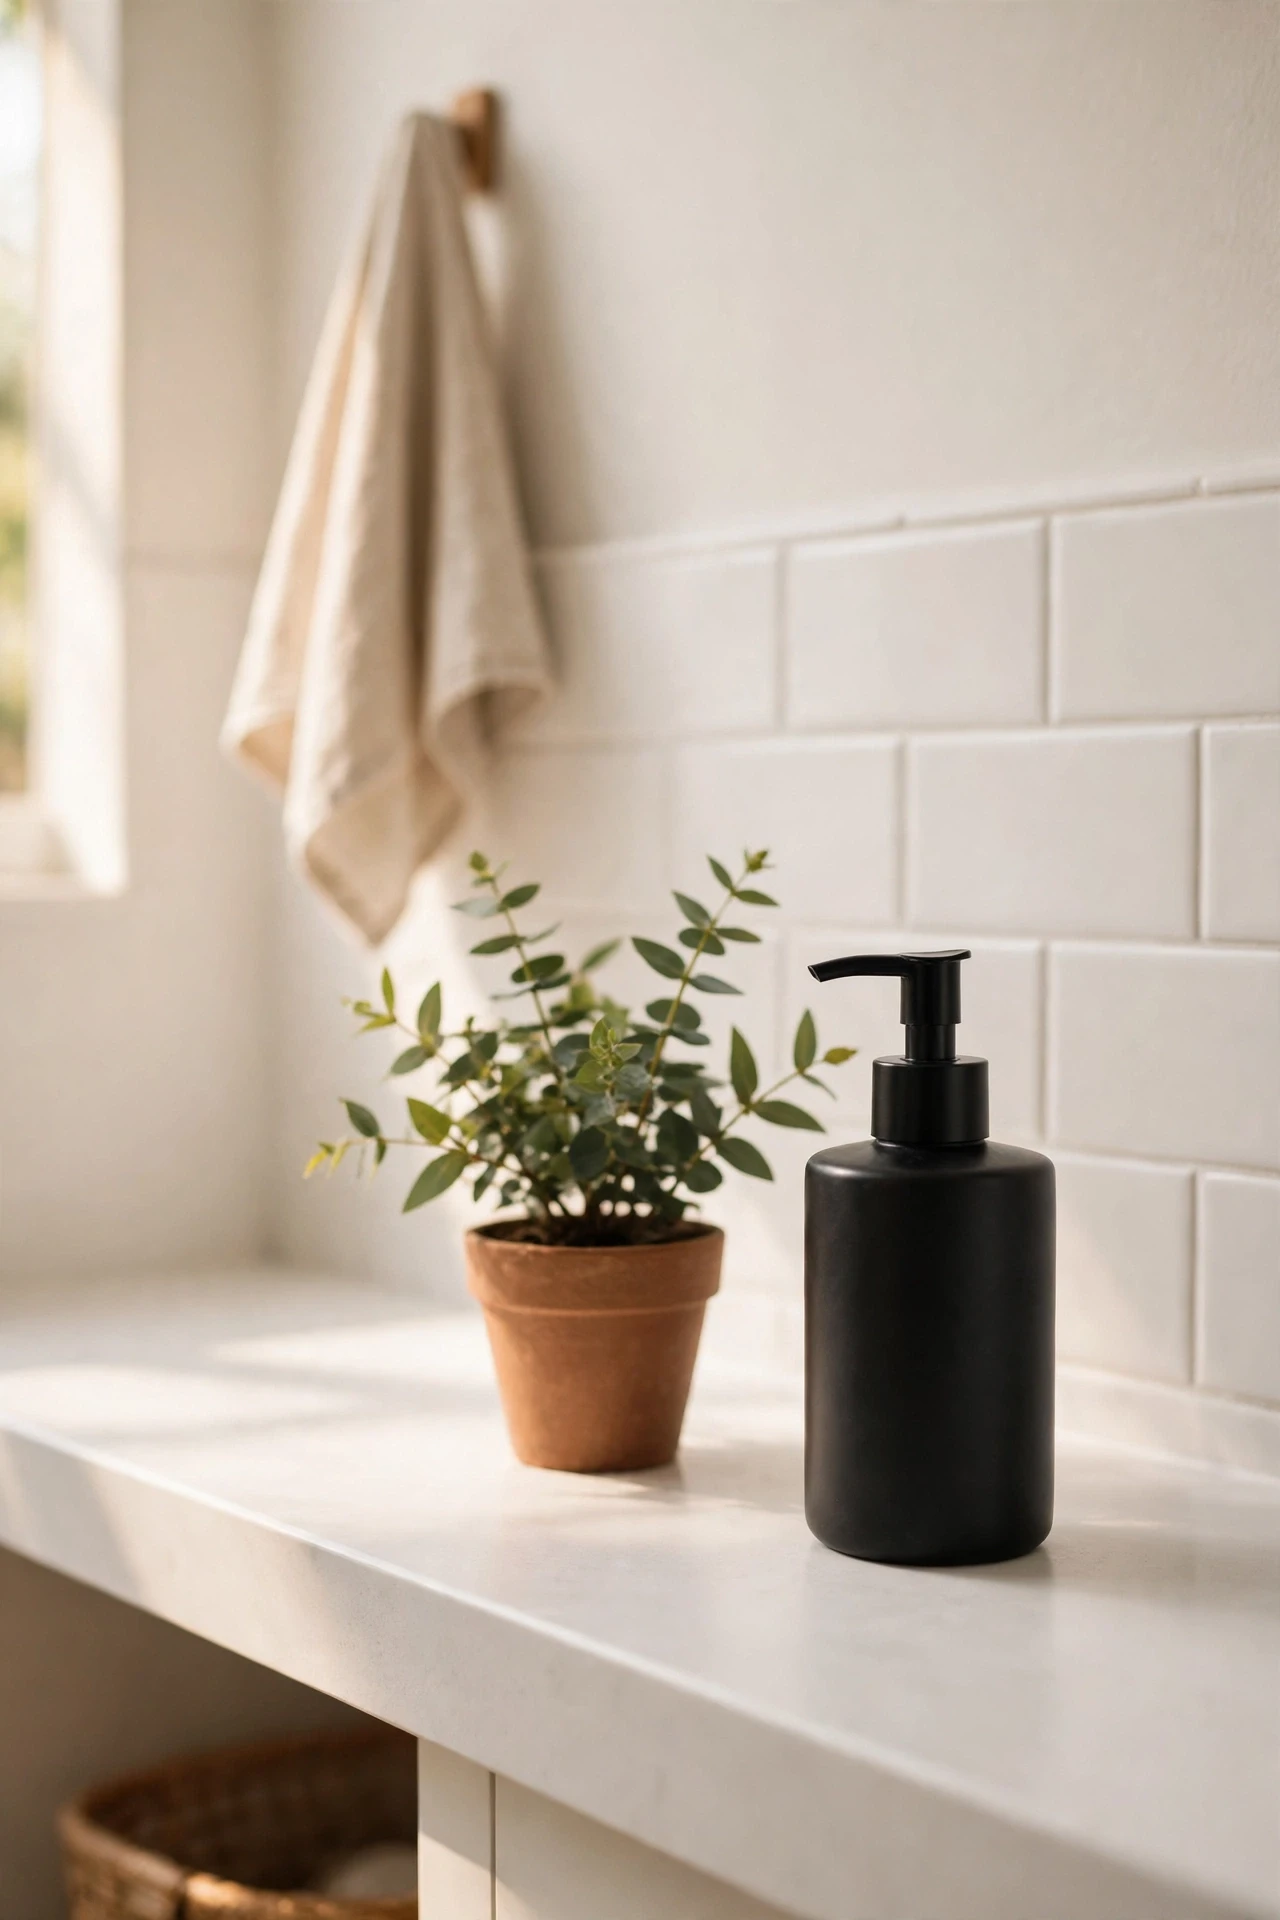
Black and white only looks sharp when the surfaces are clear, because clutter blurs the contrast that makes the scheme work. Keep the vanity to three items — soap, a candle, one plant — and move everything else into a drawer or cabinet. Wipe the counter daily so water spots do not dull the white, and return stray bottles to their homes after each use. It sounds strict, but it takes about thirty seconds a day once the habit forms. I tried this — the mistake to avoid is a one-time purge with no system behind it. Give every item a home, and the contrast stays crisp.
Cost: ~$0 | Time: 20 minutes
💰 Budget win: Free, and it protects the impact of every dollar you spent on the rest of this list.
Black and white bathrooms prove that restraint is a decorating superpower. Start with white walls and one bold statement — the curtain, the floor, the vanity — then add black accents until the room feels balanced. You do not need a big budget to get the look; you need two colours and the confidence to use them.
