15 Kitchen Counter Decor Ideas That Cost Next to Nothing
For years my kitchen counters were a graveyard of good intentions: the olive oil bottle, the random mail pile, the gadget I swore I’d use daily. It looked tired, and I assumed fixing it meant spending money I didn’t have. Then a friend came over, glanced around, and said my kitchen just needed “a few pretty corners.” She was right. These kitchen counter decor ideas prove you don’t need a renovation budget — most of them cost less than a takeaway coffee. I raided my cupboards, the charity shop, and the fruit bowl, and my counters finally feel like somewhere I actually want to cook.
1. Corral the Everyday Clutter on a Thrifted Wooden Tray
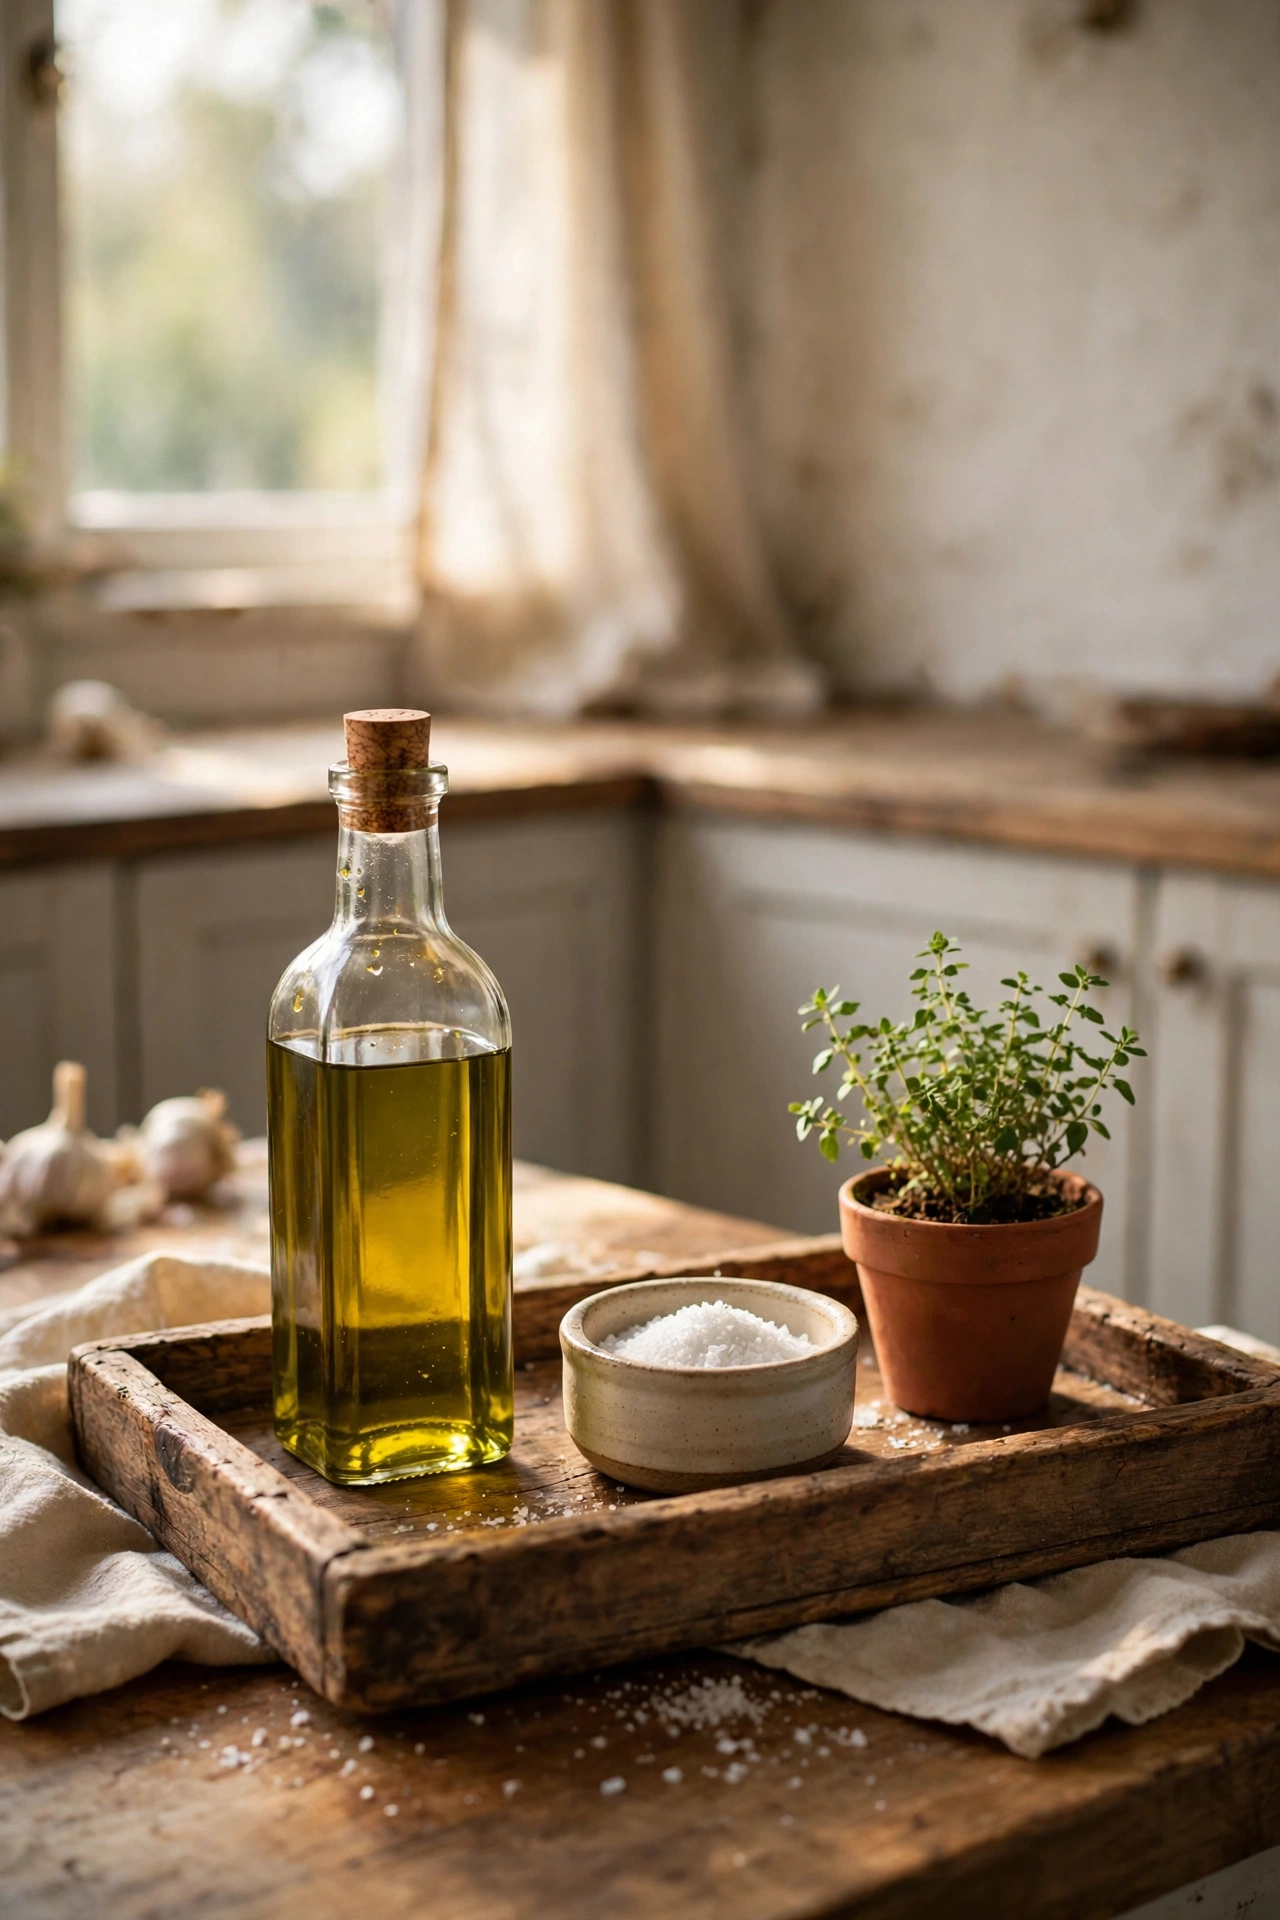
A wooden tray is the single cheapest trick I know for making counters look styled instead of strewn. Gather your everyday items — olive oil, salt cellar, the dish soap — and group them on one tray, and suddenly it reads as a deliberate “station” rather than clutter. I found a scuffed oak tray at a charity shop for £1.50, gave it a rub with coconut oil, and it looks ten times the price. Step one: pick a tray or shallow basket roughly 30–40cm wide. Step two: keep only what you genuinely use daily on it. Step three: leave breathing room — cramming defeats the purpose. I tried this first with a tray that was too small and the mistake to avoid is overfilling it; if bottles are elbowing each other, go one size up.
Pro tip: Line the tray with a folded tea towel first — it catches drips and adds a free layer of pattern.
Cost: ~$2 | Time: 10 minutes
2. Turn Mason Jars into Utensil Holders That Look Boutique, Not Basic
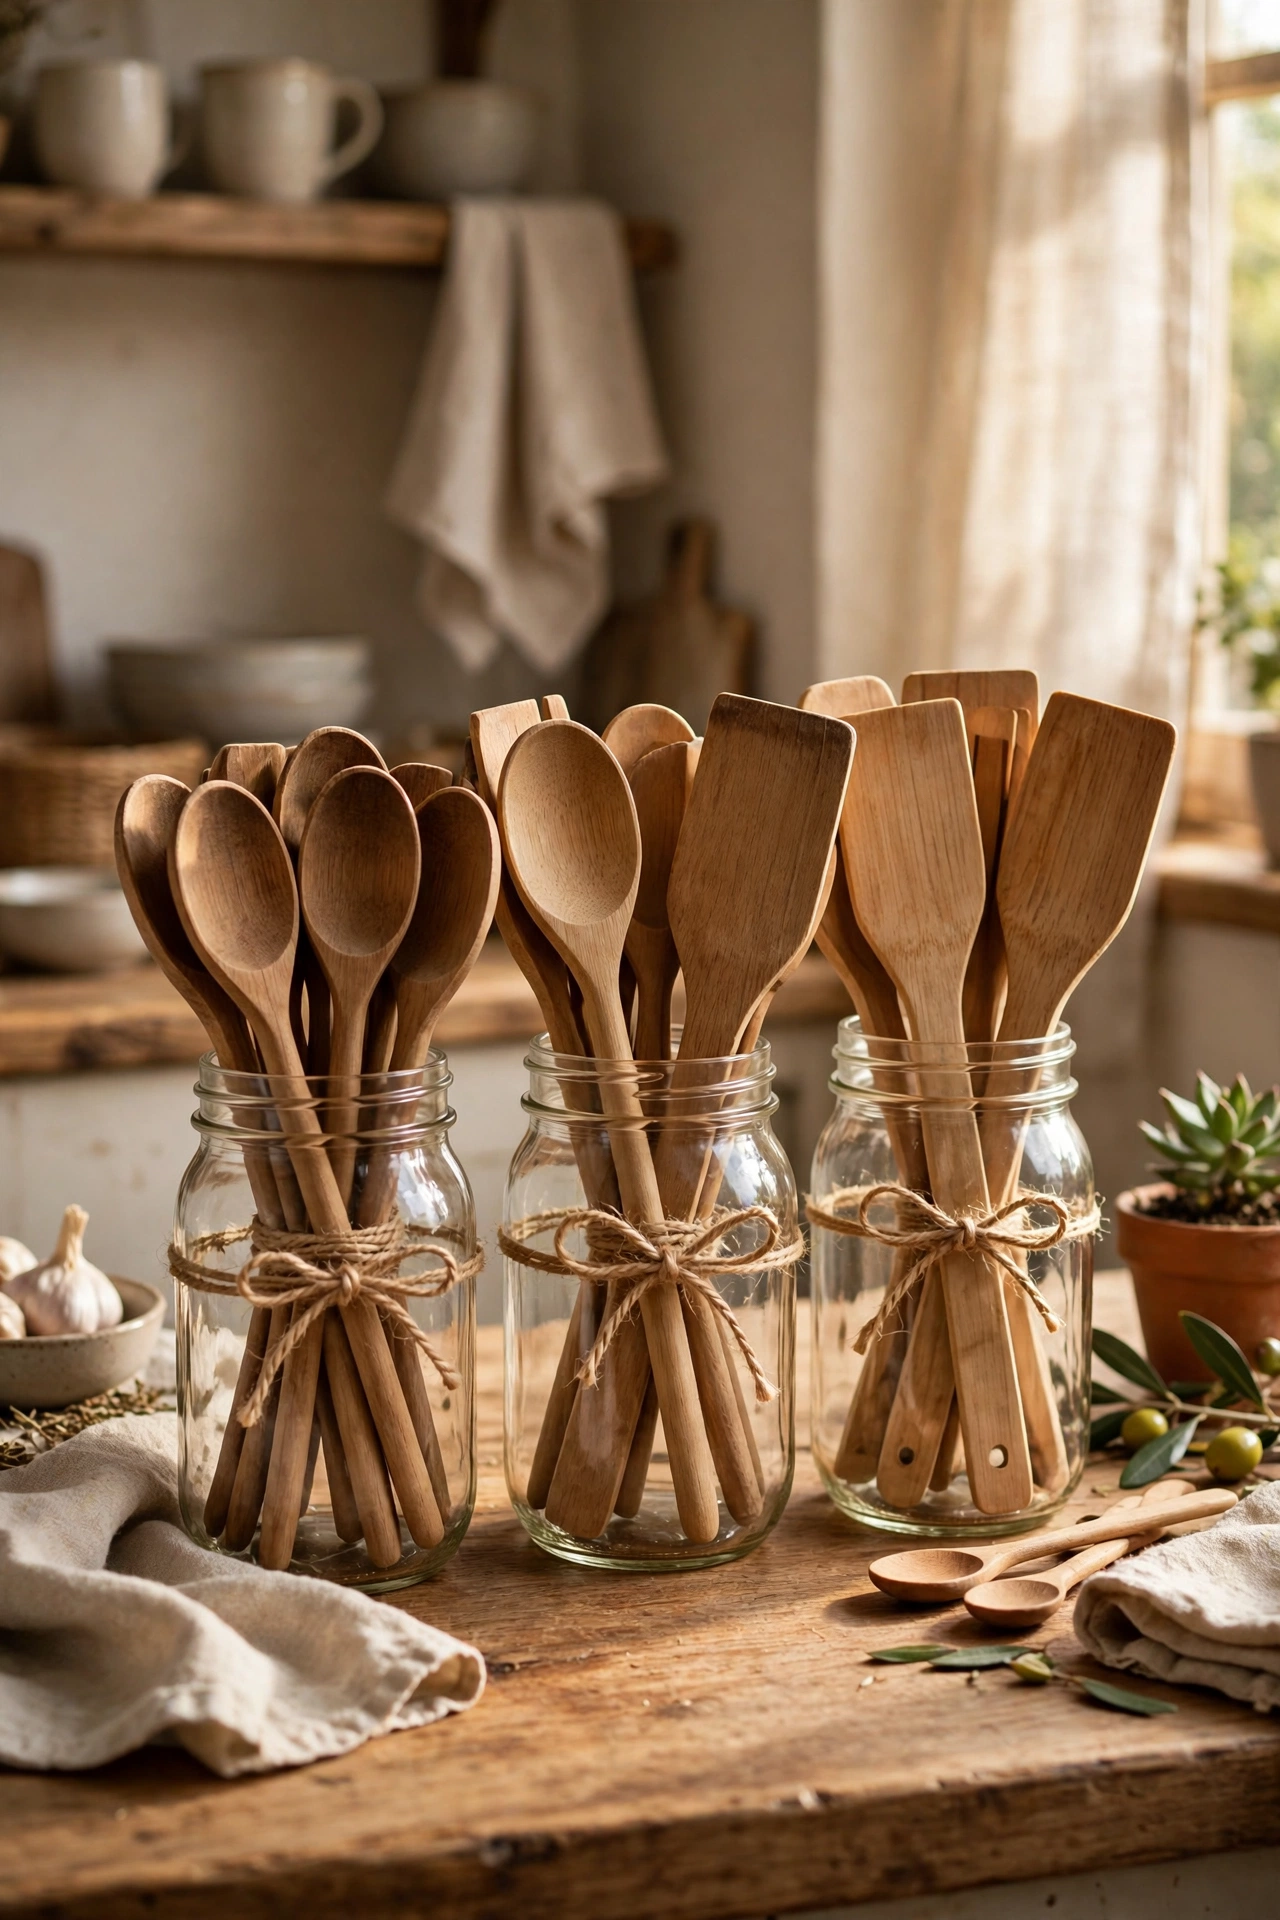
Plain glass jars are practically free if you raid your recycling, and they beat the plastic utensil caddy every time. The trick is in the styling: one jar for wooden spoons, one for spatulas, and tie a bit of twine or a strip of fabric around the rim. I swapped my clunky black holder for two pasta-sauce jars and guests keep asking where they’re from. Step one: wash and de-label jars (soak in hot soapy water, then rub with oil for stubborn glue). Step two: fill the bottom with dried rice or lentils so tall utensils stand steady. Step three: cluster two or three jars together at different heights. I tried this and the mistake to avoid is using jars that are too tall — utensils disappear inside and you end up fishing around; aim for jars about 12–15cm high.
Pro tip: Add a sprig of dried lavender to one jar — it looks decorative and keeps the drawer-smell away.
Cost: ~$0 | Time: 15 minutes
3. Grow a Tiny Herb Garden on the Sunniest Corner
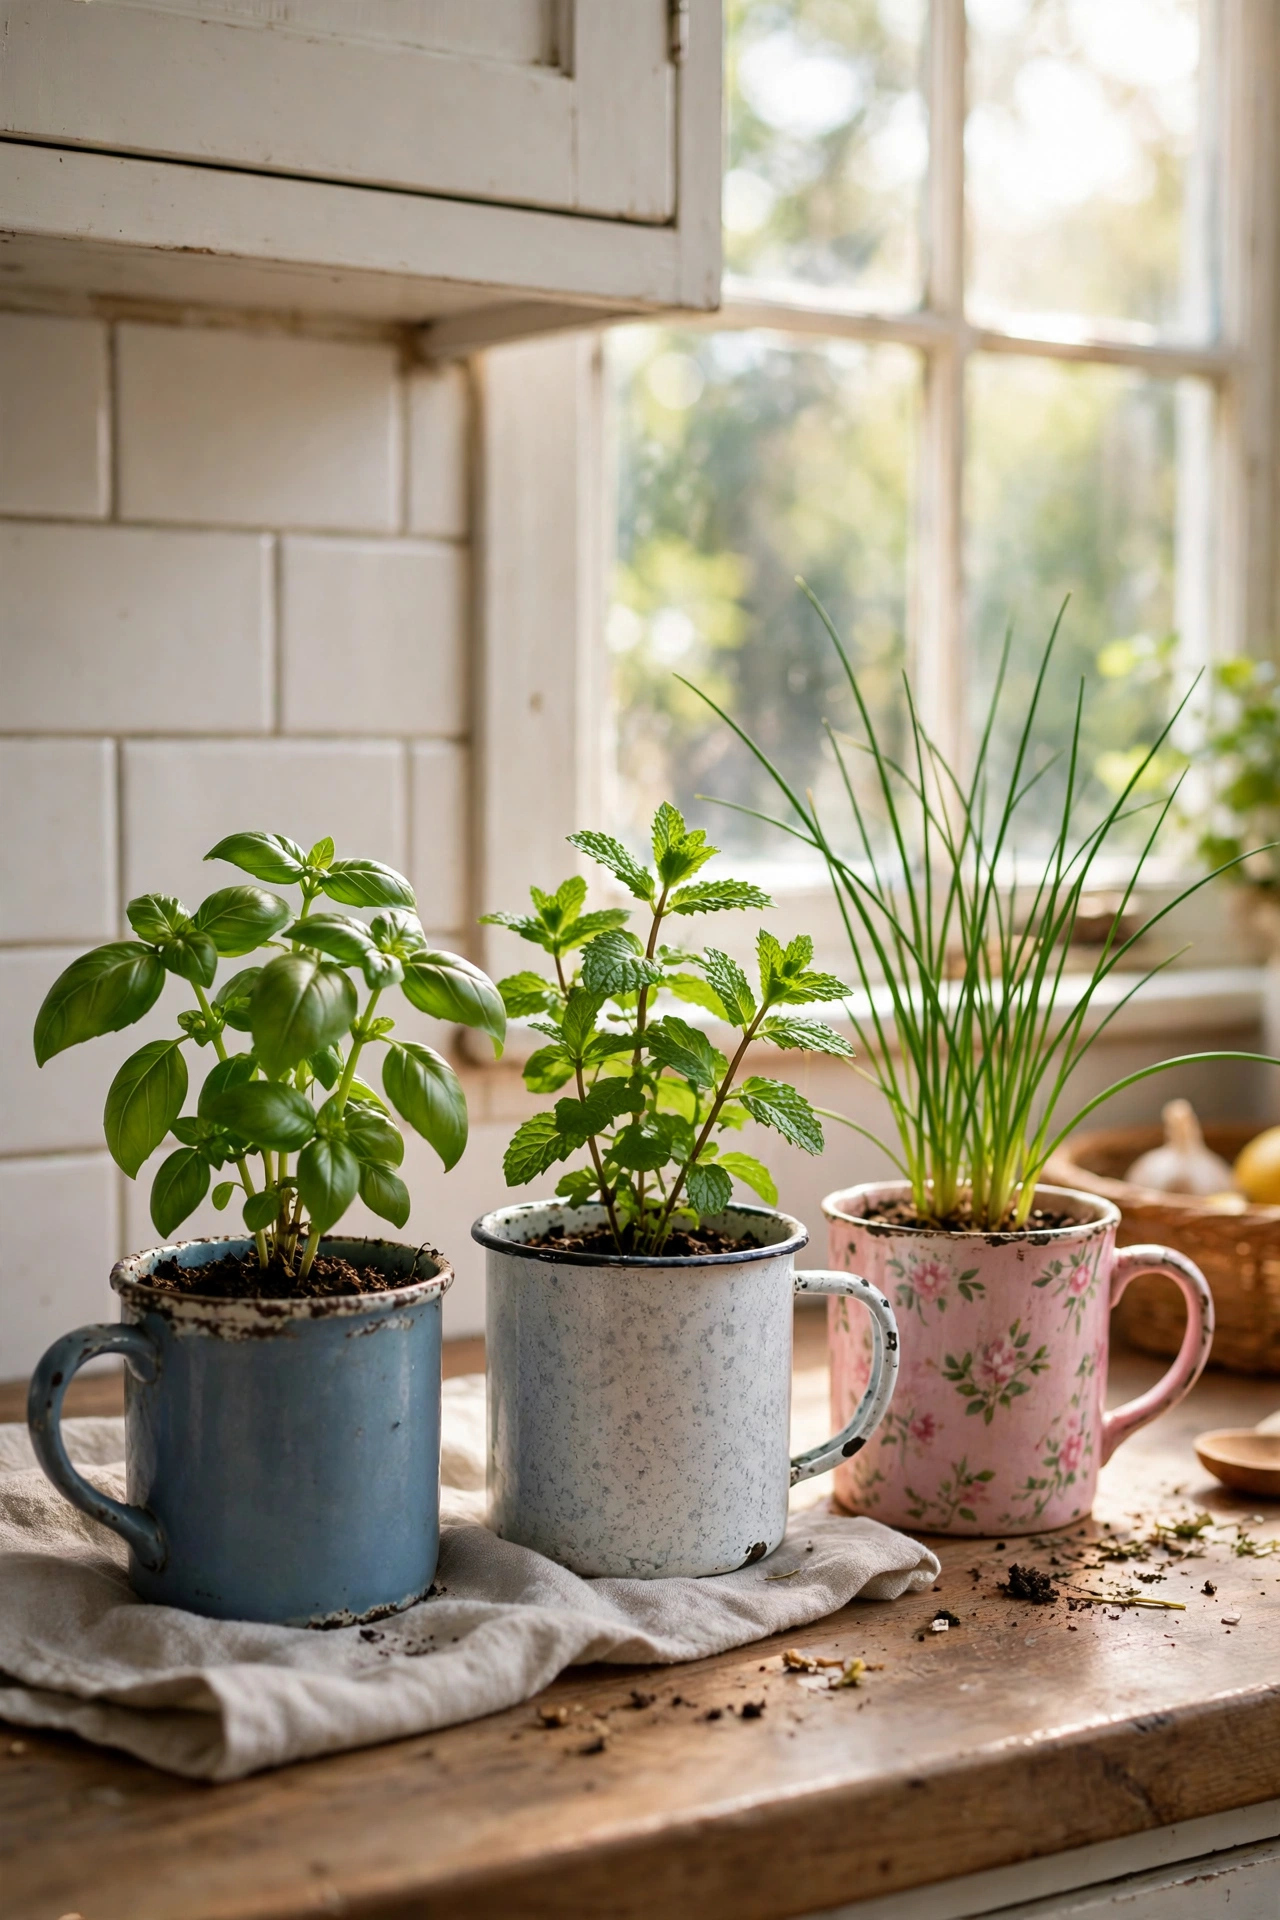
Nothing makes a kitchen feel alive like something green and growing, and a few herb pots double as decor you can actually eat. I keep basil, mint, and chives in mismatched mugs on the windowsill end of my counter, and the whole corner smells wonderful when the sun hits it. Step one: buy small herb plants from the supermarket (cheaper and hardier than seeds). Step two: pop them into any watertight container — mugs, tins, even a lined basket. Step three: water little and often, and pinch the tops to keep them bushy. I tried this with rosemary first and the mistake to avoid is drowning them; most herbs prefer slightly dry soil, and soggy roots are the number one killer. For more plant styling, see (see also: budget-kitchen-decor-ideas).
Pro tip: Rotate the pots a quarter turn every few days so they grow evenly instead of leaning toward the light.
Cost: ~$4 | Time: 20 minutes
4. Lean an Oversized Cutting Board Against the Splashback
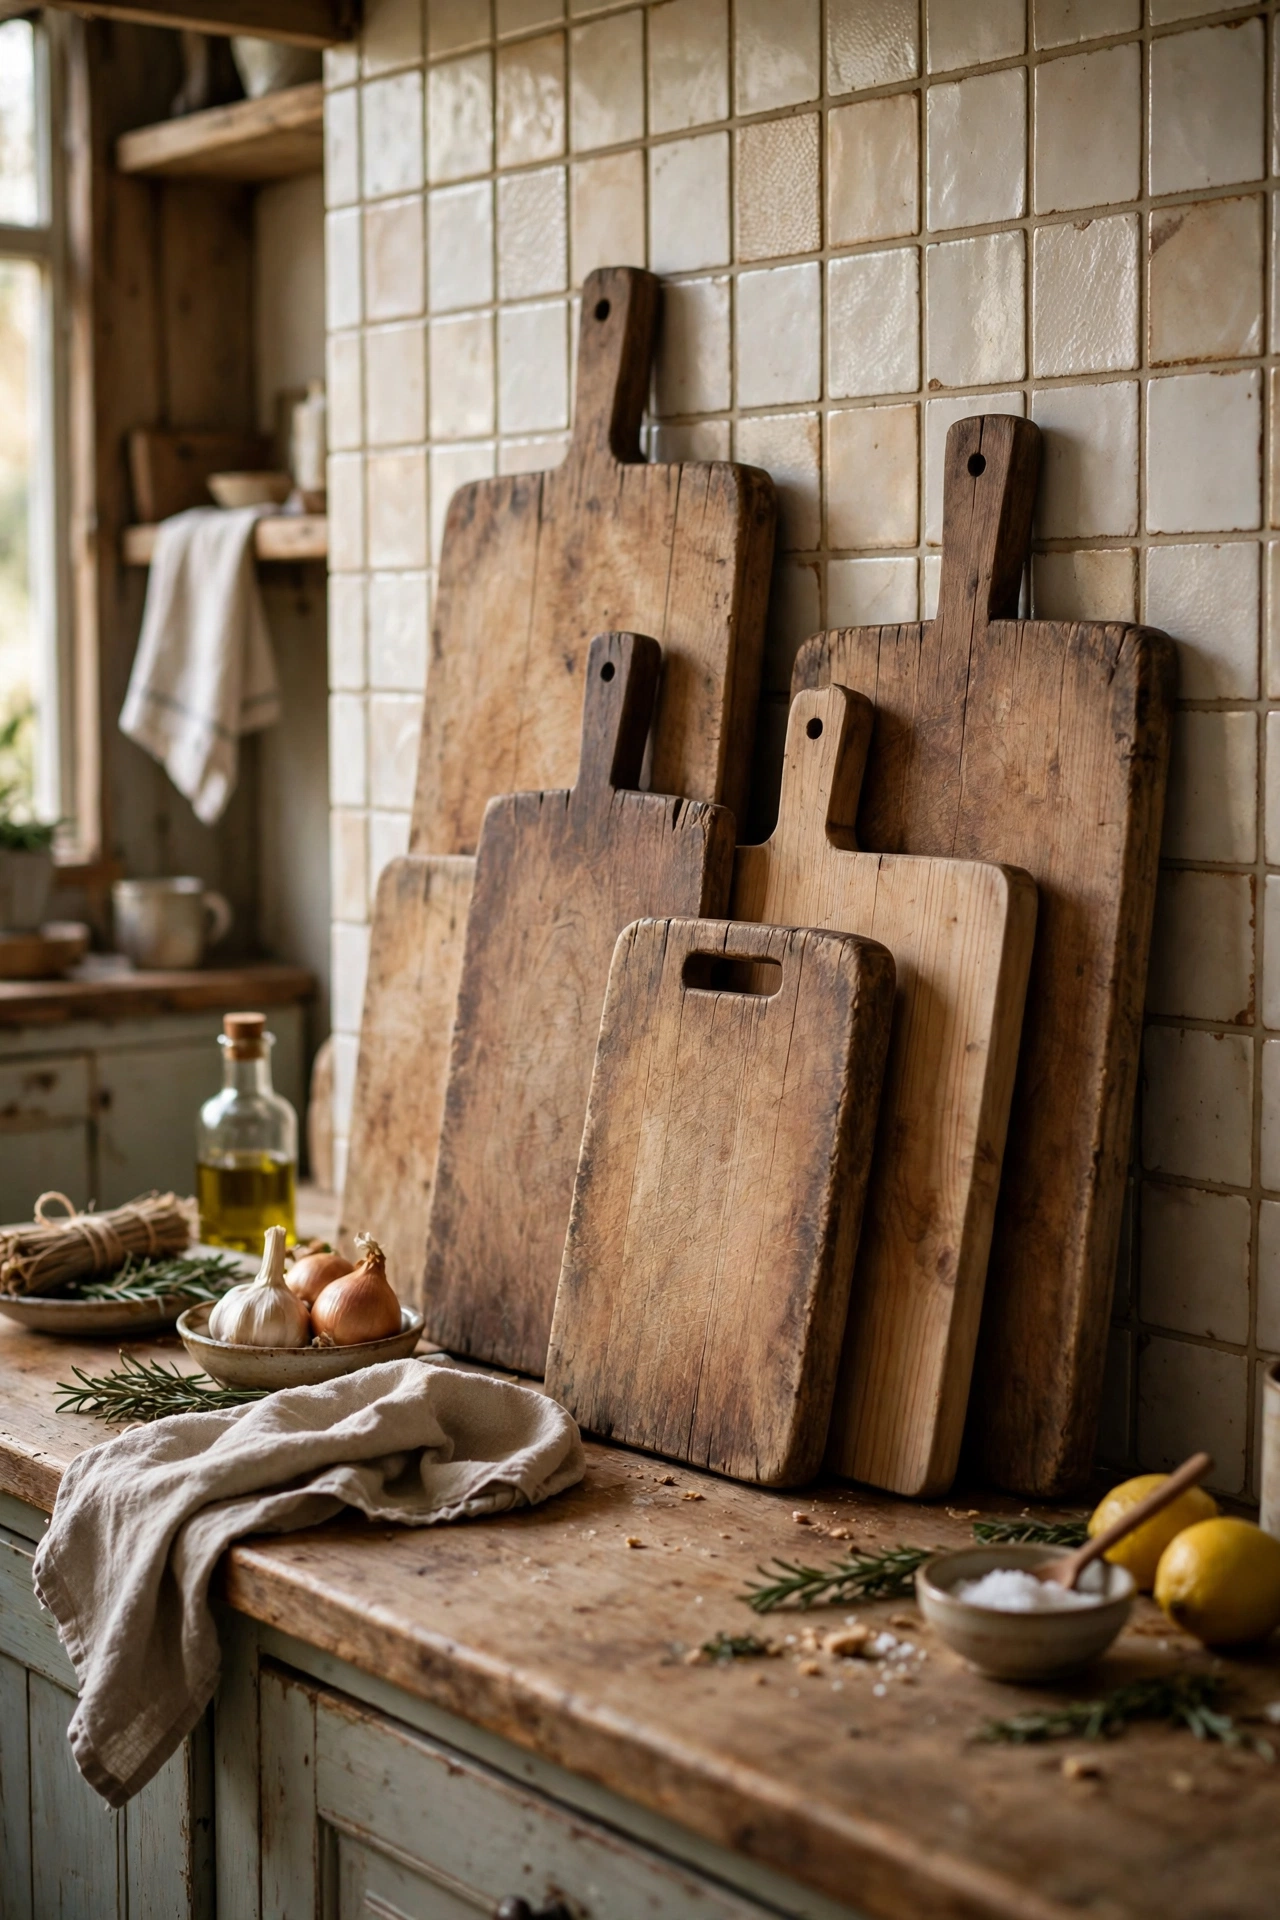
This is the stylist’s secret that costs absolutely nothing if you already own a decent board. A big wooden chopping board leaned against the wall instantly adds warmth, height, and texture — it fills that dead vertical space behind the hob or sink. I layered two boards, a big acacia one in front of a smaller round one, and it looks like something from a magazine shoot. Step one: choose your prettiest board (wood beats plastic here). Step two: lean it at a slight angle so it won’t topple. Step three: overlap a smaller board or a framed mini print in front for depth. I tried this and the mistake to avoid is leaning it where you actually prep food — pick a decorative-only spot, or you’ll be moving it ten times a day and the styling will never survive the week.
Pro tip: Rub the board with food-safe mineral oil once a month — it deepens the colour and stops it looking washed out.
Cost: ~$0 | Time: 5 minutes
5. Stack Vintage Cookbooks as a Free Display Riser
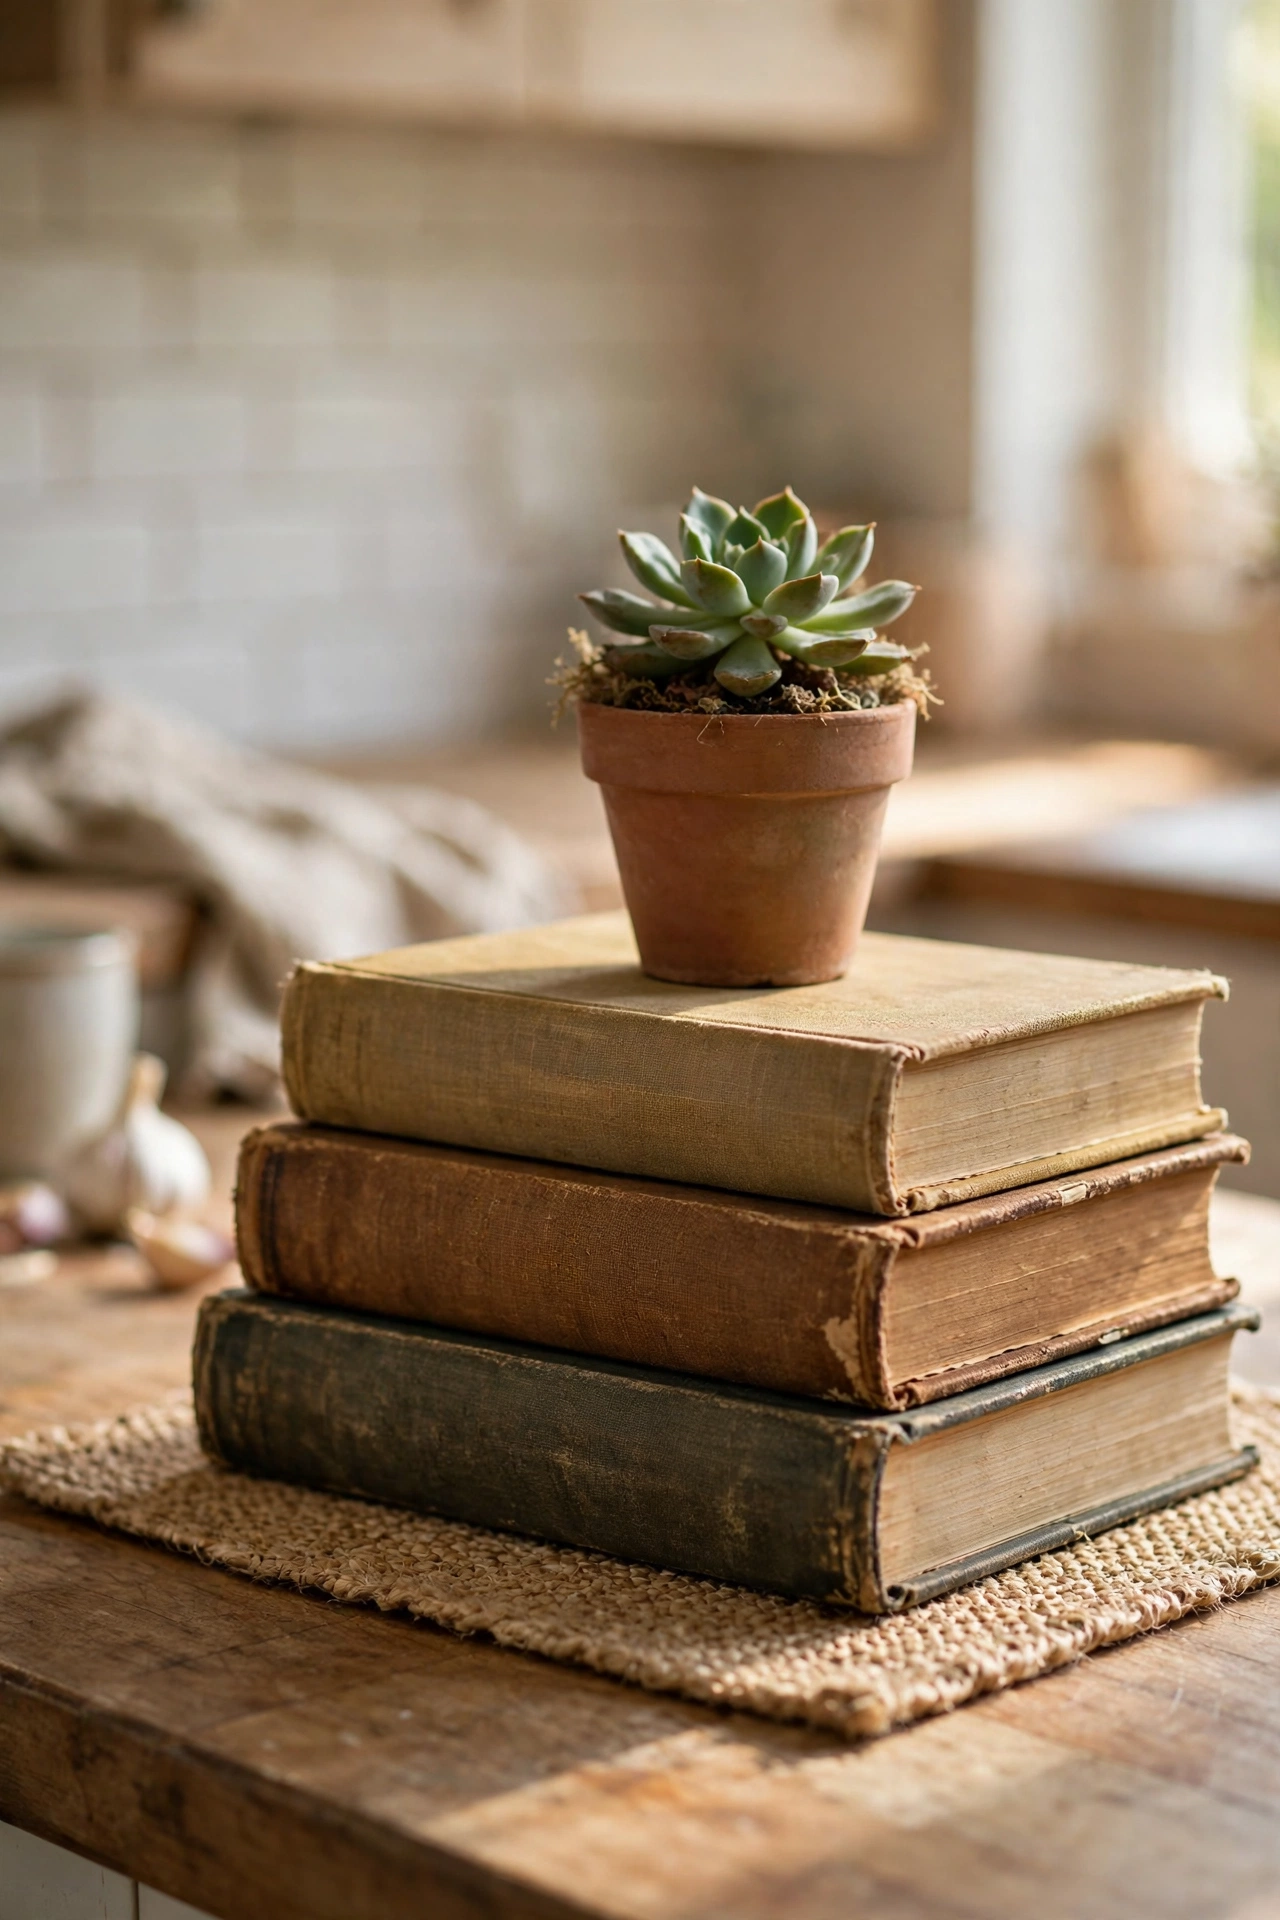
Raisers and stands are what give styled counters that layered, collected look — and a stack of old cookbooks does the job for free. I piled three charity-shop cookbooks (50p each, and honestly chosen for their covers) beside the kettle, and put a small plant on top. Instant height, instant personality. Step one: hunt for books with attractive spines or covers — condition of the recipes doesn’t matter. Step two: stack two to four, largest at the bottom. Step three: top with something small — a candle, a tiny plant, a salt pig. I tried this and the mistake to avoid is stacking them near the hob; grease and steam will ruin them. Keep book stacks on the cool, dry end of the counter and they’ll last for years.
Pro tip: Wrap a tatty-but-loved book in brown kraft paper and stamp the title on the spine for a rustic uniform look.
Cost: ~$2 | Time: 10 minutes
6. Fill a Simple Bowl with Fresh Lemons
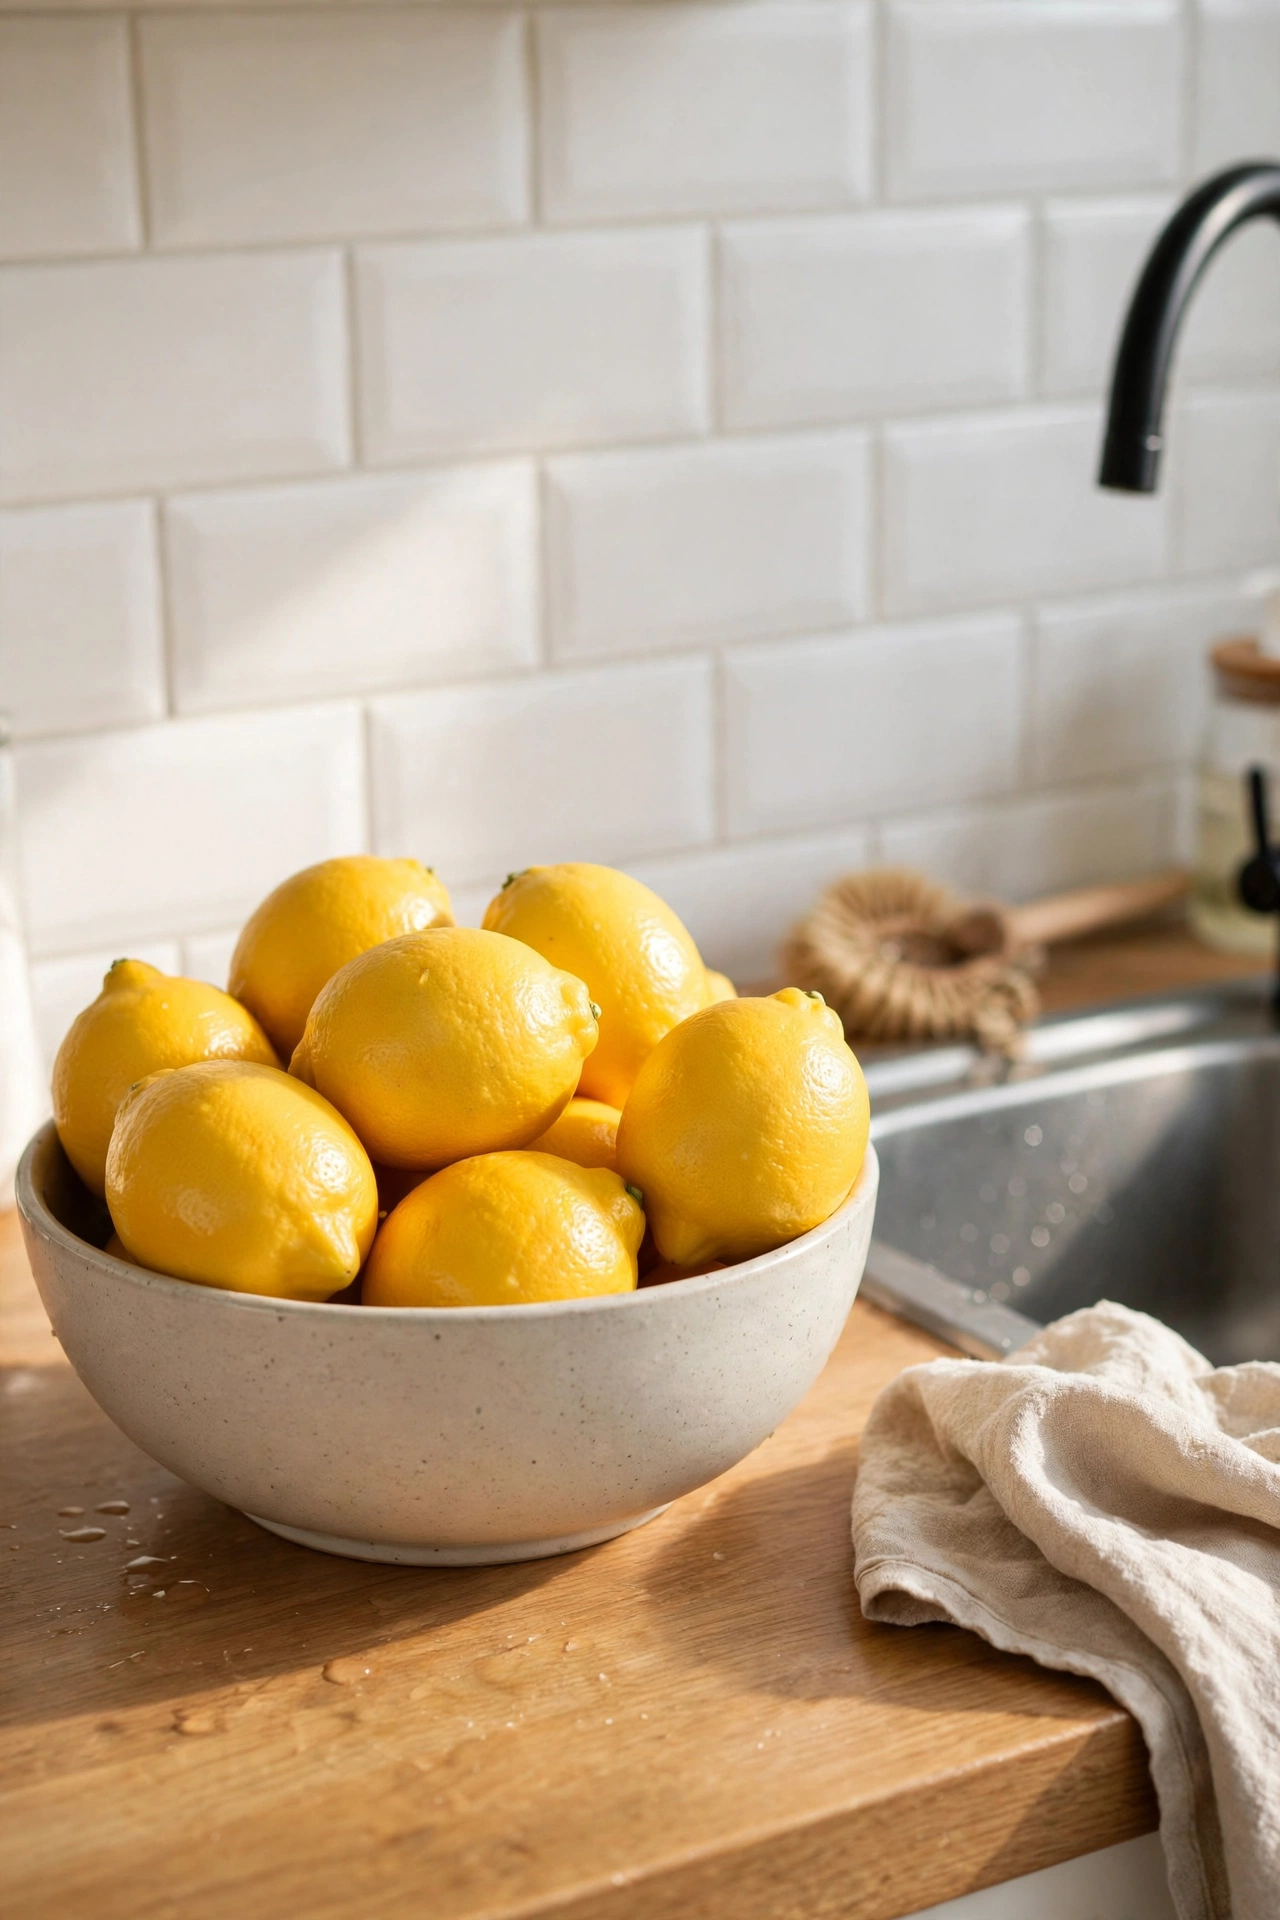
Of all the cheap tricks in this list, this might be the most effective per penny. A bowl of lemons — or limes, or shiny red apples — gives you colour, shape, and a fresh scent, and you can eat the decor. I keep a low ceramic bowl of lemons by the sink and it genuinely brightens the whole run of counter. Step one: choose a bowl with a bit of character — charity shops are full of them. Step two: fill with one type of fruit, not a mixed jumble (uniformity looks intentional). Step three: refresh weekly, eating the oldest first. I tried this and the mistake to avoid is letting them go soft and sad — a shrivelled lemon has the opposite effect, so check them weekly. Save this idea to your kitchen inspiration board — it’s the one trick you’ll use in every season.
Pro tip: Add a few sprigs of fresh rosemary tucked between the lemons for a fragrant, florist-style touch.
Cost: ~$3 | Time: 5 minutes
7. Use a Woven Basket for Produce That Hates the Fridge
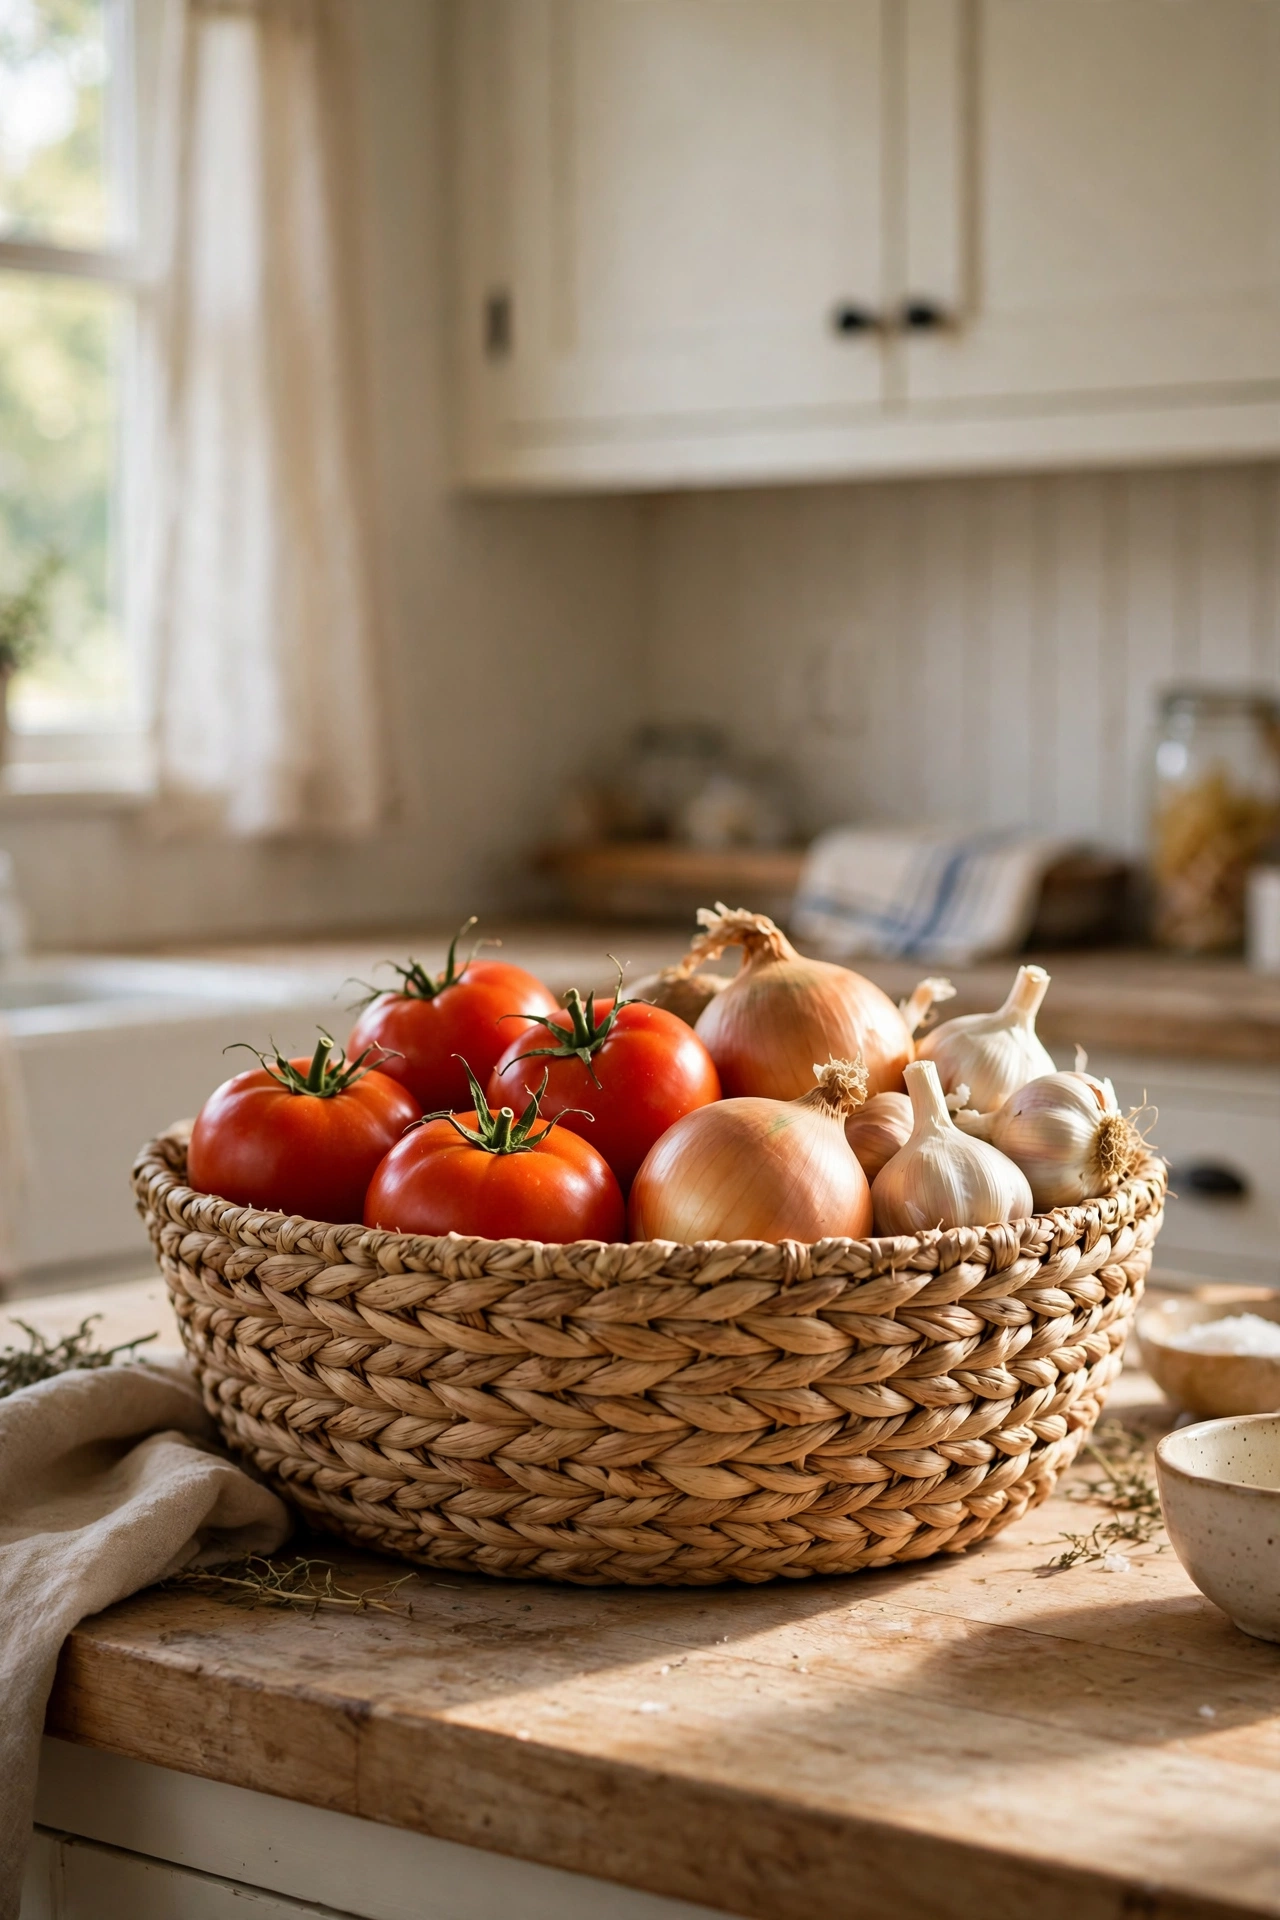
Tomatoes, onions, garlic, bananas — half your produce shouldn’t be refrigerated anyway, so why not display it beautifully? A shallow woven basket turns everyday veg into a still life. I replaced the plastic fruit bowl with a £2 seagrass basket and the counter immediately felt warmer and more farmhouse. Step one: pick a low, wide basket so produce is visible, not buried. Step two: line it with a clean tea towel to protect the weave. Step three: group by colour — red onions in one, a garlic braid beside them. I tried this and the mistake to avoid is mixing ethylene-producers (bananas, tomatoes) with sensitive items if you’re storing for days — but honestly, for a small basket you cycle through weekly, just keep it pretty and eat things in time.
Pro tip: Hang a small bunch of dried chillies or garlic from the basket’s edge for a market-stall vibe.
Cost: ~$3 | Time: 10 minutes
8. Group Candles on a Thrifted Saucer for a Cosy Glow
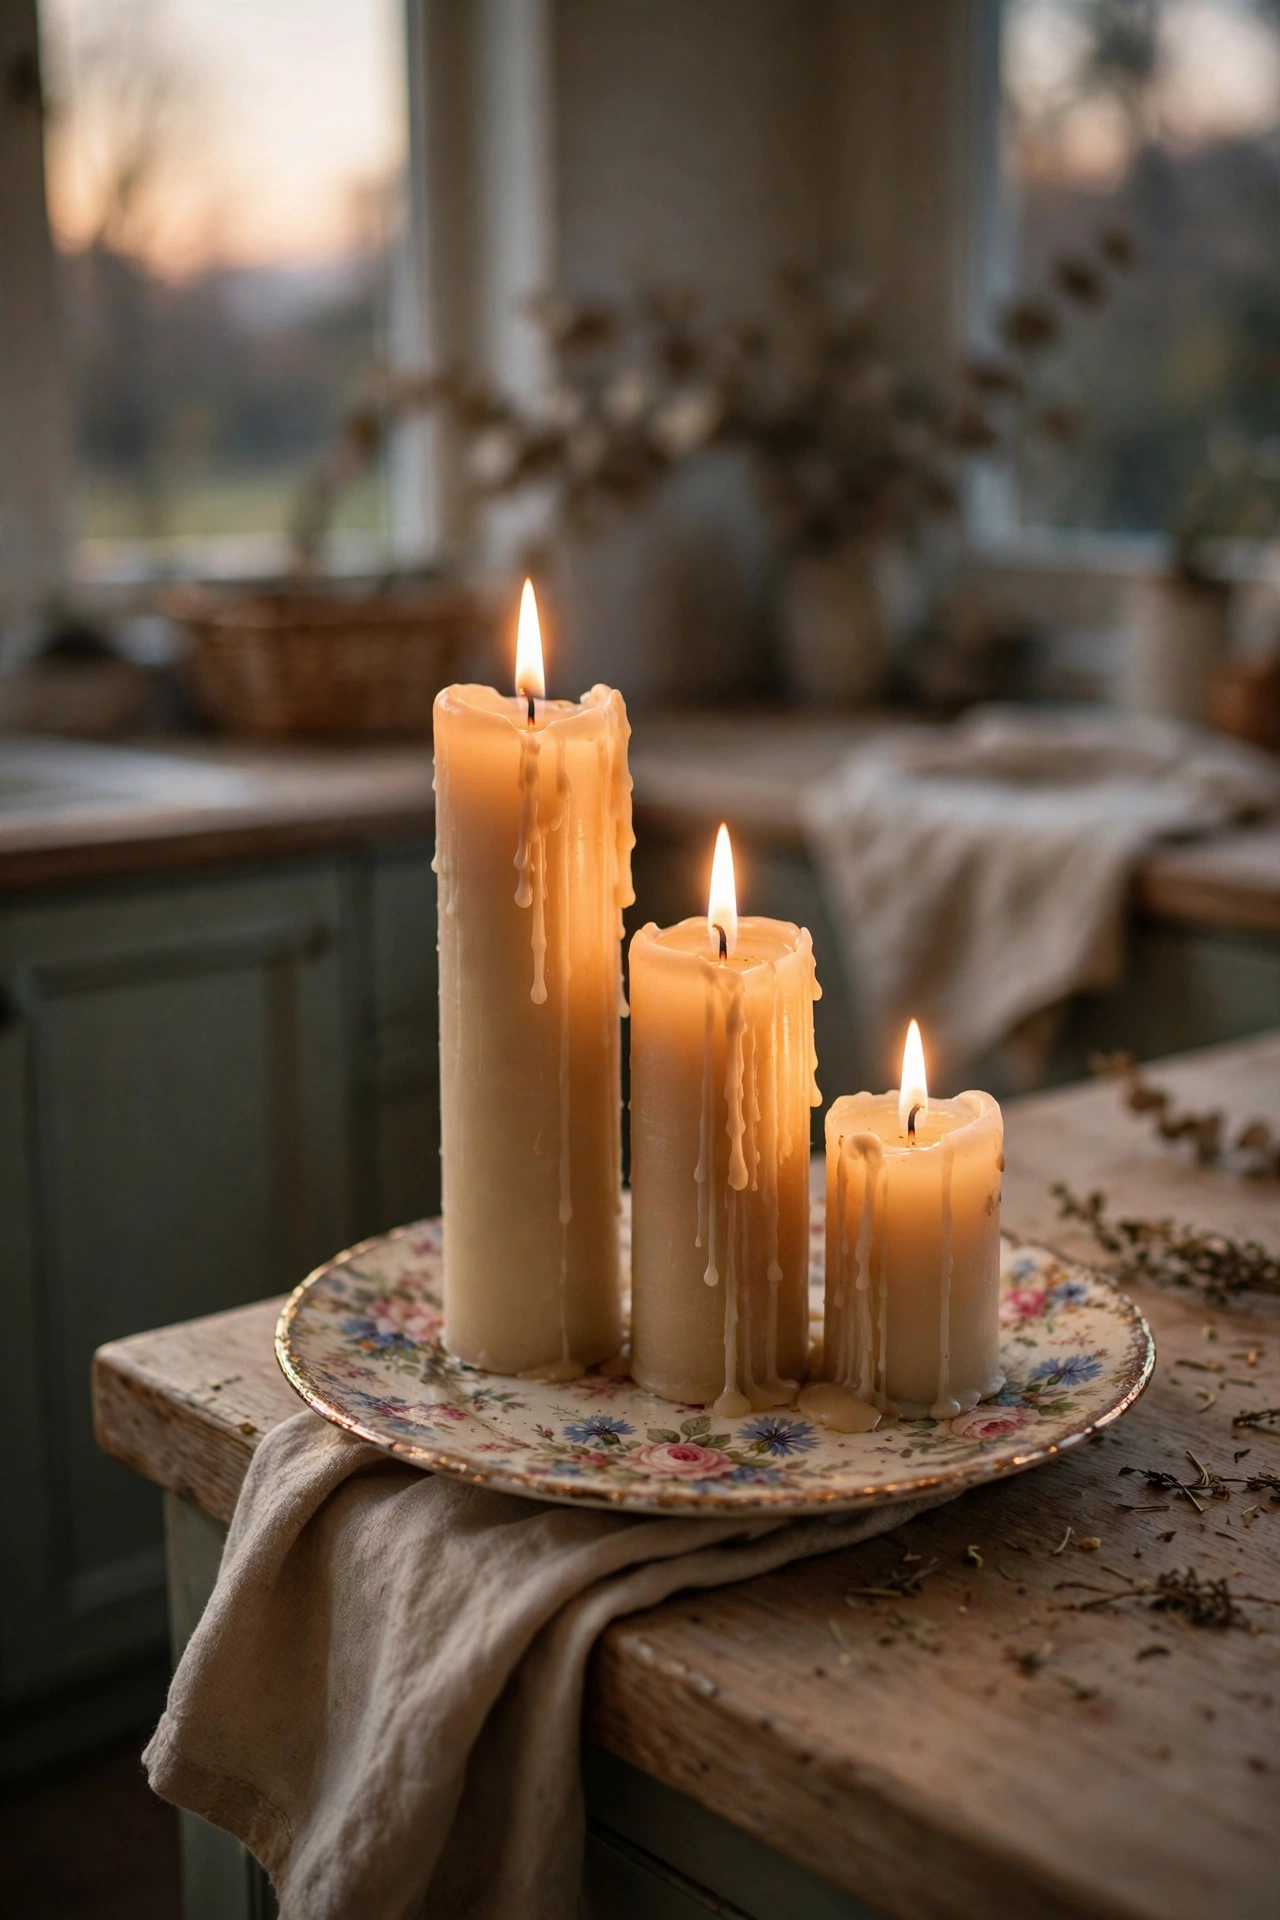
Candles aren’t just for the living room. A little cluster on the kitchen counter makes evening cooking feel like an occasion, and a thrifted saucer or small plate keeps wax off your surfaces. I use three mismatched tea lights on a floral saucer at the far end of the counter, and lighting them while dinner simmers is my favourite small ritual. Step one: find a heat-safe plate or tile as a base. Step two: group candles in odd numbers at varying heights. Step three: stick to unscented near food prep — you don’t want vanilla competing with garlic. I tried this and the mistake to avoid is placing them anywhere near the hob or paper towels; treat the kitchen like any other room and keep a full arm’s length from anything flammable. For more cosy touches, browse (see also: cosy-kitchen-ideas-on-a-budget).
Pro tip: Use battery tea lights inside the cluster if you have curious pets or little ones — same glow, zero worry.
Cost: ~$3 | Time: 5 minutes
9. Decant the Washing-Up Liquid into a Pretty Bottle
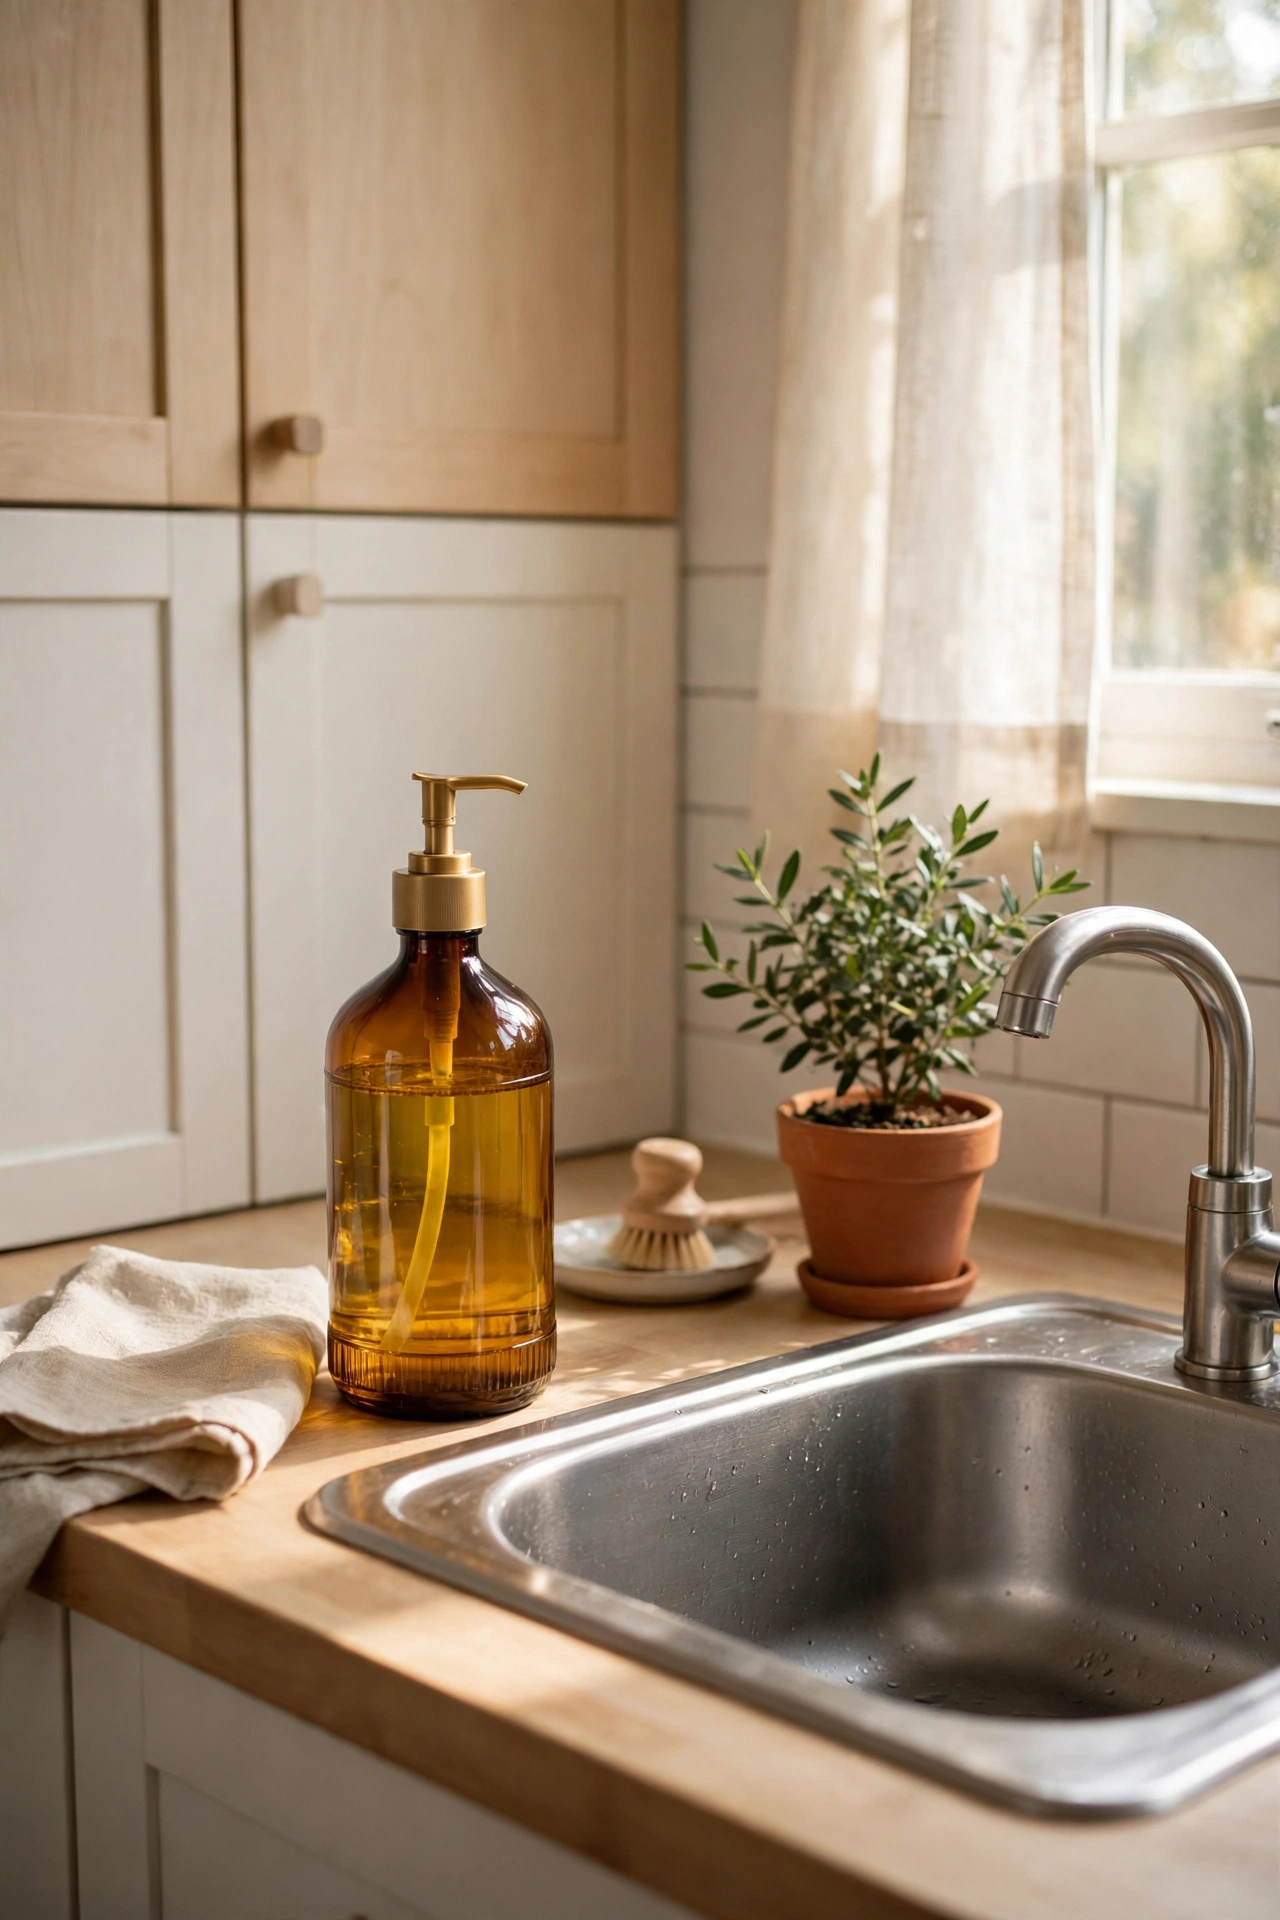
The sink area is usually the ugliest six inches of any kitchen, and it’s almost always the branded plastic bottle’s fault. Decanting washing-up liquid into an amber glass bottle or a nice pump dispenser is a two-minute upgrade with outsized impact. I bought a £1.50 amber bottle, added a simple handwritten label, and my sink zone finally matches the rest of the kitchen. Step one: choose a bottle with a pump or pour spout (old olive oil bottles work brilliantly). Step two: funnel in your usual liquid — no need to buy fancy soap. Step three: add a minimal label so guests aren’t guessing. I tried this and the mistake to avoid is picking a bottle with too narrow a neck; thick liquids need a wide funnel and patience, so test the pour before you commit.
Pro tip: Do the same with hand soap in the downstairs loo — one bottle style across rooms looks quietly coordinated.
Cost: ~$2 | Time: 10 minutes
10. Display Eucalyptus Sprigs in a Water Pitcher
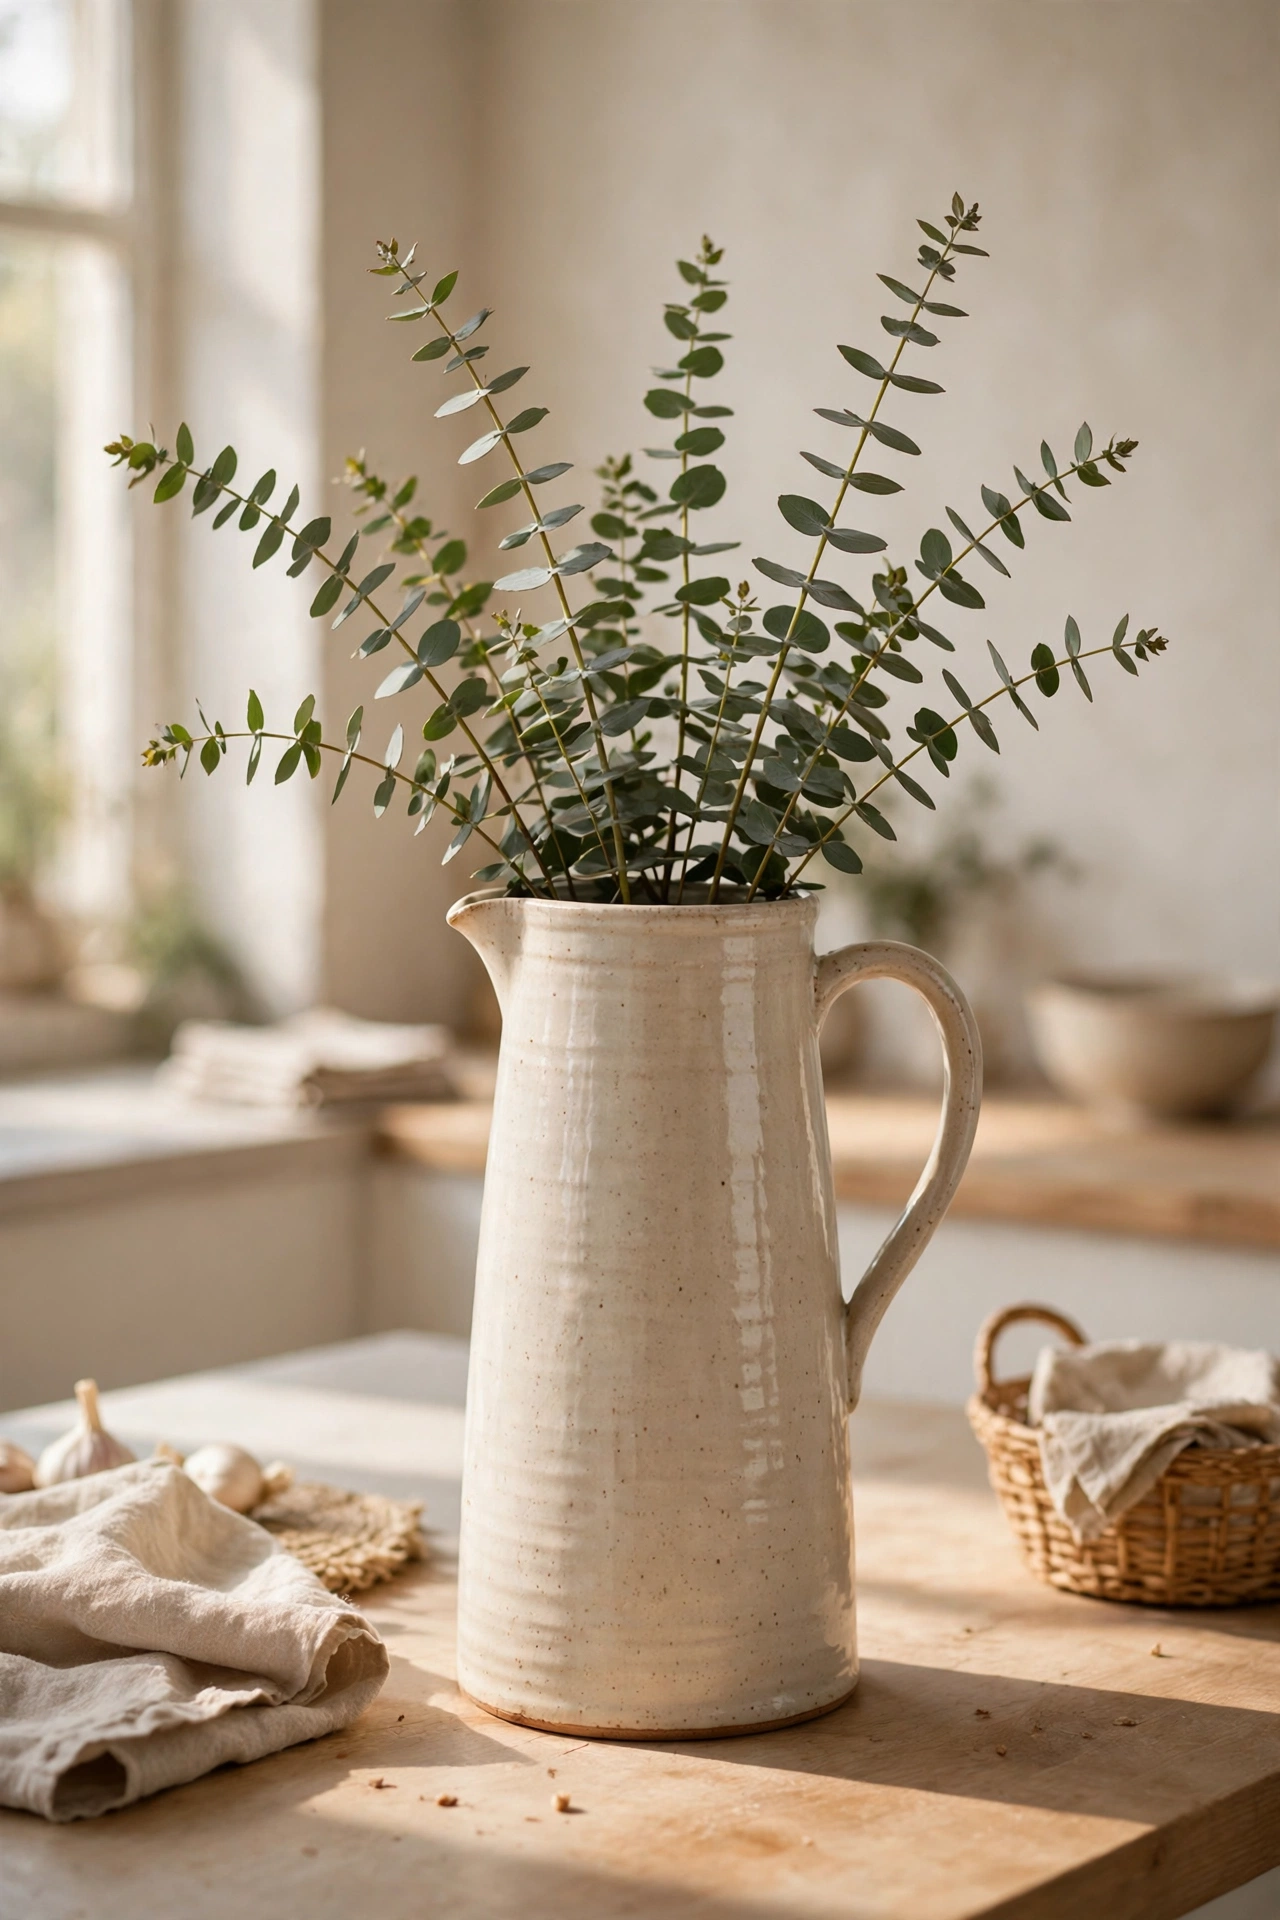
Fresh flowers are lovely but they die in days; eucalyptus lasts for weeks and dries beautifully. A tall water pitcher filled with a few stems is sculptural, fragrant, and costs less than a fancy coffee. I keep mine at the end of the counter where it softens the hard lines of the cabinets. Step one: buy one bunch of eucalyptus (supermarkets sell them cheaply). Step two: trim stems at an angle and strip lower leaves. Step three: arrange in a tall vessel with just a few inches of water — or none at all once it dries. I tried this and the mistake to avoid is cramming in too many stems; five to seven well-spaced sprigs look elegant, while a stuffed bunch looks like you’re hiding something.
Pro tip: When the eucalyptus dries out, hang a bunch in the shower — the steam releases the scent all over again.
Cost: ~$4 | Time: 10 minutes
11. Turn a Cake Stand into a Tiered Coffee Corner
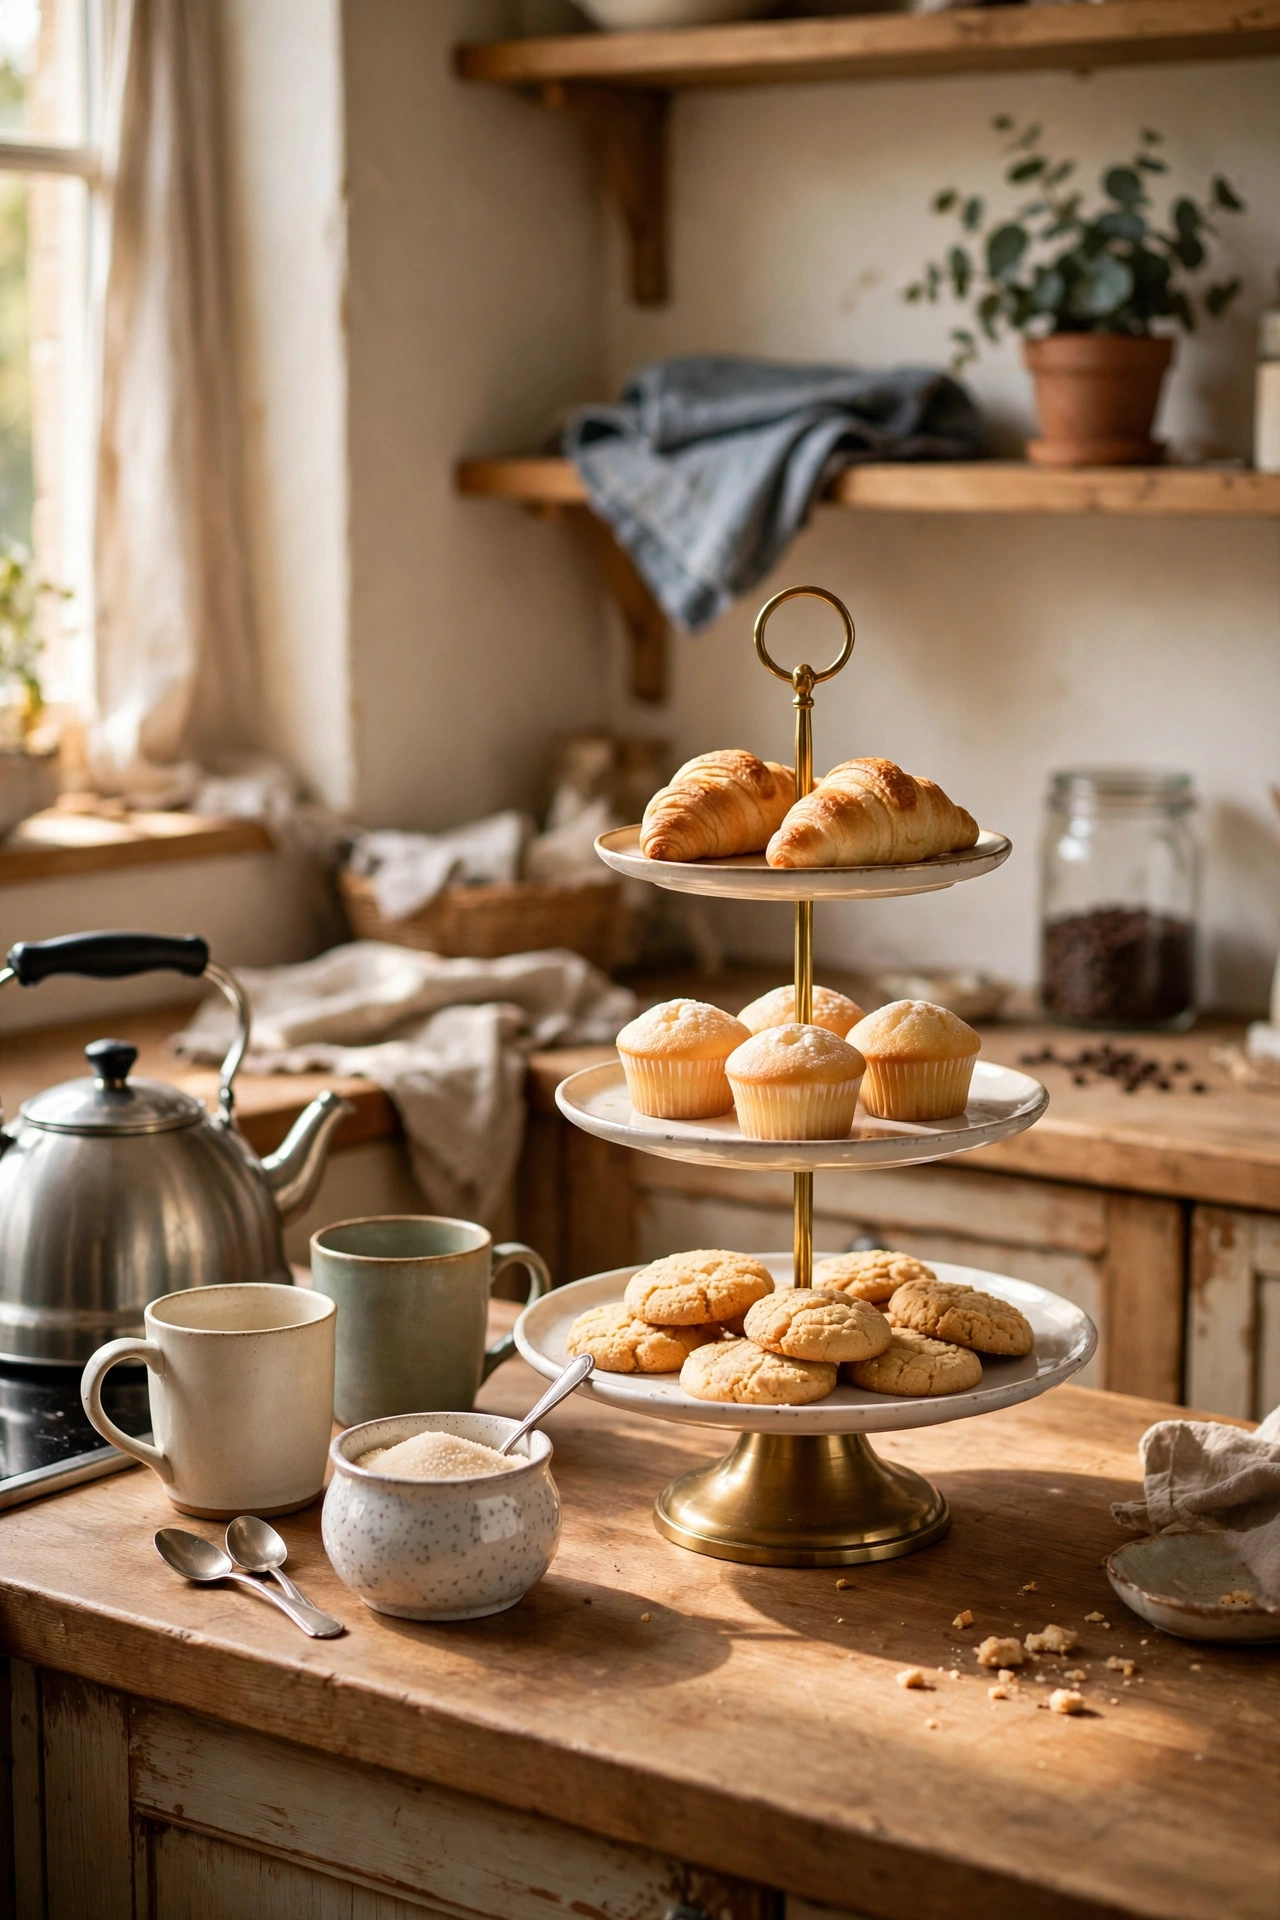
That cake stand gathering dust in the cupboard? Give it a job. A tiered stand beside the kettle creates a dedicated coffee or tea corner that looks styled with zero effort — mugs on the bottom, sugar bowl and spoons on top. Mine came from a car boot sale for £1 and it’s the most-complimented thing in my kitchen. Step one: dust off any tiered stand, plate rack, or even a sturdy footed bowl. Step two: assign it one job — coffee station, tea things, or breakfast bits. Step three: keep the footprint tight so it reads as intentional, not sprawling. I tried this and the mistake to avoid is letting it become a general dumping ground for random jars; the moment unrelated things creep on, the magic vanishes — one theme only.
Pro tip: Add a tiny potted succulent to the top tier for a pop of green that needs almost no care.
Cost: ~$1 | Time: 10 minutes
12. Repaint Tin Cans as Rustic Countertop Storage
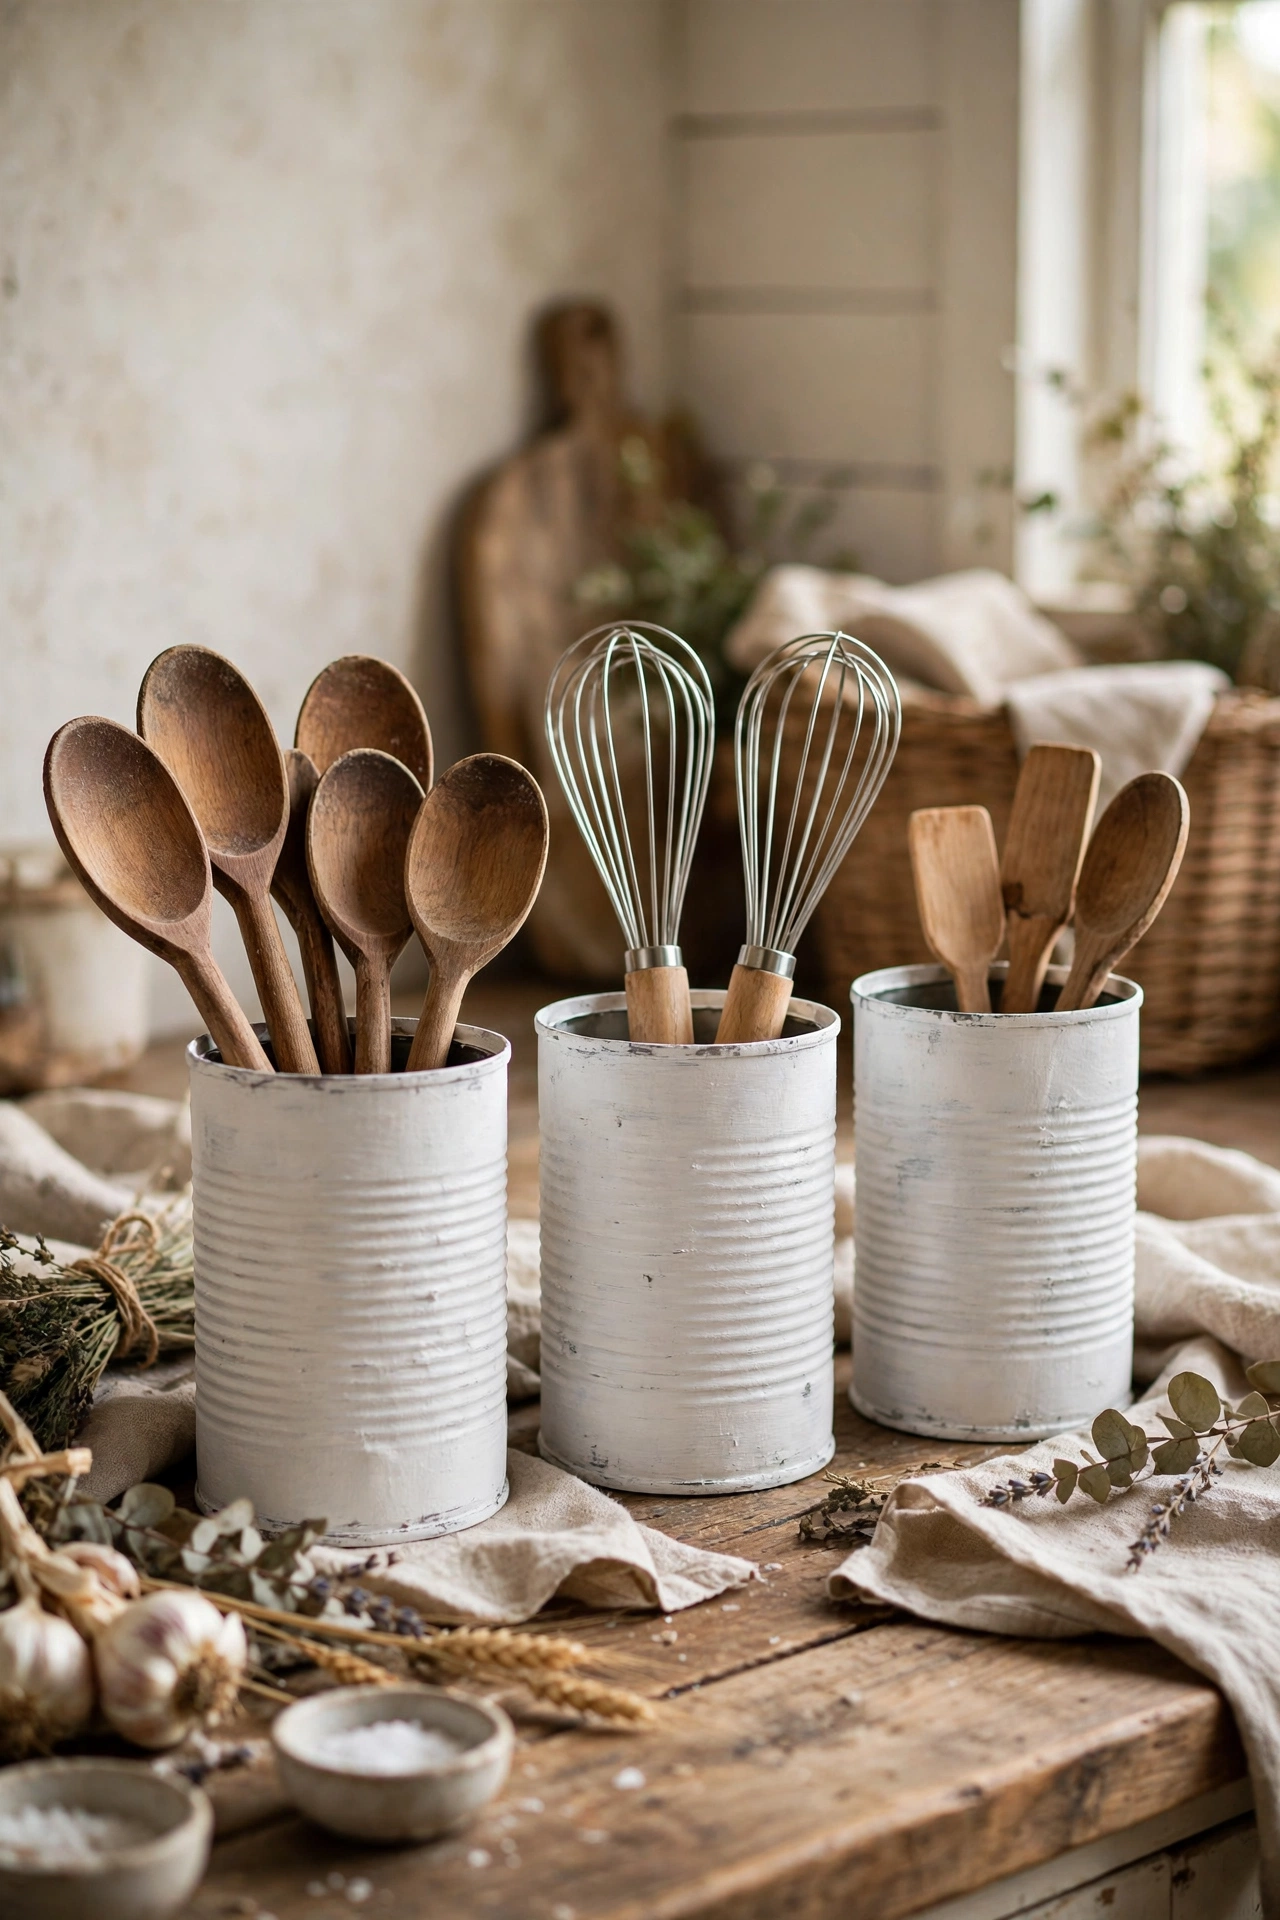
Before you recycle those big tomato tins, consider their second life. A coat of paint turns them into charming holders for cutlery, cooking utensils, or even a small plant. I painted three in chalky white, sanded the edges lightly for a vintage feel, and they now hold everything from whisks to wooden spoons. Step one: wash tins thoroughly and remove labels (a hot soak does it). Step two: apply two thin coats of spray or chalk paint, letting each dry fully. Step three: seal with a clear matte spray if they’ll live near the sink. I tried this and the mistake to avoid is skipping the drying time between coats — I got impatient on my first attempt and the paint went tacky and streaky. Thin coats, full drying, worth the wait.
Pro tip: Wrap the middle of each tin with jute twine and a dab of glue for a farmhouse finish that hides any paint wobbles.
Cost: ~$3 | Time: 45 minutes
13. Lean a Small Framed Print Against the Wall
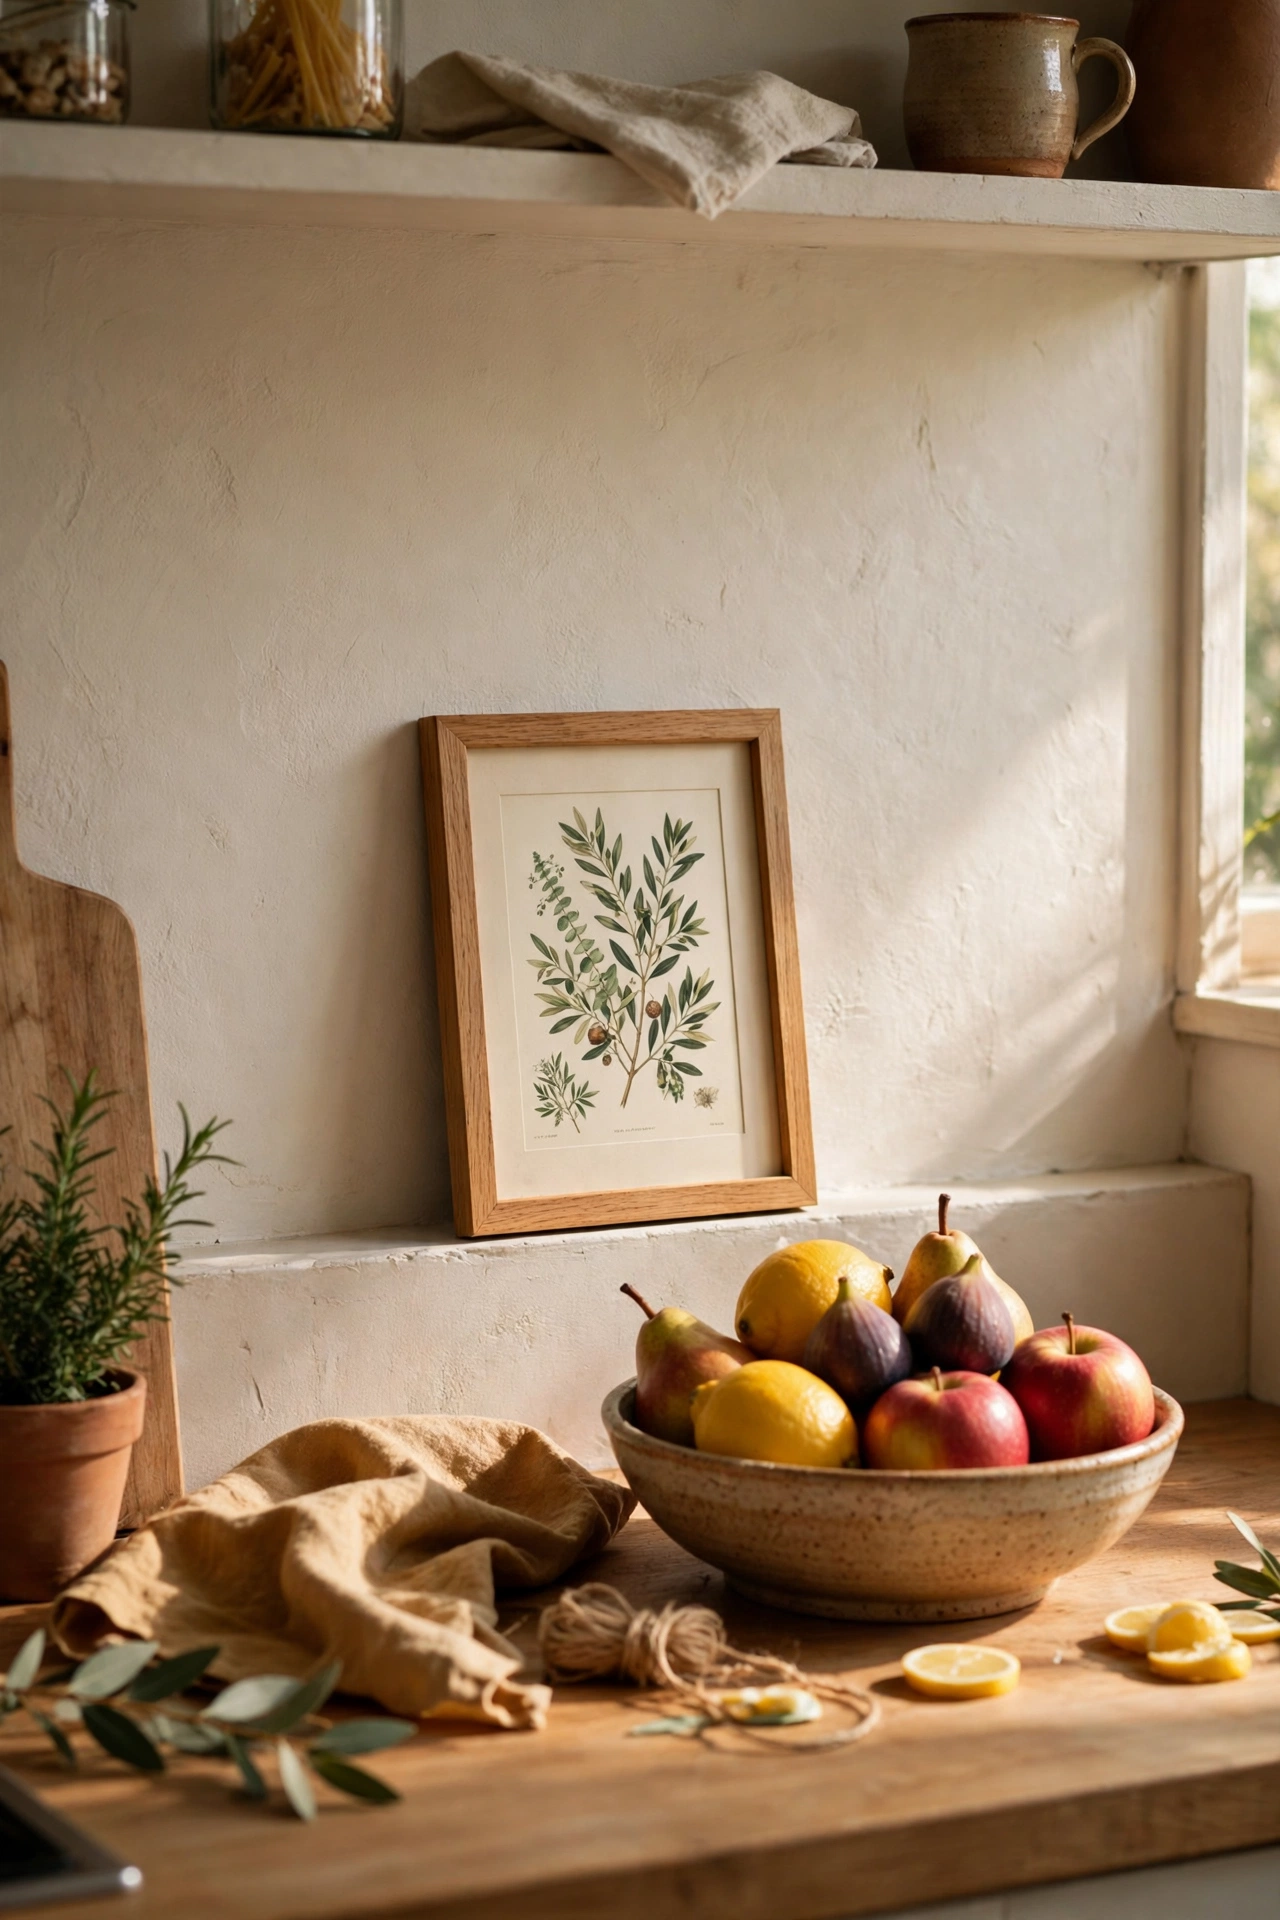
Kitchens get all function and no art, but a little print leaned against the splashback changes the whole mood. It doesn’t need to be kitchen-themed — a botanical print, a favourite postcard, even a page torn from a calendar works. I framed a free museum postcard in a charity-shop frame and leaned it behind the fruit bowl. Step one: find a frame you already own or thrift one for pennies. Step two: choose art with colours that echo your kitchen — it ties everything together. Step three: lean, don’t hang — leaning feels casual and lets you swap it seasonally. I tried this and the mistake to avoid is going too big; a small frame (around A5) is a charming accent, while a huge one dominates the counter and fights with everything else. Pair it with (see also: thrift-store-decor-finds) inspiration for more secondhand styling wins.
Pro tip: Slip the print into a wipeable plastic sleeve behind the glass if it’s near the hob — steam is the enemy of paper.
Cost: ~$2 | Time: 10 minutes
14. Lay a Runner or Folded Tea Towel as a Styling Strip
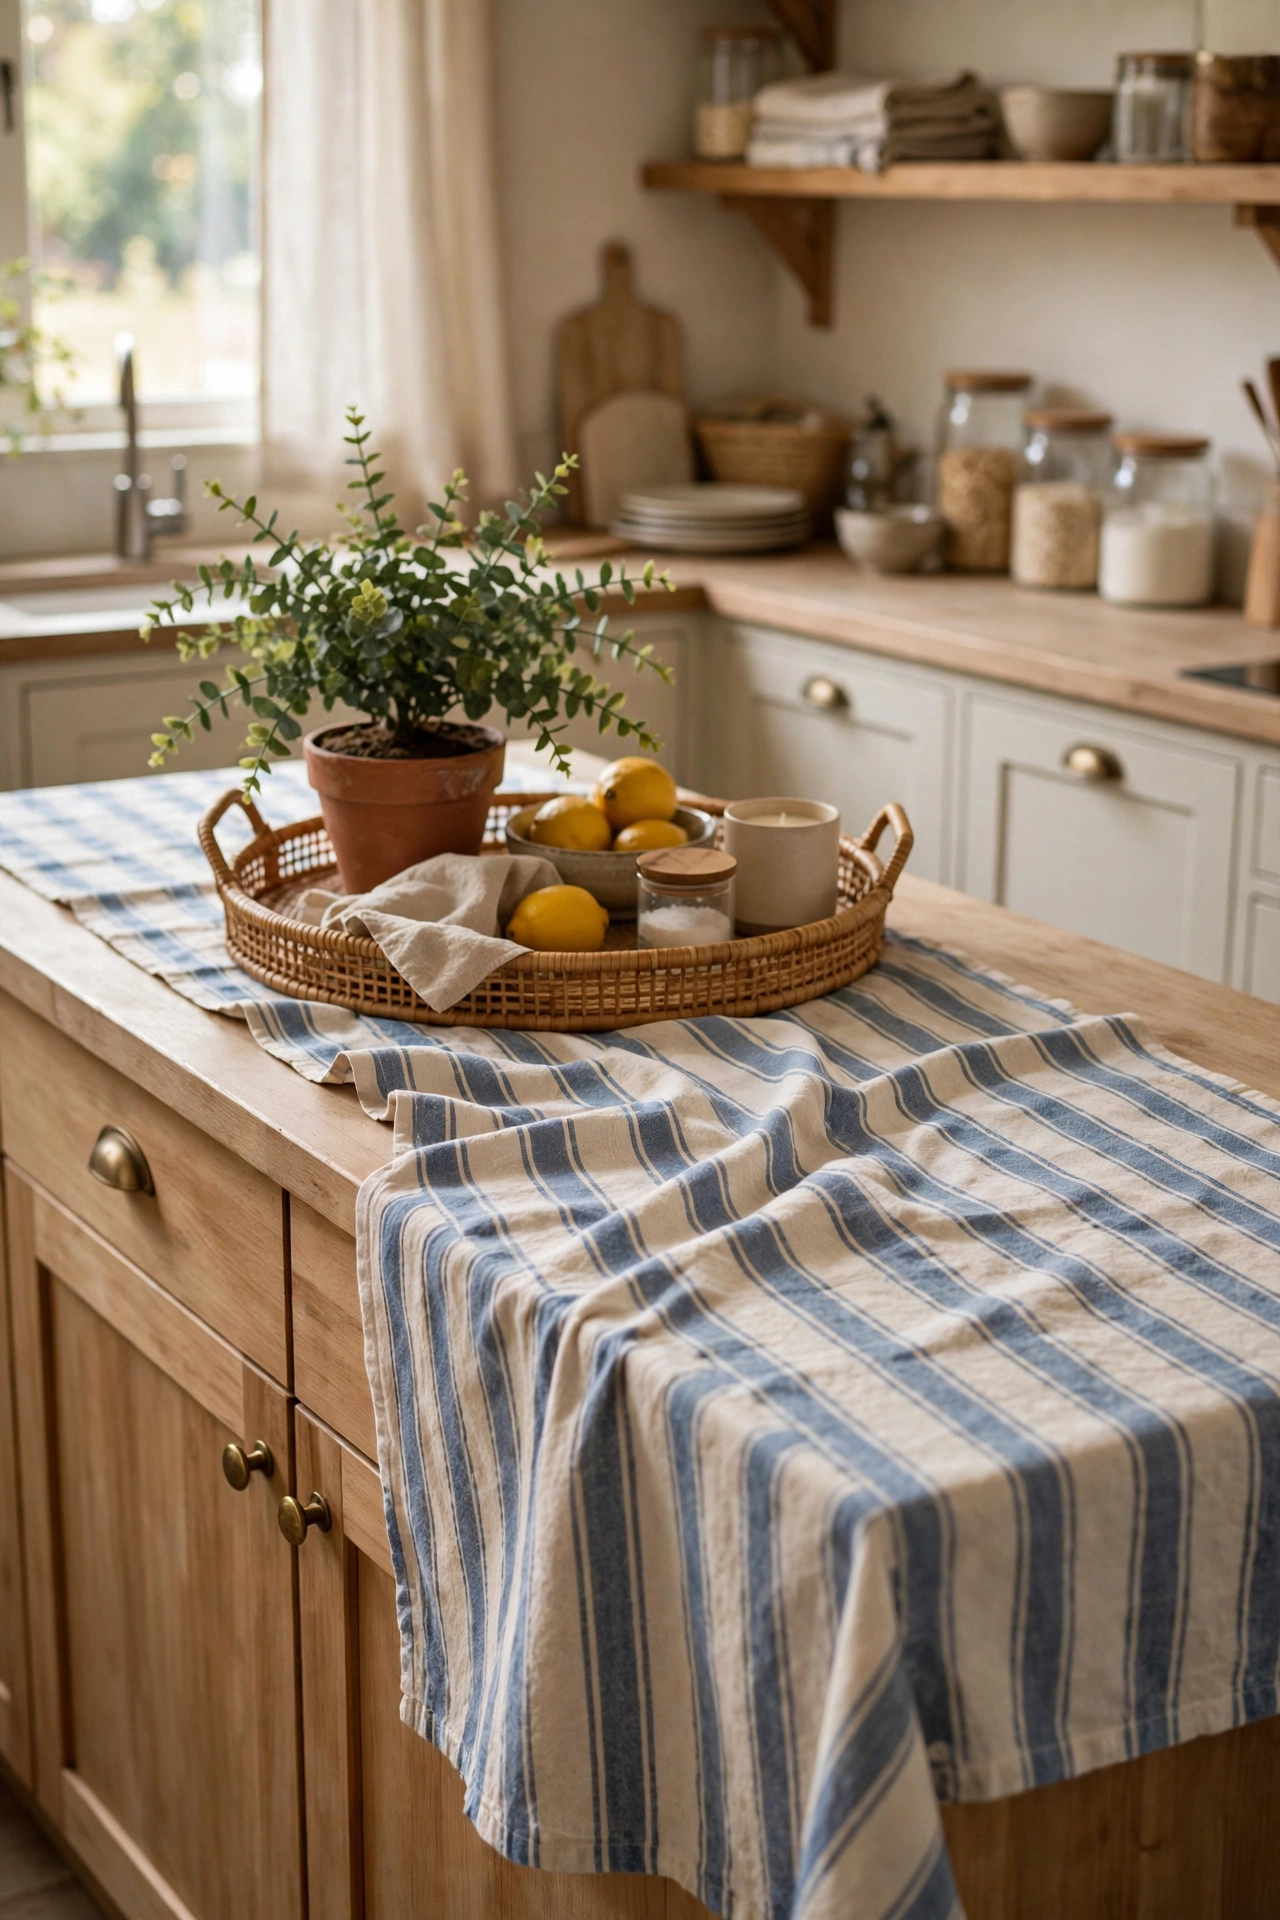
Stylists use “runners” on tables, but the same trick works brilliantly on counters. A folded tea towel, a narrow strip of fabric, or a proper counter runner laid lengthwise creates a visual path that pulls the whole counter together. I use a striped cotton runner down the middle of my island and style everything on or around it. Step one: choose something washable — this will catch crumbs. Step two: fold or lay it so it runs along the counter’s length, slightly off-centre. Step three: place your key pieces (tray, plant, bowl) along it. I tried this and the mistake to avoid is using anything precious or dry-clean-only; this strip will see flour, oil splashes, and coffee rings, so washable cotton or linen is non-negotiable.
Pro tip: Swap the runner with the seasons — gingham in summer, a warm plaid in autumn — for an instant refresh.
Cost: ~$3 | Time: 5 minutes
15. Build a Seasonal Mini Vignette from What You Own
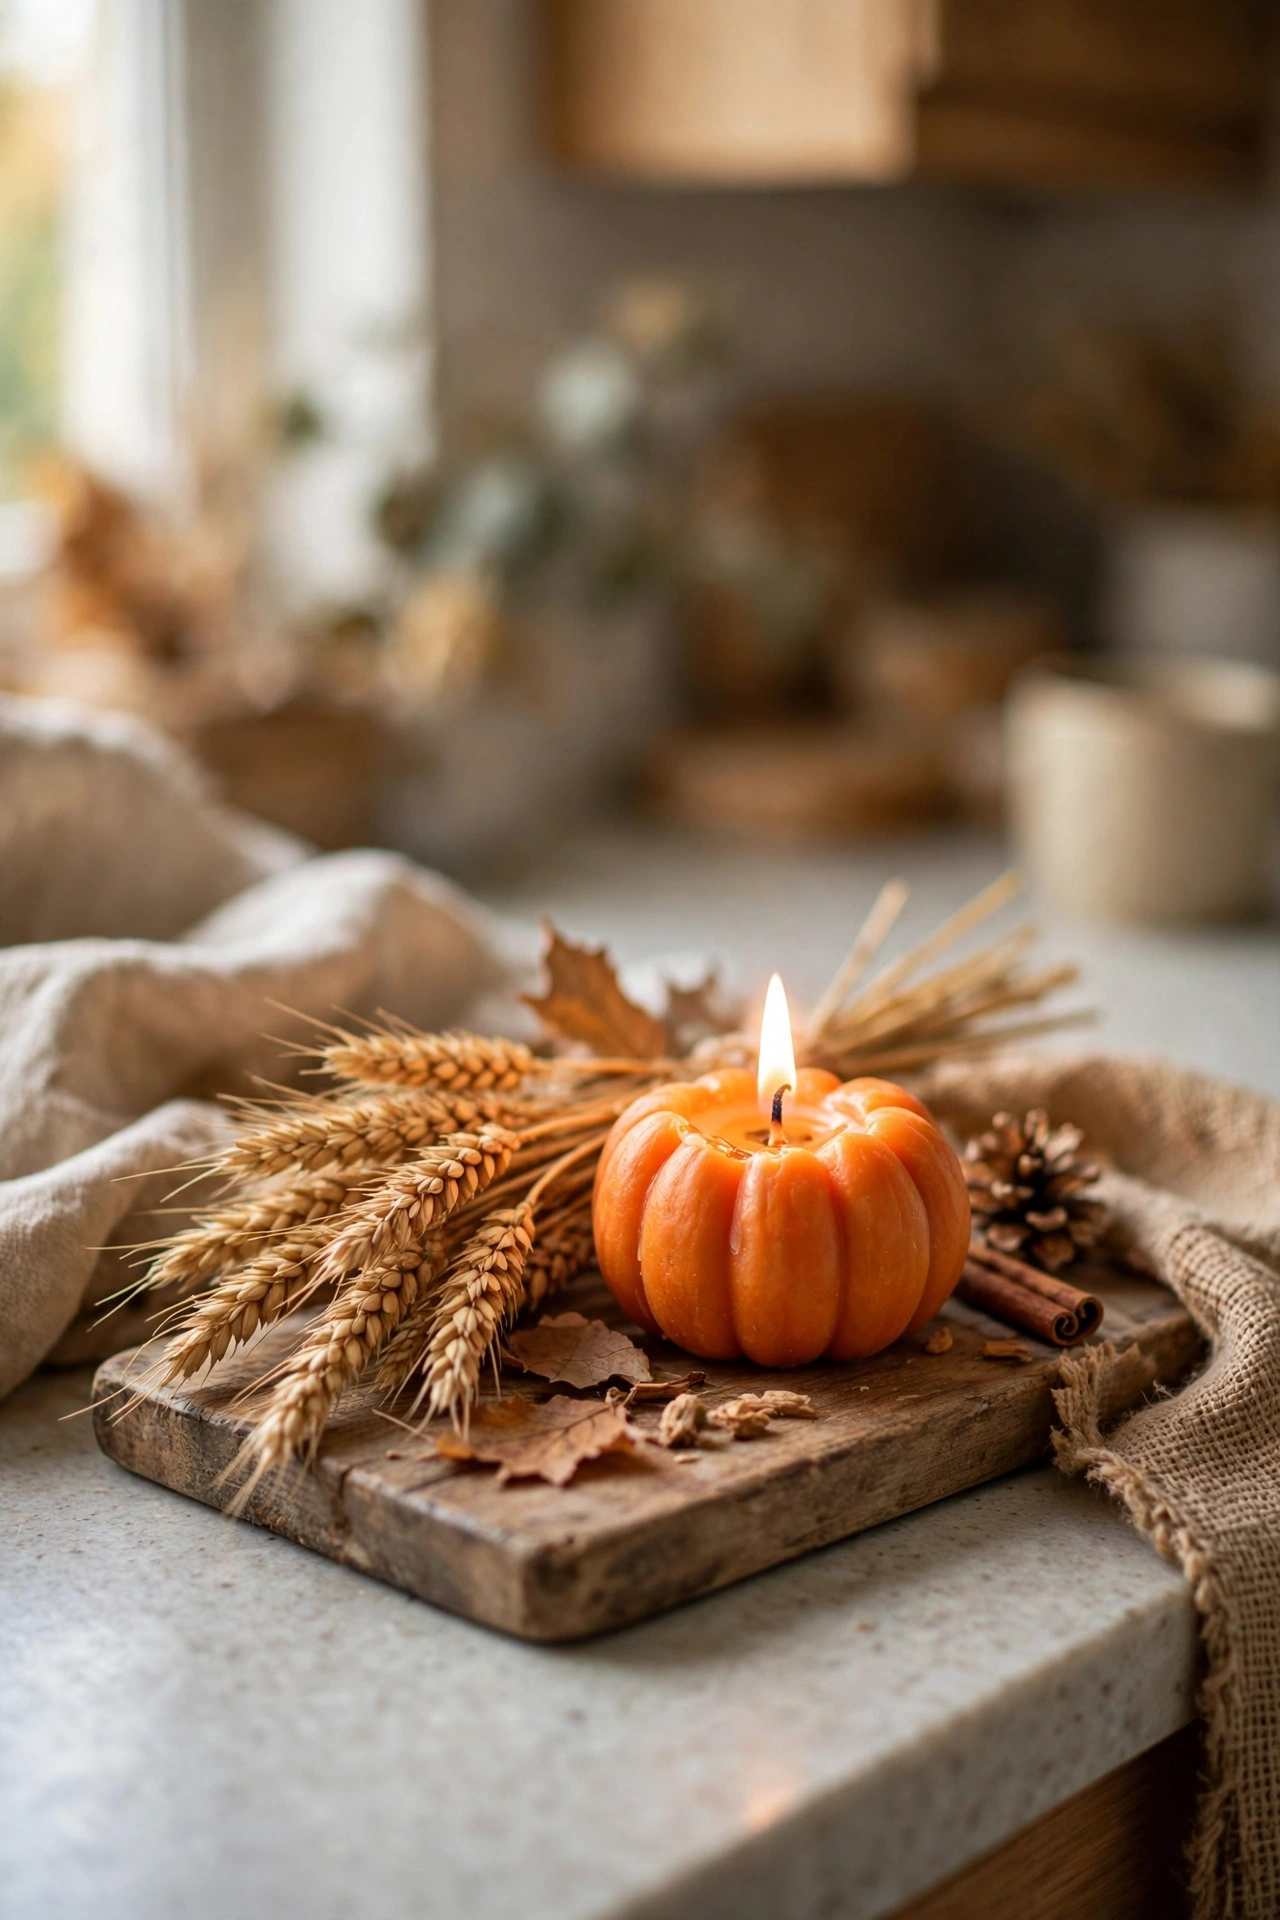
The final trick costs literally nothing: shop your own home. A mini vignette — three to five objects grouped with intention — gives your counter a finished, styled feel that you can refresh every season. Right now mine is a small pumpkin, a candle, and a sprig of dried wheat on a wooden board; in spring it’ll be a jam jar of daffodils. Step one: pick a small tray or board as your base. Step two: choose three to five items with a common thread — colour, material, or season. Step three: vary the heights and step back to check the balance. I tried this and the mistake to avoid is overthinking it; a vignette should take five minutes, not an afternoon. If it doesn’t come together quickly, swap one item and move on.
Pro tip: Photograph each seasonal version — by next year you’ll have a ready-made styling recipe to repeat.
Cost: ~$0 | Time: 10 minutes
Start with just one or two of these ideas this weekend — the tray trick and the lemon bowl alone will change how your kitchen feels. Once you see how little it takes, you’ll be raiding charity shops with new eyes, and your hard-working counters will finally look the part.
